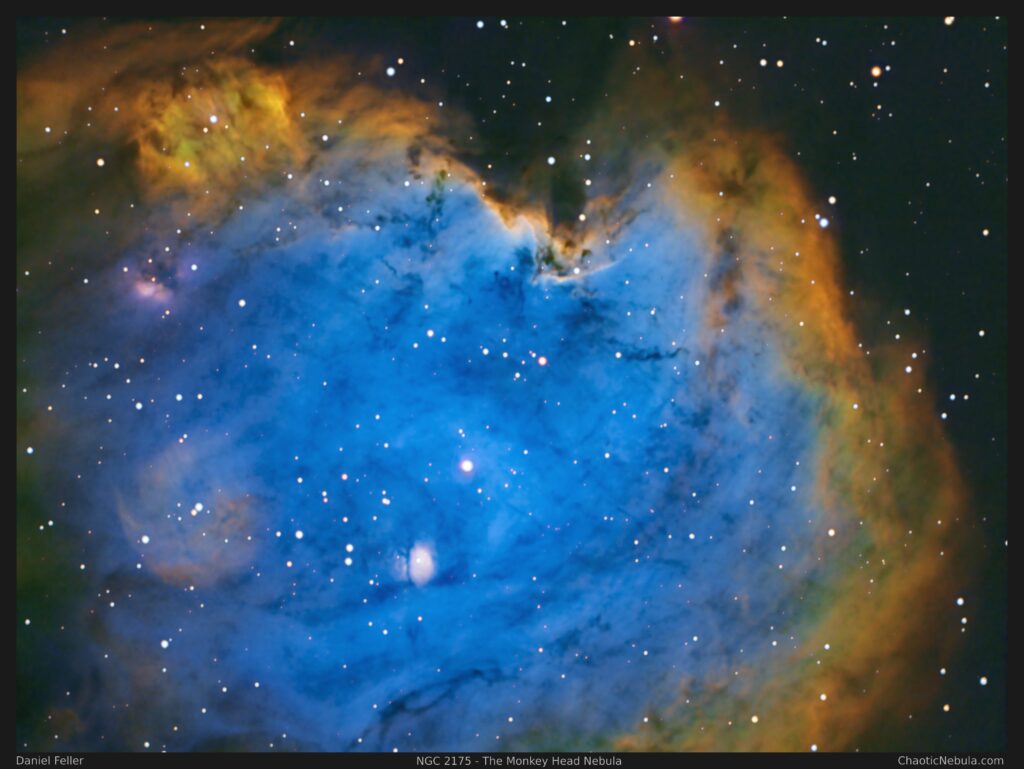
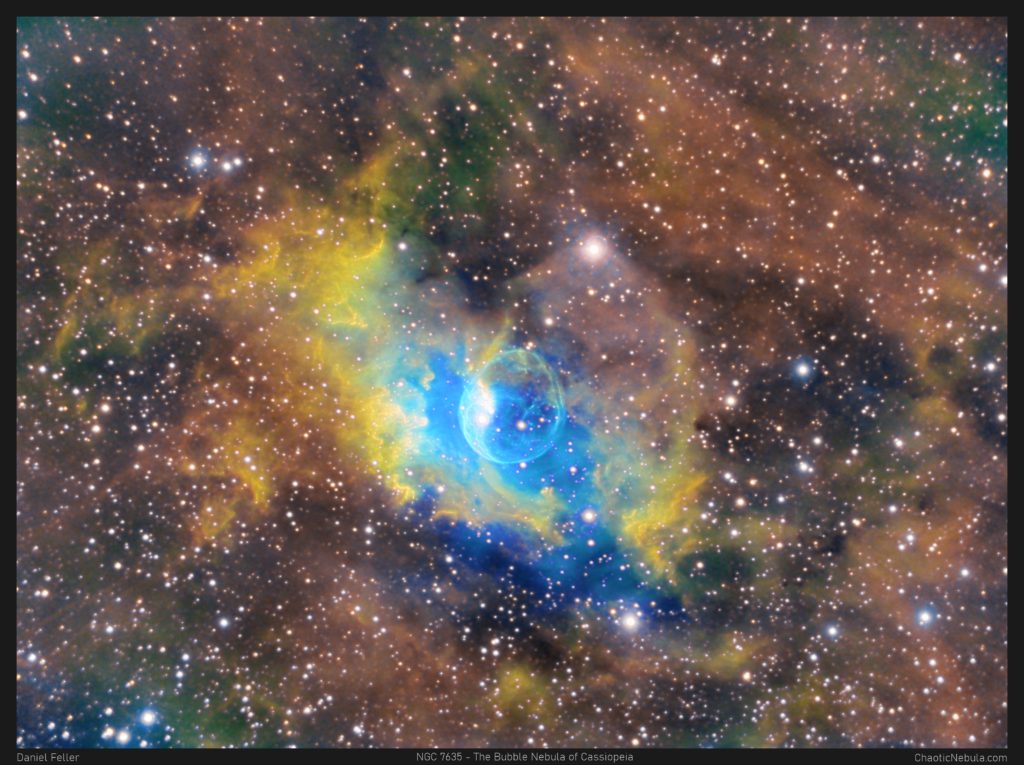
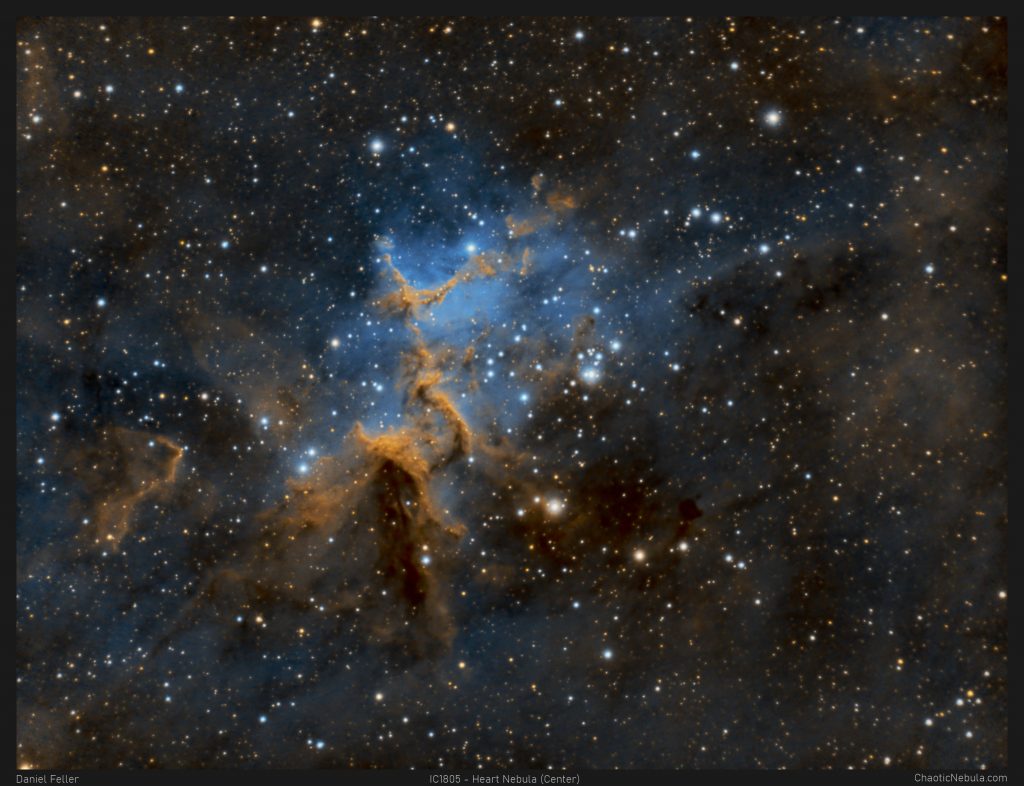
When you live in areas with heavy light pollution, you are most likely starting out with narrowband photography. Narrowband filters only focuses on small sections of the visible spectrum, while blocking everything else, including a lot of types of light pollution. However, in order to get the details from deep sky objects, you need a lot of data because the filters only let a fraction of the spectrum through. The PixInsight Narrowband Workflow shows how to combine these images together.


For narrowband imaging, you will often be using between 1 to 3 different filters, with each filter being associated with either red, green, or blue.
- HA: Hydrogen Alpha
- OIII: Oxygen-III
- SII: Sulphur-II (Optional)
Preprocessing Workflow
The pre-processing steps can either be done manually or with an automated process by leveraging the Weighted Batch Preprocessing Script. It is easiest and fastest to use the automated script. However, you can also run through the manual process if the automated fails for some reason.
Automated Process
Blink: Quickly review and remove bad images that might have very bright streaks caused by satellites/airplanes
Weighted Batch Preprocessing Script: This automated process greatly simplifies the preprocessing workflow as it is usually identical between different astrophotography projects. If you wish to do this process manually, you can use the manual process column.
Manual Process
Blink: Quickly review and remove bad images that might have very bright streaks caused by satellites/airplanes
Master Bias Frame: Integrates your bias reference frames into a single, master bias frame. This is used in the image calibration process to remove electronic camera noise.
Master Dark Frame: Integrates your dark reference frames into a single, master dark frame. This is used in the image calibration process to help remove noise cause by heat buildup (Amp Glow)
Master Dark Flat Frame: (Used in-place of a Master Bias) Integrates your dark flat reference frames into a single, master dark flat frame for each flat frame duration. This is used in the image calibration process.
Master Flat Frame: Integrates your flat reference frames into a single, master flat frame for each filter. This is used in the image calibration process.
Image Calibration: Applies a master dark and master flat frame to your light images to remove dust motes, vignetting, and other abnormalities from the imaging system.
Cosmetic Correction: Automatically removes hot pixels (always on) and cold pixels (always off) from your light images.
Subframe Selector: Grades each image based on defined parameters, which is used as part of the image integration process.
Star Alignment: Aligns and rotates each light frame so they can be stacked together.
Local Normalization: Identifies variations in the background brightness and applies adjustments to equalize these variations. The goal is to create a more uniform background across the entire image
Image Integration: Integrates individual light frames into a single image with a higher signal-to-noise ratio.
Drizzle Integration: Increases the effective resolution of the final image by combining multiple frames with subpixel accuracy. You need at least 30 or more images to adequately do Drizzle Integration.
Linear Image Processing
Process Steps
Dynamic Crop: Removes the edges from the integrated image, as they often have missing data or very low signal.
Gradient Removal: Helps remove background noise often resulting from light pollution or vignetting from the imaging rig.
Mosaic Workflow (Optional): This step is only applicable for images that span across multiple frames. When the image is integrated, return back to this workflow for further processing.
Noise Reduction and Deconvolution: Option 1 – PixInsight Native Processes
- TGV Denoise: Background noise corresponds to noise at the individual pixels. TGV Denoise helps remove this from your images.
- Multiscale Linear Transform: Medium-level noise corresponds to multiple pixel level noise. Multiscale Linear Transform helps remove different levels of noise at different layers
Noise Reduction and Deconvolution: Option 2 – PixInsight Paid Add-Ons
- BlurXTerminator: Leverages AI trained on high quality astronomical photos. Applies dynamic levels of deconvolution to different aspects of the image, often resulting in more natural looking and more detailed final images
- NoiseXTerminator: Leverages AI trained on a massive dataset of astronomical photos. Applies selective noise reduction while trying to minimize the impact on fine details and sharpness within the image
Linear Fit: Each channel will have different background levels, making one channel more powerful than the others. Linear fit matches these backgrounds and intensities.
Channel Integration: Integrates each channel into a single color image. Can be done with Channel Combination or more advanced methods using Pixel Math.
Luminance Extraction (Optional): This process creates a synthetic luminance channel, which is used in later steps to help improve the sharpness of the image while further reducing noise. If you capture a luminance channel, you will simply use that instead.
Starnet: In order to bring out the subtle details of deep sky objects, you will inadvertently cause your stars to lose their sharpness. Using StarNet, you remove the stars so you can focus on the enhancing the main object. The stars are added back later (if desired).
Non-Linear Image Processing
Process Steps
Image Stretching: The original captured images often have a limited dynamic range, with most pixel values concentrated in the lower end of the range. Stretching the image redistributes these pixel values across a wider range, making it possible to see both faint and bright details in the image.
SCNR (Optional): Many astronomical images tend to have an excess of green due to the way camera sensors are sensitive to light and because the Hydrogen-Alpha channel (associated with green) is often the strongest channel. Reducing the green component helps correct color imbalances. By leaving the green in the image, you will better align with the Hubble color palette.
Luminance Workflow: For the luminance channel (extracted earlier), this workflow will improve the contrast, clarity, dark structures, and background noise. These are then merged into the color image to create a more detailed final image.
Final Color Adjustments: As you near the completion of the image, it is time to make final color adjustments until you reach your desired state.
Final Brightness Adjustments: Final modifications should be made to the overall brightness of the object and darkness of the background.
Chrominance Noise Reduction (ACDNR): The final round of noise reduction looks for color noise. By focusing ACDNR on the chrominance (color) of the image, you can blend pixel-level color noise.
Star Integration (Optional): At this point, the stars can be re-added into the image. This is an optional step as some astrophotography targets are beautiful without the stars.