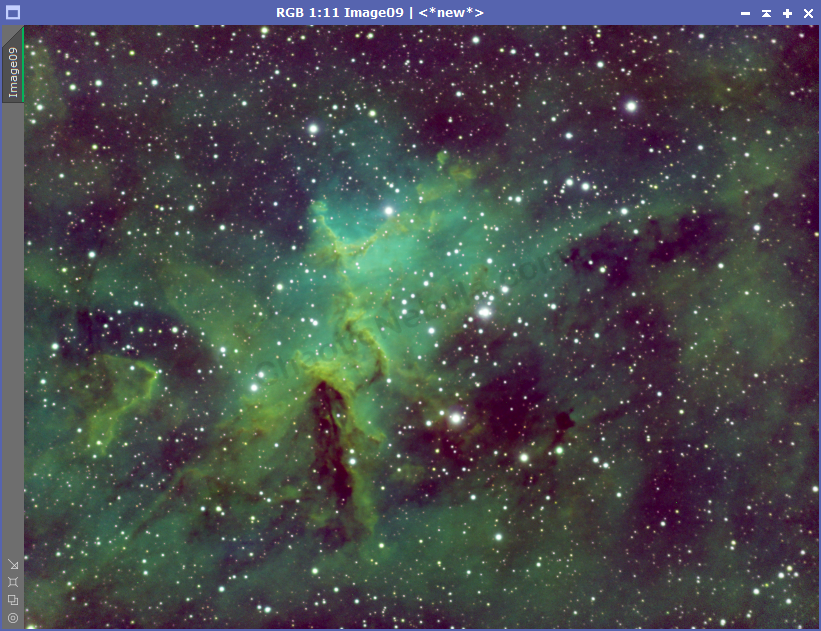
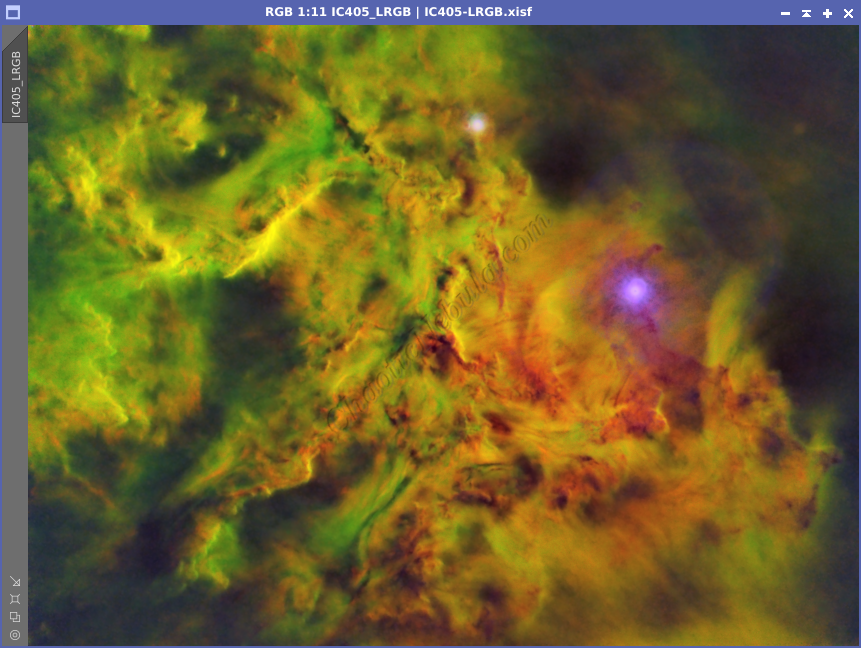
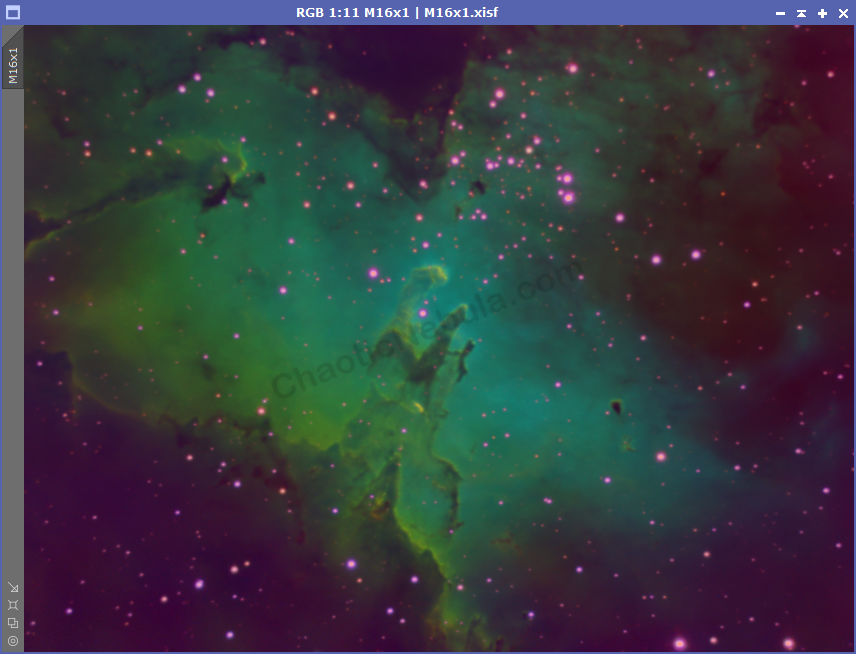
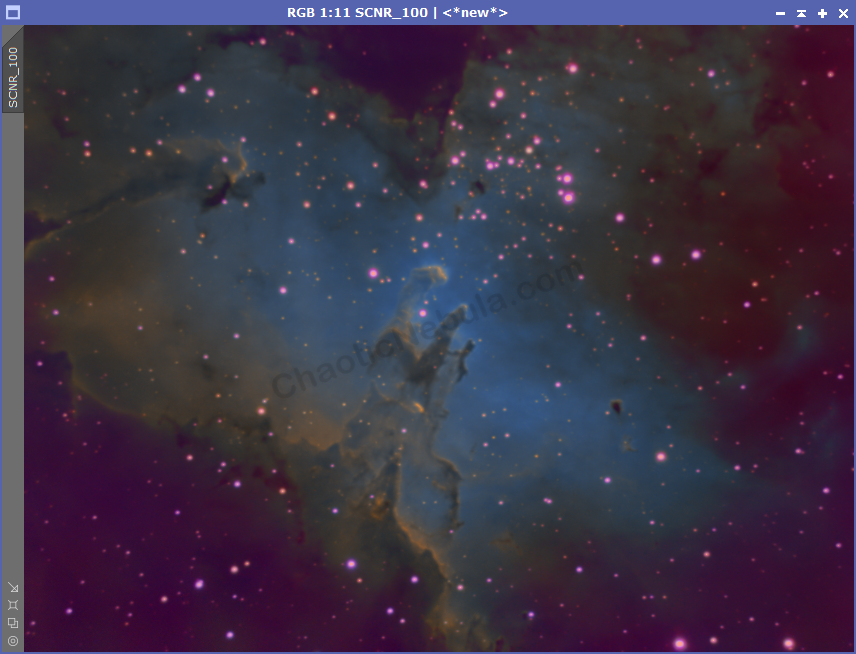
In many situations (especially when dealing with narrowband images), when you integrate the different channels into a color image, your result is a very green color image. This is often because with narrowband, when merging in a SHO format (SII = Red, HA = Green, OIII = Blue) the Hydrogen-Alpha channel is the strongest with the most signal. The green channel overwhelms the other colors.
In addition, you might notice magenta dominating the image, which can be the result of light pollution, incorrect white balance, or optical aberrations. The magenta color often appears on the edges of stars.
The goal is to reduce or remove the green/magenta tints.
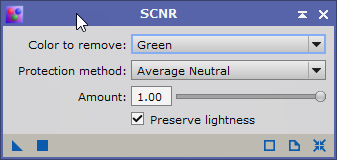
This is where SCNR comes in. PixInsight’s SCNR (Subtractive Chromatic Noise Reduction) is a tool specifically designed for astrophotography to target and reduce color noise in your images. Here’s how it works:
- Color noise appears as unwanted colored speckles or mottling in your astrophoto, often due to high ISO settings, sensor limitations during capture, or an overpowering green channel.
- SCNR tackles this noise by analyzing the red, green, and blue channels of your image.
- It identifies areas with significant differences between red and blue channels, which are likely noise rather than real color data (especially in the background sky).
- SCNR then selectively reduces these color differences, effectively suppressing the noise while preserving the overall color information in your image
It allows you to remove a color without impacting the brightness. If you tried to remove the green tint with other tools like Curves Transformation or Histogram Transformation, removing the green channel will also reduce the overall brightness of the image. With SCNR, you can remove the green tint while maintaining the lightness.
Using PixInsight SCNR creates a more natural appearance. It helps create cleaner backgrounds by removing color noise, which allows nebula and other details to stand out. It can also improve the star color with proper star masks.
SCNR
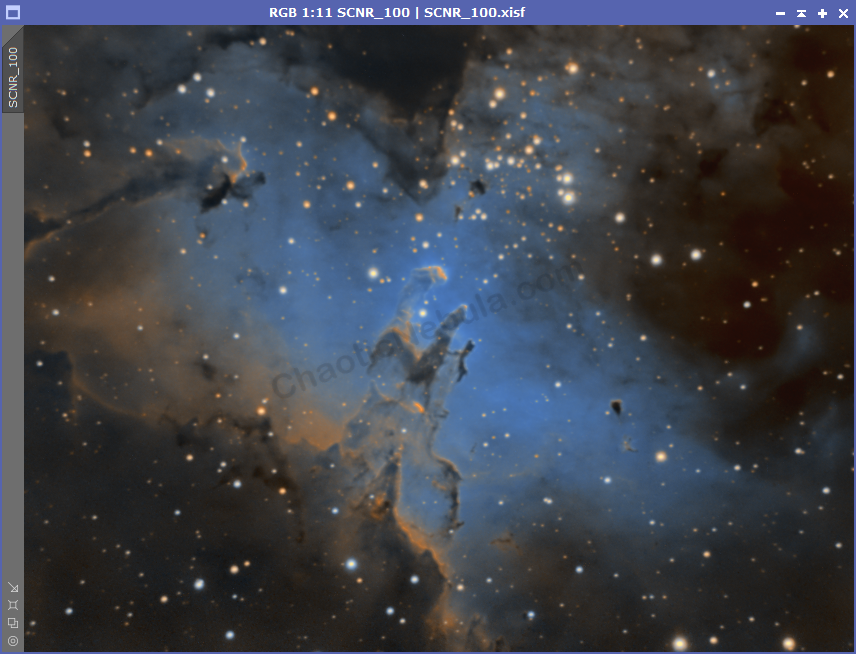
The SCNR is the Subtractive Chromatic Noise Reduction. Basically, it removes a color from your image without reducing the overall brightness.
Note: See the Tips section below for information on the amount of SCNR to apply to the image.
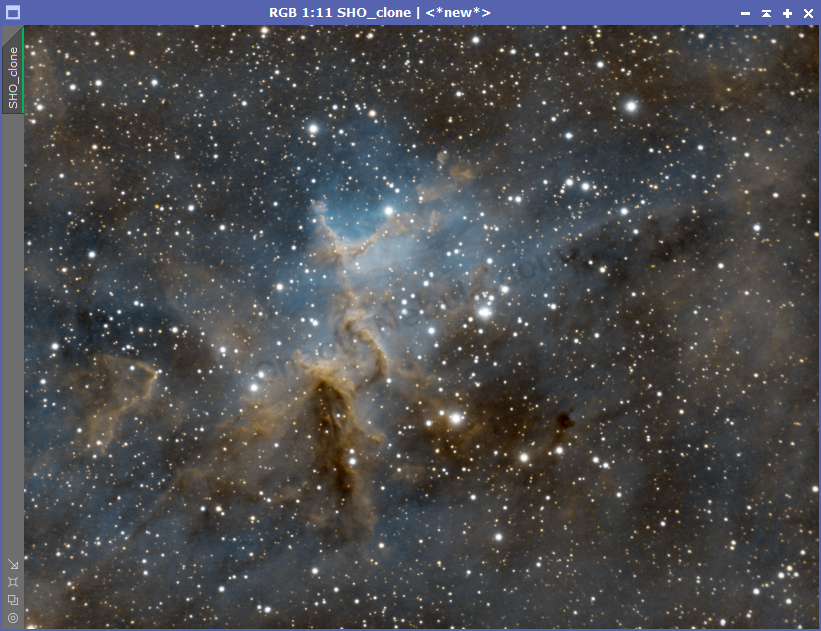
This modification makes a huge improvement to the image as it is much more pleasing to look at.
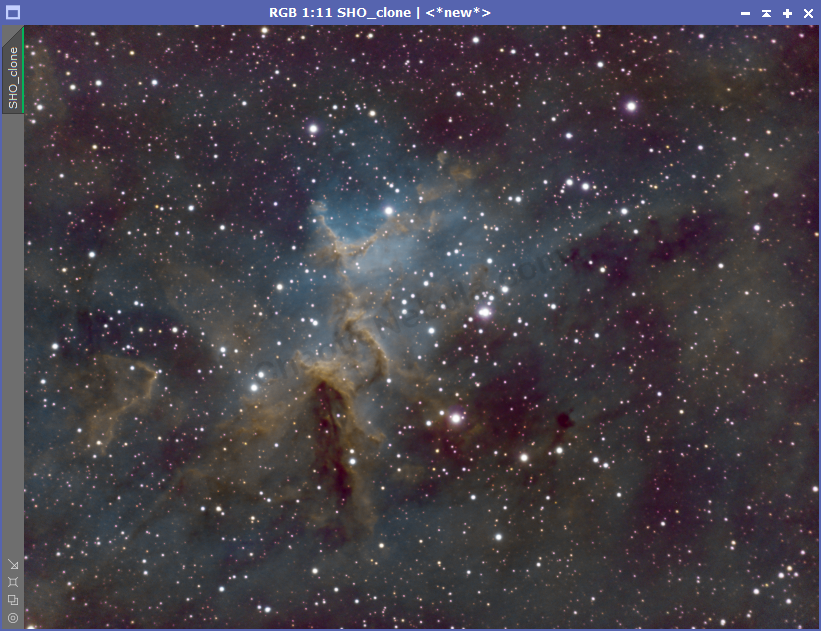
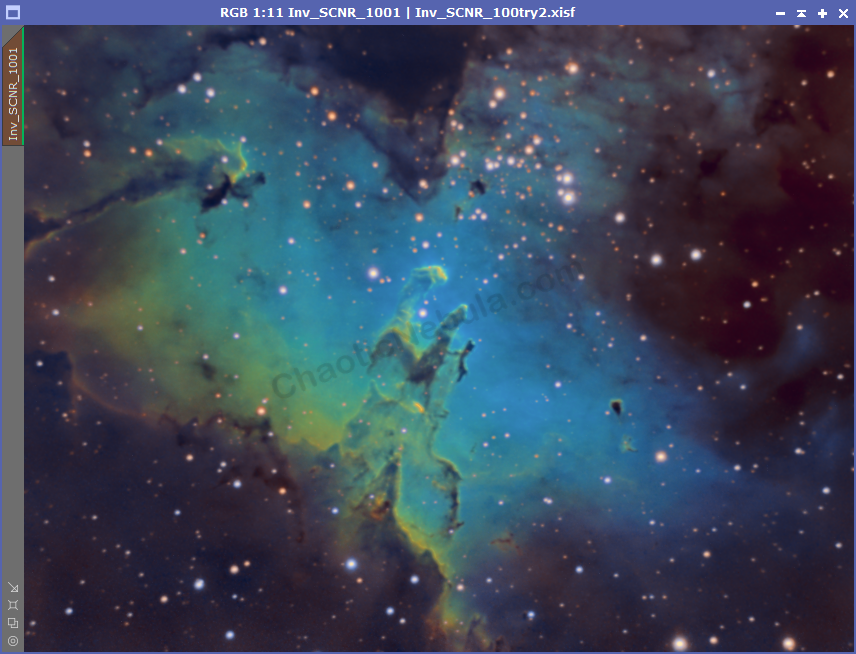
In addition, you might also notice magenta stars in the image, which is an uncommon color for astro photos. What is wonderful about magenta is that it is opposite from green on the color wheel. This means you can invert your image (Image – Invert) and apply SCNR again.
When to do SCNR
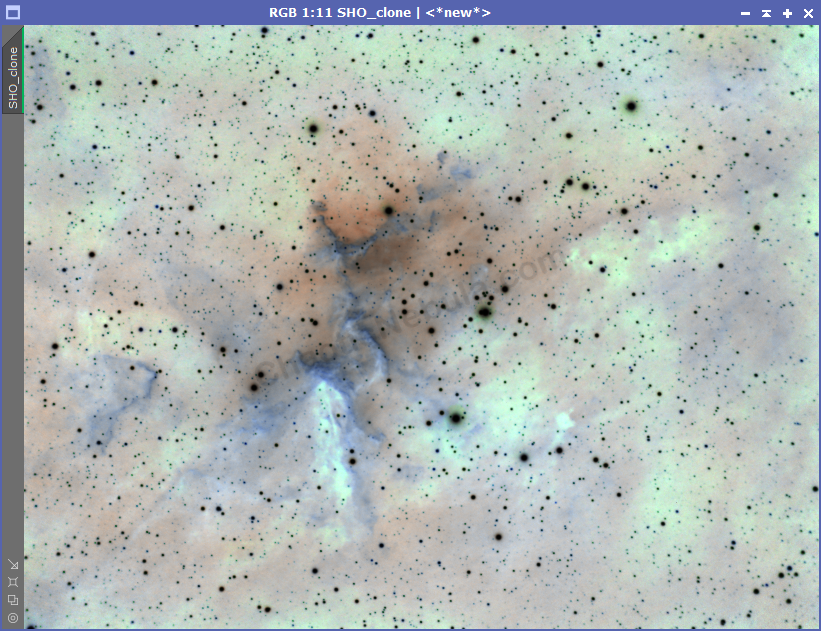
There are recommendations on when to apply SCNR to your images, linear or non-linear state (before or after stretching). After running a few tests, applying SCNR after image stretching tends to work better. When you stretch an image, you also individually stretch each color channel. This changes how much a certain color will dominate the final image.
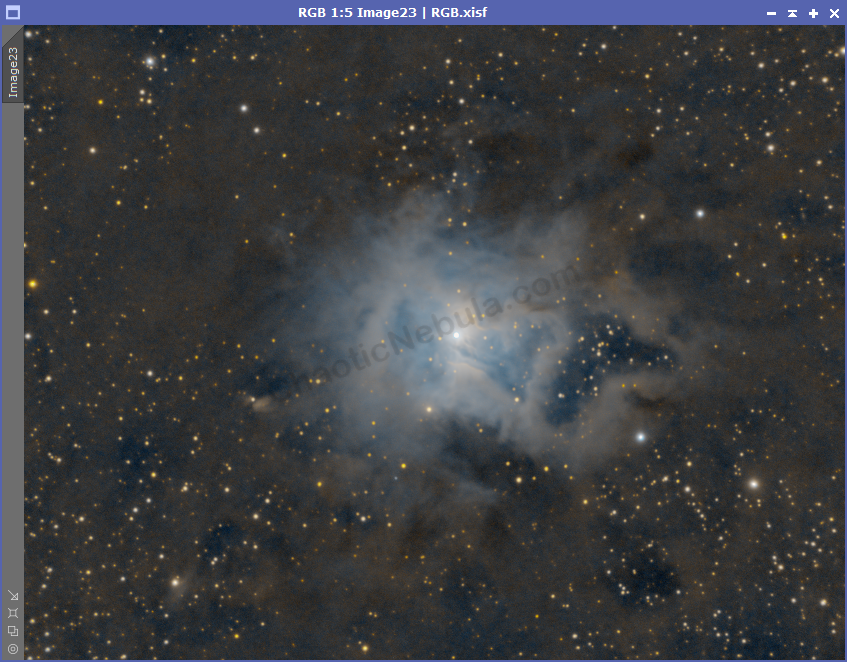
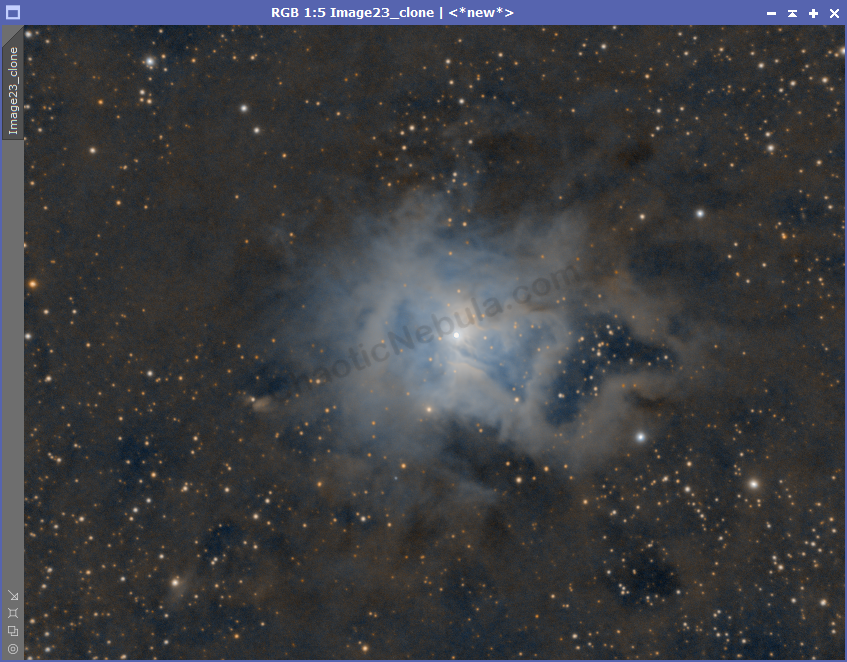
As you see from the example, using SCNR in the non-linear state results in a more colorful star field. This is especially important when working with open and globular cluster image workflow where you don’t remove the star field during processing.
SCNR
Protection Method
PixInsight’s SCNR process offers five mask options to control how the noise reduction affects different parts of your image. Here’s a breakdown of each:
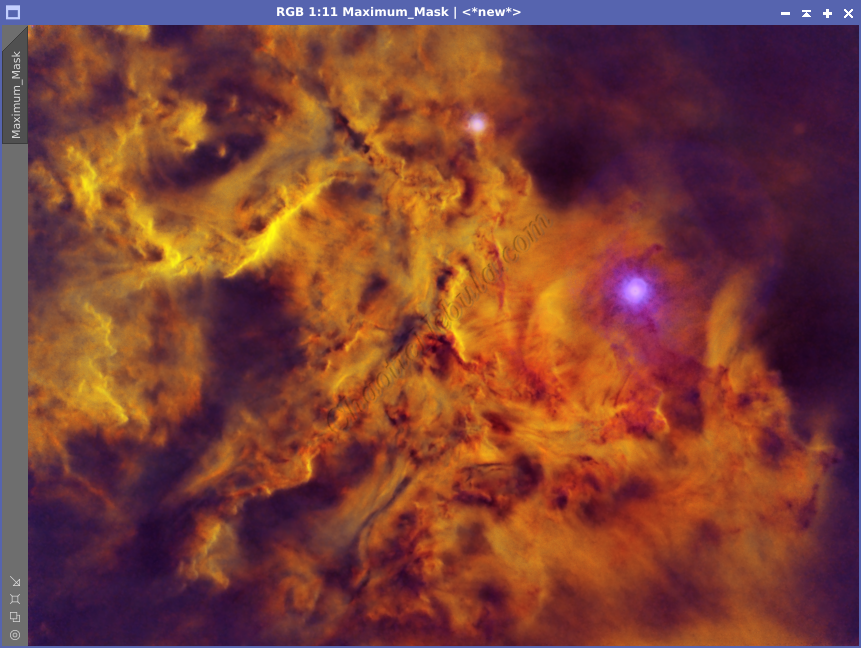
- Maximum Mask:
- This is the strongest protection method.
- It creates a mask based on the brightest pixel (either red or blue) at each location.
- Areas with strong red or blue signal (like stars) will be protected from significant noise reduction.
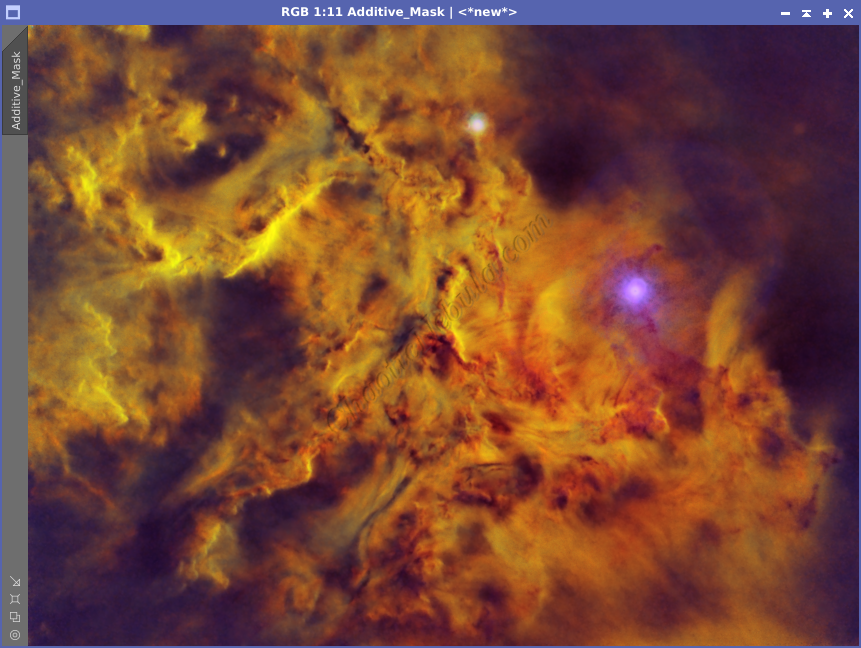
- Additive Mask:
- Similar to Maximum Mask, but less strict.
- The mask considers the sum of red and blue values.
- Areas with high combined red and blue (bright stars) get more protection.
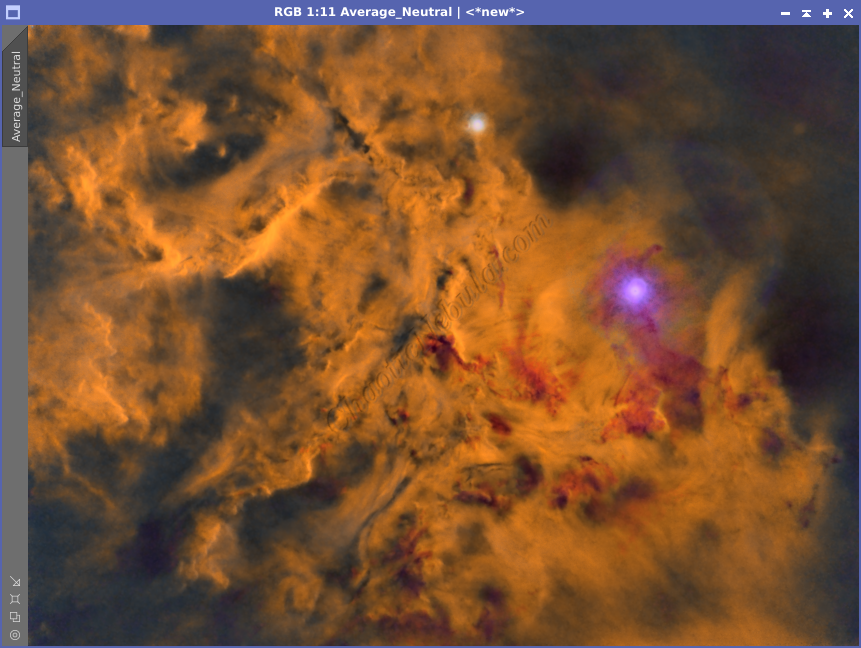
- Average Neutral Protection:
- This method takes an average of the red and blue channels to create the mask.
- Areas with colors closer to neutral (background sky) are protected more.
- This is the default option in SCNR.
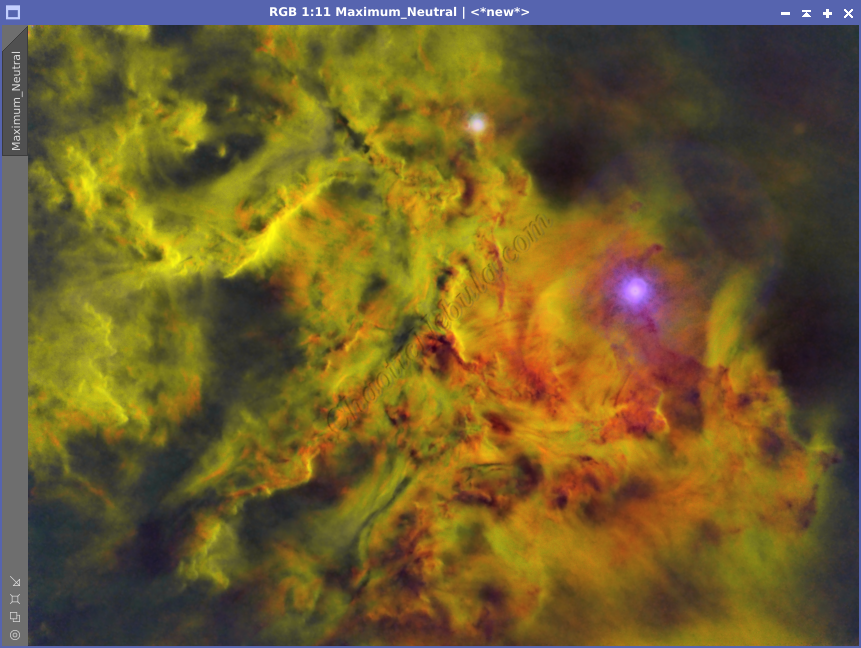
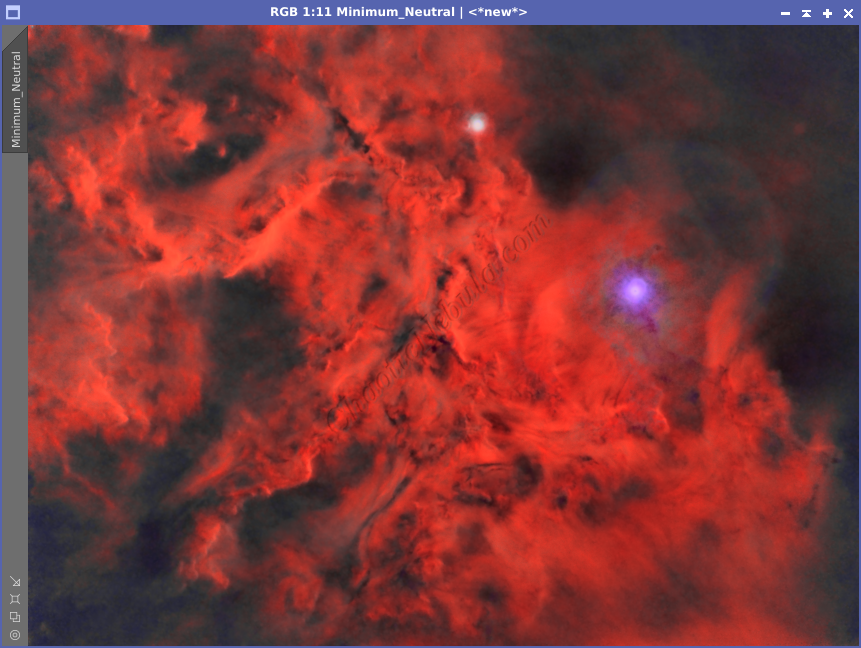
- Maximum Neutral Protection:
- Similar to Average Neutral, but stricter.
- It uses the brightest pixel (red or blue) to define the mask.
- Aims to protect background neutrality while potentially affecting some stars.
- Minimum Neutral Protection:
- The least protective mask.
- Considers the minimum value between red and blue channels.
- Targets noise reduction in areas with color casts (potentially affecting some background areas).
Choosing the Right Mask:
The ideal mask option depends on your image and what you want to achieve. For general noise reduction with star protection, start with Maximum Mask or Additive Mask. If you want to target background noise while minimizing impact on stars, try Average Neutral. Use Maximum Neutral or Minimum Neutral with caution, as they can affect specific image elements more significantly.
Remember, it’s always a good idea to experiment with different mask options and compare the results to find the best fit for your astrophoto
Which is better?
SCNR
Protection Amount
Leaving green is often overpowering due to the strength of the hydrogen-alpha channel. However, removing 100% of the green channel will also leave less color variation in your final image. Green helps create a nice transition between blue and yellow. Without a green tint, the transition becomes much more harsh in the final image.
It might be useful to lower the percentage SCNR uses on the green channel. This will leave some green within the image. Take the following example of M16 – The Eagle Nebula.

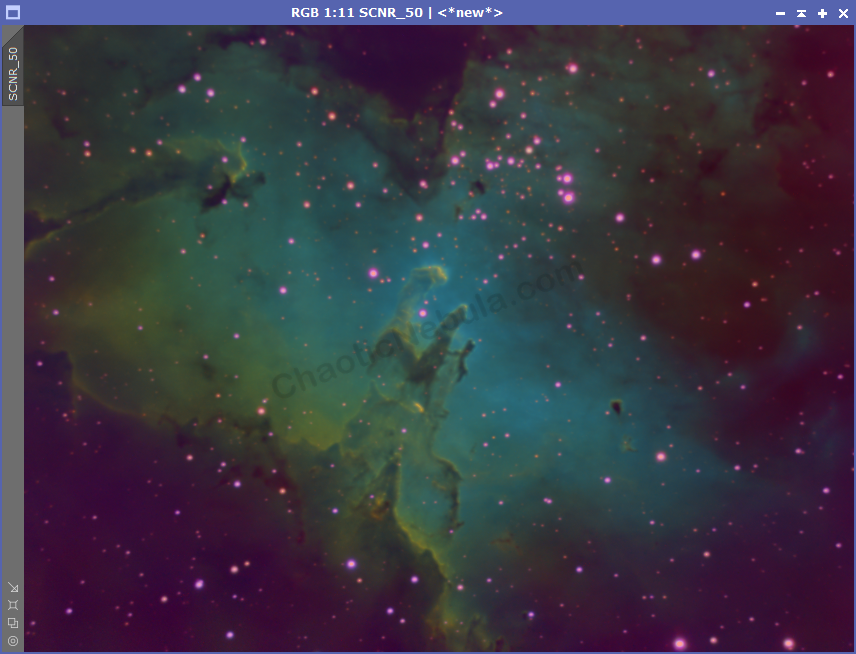
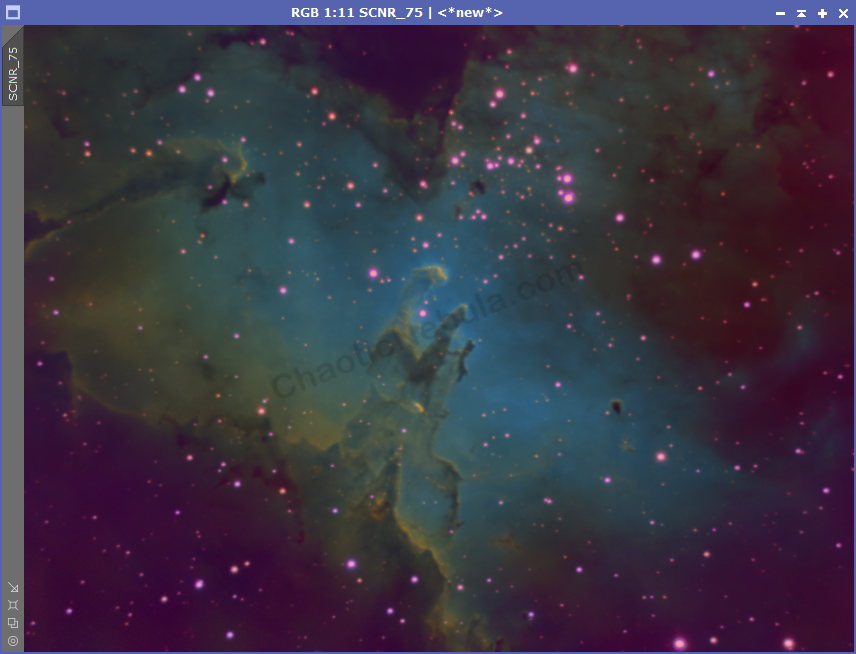
This becomes a personal preference, but you should try different levels. Just remember that the colors can be further modified further along the processing workflow. When these two examples are further processed, you get the following end result.
Which is better? Again, it is a personal preference. But because these are not the real colors, you are free to follow your own path.
What’s Next
Color correction made a big improvement to the image
With the green and magenta subtracted, the next step is focus our attention on a separate luminance channel to help bring out the brightness and detail of our image. The first step is to stretch luminance.