After your images are integrated, there is a high probability you will see some black edges or low signal areas along the edges. This is due to field rotation and drifting during image capture. If using Dynamic Crop across multiple images/channels, you need to make sure all of your master images are aligned so they each receive the same cropping.
NOTE: If your images are not aligned, you will need to run star alignment (without drizzle and local normalization) on the master images.
Dynamic Crop Settings
Dynamic crop is easy to do.
- First, open all master images within PixInsight and launch the dynamic crop process.
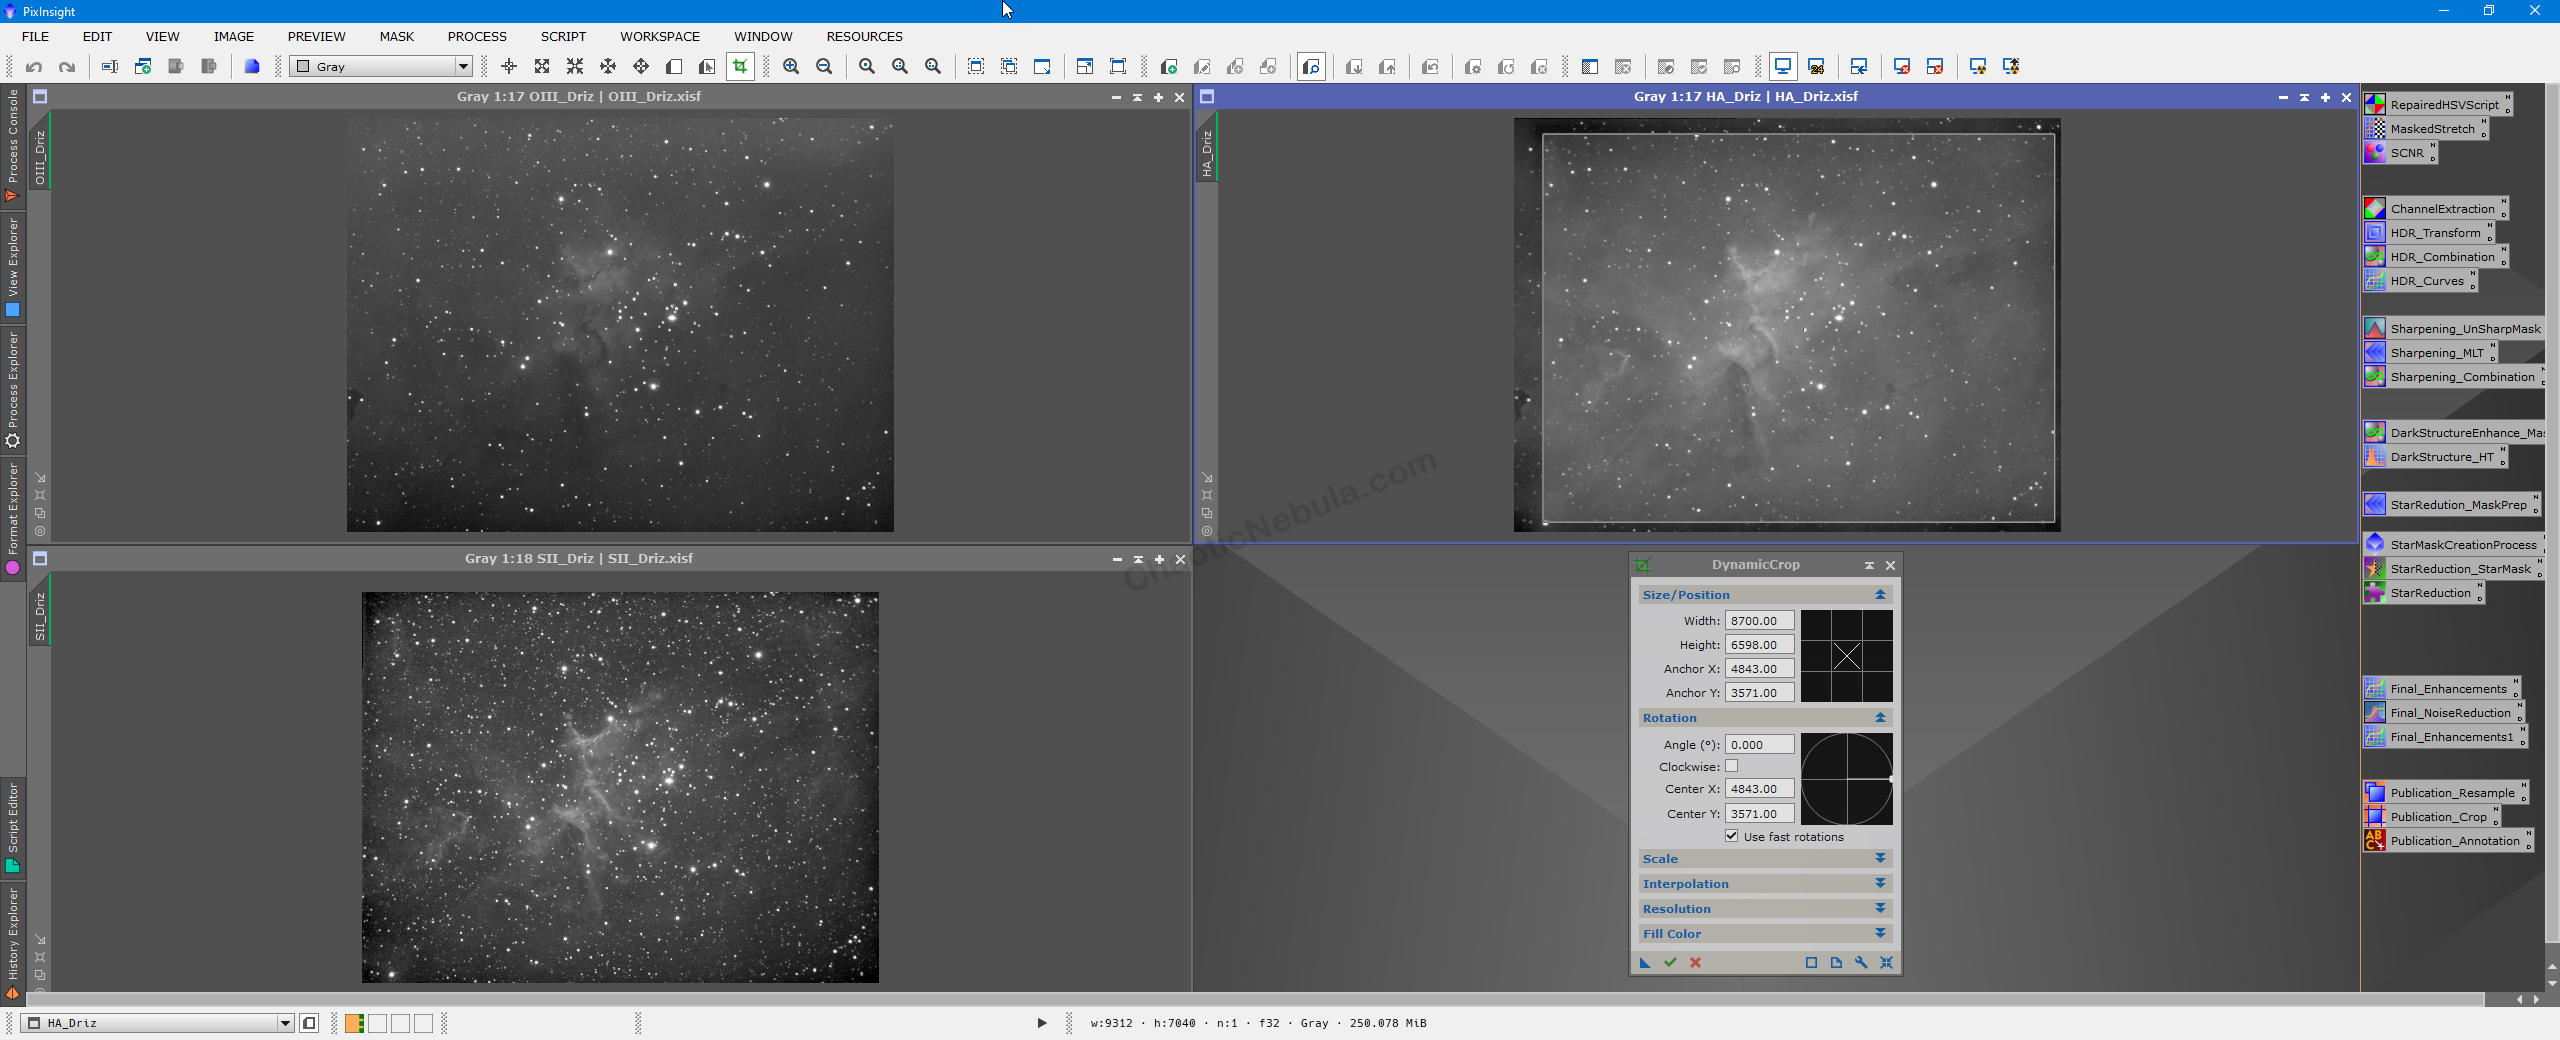
- Hit reset within the dynamic crop process. One of the images should now have an opaque box round the image. Drag the edges and rotate as needed to get the right cropping dimension.
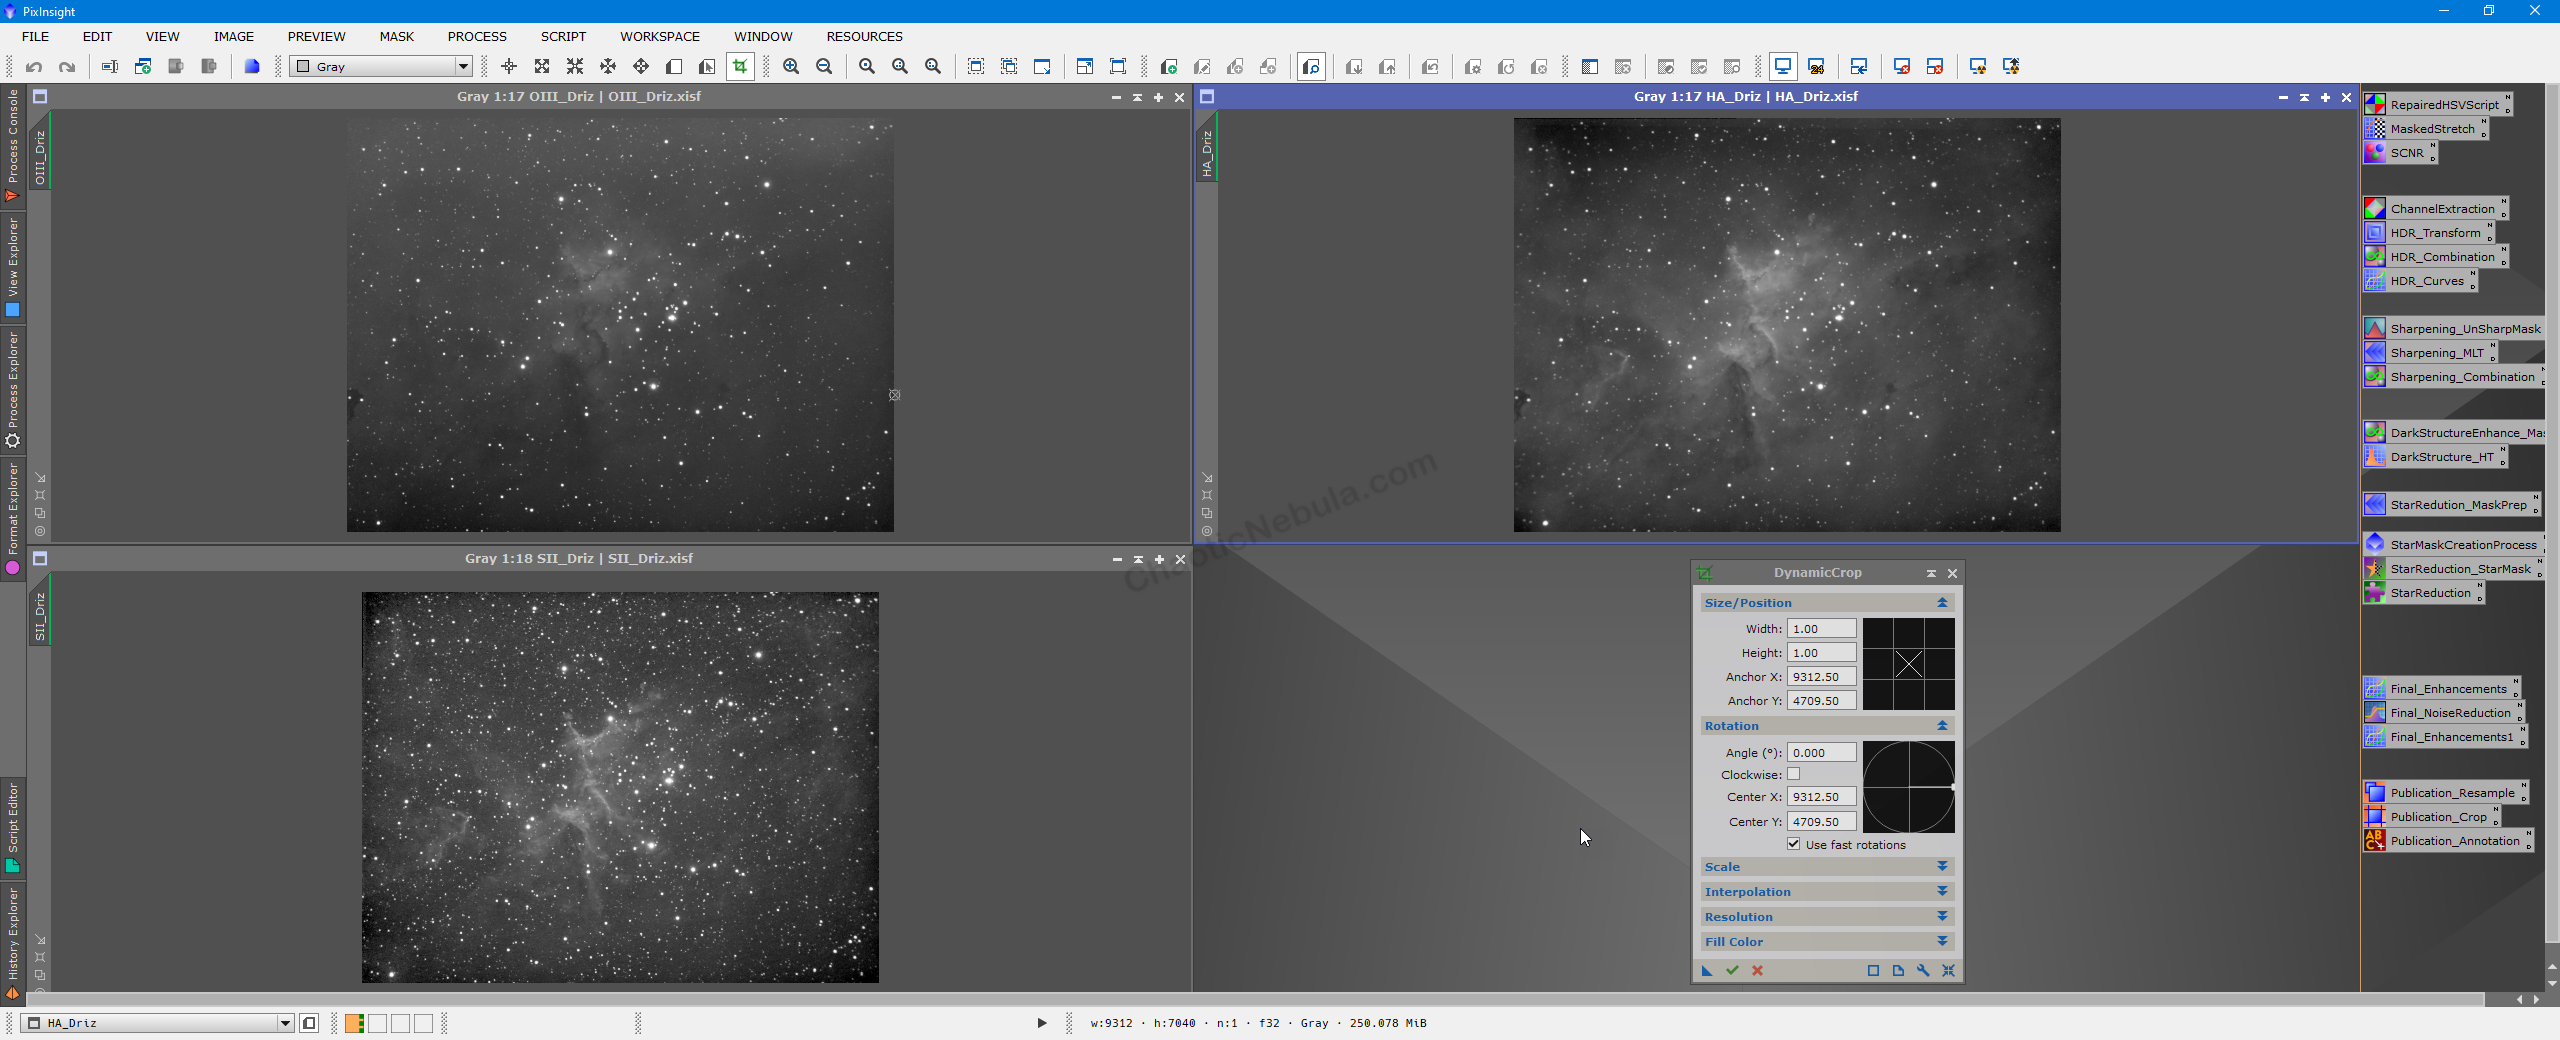
- Within the dynamic crop process, drag the triangle (New Instance) onto an empty part of the PixInsight workspace. This will create a new instance of the dynamic crop process with configuration settings.
- Select the green check mark to execute. Verify that the crop is what you wanted.
- Close the dynamic crop tool
- Select another image and launch the dynamic crop instance you previously created. A crop box will appear with the same dimensions as the first crop. Select the green check mark to execute. Close the crop tool.
- Repeat process for all images.
- Save images
What’s Next
Once the images are cropped, it is time to remove any background gradients with the Dynamic Background Extraction tool.