In astrophotography, PixInsight Cosmetic Correction is used to remove unwanted defects from your image data, specifically hot pixels and cold pixels. Hot pixels appear as brighter-than-usual pixels that can detract from the overall quality of your astrophoto. These are pixels on your camera’s sensor that register a higher value than usual, even when no light is captured. They appear as bright speckles in your image (or black dots for cold pixels). Cosmetic correction can identify and replace the values of these hot pixels with values more consistent with the surrounding image data.
During the Image Calibration process for light frames, the master dark frame was used to subtract most of the hot pixels from the light frames. While dark frames are very effective, they might not have completely eliminated all hot pixels. Some pixels might still deviate significantly from their neighboring pixels even after dark frame subtraction
Cosmetic correction analyzes individual pixels within the light frame itself. It identifies pixels with values that differ greatly from their surrounding pixels (likely hot pixels or cold pixels) and replaces them with the median value of those neighbors. This refines the hot pixel reduction achieved by dark frames.
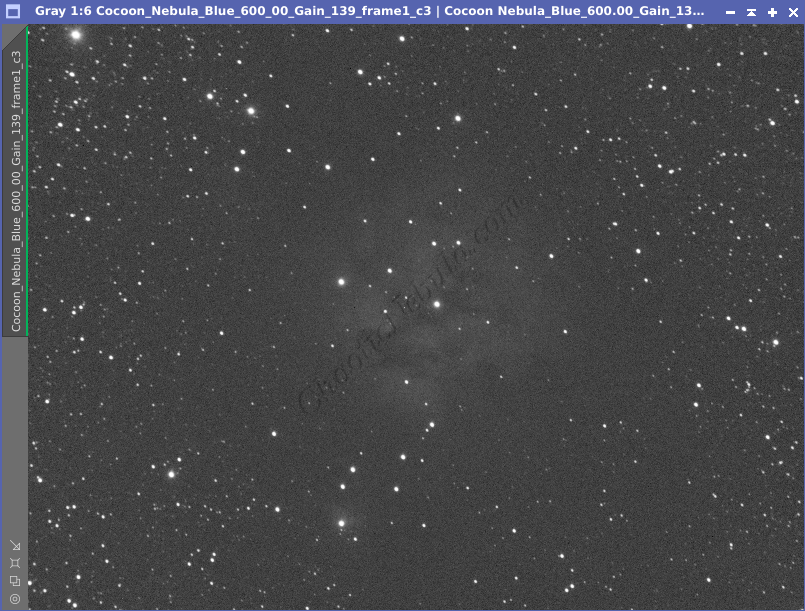
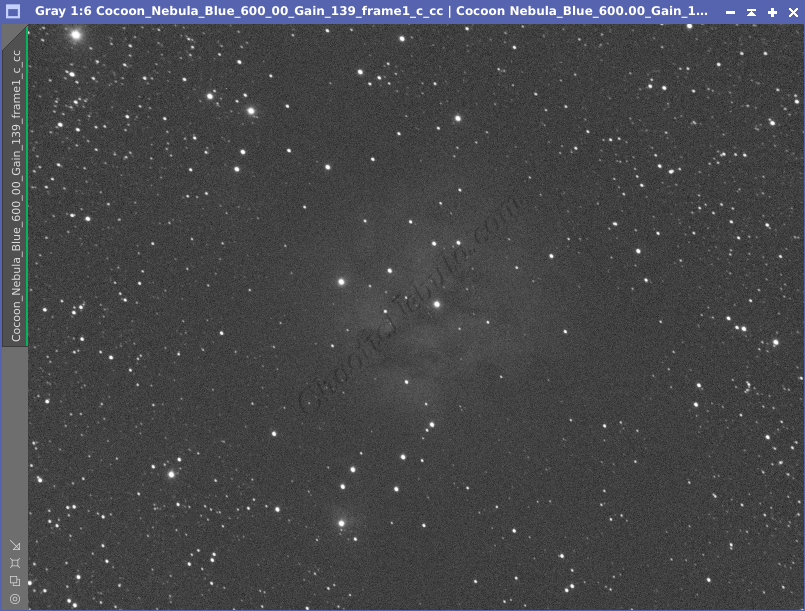
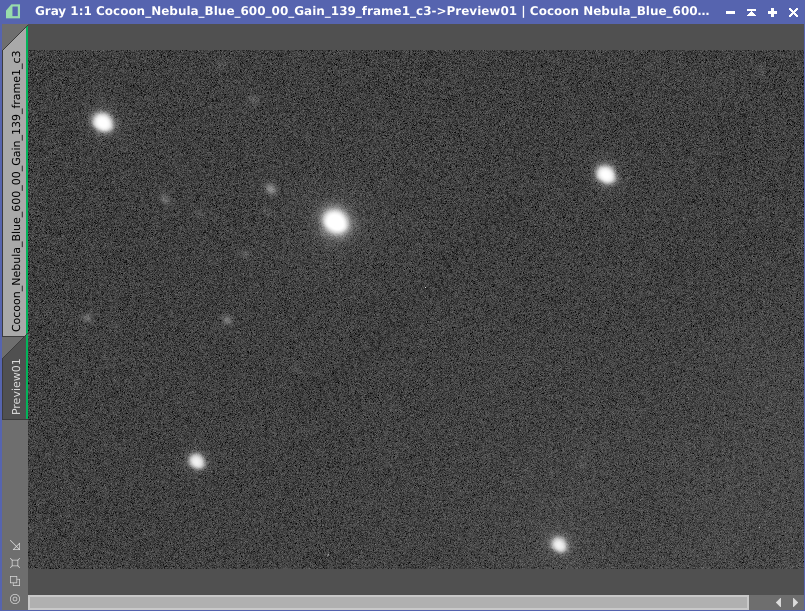
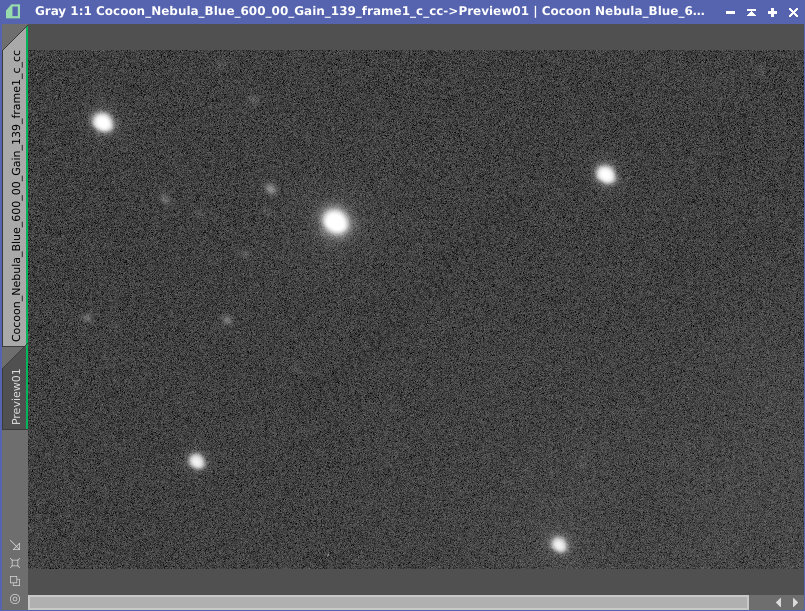
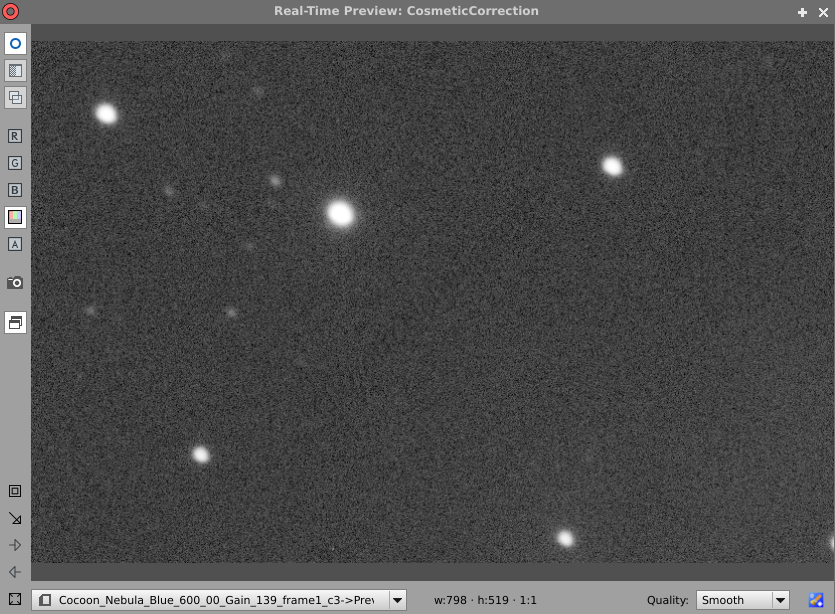
As can be seen from the example images, even after subtracting the master dark frame from the image, a few hot pixels remained (Center of the Zoomed image). These are mathematically removed with Cosmetic Correction.
Cosmetic Correction
Each individual light frame should be calibrated with the PixInsight Image Calibration process (Process – Image Calibration – Image Calibration).
- Before starting, it is worthwhile to have an image active in PixInsight. Zoom in and try to identify hot pixels. Once found, create a preview window (Preview – New Preview) that includes the residual hot pixels.
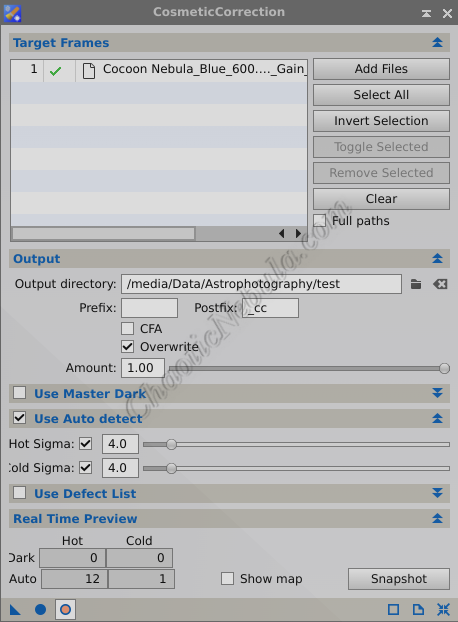
- Real Time Preview: Enabled. To find the right values, have an image loaded and real time preview enabled. The table in the Real Time Preview section displays how many pixels are being corrected based on the settings.
- Target Frames: Select the light frames that have been calibrated with the PixInsight Image Calibration process.
- Output Directory: Select a directory to store the corrected light frames
- Use Auto Detect: Enable. As a master dark image was already applied during image calibration, any residual hot and cold pixels will get removed by the auto detect function.
- Hot Sigma: The hot sigma value determines the threshold for identifying hot pixels (white).
- Cold Sigma: The cold sigma value determines the threshold for identifying cold pixels (black)
- Sigma: Sigma is based on the concept of standard deviation that reflects the typical variation of pixel values in the image. As the sigma value decreases, less deviation between pixels is allowed, which will get altered by the cosmetic correction process.
By using the real time preview, adjust the hot sigma value first until the hot pixels are removed. It is important to not be overly aggressive with the Hot Sigma value or real data will get altered.
Once the Host Sigma value is determined, repeat for the cold sigma value.
Cosmetic Correction Tips
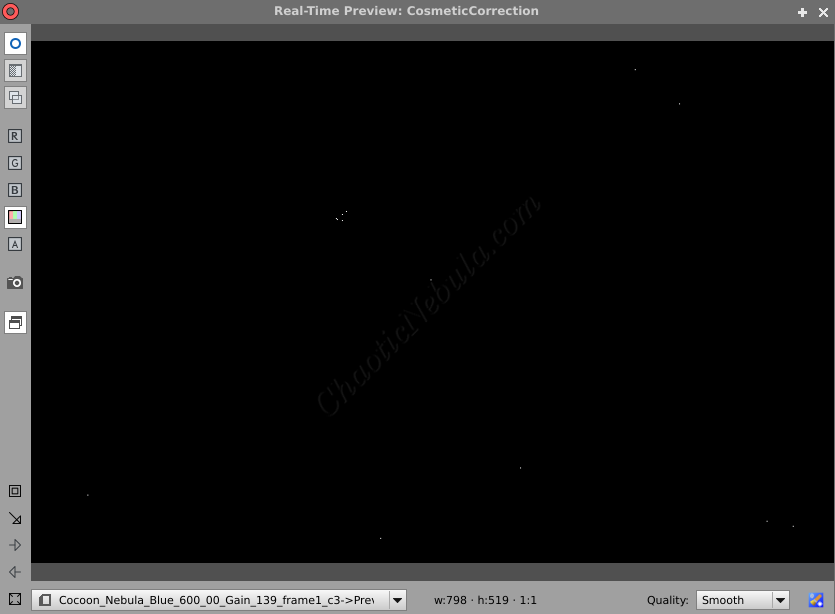
- To help identify what pixels are being corrected, select the Show Map option within the real time preview section of the cosmetic correction process.
- Weighted Batch Preprocessing Script: Cosmetic Correction can be included within the automated Weighted Batch Preprocessing script. However, a Cosmetic Correction instance must be added to the PixInsight workspace. Once the auto detect sigma values are identified, drag the triangle to the PixInsight workspace. The configured instance can now be used within the automated script.
What’s Next
With a light frames cosmetically corrected, the image processing can continue based on the respective workflow: