In PixInsight, image calibration is a crucial step in the astrophotography processing workflow. It lays the foundation for a high-quality final image by addressing various issues that can negatively impact the data.
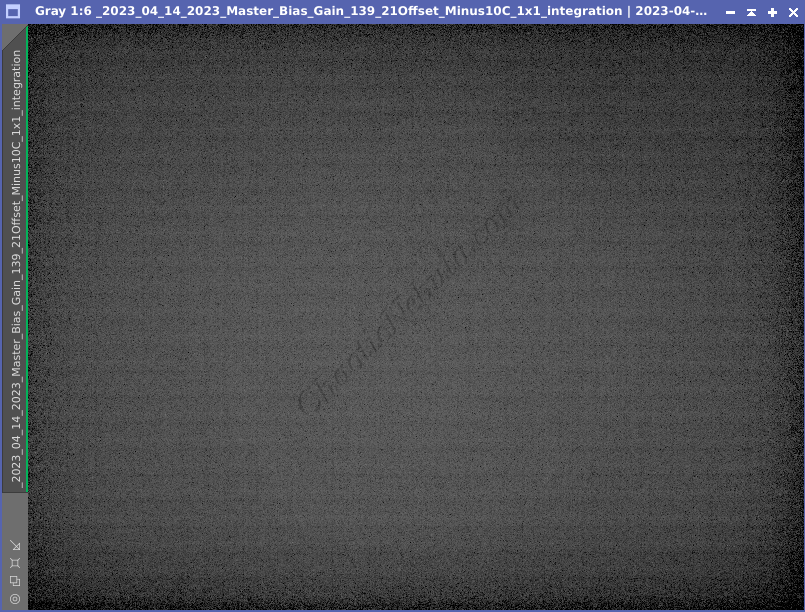
- Bias Correction: Bias frames capture the inherent electronic noise present in the camera’s sensor. To correct for this noise, bias frames are subtracted from the raw light frames.
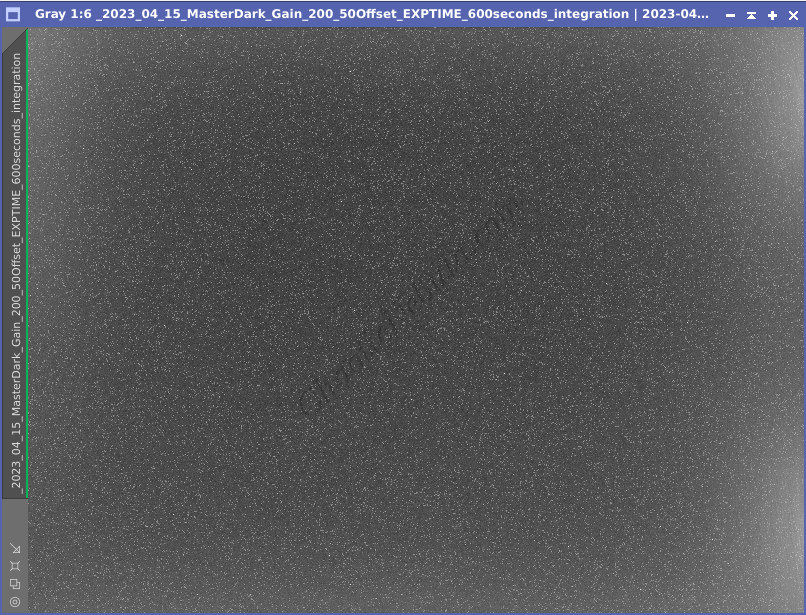
- Dark Frame Correction: Dark frames capture thermal noise (hot pixels, etc.) present in your imaging system. They’re taken with the same exposure time and temperature as the light frames. Dark frames are subtracted from light frames to remove this noise.
- Flat Field Correction: Flat frames correct for uneven illumination and dust spots in the optical system. They’re taken by imaging a uniformly illuminated surface or the twilight sky. Flat frames are divided into your light frames to normalize the image’s response to light.
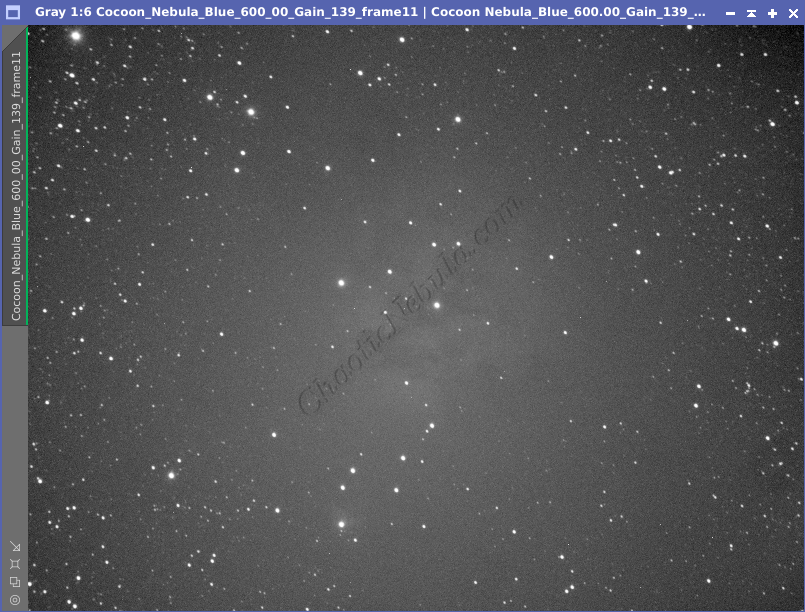
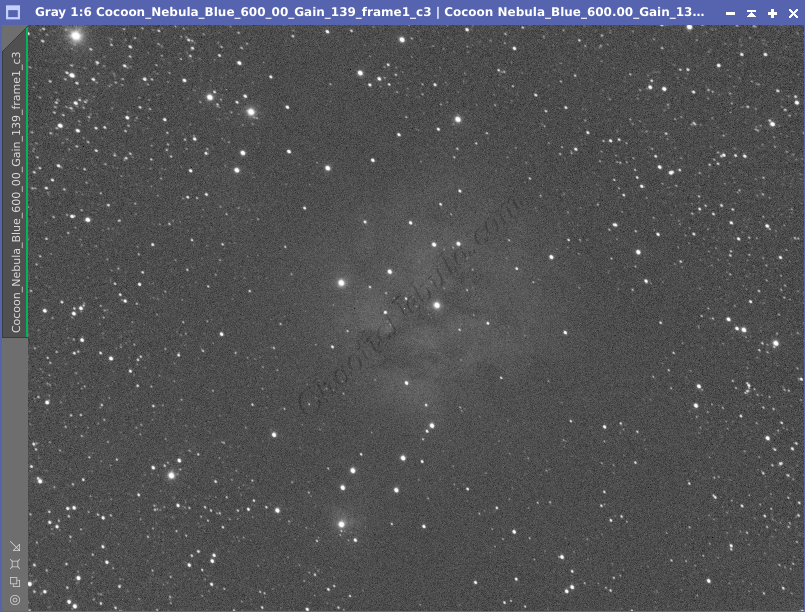
When image calibration is complete, the results are often obvious
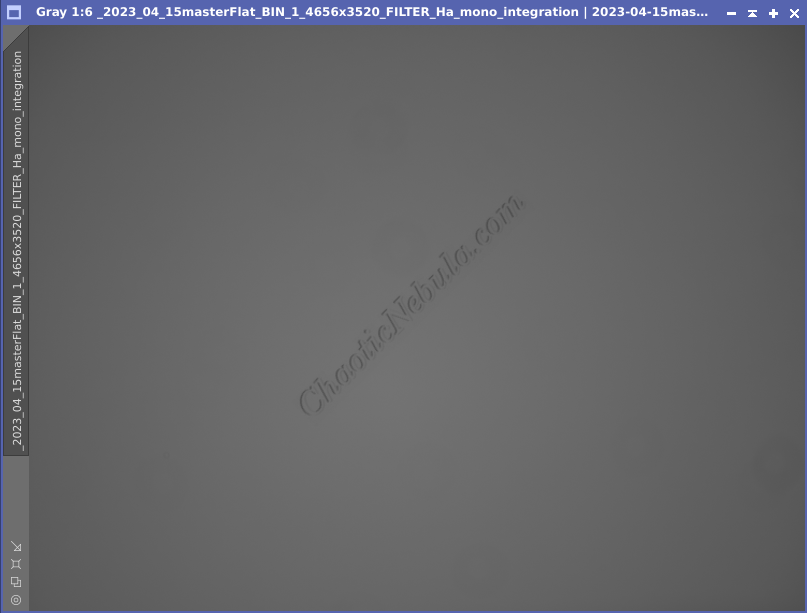
- Vignetting: The darkened corners are corrected, which not only creates a more neutral intensity, but it also helps improve the clarity of the object
- Dust Mote: The dust in the baseline image (shows as a doughnut hole in the lower right) has been effectively removed from the corrected image
- Hot Pixels: Single bright pixels, representing hot pixels, have been removed from the image as they are not a true signal
This fairly straight-forward process is how to start astrophotography image processing off correctly.
Image Calibration
Prerequisites
During the PixInsight Image Calibration process (Process – Image Calibration – Image Calibration) of the light frames, noise identified within the bias, dark, and flat frames are removed.
However, if the flat frame creation process already removed bias (as depicted in the flat frame creation workflow), the bias should not be removed from the light frames. This would effectively apply bias removal twice to the image calibration process.
Image Calibration
Process
Within PixInsight, this entire process can be automated by using the Weighted Batch Preprocessing Script or done manually. Details on the automated approach are found in the following guide.
For the manual process, the individual light frames can be calibrated with the PixInsight Image Calibration process (Process – Image Calibration – Image Calibration).
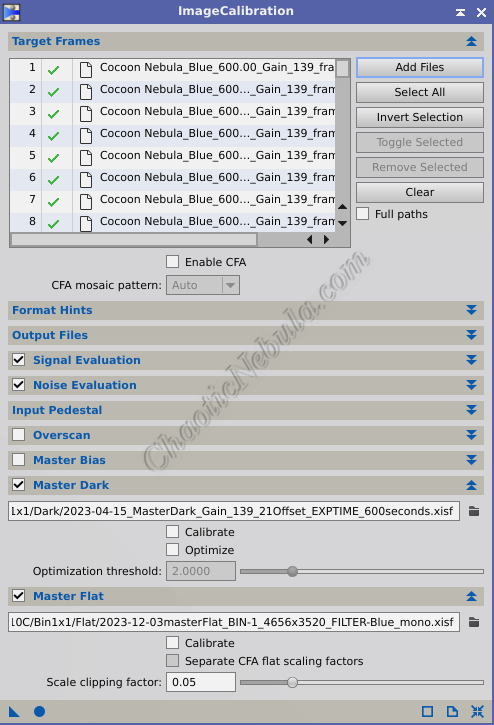
- Target Frames: Select the light frames that share the same filter, sensor temperature, exposure duration, gain, and offset
- Output Files: Select a directory to store the calibrated light frames
- Master Bias: If the master bias was already calibrated into the master flat (as explained in the flat frame creation workflow), the bias should be disabled.
- Master Dark: Select the master dark calibration image that corresponds to the light frames (filter, sensor temperature, exposure duration, gain, and offset).
- Calibrate: Disabled. This setting would remove the bias from the dark master frame. This is not needed as bias subtraction was included within the master flat frame.
- Optimize: Disabled. This setting is only applicable when the master dark frame exposure duration does not equal the exposure duration of the light frames.
- Master Flat: Select the master flat calibration option that corresponds to the light frames (filter, sensor temperature, gain, and offset).
- Calibrate: Disabled. This setting would remove the bias from the flat master frame. This is not needed as bias subtraction was already included within the master flat frame.
Once the process completes, it is advisable to review the calibrated light frames with the PixInsight Blink process. This helps identify if there were any abnormalities that need to be investigated before spending more time on the rest of the image processing workflow.
What’s Next
With a light frames calibrated for bias, darks, and flats, the image processing can continue based on the respective workflow: