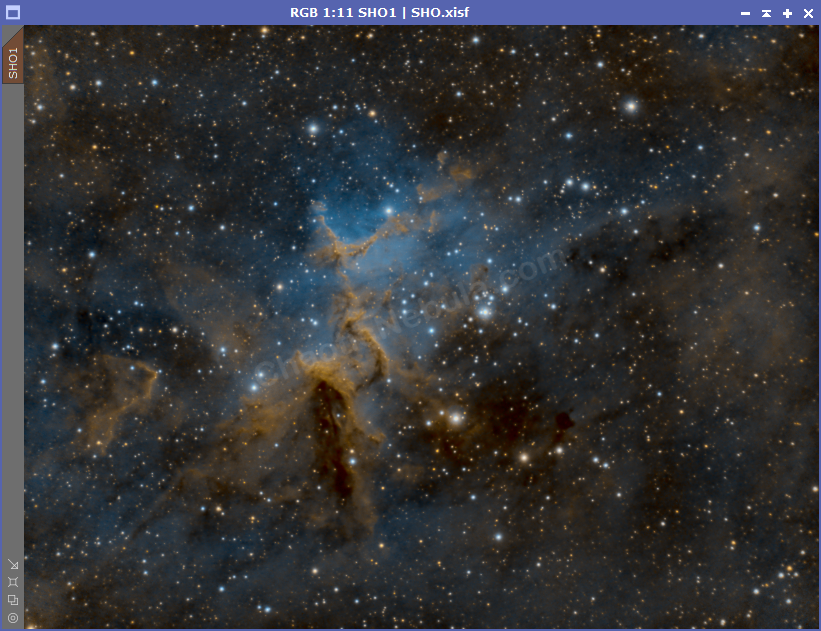
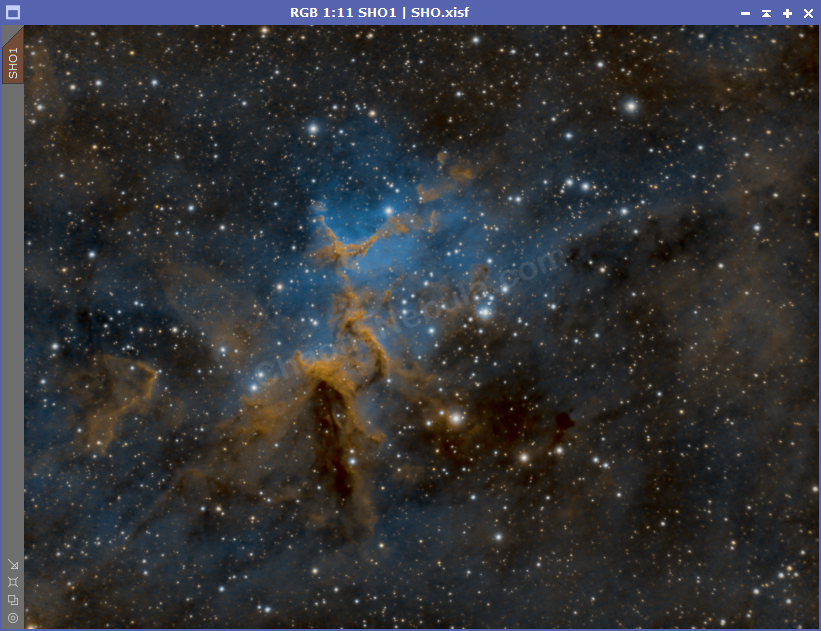
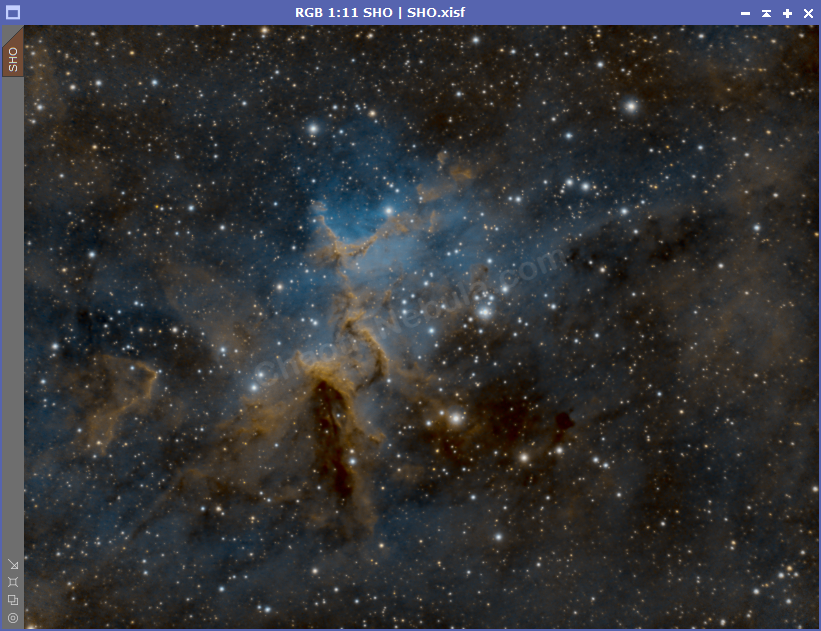
As you near the completion of your image processing, one of the final steps is to make final color adjustments to the structure.
Note: The remainder of the adjustments are minimal and a personal preference.
Color Saturation
You might wish to add an additional level of color saturation to your image without changing the background. To do this, you need a mask. This time, use a range mask:

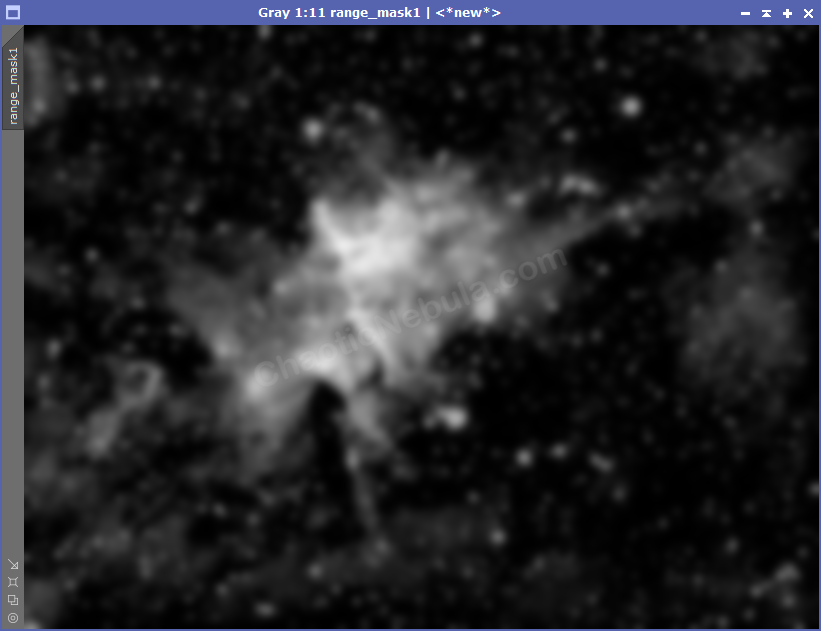
You want to try and limit the lower level so that you are mostly able to focus on the bright core of the object, but don’t go so high that you have a sharp break into areas with lower signal. You need a smooth transition.
Set the fuzziness to maximum because you want the textured details in the higher signal areas. When adjusting saturation, this provides a more dynamic result.
Once this mask gets applied with the background protected, use Curves Transformation to gently increase the saturation.
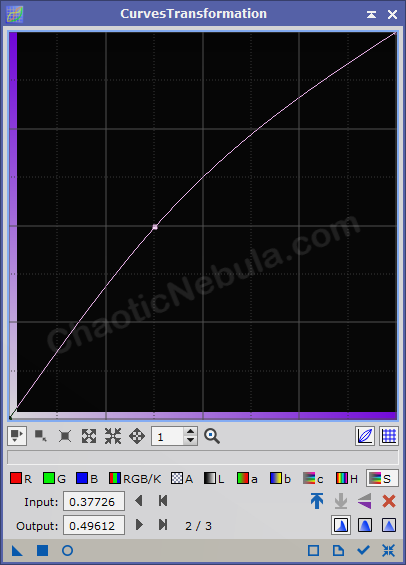
The saturation is minor so you can apply it multiple times until you find the perfect spot for your image.


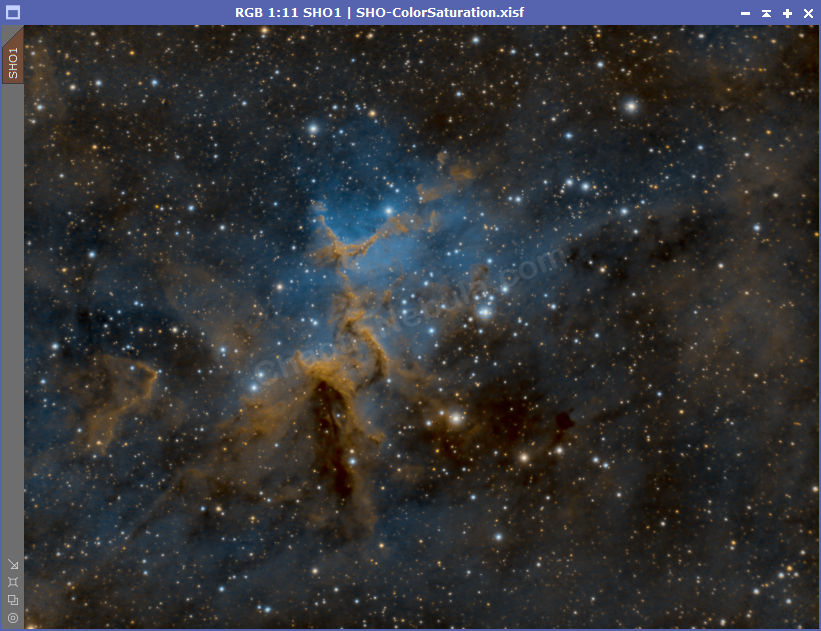
Find a level that is pleasing for you. In this example, the third level appeared pleasing while the fourth looked over saturated. Again, personal preference.
What’s Next
These color adjustments were minor, but they do improve the overall image.
The next step is to do do a final adjustment on the brightness of the image and background.