Towards the end of the image processing workflow, you might want to make a few final changes to the brightness of your high and low signal areas.
Note: The remainder of the adjustments are minimal and a personal preference
Foreground Brightening
As part of the final brightness adjustments, you might want to brighten the high signal portions of the image. If you want to brighten the bright areas, use the same range mask created with the Final Color Saturation explanation.
But this approach will only focus on the brightest areas, which might overwhelm the area. Instead, focus on the medium intensity features. For this, create a new range mask.
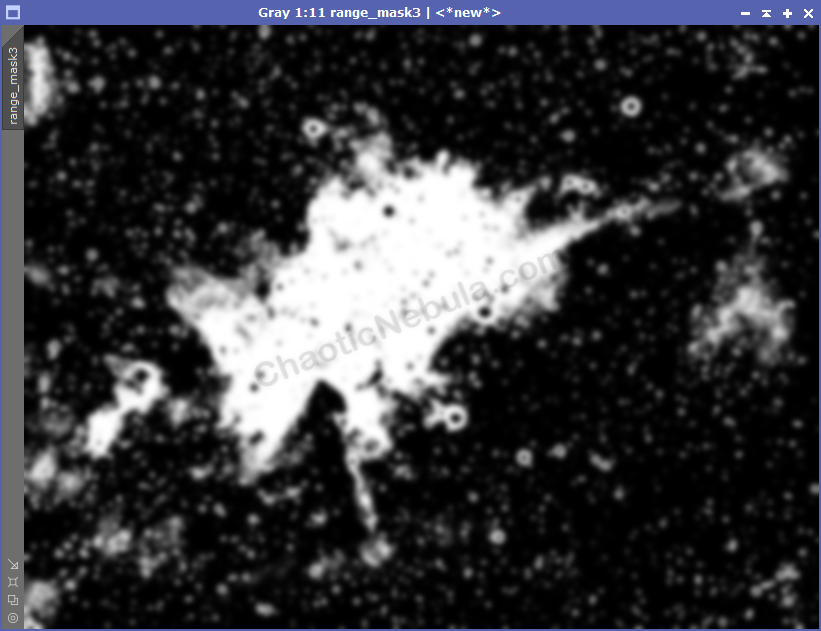
Lowering the upper limit allows the mask to remove the brightest areas while increasing the lower limit removes the dimmest areas. Once this is applied, you can then use Curves Transformation to brighten the mid-range content.
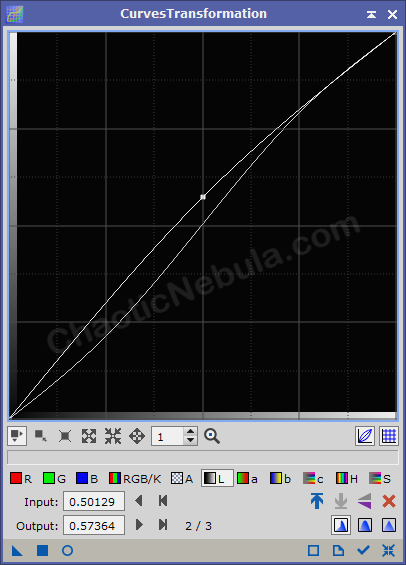

A few things to try
- Contrast: If you want to increase the contrast, add a slight S-curve to the RGB/K channel.
- Lightness: If you want to increase the overall brightness of the image, slightly increase the Lightness (L Channel)
These are minor adjustments, but can help bring out the details.
Background Darkning
With the detail brightened, you might wish to darken the background. Just a word of caution, the background of astrophotos should NOT be completely black. Doing so will make them appear fake and over-processed.
You want to darken the background slightly to add more emphasis to the high signal areas.
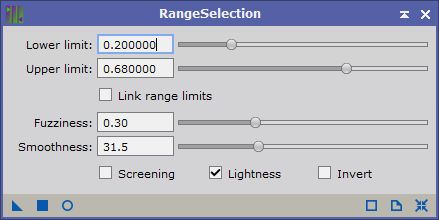
For this, you will create a range mask
- Lower threshold: Increase until the background is removed
- Upper threshold: Leave at maximum
- Fuzziness: 30-50
- Smoothness: 30-50
Apply this mask to the image, inverted.
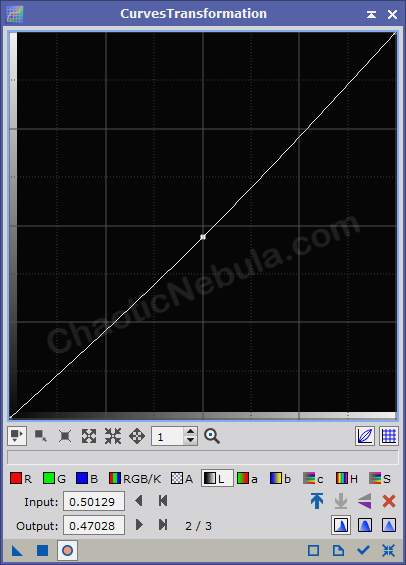

With the mask applied and protecting the bright areas, the adjustment to the Lightness (L) channel is minor. But this little change can help to make your object stand out better.
What’s Next
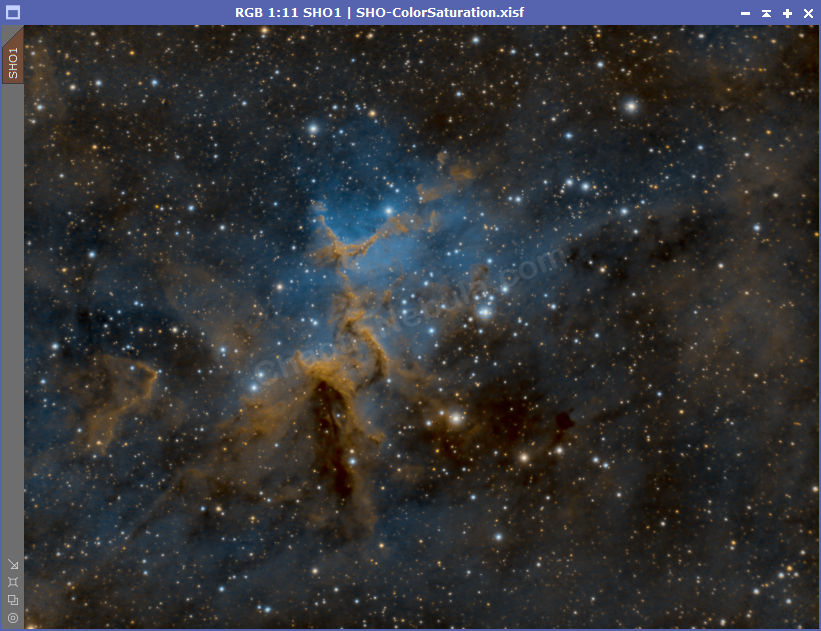
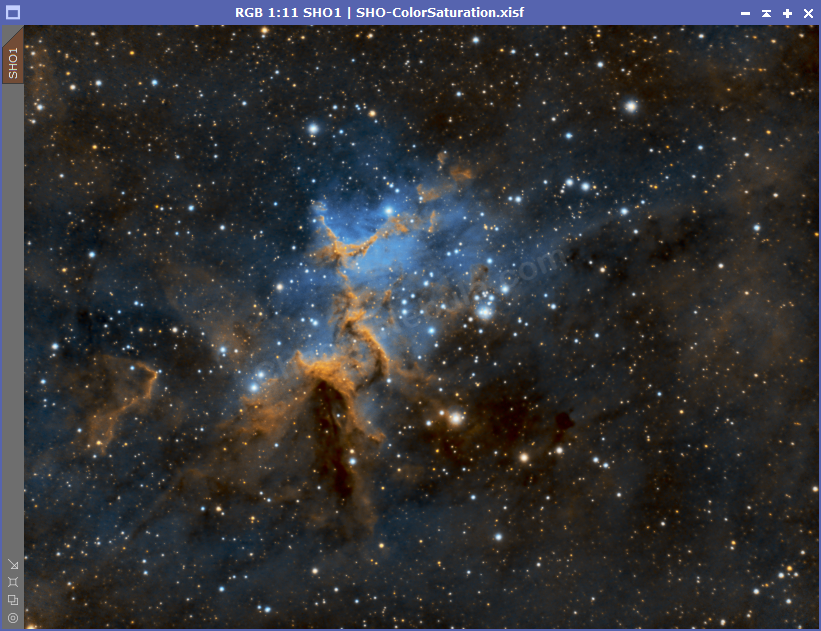
Let’s take a quick comparison between our before and after brightness adjustments.