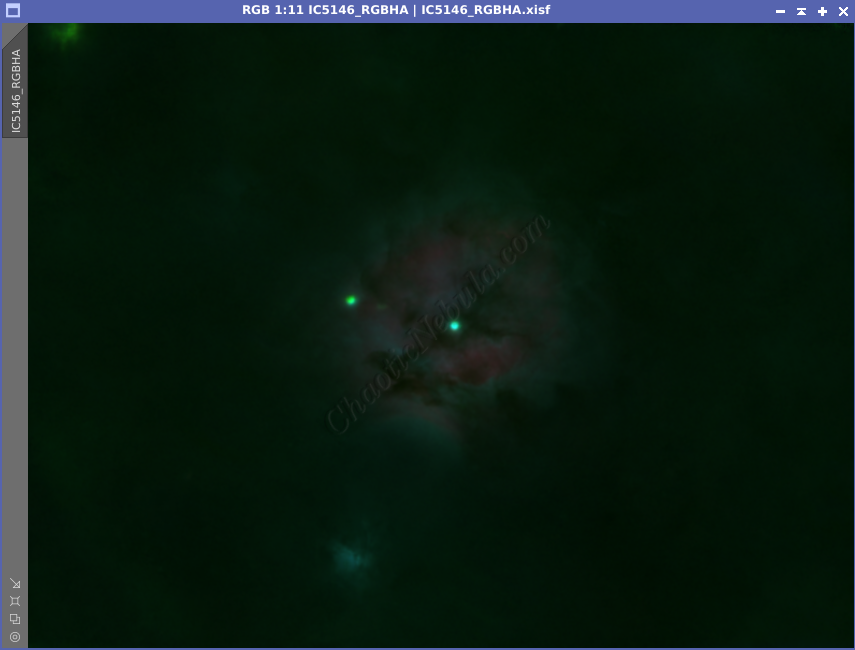
At this point, it is time to permanently stretch your image into a non-linear state. As with most things in PixInsight, there are multiple ways to permanently stretch an image.
Note: Before you stretch the image, you should have extracted the luminance channel that you can enhance later. Ideally, the luminance extraction should have occurred immediately after integrating the different channels into a single image. If the luminance hasn’t been extracted, do it before continuing.
Histogram Transformation
Histogram transformation is the easiest, and most common approach for stretching images to non-linear. It is easy and it is fast. One of the challenges with Histogram Transformation is that this process tends to bloat stars. But if you removed stars earlier with StarNet2, this should no longer be an issue.
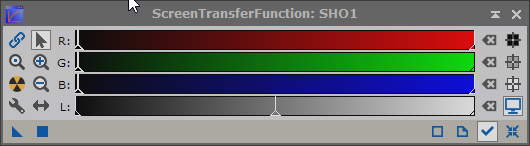
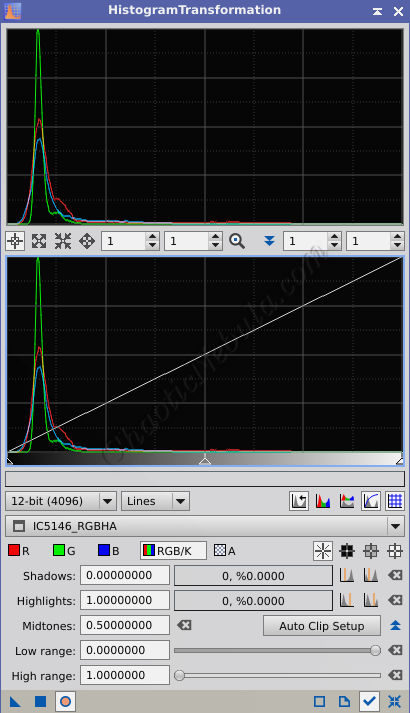
In order to do a stretch with Histogram Transformation, you first use the Screen Transfer Function with the channels unlinked (chain deselected). Hitting the radioactive button will apply a temporary stretch to the image.
Dragging the triangle from the Screen Transfer Function to the bottom bar of the Histogram Transformation process, you can copy the stretch settings, so you can permanently apply them.
Because you have no stars, the stretch will most likely be too extreme.
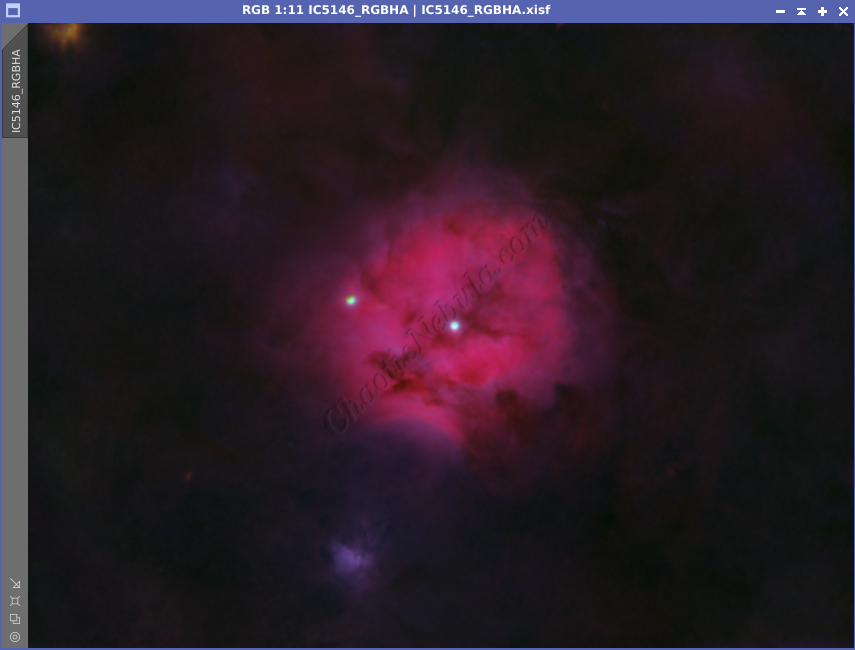
This requires you to manually stretch the image. It is an iterative process, but quite simple and fast.
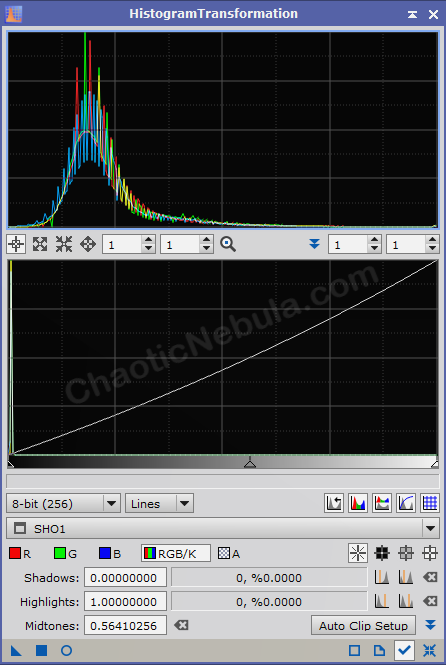
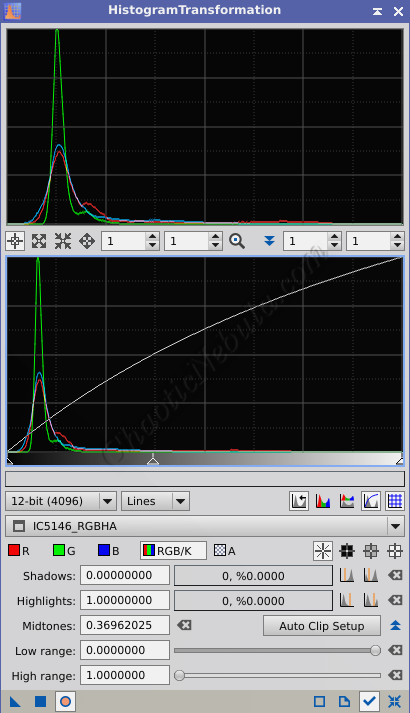
- Step 1: Mid Tone: In the first step, you adjust the mid-tone (middle slider) by moving it far to the left. This will brighten the image.
- Step 2: Zero Shadows: As you stretch the image, the signal will get pulled away from the left edge. Select the button labeled Auto Zero Shadow (on the Shadows line). This will set Red, Green, and Blue starting graph to zero.
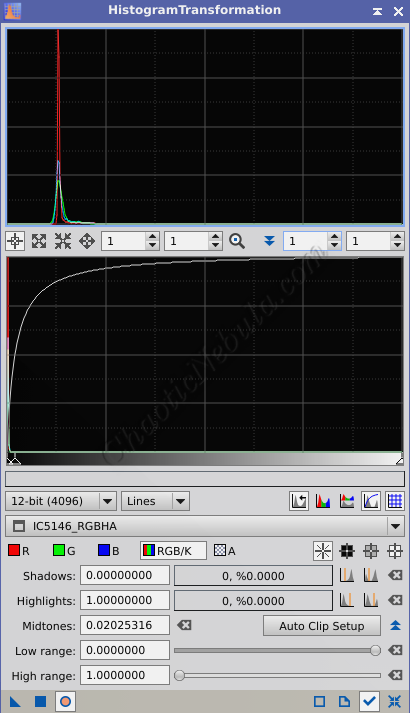
- Step 3: Color Balance: By zeroing the shadows, the color channels are no longer aligned. Adjust the two colors that are lower by moving their corresponding mid-tone slider.
- Step 4: Mid Tone Adjustment: With the colors balanced, adjust the final brightness by moving the mid-tone slider again. Your goal is to highlight the details without over-exposing the image. Additional details will get enhanced in the luminance workflow.

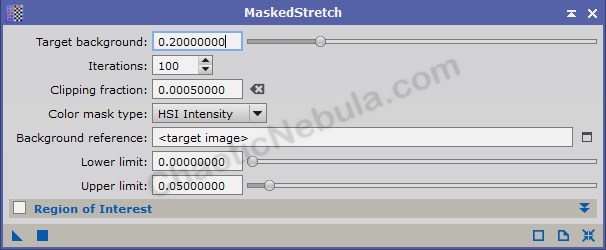
Masked Stretch
Masked stretch is another approach you can use. It is also easy and often yields good results, especially for images where you didn’t remove the stars.
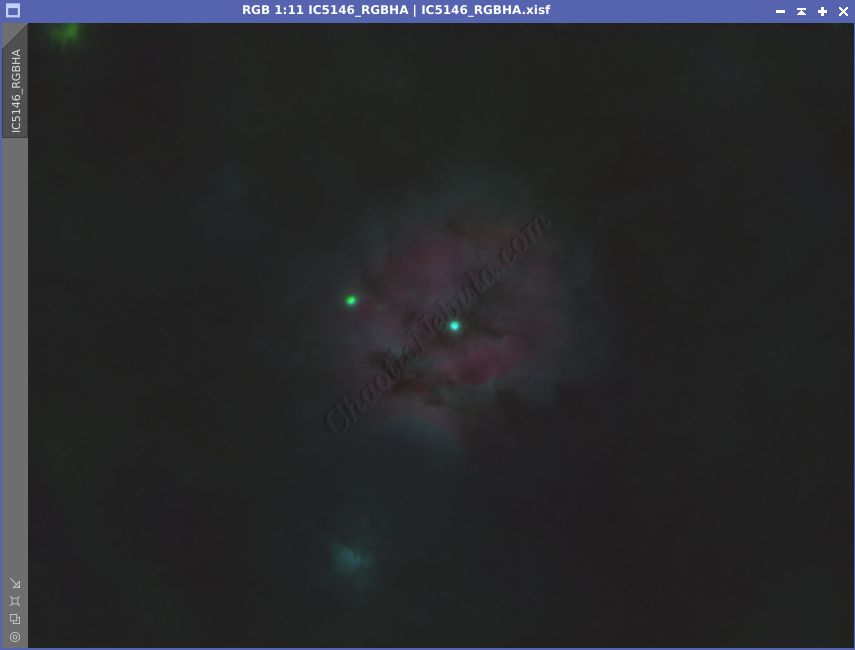
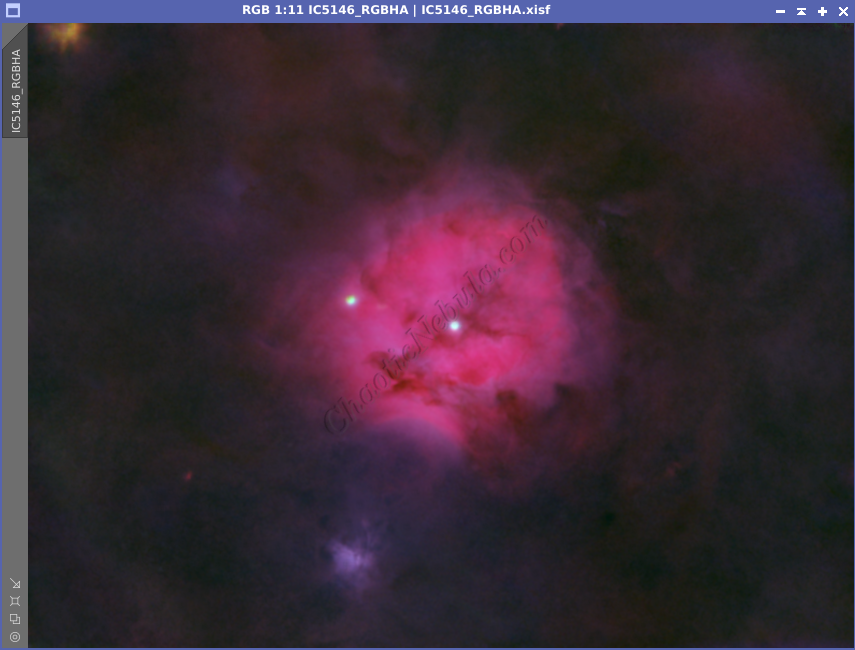
This image will not be as bright as the temporary stretch done so far because the temporary stretch is too extreme as it overexposes the background. In steps that follow, you will selectively brighten areas of the image while leaving the background intact.
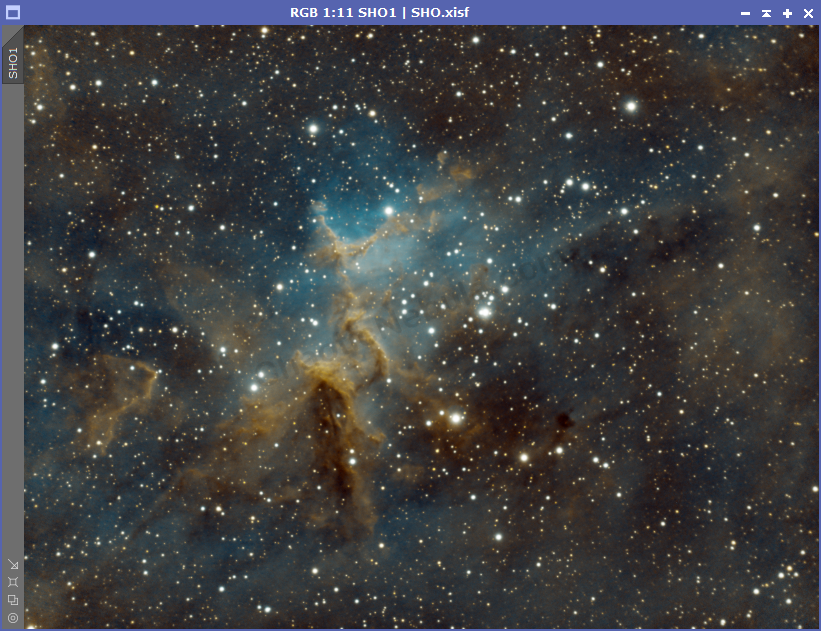
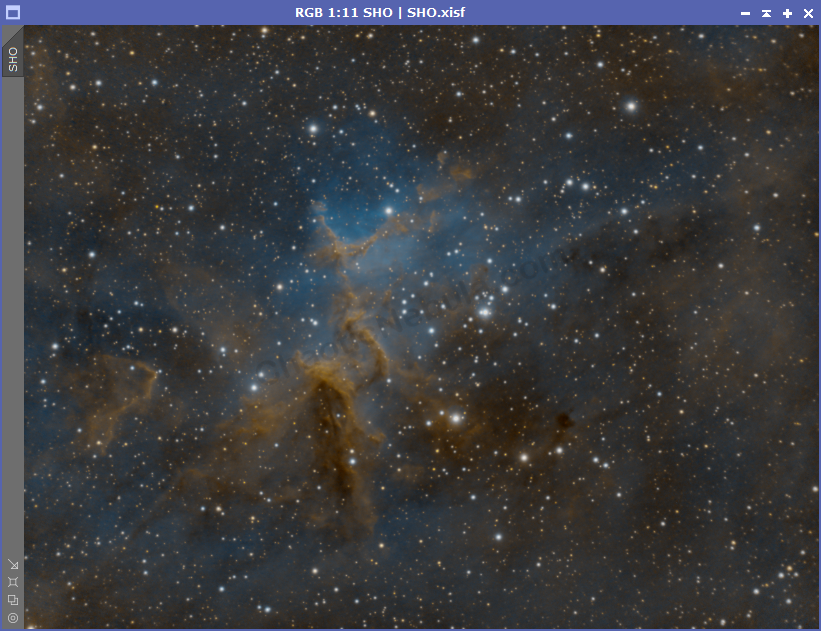
If we compare Masked Stretch with the Histogram Transformation Stretch for an image with stars, you can see how the stars in the Masked Stretch are smaller. And although the Histogram stretch is brighter, it also greatly increased the background brightness as well, which you want to avoid.
What’s Next
The next step is to further remove the green and magenta colors from our images with SCNR.