When compared to deep sky imaging, imaging the moon uses a completely different workflow and requires many different pieces of software. Luckily, most of the software to process lunar images is free (except for PixInsight). PixInsight is great when doing deep sky astrophotography, but for lunar imaging, I’m going to also provide guides only using free tools like GIMP.
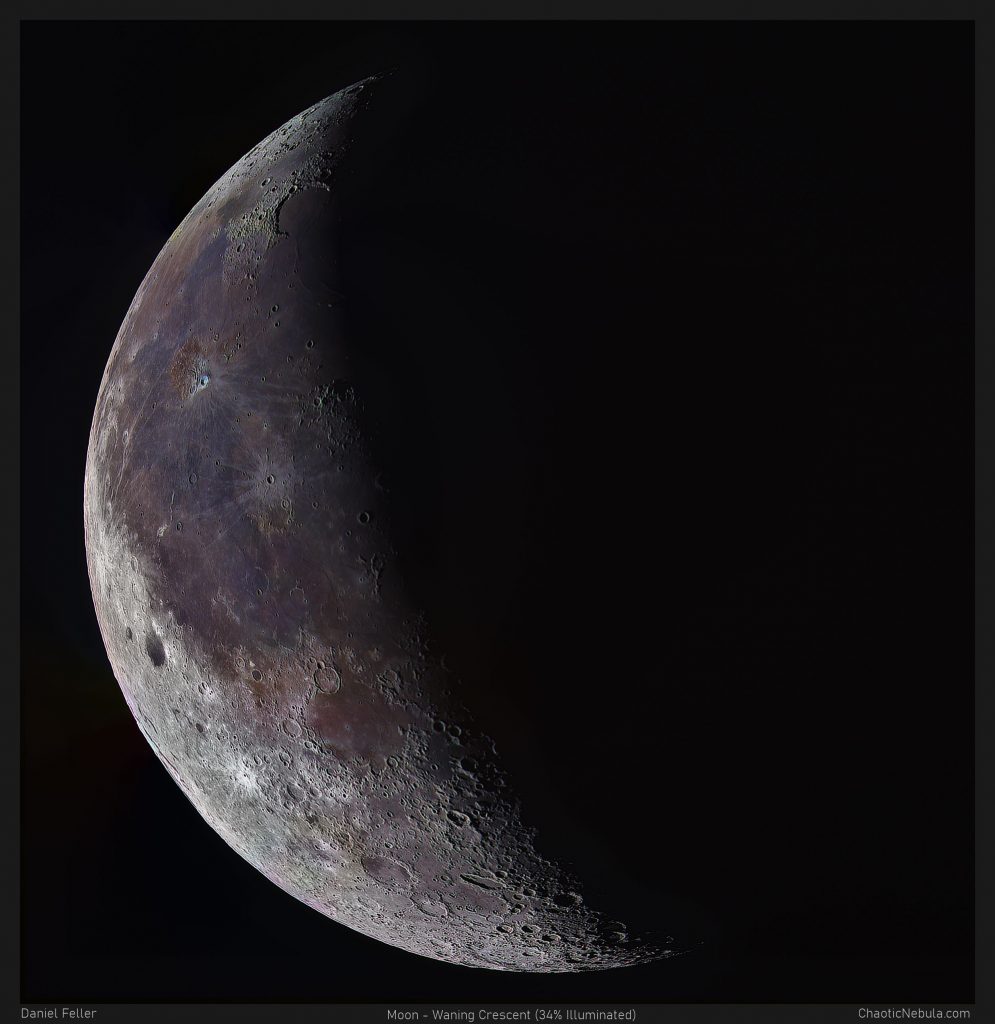
Even with free tools, you can still create detailed images of the moon landscape, including what many people call the mineral moon, where the moon is colorized.
Moon Acquisition
Image Acquisition (FireCapture)
Pre-processing
Image Stacking with AutoStakkert!: Based on the concept of lucky imaging, use this method to integrate the best lunar frames into a single, higher quality frame
Lunar Image Processing
with PixInsight
Lunar Mosaic Creation (Optional): This step is only applicable for images that span across multiple frames. When the image is integrated, return back to this workflow for further processing.
Dynamic Crop: Removes the edges from the integrated image, as they often have missing data or very low signal
Sharpening with Deconvolution: Deconvolution improves the clarity in high-signal areas of the image by reversing the effects of blurring introduced during the image acquisition process.
Linear Fit: Each channel will have different background levels, making one channel more powerful than the others. Linear fit matches these backgrounds and intensities.
Channel Combination: Integrates each channel into a single color image. Can be done with Channel Combination or more advanced methods using Pixel Math.
Color Saturation: Although there isn’t typically much color variability on the moon, by adjusting the color saturation, it is possible to create the “mineral moon” effect.
Local Histogram Equalization: Enhance the lunar surface by increasing the contrast of the surface structures within the image
Lunar Image Processing
with GIMP
Lunar Mosaic Creation (Optional): This step is only applicable for images that span across multiple frames. When the image is integrated, return back to this workflow for further processing.
Layer Alignment: Before combining red, green, and blue layers into a single image, the individual layers must be aligned.
Crop: Removes the edges from each layer to ensure proper color balance and sharpening in later stages of the lunar processing workflow.
Equalize Brightness Across Layers: Each channel will have different background levels, making one channel more powerful than the others. By leveraging the histogram tool within GIMP, the brightness levels are equalized.
Channel Combination: Colorizes each layer and combines into a single image.
Sharpening: Sharpening and contrast adjustments on lunar images clarifies the craters and textures on the moon’s surface while improving the visual appeal of bright highlights and deep shadows.
Color Saturation: Adding color to create a mineral moon image is easy with GIMP. It requires the use of multiple color tools to get the balance right. Learn how.
Noise Reduction: Enhance the lunar surface by reducing noise introduced during the lunar image workflow as well as noise inherent with the selected camera.