Although the moon is a very bright object in the sky, it still succumbs to noise. In addition, many of the processes used to enhance colors and details in a mineral moon photo tend to make the noise more pronounced. One of the final processes before completing the mineral moon photo is to apply noise reduction.
Noise Reduction
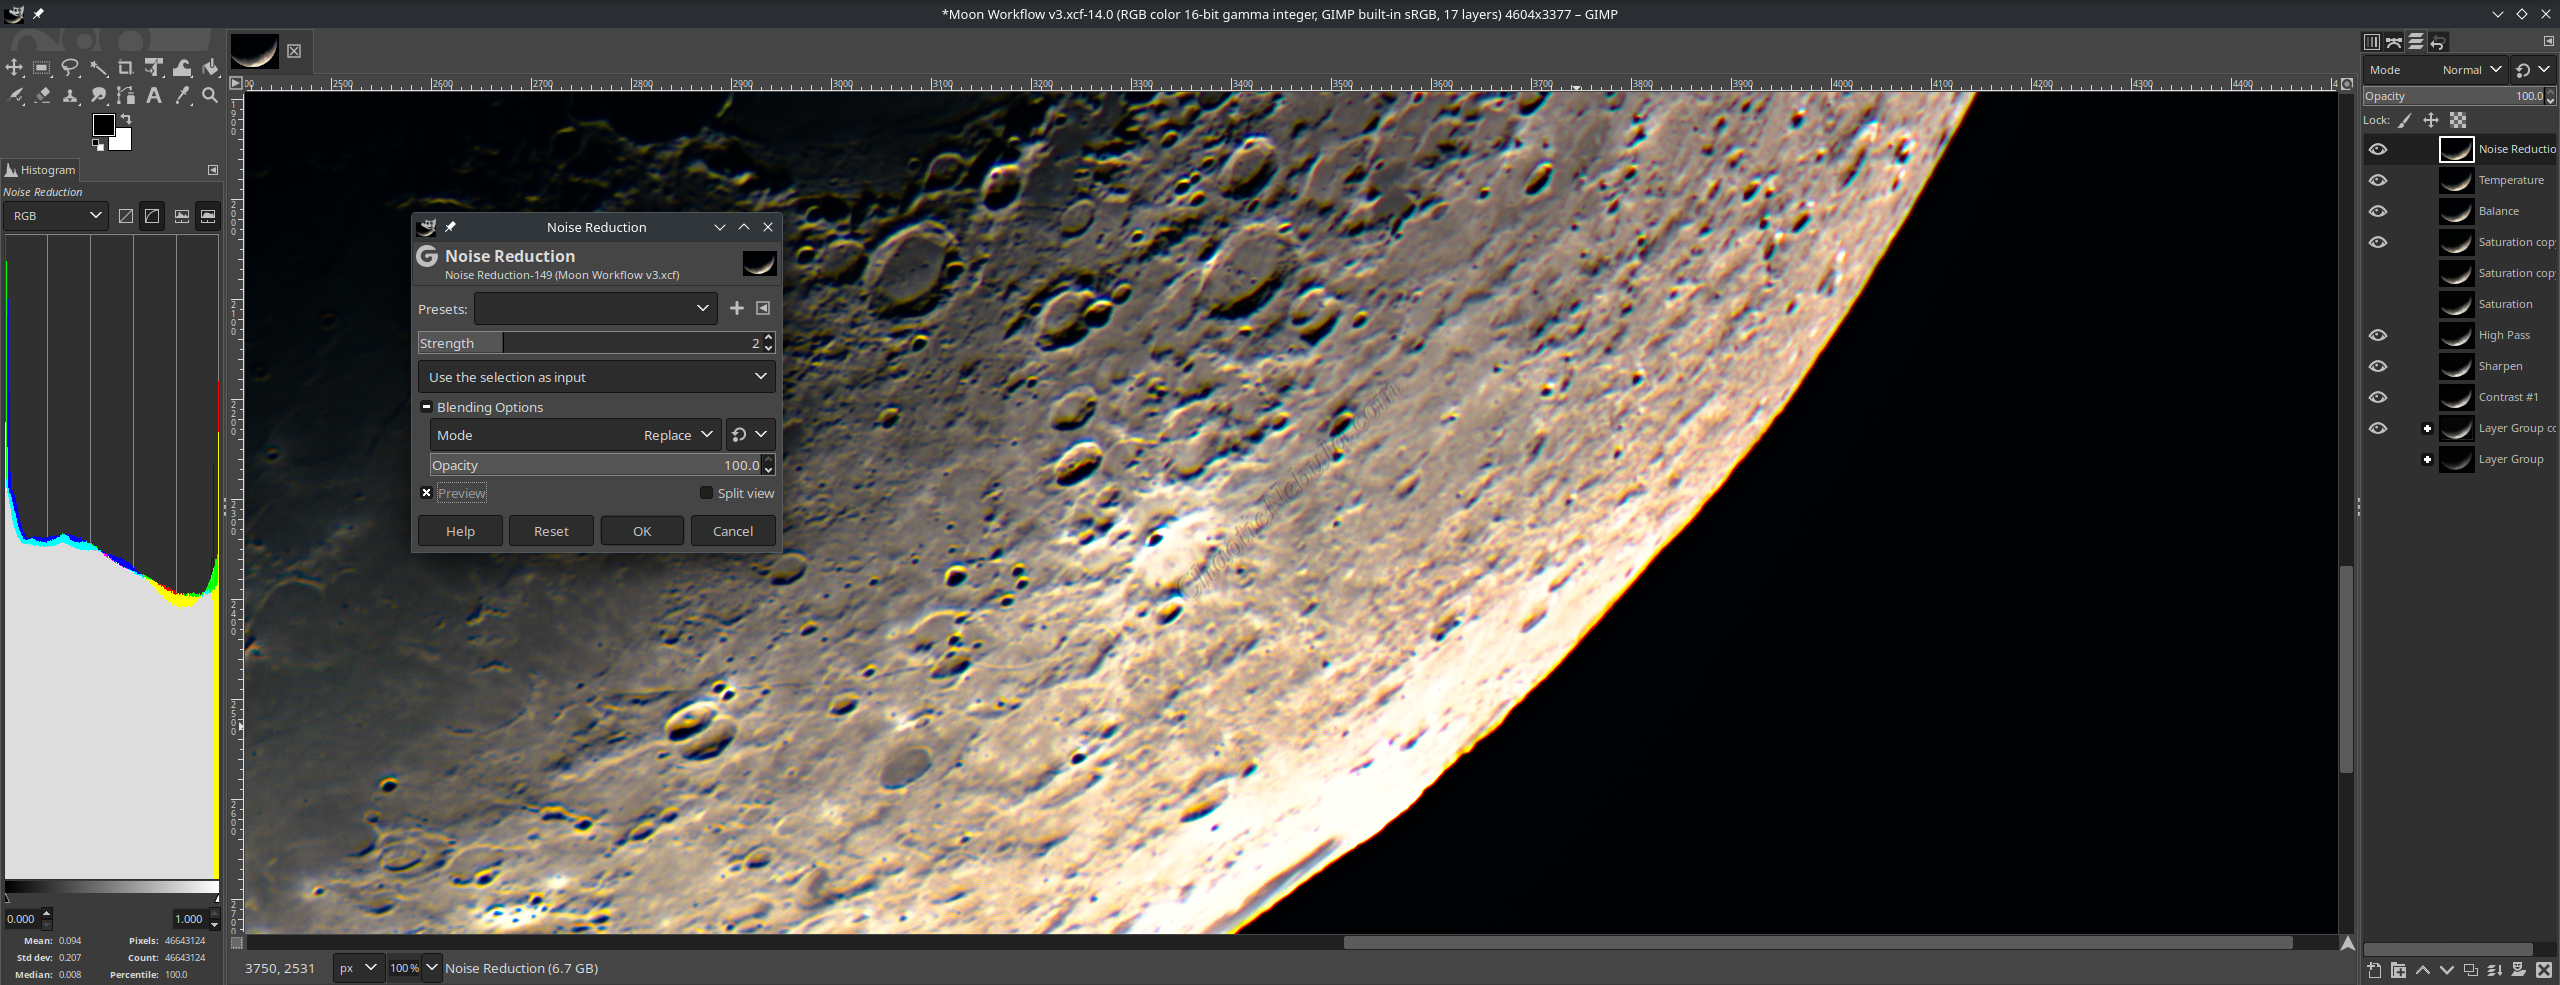
GIMP provides a very easy to use process for handling noise reduction. The process is found by selecting Filters – Enhance – Noise Reduction.
There is only one parameter within the noise reduction process
- Strength: This controls the overall intensity of noise reduction. Higher values remove more noise, but can also soften details.
After duplicating the layer, you need to zoom in to a bright spot on the image to see more clearly how the noise reduction strength parameter impacts the overall image. At this stage, the strength should be minimal as it can undo a lot of the sharpening activities done previously.

With a very small setting, it is easy to see the benefit noise reduction has on the lunar image.
Complete
At this point, the mineral moon process is complete. Because each step created a duplicate layer, it is easy to go back and and adjust as needed until you get the final desired image.