Shooting lunar images through red, green, blue filters requires adjustments to equalize the brightness levels before converting into a color image. If the layers aren’t equalized, one color will overpower the others during the color adjustments to create a mineral moon.
Before equalizing the brightness levels, the following must be complete:
Histogram
GIMP includes a histogram graph that shows the distribution of pixels across different brigthness levels. In addition, the histogram toolbox also provides statistics about the histogram. This information allows you to equalize brightness across multiple layers.
First, you need to open the histogram by selecting the following from the menu bar: Windows – Dockable Dialogs – Histogram
With the histogram toolbox loaded, simply select each layer and take note of the value for the Mean.
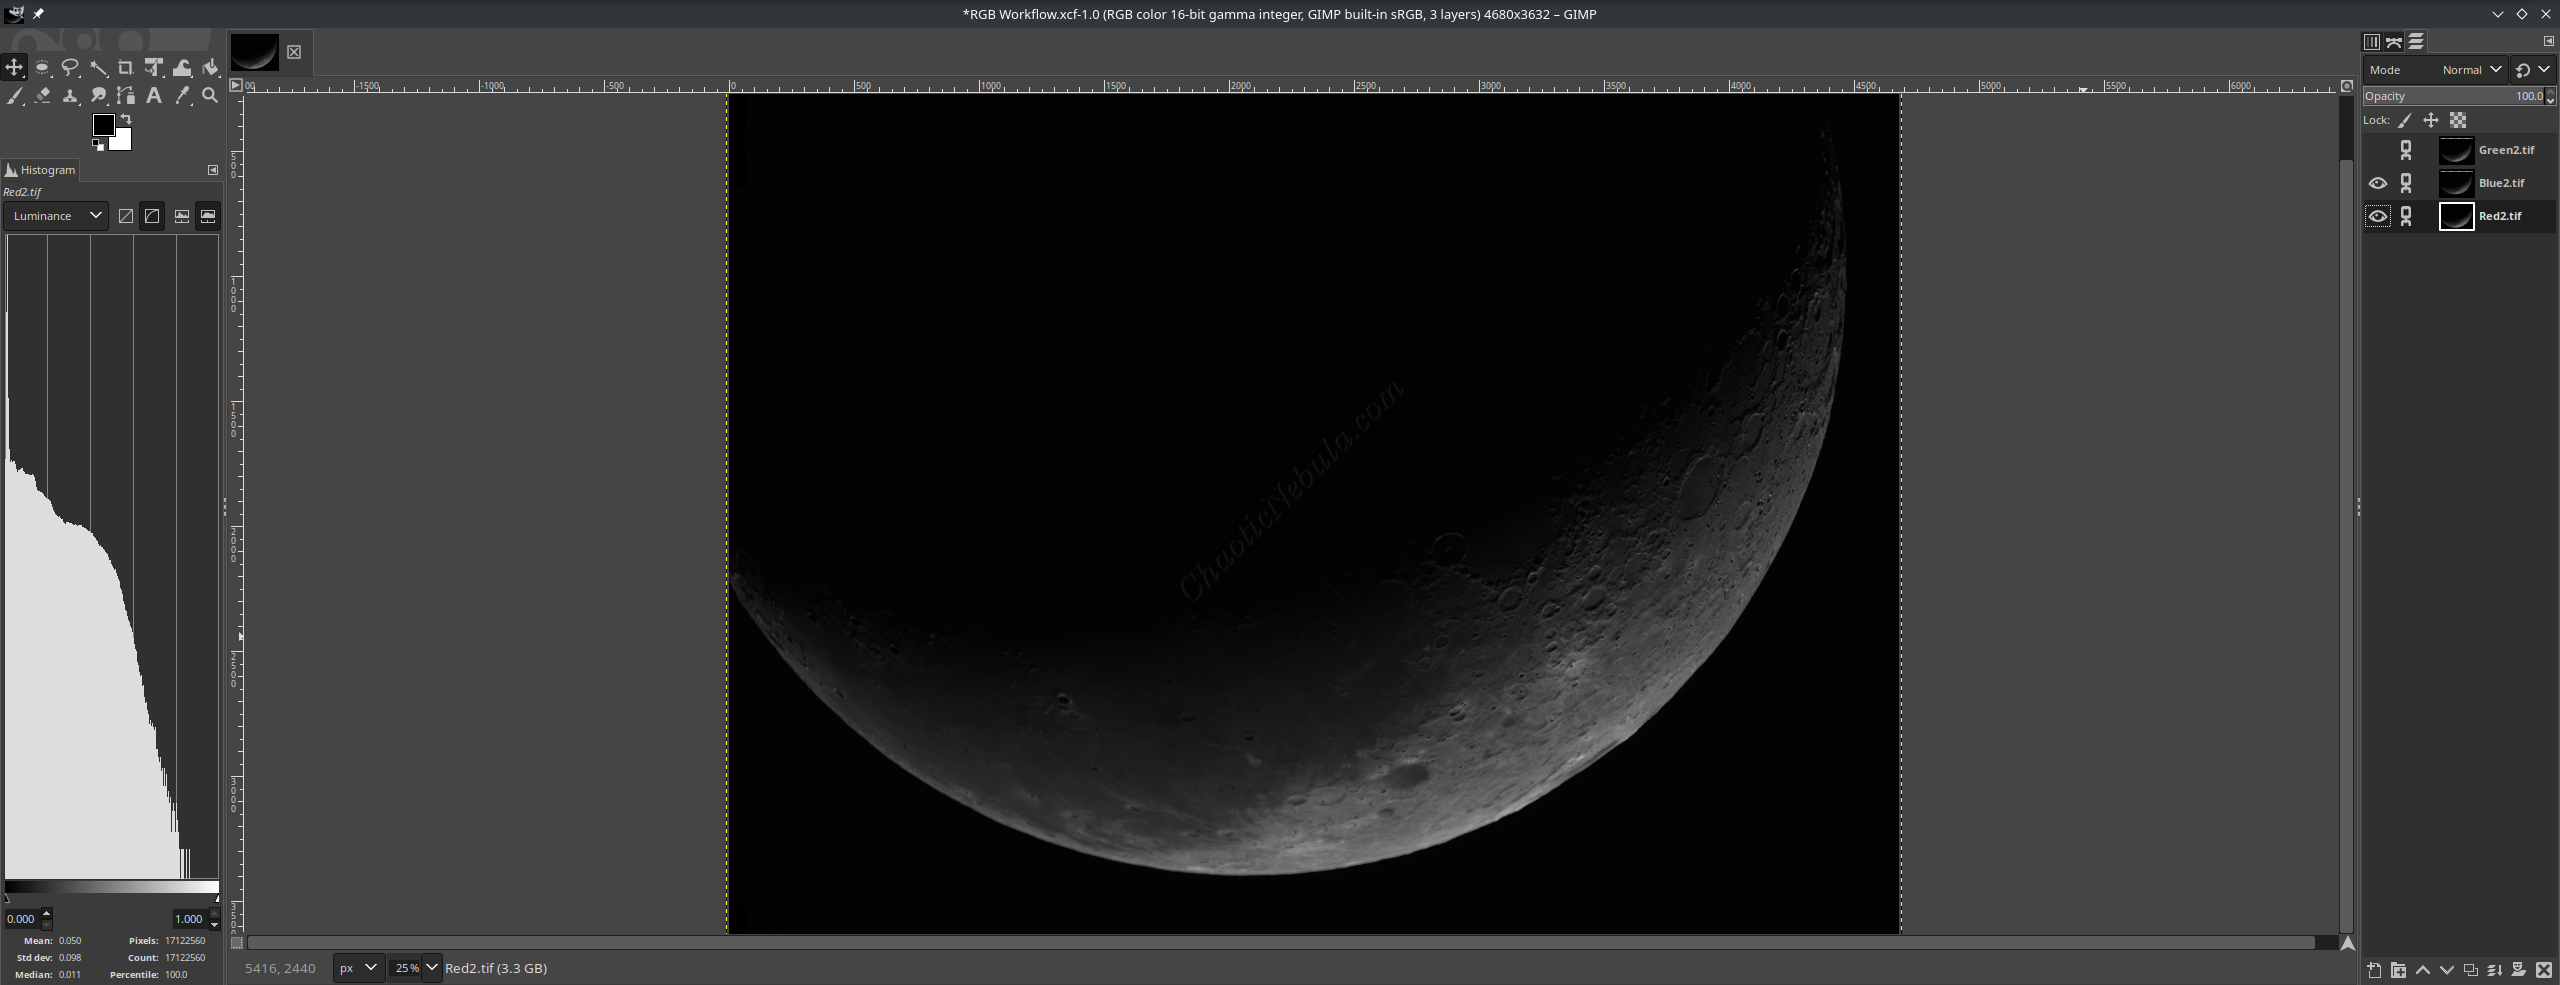
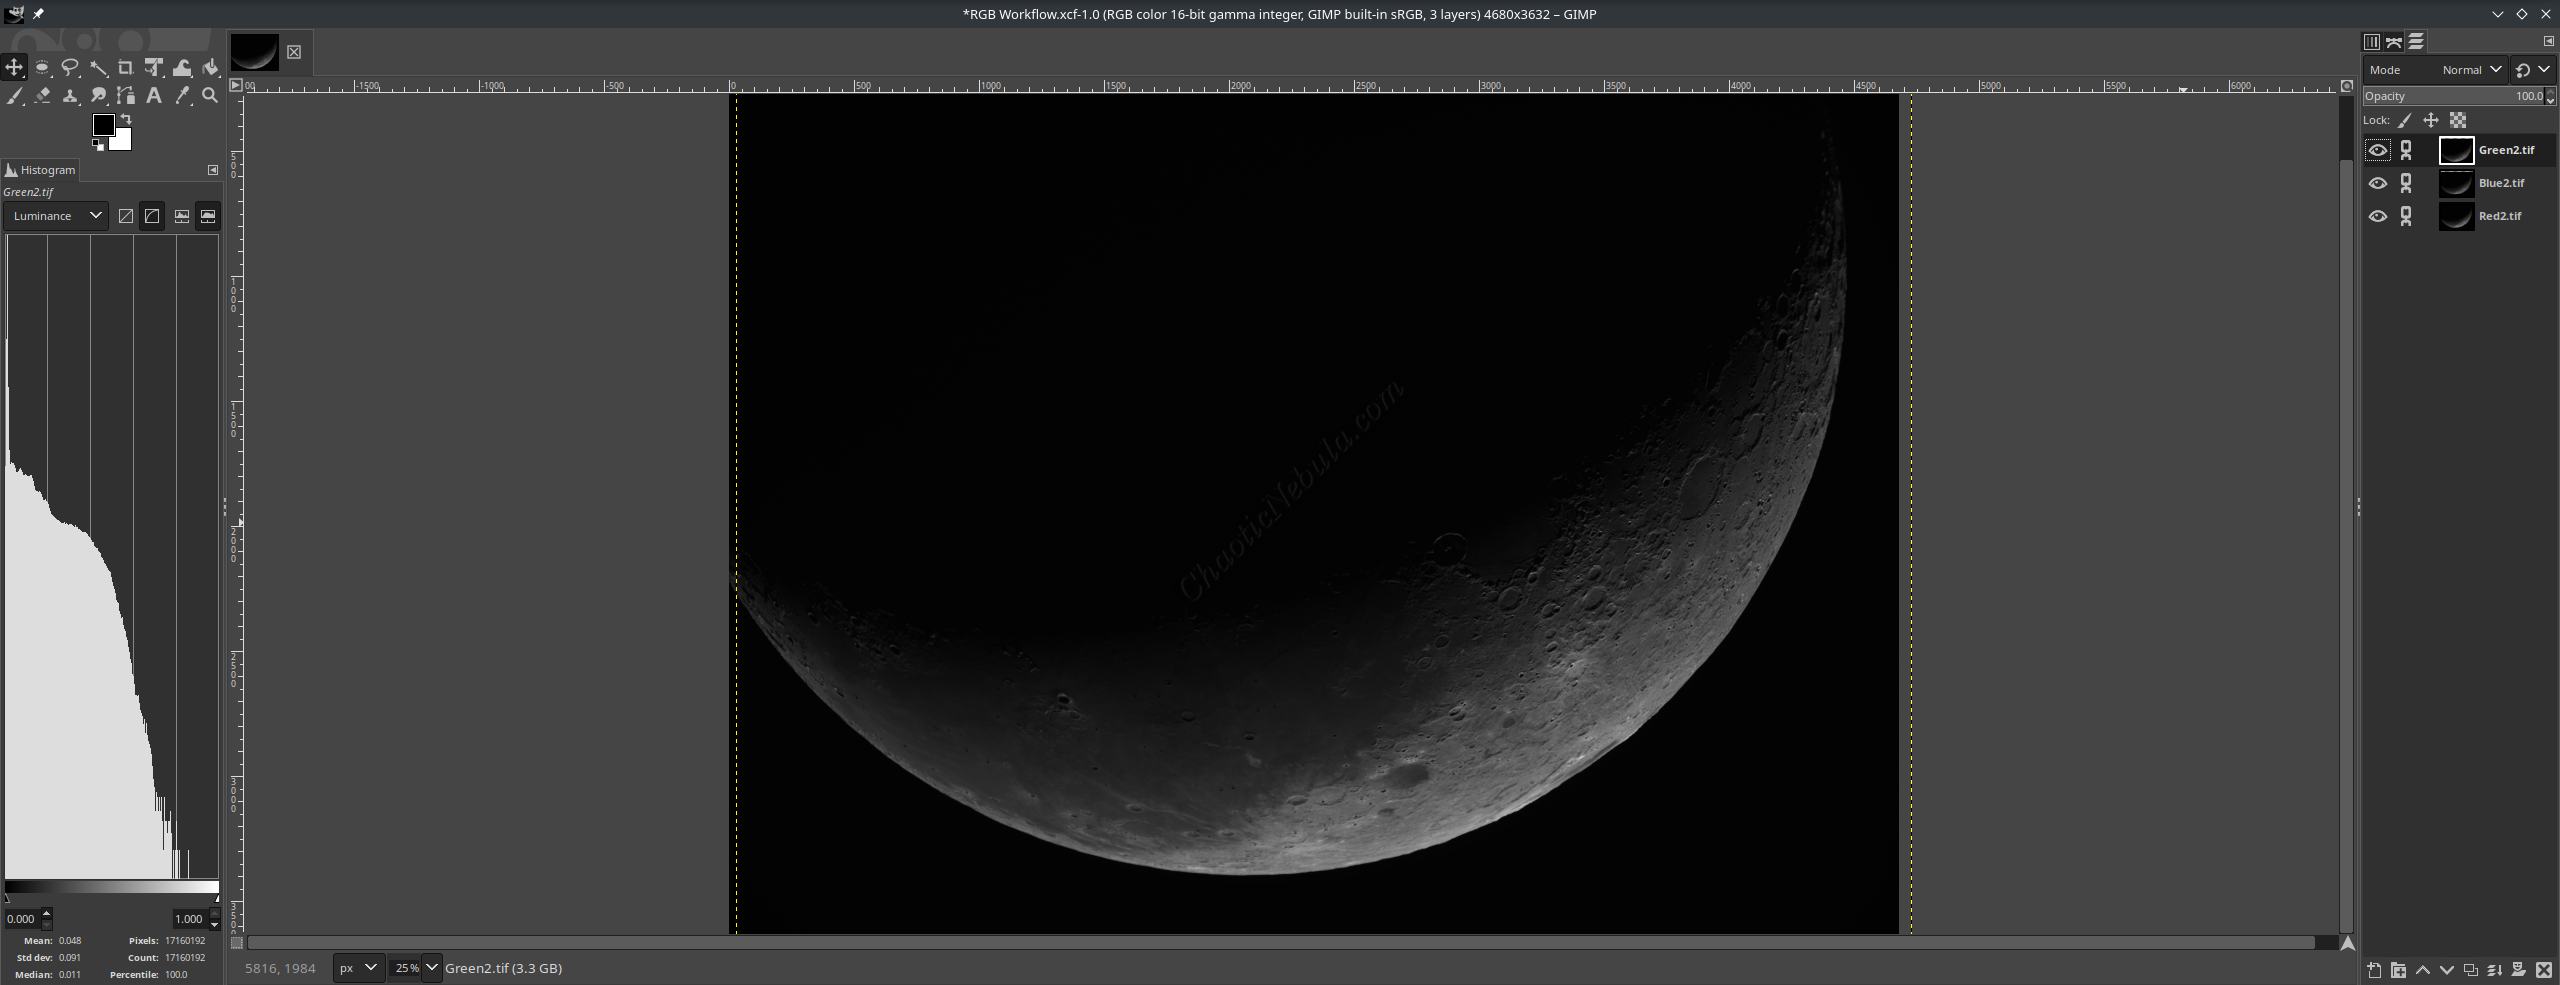
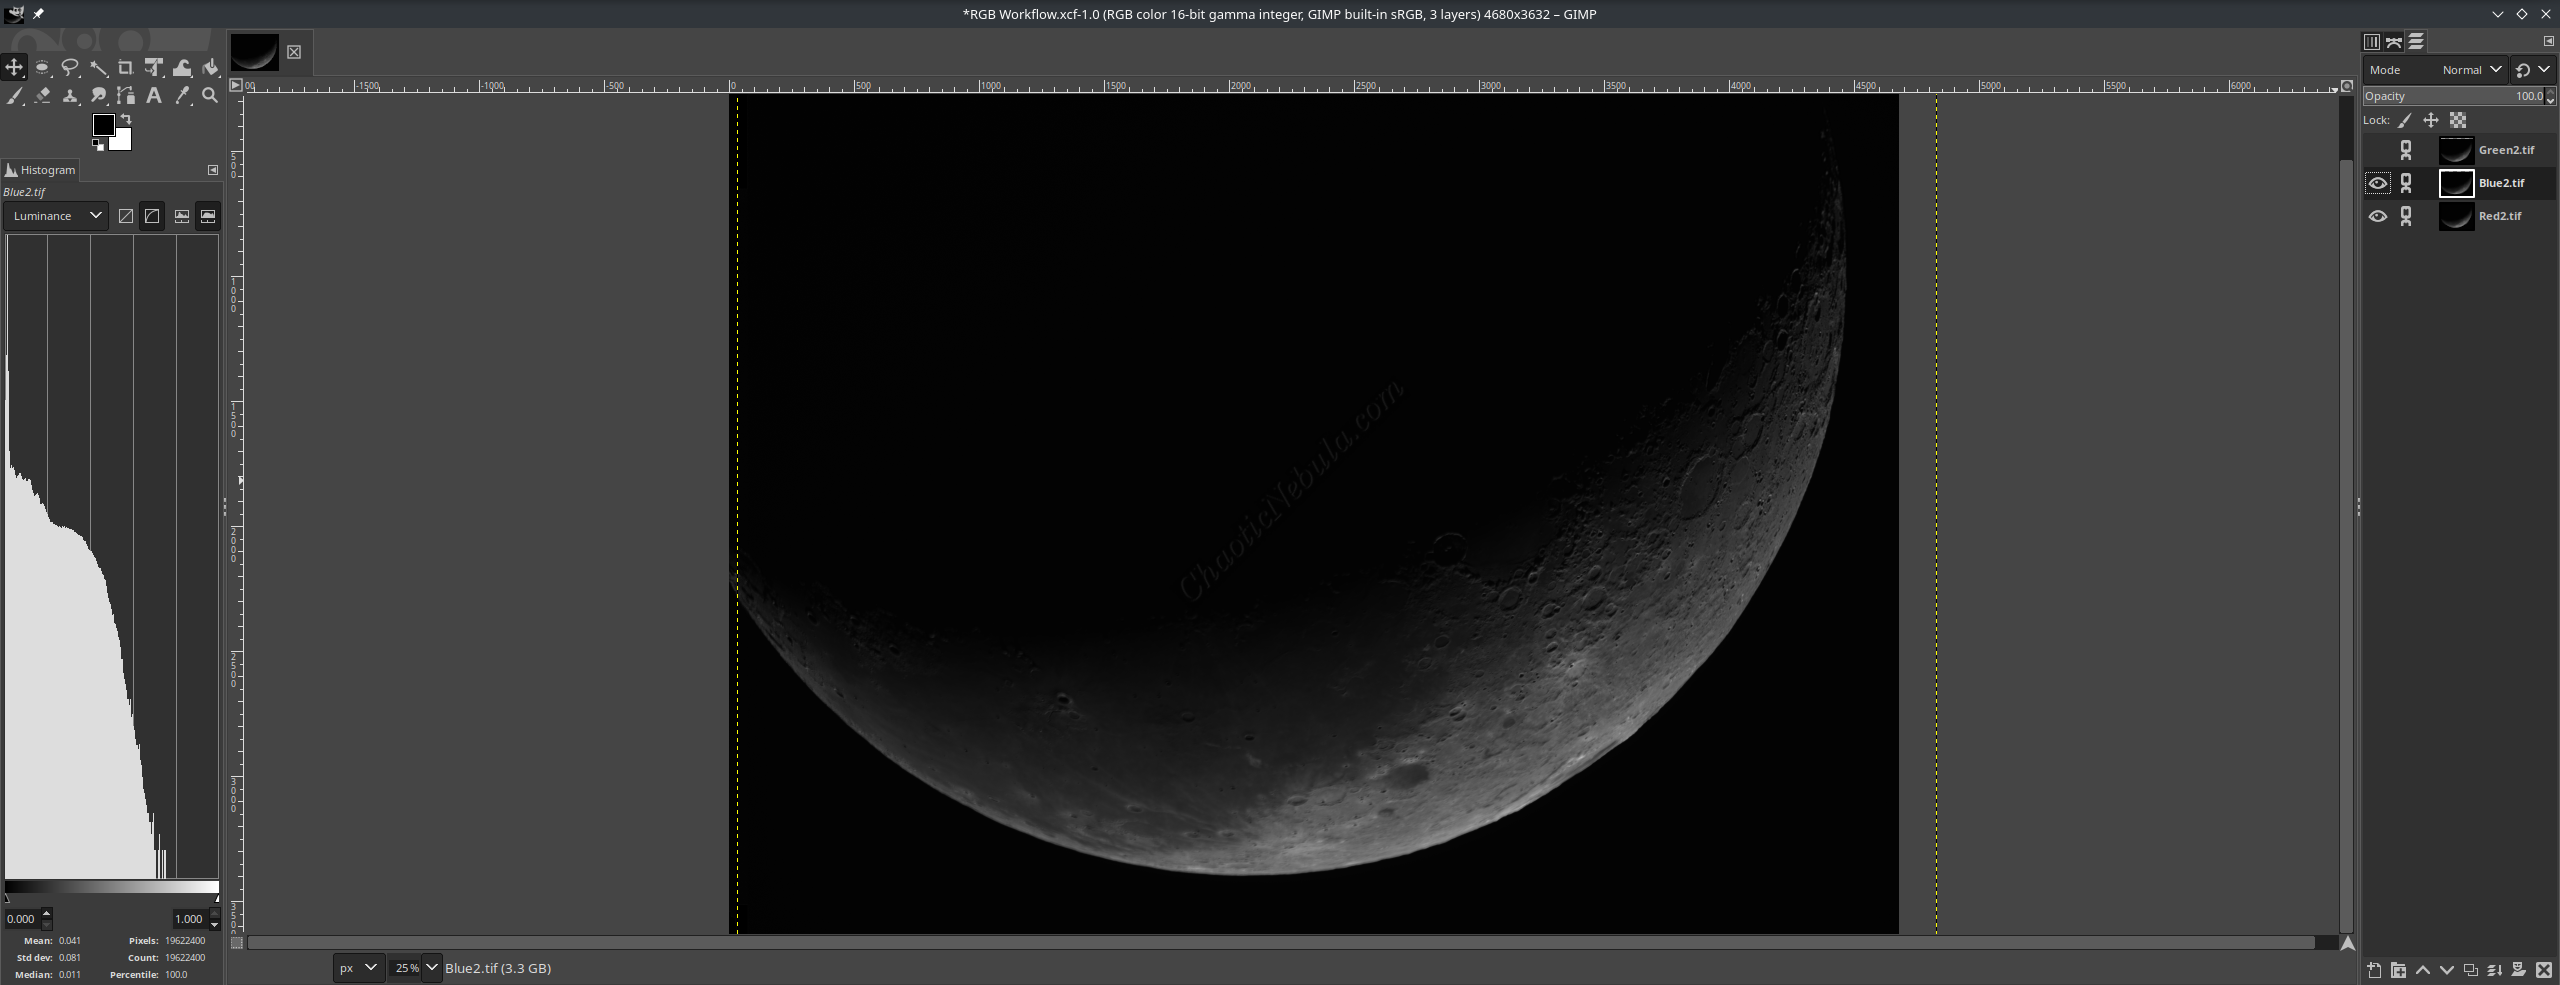
Based on these statistics, the red and green layer brightness levels are equal. However, the blue layer is dimmer. This can also be observed by enabling/disabling different layers by selecting/deselecting the Eye icon for each layer.
Adjust Brightness Levels
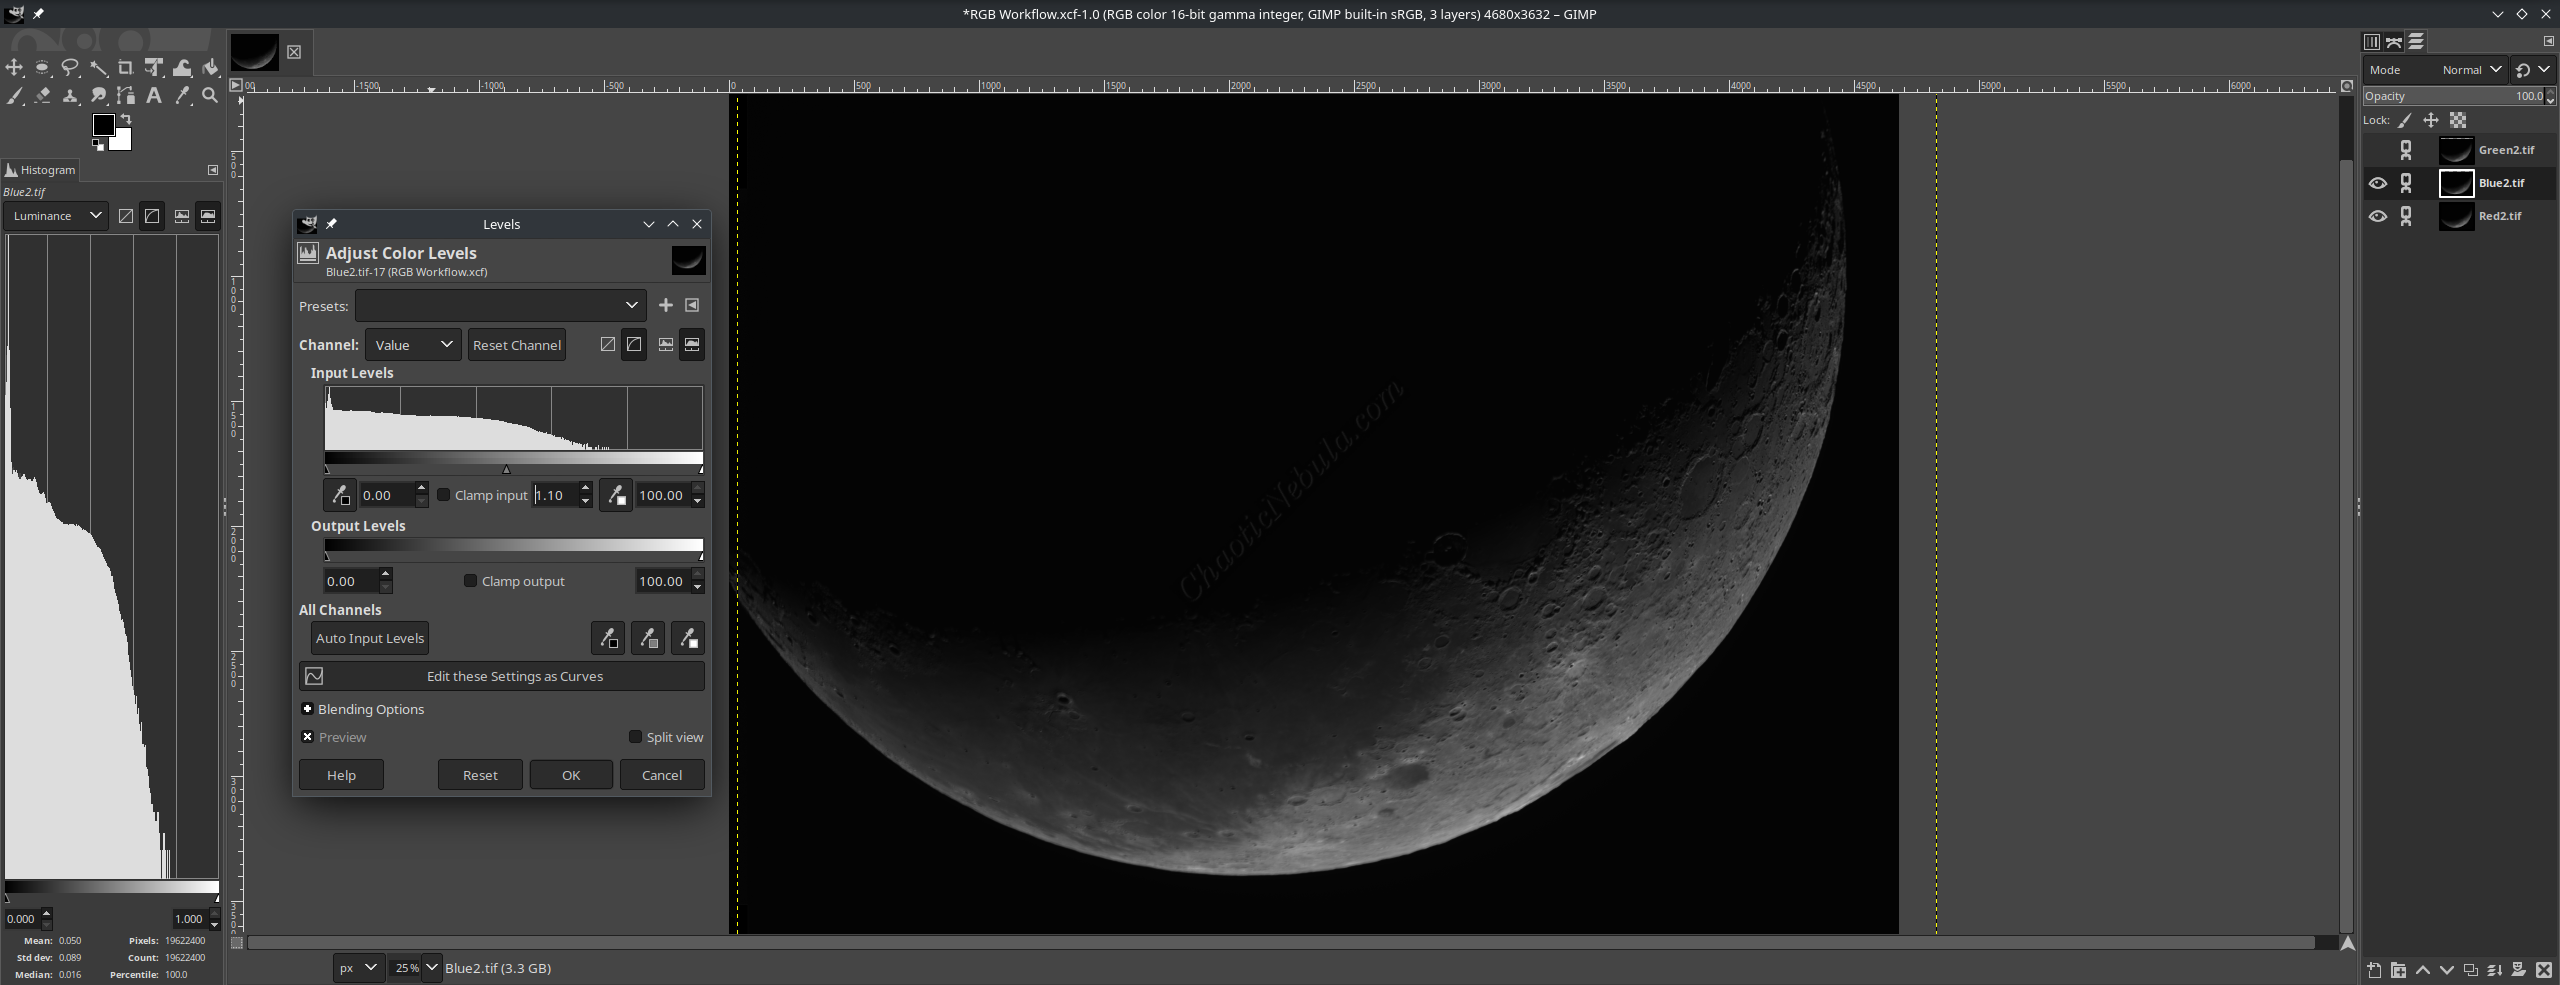
Because the blue layer is not as bright as red and green, you need to use the Levels process to increase the brightness of the blue layer. To accomplish this, do the following:
- Select the blue layer
- Load the Levels process from the menu bar: Colors – Levels
- Adjust the mid-tones by doing one of the following
- In the Input Levels area, move the middle triangle to the left slightly. This will increase the overall brightness. Monitor the Mean value in the histogram until it matches the values for the red and green layers
- To be more precise, use the arrows on the Clamp Input box to move the middle triangle in small increments. Again, monitor the histogram Mean values.
Once the histogram is applied to the layer, compare visually how it matches the other layers.
What’s Next
Within the Lunar Workflow, once the layers are aligned and the brightness equalized, it’s time to add color.