When capturing the moon with monochrome astrophotography cameras, you will need to combine the red, green, and blue images into a single color photo. The challenge with the merge is to properly align the color layers together. With GIMP, it’s easy to align and merge the layers into a single color image.
Adding Layers
The first part of the process is to load the three images as separate layers. In GIMP, simply select File – Open as Layers.
Typically, the layer panel is on the left side, but it might be hidden or in another area of the screen. In the menu bar, select Windows – Dockable Dialogs – Layers. This will load the panel if it is currently closed.
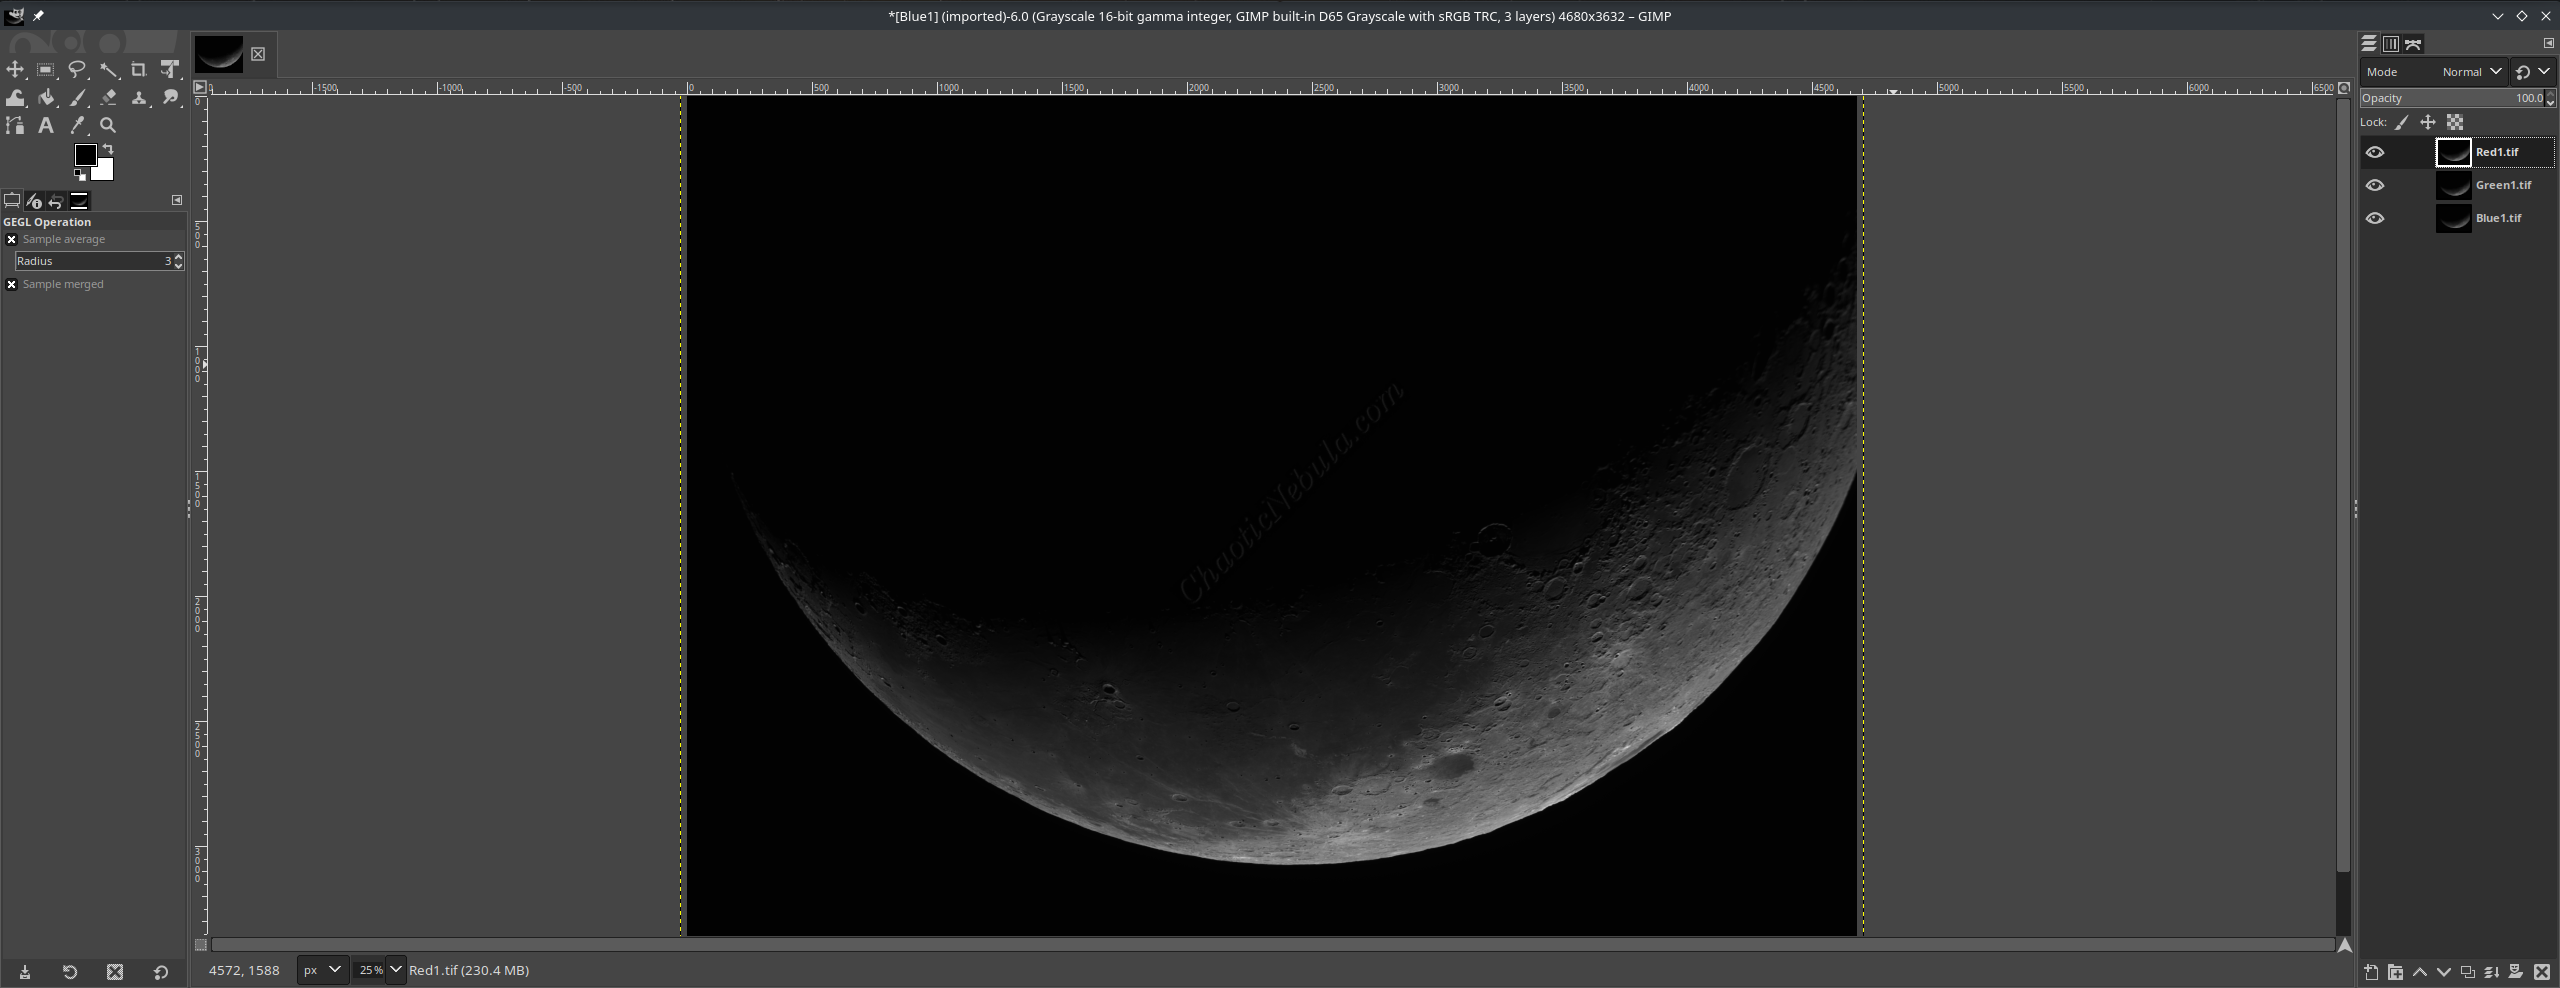
With the 3 layers loaded, only the top layer is currently visible. To see the other layers, simply select the eye icon on the top layer. This will hide the layer, letting you see the second layer. As you continue to turn off layers, you can see that the layers are not aligned. Which is what we need to adjust.
Best Practice: Rename the labels Red, Green, or Blue to make it easier to make future adjustments. Simply double-click on the layer to rename.
Align Layers
In the layers pane, make the top color layer invisible by deselecting the eye. You are now only seeing the bottom two layers.
Although you can try to do a visual alignment by matching the images, it is easier to look at the differences between the layers. By using the Difference Mode between layers, as the layers come into alignment and the differences decrease, the overall images becomes darker. This approach makes it easy to align the images
Simply select the top active layer (layer 2), and select the Mode option at the top of the Layers panel. In the drop-down, select Difference.
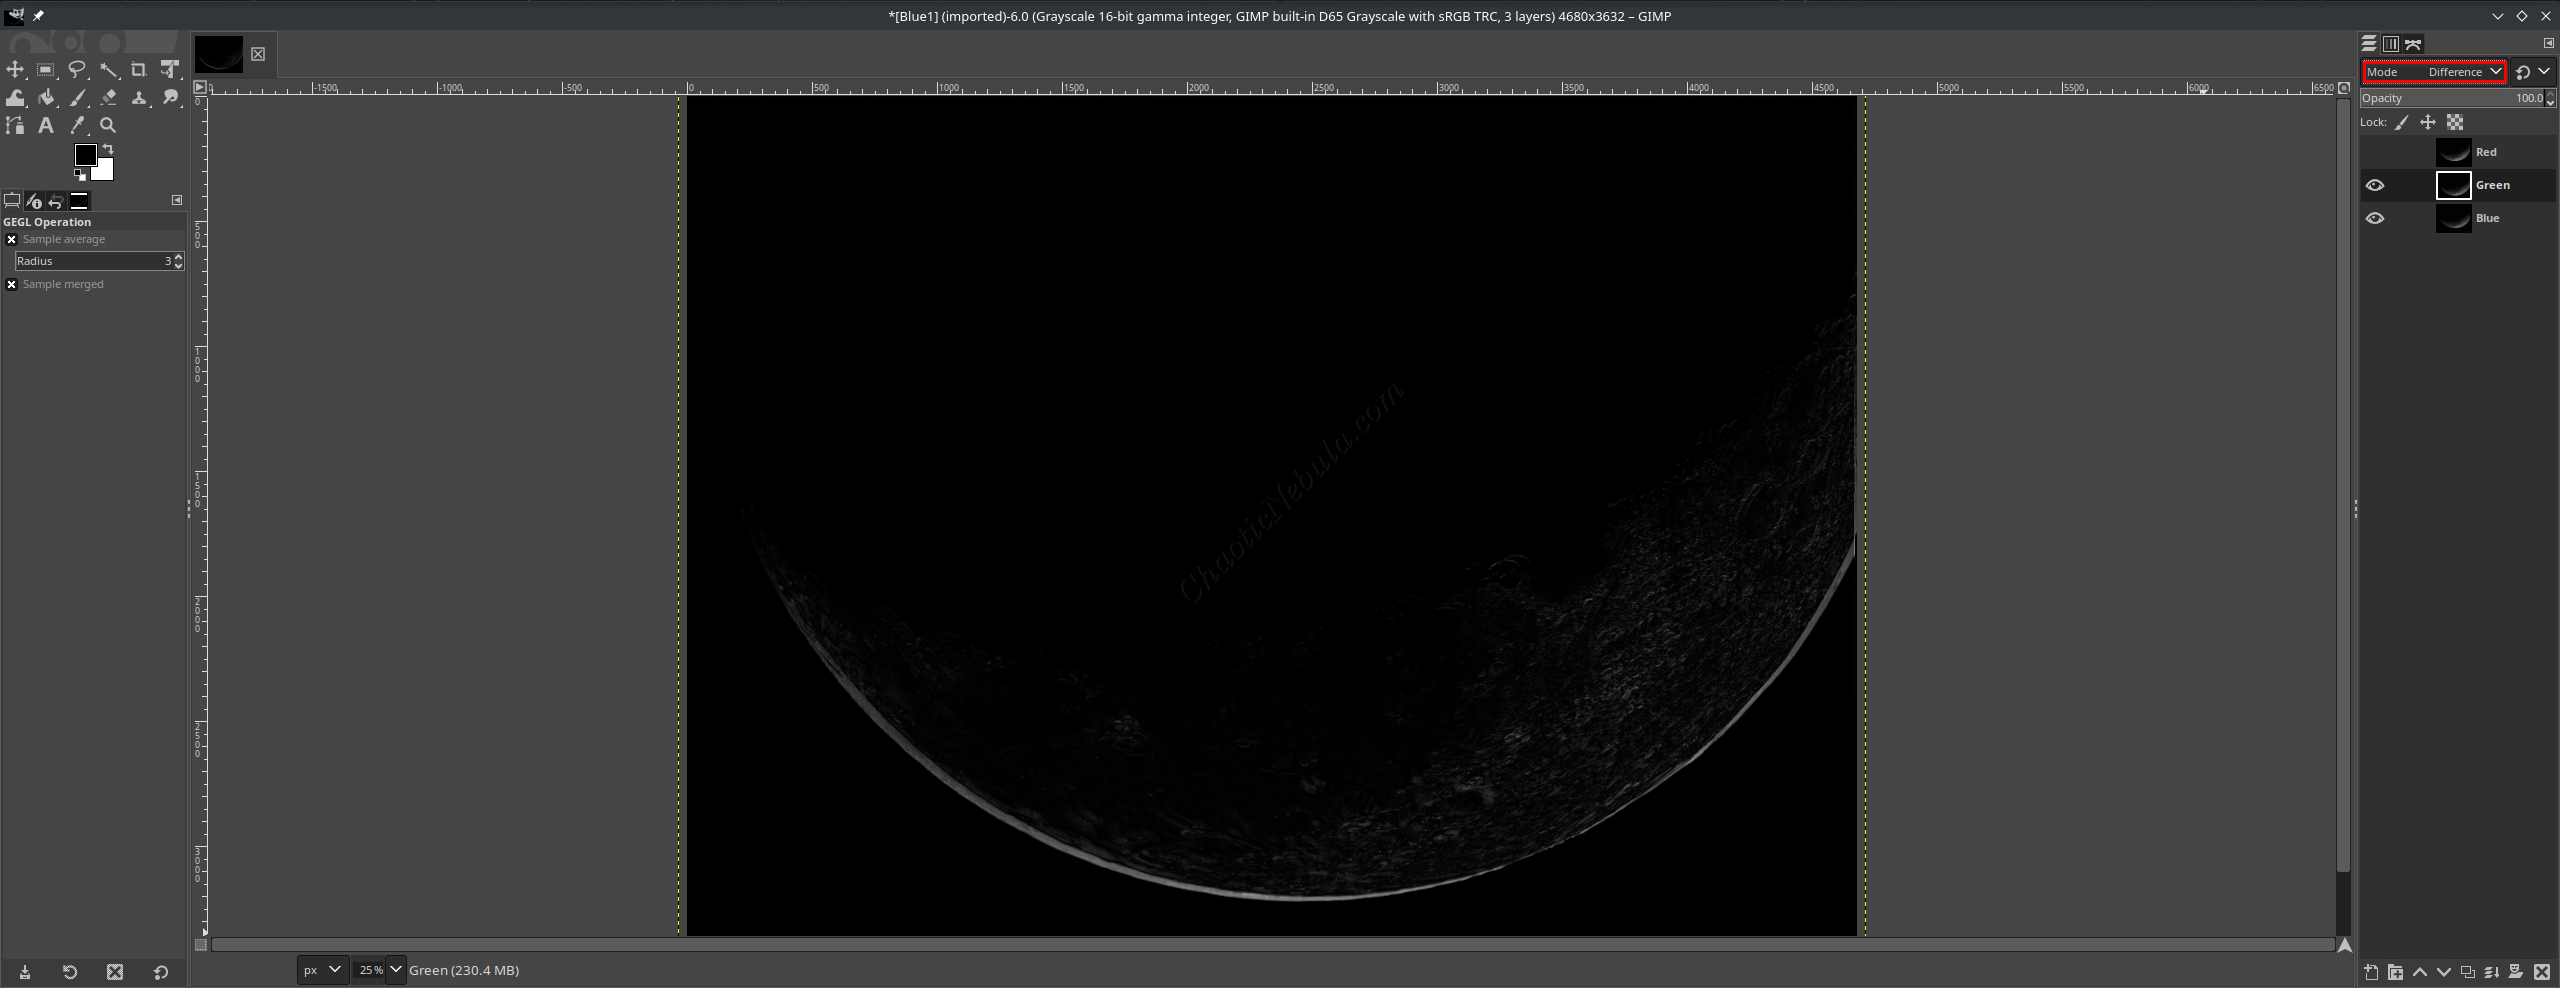
You can now see the two layers and how much the alignment differs.
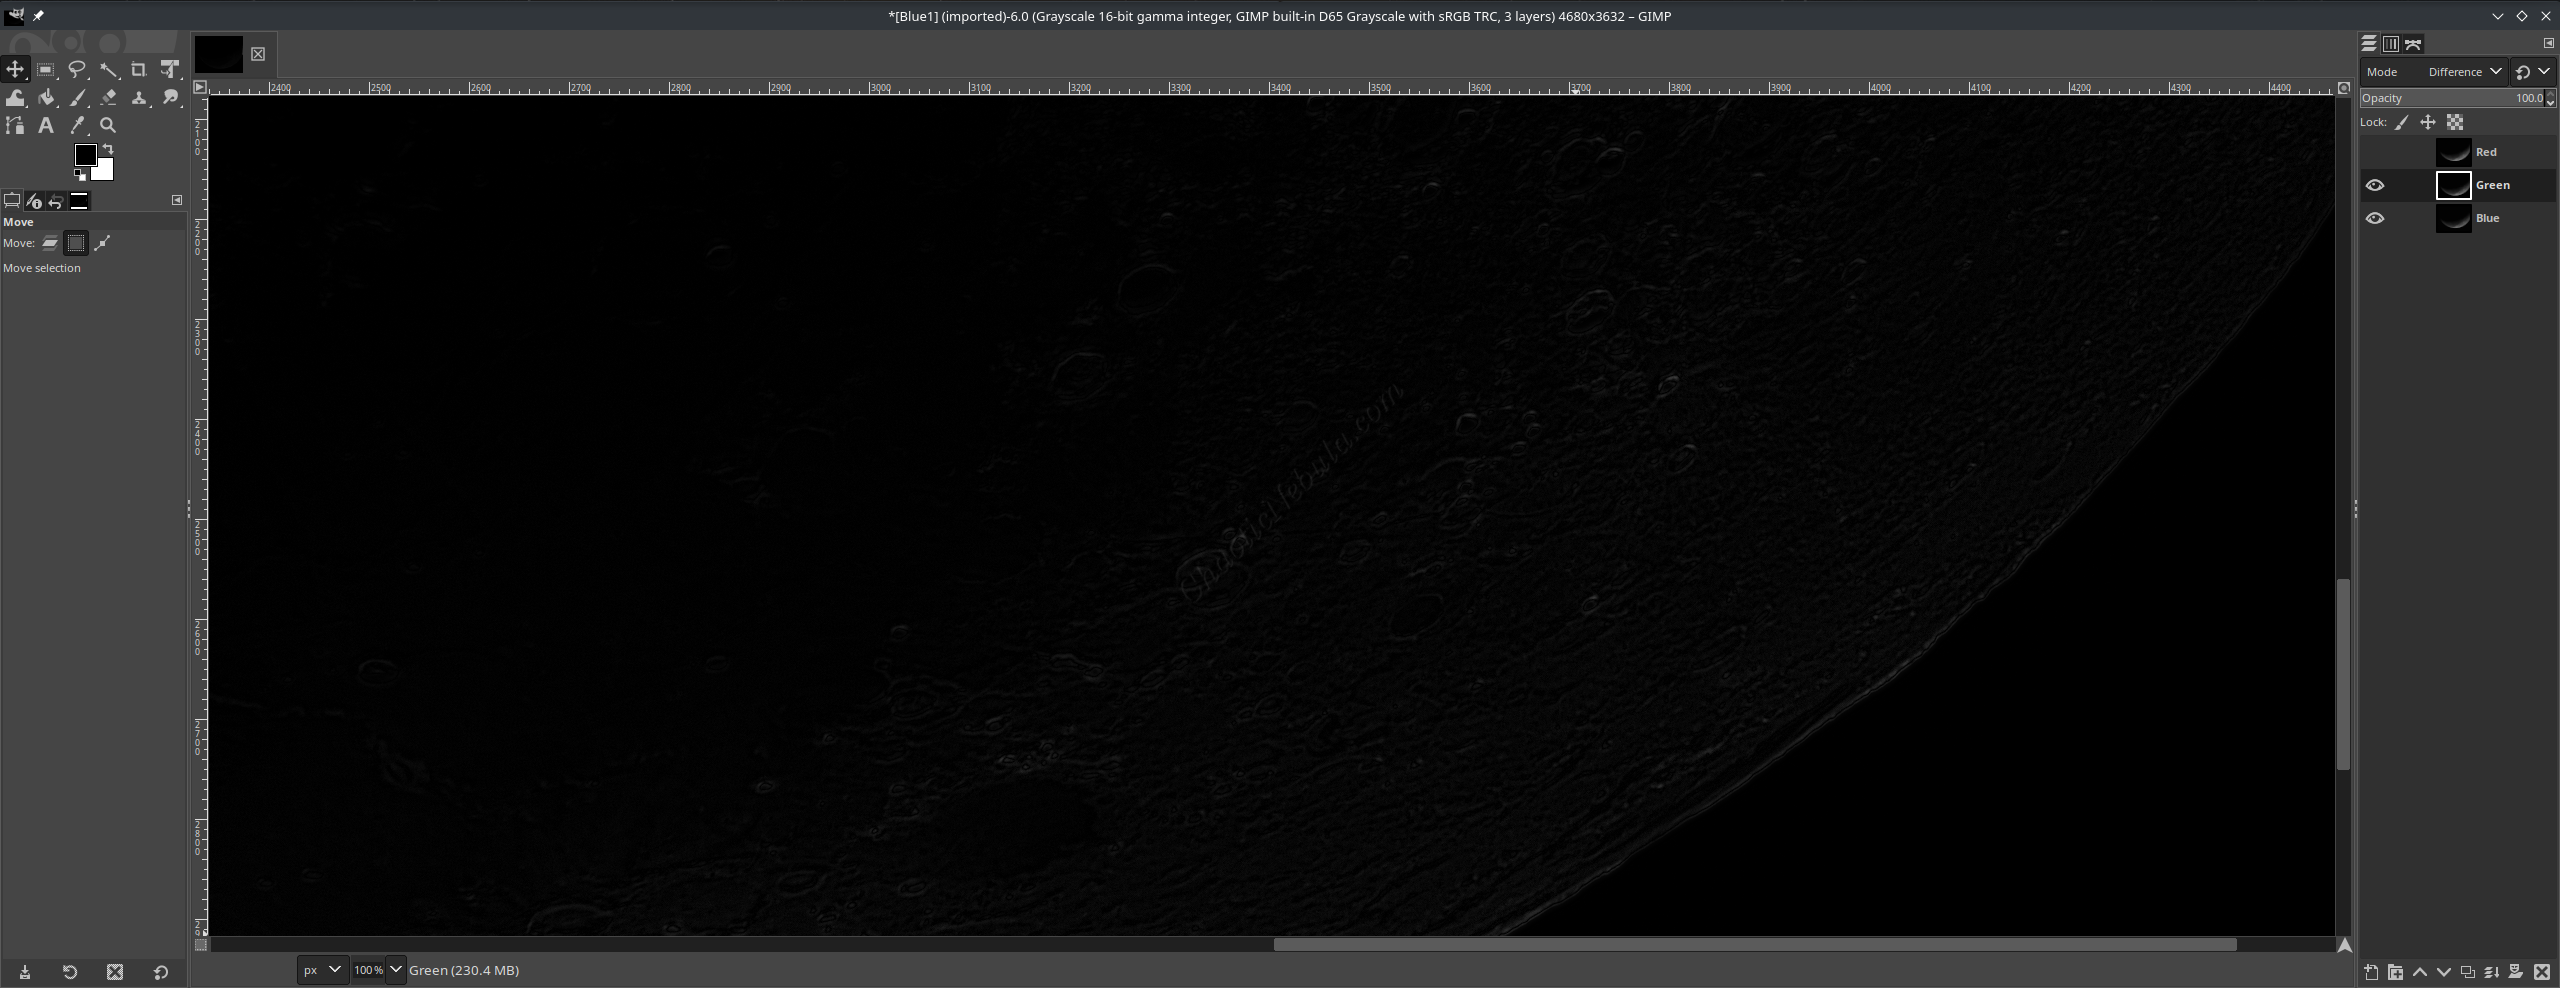
Use the Move command (Tools – Transform Tools – Move), to adjust the location of the selected layer. As the layer moves, the image’s brightness will change as the two visible layers gets closer to alignment.
Once the images are near alignment, use the arrow keys to make minor adjustments. It is also helpful to zoom in, either by using the zoom function at the bottom left section of the screen or selecting the zoom option in the menu bar (View – Zoom).
If you are lucky, the layers are not rotated. But if they are, use the rotate tool (Tools – Transform Tools – Rotate). Unfortunately, this will remove the difference option, making the rotation more difficult. Make minor adjustments and continue to try and align.
With the bottom two layers aligned, it’s now time to align the top layer. It is easier if you hide the middle layer to focus only on the top and bottom layers. Simply select the Eye icon for the middle layer to make it invisible.
With the top layer selected, remember to change the mode to Difference. Now, use the move tool (Tools – Transform Tools – Move) to bring the top layer into alignment.
Remember, only move the top layer because the bottom and middle layers are aligned. If the bottom layer moves, the middle layer will no longer be in alignment.
What’s Next
With the images aligned, the next step is to equalize the brightness between the layers before colorizing.