When capturing the moon with monochrome astrophotography cameras, you will need to combine the red, green, and blue images into a single color photo.
With GIMP, the Colorize process allows you to define color profiles for each layer. But before this can be done, you need to make sure you have:
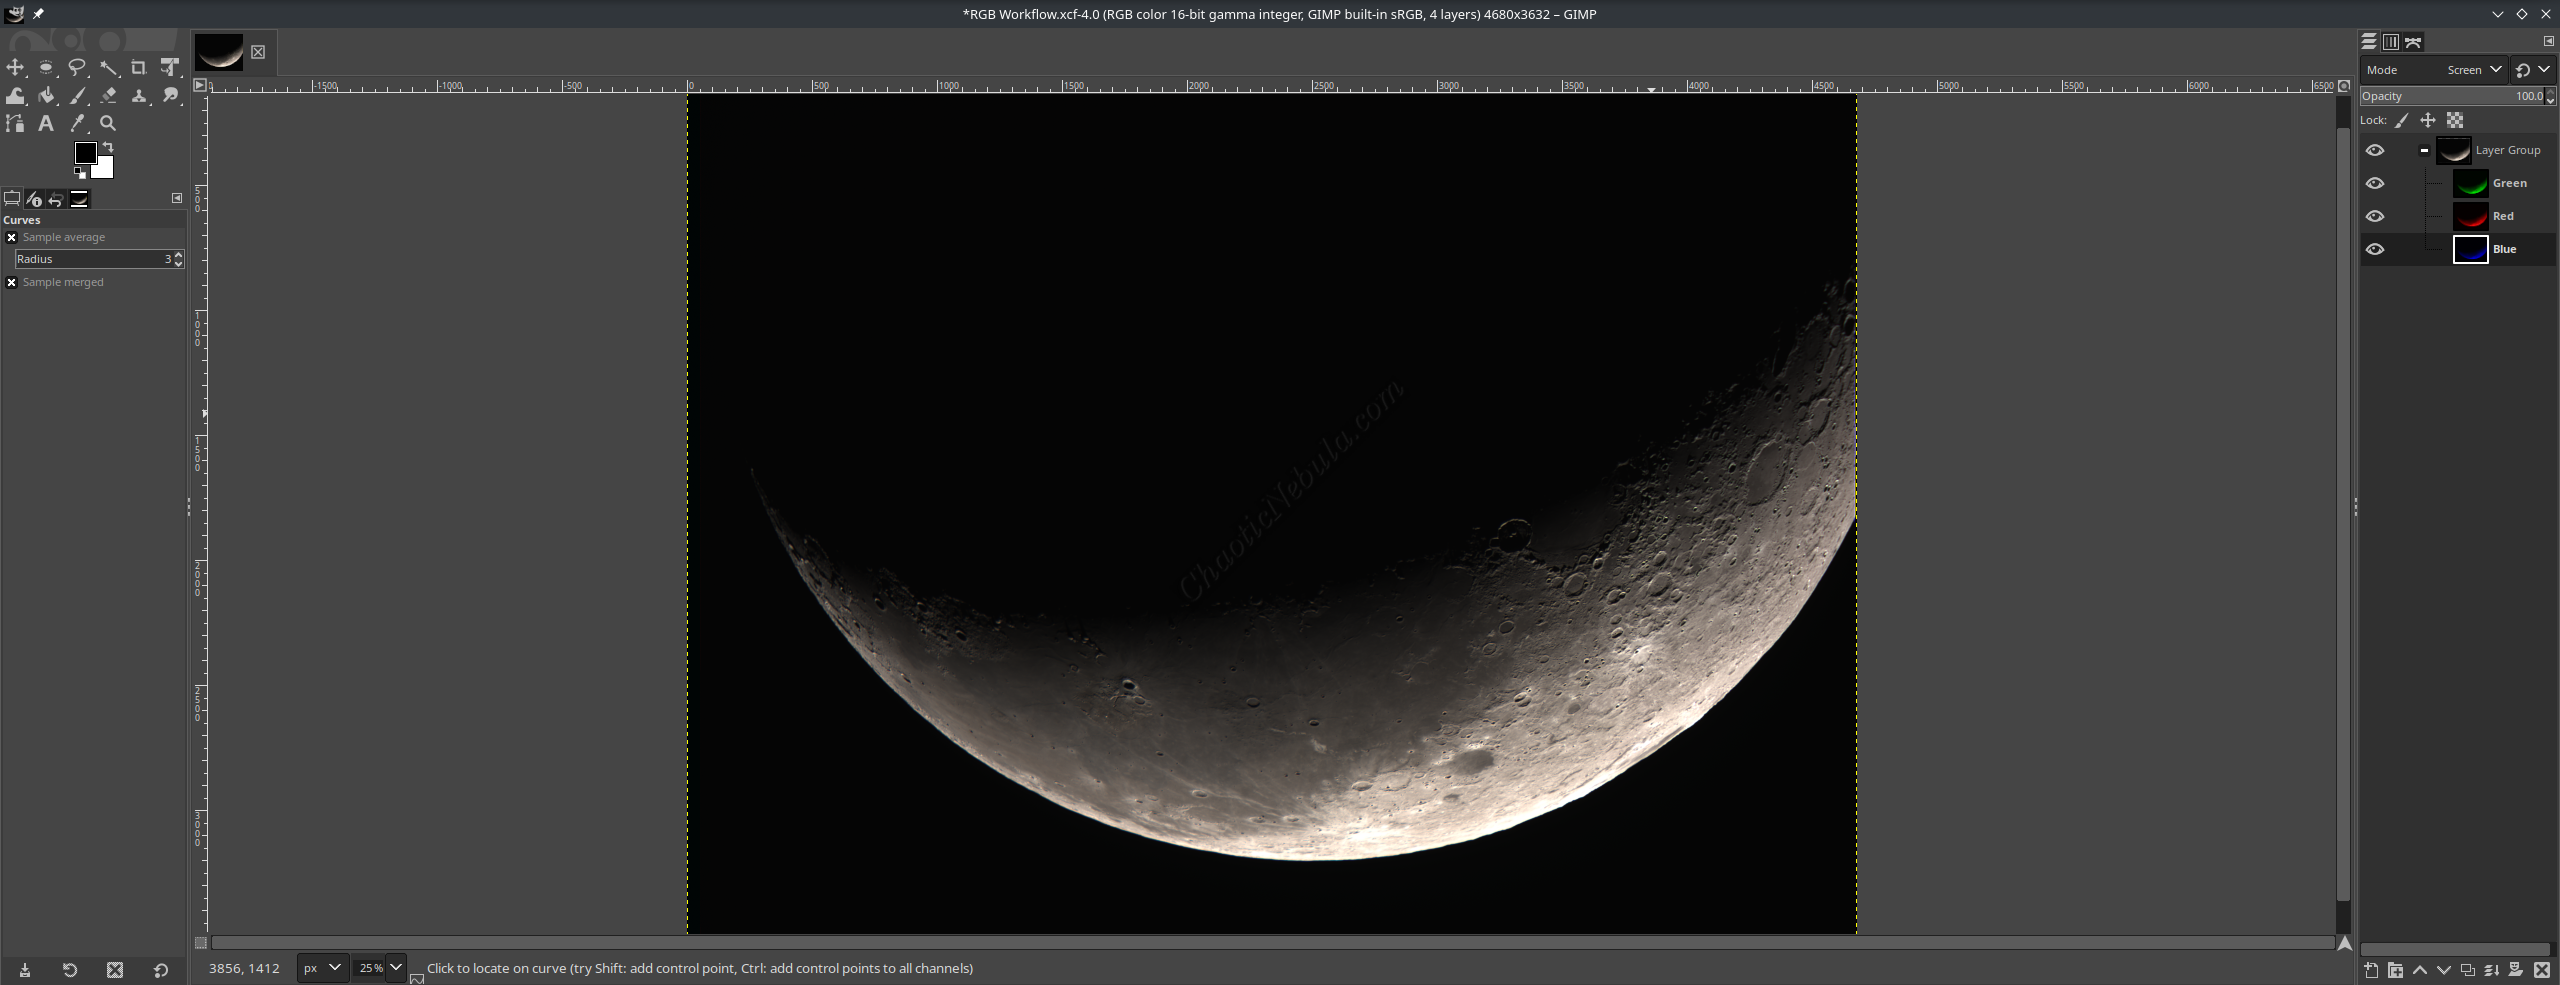
Blend Layers
Once all three layers are aligned and equalized, you need to make the final image a combination of all three layers. During the alignment phase, the layer mode was set to “Difference”. In order to blend the three layers, change the layer mode to “Screen”.
Make sure this is done for the top 2 layers.
Colorize
With the images aligned and the layers blending, you can apply the proper color to each of the individual layers. But first, you need to change the overall image format. Currently, it is most likely set for grayscale.
To change the image type to color, select Image – Mode – RGB.
With the image properties set correctly, it is time to colorize the individual layers.
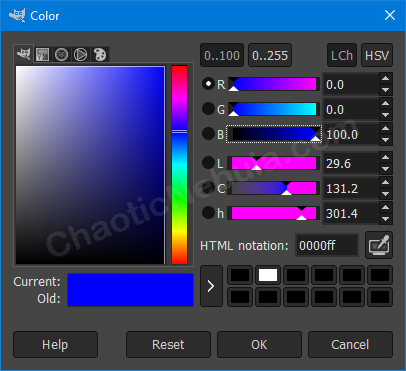
With the blue layer selected, use the menu bar to select Colors – Colorize.
The image will immediately turn colors, but the default color is wrong. The blue layer should be blue. In the colorize screen, select the color bar, which will load a color screen. In the color screen, set Red=0, Green=0 and Blue=100. This sets the blue channel correctly.

Repeat this process for the Green and Red layers, adjusting the color parameters appropriately.

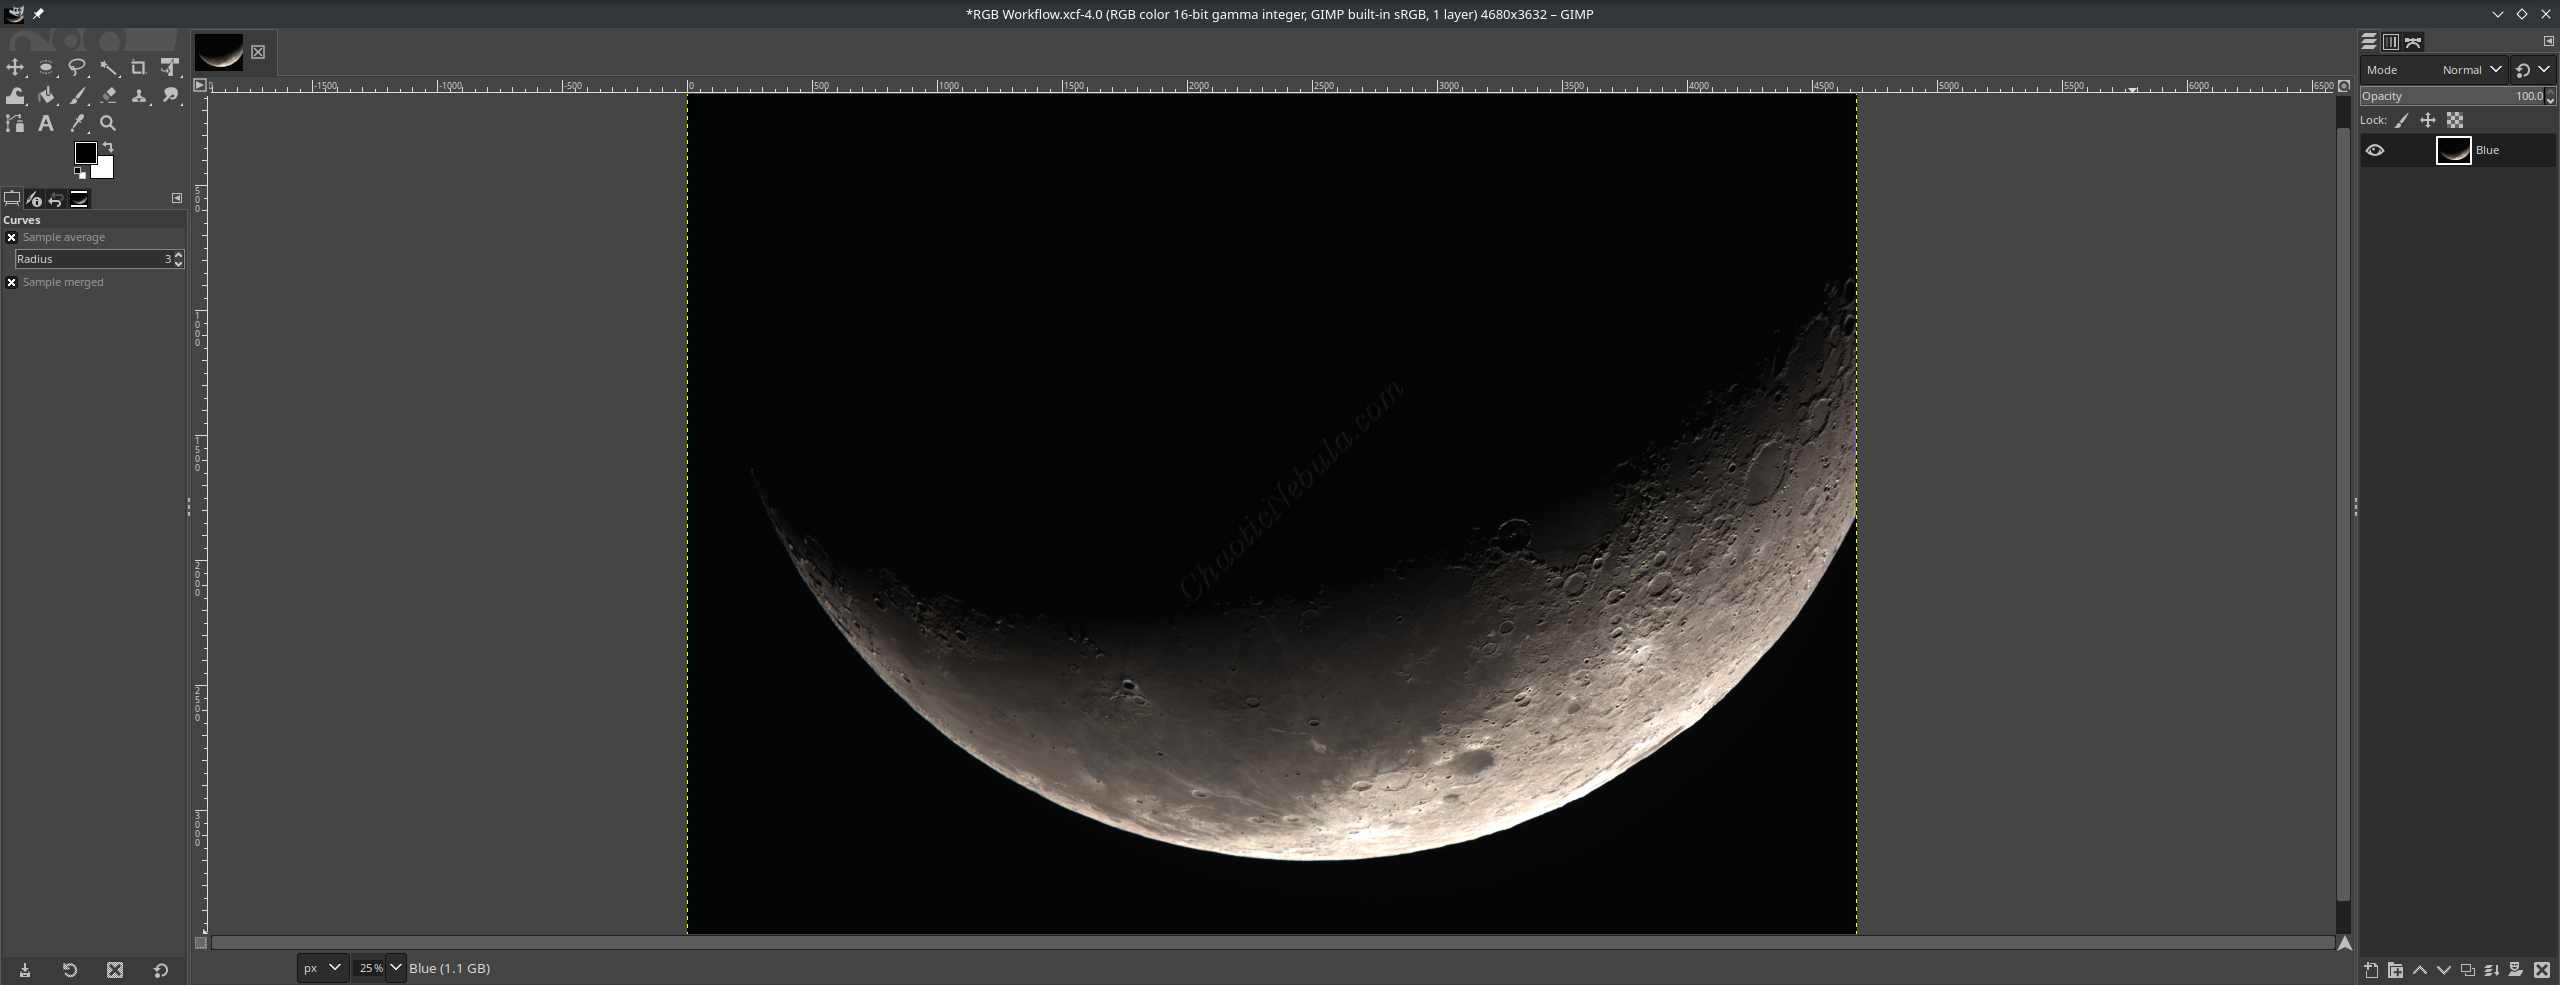
Merging Layers
At this point, you need to merge the layers into a single object. The first option is to merge all three layers into a single layer.
At the bottom of the Layer Panel, there is a row of icons. The icon showing layers with a down arrow is the merge layer option. By selecting the top layer, pressing Control on the keyboard, and selecting the icon, every layer below the selected layer gets merged into a single layer.
Although this works, it no longer allows you to make changes to the original layers. Another option is to move the three layers into a New Layer Group. A layer group is essentially a folder for your layers. It functions to organize multiple layers together, similar to how you might use folders on your computer to keep your files organized. The benefit of using layer groups is that any enhancement you apply above the layer, gets applied to the entire layer group as a single object.
To create a layer group, select Layer – New Layer Group from the menu bar. Once the group appears in the layer panel, drag and drop the RGB layers into the folder.
Duplicate the group, so you have an exact copy. Within the new group, select the top layer, presss Control on the keyboard, and select the merge layer icon (icon showing layers with a down arrow). This will merge every layer below the selected layer into a single layer