Once our R, G, and B channels are integrated into a single, color image, we can now focus on enhancing the colors to highlight the highlands and lowlands of the lunar surface. This process results in an image that many refer to as a “mineral moon”.
Brightness Adjustment
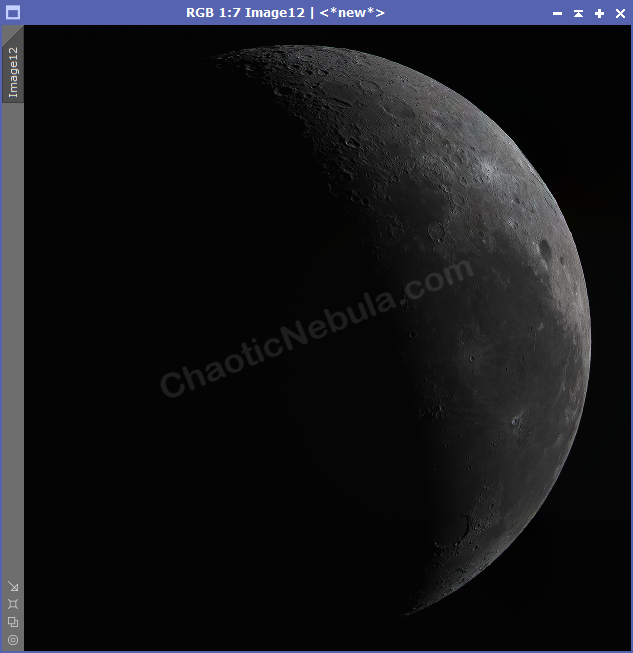
Depending on the lunar phase, we might need to slightly increase or decrease the brightness.
Because I’m dealing with a 30% illuminated moon, I’m going to slightly increase the brightness, which will help enhance the color we will add later.
Mask Creation
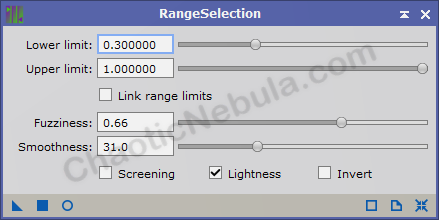
When trying to add color to lunar images, the color saturation adjustments work better on the darker areas of the moon, leaving the brighter areas to become oversaturated. To avoid this situation, I create a range mask to protect the brightest lunar areas.
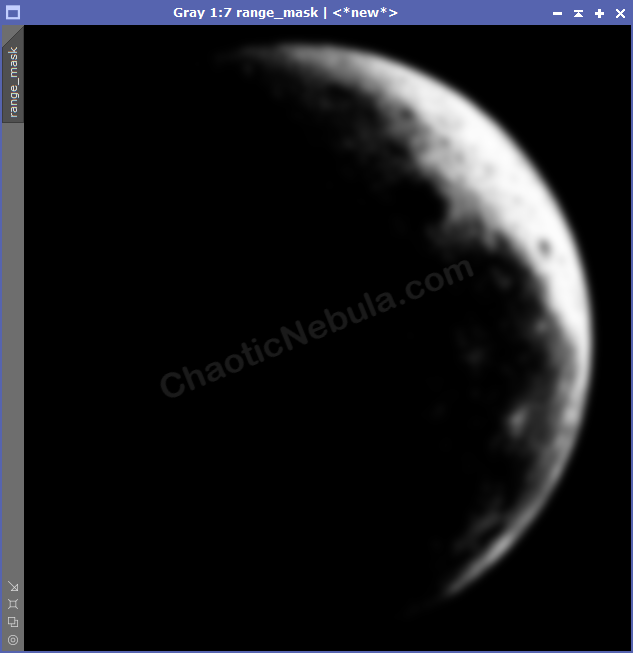
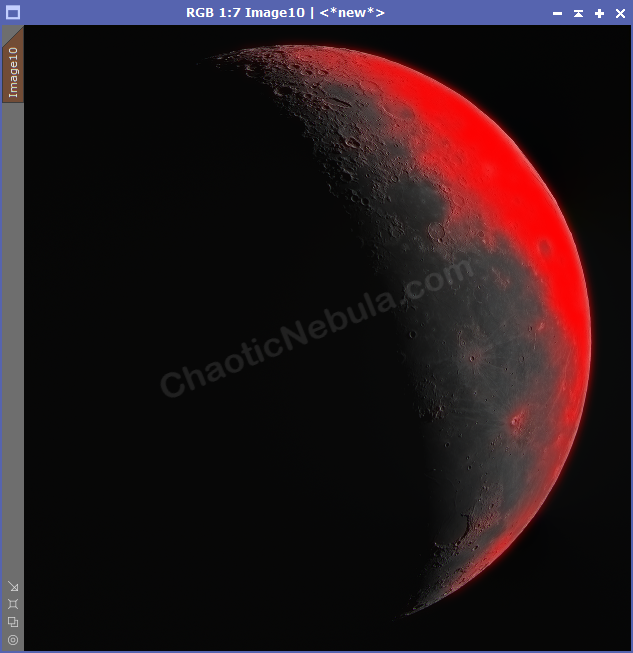
Once applied, and inverted, we can see that the brightest areas are protected (highlighted in red).
Mineral Moon Color Saturation
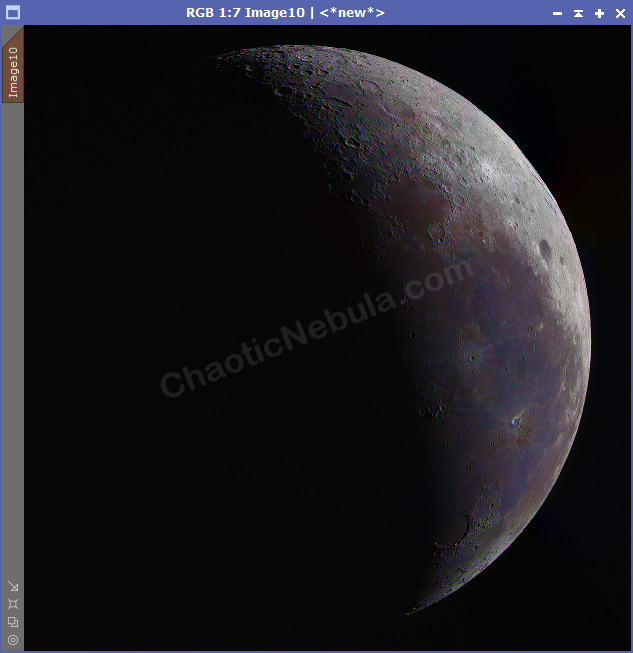
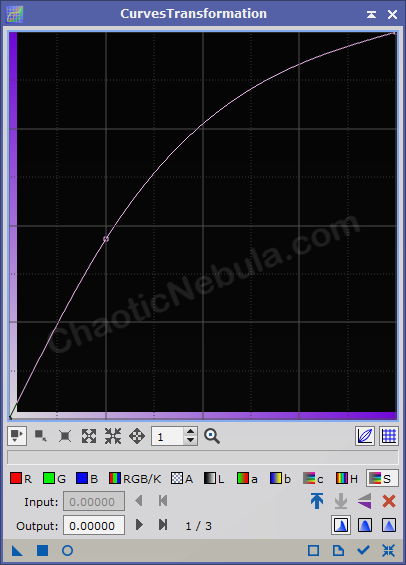
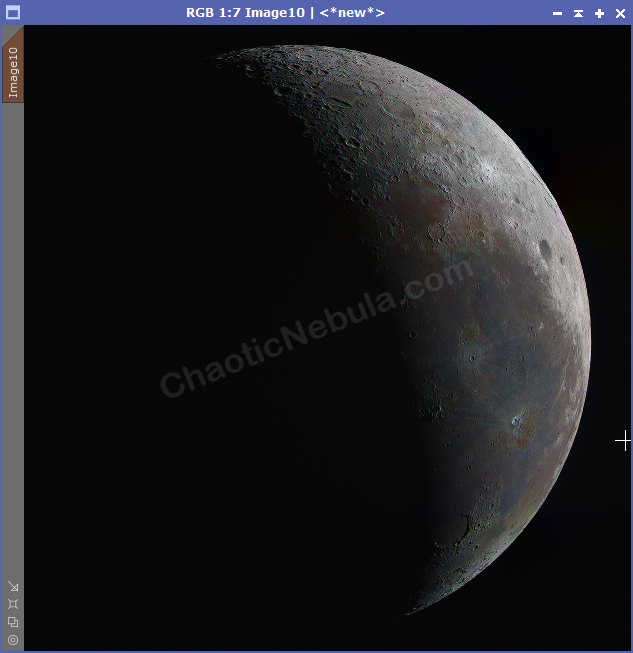
With the brightest areas protected, we can iteratively increase the color saturation of our lunar image. It is often best to make minor changes and reapply to see the changes build as opposed to making drastic changes.
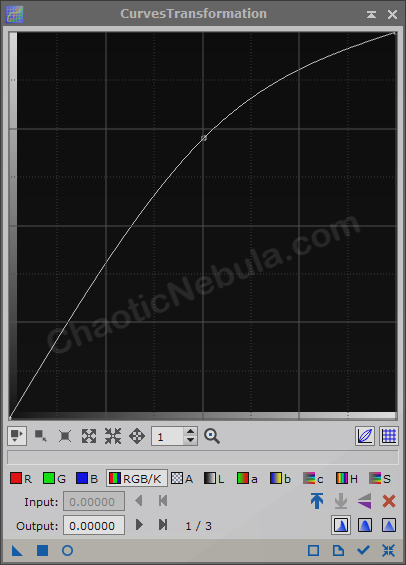
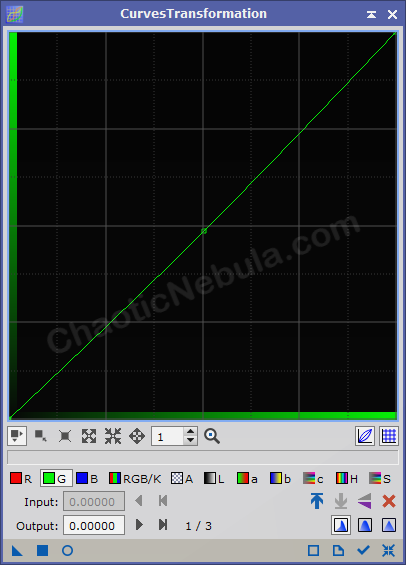
To increase the color saturation, use the Curves Transformation process and increase the saturation line.
As this gets applied iteratively, we get the following results.

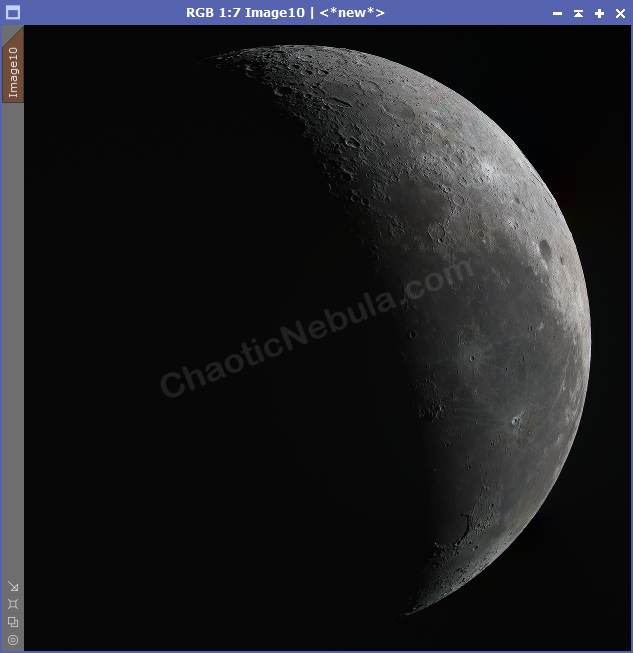

Comparing these as they go along, 4 iterations provided enough color saturation. The fifth application went too far for me.
Color Adjustment
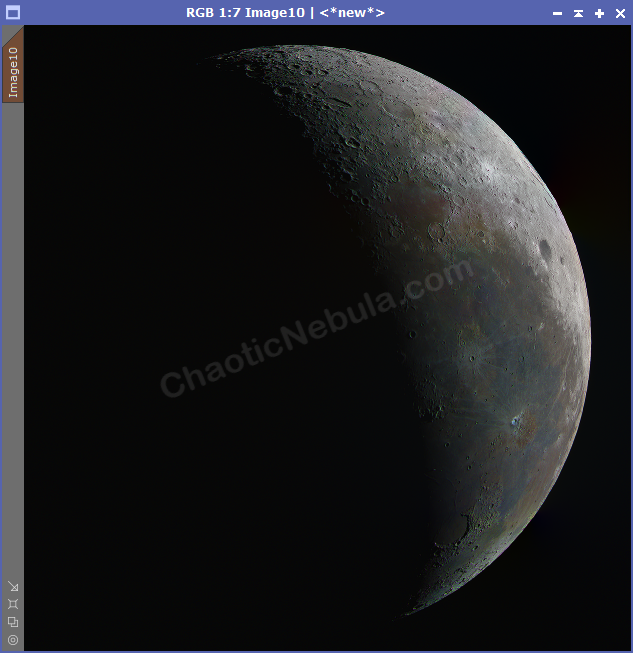
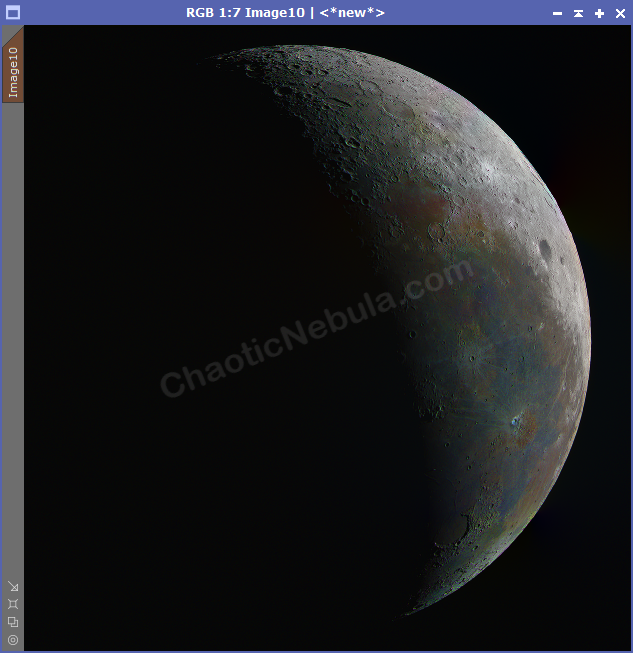
Increasing the color saturation added too much of a green tint to my lunar landscape. I’m going to gently decrease the green hue with Curves Transformation.
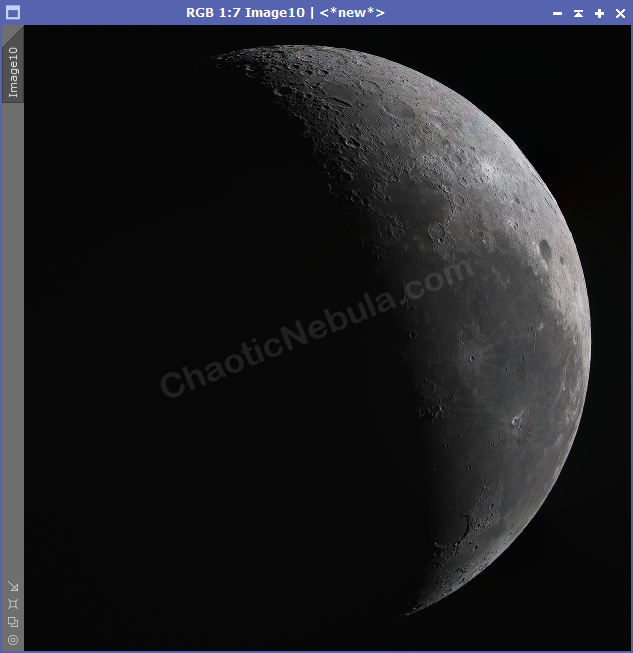
As this gets applied iteratively, we get the following results.
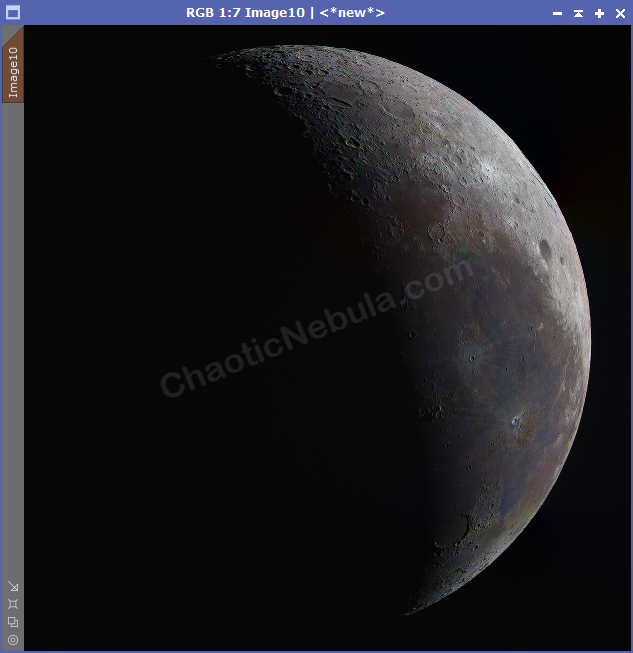
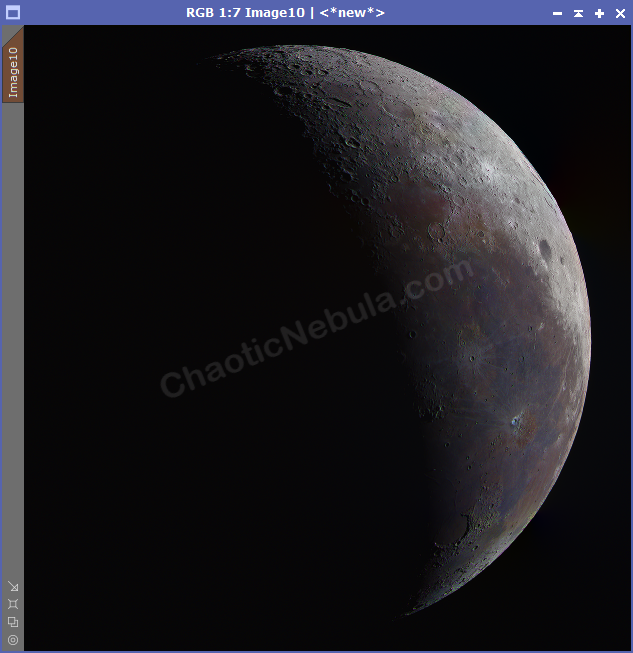
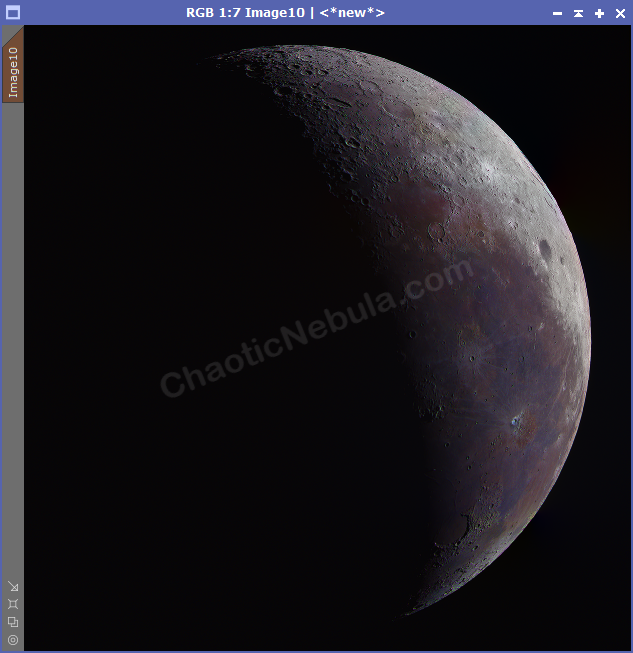
Looking at these images, I prefer the lunar landscape after the fourth adjustment.
What’s Next
The next step in the lunar processing workflow with PixInsight is to do additional sharpening.