Imaging the moon is a great way to get started with astrophotography as you don’t need a lot of equipment. The best approach is to use lucky imaging with processing through AutoStakkert!
Lucky imaging, also known as lucky exposures, is a technique used in astrophotography to capture sharper images of celestial objects by overcoming the blurring effects of Earth’s atmosphere. Lucky imaging achieves this benefit by capturing video instead of still images. In a matter of minutes, it is possible to capture thousands of frames, which can be analyzed and integrated into a single, sharper image. It’s particularly useful for observing objects like the planets, the Moon, and the Sun.
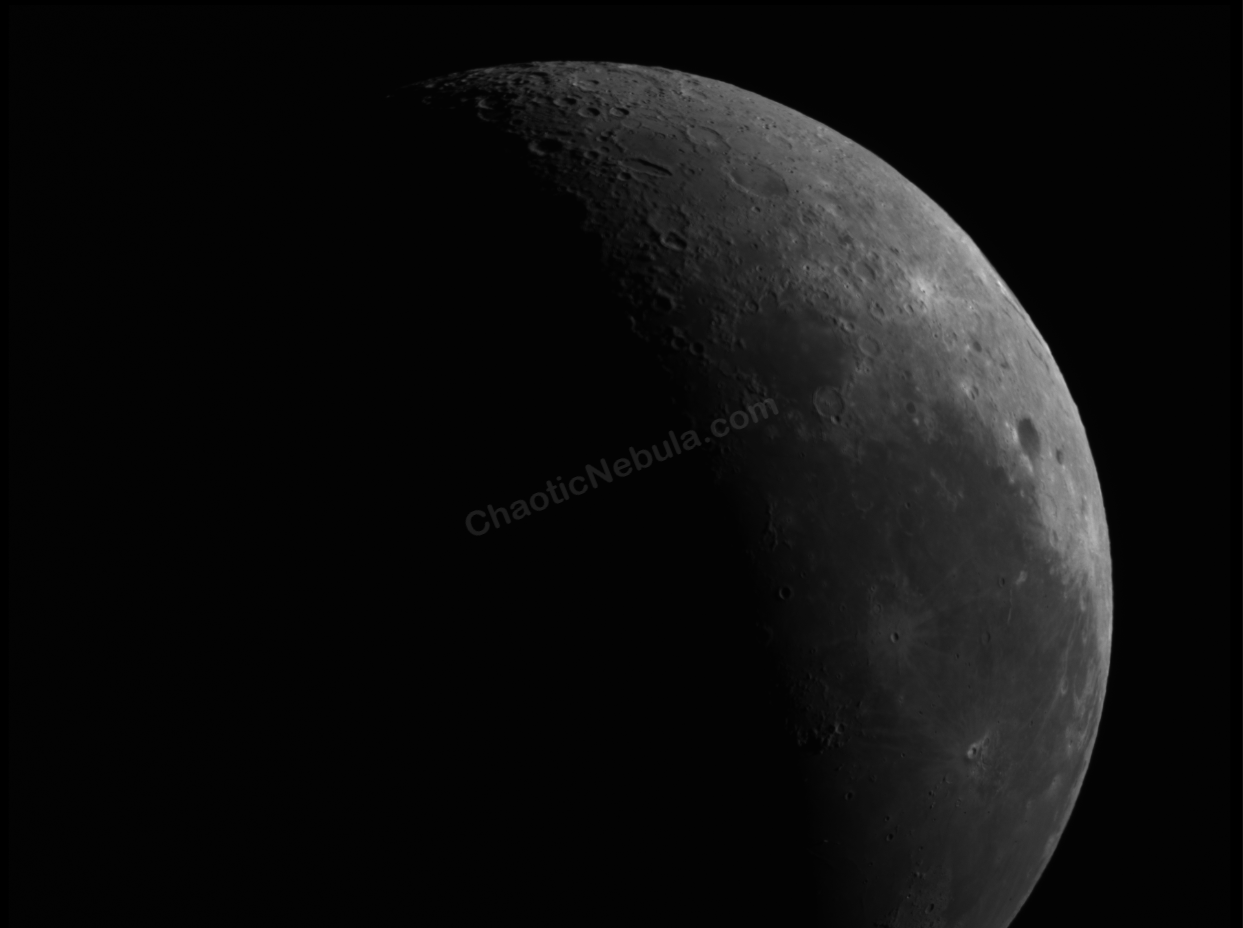
Frame-by-frame, changes in the atmosphere blur different parts of the images. Sometimes, for a split second, you are able to capture a high quality frame.


Although lucky imaging is the best approach, it might not be possible if you are using a DSLR camera. Many DSLR cameras output video in a format that leverages lossy compression (.MP4, .MOV, etc). To do lucky imaging effectively, the camera needs to output to a lossless format. For example, many cameras made specifically for astrophotography will output in a .SER format.
But even if the DSLR camera limits you to single images, you can still gain some benefit by stacking the multiple, individual frames into a single image.
Regardless of the approach, to make the lucky imaging process work, you need to grab those points in time where the clarity of the image is extremely high and discard lower quality sections. AutoStakkert! automates the entire process for you.
Analysis
The first part is to have AutoStakkert! analyze the video file.
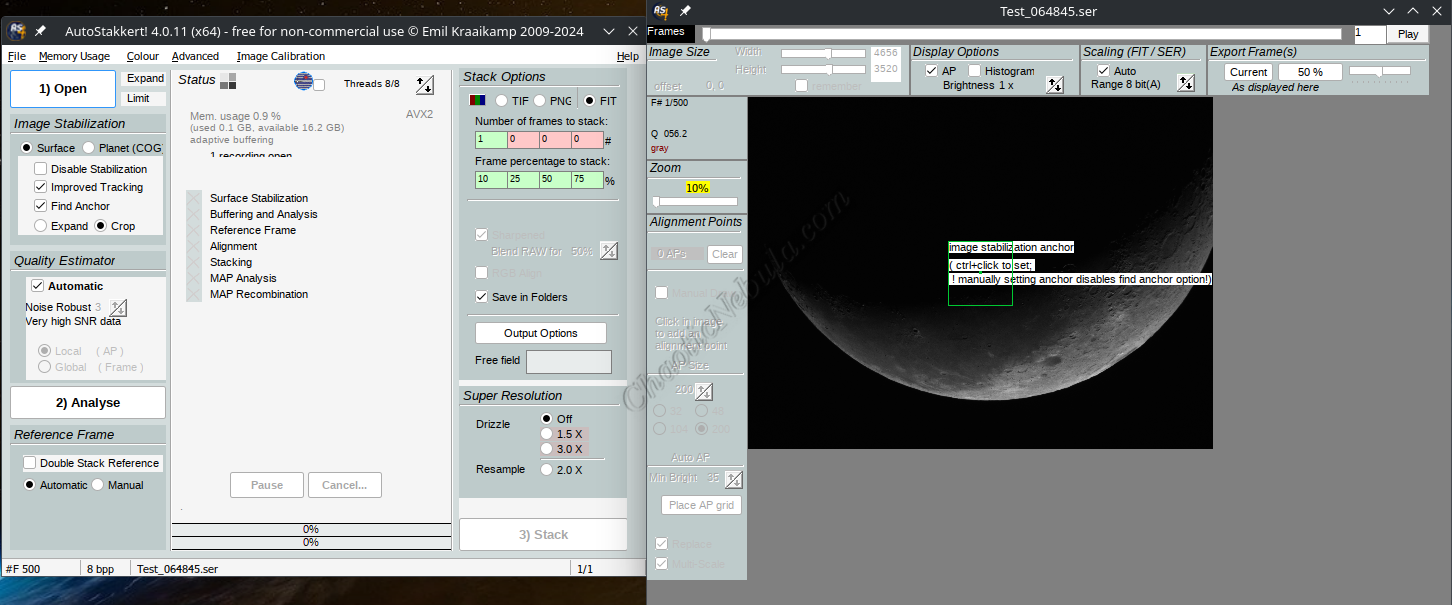
Once the video file is loaded, you need to set the following parameters for lunar images:
- Image Stabilization: Because this is a lunar image, image stabilization is set for “Surface”. Autostakkert will display a green box to use as a reference point.
- Improved Tracking: This is a useful setting in that it will track more accurately. It takes slightly longer, but often provides better results.
- Find Anchor: First try with enabling the find anchor as the process will attempt to find an surface feature to track. The green box in the image should move to a brighter lunar area. If not, you will have to set it manually. For lunar images, automatic anchors often work as there are enough surface details to track. Solar images are different and often require disabling this feature.
- Quality Estimator: Disable the automatic option and select Local (AP). This will force AutoStakkert! to use the best sections of an image (Alignment Points) when integrating instead of using the entire image as a whole.
Once set, hit the Analyze button.
Stack
Once the video file has been analyzed, AutoStakkert can create the best possible image by stacking the best frames. But first, you need to configure the stacking parameters.
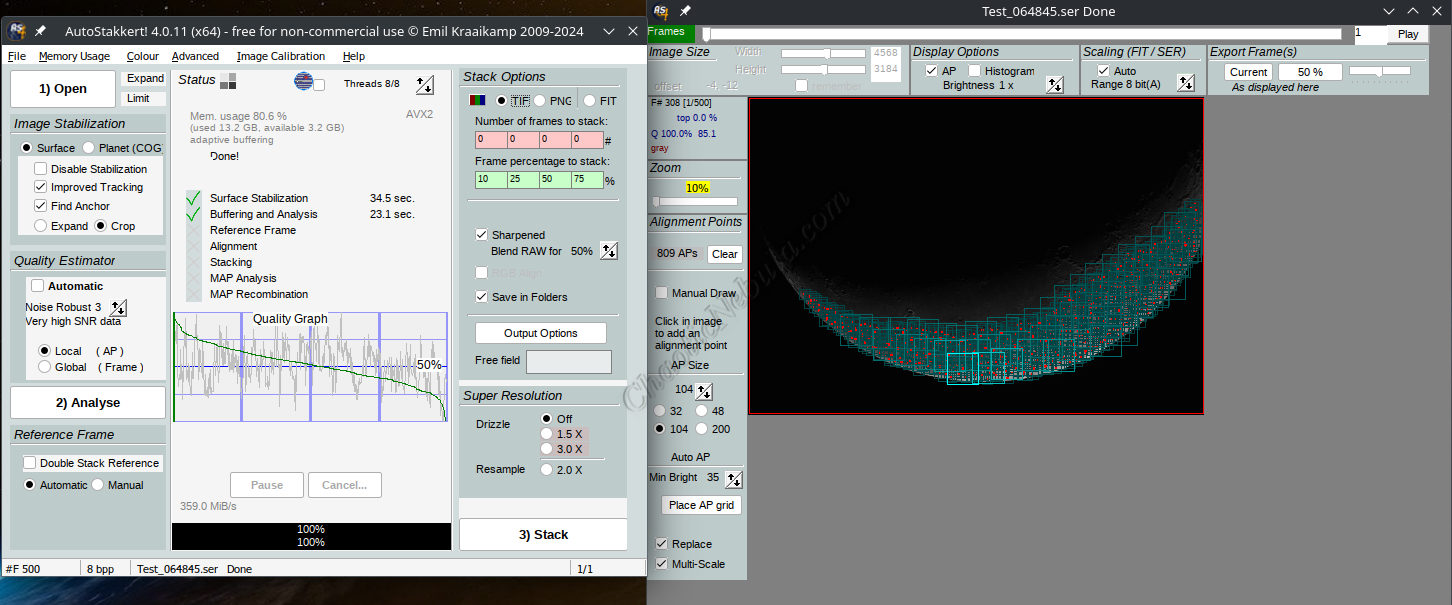
- Frames to Stack: In deep sky astrophotography, you need more frames to increase the signal and decrease the noise. For lunar imaging, the signal is extremely strong. You only want multiple frames to improve quality. Typically, you only need to use 10% of the frames for a lunar image. However, there are 4 placeholders for number of frames and % of frames. Each box that has a value will be a new end result, allowing you to quickly compare which approach is better. Initially, try 10%, 25%, 50%, 75%.
- Sharpened: AutoStakkert can create a sharpened final image in addition to the baseline image. It is useful to enable this option as AutoStakkert will create an unsharpened and sharpened image. However, this option is only available for .TIFF and .PNG image files.
- Alignment Points: In the image window, you need to place a grid of alignment points. The appropriate option is based on your imaging equipment, so test and determine your right number of alignment points. But typically, 104 alignment points for lunar imaging is adequate as it tends to create a slightly better final image than 24, 48 and 200. Make sure that no alignment points appear outside of the lunar image.
- Multi-scale: Enable the multi-scale option. This allows the alignment points to be of different sizes, providing more opportunities for improvement.
Once these settings are complete, select Stack to turn the video into a single, higher quality image.
AutoStakkert Results
When comparing the results achieved with AutoStakkert, it’s good to first look at the percentage of frames and how it impacts the final image quality.


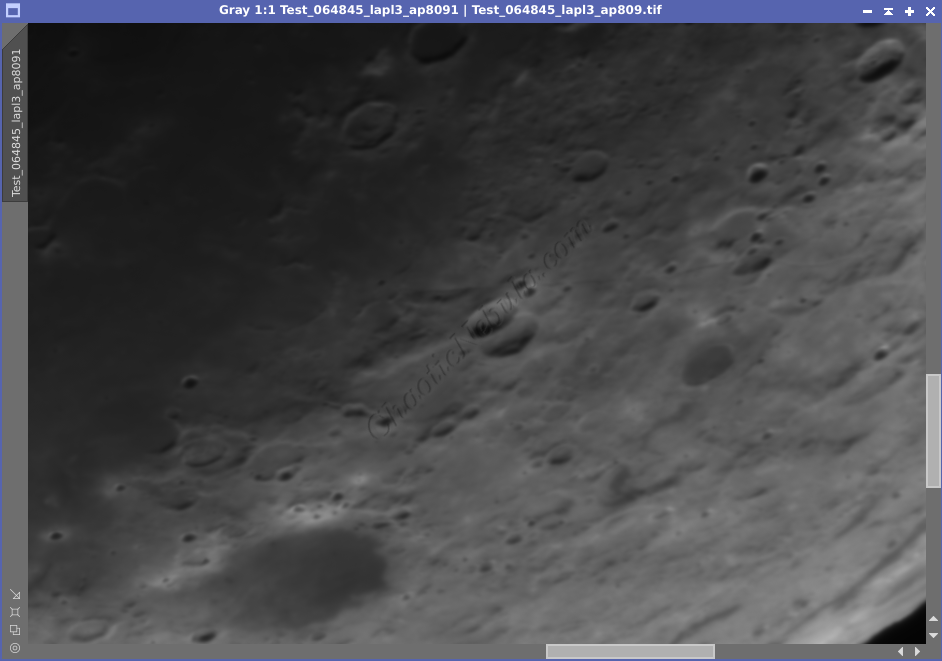


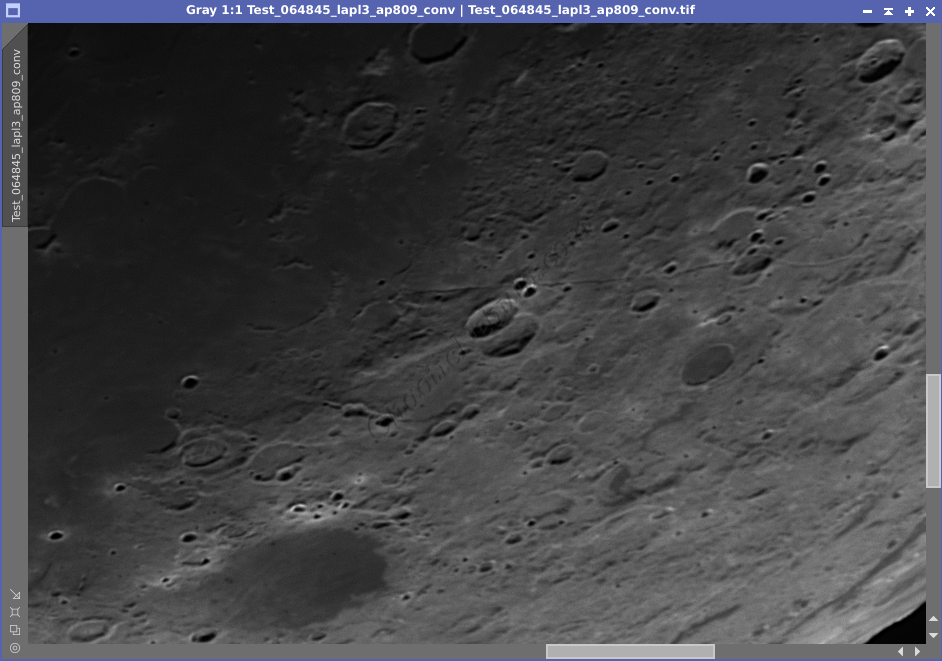
Although one frame looks good, it is the best frame of the sequence. But when you look closer, it is clear that the image is grainy. When stacking 10% of the frames, the graininess disappears, and the image is still higher quality than the other percentage options.
AutoStakkert can also help with sharpening the image. Only looking at the 10% option, you can easily see how the surface details are higher quality when running through the sharpening process.
What’s Next
Now that we have an a single image, we can do additional enhancements with PixInsight or GIMP.