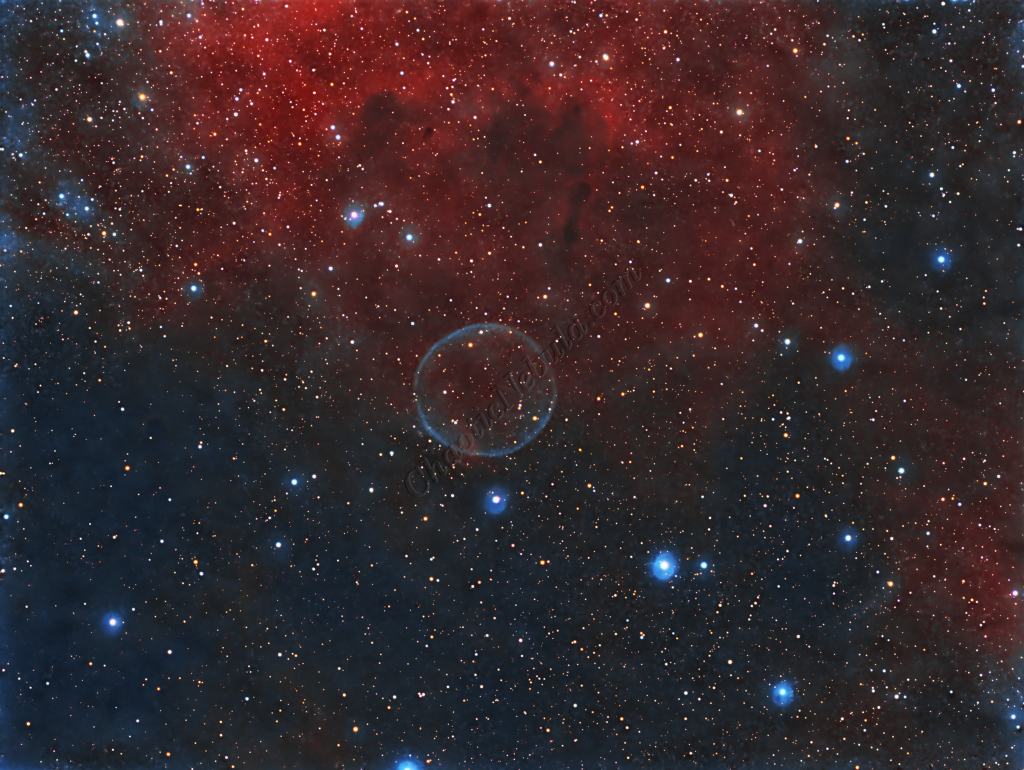
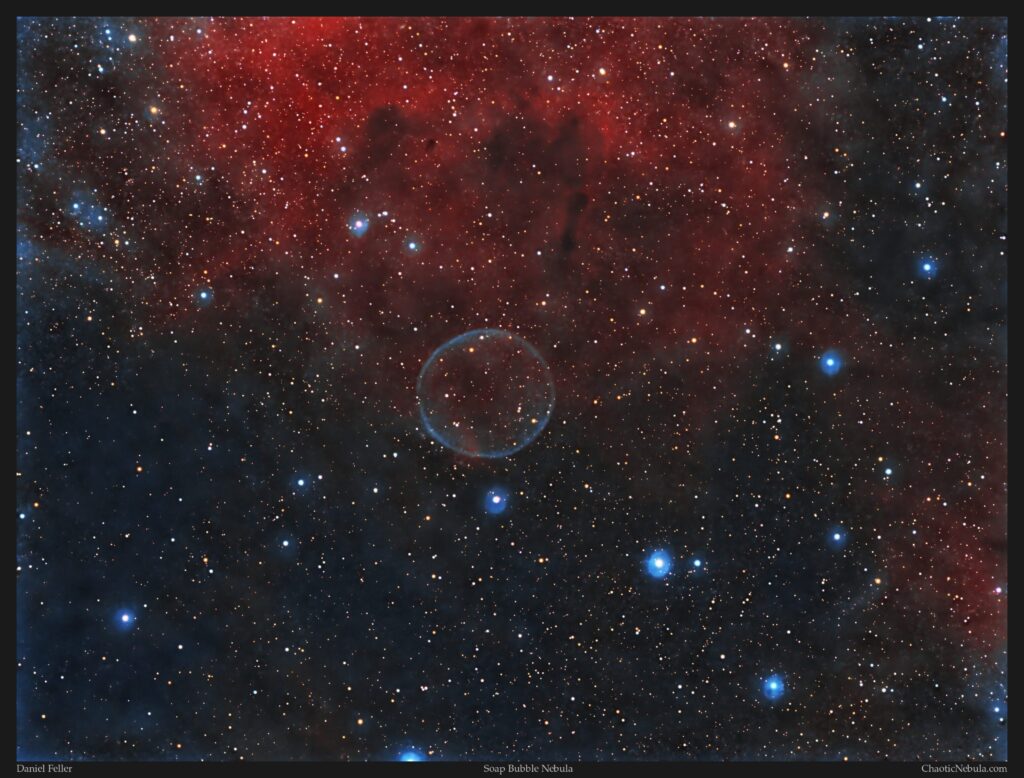
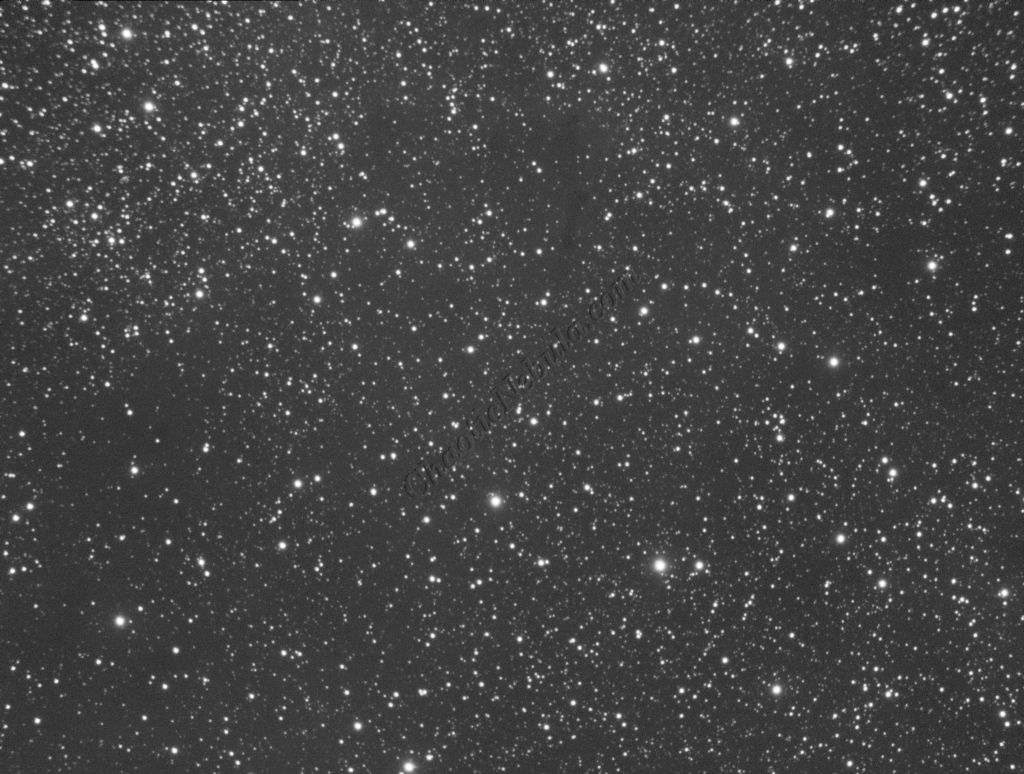
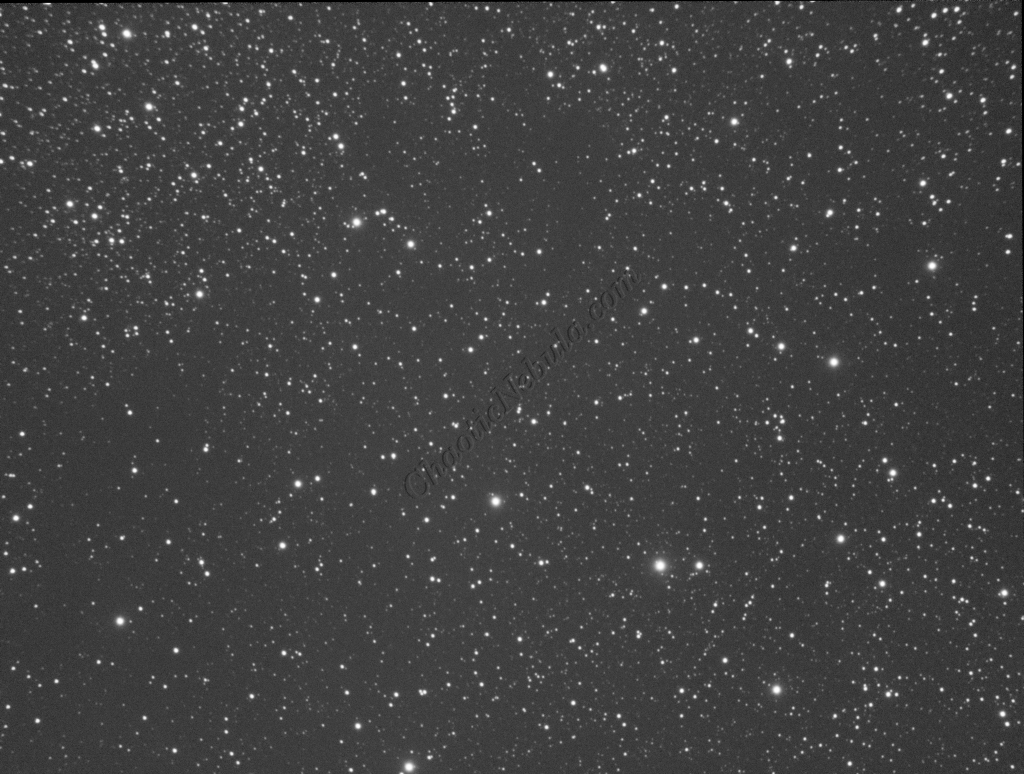
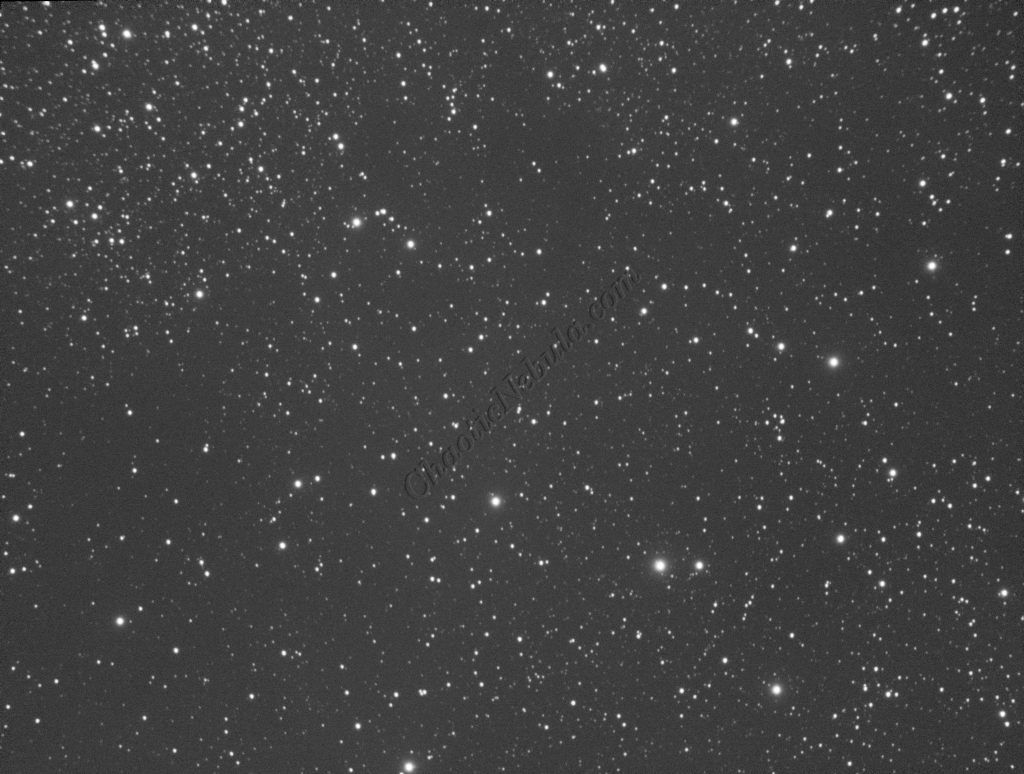
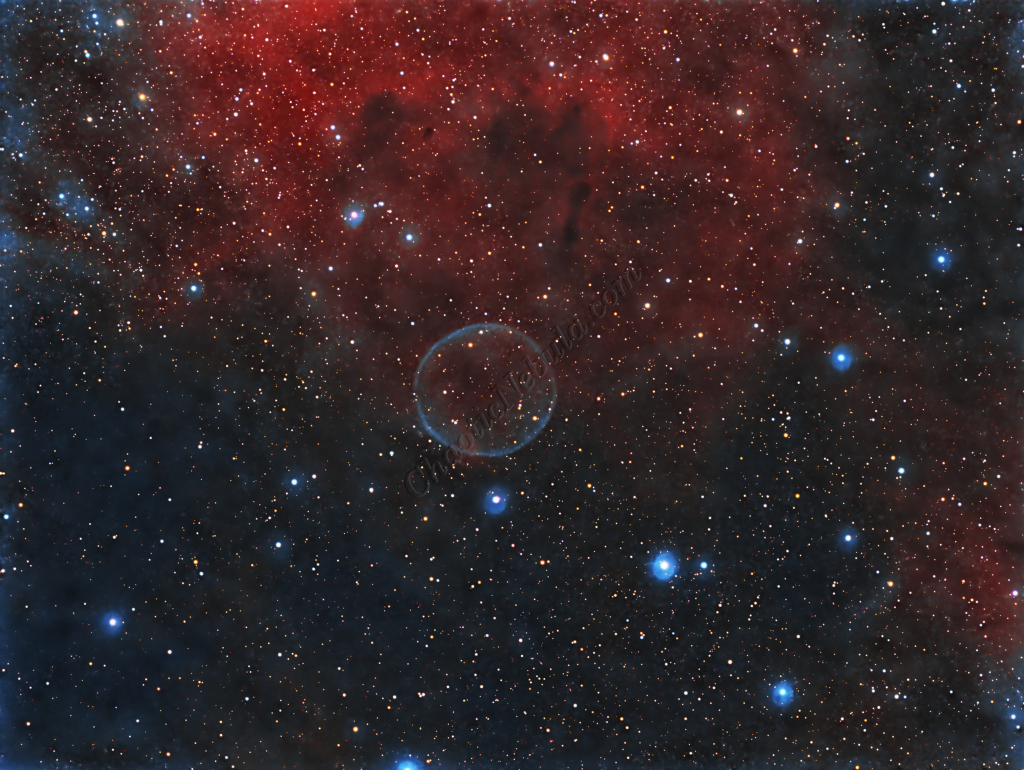
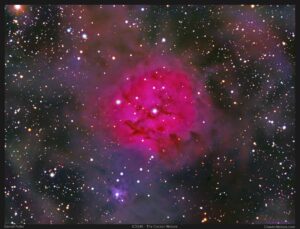
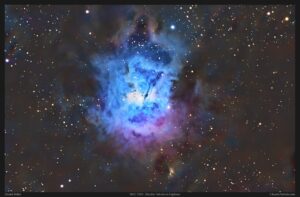
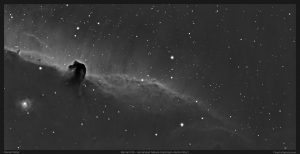
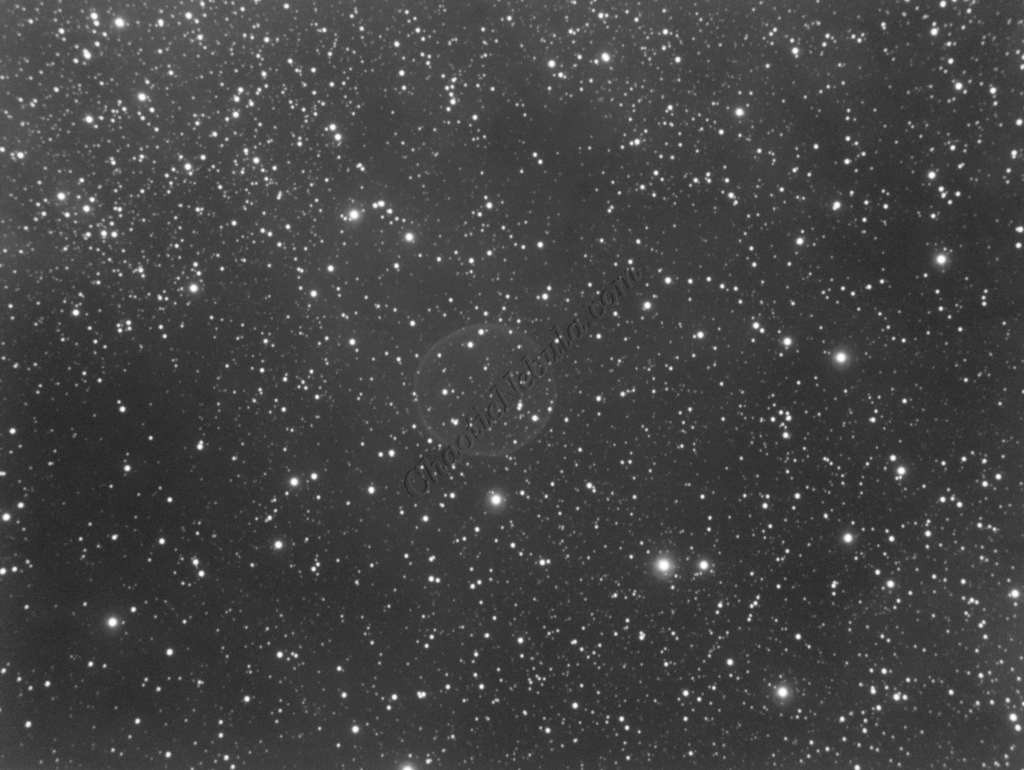
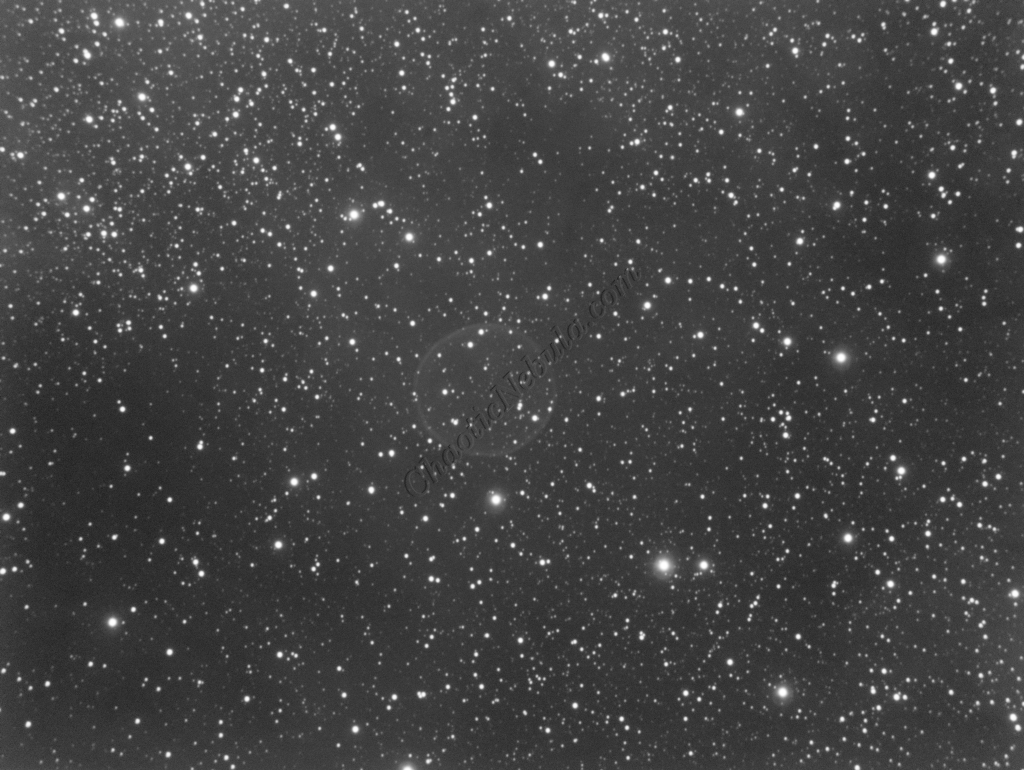
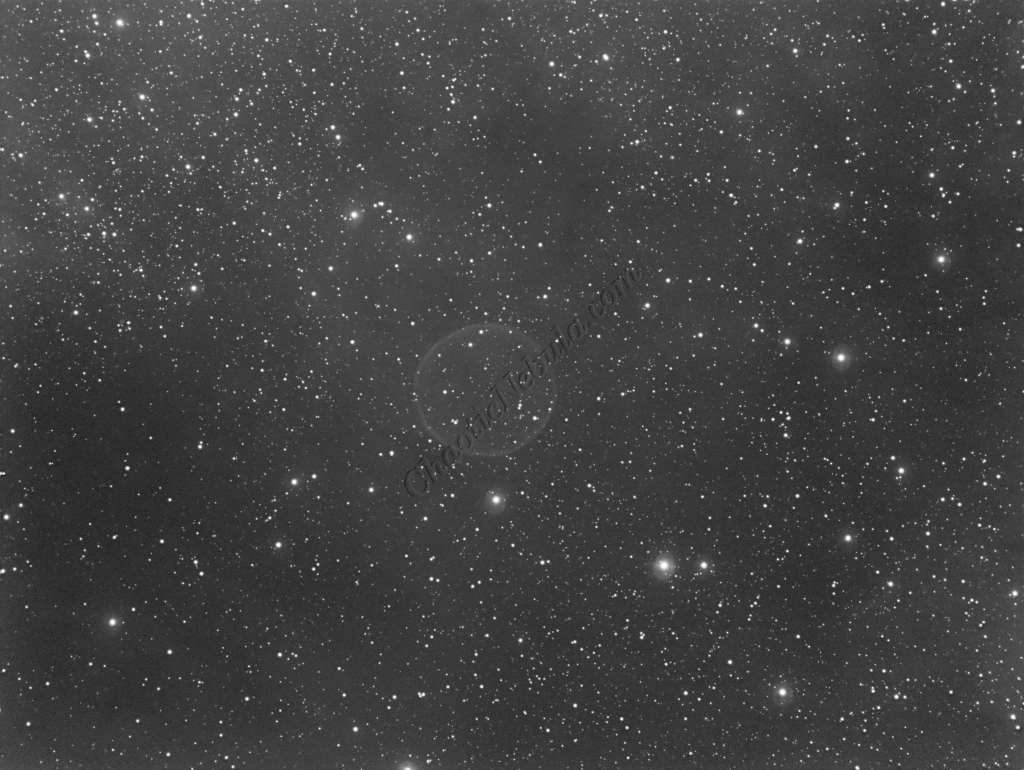
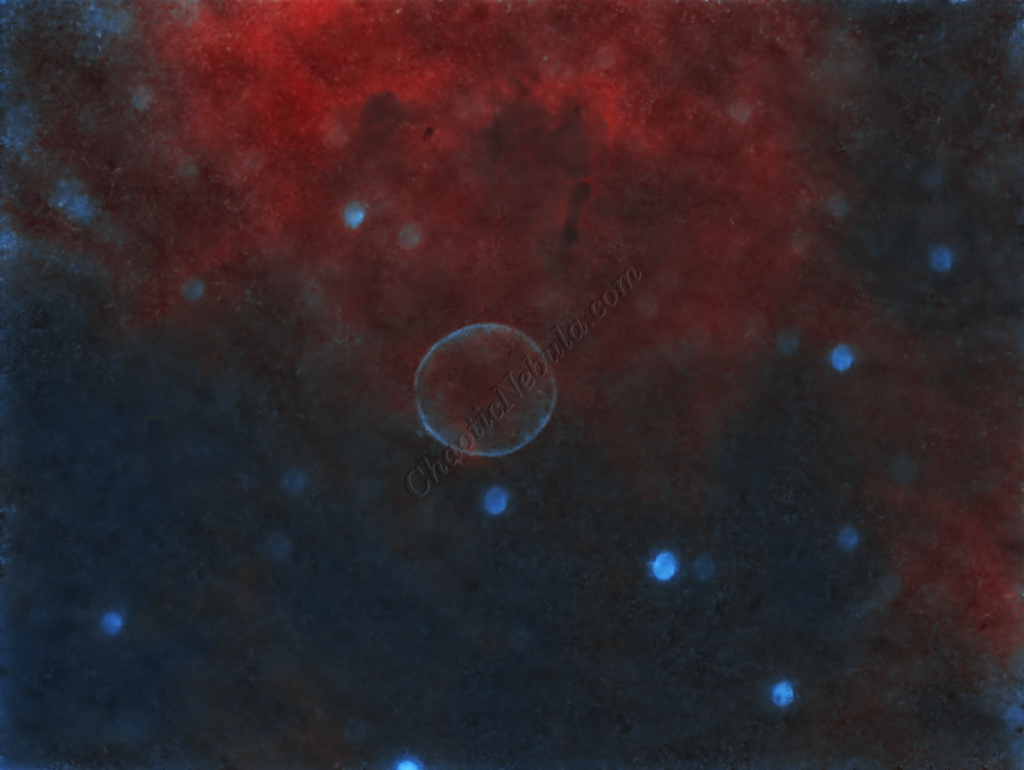
Located about 4,700 light-years away in the constellation Cygnus, the Soap Bubble Nebula (not to be confused with NGC 7635 – The Bubble Nebula) is a fascinating and elusive structure within the larger star-forming region surrounding the Crescent Nebula. This faint and delicate nebula gets its name from its nearly spherical shape, resembling a cosmic soap bubble floating in space.
The Soap Bubble Nebula is the result of a stellar wind from a massive star, WR 136, which is also responsible for the Crescent Nebula nearby. This hot, young Wolf-Rayet star has been shedding its outer layers of gas and dust for millions of years, creating a bubble of ionized gas and dust that expands outward into space. The intense radiation from WR 136 lights up the surrounding gas, giving the nebula its faint, glowing edges.
What makes the Soap Bubble Nebula intriguing is its relatively small size and its dim, ghostly glow. Despite being a part of the more famous Crescent Nebula complex, the Soap Bubble remains a challenge to observe, requiring long exposures and advanced imaging techniques to capture its faint structure.
Imaging Details
- Workflow: Narrowband workflow
- HA: 60*600 seconds
- OIII: 180*600 seconds
- Red: 30*60 seconds
- Green: 30*60 seconds
- Blue: 30*60 seconds
- Hydrogen-Alpha: 60*600 seconds
- Binning: 1×1
- Total Imaging Time: 40 hours
- Imaging Dates: (7 nights)
- 8/2/2024
- 8/6/2024
- 8/9/2024
- 8/10/2024
- 8/12/2024
- 8/30/2024
- 8/31/2024
Imaging Notes
Different aspects of the nebula appear better with either the Hydrogen-Alpha, Oxygen-III, and RGB filters.
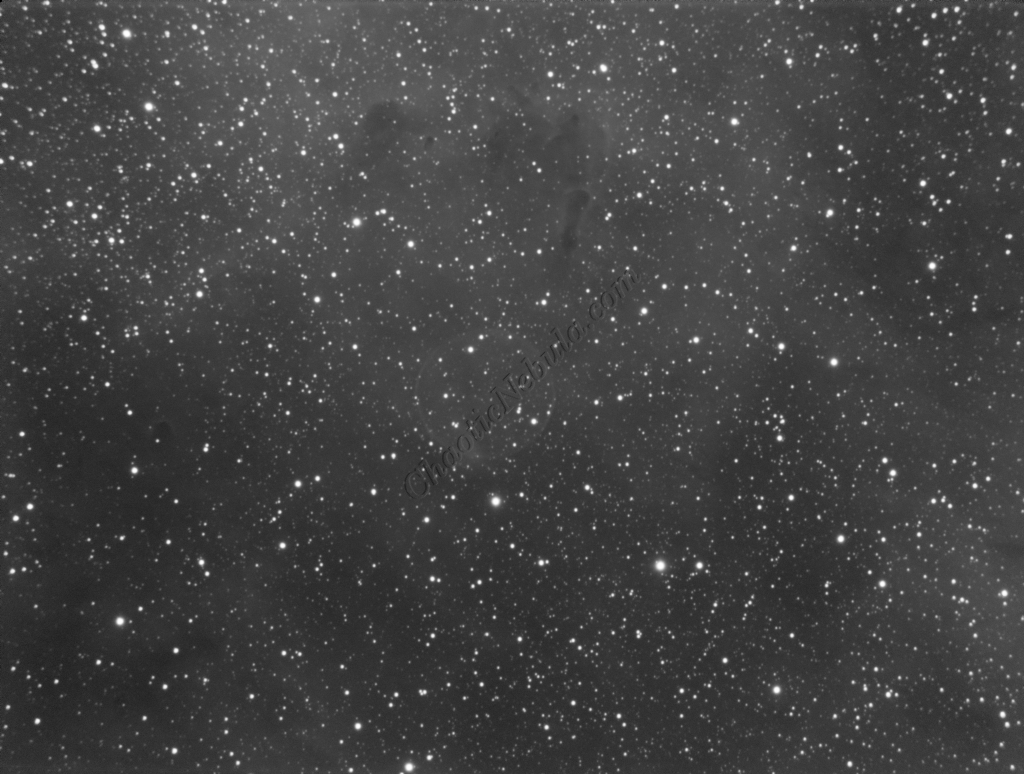
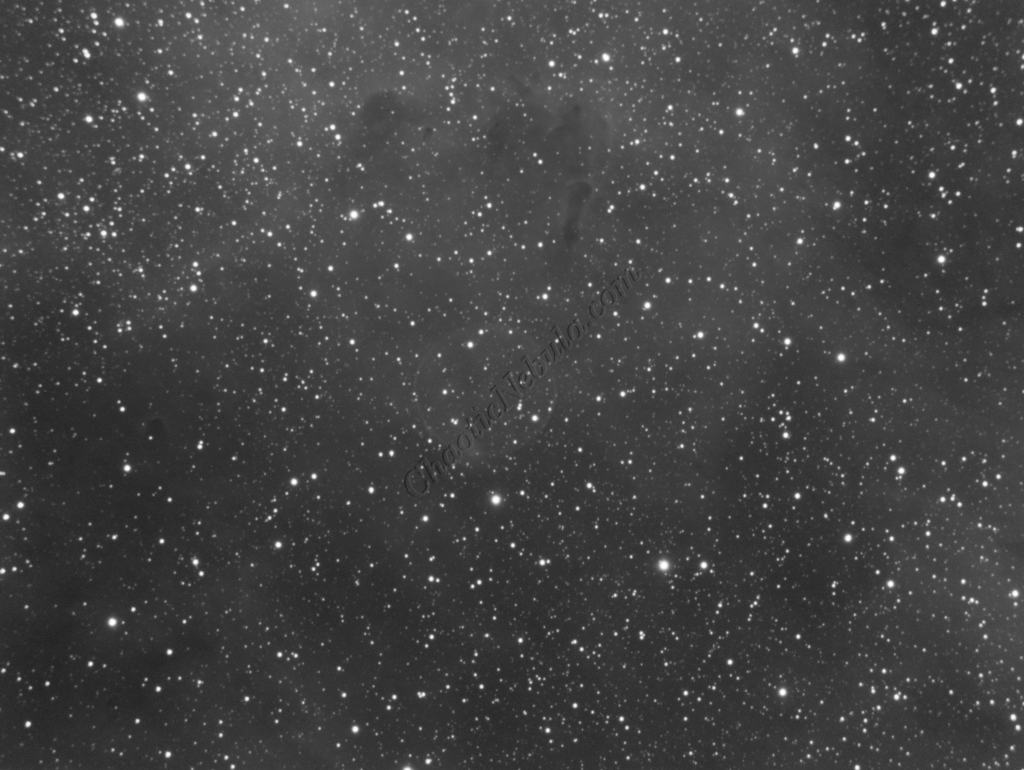
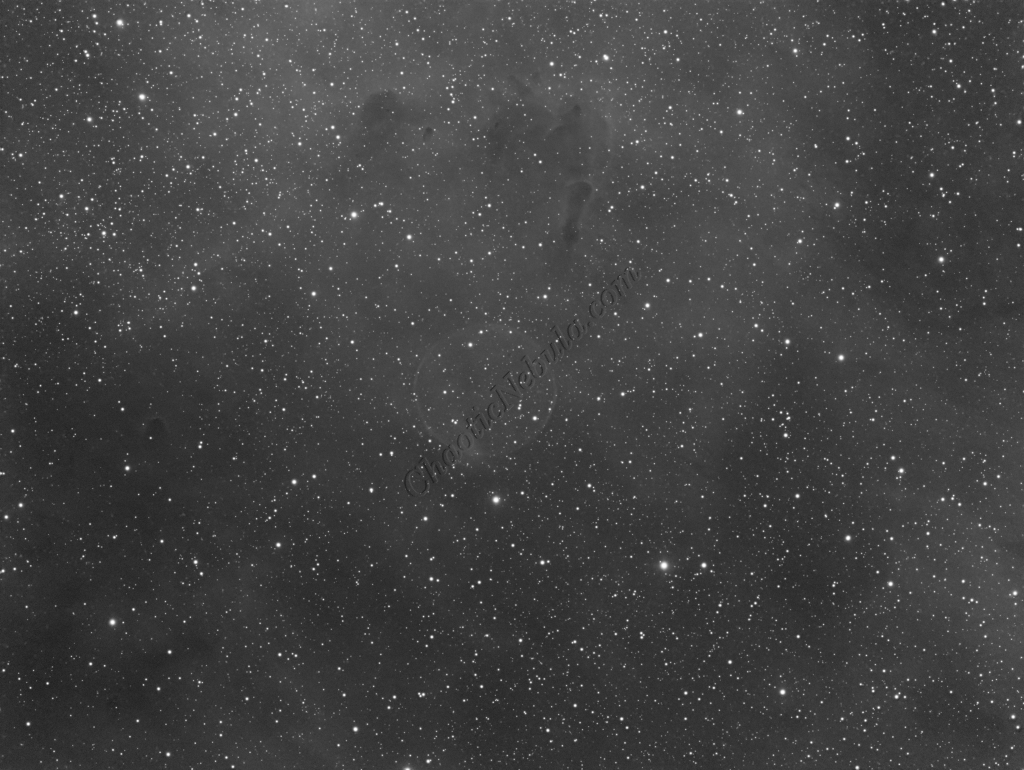
- Hydrogen-Alpha: HA shows the rich, detailed structure of the surrounding nebula, giving a diffuse red glow. This filter is good for capturing the details the nebula’s complex.
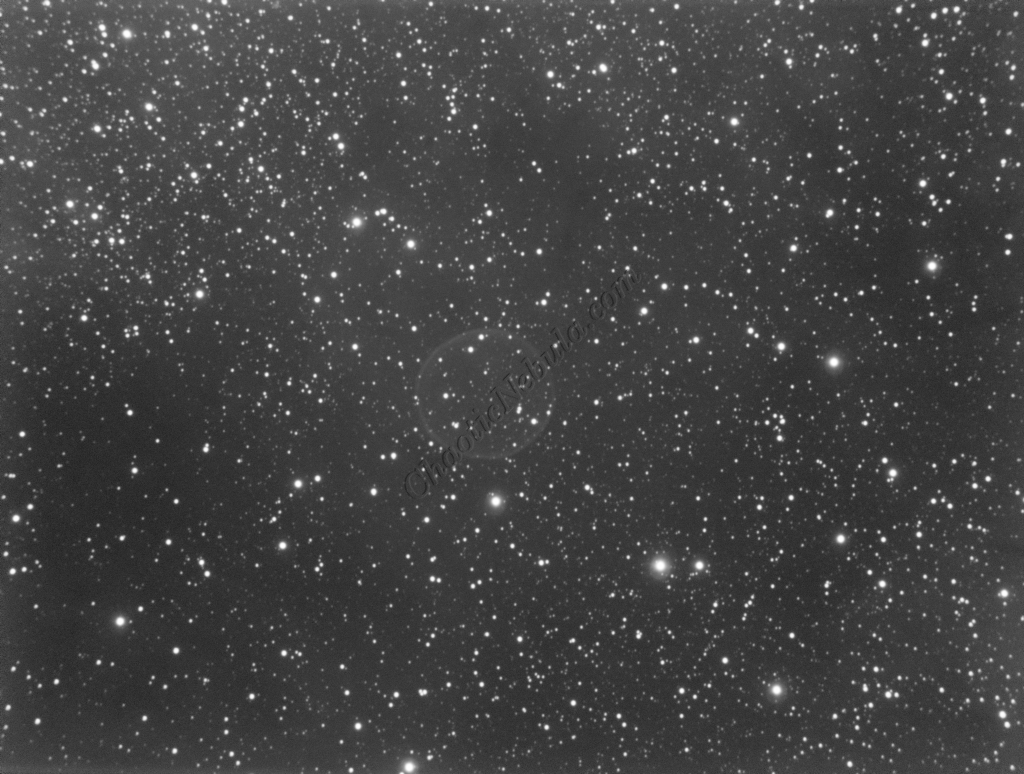
- Oxygen-III: The oxygen lines tend to highlight the nebula’s more defined, sharp-edged structure, particularly in the outer parts of the bubble, making it stand out with greater contrast. In addition, OIII is more prominent in the outer regions of nebula.
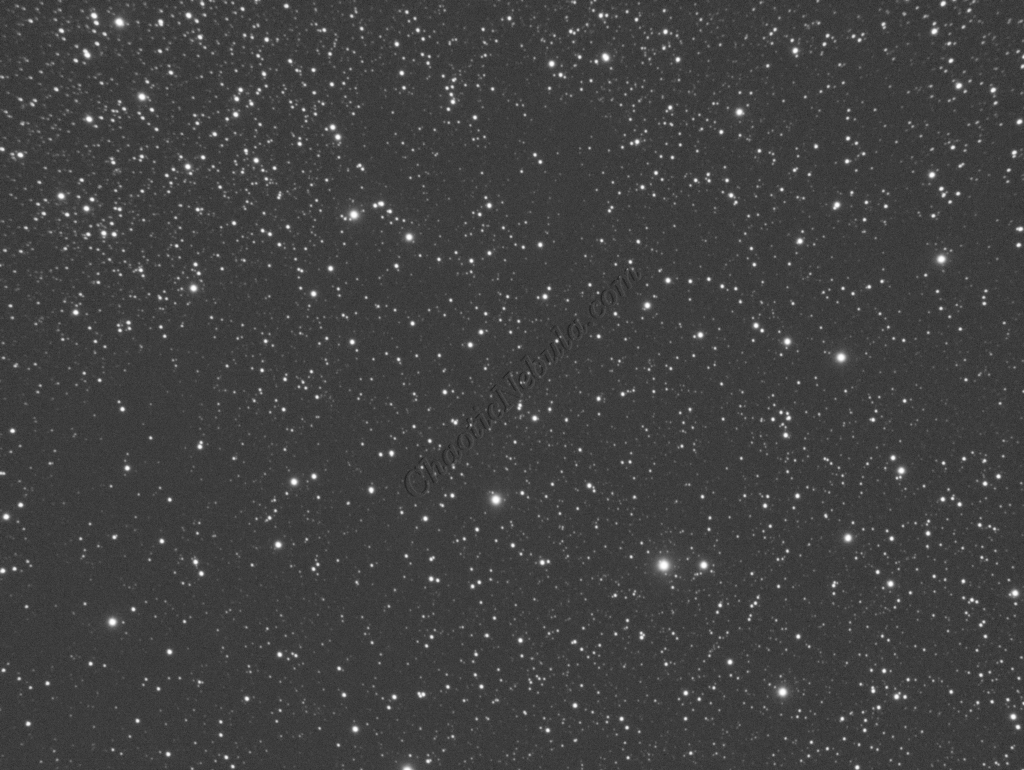
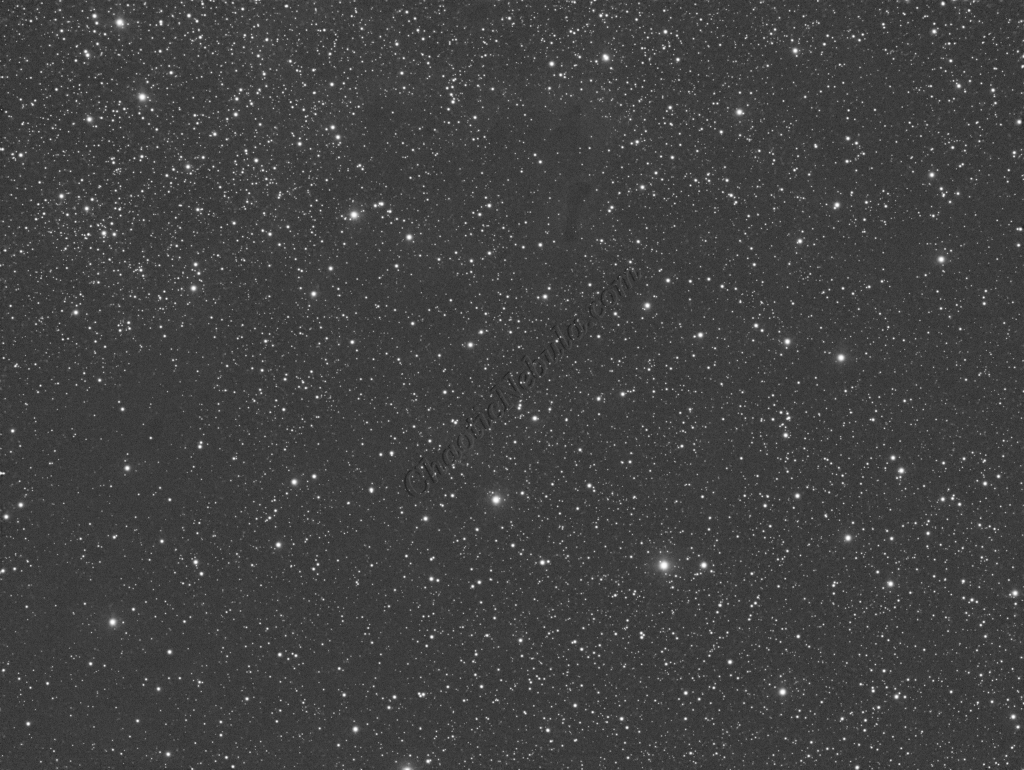
- RGB: Red, Green, and Blue filters are used to provide real star color vs simulated ones derived from the narrowband filters. .
Imaging Workflow
This image followed the Narrowband workflow
Integrated Image
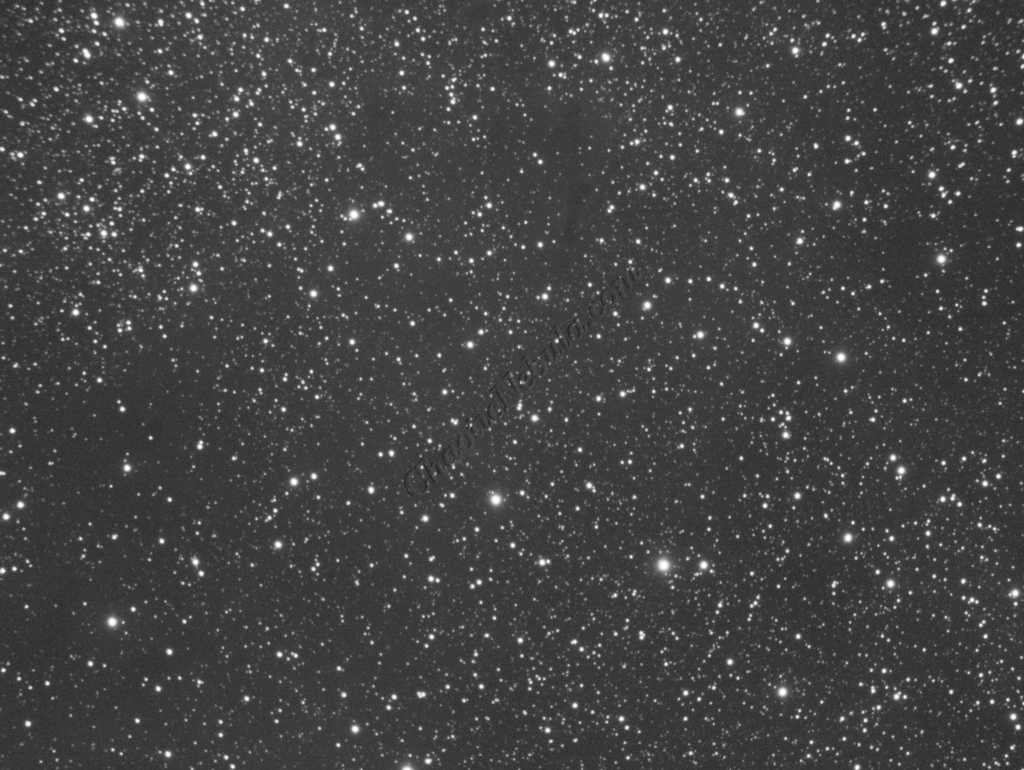
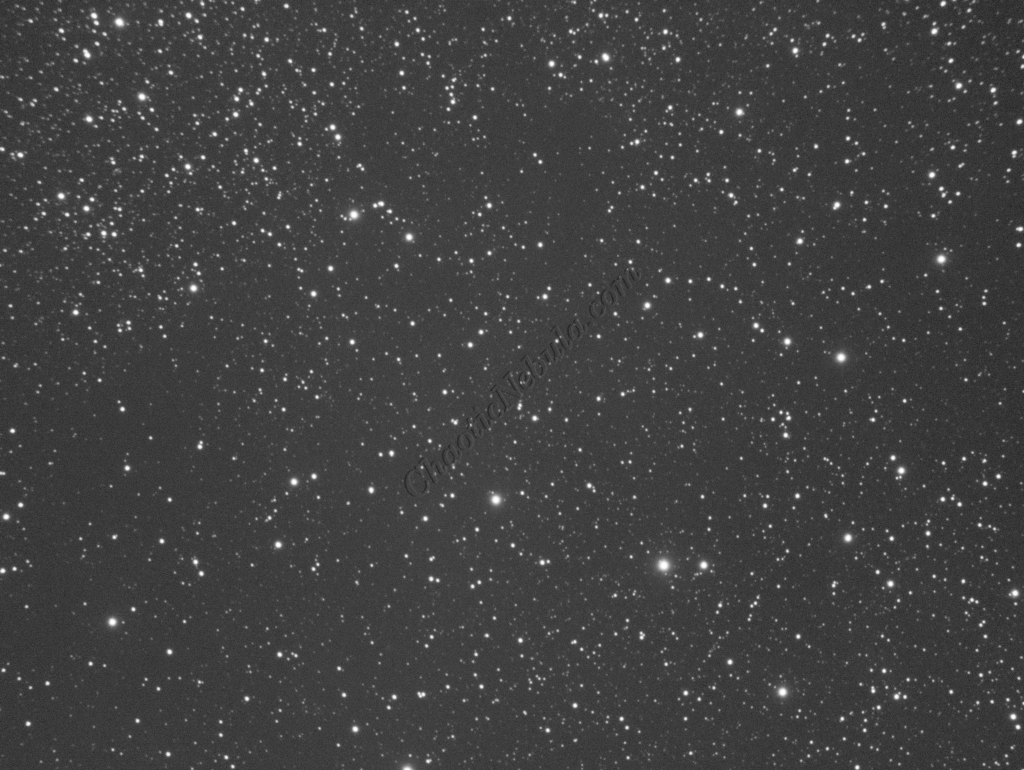
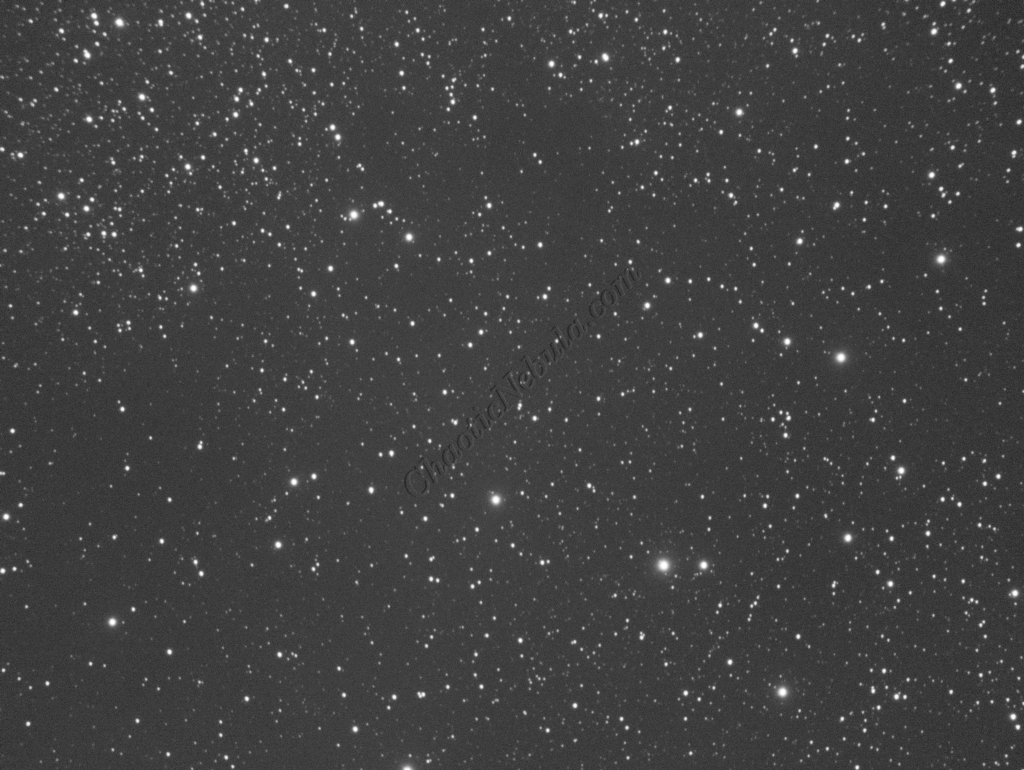
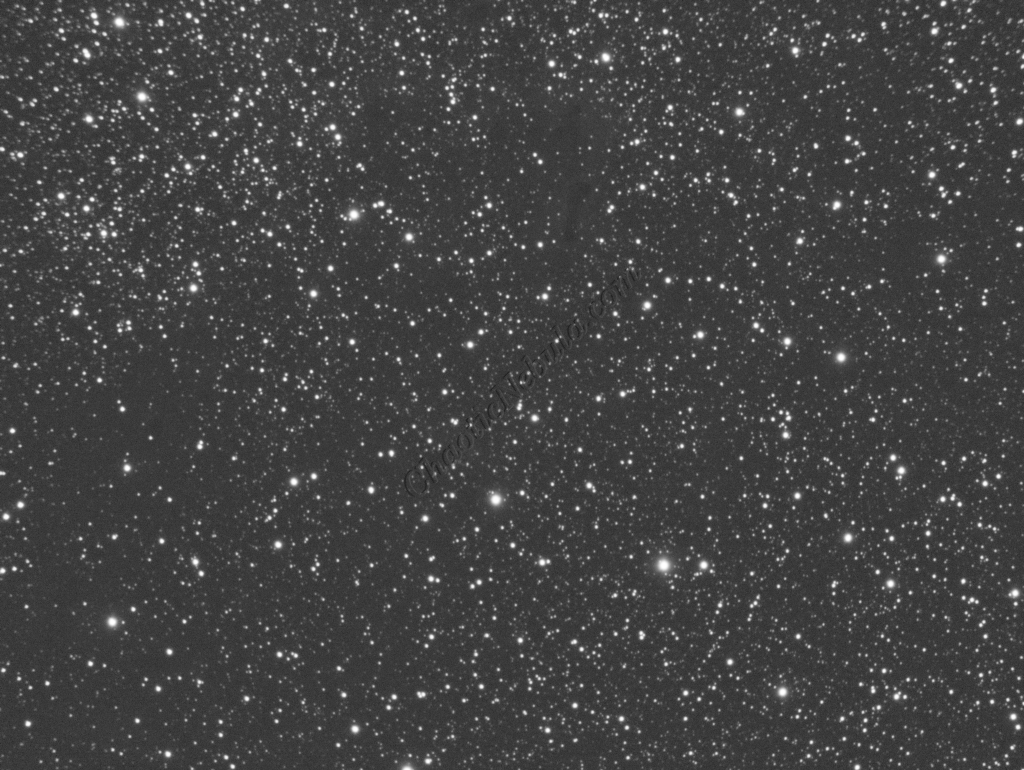
I started off with two images for Hydrogen-Alpha and Oxygen-III filters. I did my normal integration process with drizzle integration.
Crop
The Dynamic Crop process was applied to remove the rough edges from the images.
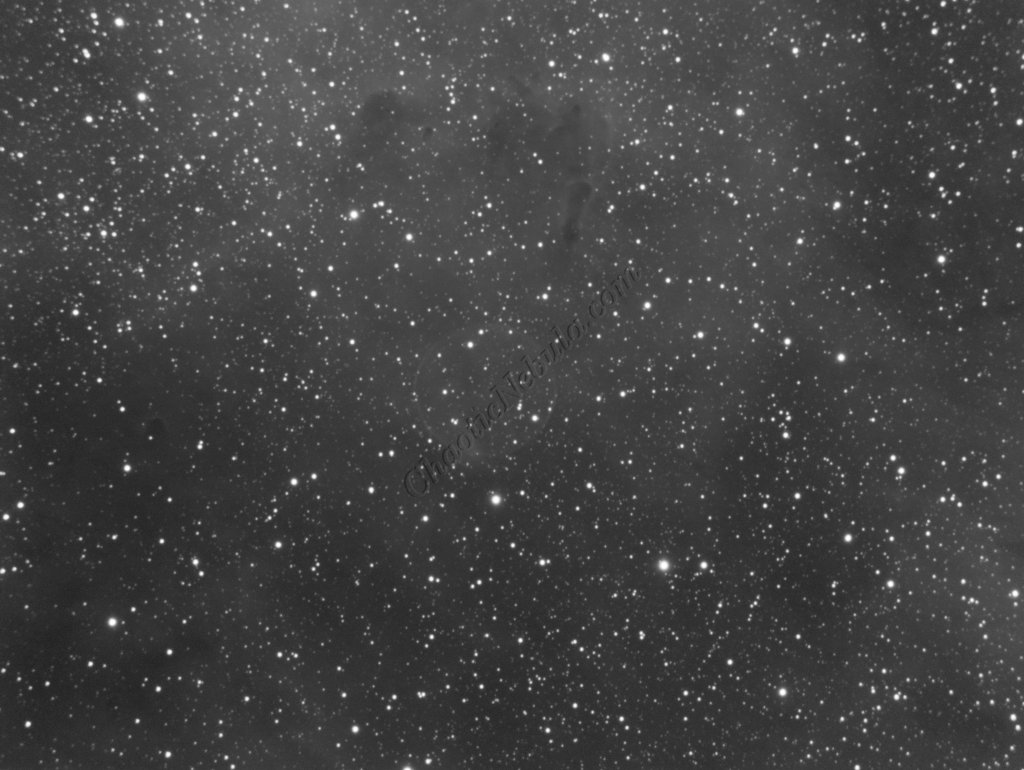
Gradient Correction
The Gradient Correction process made it easy to remove the extreme darkness/brightness around the edges.
Deconvolution
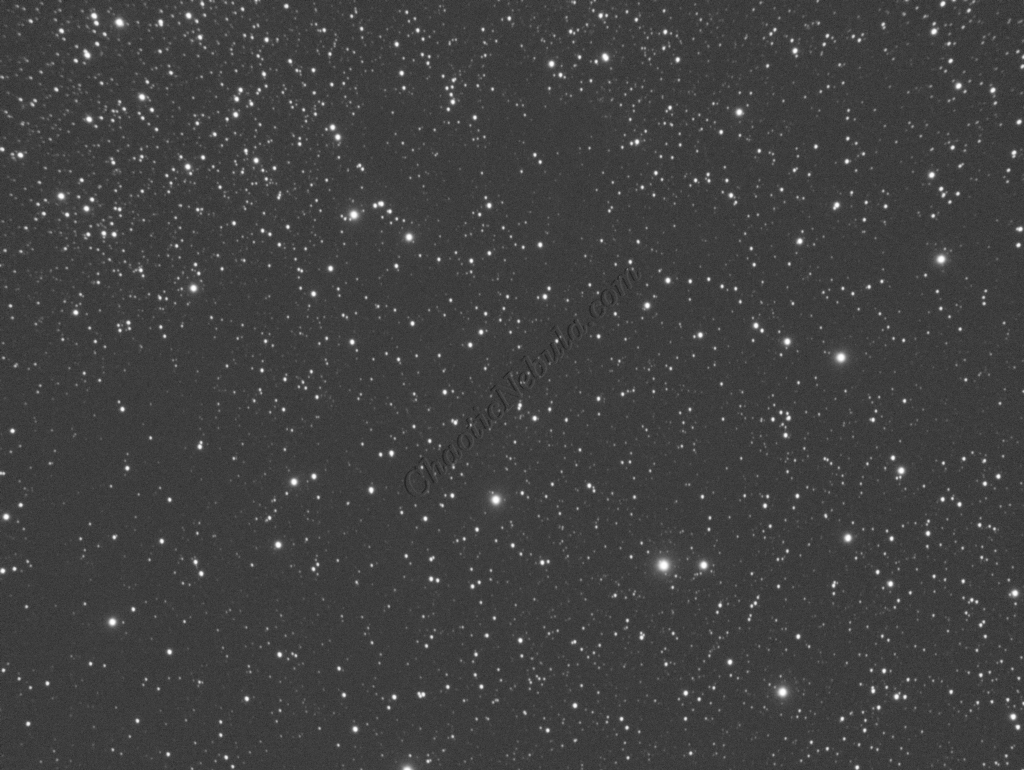
BlurXTerminator is applied two times. The first time is for Correction only. This takes care of the coma (blurring of stars along the edges).
The second application of BlurXTerminator handles deconvolution, which improves the sharpness and details of the nebula while removing the blur from the image.
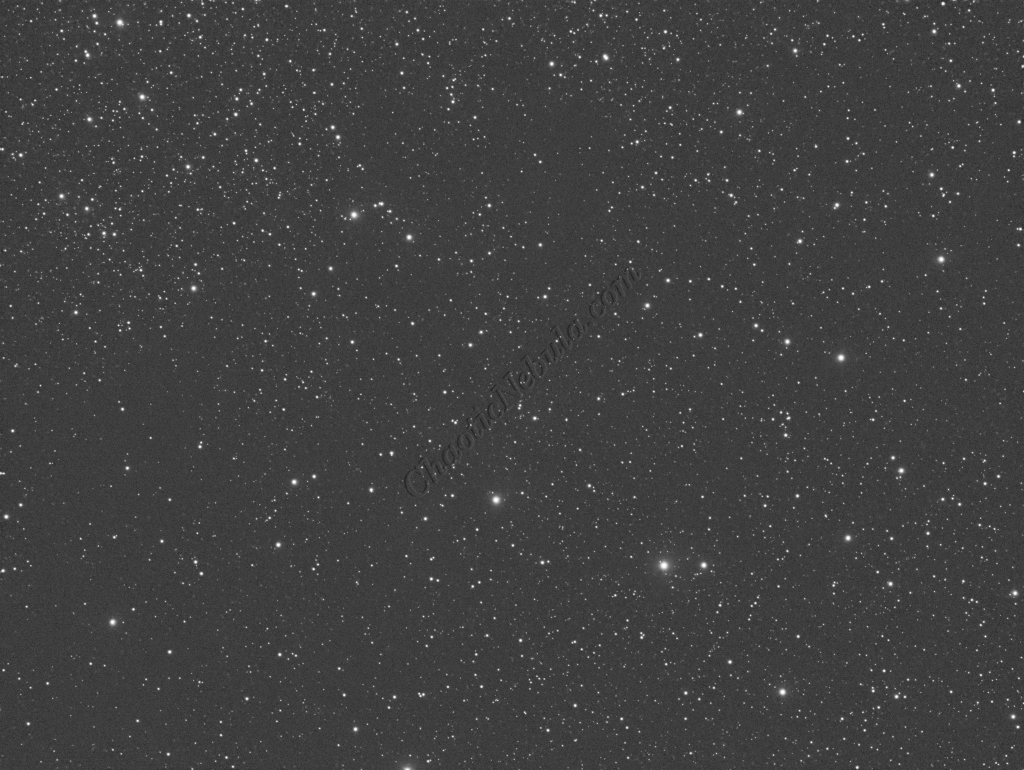
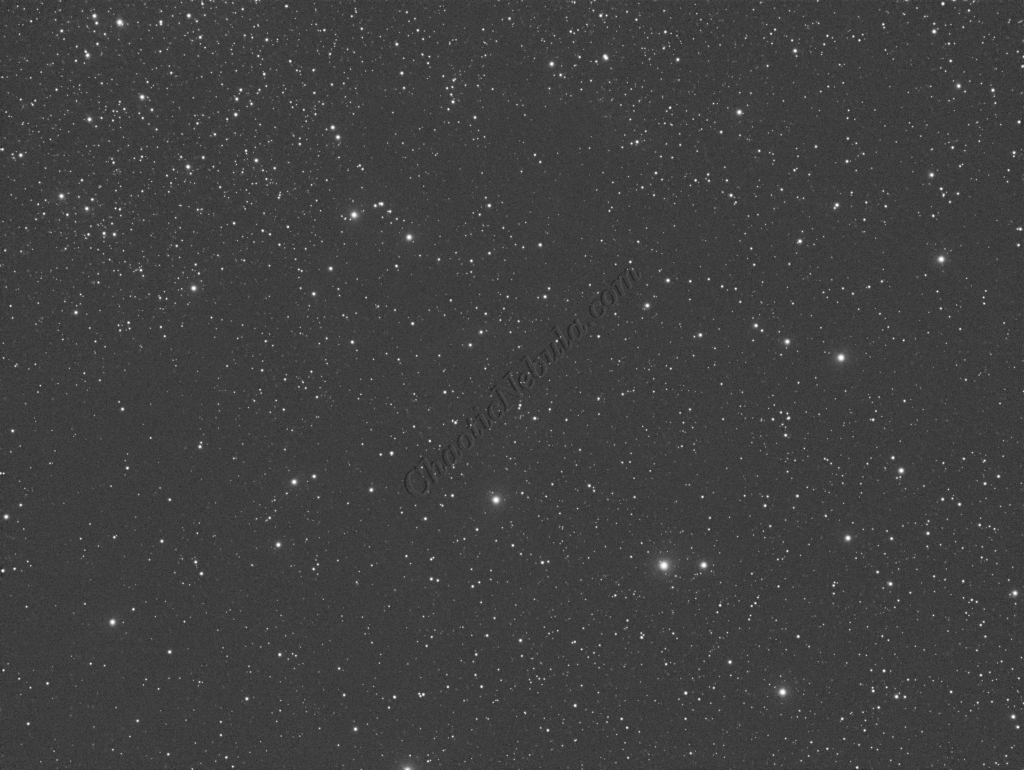
Noise Reduction
With the blurring corrected, it is time to do noise reduction. This time I used the new NoiseXTerminator add on.
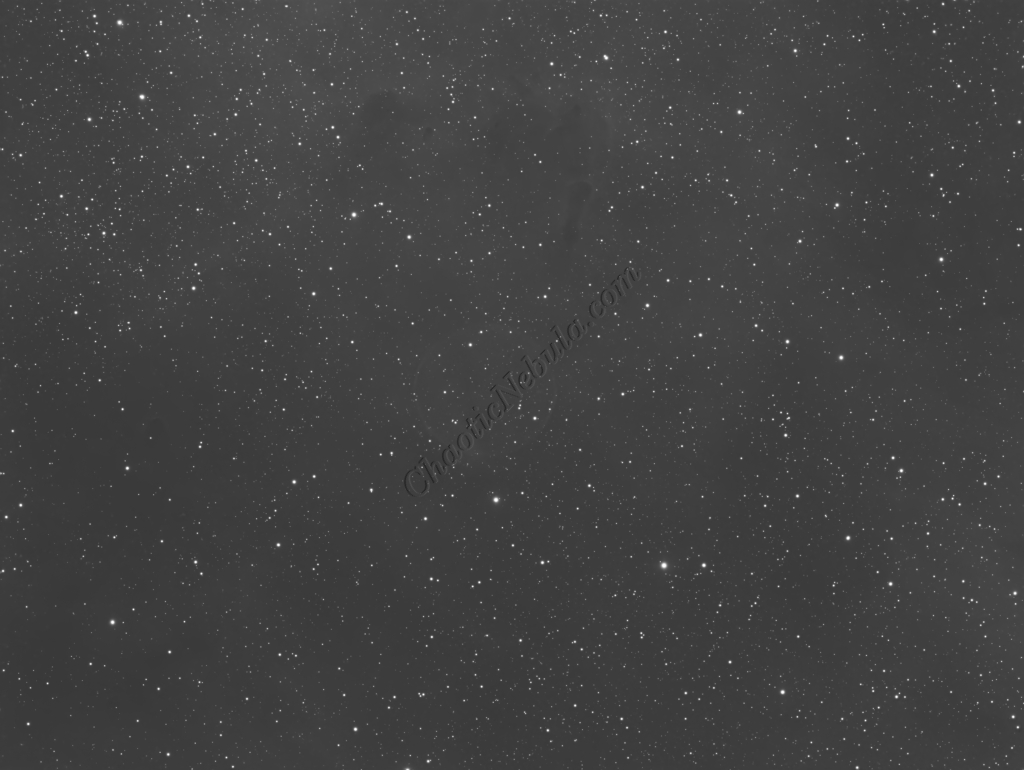
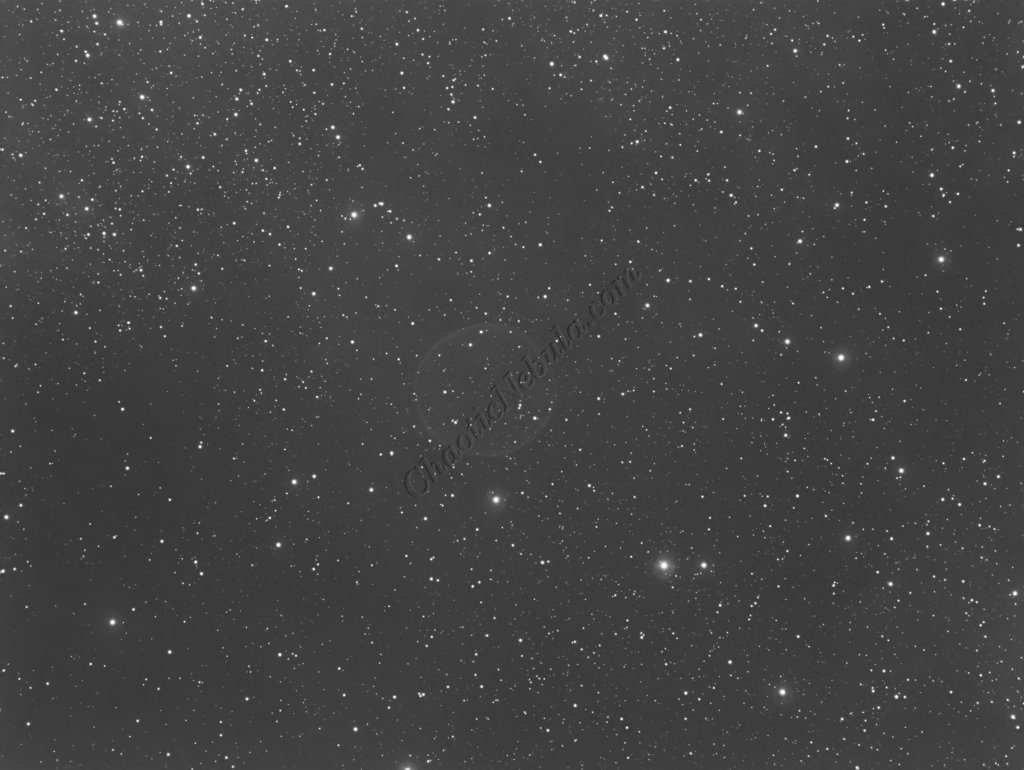
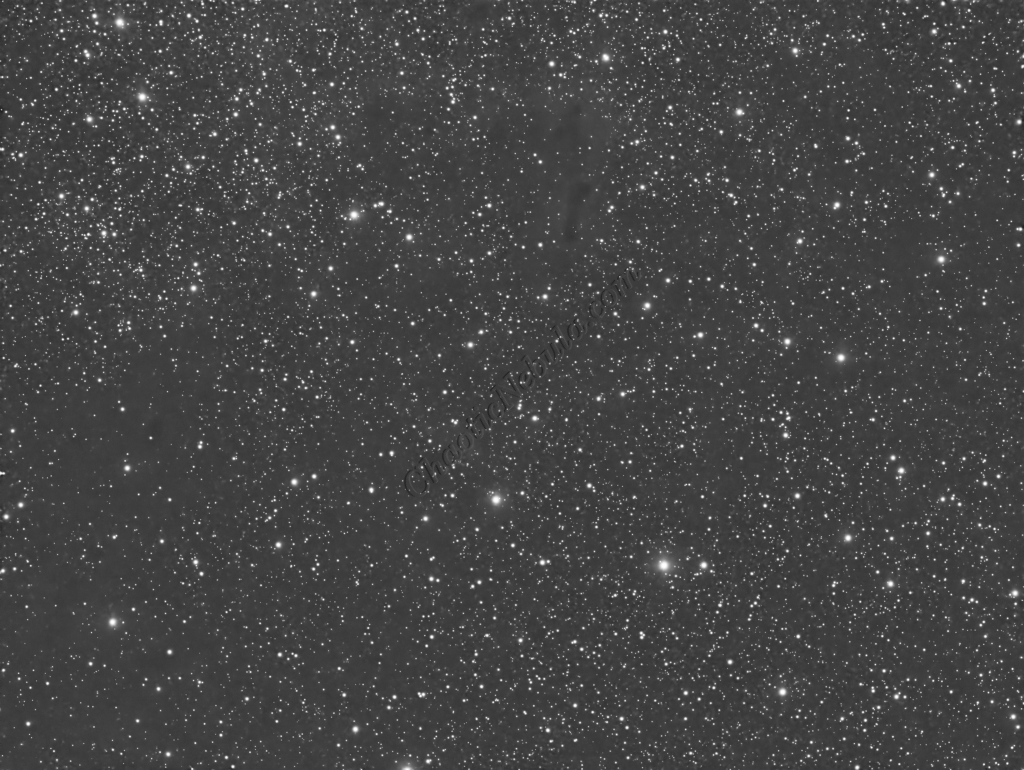
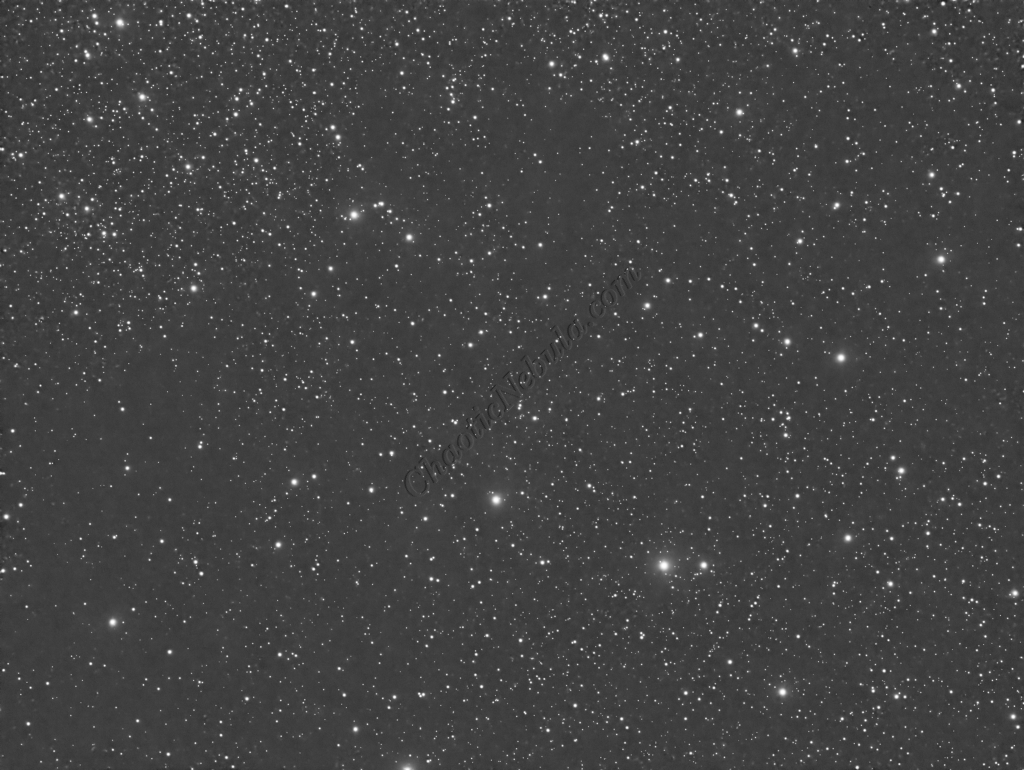
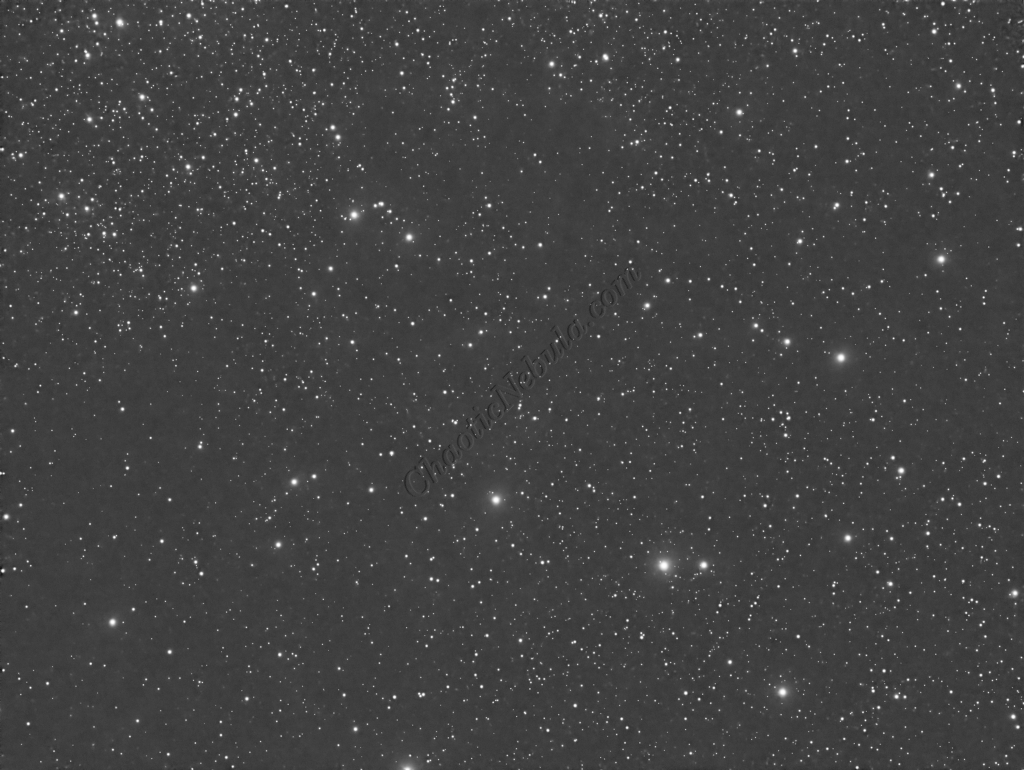
Channel Combination:
Dynamic Blend
The next step is to do a Linear Fit and then do Channel Combination. There are many ways to integrated the channels. This image used the Dynamic Blend approach.
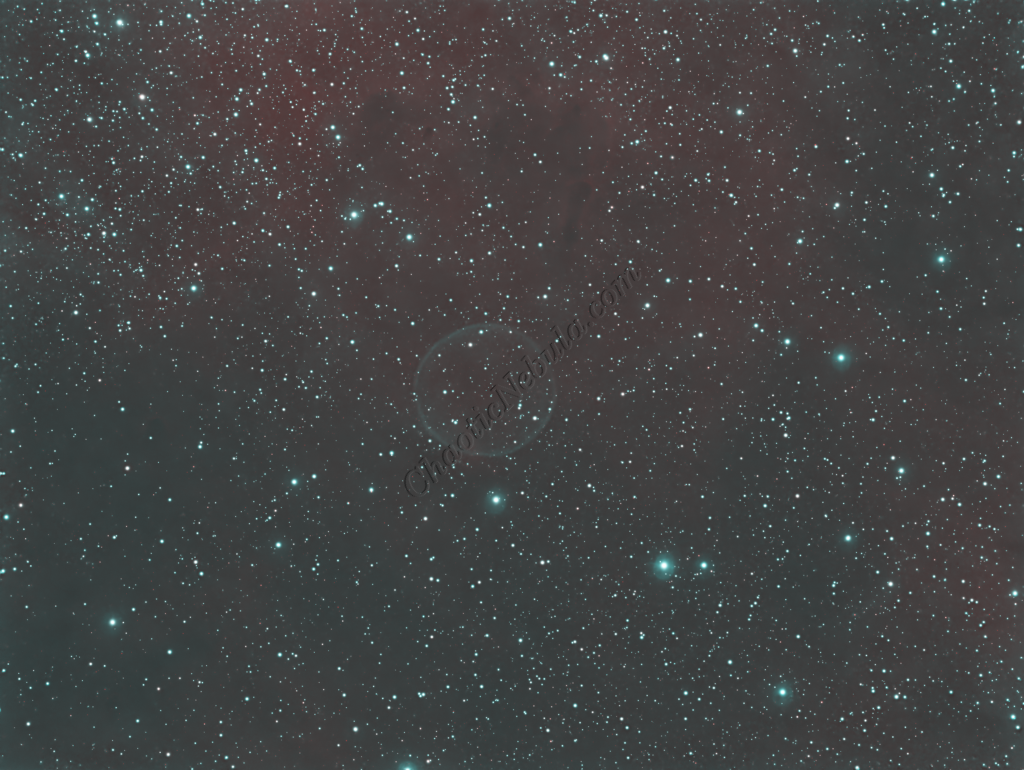
Star Removal
To better protect the stars from bloating due to additional processing, they are removed with StarNet+. However, because this area of the sky is well populated with stars, the starless image looks very blotchy.
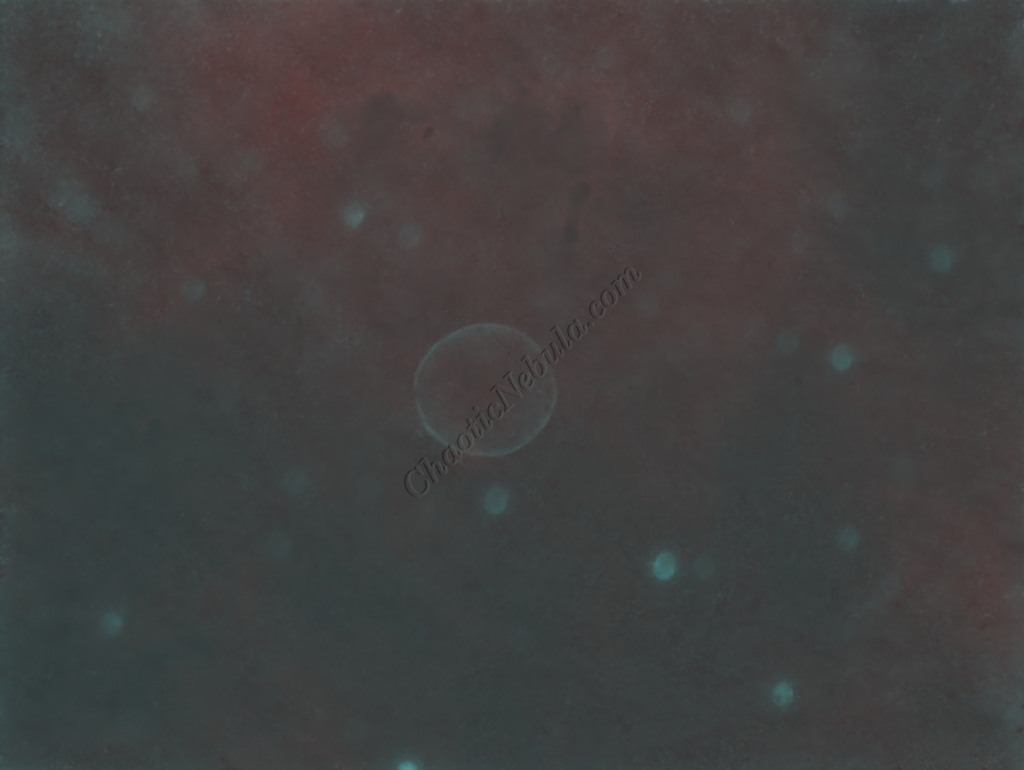
Histogram Stretch
I used histogram transformation to stretch the image.
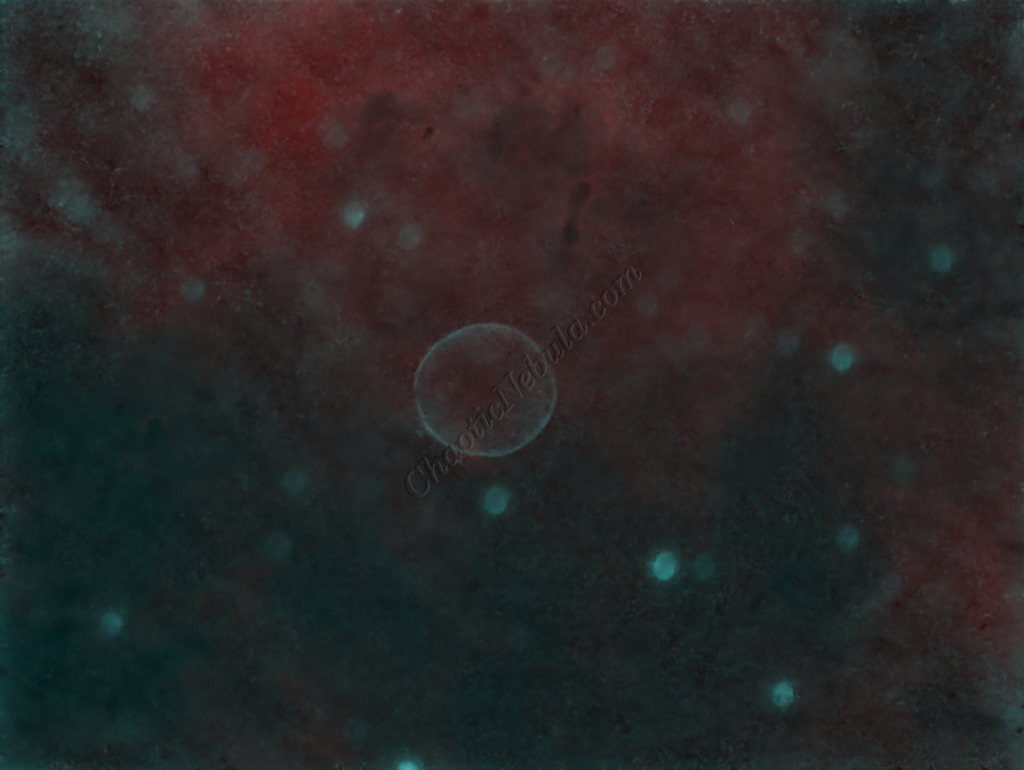
SCNR
SCNR was used to remove the green tint.

Color Saturation
PixInsight Curves Transformation increased the overall color saturation.
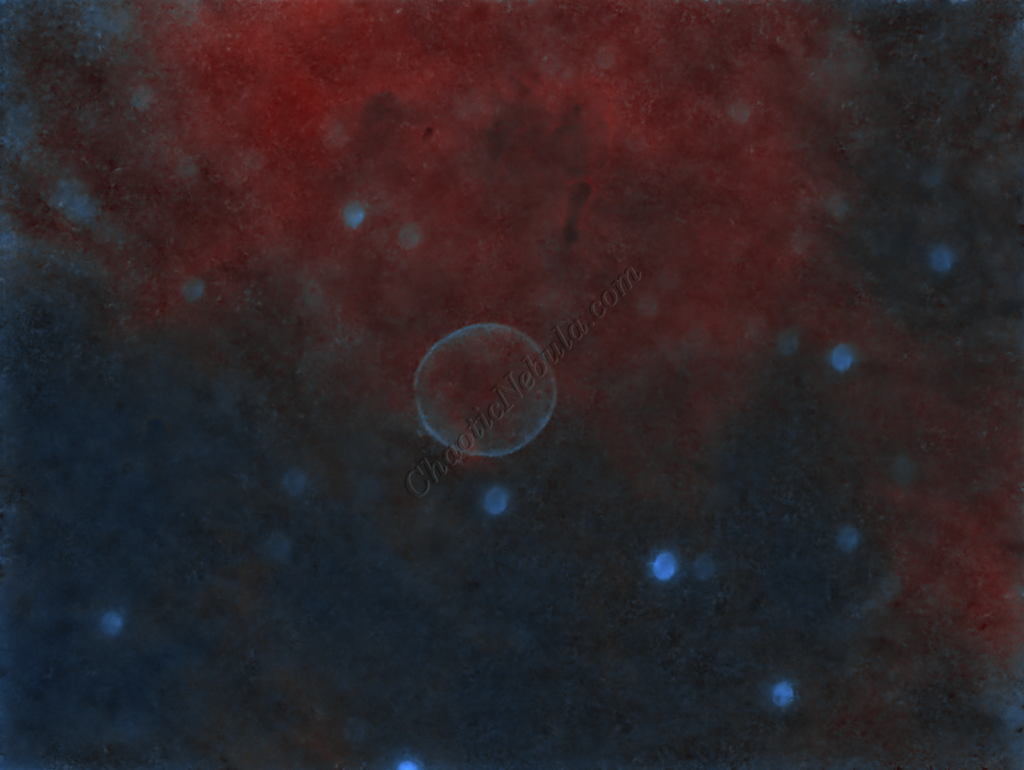
Brightness
PixInsight Curves Transformation increased the overall brightness of the image.
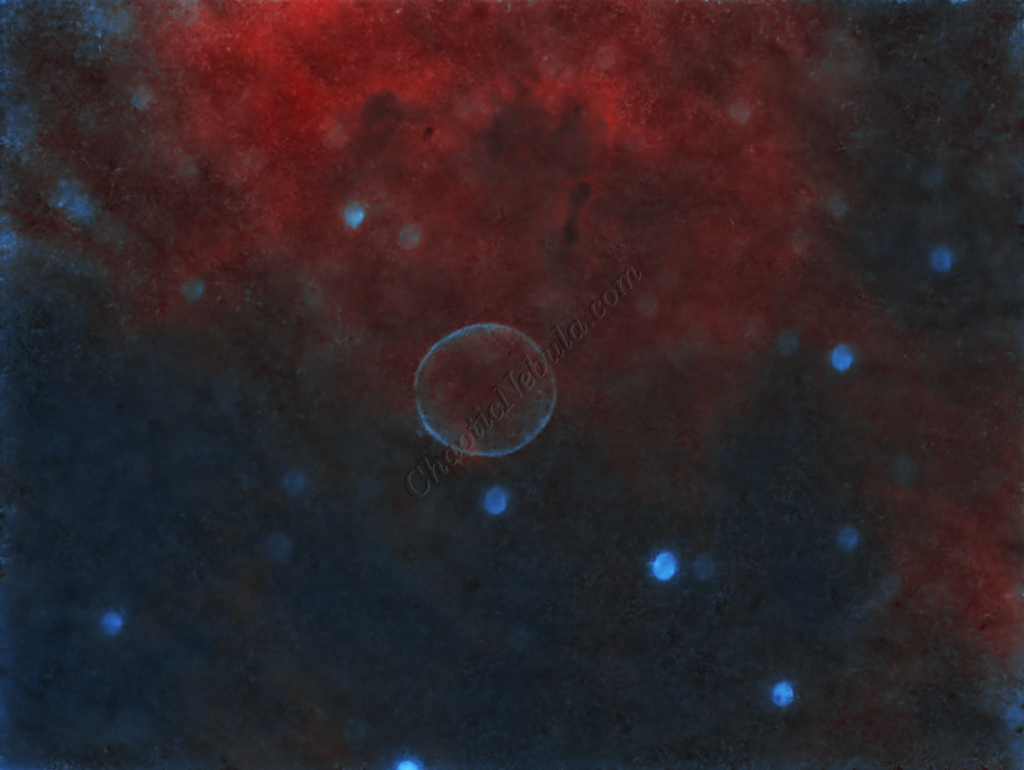
ACDNR for Chrominance
Although NoiseXTerminator did a great job in removing the noise from the image early on in the workflow, some of the processing might have added noise in the color. Applying ACDNR for only chrominance helps correct this without losing details.
Stars
Pixel Math was used to re-add the star field back into the image only using the Red, Green, and Blue images. Starnet was applied to those images to create a star mask. Those masks were linearly fit and then integrated and stretched before applying to this image.
