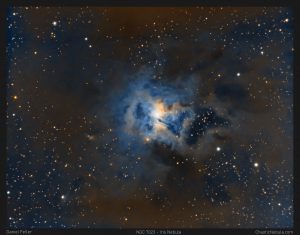
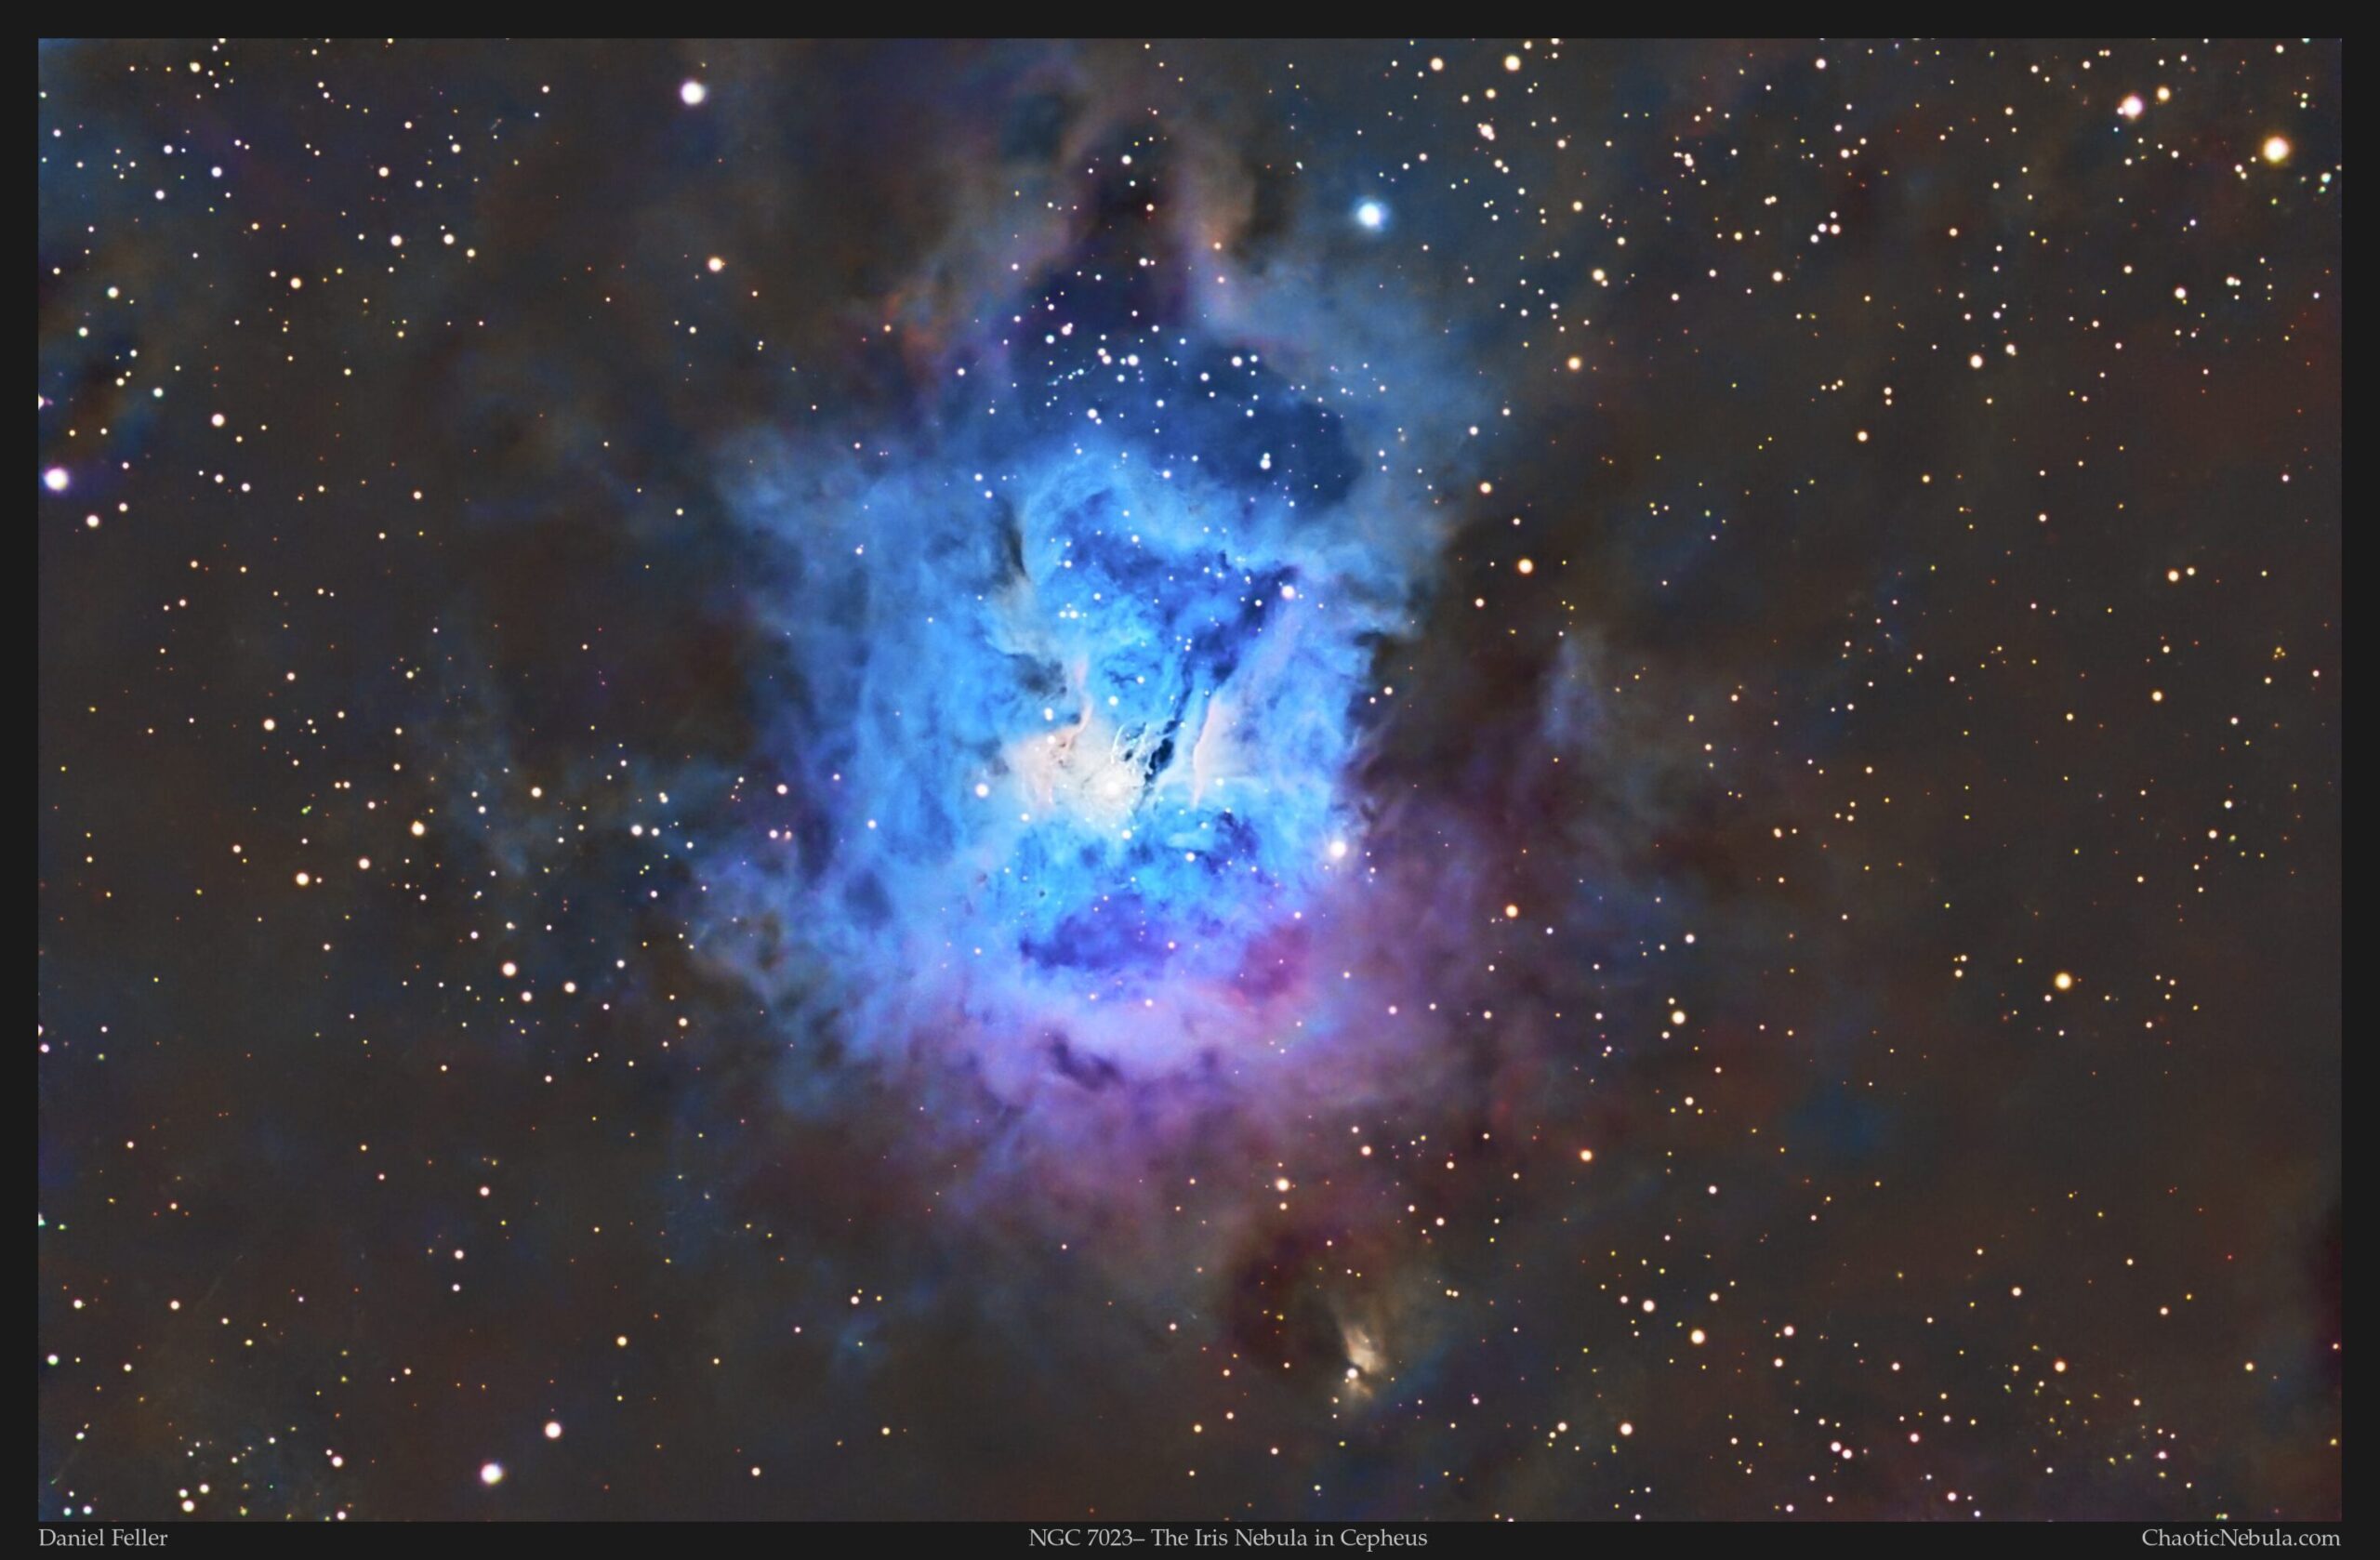
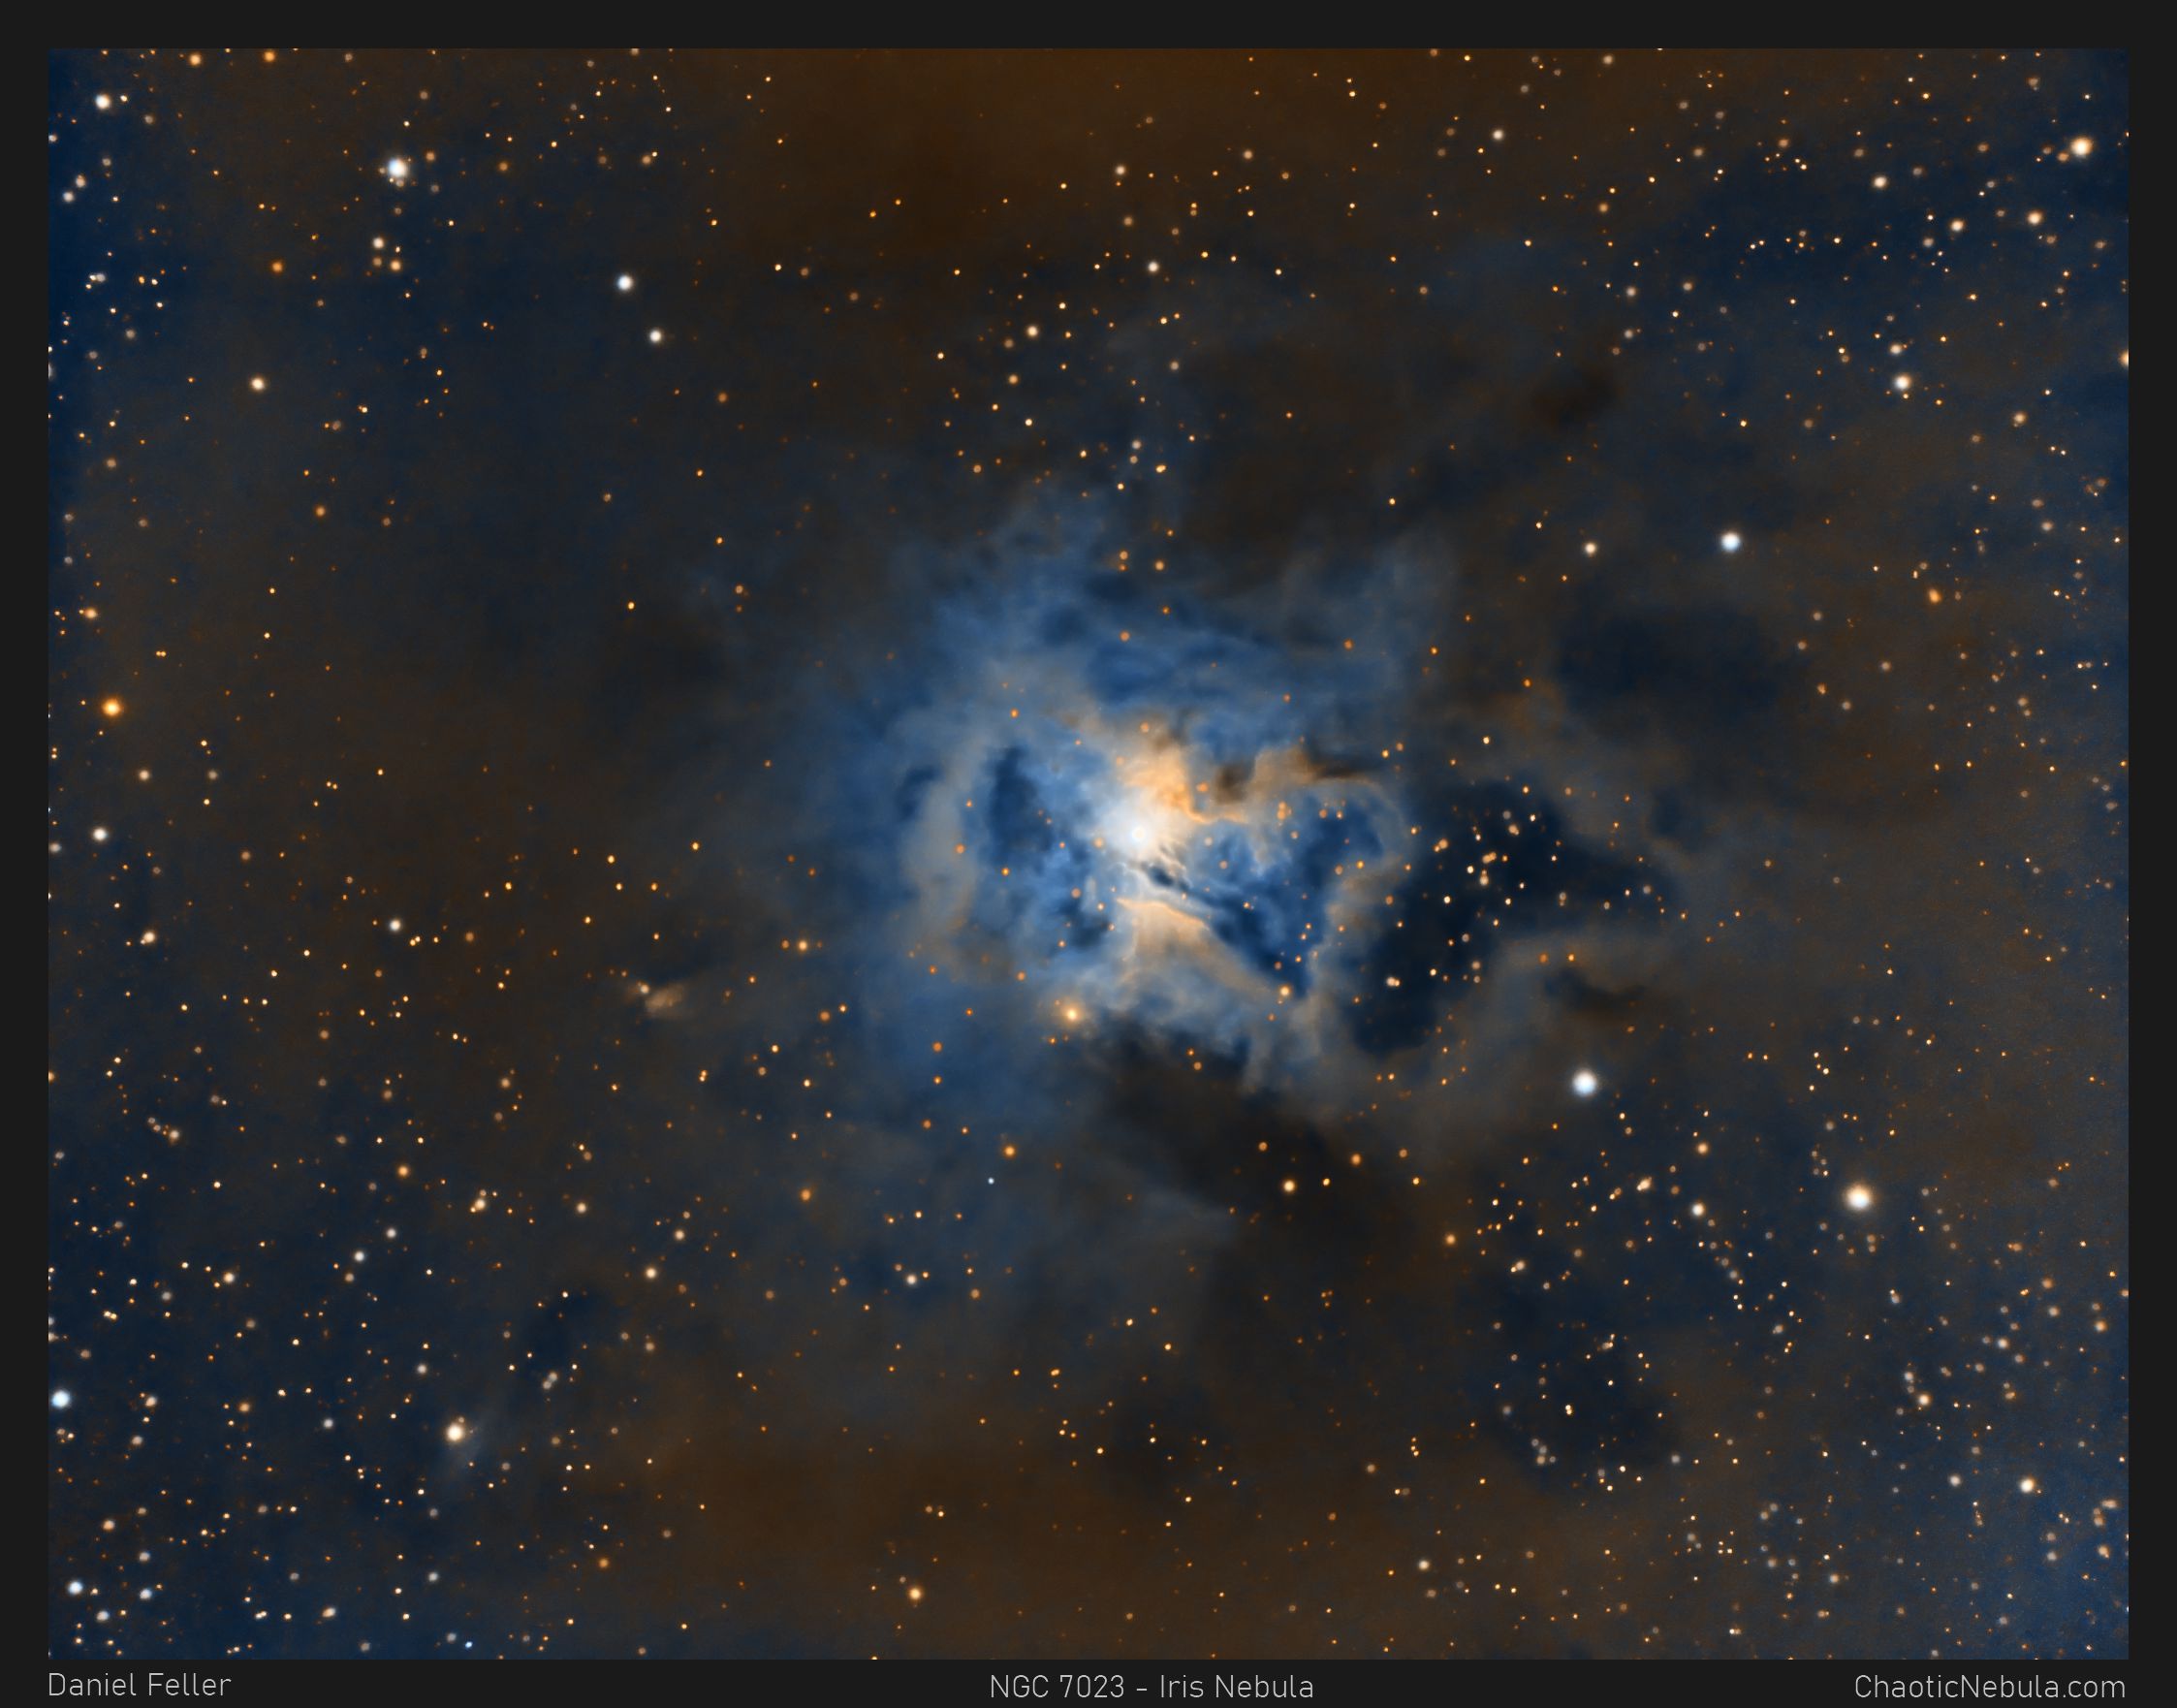
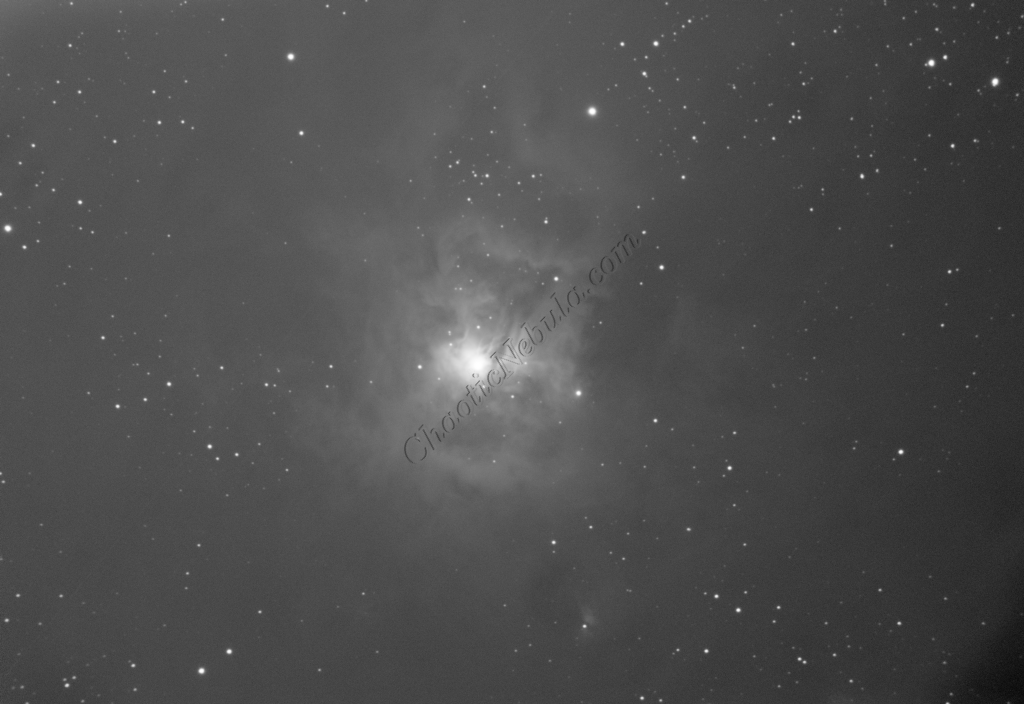
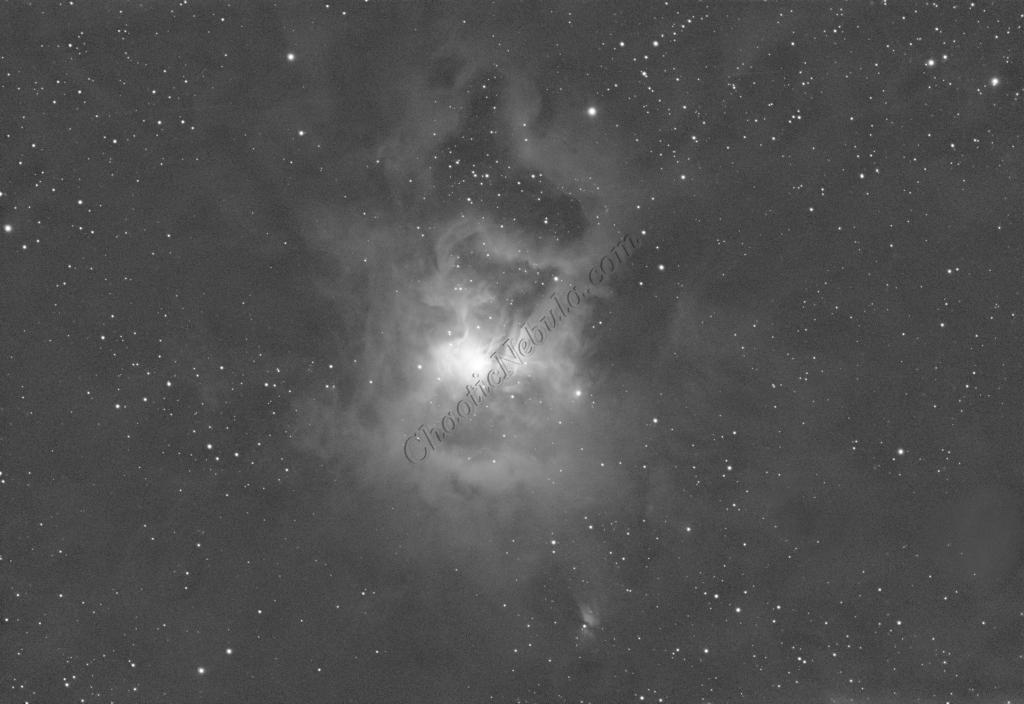
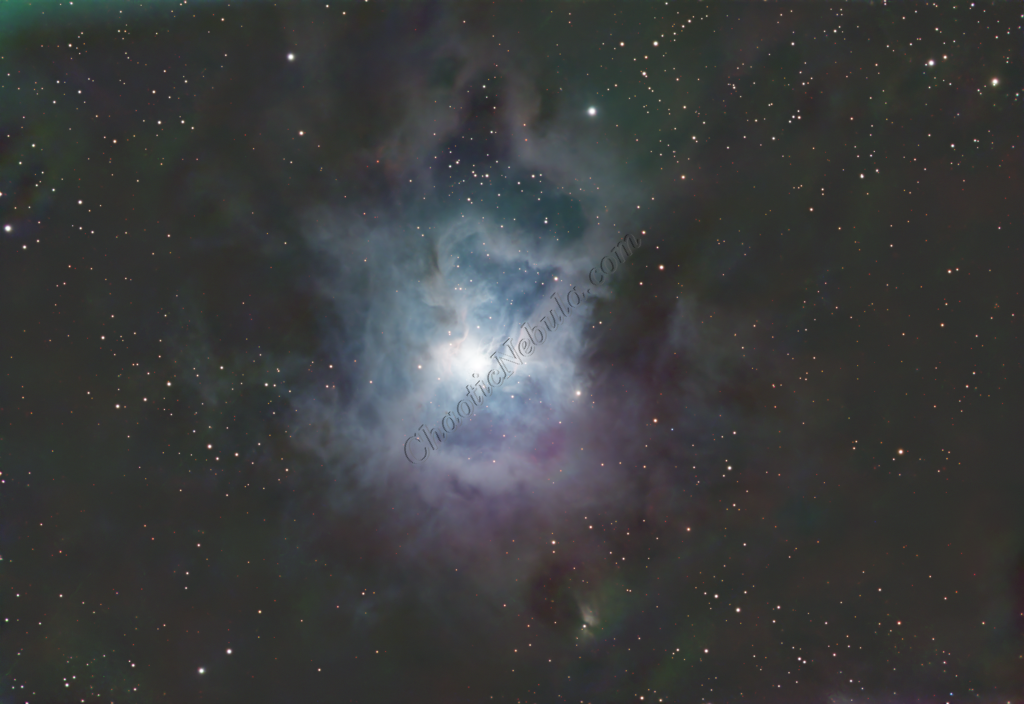
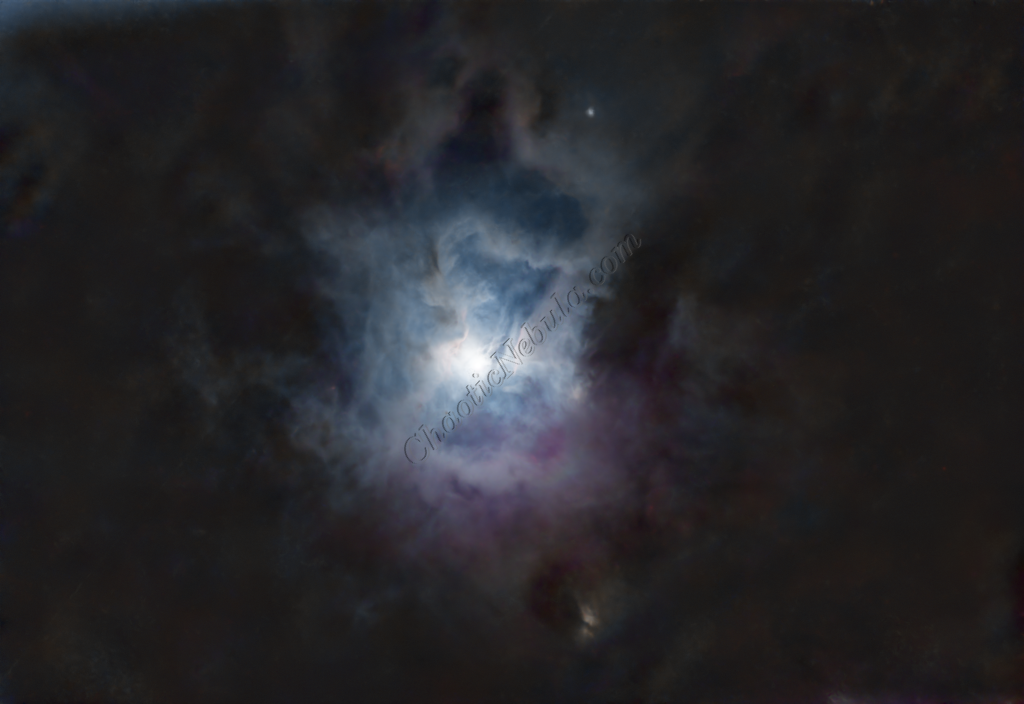
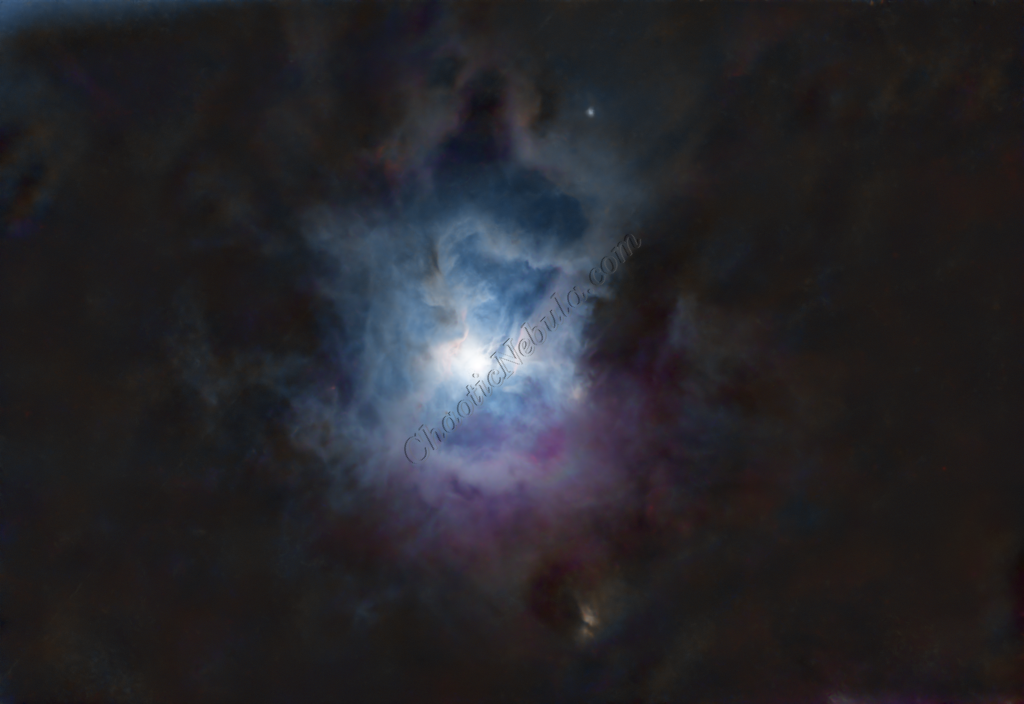
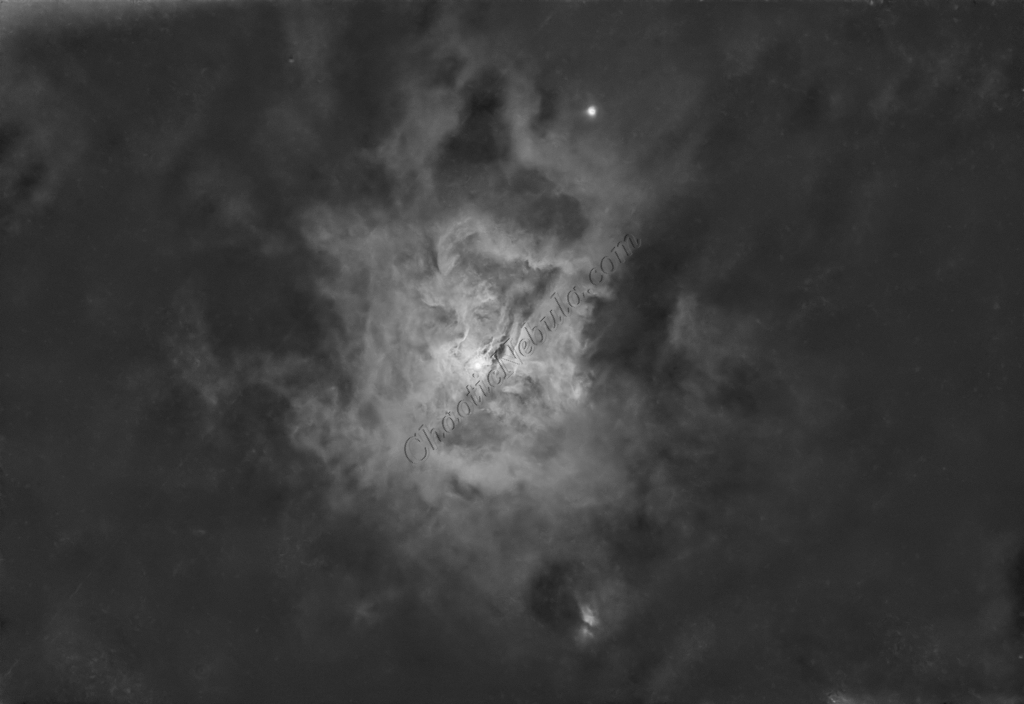
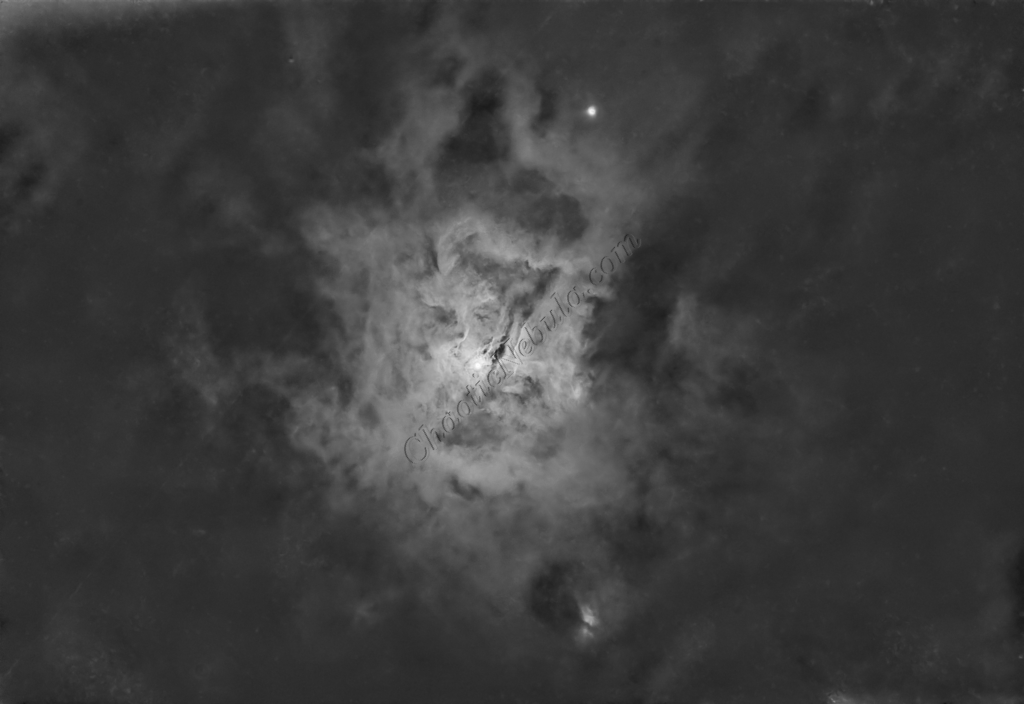
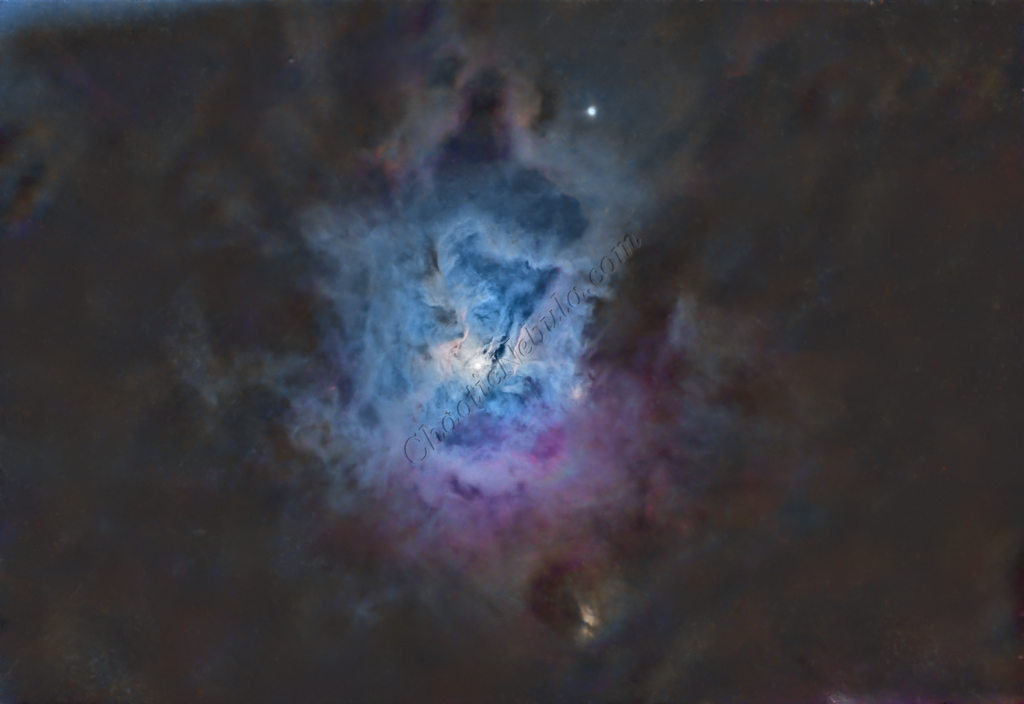
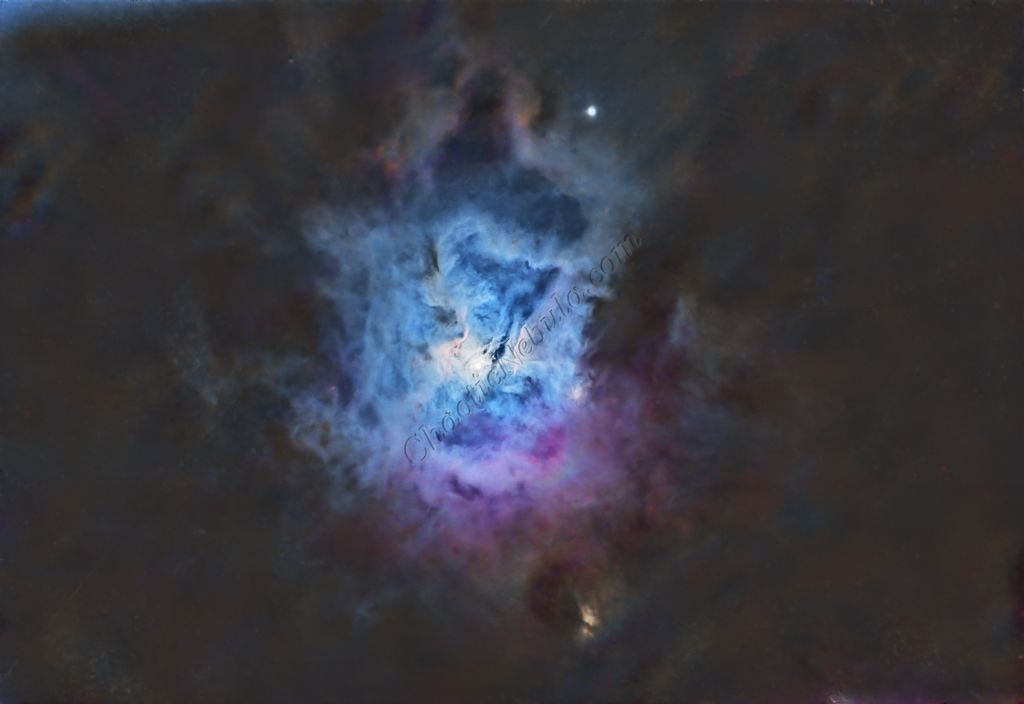
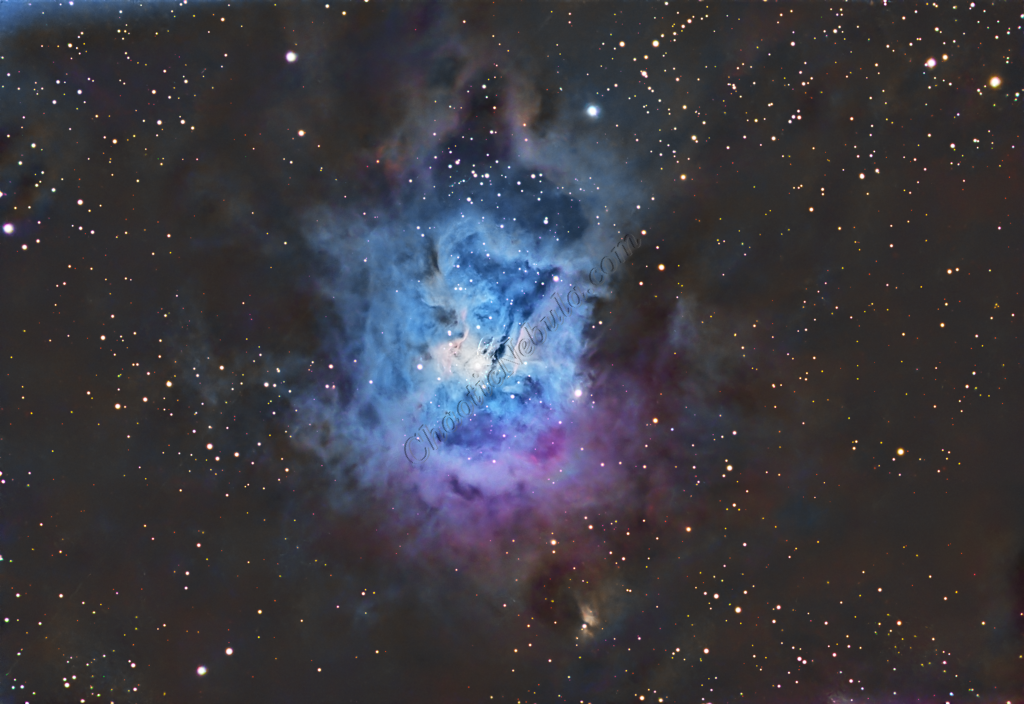
NGC 7023 – The Iris Nebula is a reflection nebula located approximately 1,300 light-years away in the constellation Cepheus. Unlike emission nebulae, which glow due to ionized gas, the Iris Nebula shines primarily by reflecting the light of a bright, hot central star, HD 200775. This young, massive star illuminates the surrounding clouds of dust and gas, creating a stunning blue hue that is characteristic of reflection nebulae.
The nebula’s structure consists of interwoven filaments of cosmic dust and gas, which scatter and diffuse the starlight, giving it a soft glow. Dark lanes of dense dust weave through the illuminated regions, adding contrast and depth to its appearance. These dust clouds are part of a larger molecular cloud complex, providing an environment for future star formation.
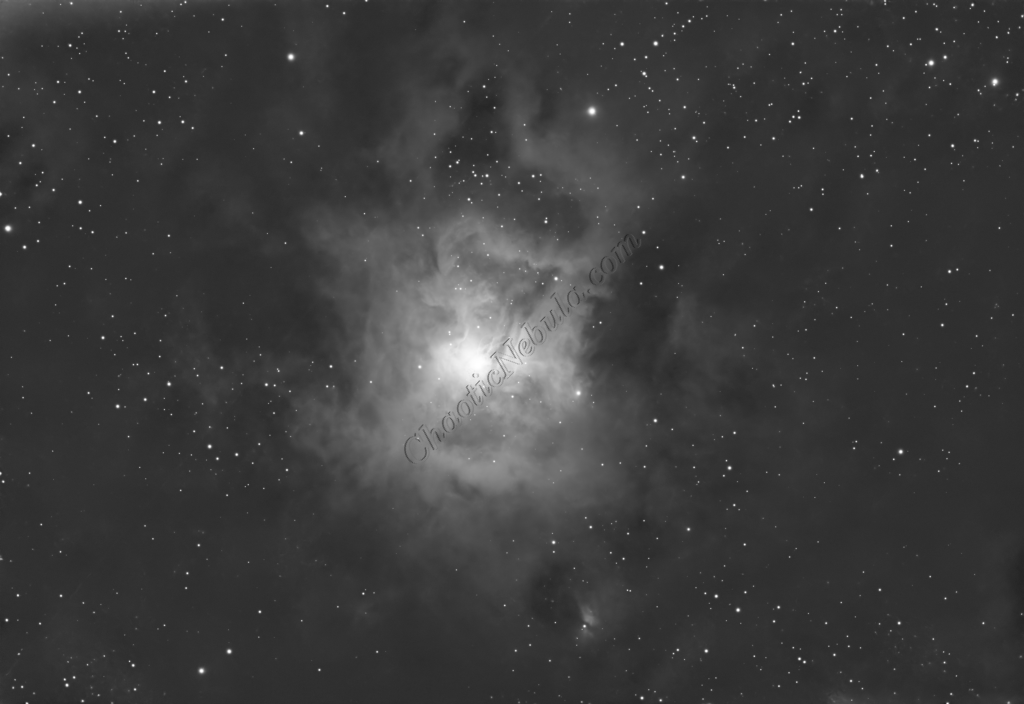
For astrophotographers, NGC 7023 is a rewarding target due to its unique combination of reflection and emission features. The nebula’s blue reflection component is best captured using broadband filters, while its faint emission lines (such as hydrogen-alpha) can be highlighted with narrowband filters. The surrounding dark nebulosity adds depth and contrast to the image, making it a visually compelling object. Even with modest telescopes and cameras, the Iris Nebula can reveal intricate details with sufficient exposure time, showcasing its delicate dust structures and the interplay of light and shadow.
The Iris Nebula is not only a beautiful deep-sky object but also an excellent example of the processes involved in star formation and the interaction of starlight with interstellar dust. Its relatively close proximity and vivid appearance make it a popular target for astrophotographers.
Imaging Details
- Workflow: Broadband workflow for galaxies and nebula
- Red: 120*300 seconds
- Green: 120*300 seconds
- Blue: 120*300 seconds
- Total Imaging Time: 30 hours
- Imaging Dates (5 nights)
- 9/1/2024
- 9/2/2024
- 9/6/2024
- 9/8/2024
- 9/15/2024
Imaging Notes
This is the third time I imaged NGC 7023.
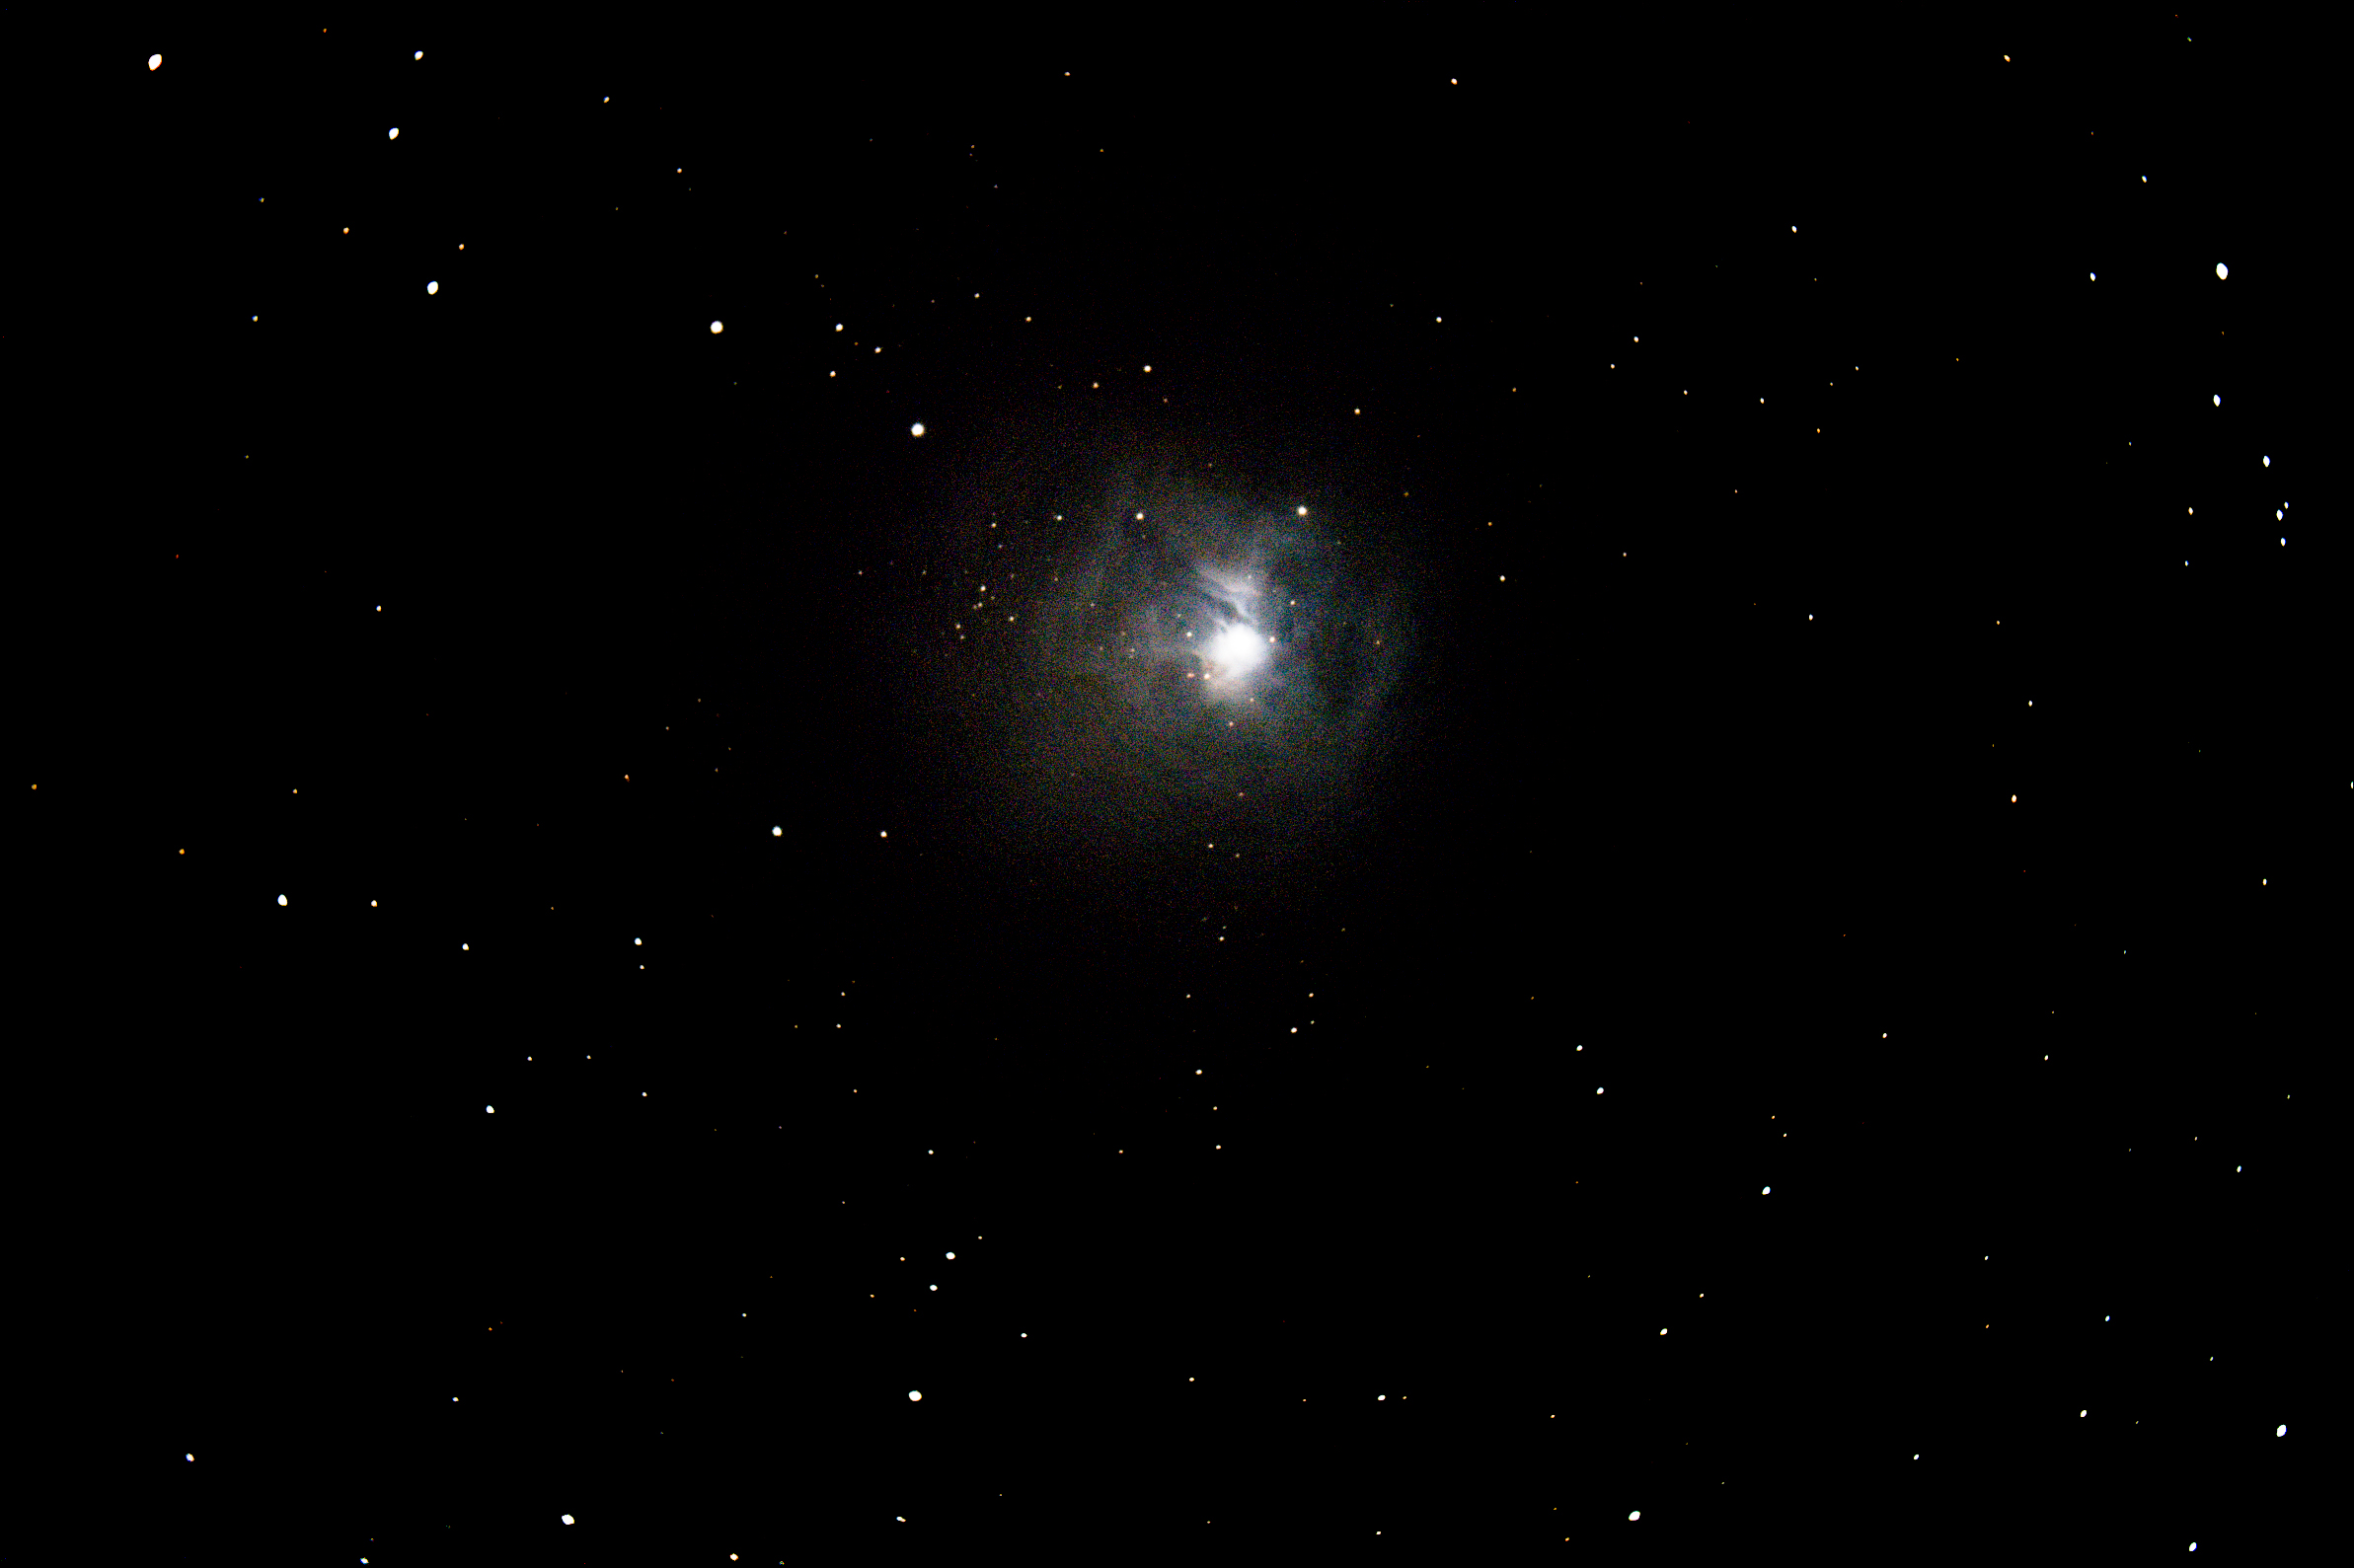
- November 2013: Using a Canon T1i (unmodified) and the original Alt/AZ mount for the Meade LX200 telescope. Limited to 30 second exposures
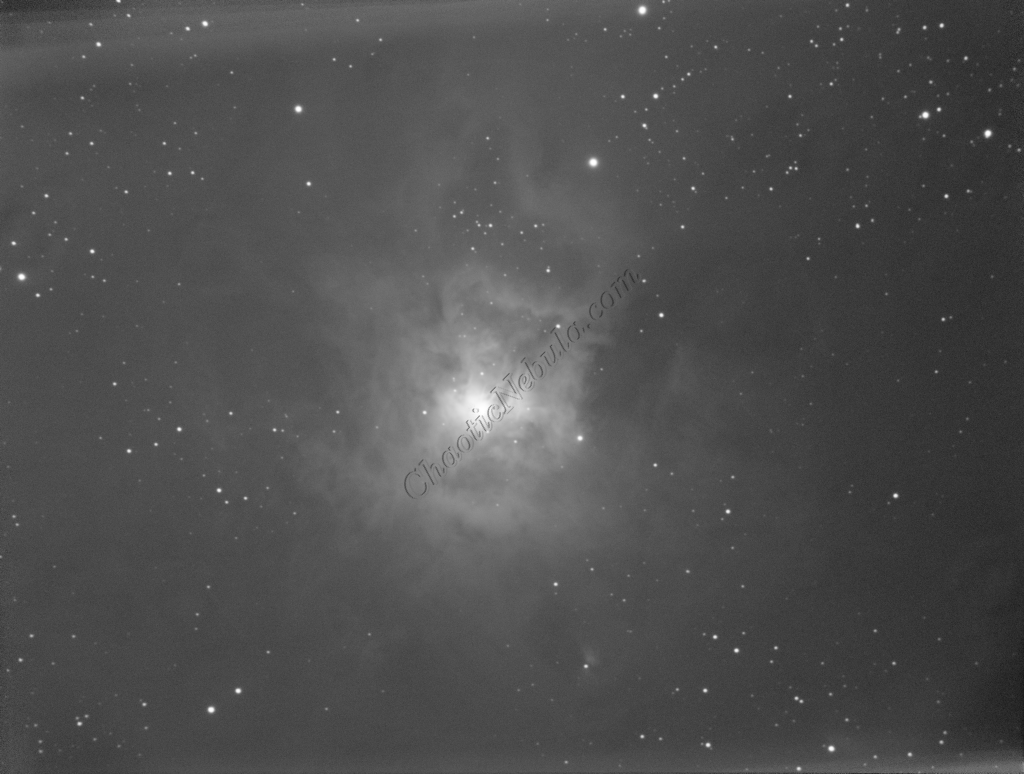
- September 2020: Upgraded camera and telescope mount. Obtained 8 hours of data through R, G, B filters at 180 seconds for each frame.
- September 2024: Better experience with PixInsight, longer exposures, and longer total imaging time.
Imaging Workflow
This image followed the Broadband workflow for galaxies and nebula
Integrated Image
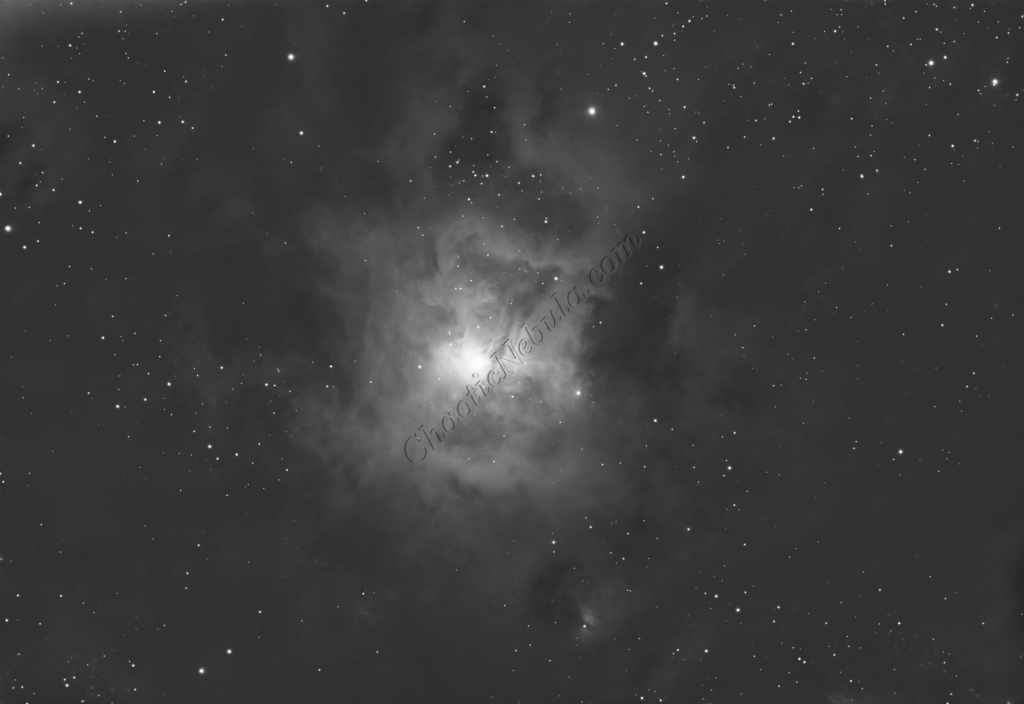
I started off with three images for red, green, and blue filters. I did my normal integration process using the PixInsight Weighted Batch Preprocessing Script.


Dynamic Crop
The Dynamic Crop process was used to clean up the edges of the 3 images.
Gradient Correction
The Gradient Correction process made it easy to remove the extreme darkness/brightness around the edges.

Deconvolution
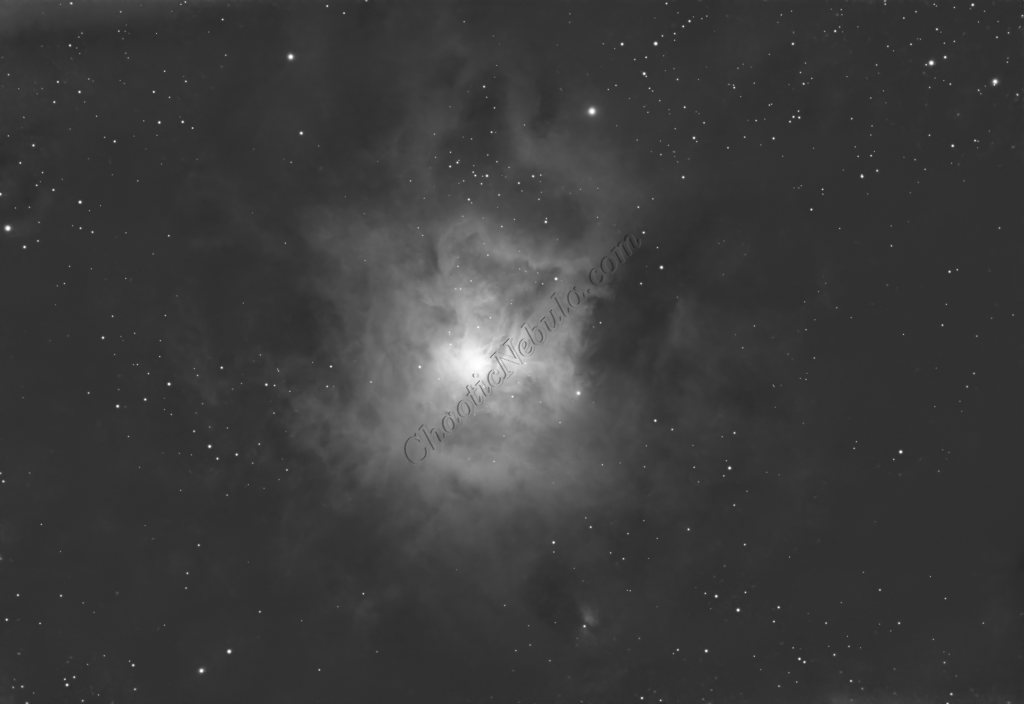
BlurXTerminator is applied two times. The first time is for Correction only. This takes care of the coma (blurring of stars along the edges).
The second application of BlurXTerminator handles deconvolution, which improves the sharpness and details of the nebula while removing the blur from the image.
Noise Reduction
With the blurring corrected, it is time to do noise reduction. This time I used the new NoiseXTerminator add on.
Channel Combination for RGB
The next step is to do a Linear Fit across the SII, HA, OIII channels. After many different attempts at numerous channel integration options, the best resulting image was from dropping the SII data and applying an HOO channel combination model where Red=HA, Green=OIII, and Blue=OIII.

Spectro-Photometric Color Calibration
The Gaia dataset was used to apply color calibration by using the Spectro-Photometric Color Calibration process.
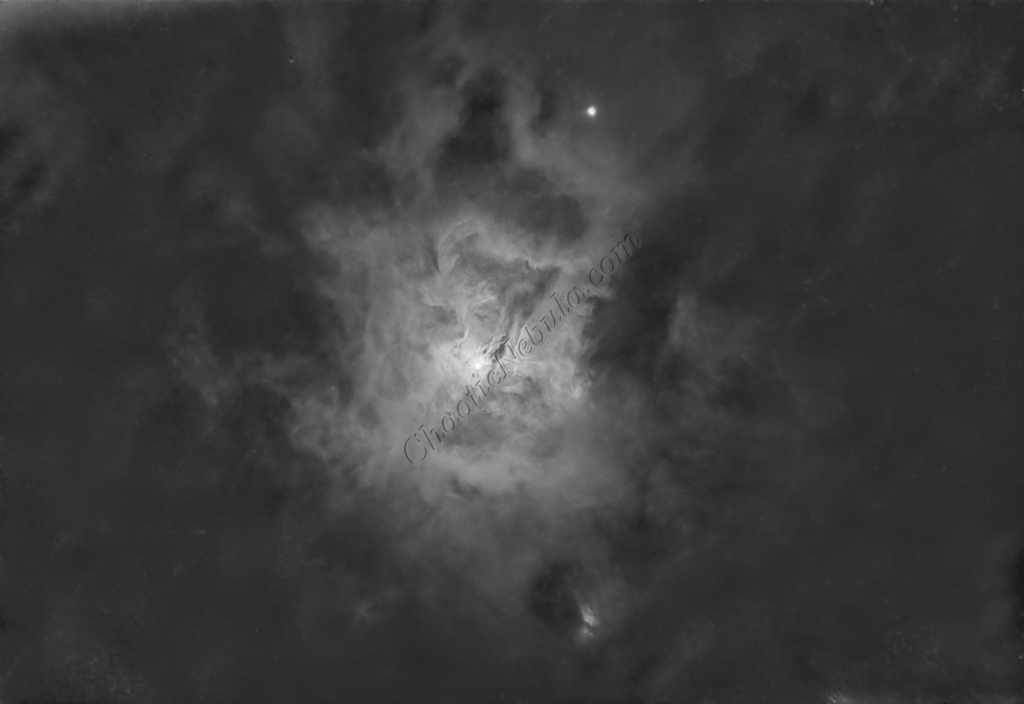
Star Removal
To ensure the hydrogen-alpha image does not influence the star color, StarNet+ was applied to remove the stars.
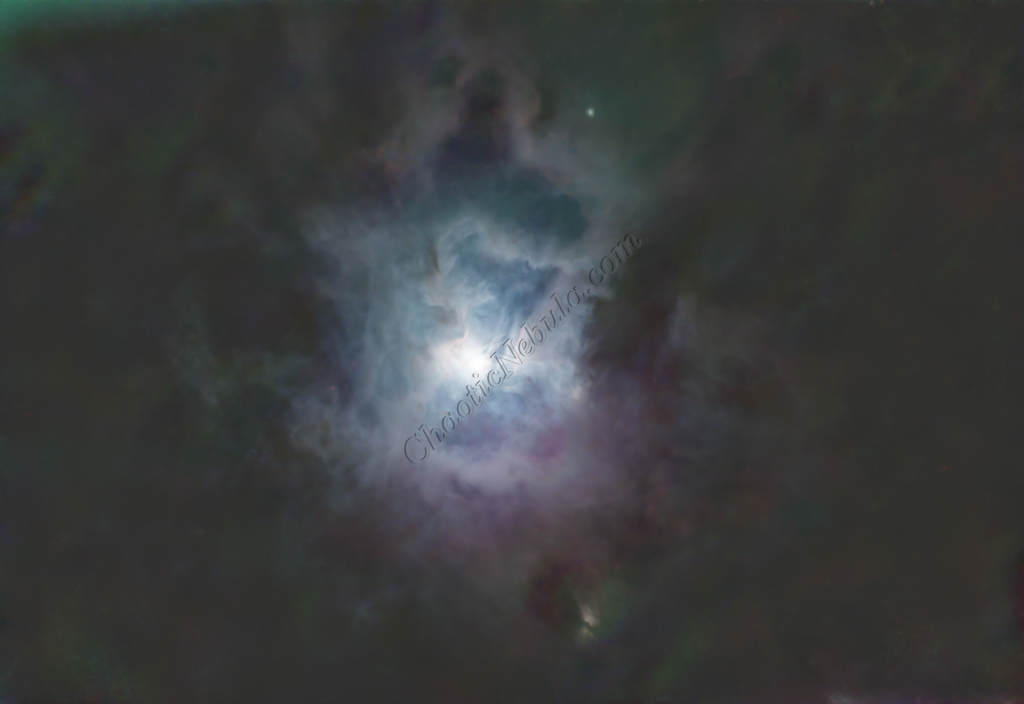
Histogram Stretch
Histogram transformation was used to stretch the image. Although the image appears dark, the entire image will get brighter when the synthetic luminance is added.

SCNR
The green hue was lowered by using SCNR
Color Saturation
PixInsight Curves Transformation increased the overall color saturation.
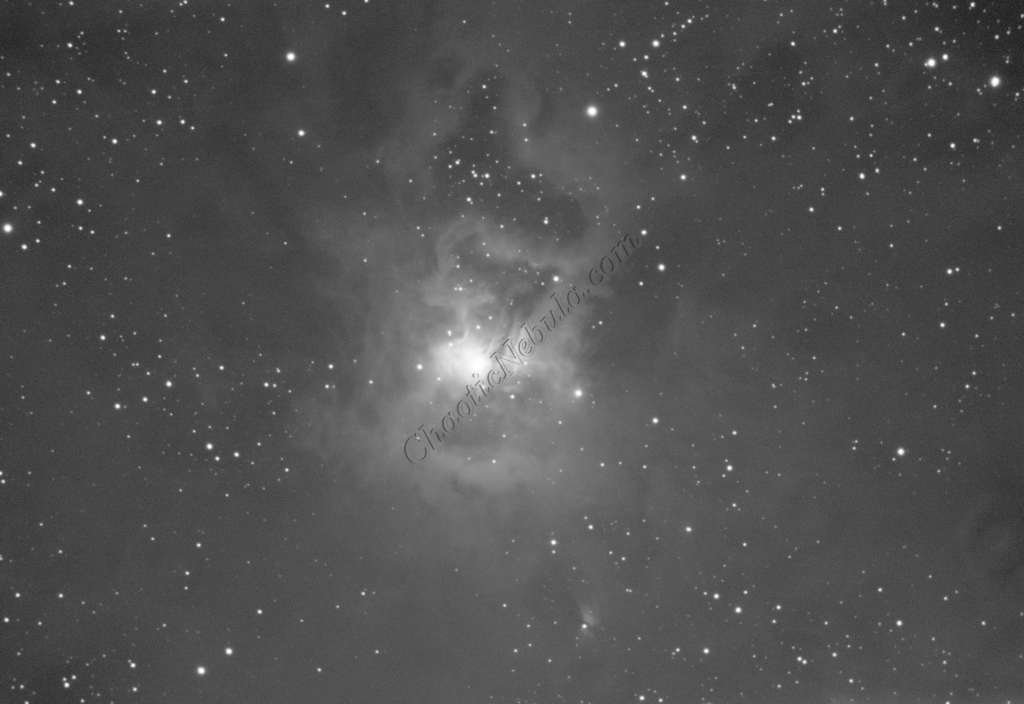
Luminance Workflow
Before doing anything more to the color image, it is time to go through the Luminance Workflow.


Luminance Integration (LRGB)
With the luminance image processed, it can get integrated with the color image with LRGB Combination process. This used 45% for lightness and 35% for saturation.

Saturation
PixInsight Curves Transformation increased the overall color saturation.
Brightness
PixInsight Curves Transformation increased the overall brightness.
Stars
The stars were added back in. Curves Transformation was used to increase the brightness and saturation of the stars.
ACDNR for Chrominance
Although NoiseXTerminator did a great job in removing the noise from the image early on in the workflow, some of the processing might have added noise in the color. Applying ACDNR for only chrominance helps correct this without losing details.

Final Adjustments
To finish the image, I make a few minor tweaks to the brightness and colors of the stars using Curves Transformation.