Cameras, filters, and atmospheric conditions can all affect the captured colors. Calibration helps to compensate for these variations and achieve consistency across your images. PixInsight includes many options for calibrating the color channels. Initially, many start with a basic, two-step process of using Background Neutralization and Color Calibration. An alternative is to use the PixInsight Spectrophotometric Color Calibration process.
PixInsight Spectrophotometric Color Calibration (SPCC) is a powerful tool for achieving highly accurate color representation in your astrophotography images. It leverages the power of Gaia mission data to perform a more sophisticated calibration than traditional broadband methods. Here’s a breakdown:
- Color Calibration Method: Relies on broad filter responses and reference stars to calibrate color balance.
- Spectrophotometric Method: Utilizes individual star spectra from Gaia, allowing precise calibration tailored to your specific filters and camera.
Once setup, Spectrophotometric Color Calibration is a two-step process
- Plate Solving: Matches stars in your image to Gaia catalog entries
- Spectral Calibration: Utilizes spectral data from matched stars to calibrate colors
Note: Your image should be linear to run this process
Download Gaia Data Set
Before you can use the Spectrophotometric Color Calibration process, you first need to download the Gaia data.
- In your browser, navigate to PixInsight.com
- Select Downloads – Software Distribution
- Login
- In the XPSD database files, download everything within the “Gaia DR3/SP (complete set)” category
- Once downloaded, move these into a folder that won’t get deleted. This was a big download, you don’t want to have to do it again.
- In PixInsight select Process – Global – Gaia. You will use this process to configure your Gaia data location
- Select the wrench icon in the lower left
- Use the Select button to navigate to the folder where you stored the Gaia data files. Select all files and hit open.
- Once populated, select OK to save these settings.
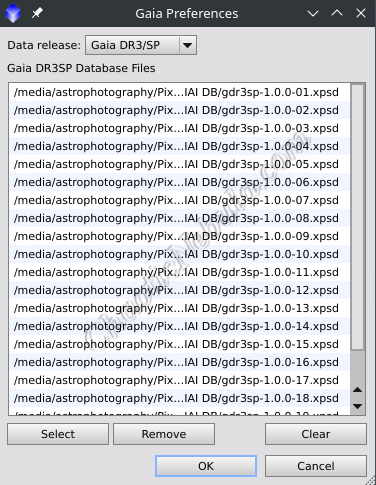
You’ve successfully incorporated the Gaia database files into PixInsight.
Plate Solving
To do proper color calibration, the Spectrophotometric Color Calibration process needs to match your image with data from the Gaia database. This means your image must include astrometry information obtained with plate solving. The following guide explains how to complete the plate solving process in PixInsight.
Once the plate solving process is complete, remember to save the file.
Spectral Calibration
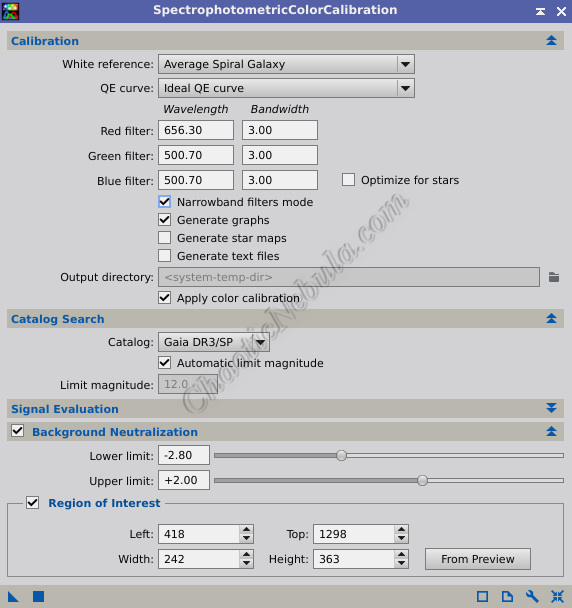
With your linear, color image opened, select Process – Color Calibration – Spectrophotometric Color Calibration
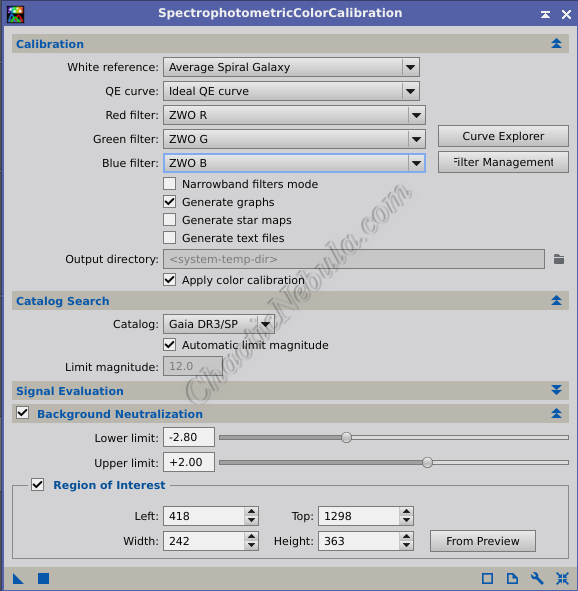
In the Calibration section, you will need to set the following:
- White Reference:
- In most cases, you will want to use Average Spiral Galaxy or Elliptical Galaxy.
- If your image is focused on a major star, you can lookup the star type and select that as your white reference.
- If your image is focused on a globular cluster, try to search online for the spectral type for the cluster. For example, for the M15 cluster, the spectral type is around F3 for the entire cluster. The white reference value used could be for an F2V Star
- QE Curve: If your camera sensor is not displayed, select Ideal QE Curve
- Filters: Select the appropriate filter from the list for Red, Green, and Blue. If your filter is not listed, use the Curve Explorer to find a filter curve that matches the curve of your filter, which you should be able to find on the manufacturers website.
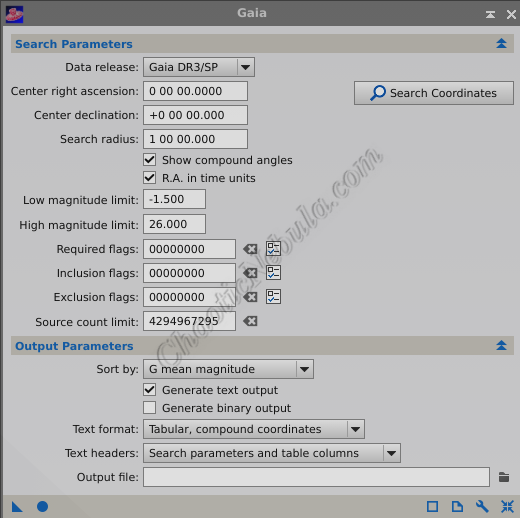
In the Catalog Search section
- Catalog: Verify Gaia DR3/SP is selected
It is often a good idea to enable Background Neutralization. Background neutralization helps eliminate color biases in the background sky, resulting in a more accurate and neutral color representation of your astronomical objects
- Create a preview window on your image that contains no stars or nebula. It should contain only the background. Avoid any areas that include gradients, as this will skew the results.
- Select that preview and drag it into the Region of Interest section of the PixInsight process. Spectrophotometric Color Calibration analyzes the pixel values within this window to calculate the average color biases for each channel. These biases are then subtracted from the respective color channels throughout the entire image. This helps neutralize any color anomalies from the entire image.
Apply these settings to the image
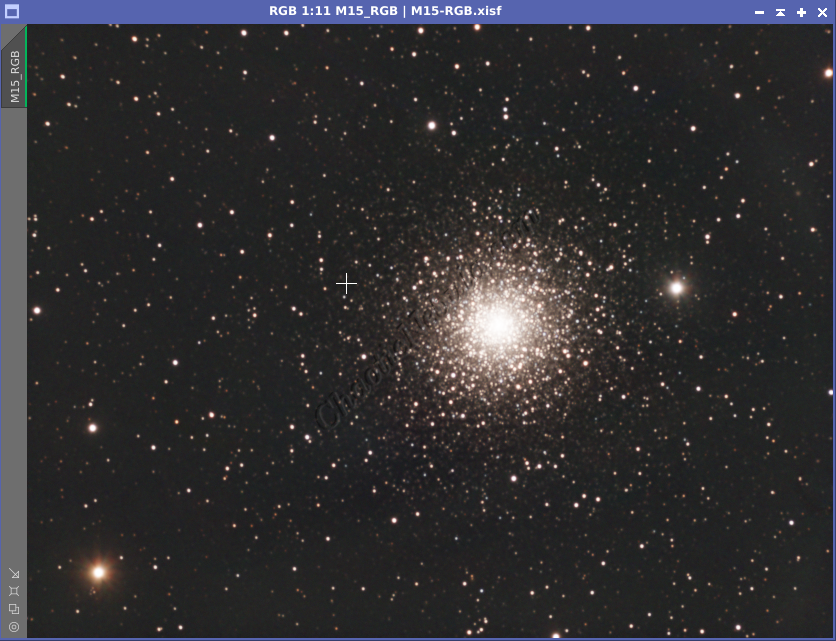
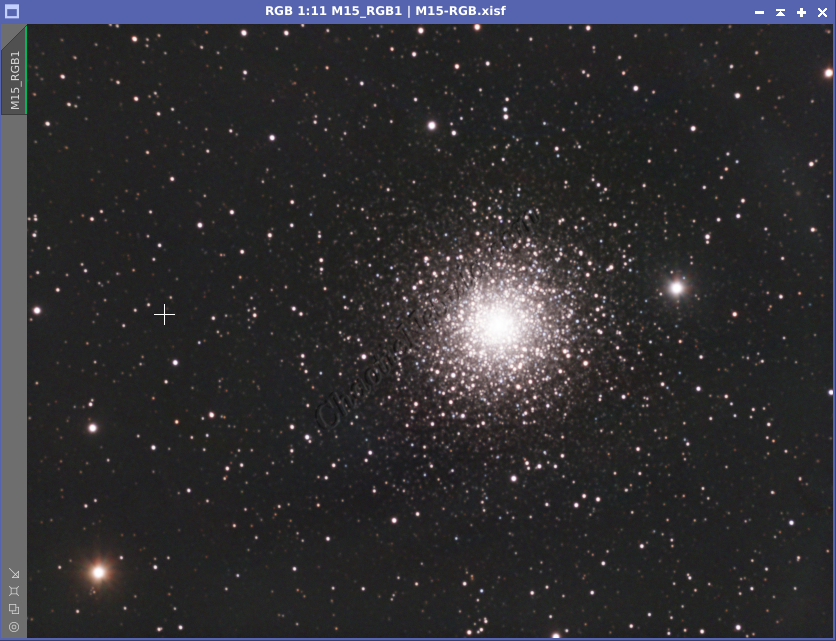
After applying the Spectrophotometric Color Calibration process, the stars in the globular cluster have a more natural white color versus the yellowish hue in the original.
Notes
A few notes based on experiences with this process
- Photometric Color Calibration: PixInsight includes another process that is similar to Spectrophotometric Color Calibration. The Photometric Color Calibration was the precursor to this new process. The Spectrophotometric Color Calibration utilizes the latest sky survey from the Gaia mission and is more accurate. The older process, photometric color calibration, is expected to be discontinued.
- Narrowband: Spectrophotometric Color Calibration includes the option to use narrowband channels. When selecting narrowband, new options appear allowing for the configuration of the wavelength and bandwidth of the narrowband filters. However, most narrowband images are overpowered in the green (hydrogen-alpha) channel. For images using the Hubble palette, better results are achieved by using the color calibration process.