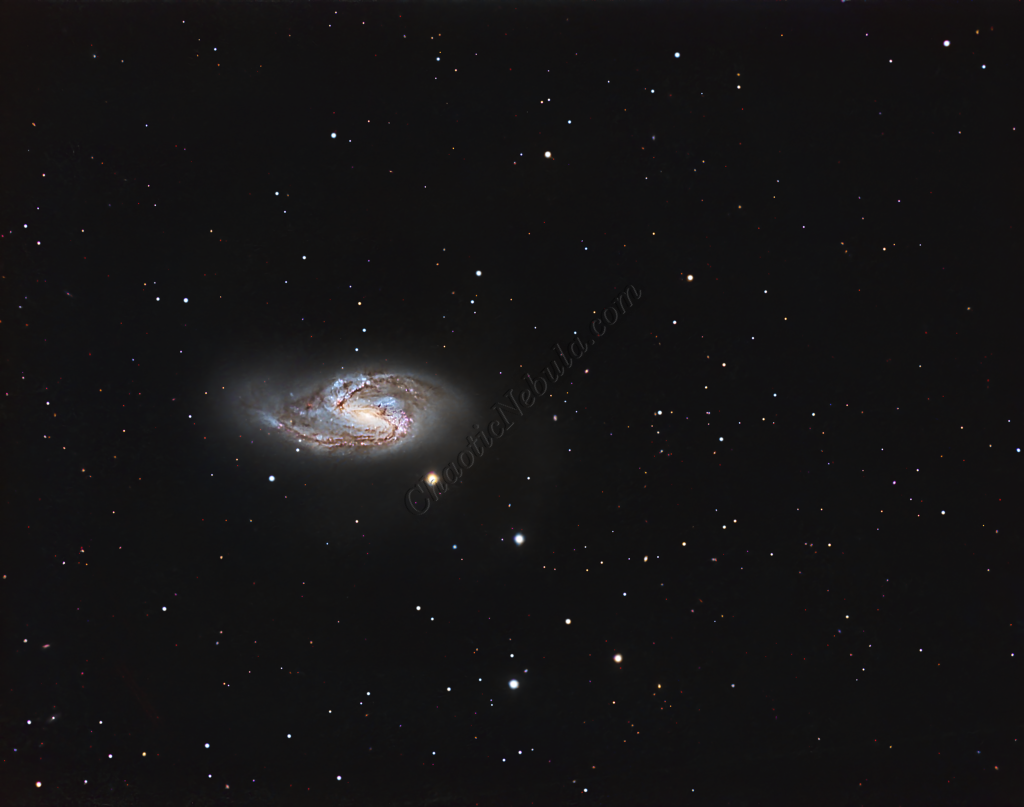
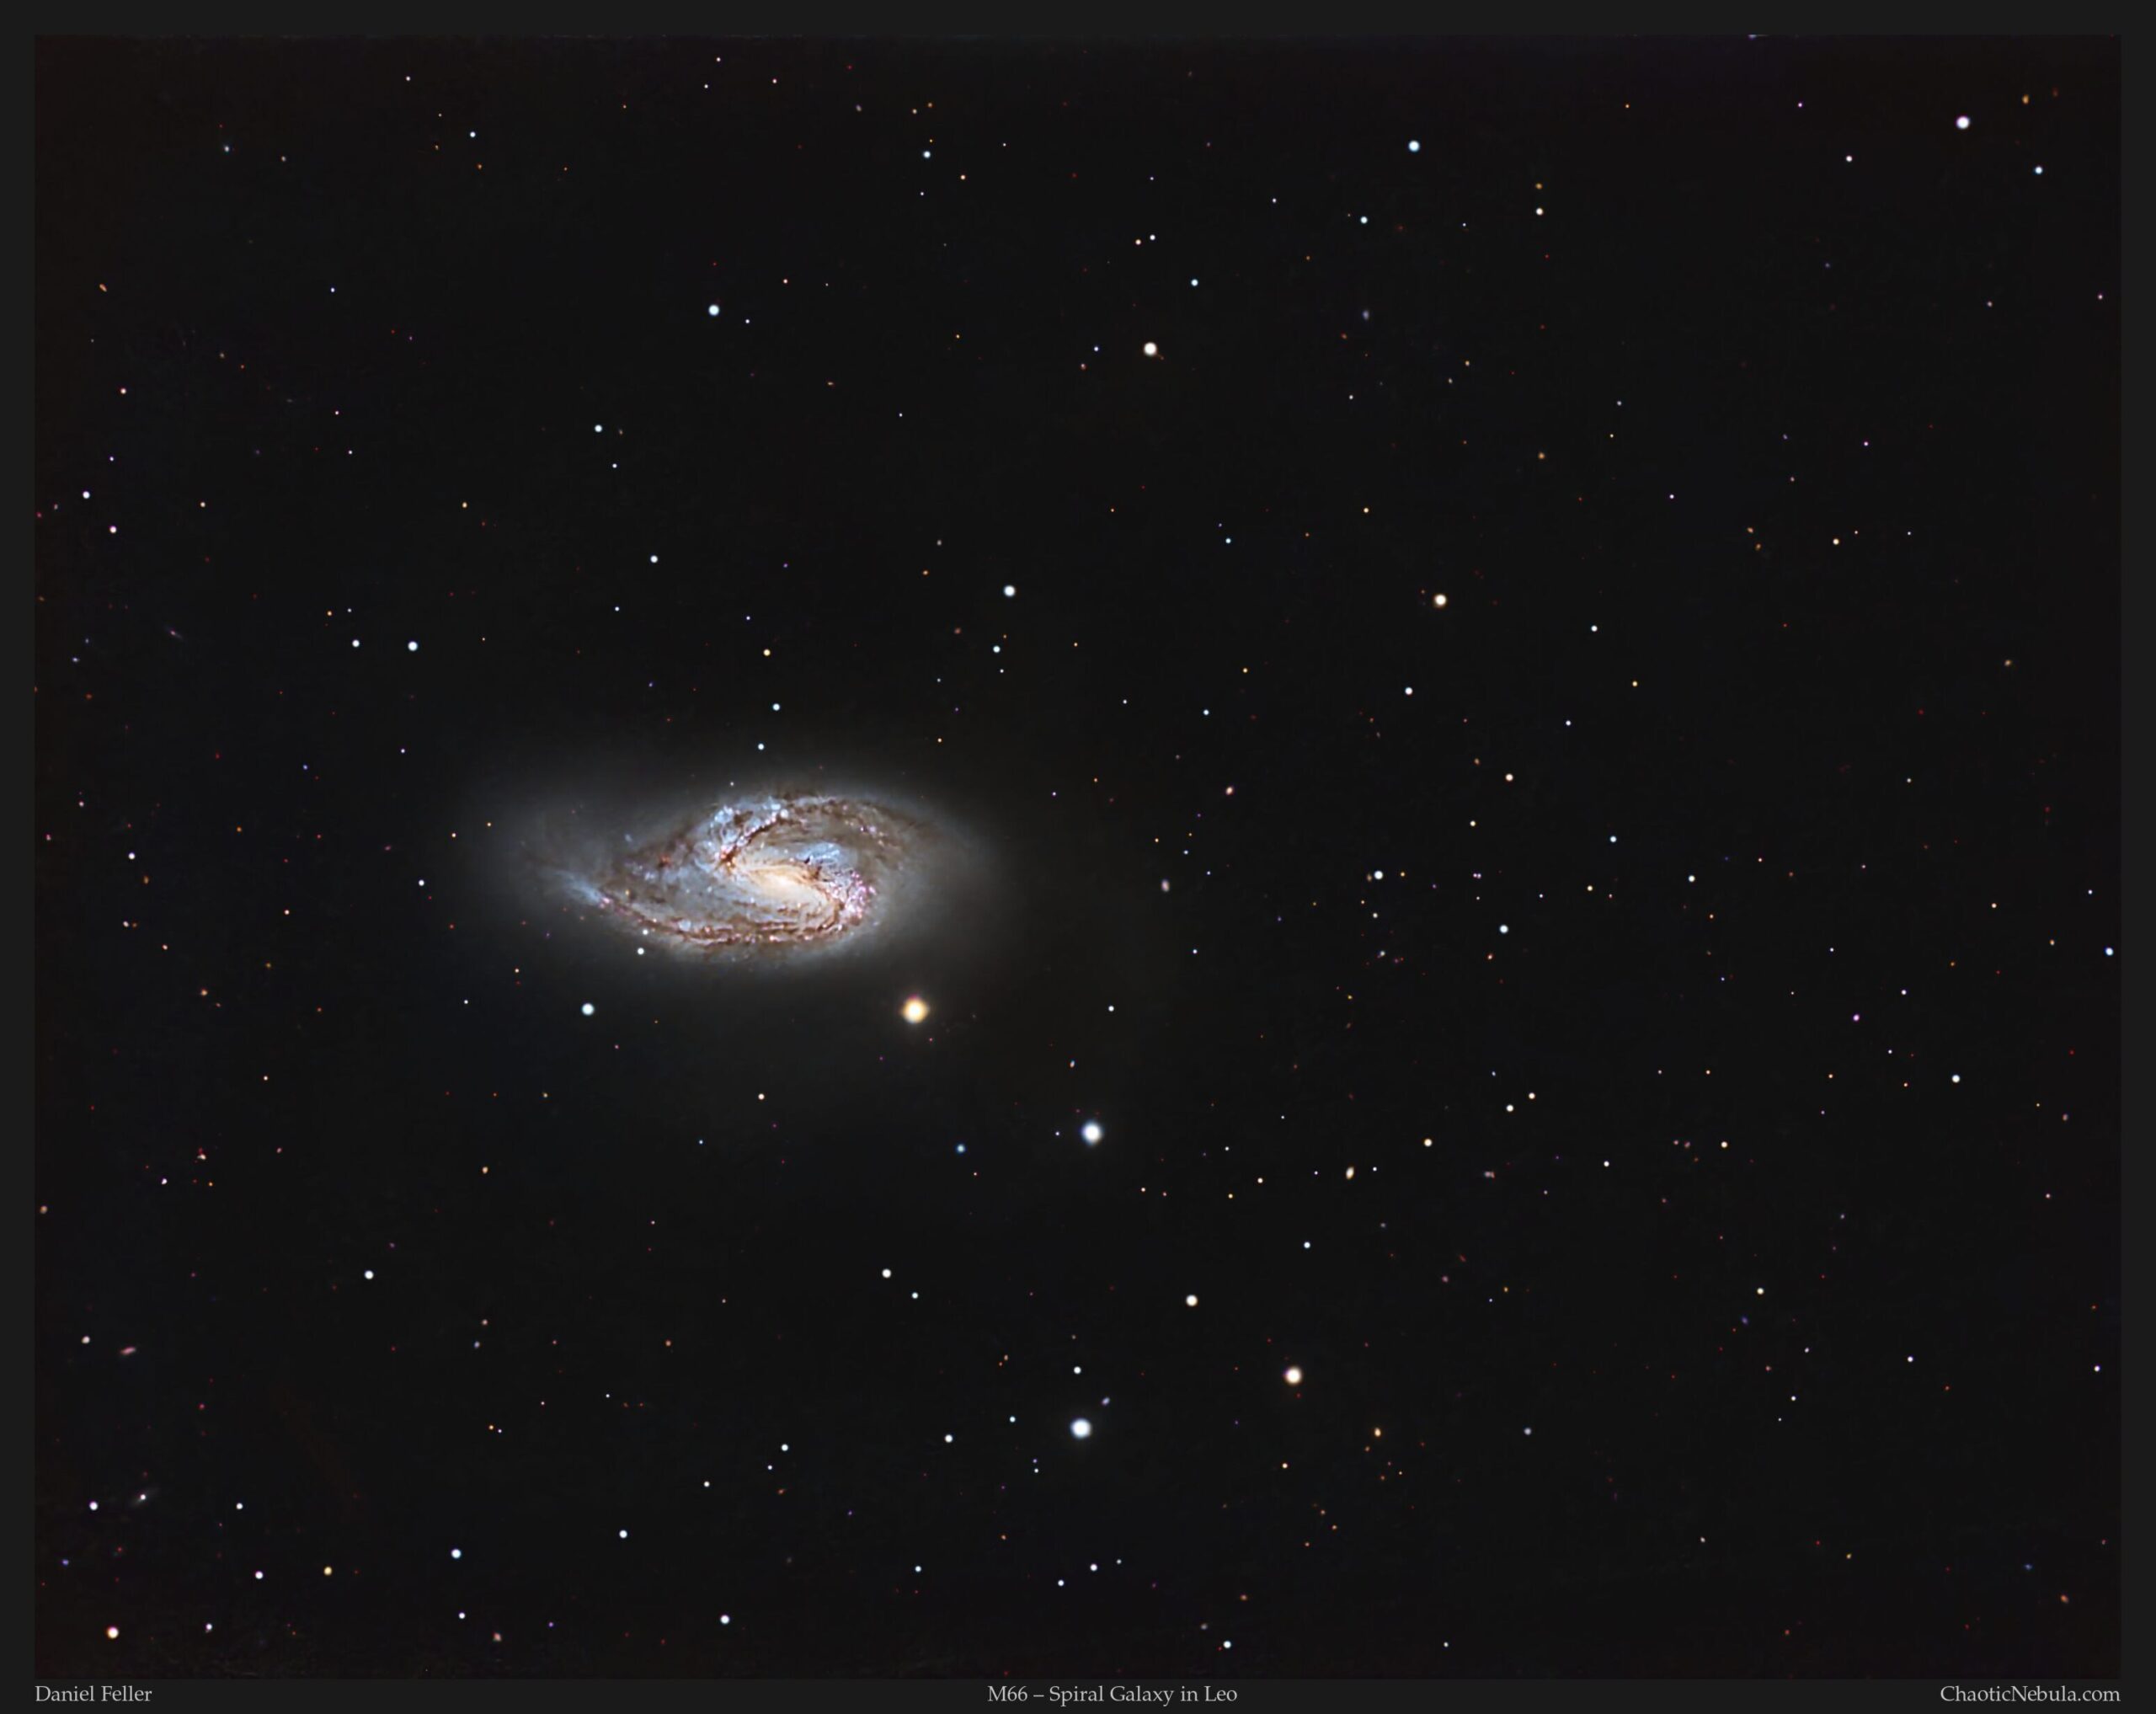
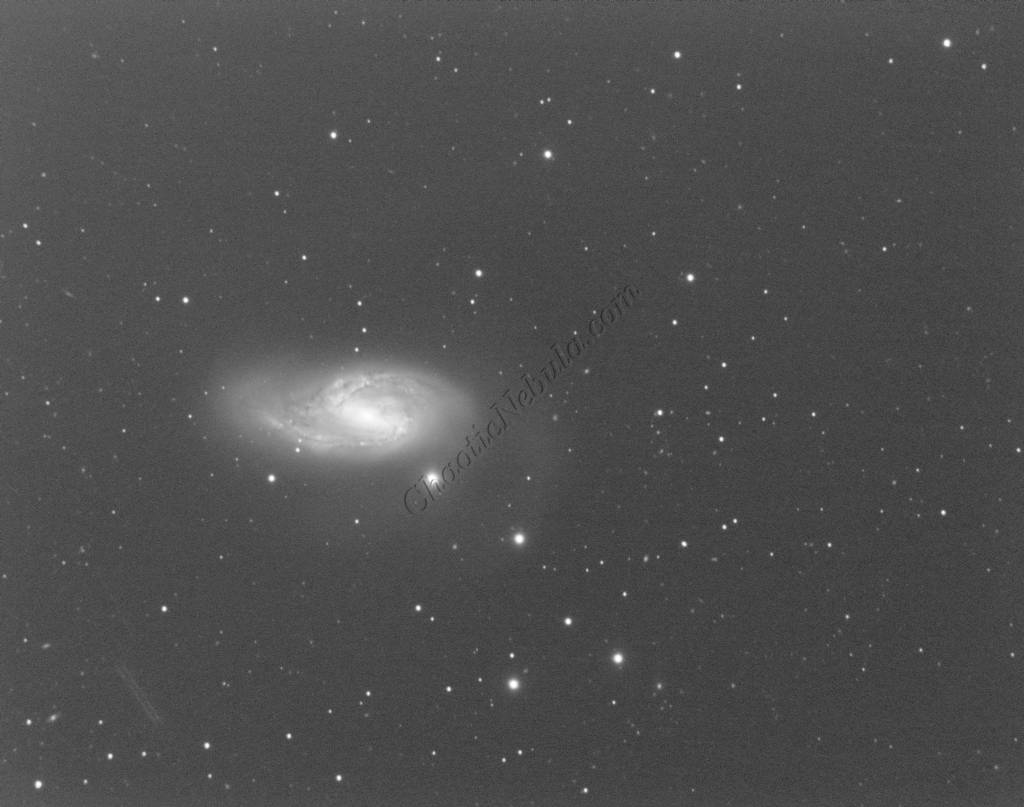
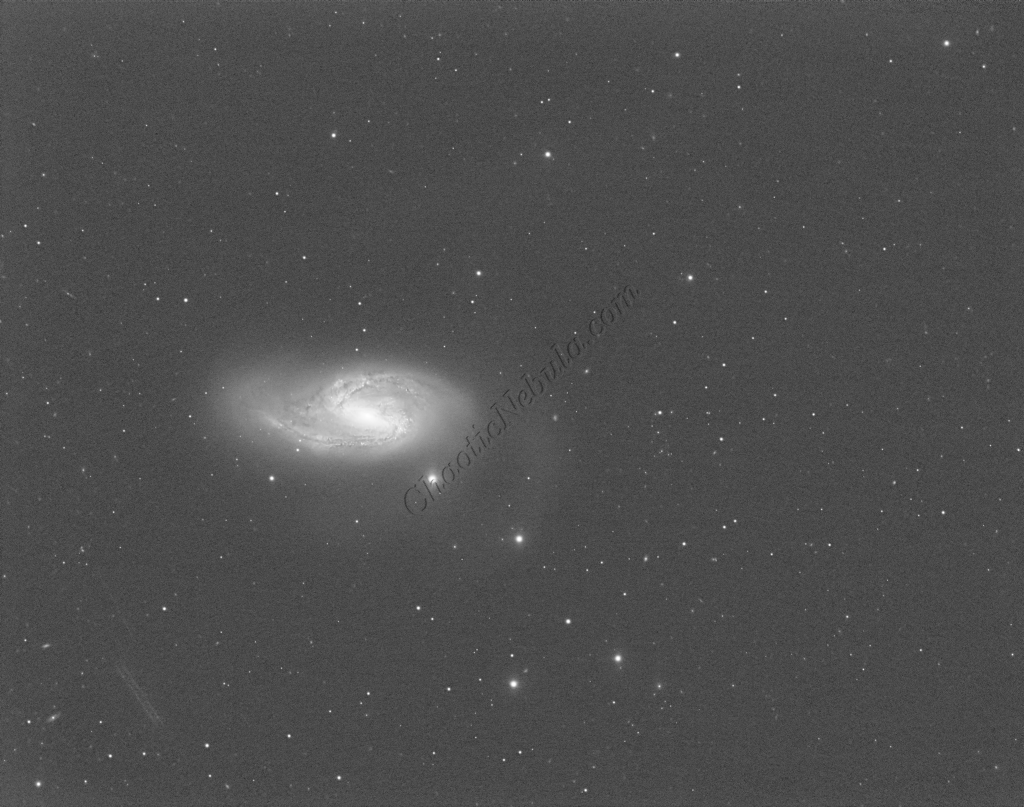
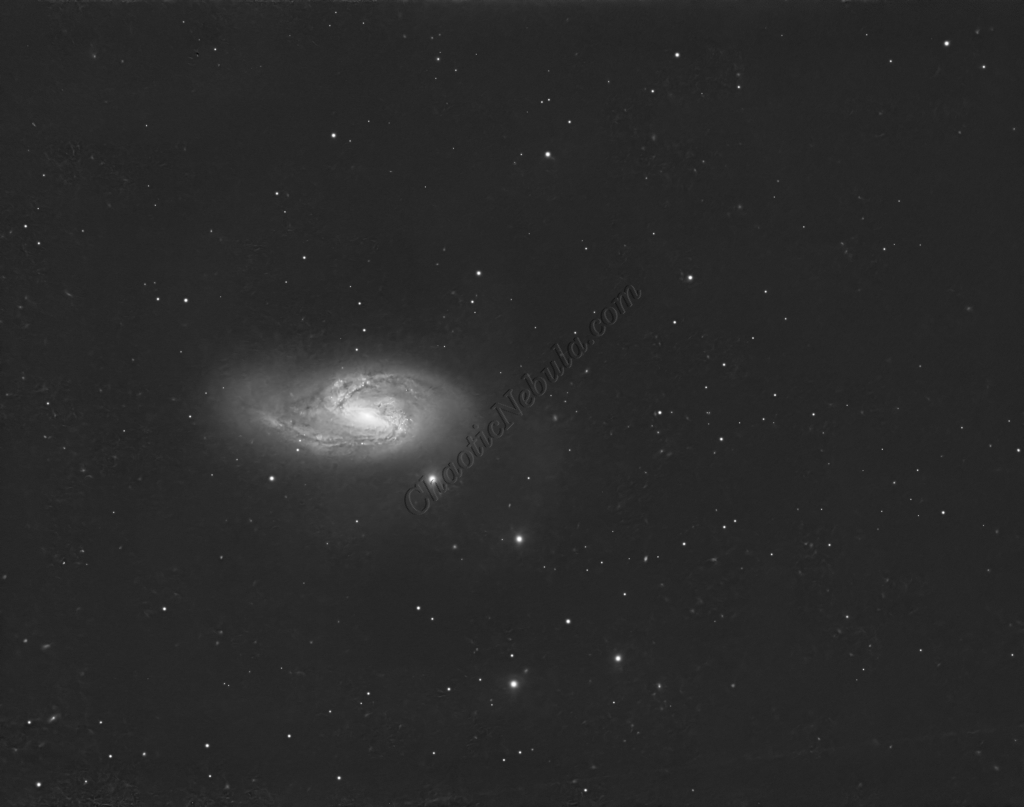
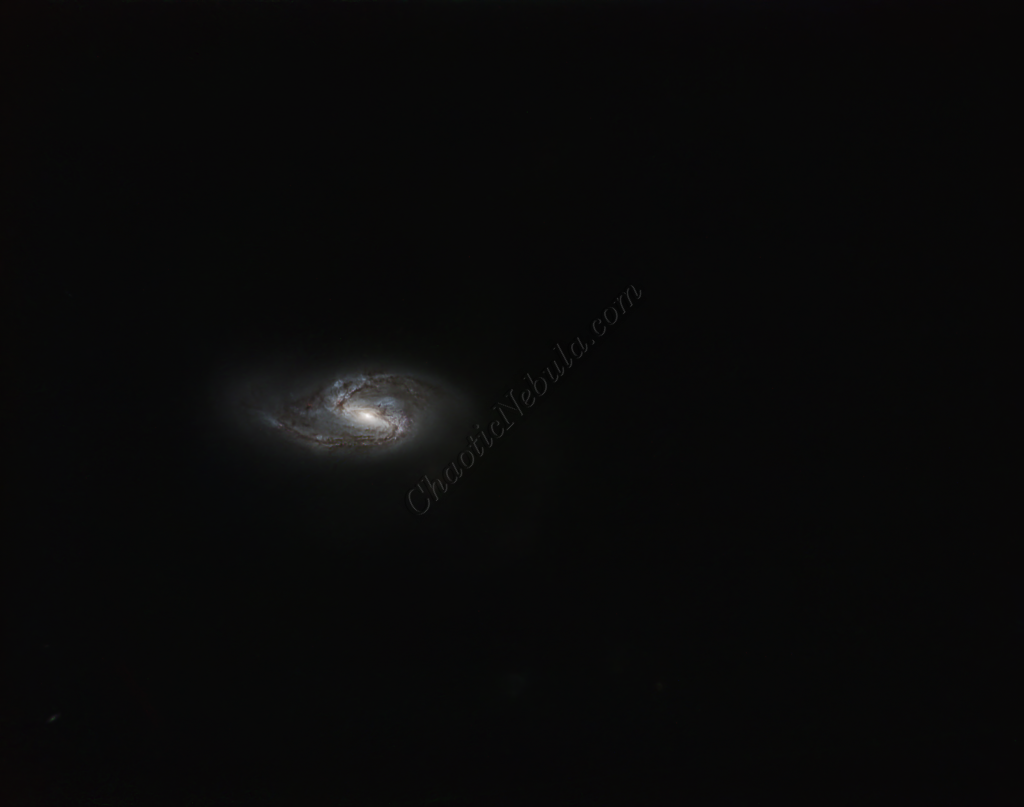
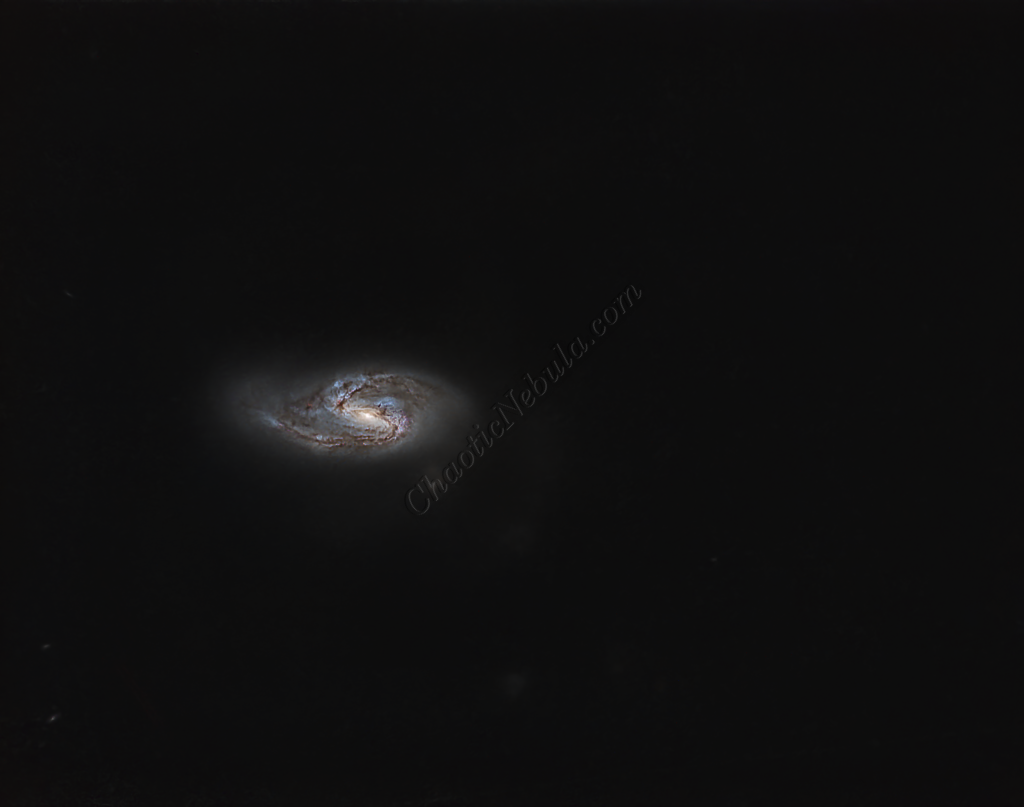
Messier 66 (M66), also known as NGC 3627, serves as the vibrant and slightly more chaotic counterpart to M65 within the Leo Triplet. Located roughly 36 million light-years away in the constellation Leo, M66 is the largest and most luminous member of this famous trio. While M65 is celebrated for its symmetry, M66 is favored by astrophotographers for its asymmetric spiral arms and intense regions of star formation, which create a dynamic and colorful target for deep-sky imaging.
Dynamic Structure and Classification
M66 is classified as an intermediate barred spiral galaxy. Unlike the “neat” appearance of its neighbor, M66 displays a distinct lack of symmetry. Its spiral arms are noticeably distorted—climbing higher above the main galactic plane than one would expect—and its core is slightly offset. These irregularities are not accidental; they are the visible scars of gravitational tidal interactions with the other members of the Leo Triplet, particularly the edge-on NGC 3628.
Why It Stands Out
For the astrophotographer, M66 offers a rich palette of details that M65 lacks:
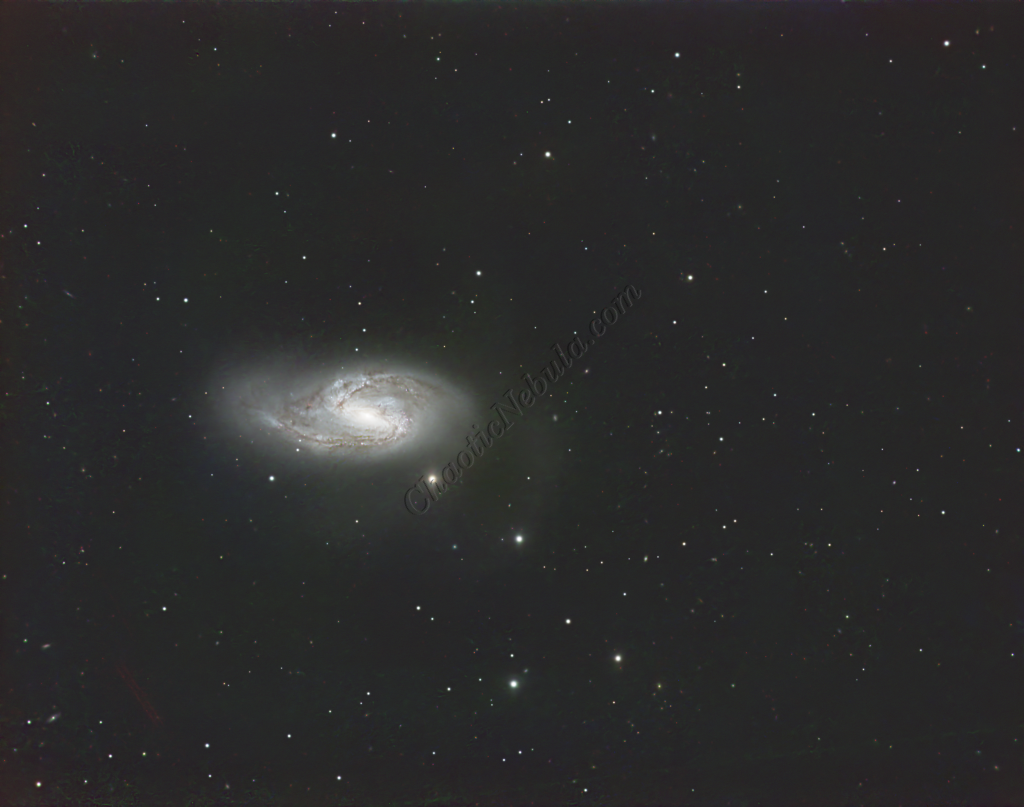
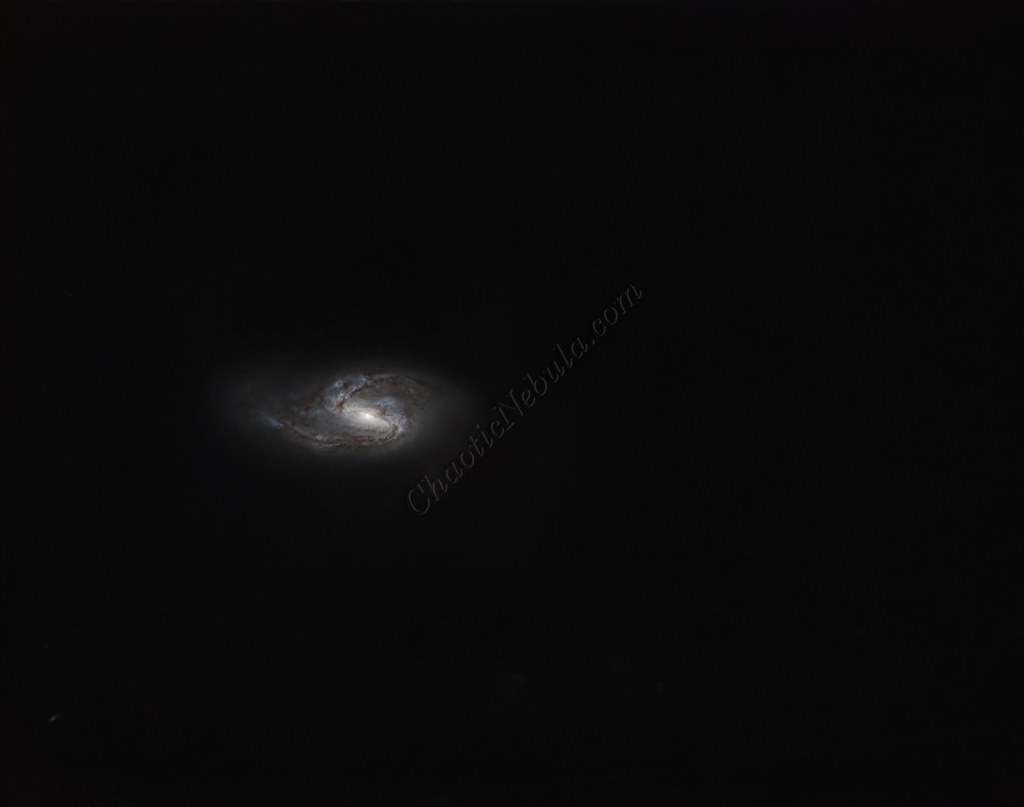
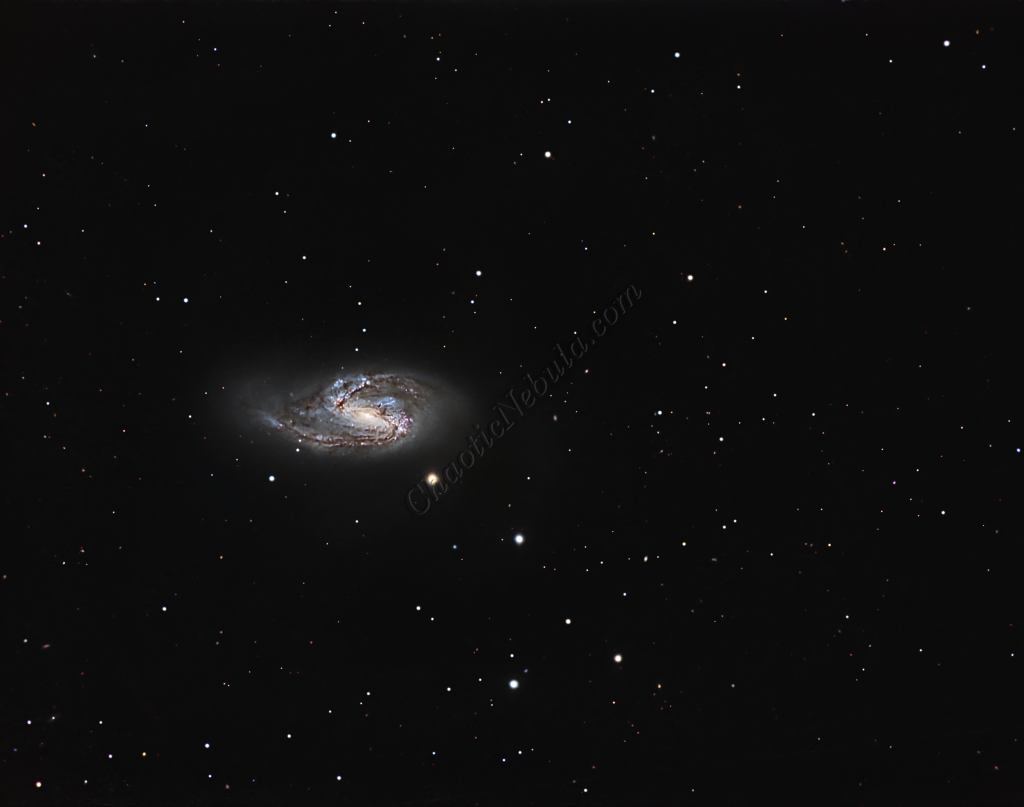
- Active Star Formation: The galaxy is peppered with bright pink HII regions (nebulae) and clusters of young, blue stars, indicating a high rate of stellar birth likely triggered by its gravitational encounters.
- Prominent Dust Lanes: Dark, thick dust lanes weave through the spiral arms, providing high-contrast detail that responds exceptionally well to Long Relationship (LRGB) and Hydrogen-alpha (H$\alpha$) imaging.
- Supernova History: M66 has a remarkably high frequency of supernovae—having hosted five since 1989—making it a frequent point of interest for transient astronomical events.
While M65 represents the “calm” of the Leo Triplet, M66 represents the action. Its warped structure and vivid star-forming activity offer a masterclass in how close-quarters galactic living can physically reshape a galaxy, making it an essential subject for high-resolution telescopic study.
Imaging Details
- Workflow: Broadband workflow for Galaxies
- Red: 60*300 seconds
- Green: 60*300 seconds
- Blue: 60*300 seconds
- Total Imaging Time: 15 hours
- Imaging Dates (4 nights)
- 3/21/2025
- 4/6/2025
- 4/15/2025
- 4/25/2025
Imaging Workflow
This image followed the Broadband workflow for Galaxies
Integrated Image
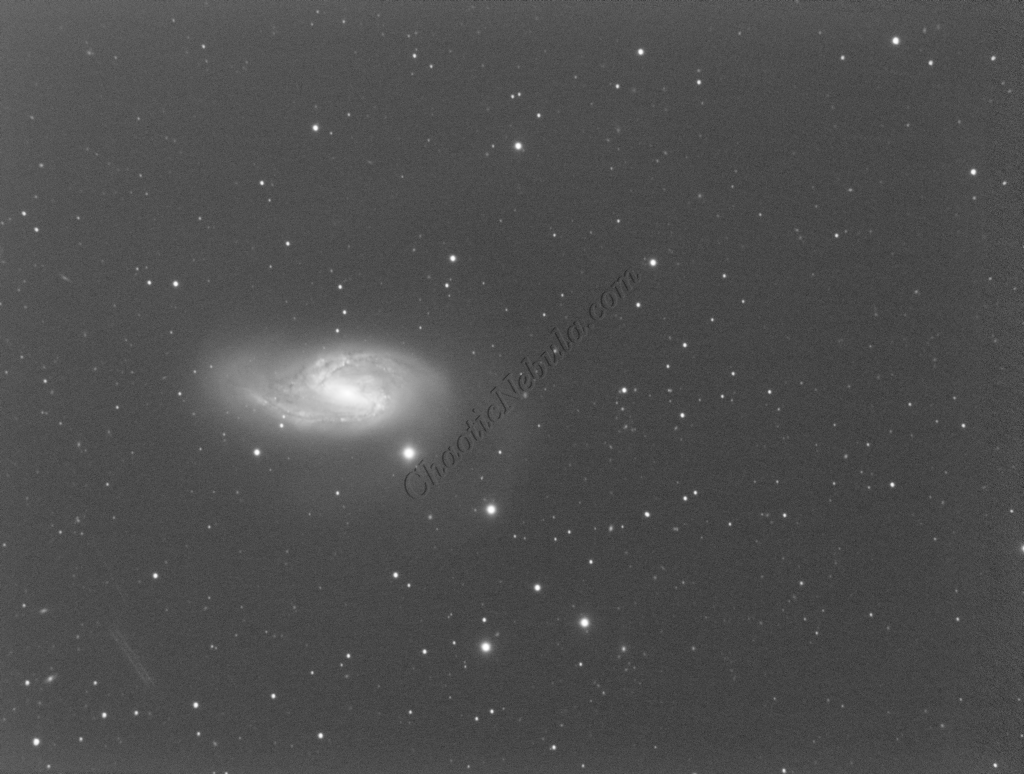
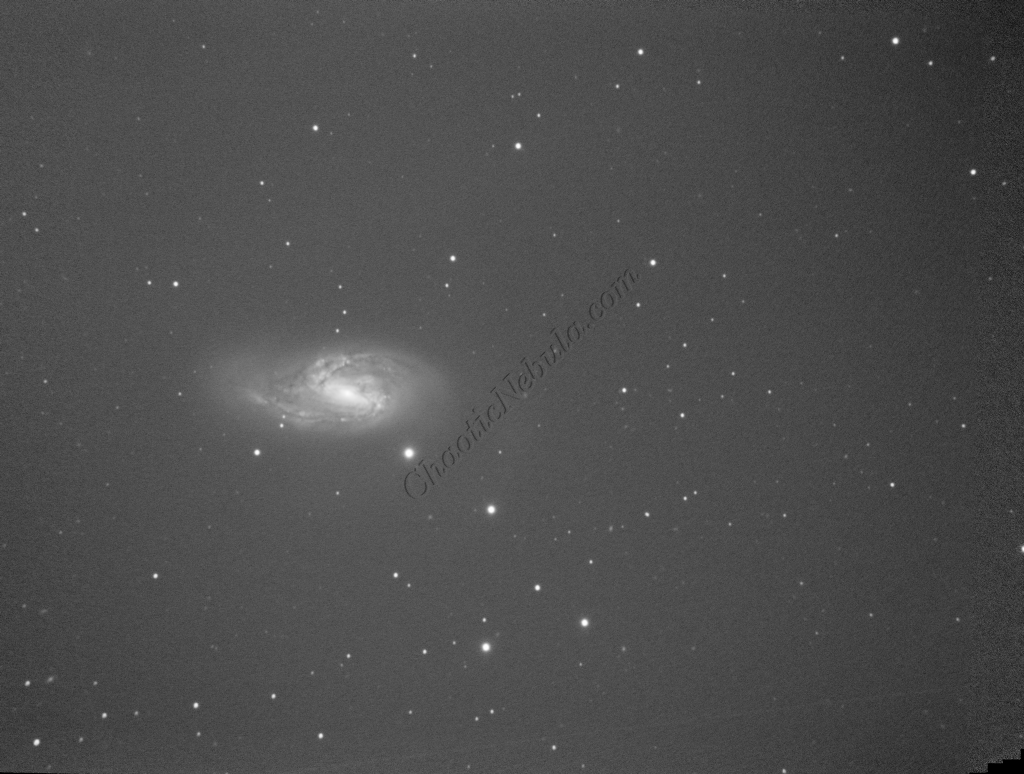
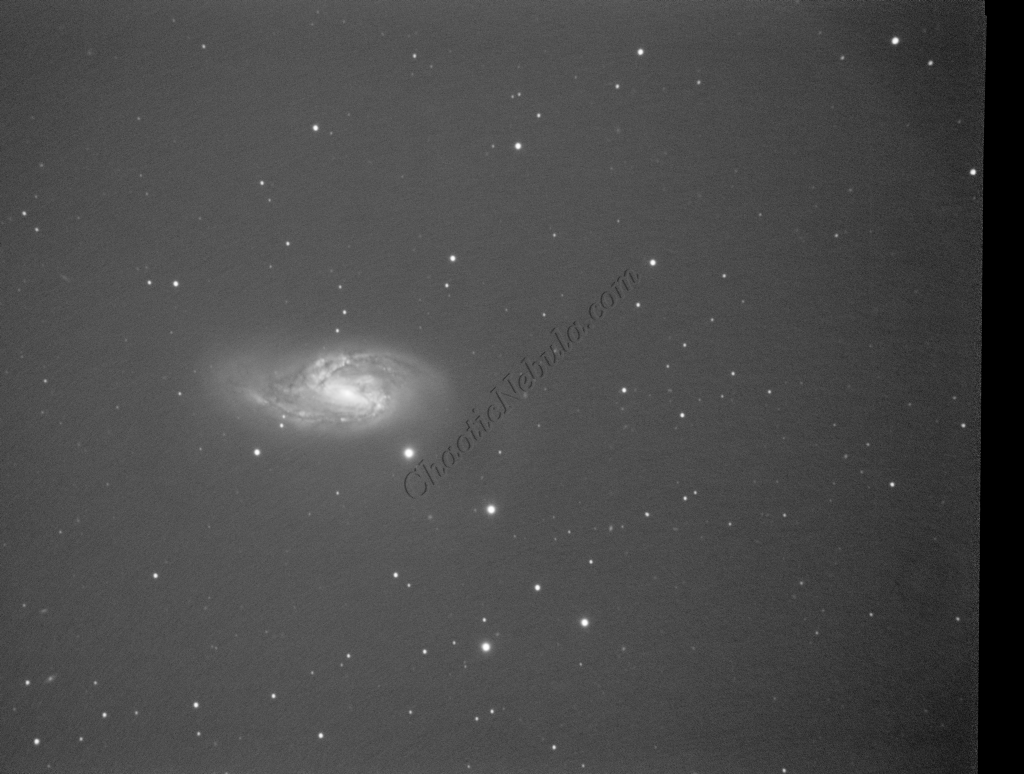
I started off with three images for red, green, and blue filters. I did my normal integration process using the PixInsight Weighted Batch Preprocessing Script.
Dynamic Crop
The Dynamic Crop process was used to clean up the edges of the 3 images.
Gradient Correction
The Gradient Correction process made it easy to remove the extreme darkness/brightness around the edges.


Deconvolution
BlurXTerminator is applied two times. The first time is for Correction only. This takes care of the coma (blurring of stars along the edges).
The second application of BlurXTerminator handles deconvolution, which improves the sharpness and details of the nebula while removing the blur from the image.
Noise Reduction
With the blurring corrected, it is time to do noise reduction. This time I used the new NoiseXTerminator add on.
Channel Combination for RGB
The next step is to do a Linear Fit across the Red, Green, and Blue channels.

Spectro-Photometric Color Calibration
The Gaia dataset was used to apply color calibration by using the Spectro-Photometric Color Calibration process.
Star Removal
To ensure the hydrogen-alpha image does not influence the star color, StarNet+ was applied to remove the stars.
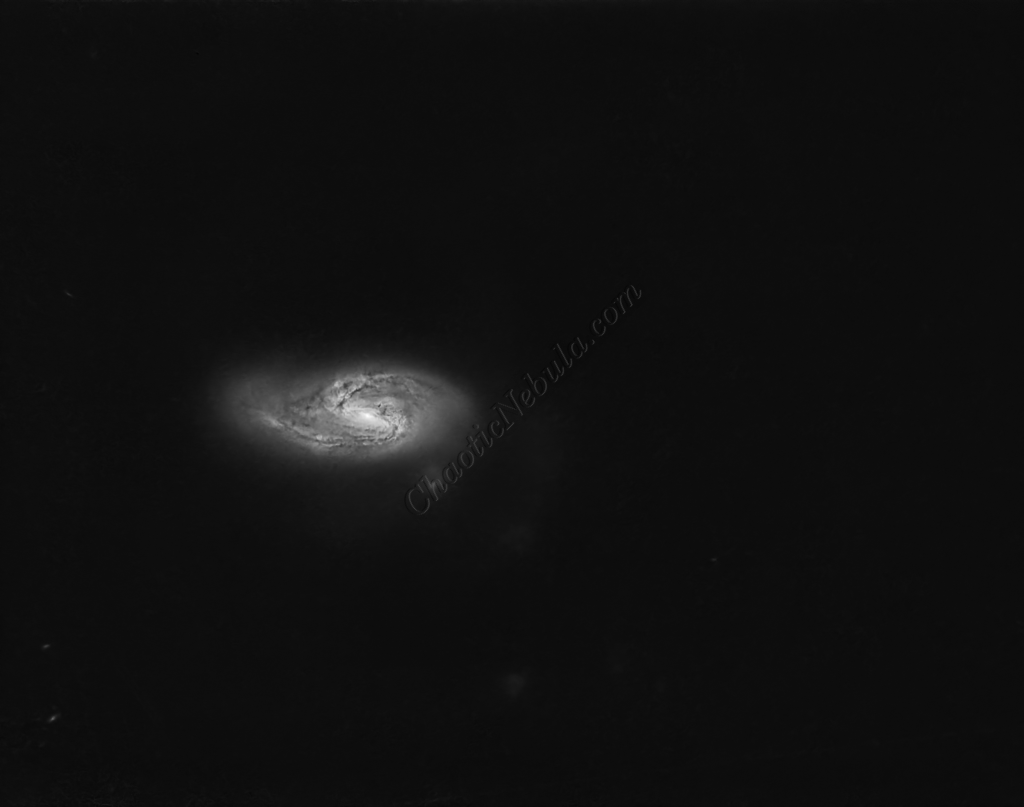
Histogram Stretch
Histogram transformation was used to stretch the image. Although the image appears dark, the entire image will get brighter when the synthetic luminance is added.
SCNR
The green hue was lowered by using SCNR
Luminance Workflow
Before doing anything more to the color image, it is time to go through the Luminance Workflow.

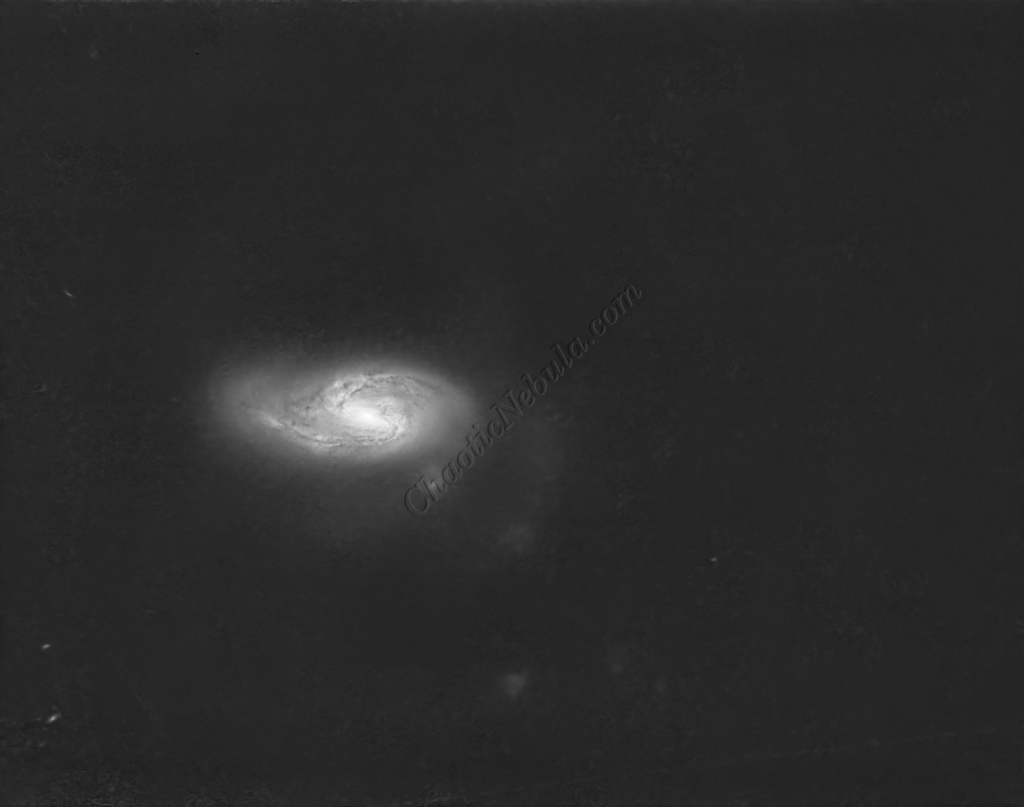


Luminance Integration (LRGB)
With the luminance image processed, it can get integrated with the color image with LRGB Combination process. This used 45% for lightness and 35% for saturation.

Saturation
PixInsight Curves Transformation increased the overall color saturation.
Brightness
PixInsight Curves Transformation increased the overall brightness.
ACDNR for Chrominance
Although NoiseXTerminator did a great job in removing the noise from the image early on in the workflow, some of the processing might have added noise in the color. Applying ACDNR for only chrominance helps correct this without losing details.
Stars
The stars were added back in. Curves Transformation was used to increase the brightness and saturation of the stars.
Final Adjustments
To finish the image, I make a few minor tweaks to the brightness and colors of the stars using Curves Transformation.