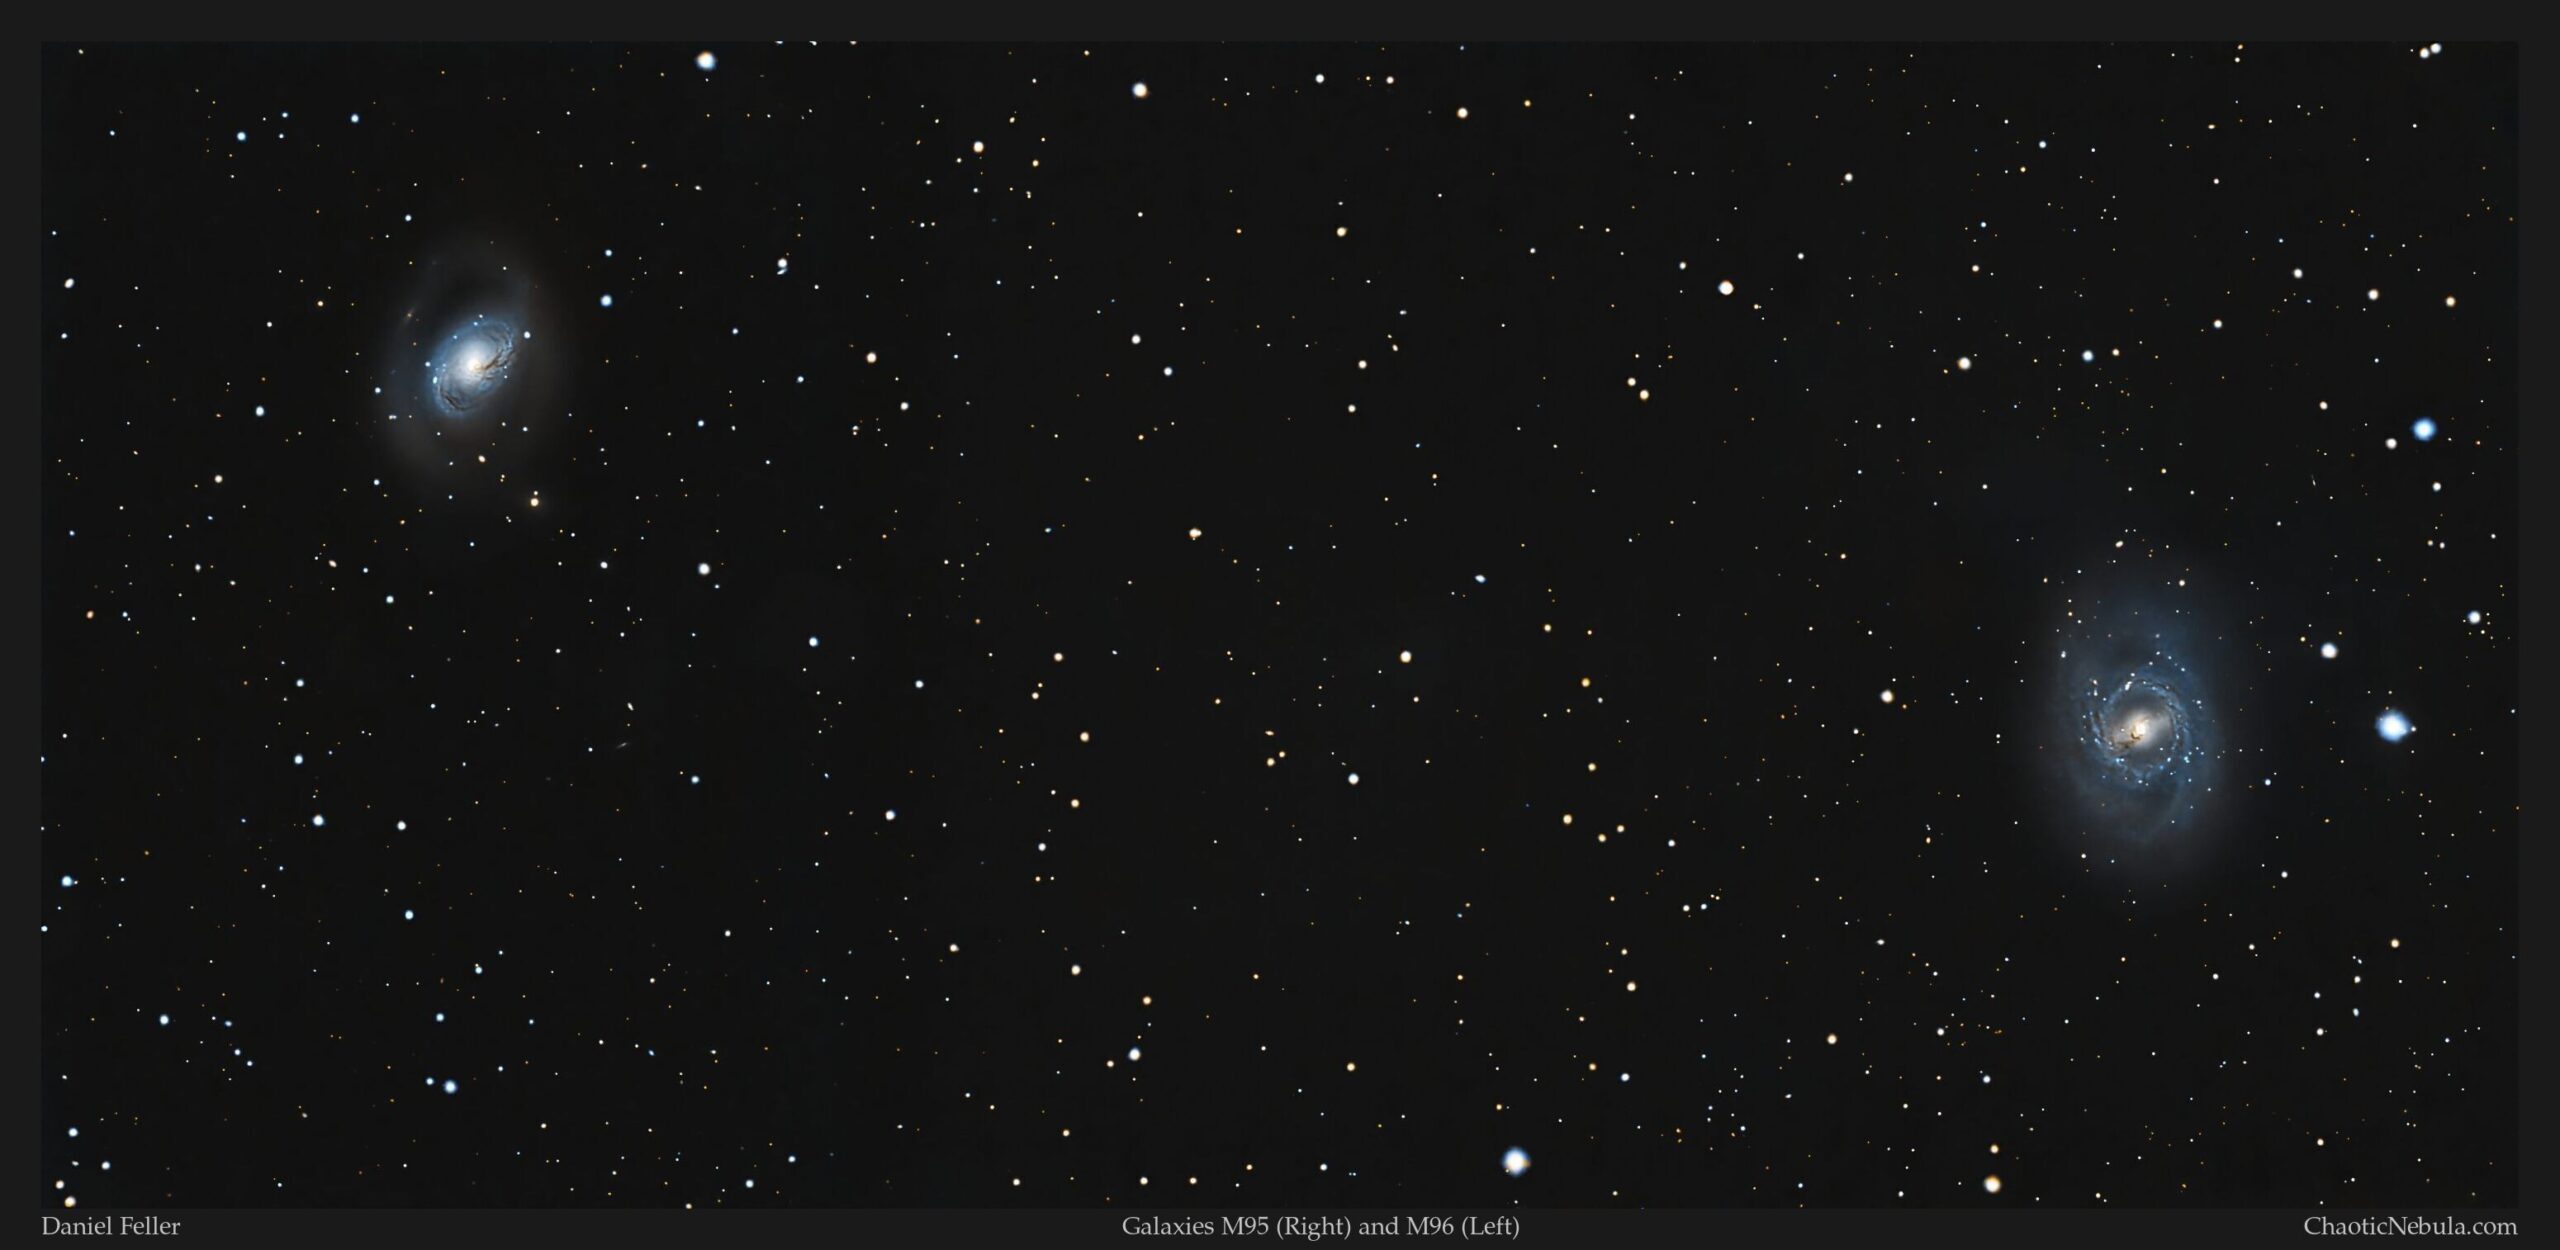
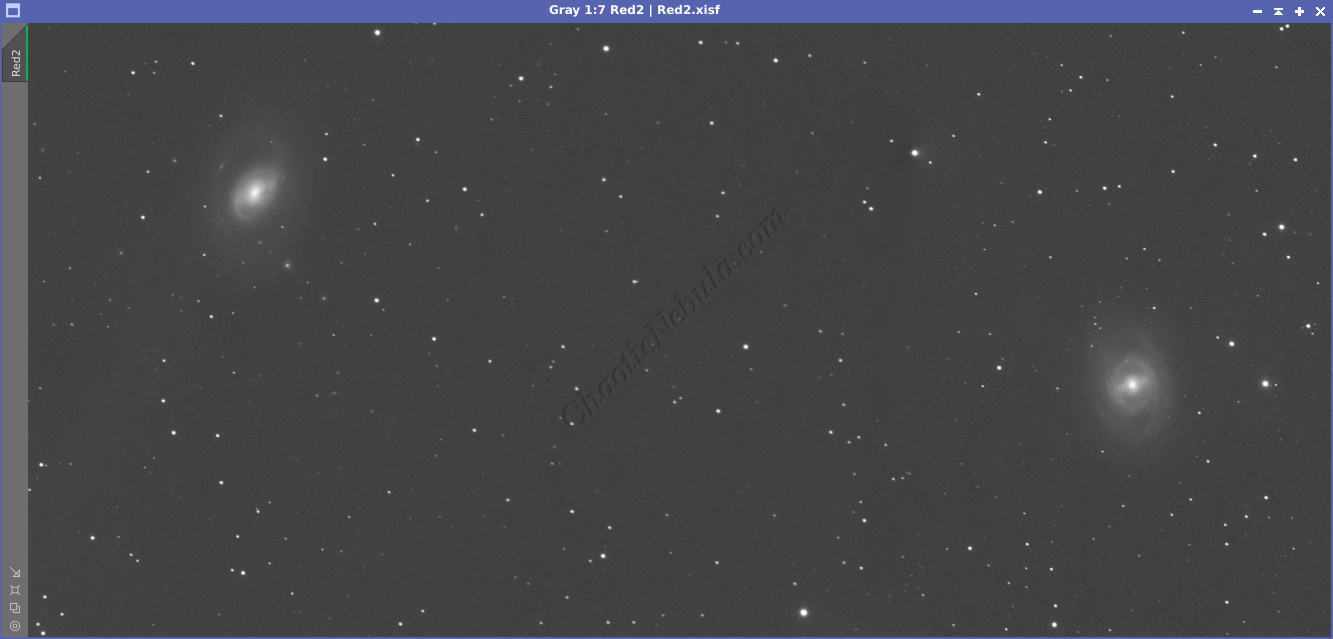
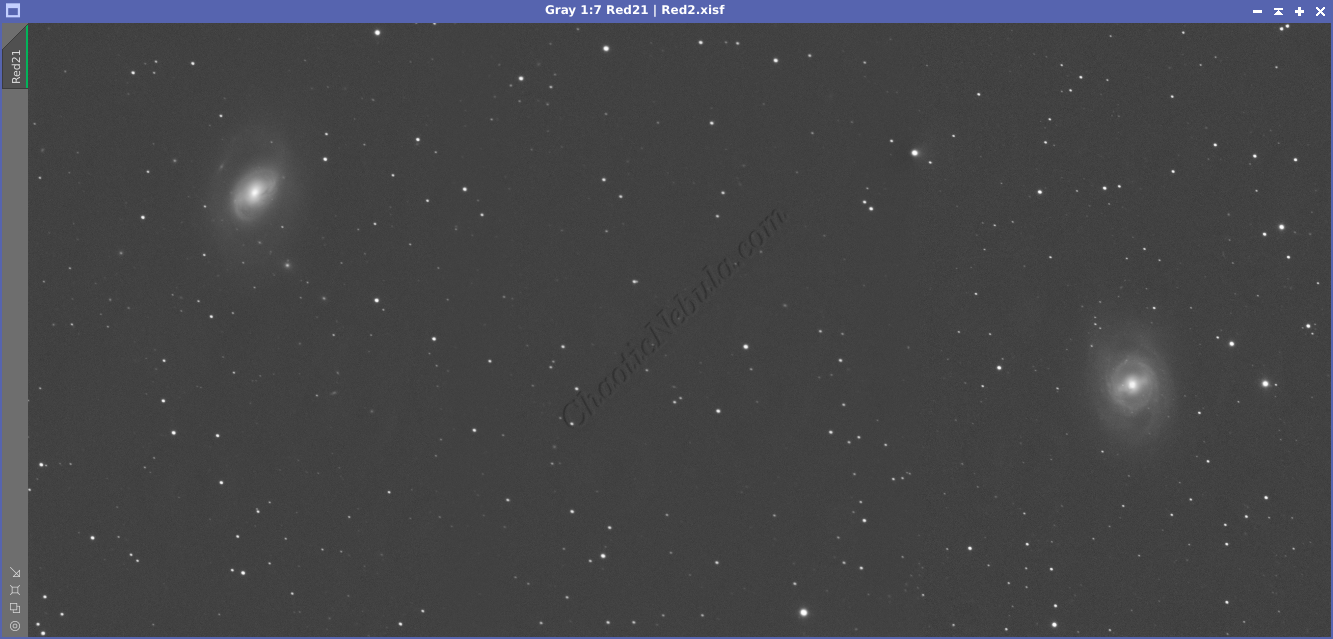
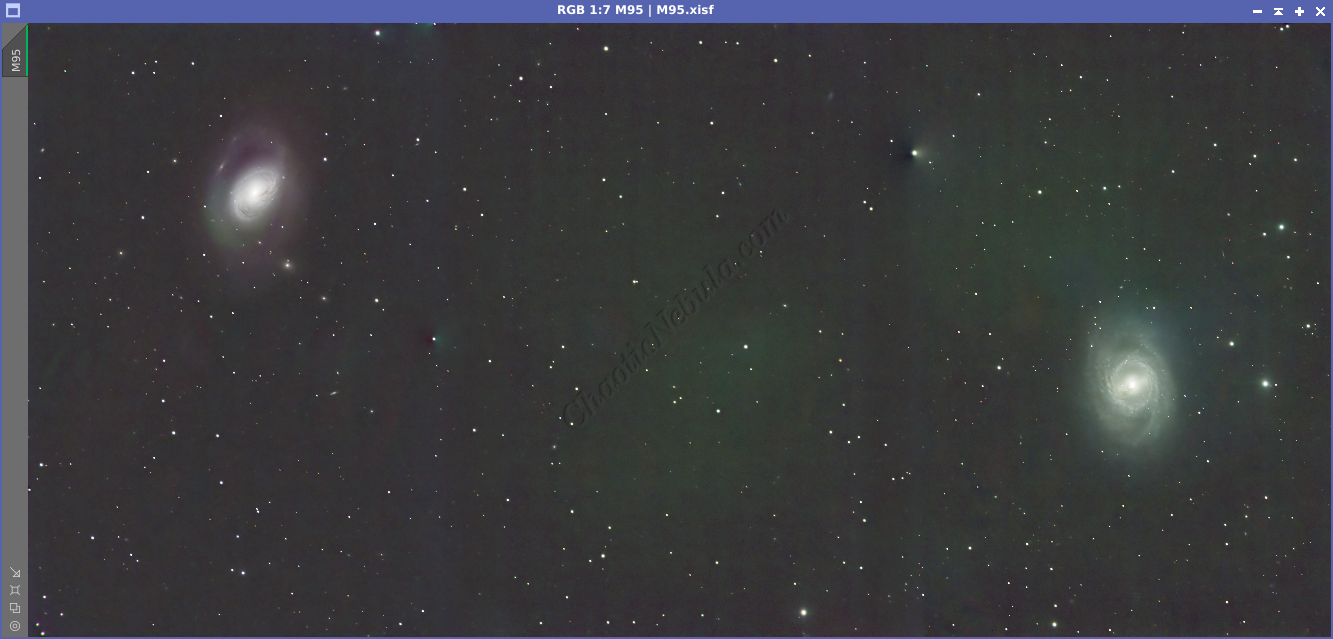
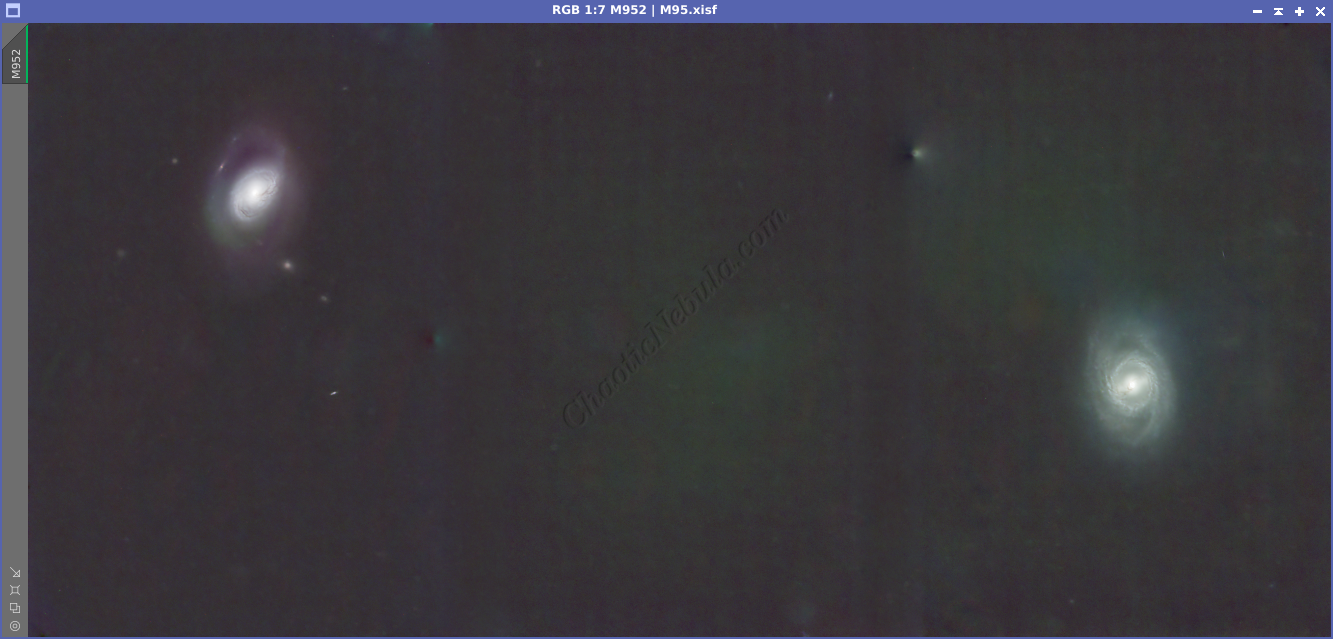
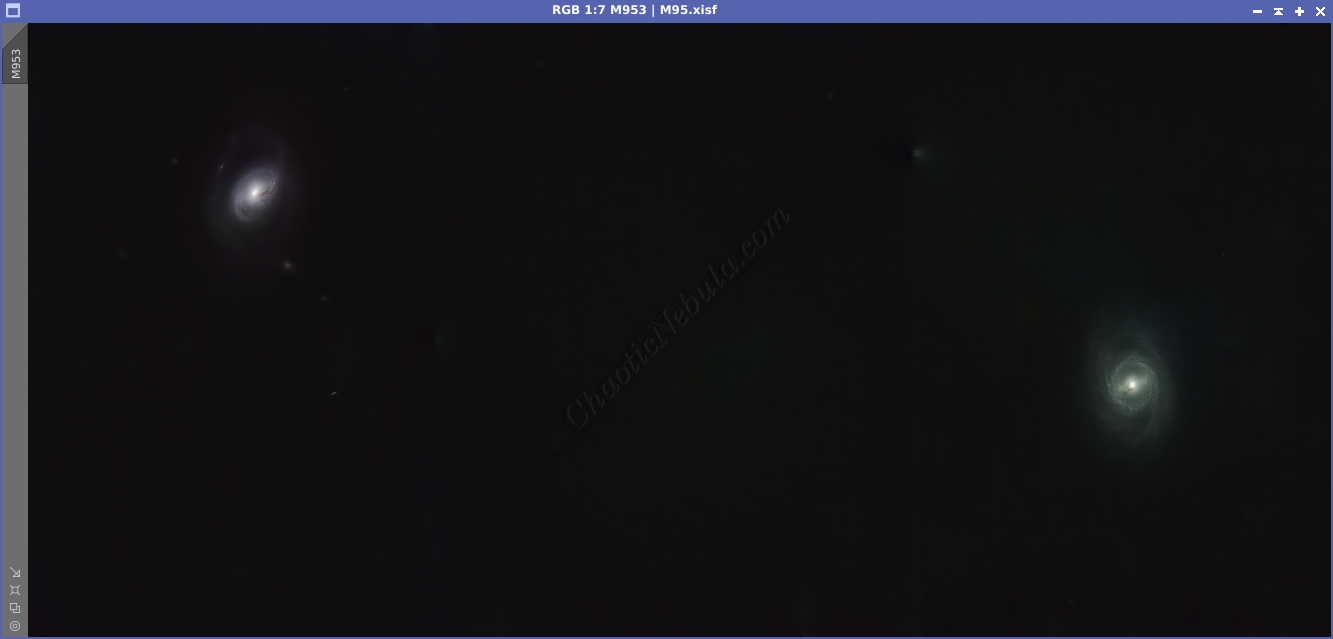
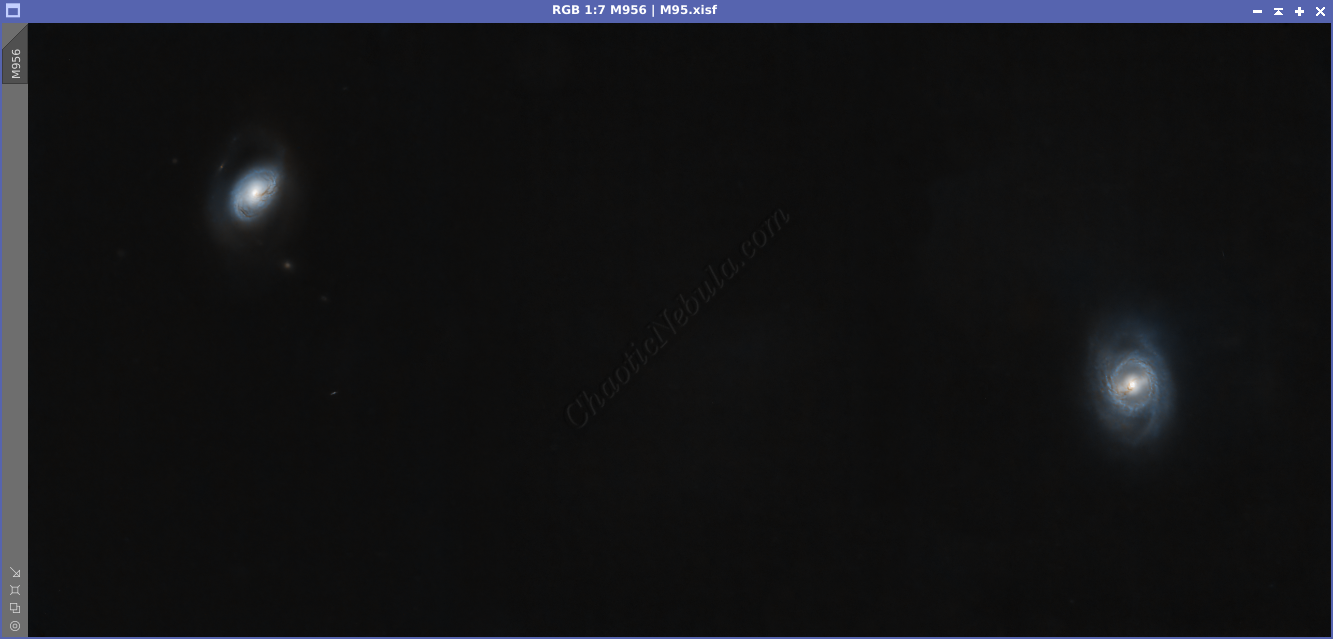
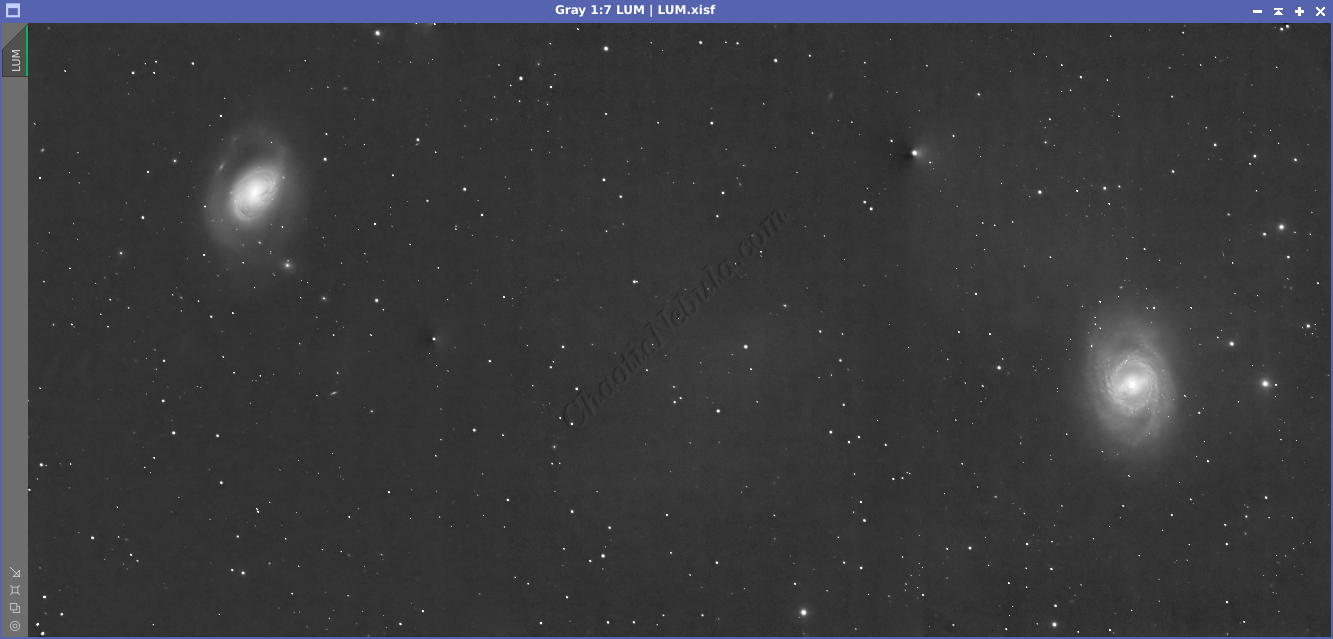
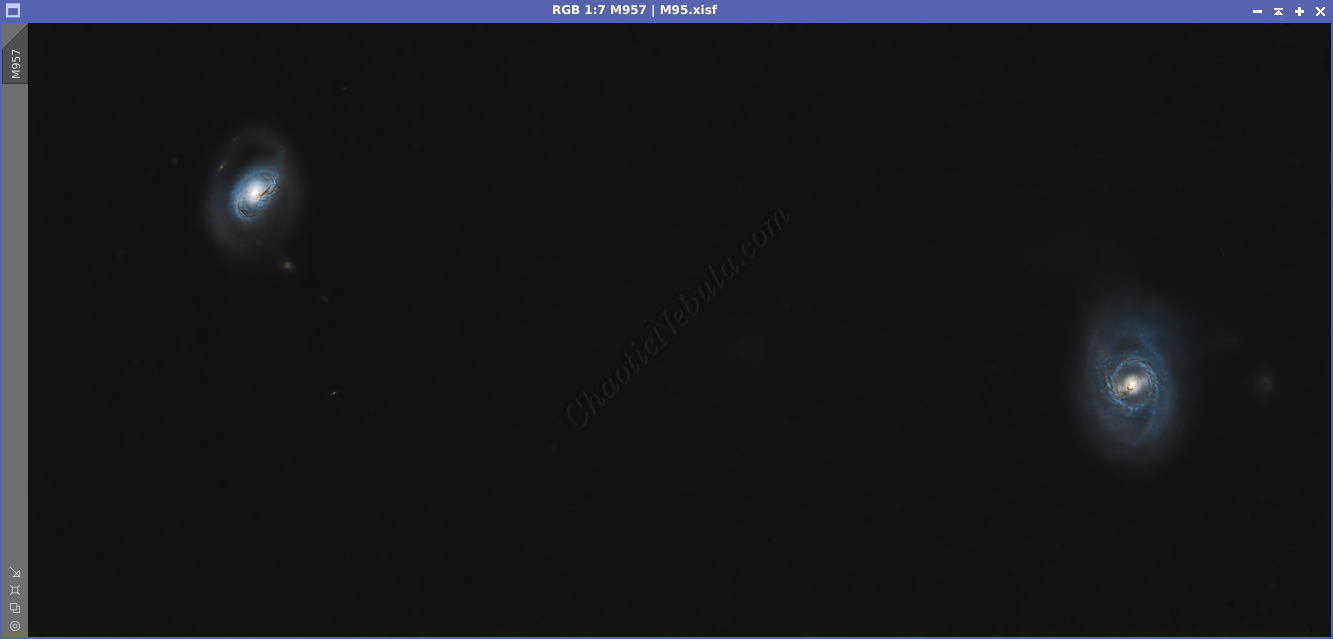
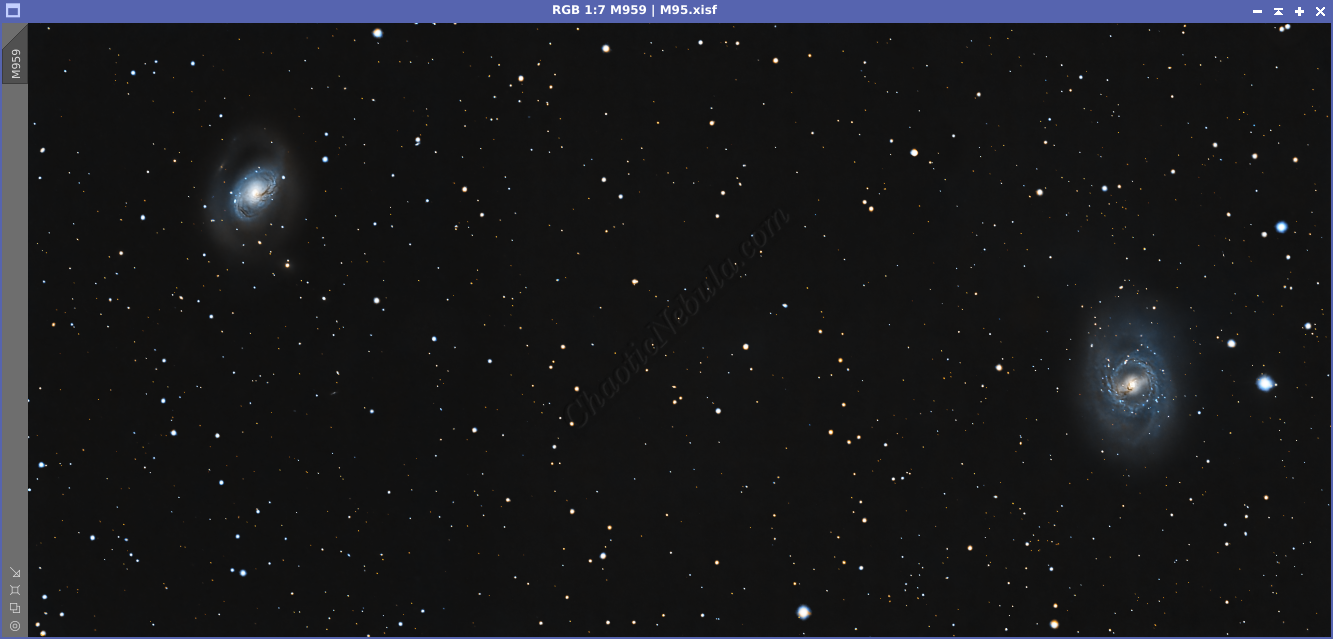
Nestled within the constellation Leo (the Lion) lies a bright pair of galaxies: M96 and M95.
Messier 96 (on the left), also known as M96 or NGC 3368, is an intermediate spiral galaxy about 31 million light-years away. It is also about the same size as our own Milky Way galaxy.
Messier 95 (on the right), also known as M95 or NGC 3351, is a barred spiral galaxy (notice the central bar structure) about 33 million light years away.
Both galaxies belong to the M96 galaxy group, where the galaxy M96 is the dominant member. In addition to these two galaxies, the galaxy group also includes 8 or more other galaxies bound together.
Seeing these two galaxies side-by-side allows you to compare the differences between a barred spiral galaxy vs an intermediate spiral galaxy. M96 has a prominent central bulge encircled by tightly wound spiral arms. These arms, teeming with young, hot stars, are the birth places of future star formation. M95, on the other hand, showcases a more open and defined spiral structure.
Although M95 and M96 are fairly bright, 9.7 and 9.2 magnitude respectfully, the faint swirls on the outskirts of the galaxies requires expended exposure time.
Imaging Details
- Workflow: Broadband workflow for Galaxies and Mosaic Workflow
- Mosaic: 3 panels
- Red: 36*300 seconds (each panel)
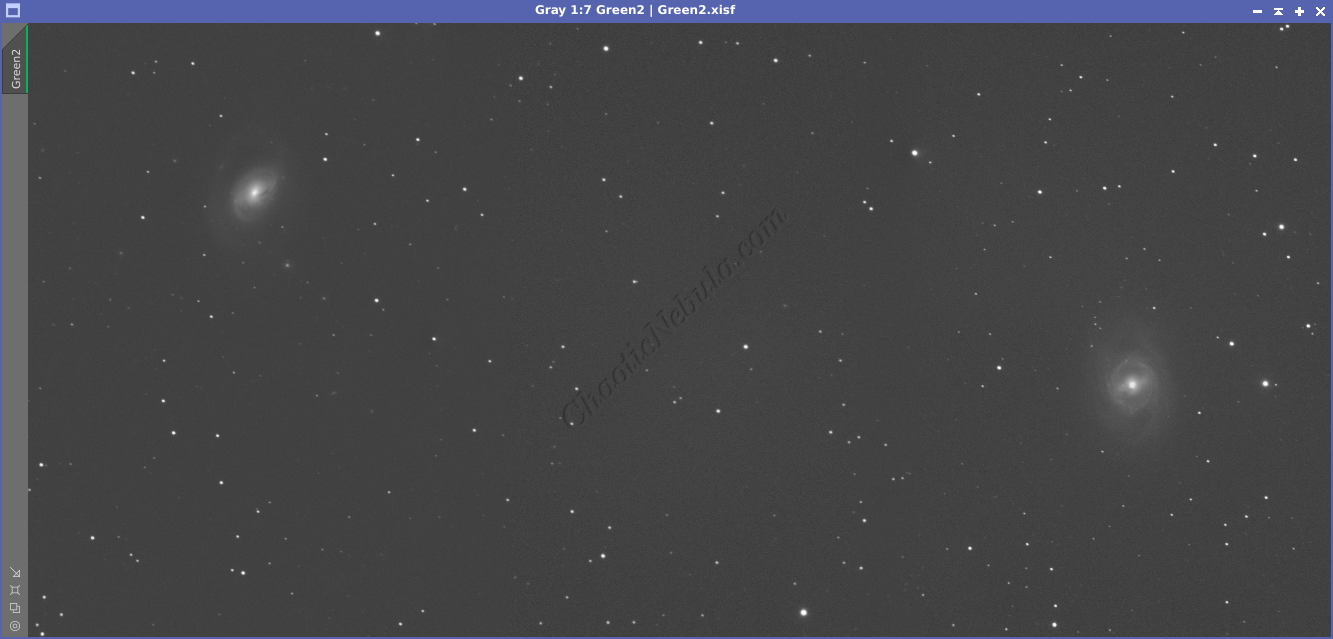
- Green: 36*300 seconds (each panel)
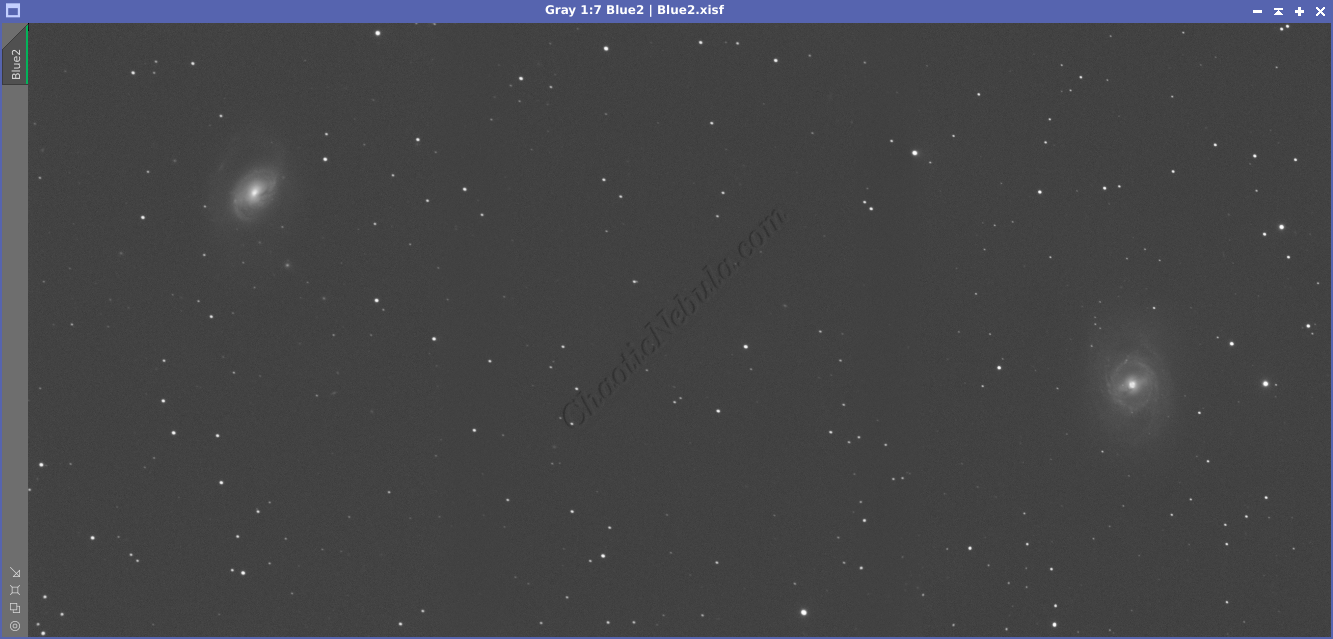
- Blue: 36*300 seconds (each panel)
- Binning: 1×1
- Total Imaging Time: 27 hours
- Imaging Dates: (8 nights)
- 3/8/2024
- 3/9/2024
- 3/10/2024
- 3/11/2024
- 3/12/2024
- 4/12/2024
- 4/13/2024
- 4/14/2024
Imaging Notes
This is the first mosaic image I’ve attempted in quite a long time. I used this as an opportunity to update the mosaic workflow to leverage the latest changes in the Star Alignment and Image Solver script.
I also tried to do the mosaic workflow before vs after applying BlurXTerminator and NoiseXTerminator and found out that the end result is better when doing the mosaic workflow immediately after removing the gradients. Because I capture enough data, the mosaic workflow is able to handle the noise levels that are part of the baseline images.
Imaging Workflow
This image followed the Broadband workflow for Galaxies and Mosaic Workflow
Integrated Image
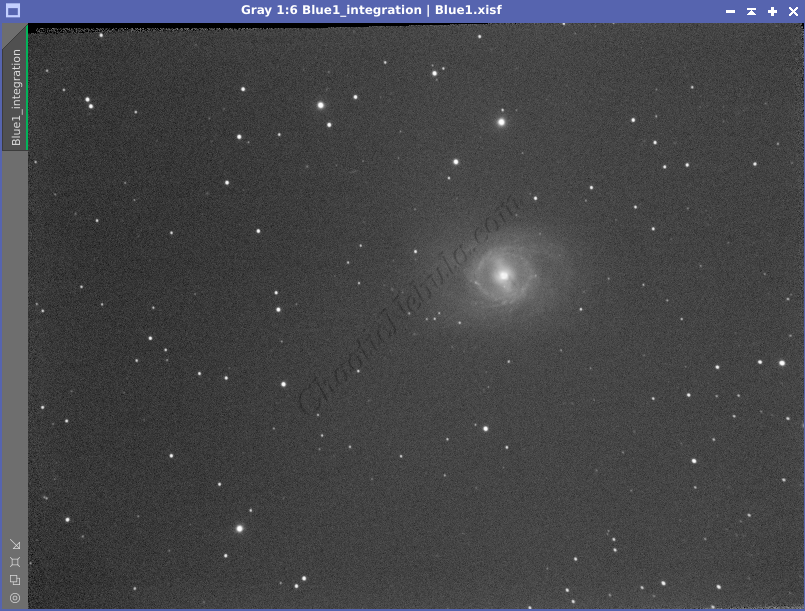
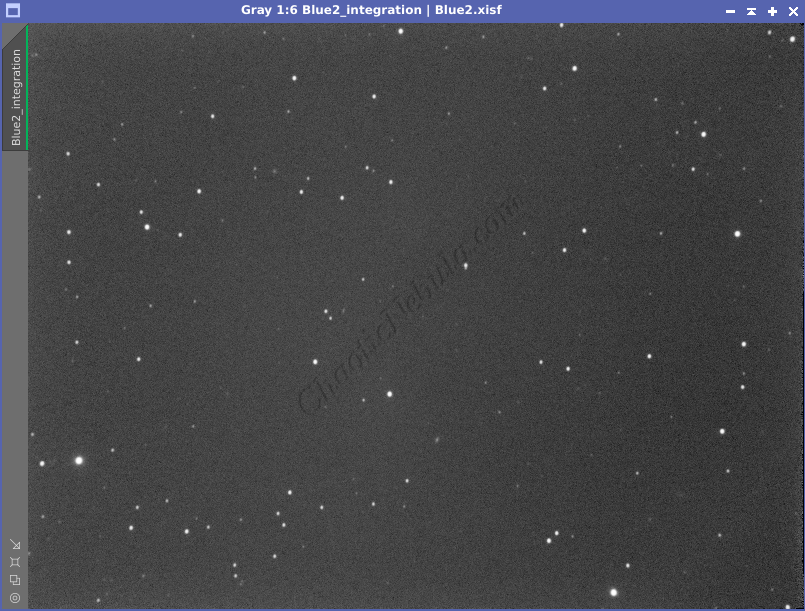
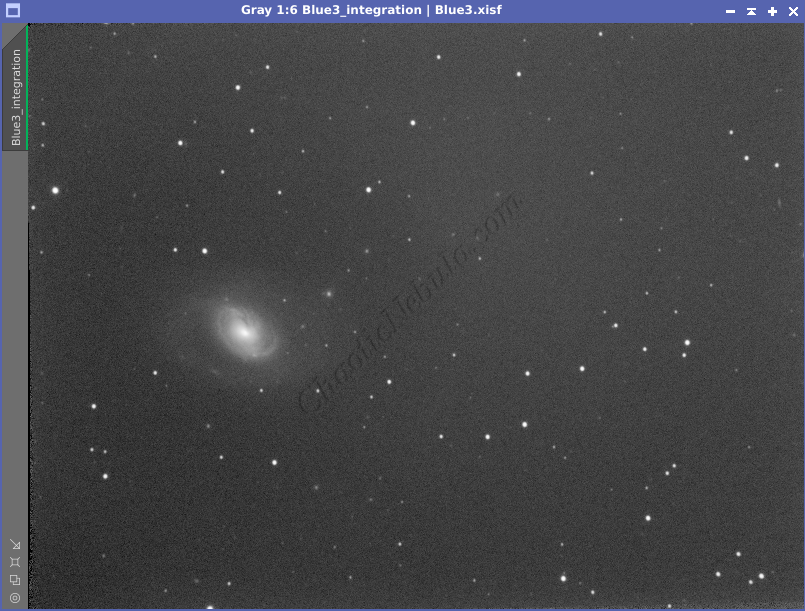
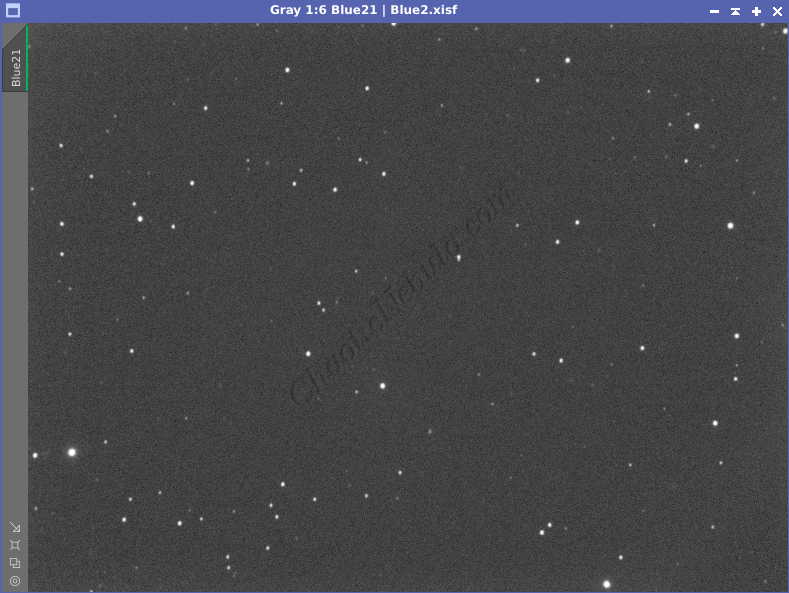
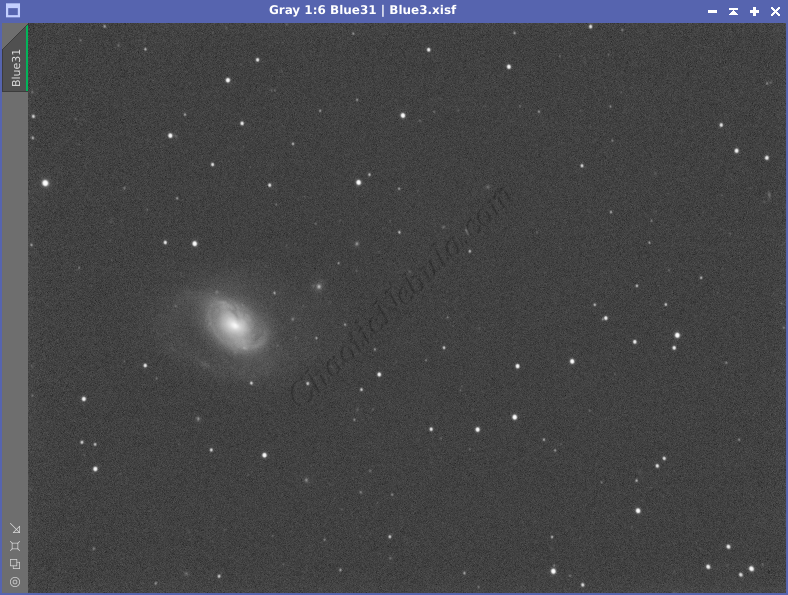
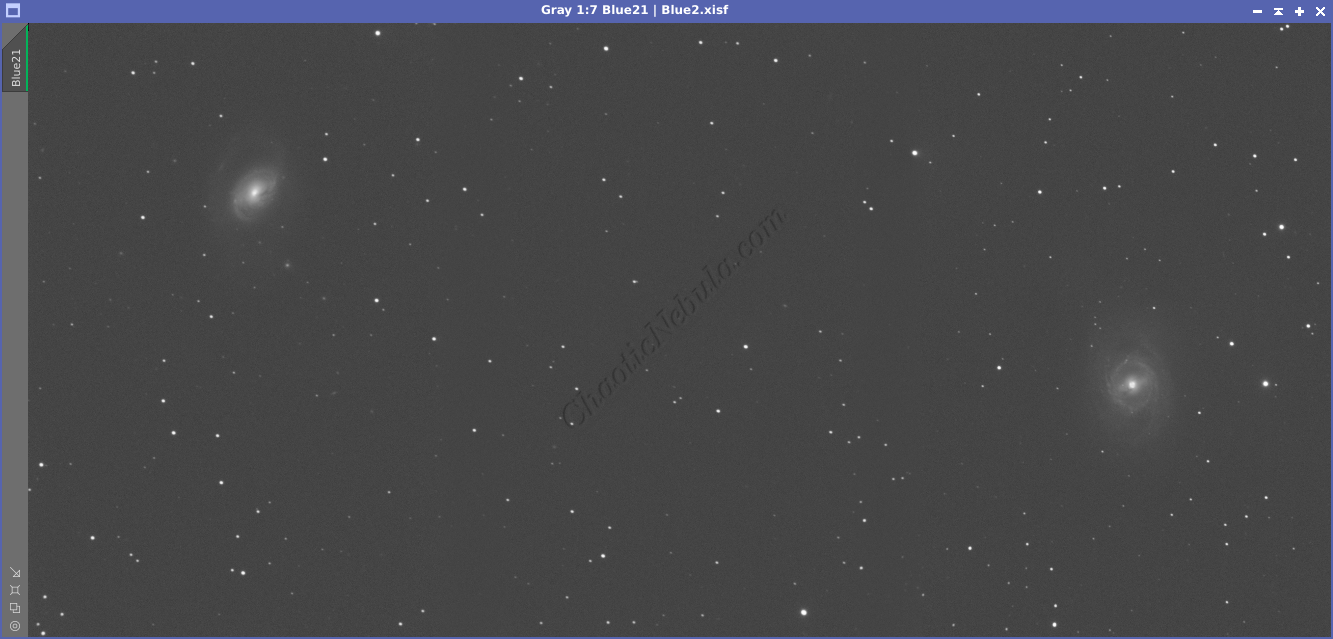
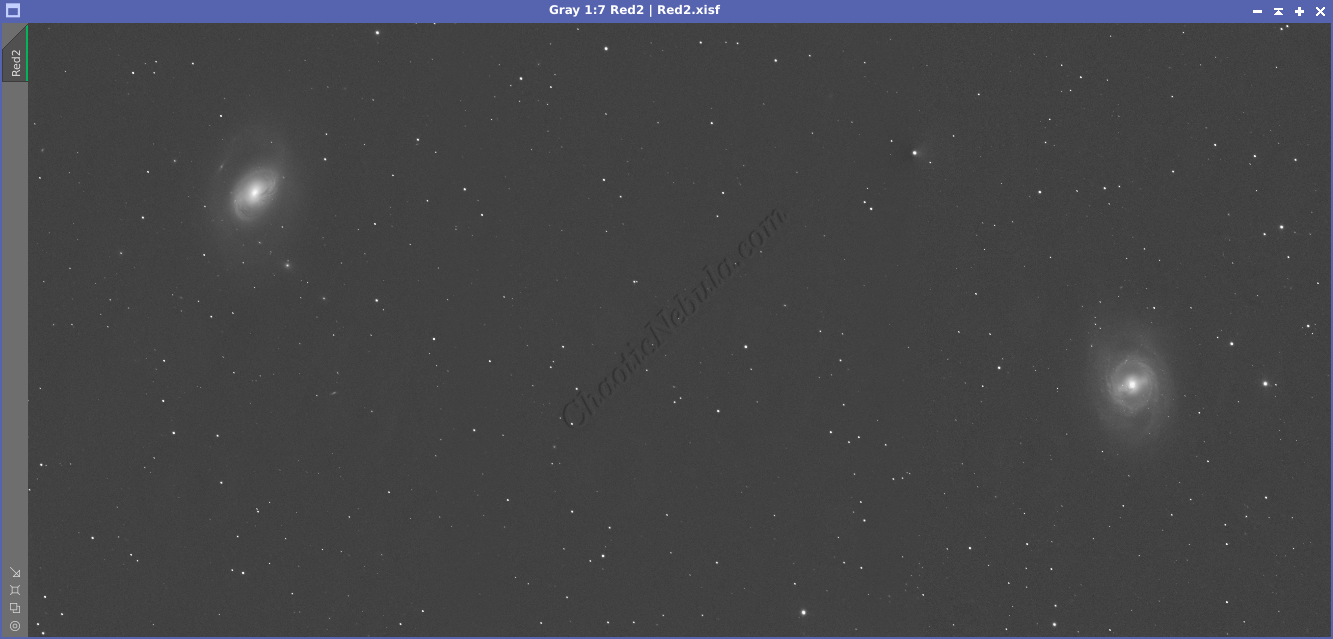
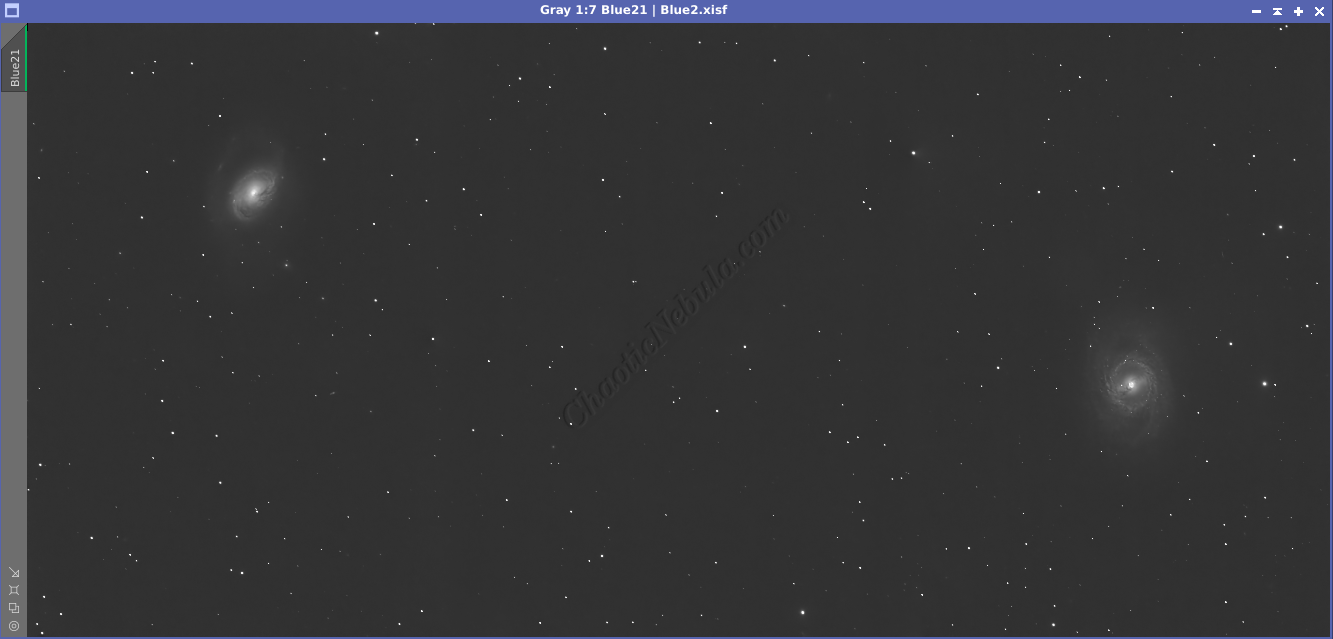
The process begins with 9 images: Red, Green, and Blue images for 3 separate mosaic panels. The normal integration process was used except that drizzle integration was bypassed. Only showing the panels for the blue channel.
Gradient Correction
The Gradient Correction process made it easy to remove the extreme darkness/brightness around the edges.
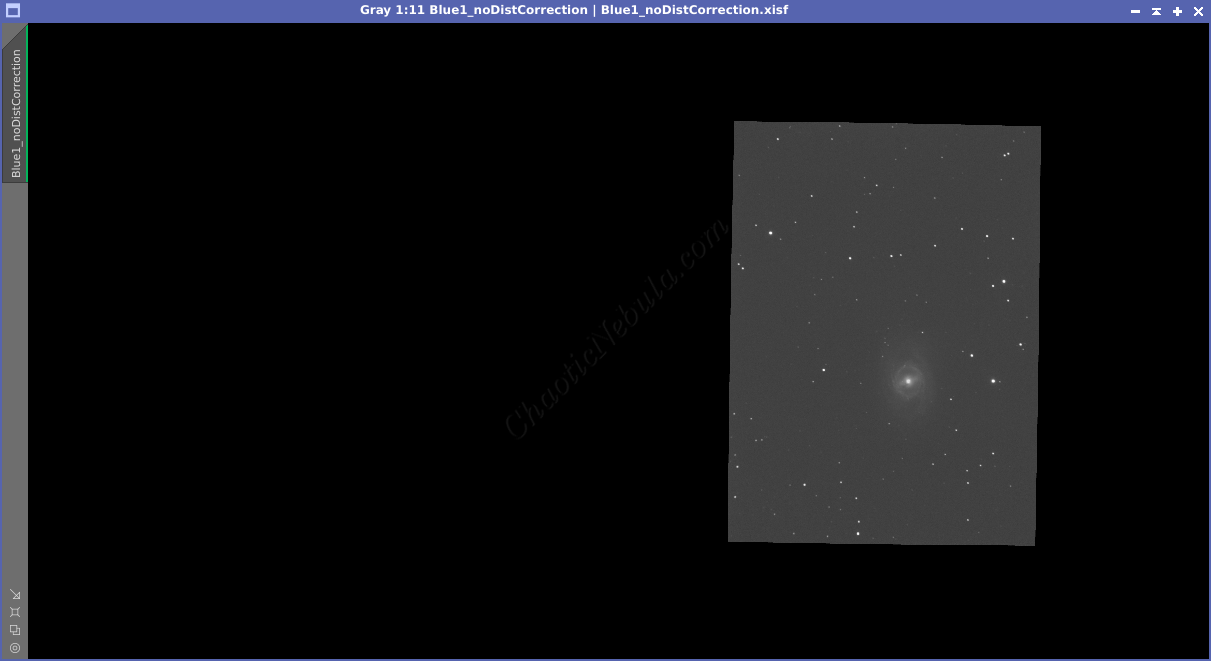
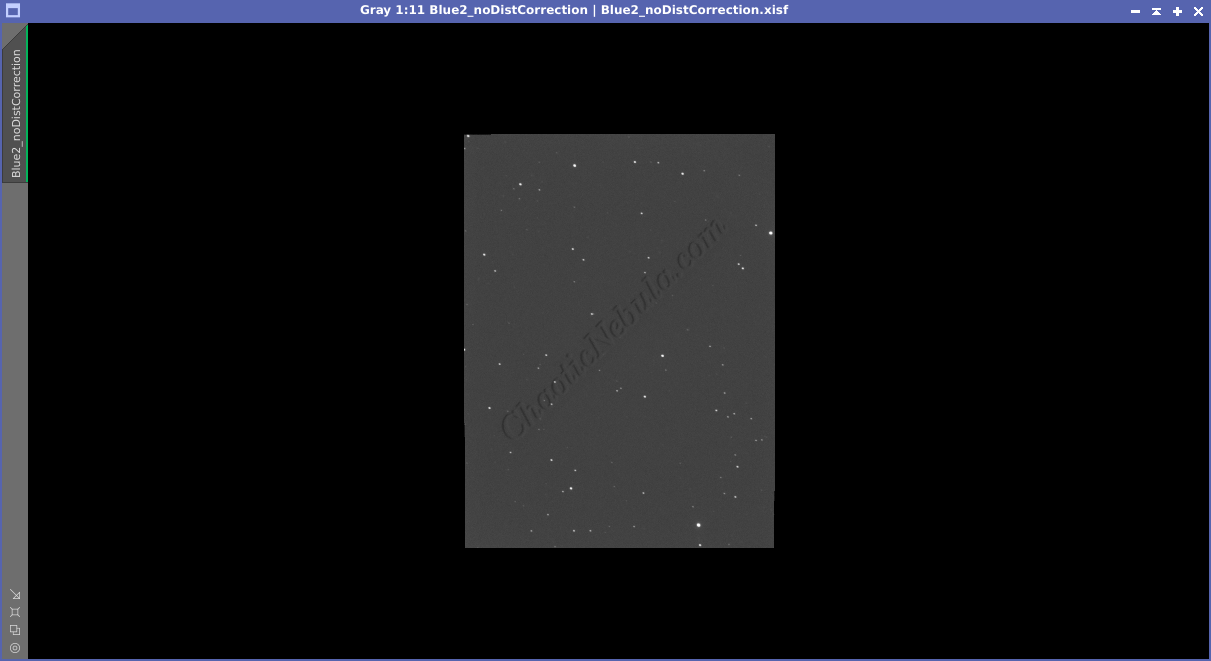
Mosaic Alignment
This image followed the Mosaic Workflow using a generated star field for the area. With a valid star catalog, each panel used Star Alignment to create place the panel in the correct location and orientation on the field.

Gradient Merge Mosaic
The DNA Linear Fit script balanced the brightness across the three panels. Once complete, Gradient Merge Mosaic blended the edges together into a single mosaic image for the red, green, and blue filters.
Gradient Correction for Mosaics
With the single integrated mosaic image, there is often a gradient across the image. Gradient Correction process gets re-applied.

At this point, the mosaic integration process is complete and processing returns to the normal workflow.
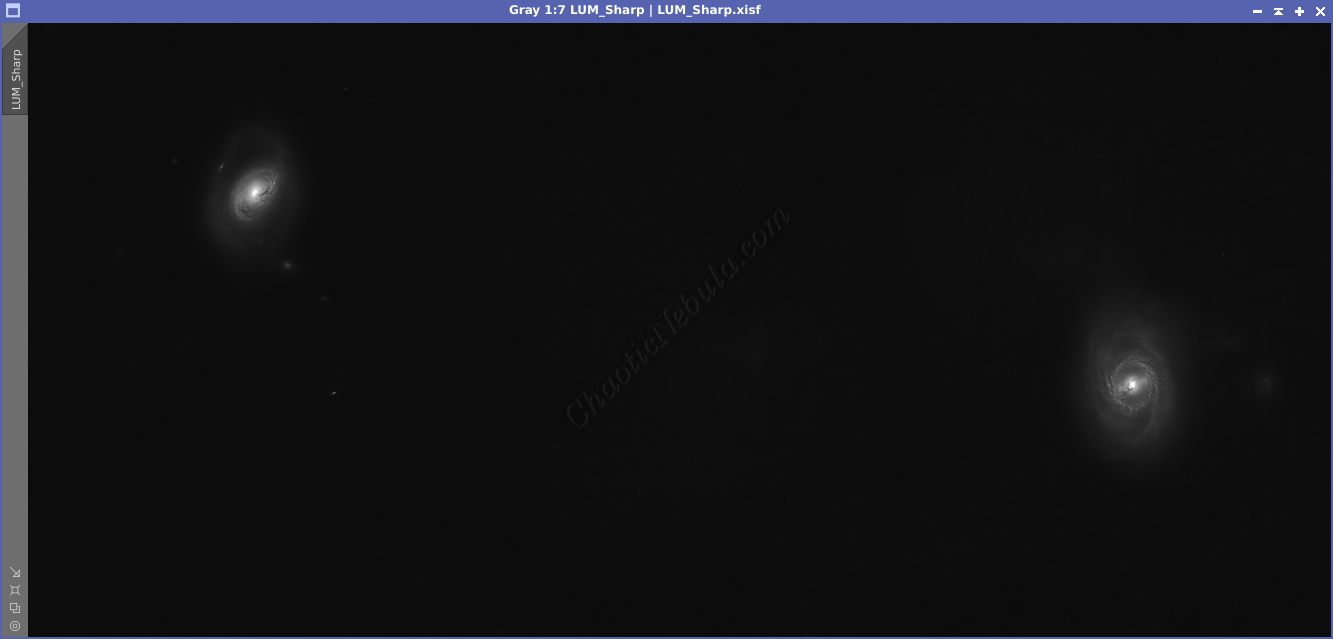
Deconvolution
BlurXTerminator is applied two times. The first time is for Correction only. This takes care of the coma (blurring of stars along the edges).
The second application of BlurXTerminator handles deconvolution, which improves the sharpness and details of the nebula while removing the blur from the image.


Noise Reduction
With the blurring corrected, it is time to do noise reduction. This time I used the new NoiseXTerminator add on.


Channel Combination for RGB
The next step is to do a Linear Fit and then a Channel Combination to combine the channels into RGB.
In addition, once the color image was created, the luminance channel was extracted to be used for the luminance workflow.
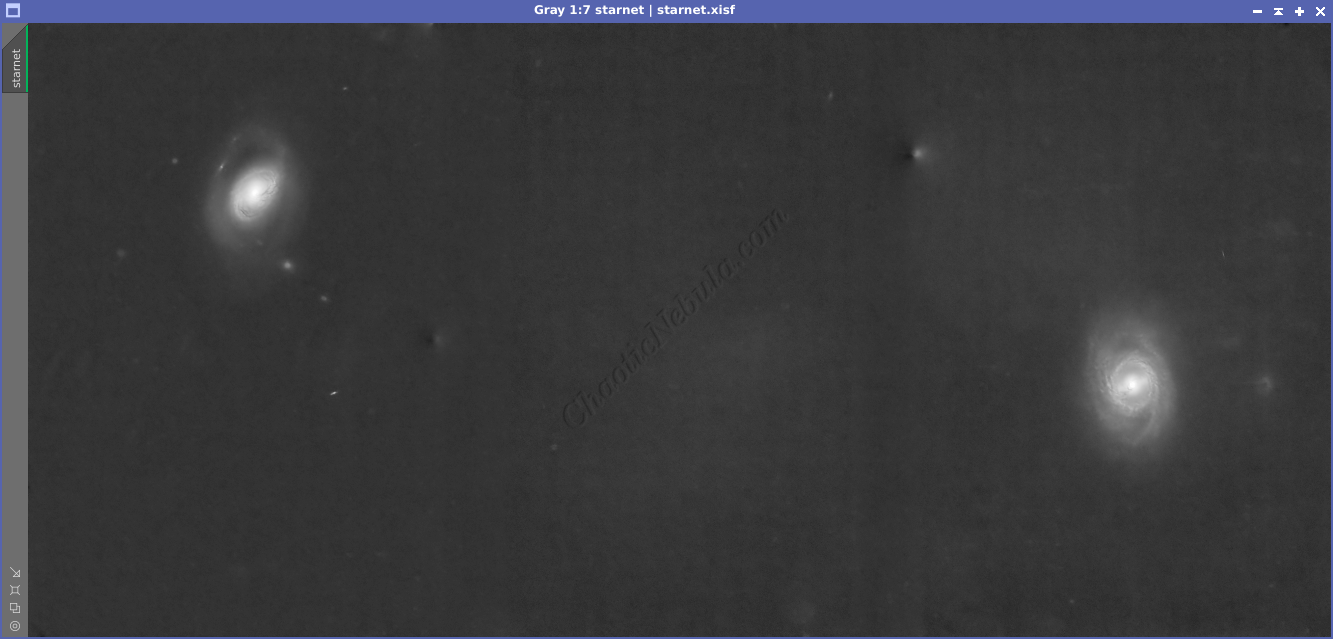
Star Removal
To better protect the stars from bloating due to additional processing, they are removed with StarNet+
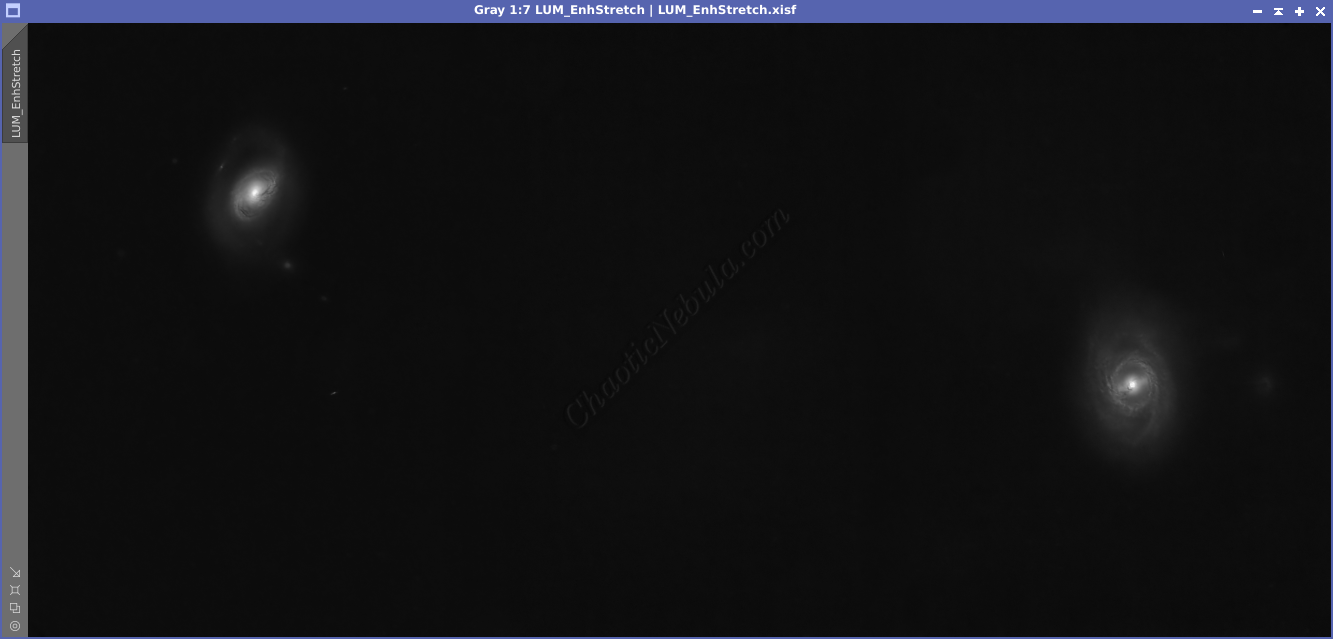
Histogram Stretch
I used histogram transformation to stretch the image. Although the image appears dark, the entire image will get brighter when the synthetic luminance is added.
Color Saturation
PixInsight Curves Transformation increased the overall color saturation.
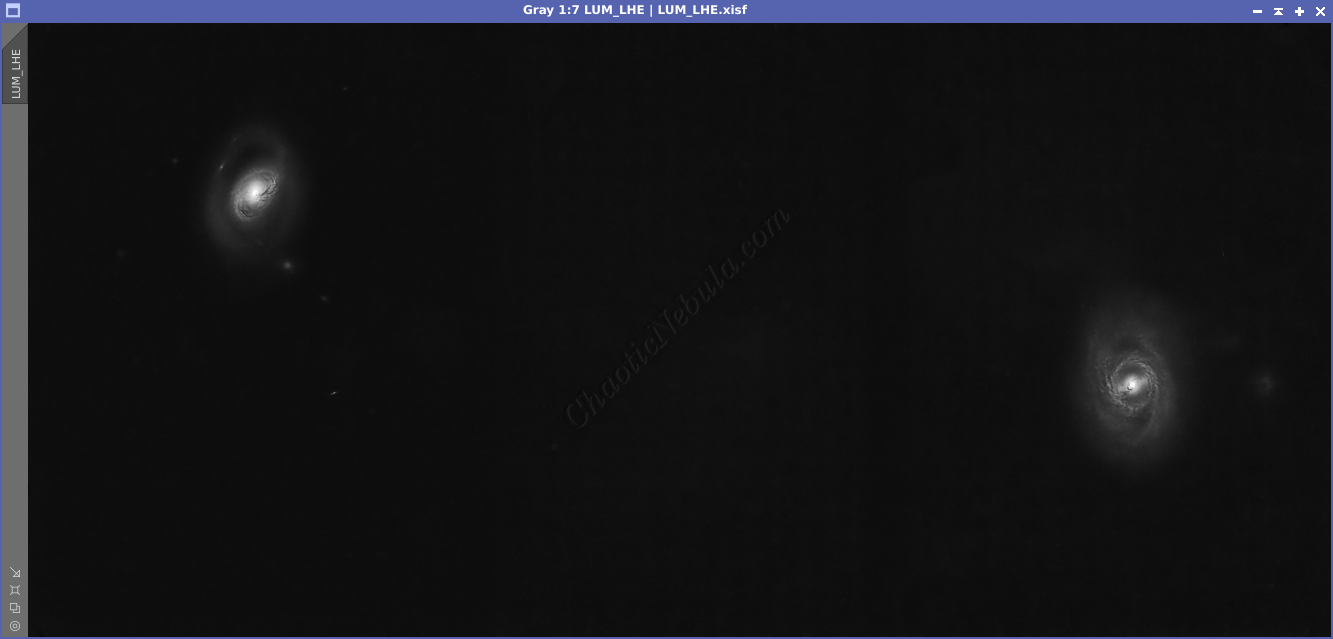
Luminance Workflow
Before doing anything more to the color image, it is time to go through the Luminance Workflow.
Deconvolution was skipped as it was done to the RGB image with the use of BlurXTerminator.

Luminance Integration (LRGB)
With the luminance image processed, it can get integrated with the color image with LRGB Combination process. This used 45% for lightness and 35% for saturation.
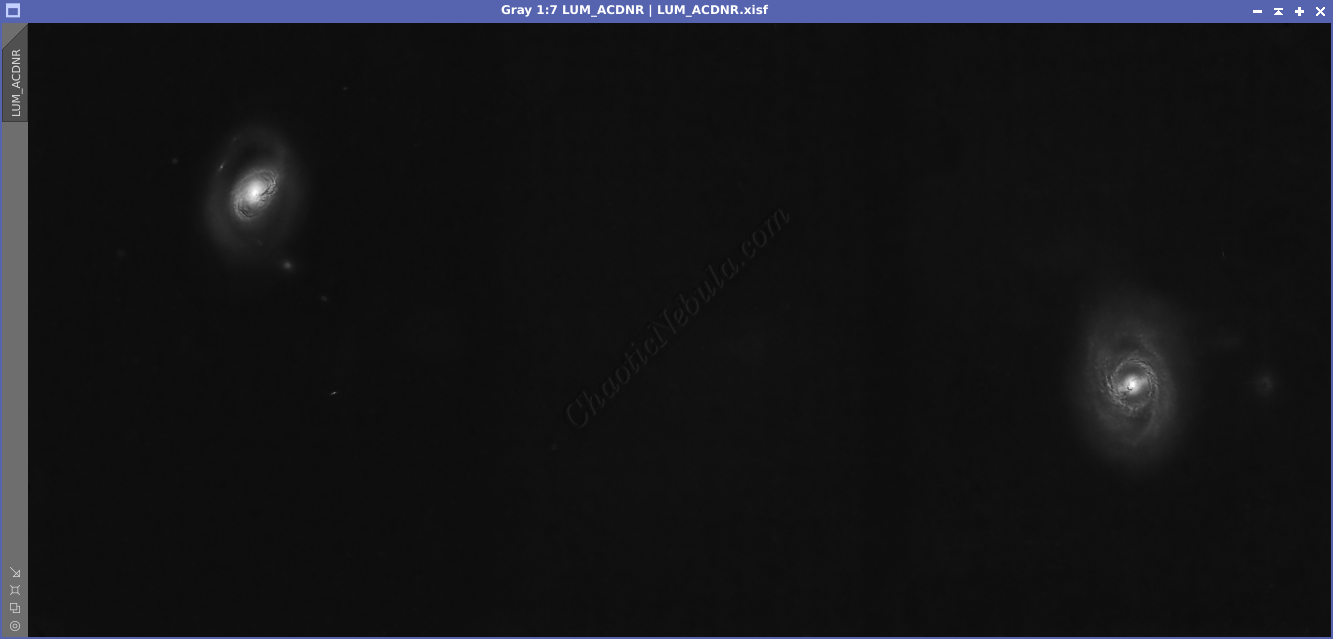
ACDNR for Chrominance
Although NoiseXTerminator did a great job in removing the noise from the image early on in the workflow, some of the processing might have added noise in the color. Applying ACDNR for only chrominance helps correct this without losing details.

Stars
Pixel Math was used to re-add the star field back into the image. The luminance star field was used as a mask and the color star field was then applied.
Final Adjustments
To finish the image, I make a few minor tweaks to the brightness and colors of the stars using Curves Transformation.