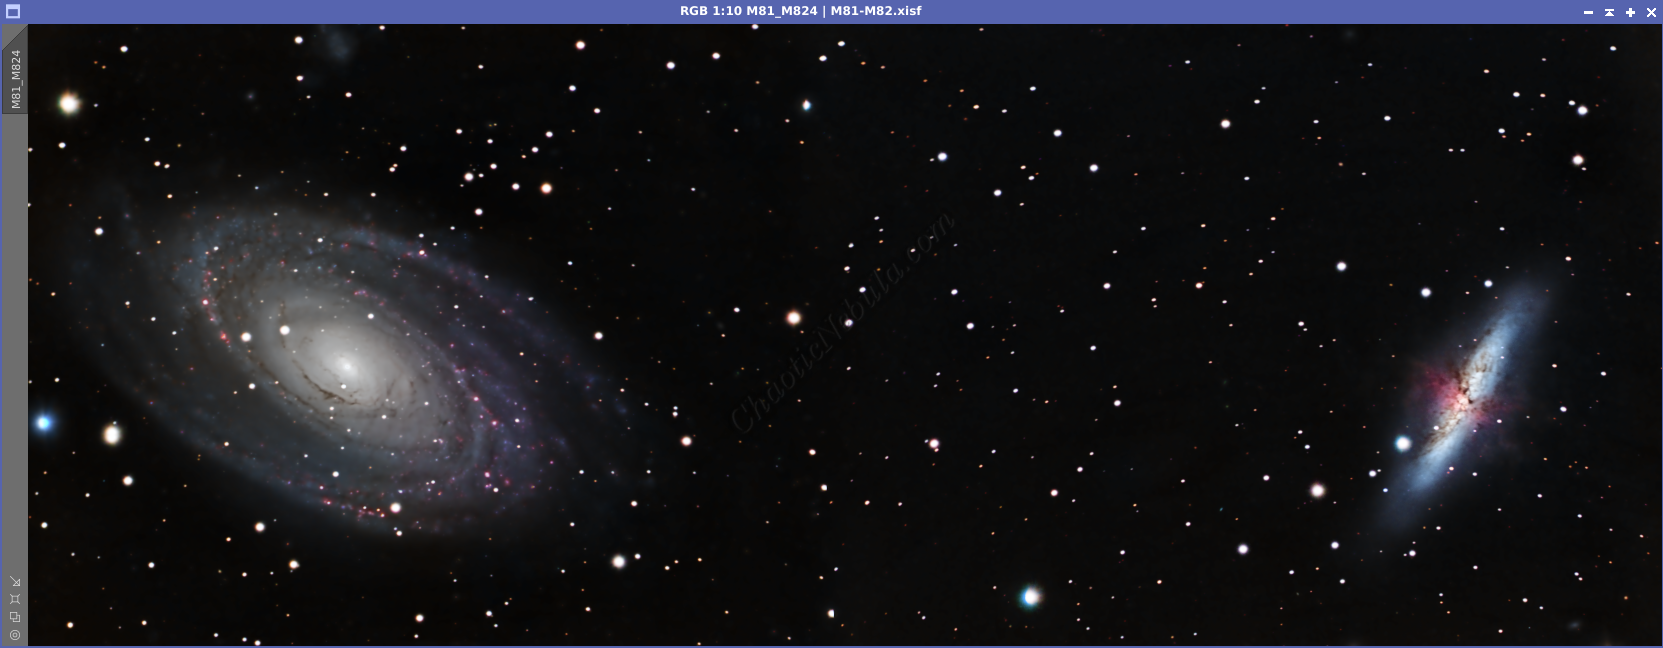
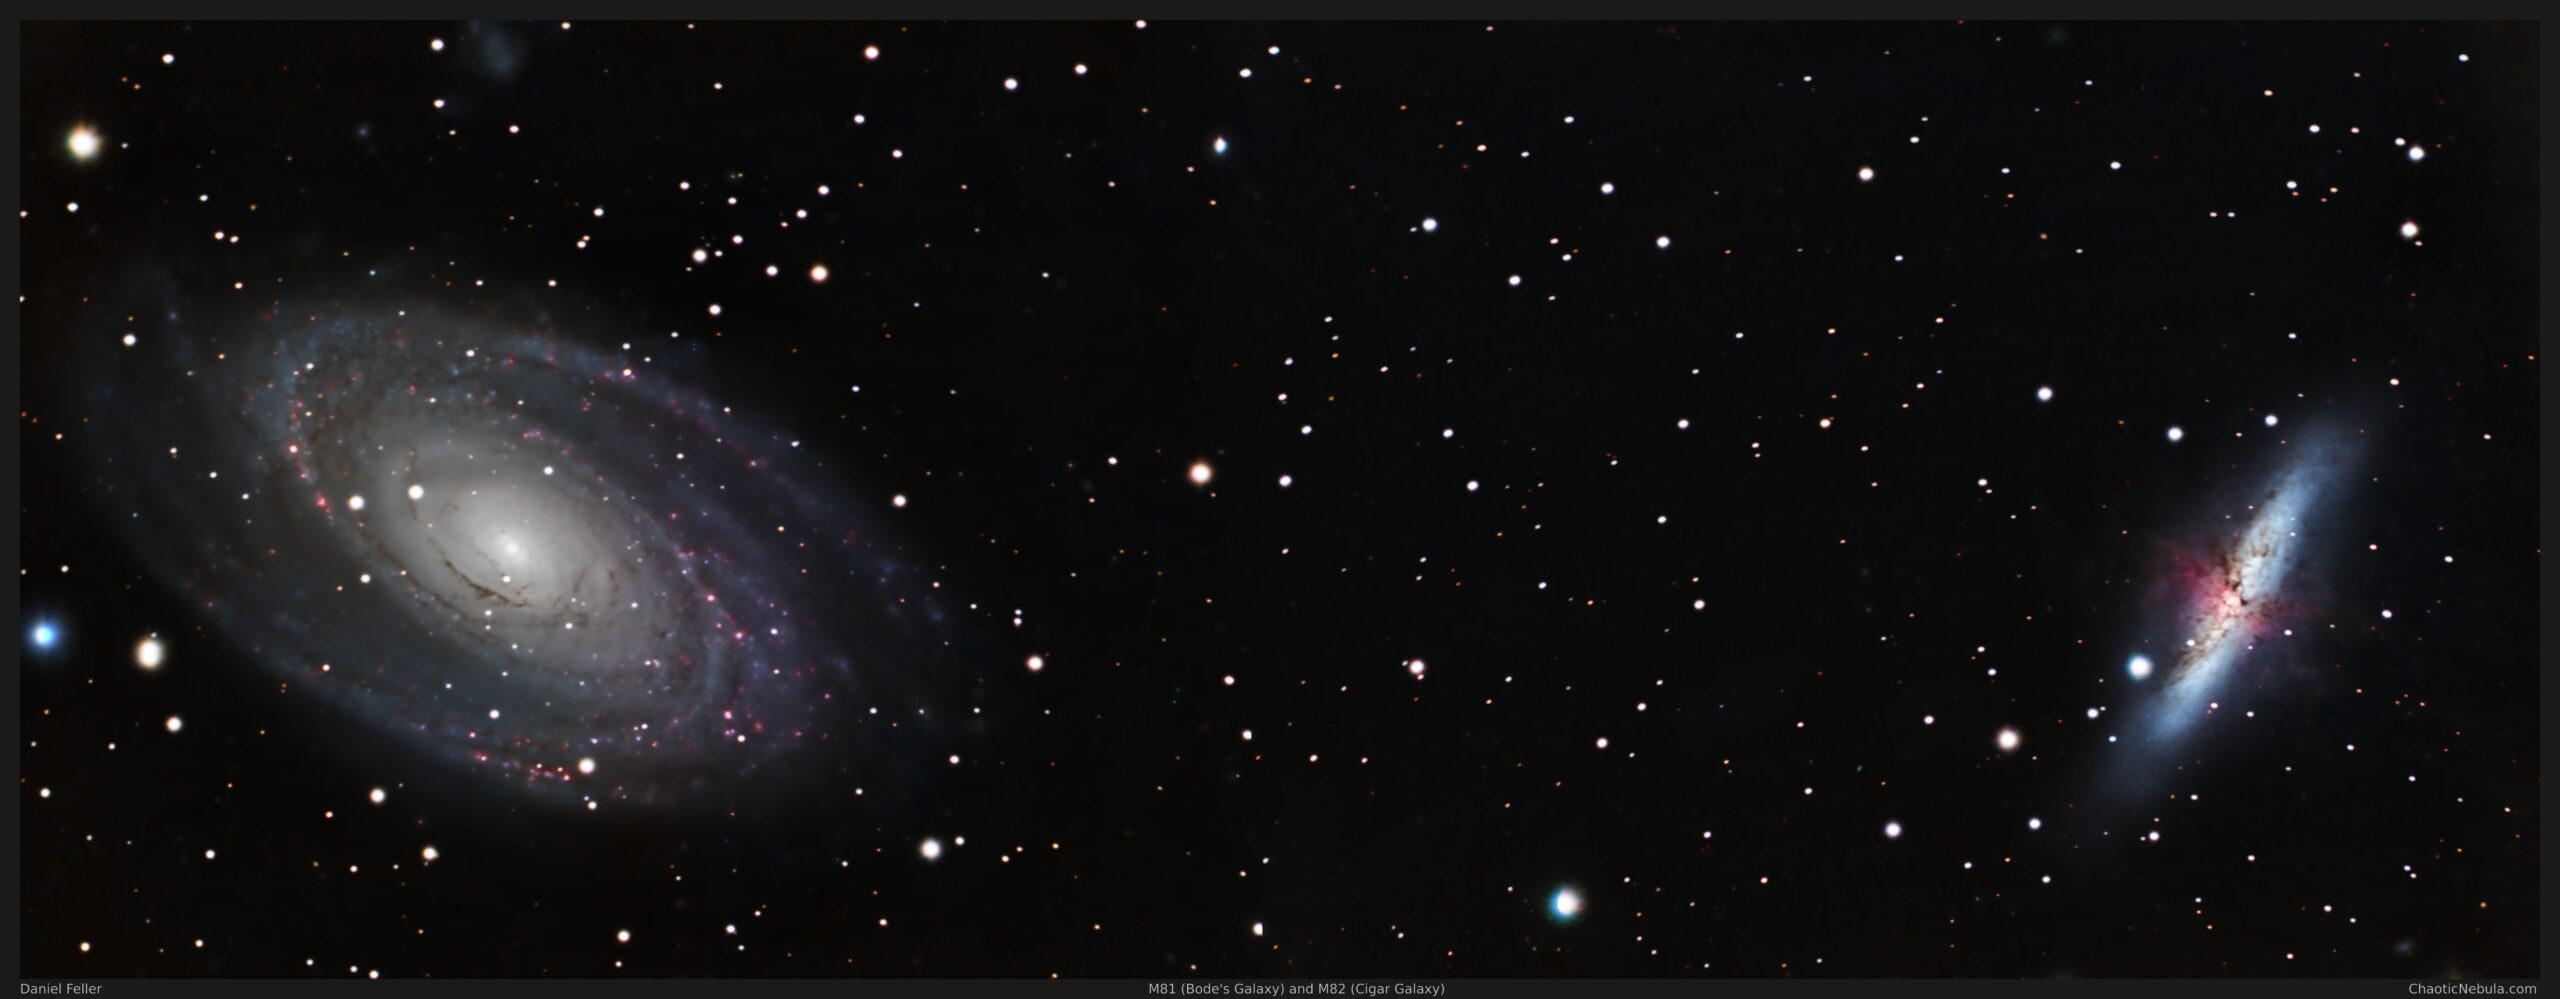
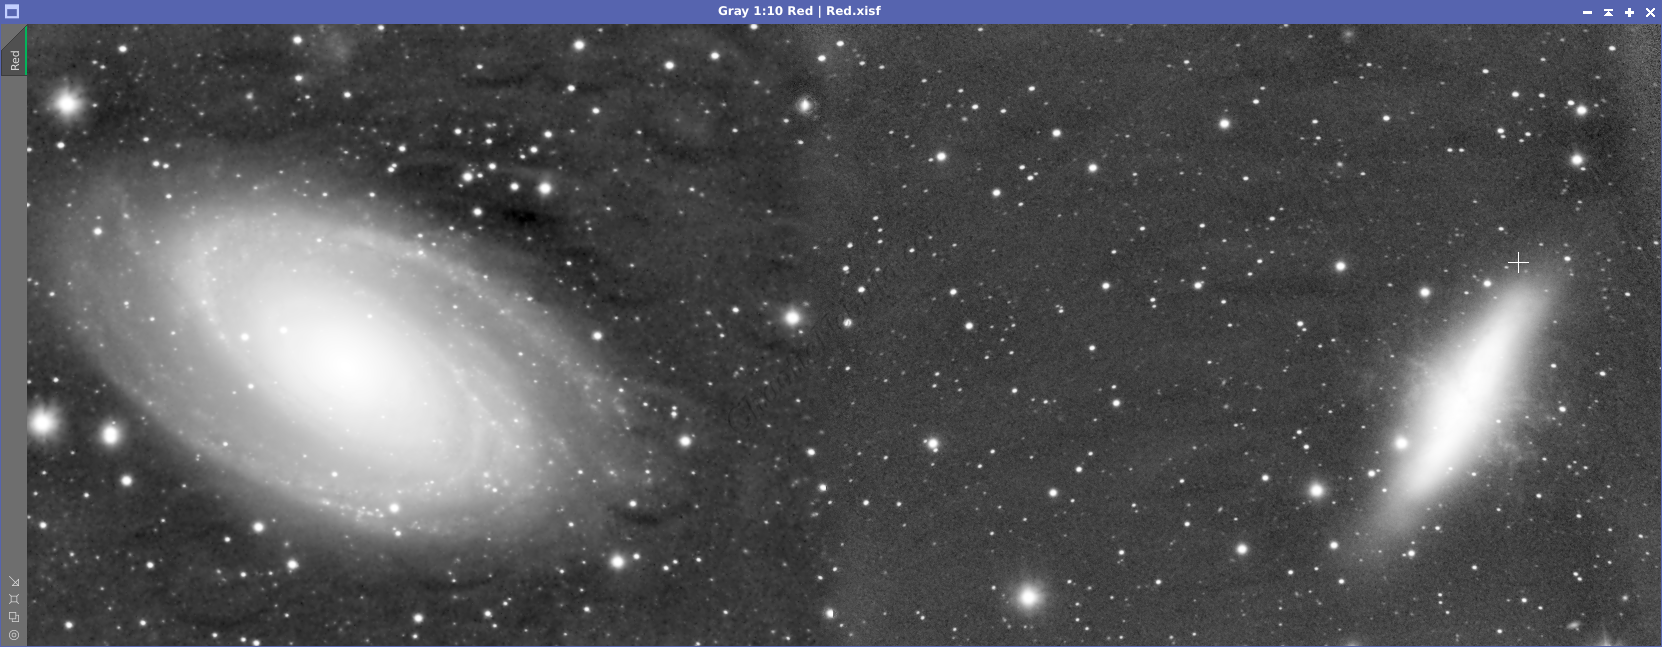
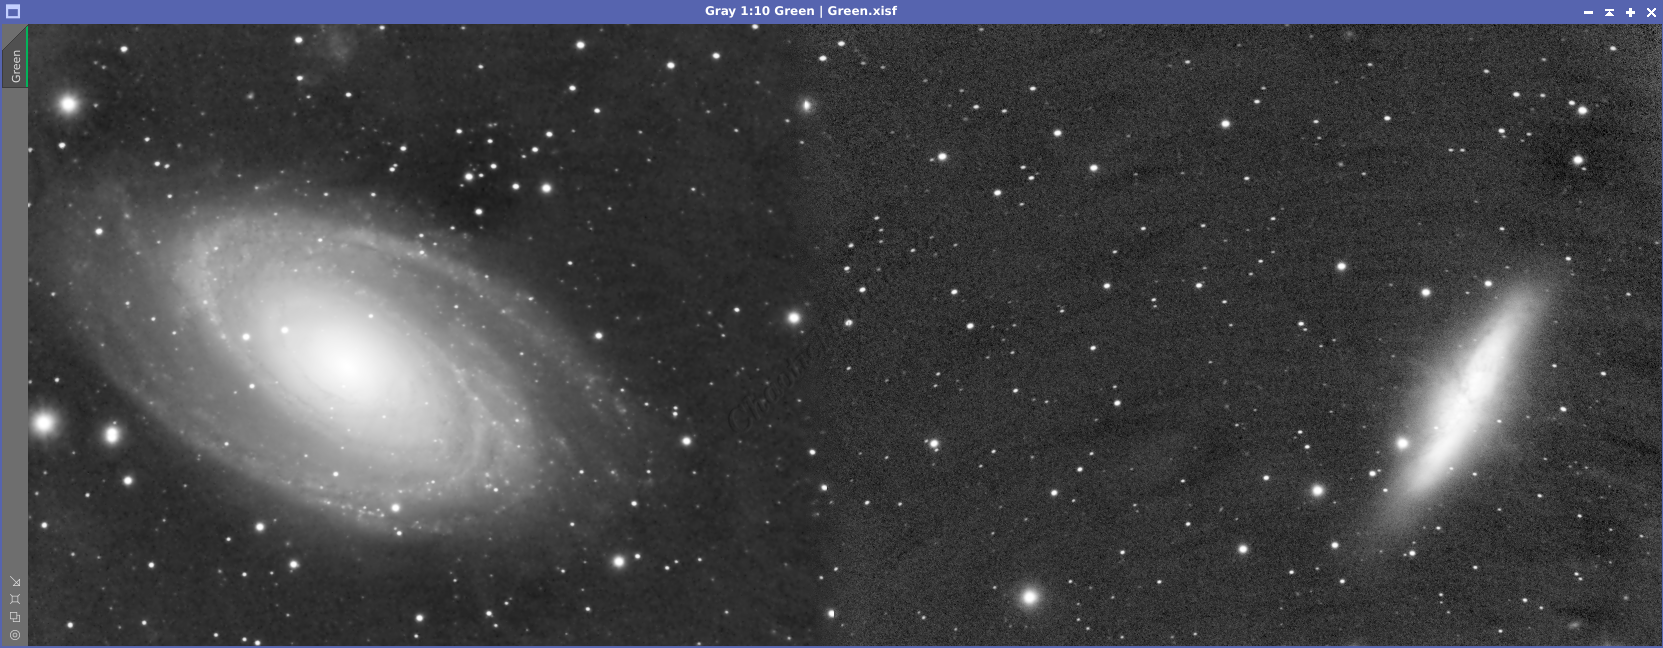
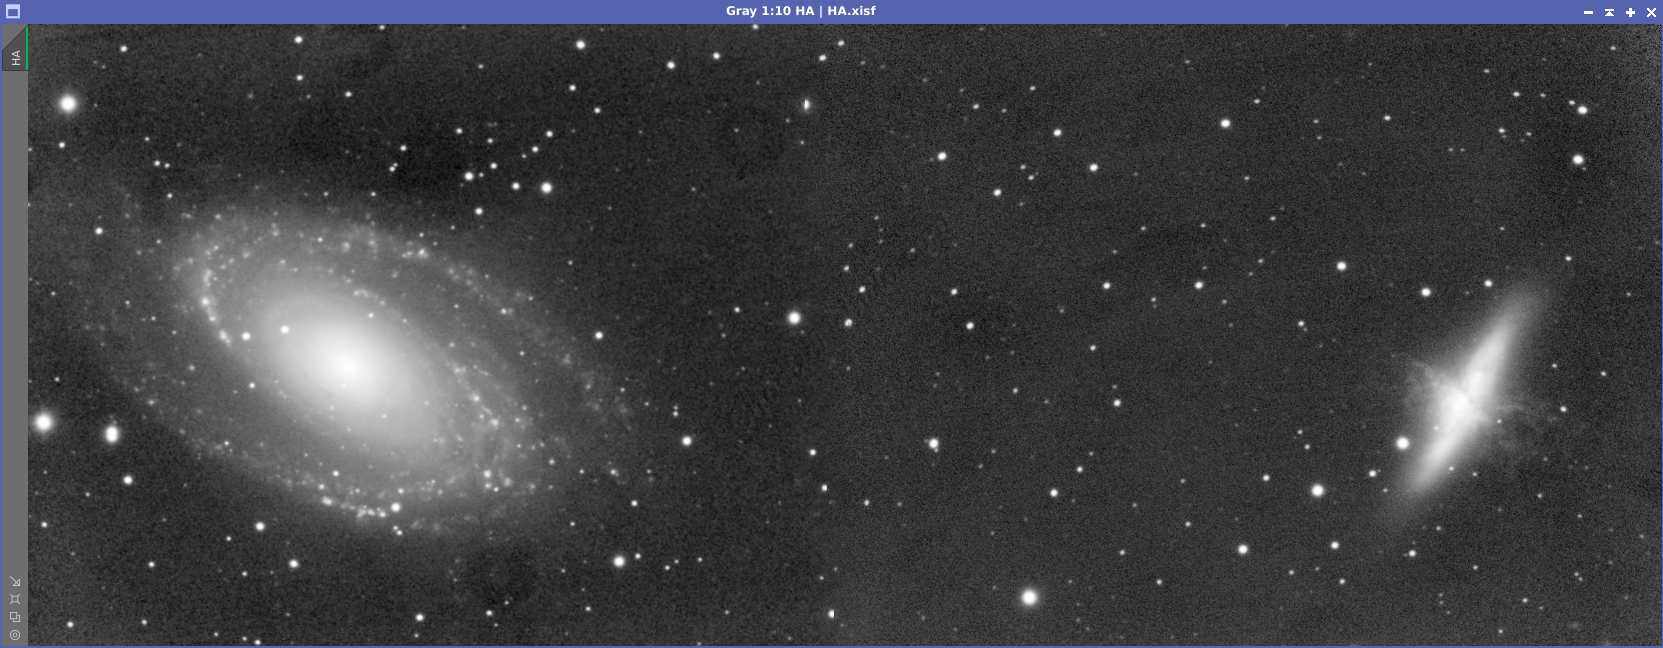
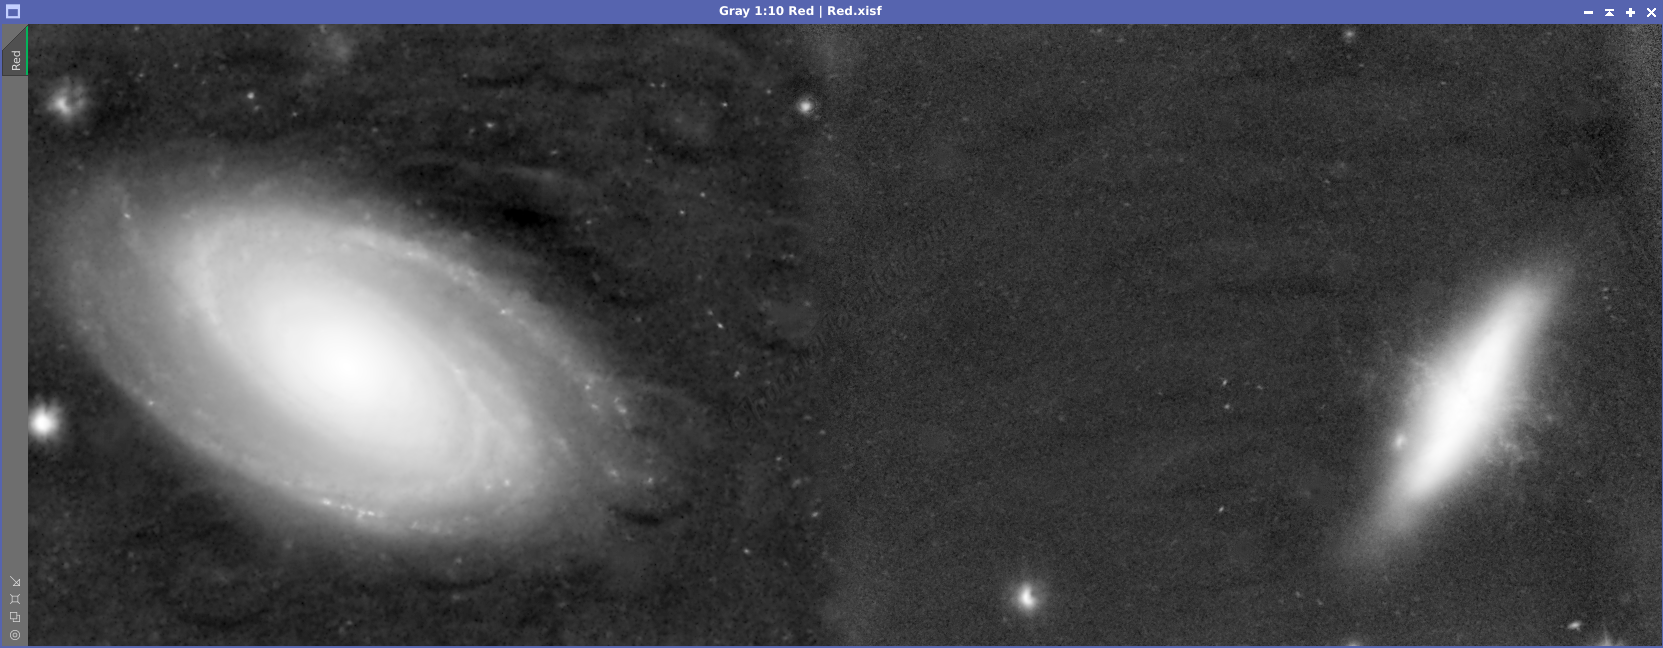
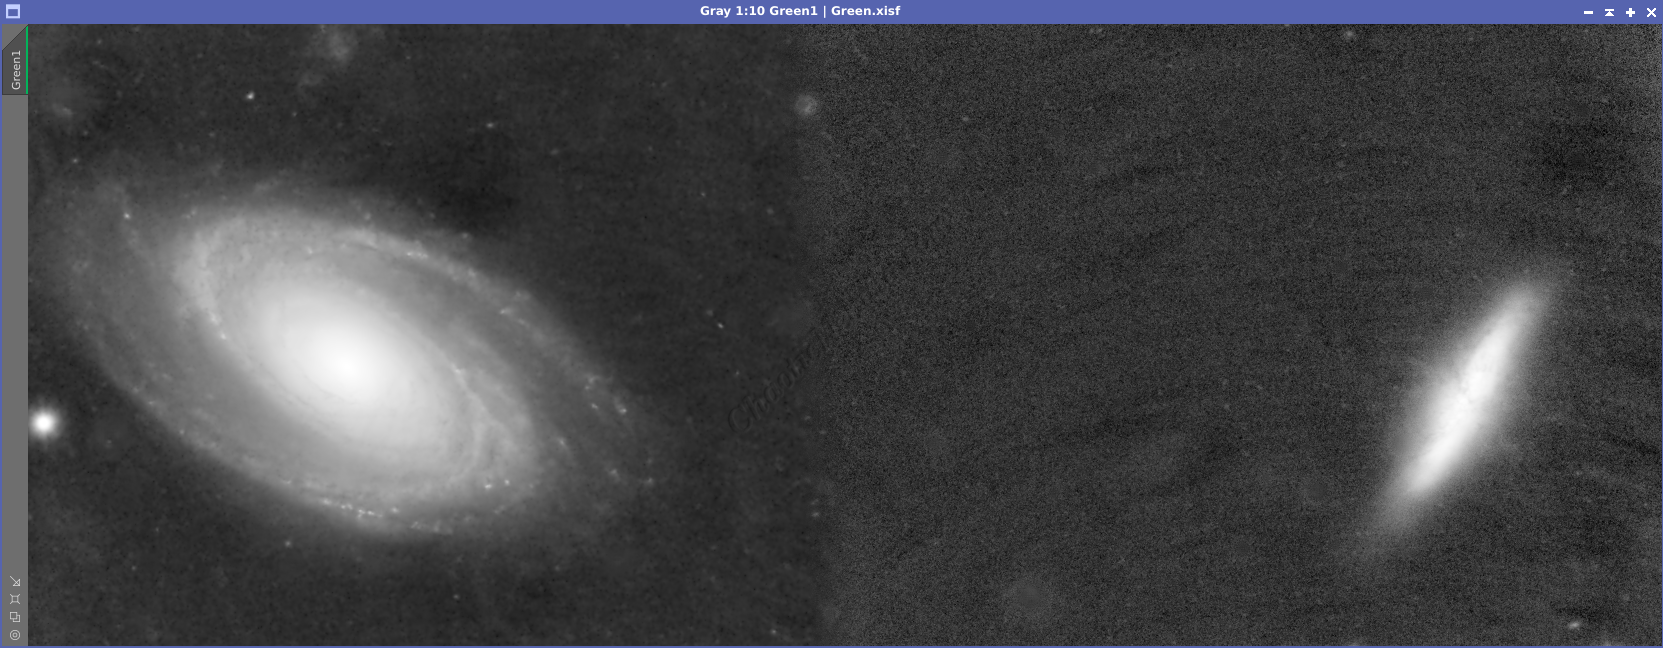
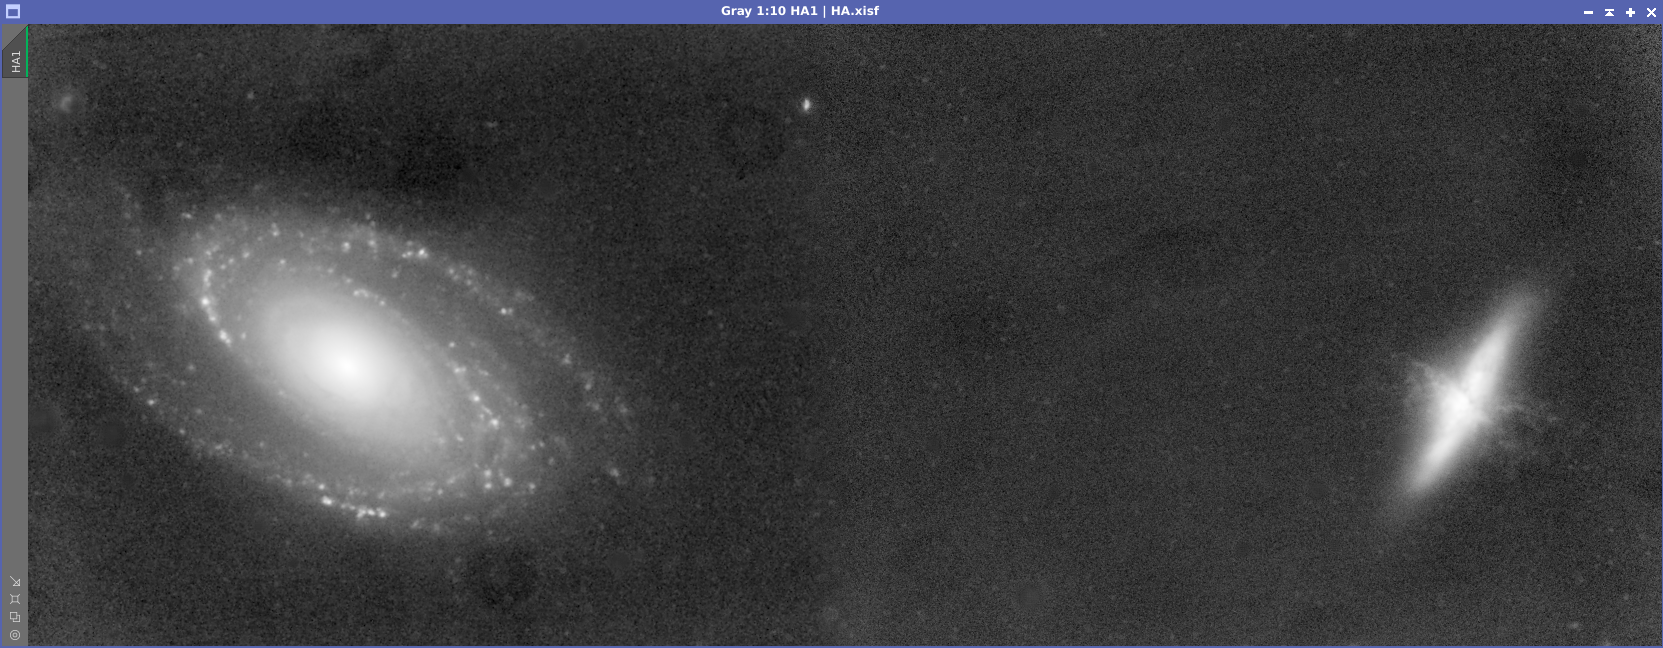
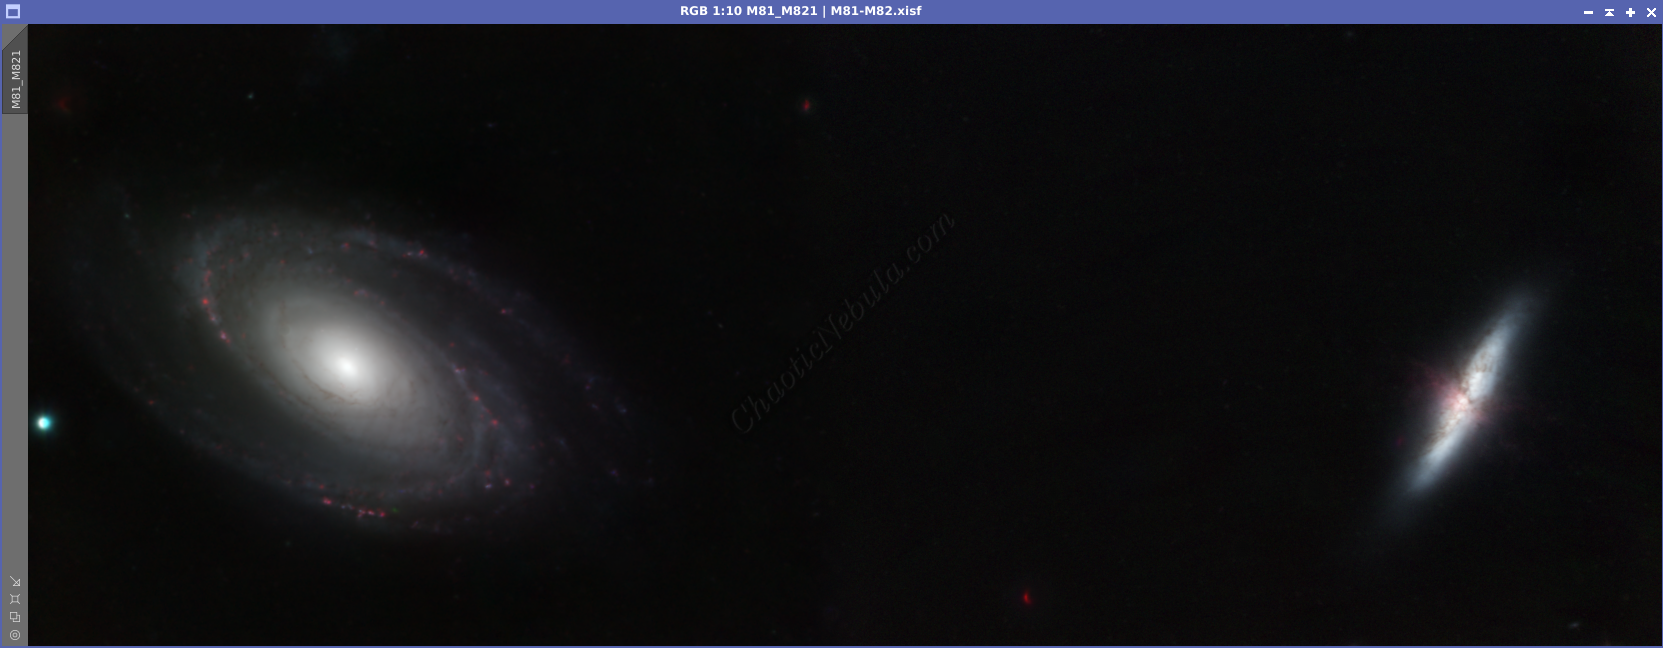
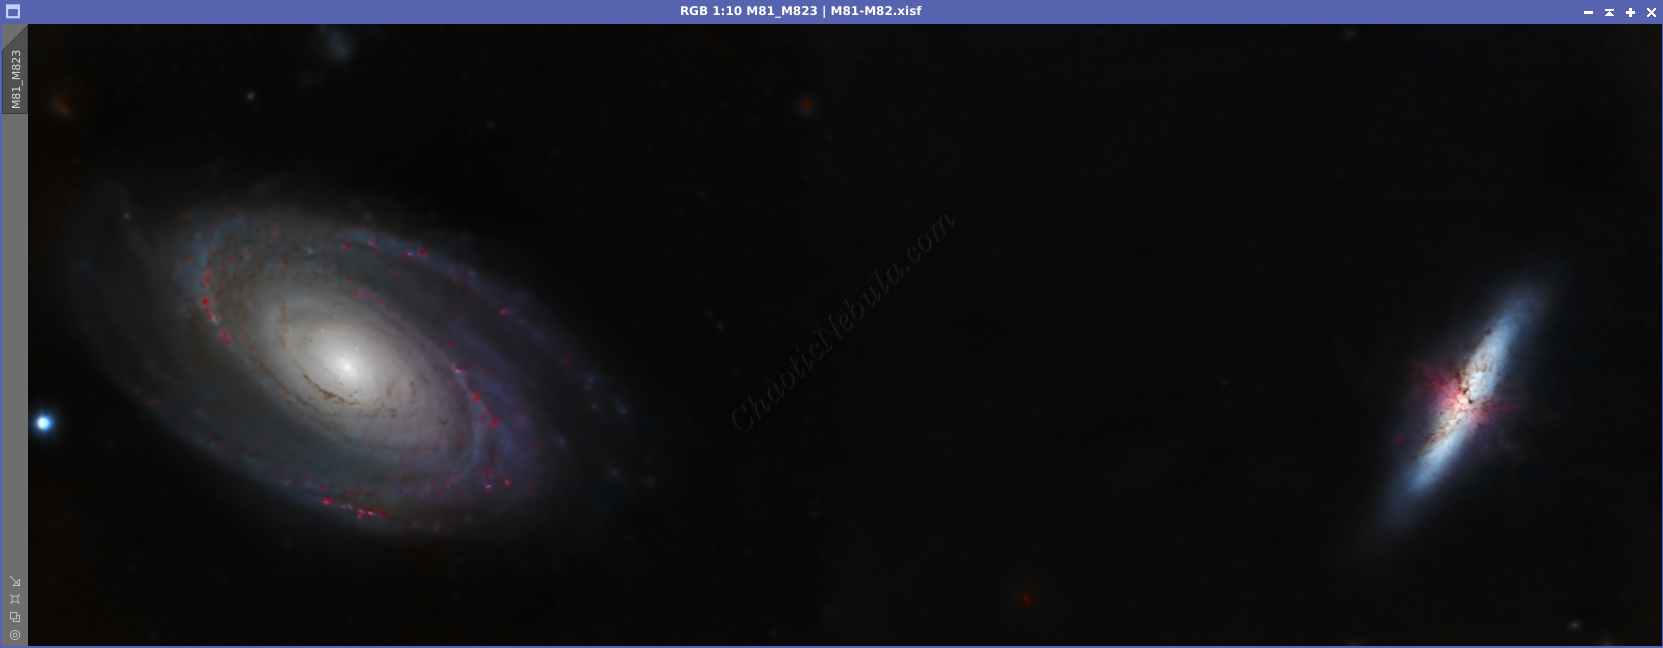
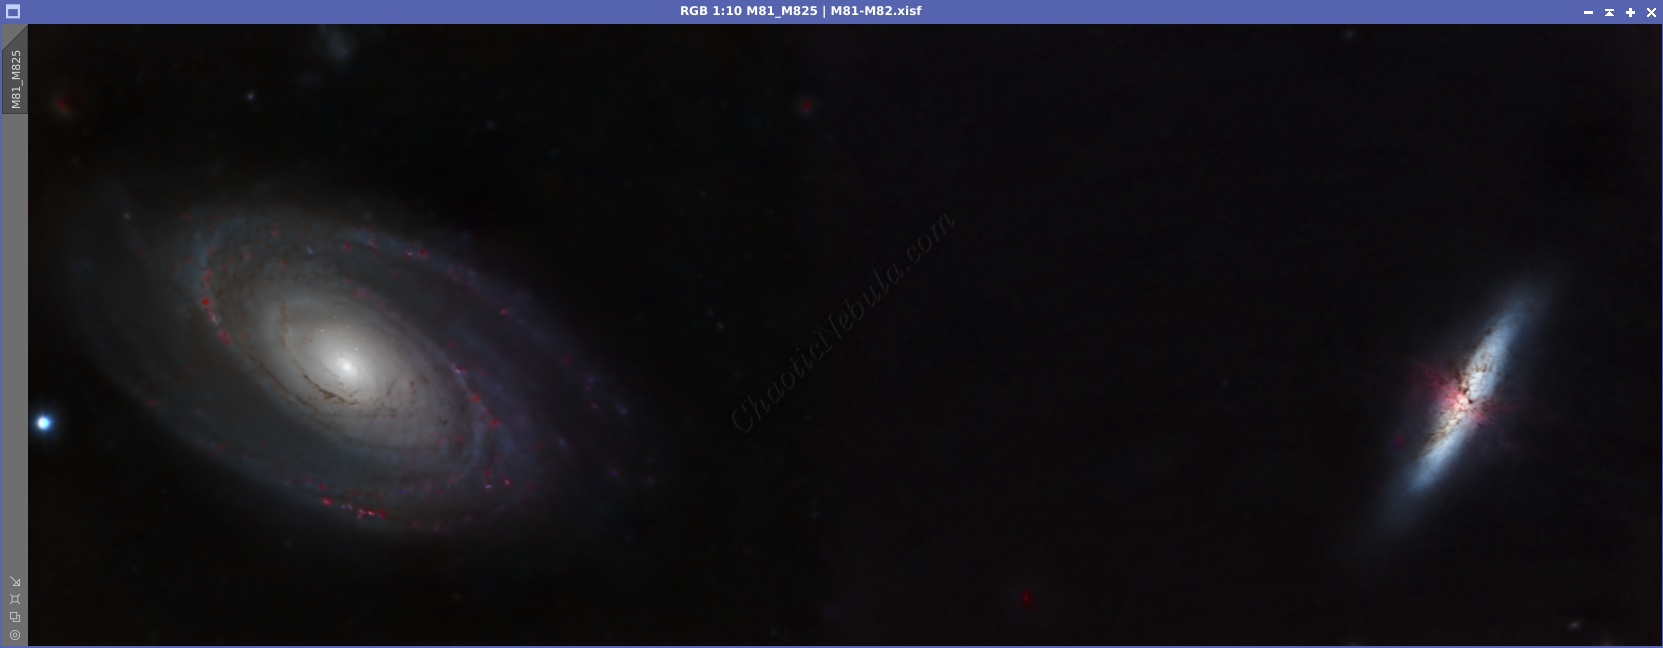
Galaxies M81 and M82 stand as celestial neighbors in the Ursa Major constellation, captivating astronomers and stargazers alike with their unique features and cosmic stories.
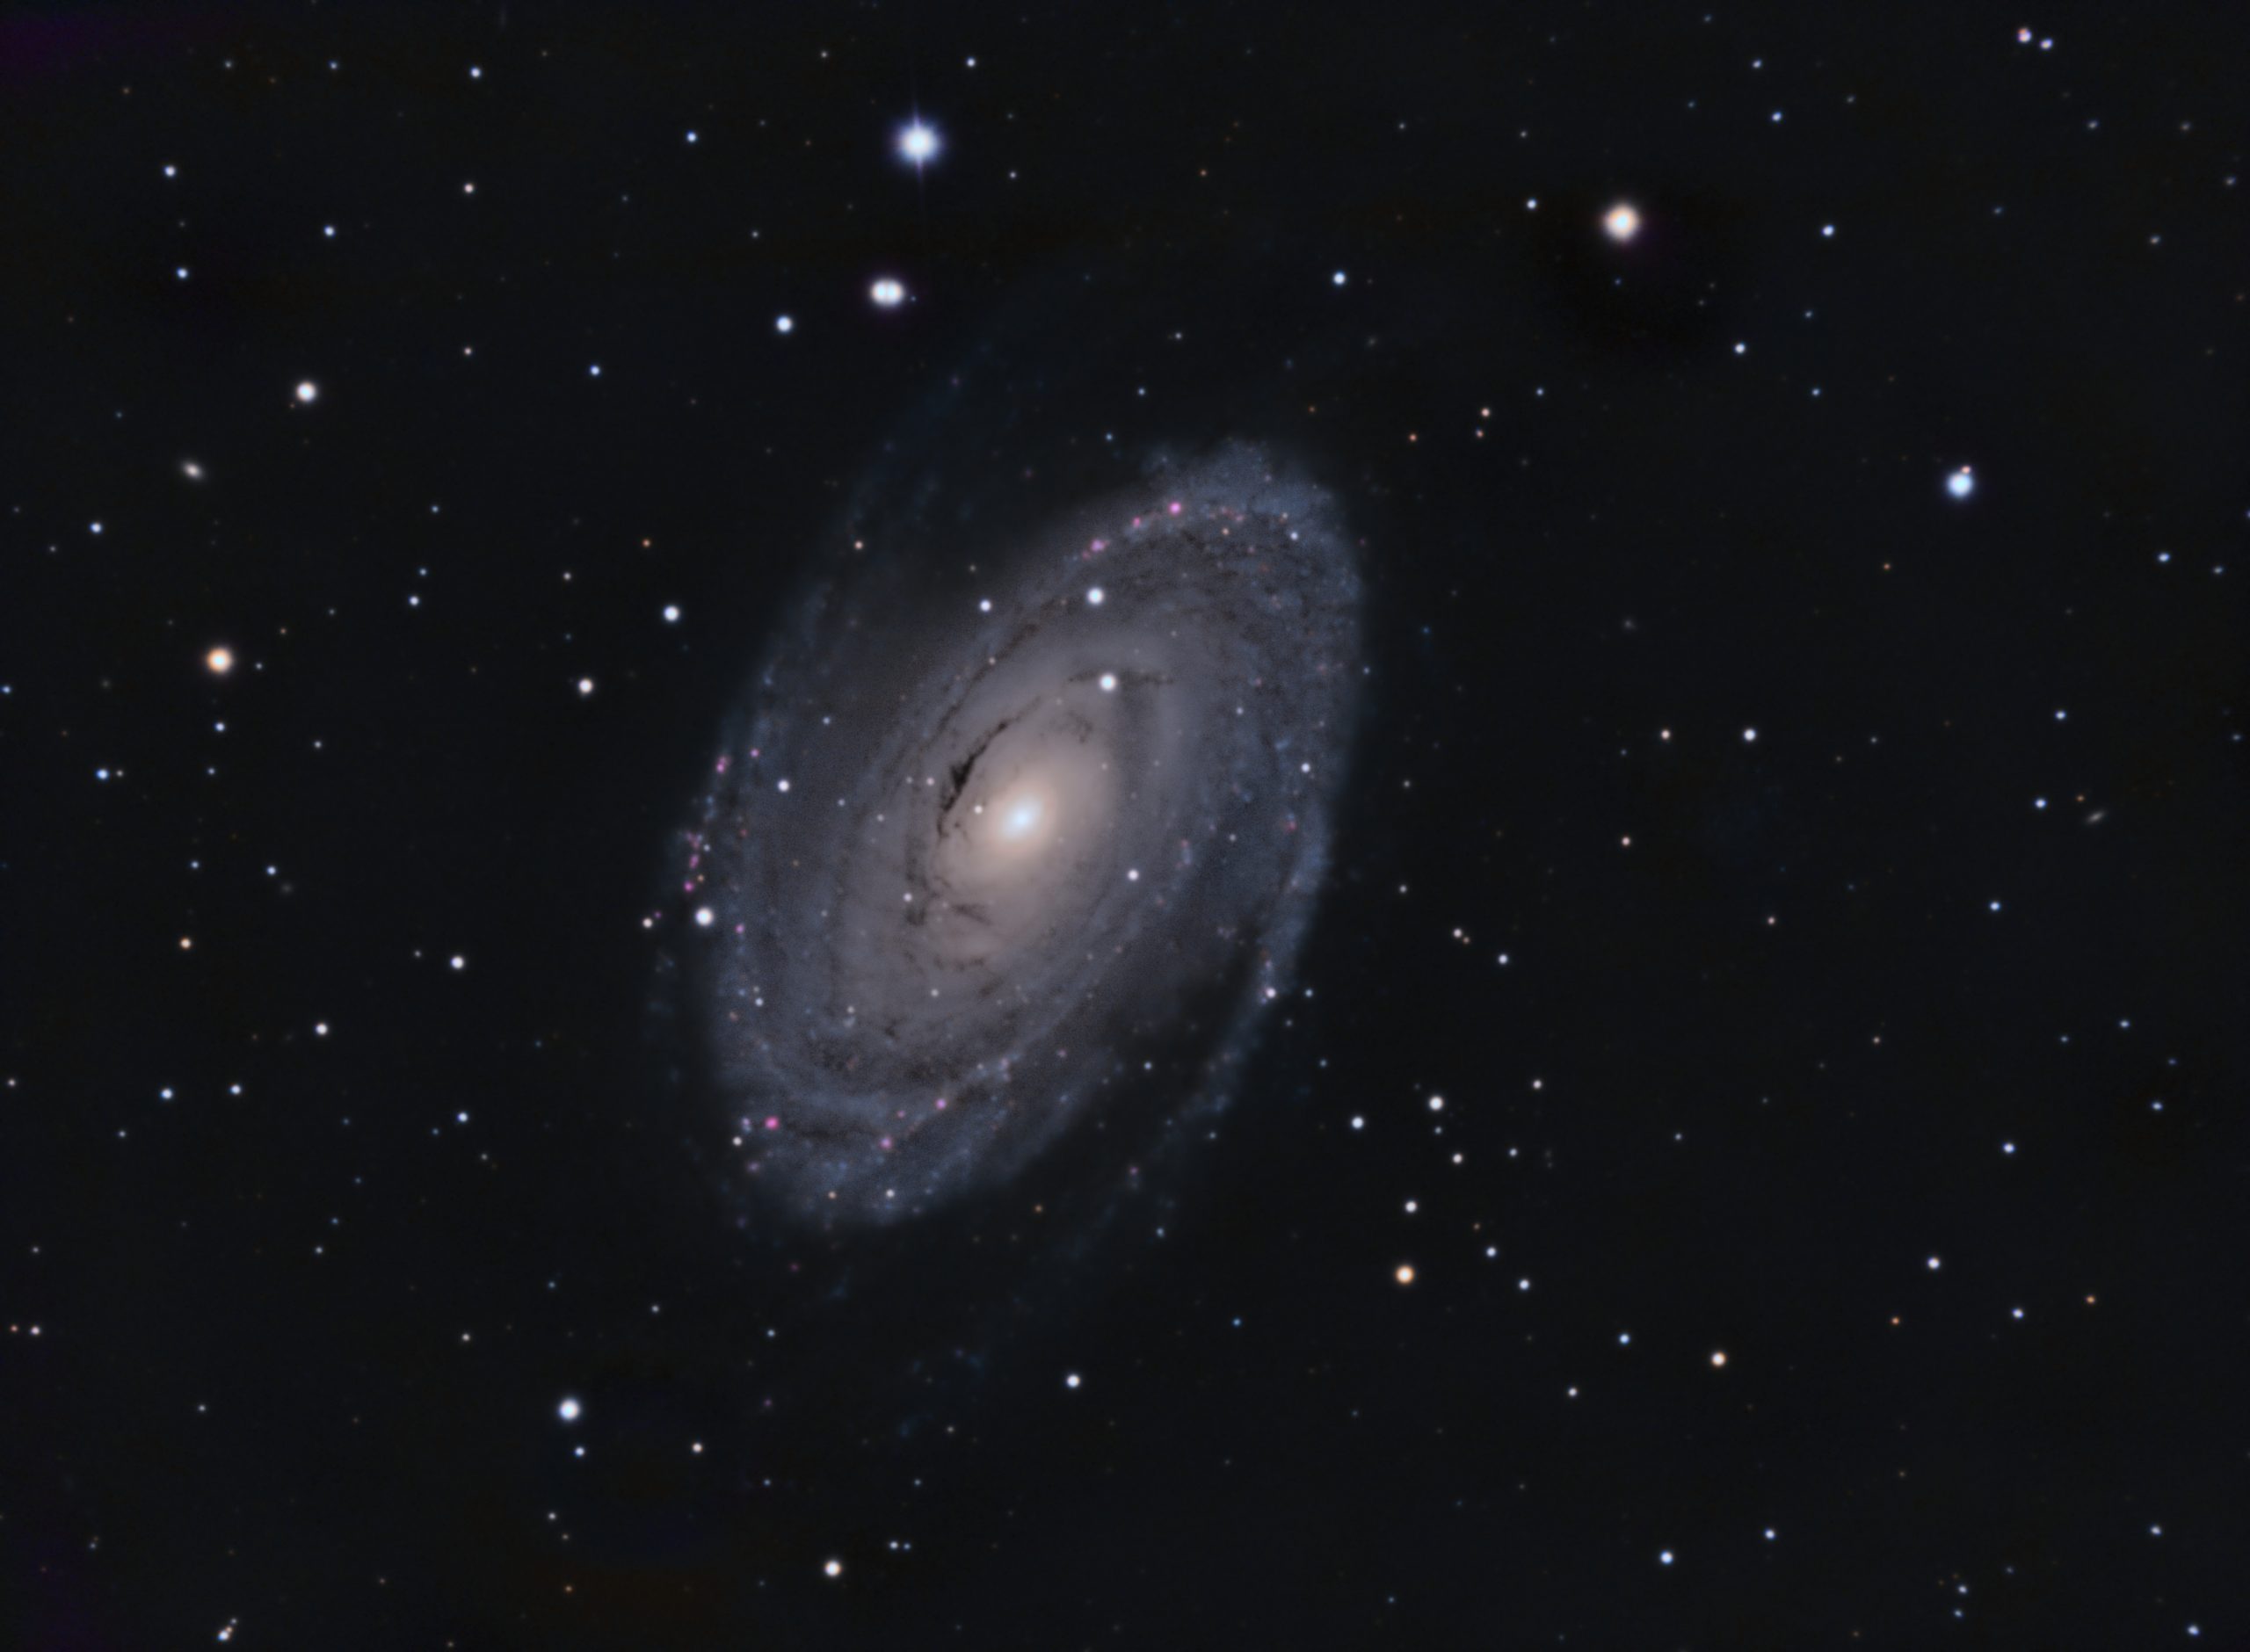
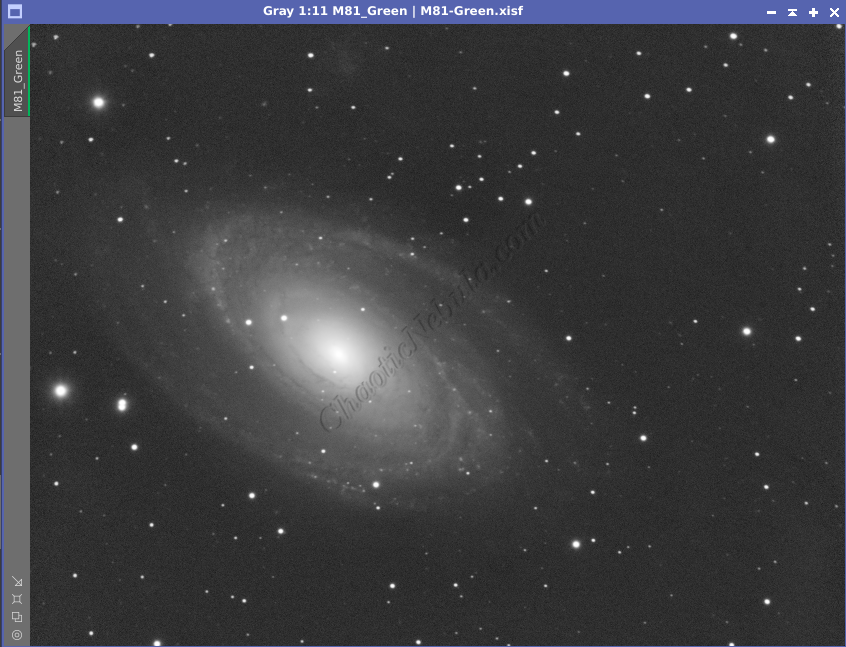
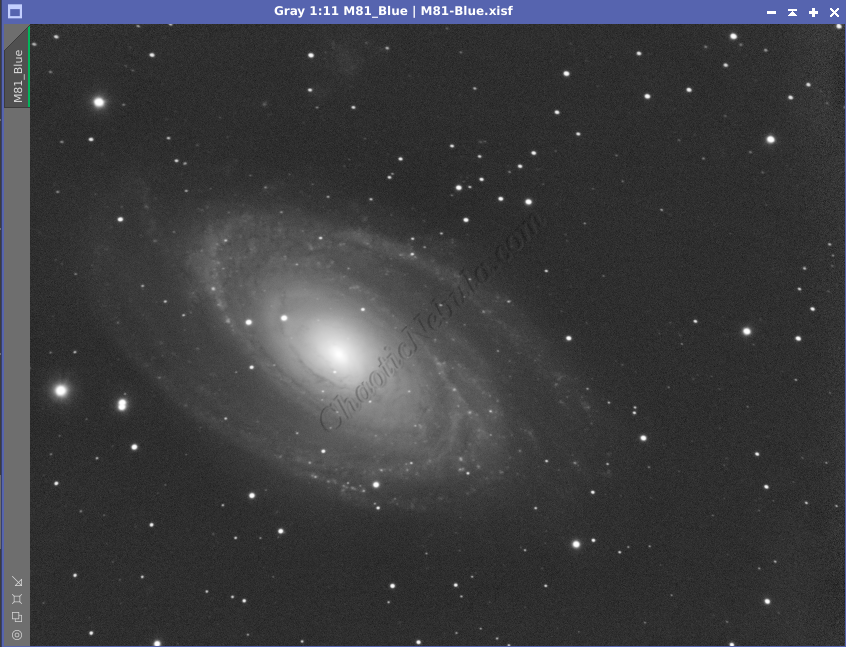
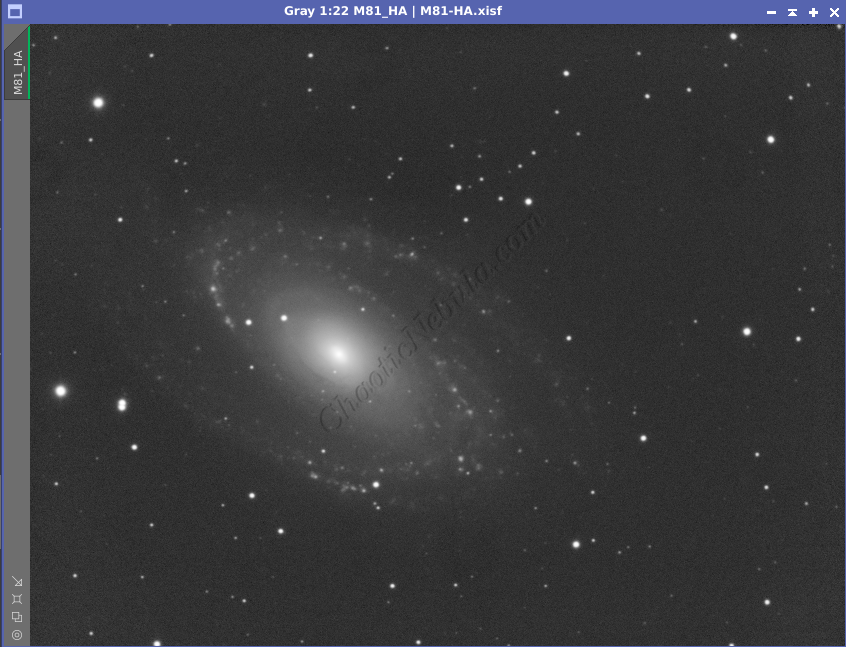
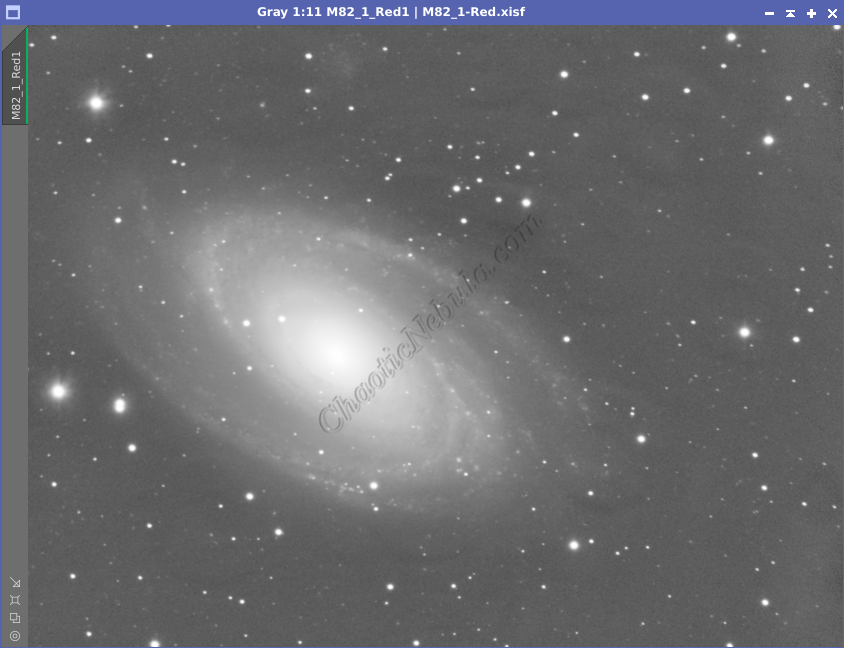
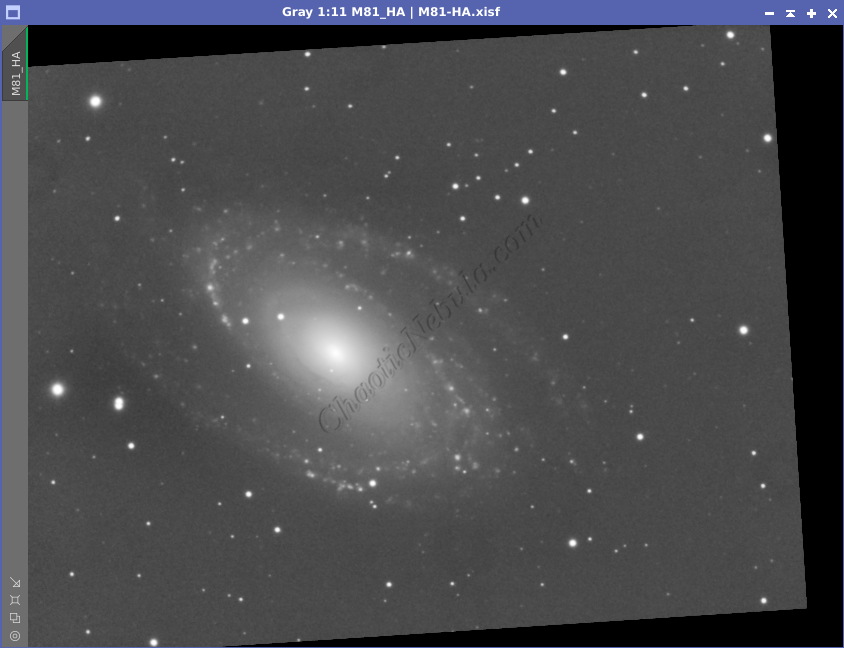
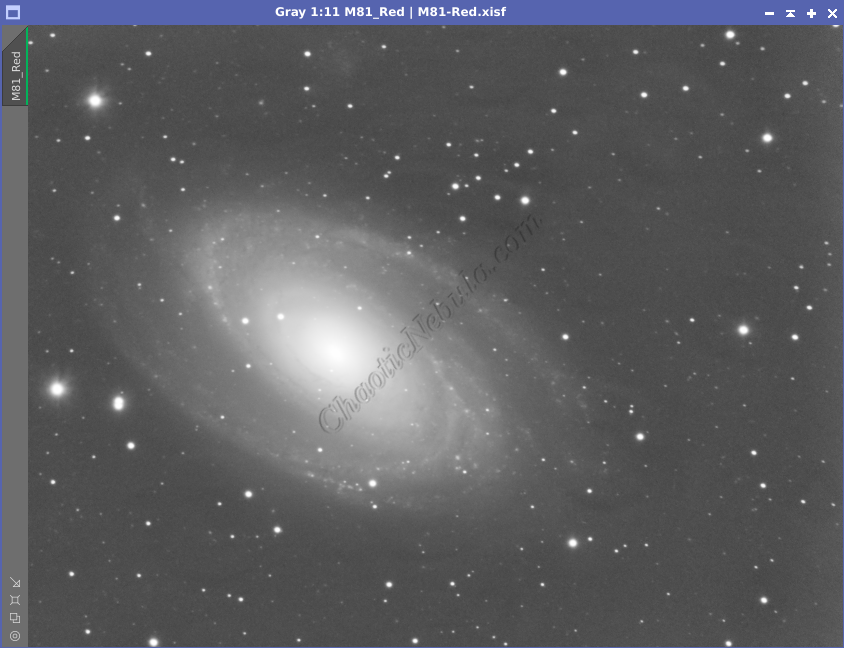
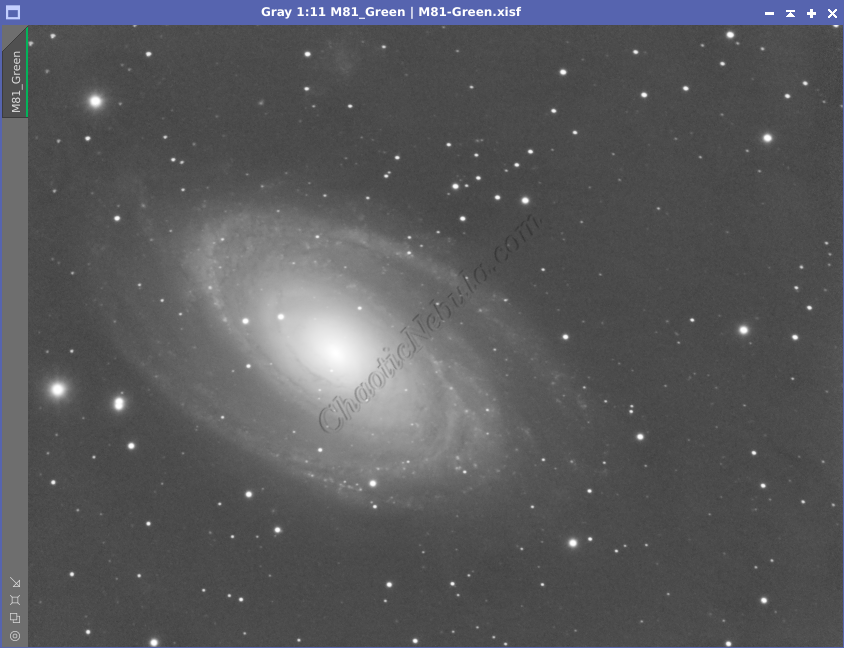
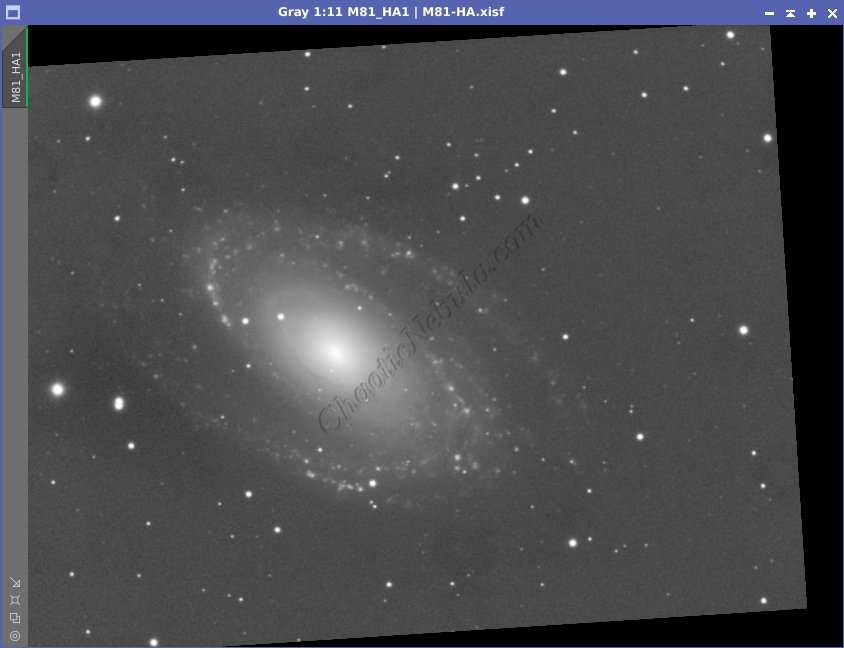
M81, also known as Bode’s Galaxy, is a grand spiral galaxy, exhibiting well-defined spiral arms and a prominent central bar structure. The outer arms are adorned with regions of star formation and dust lanes. Around 29 million light years away, the bright central region contributes to the galaxy’s overall brightness.
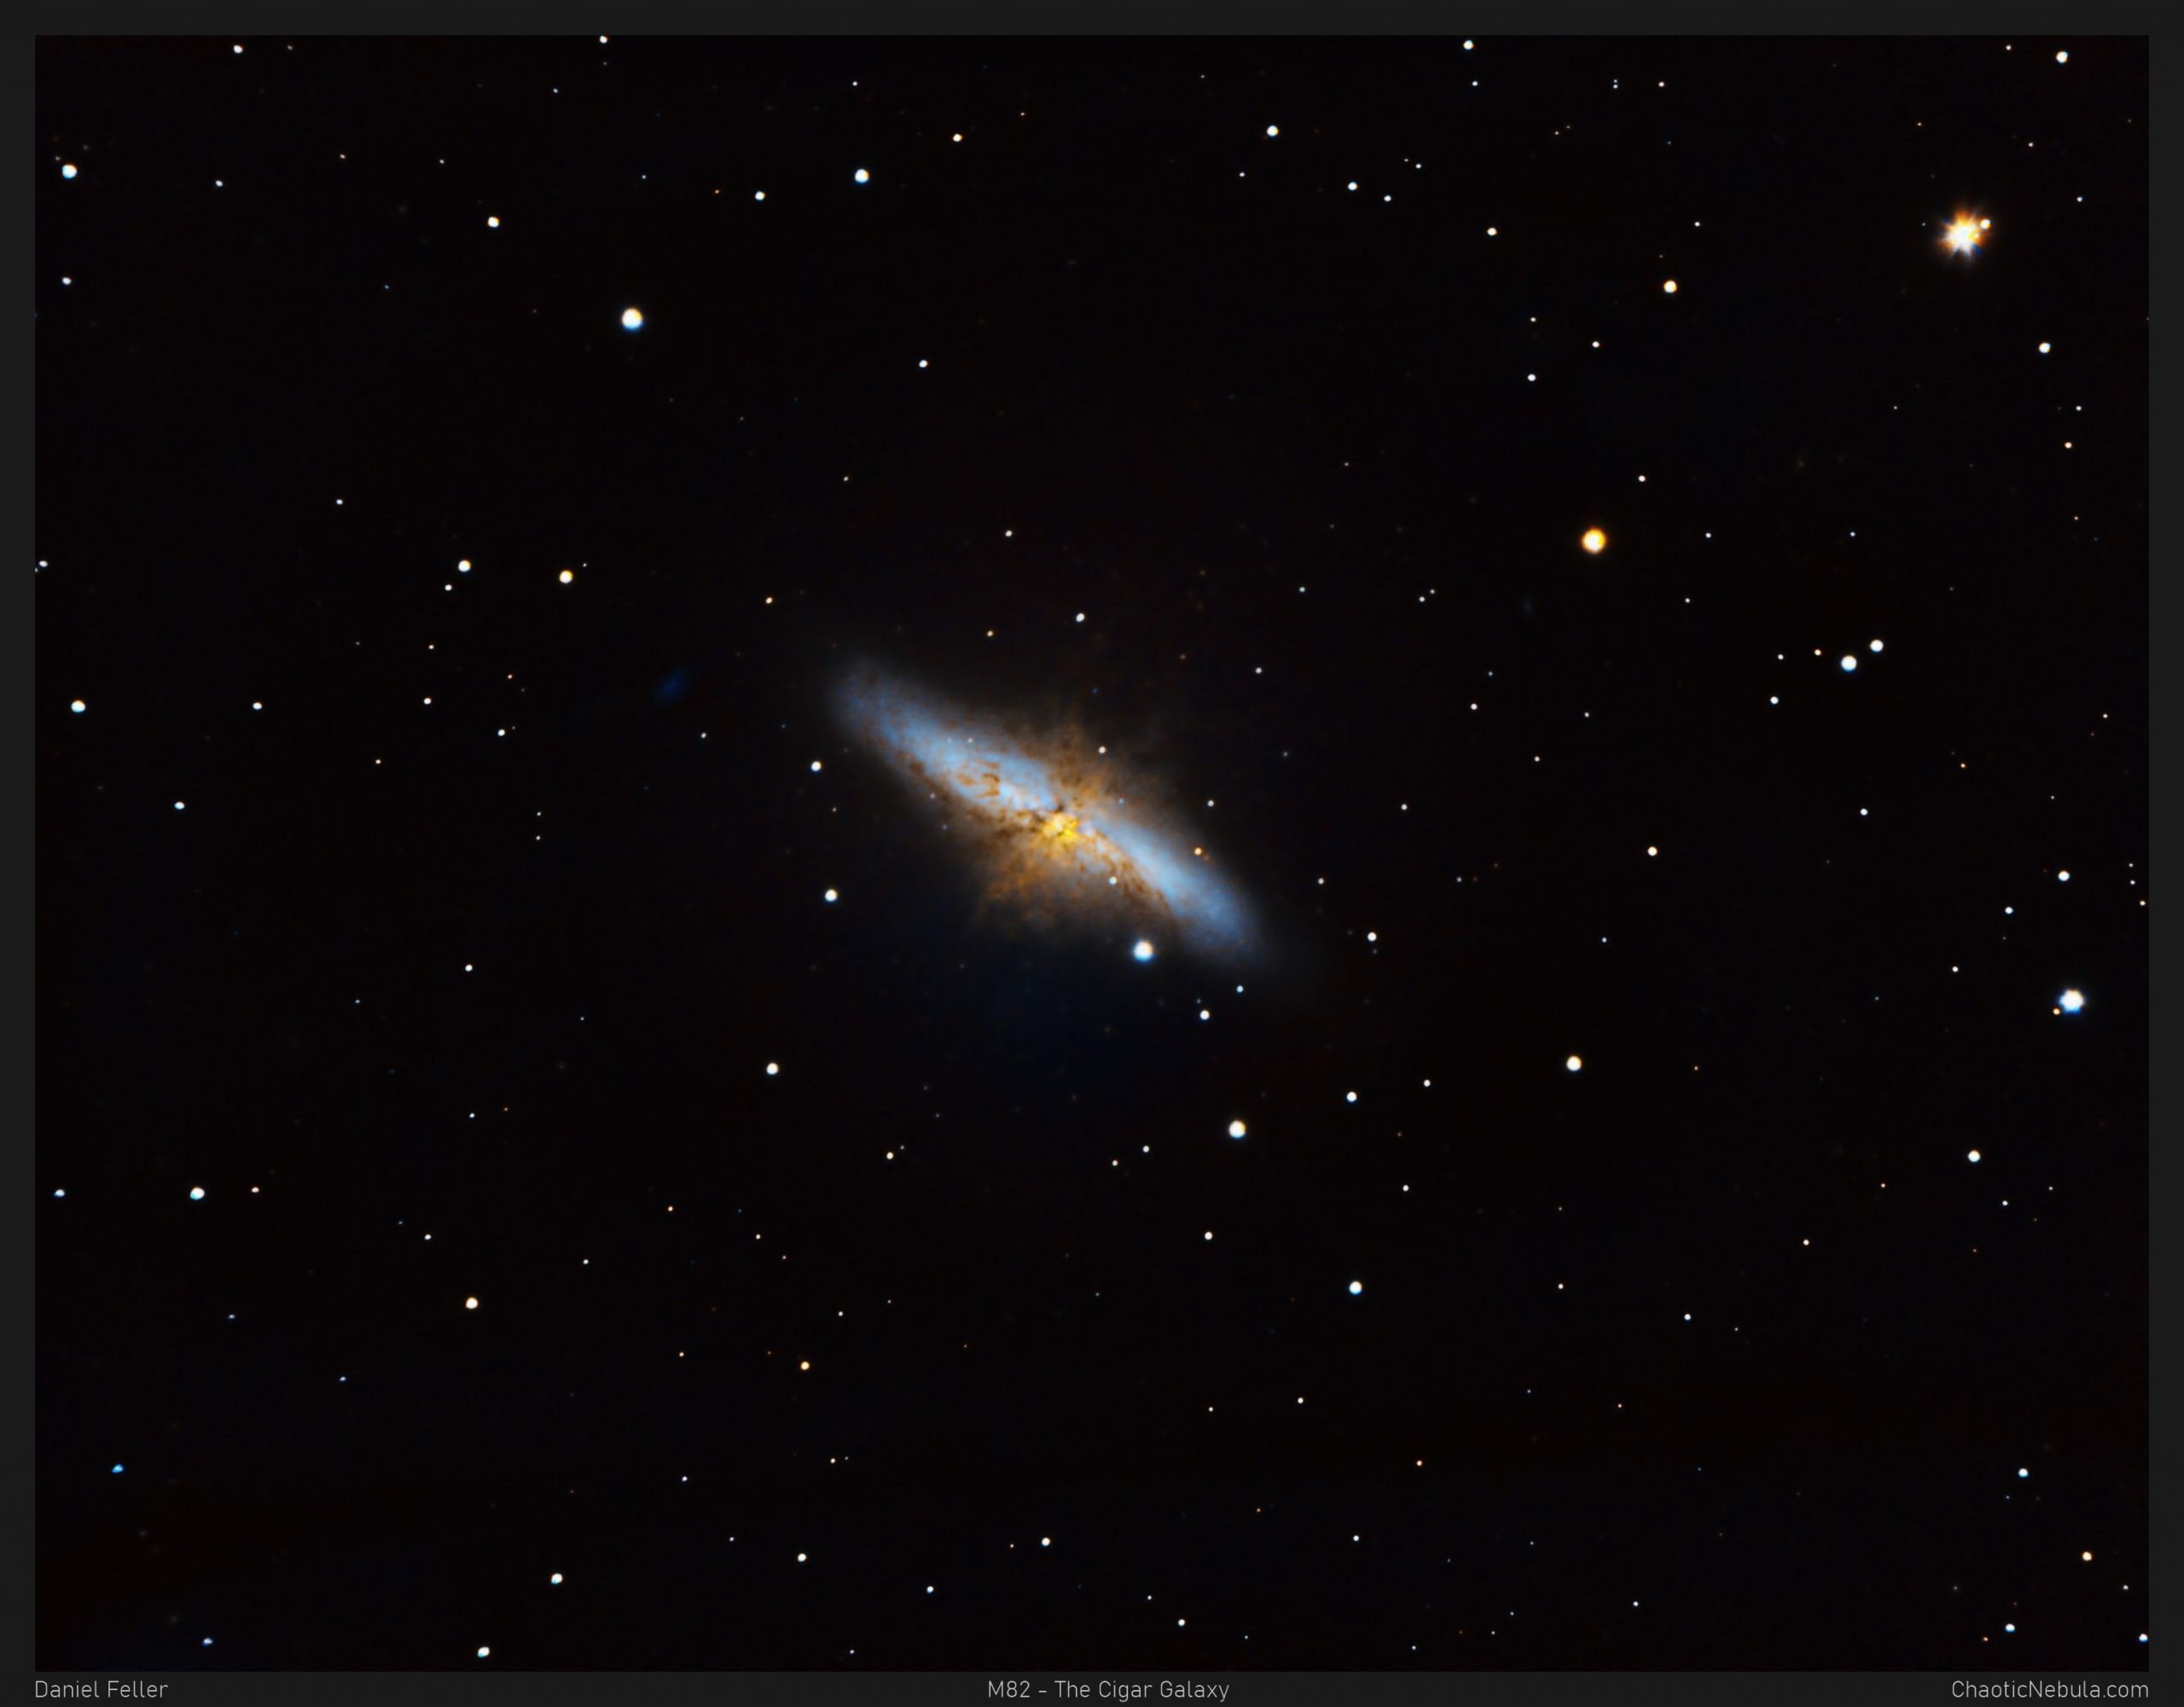
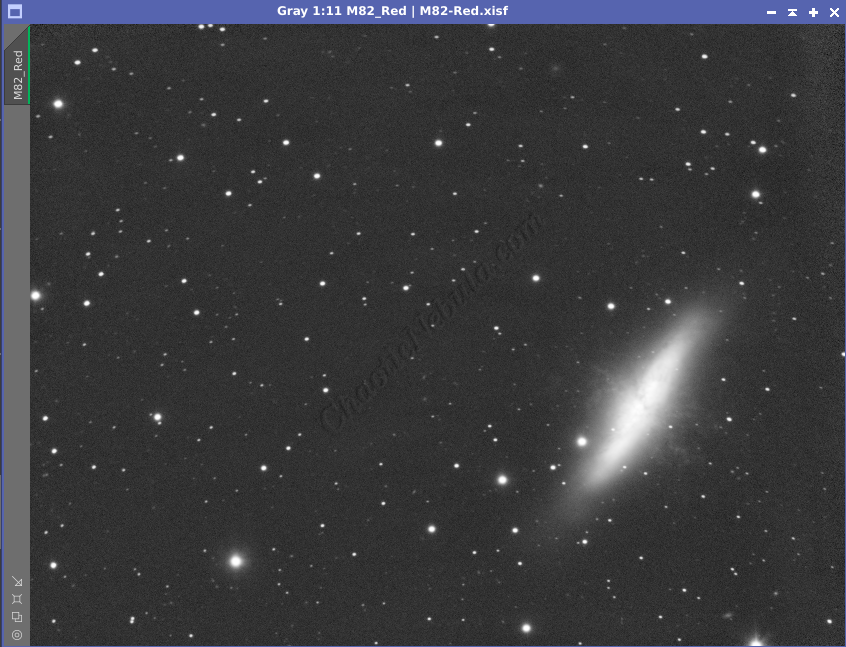
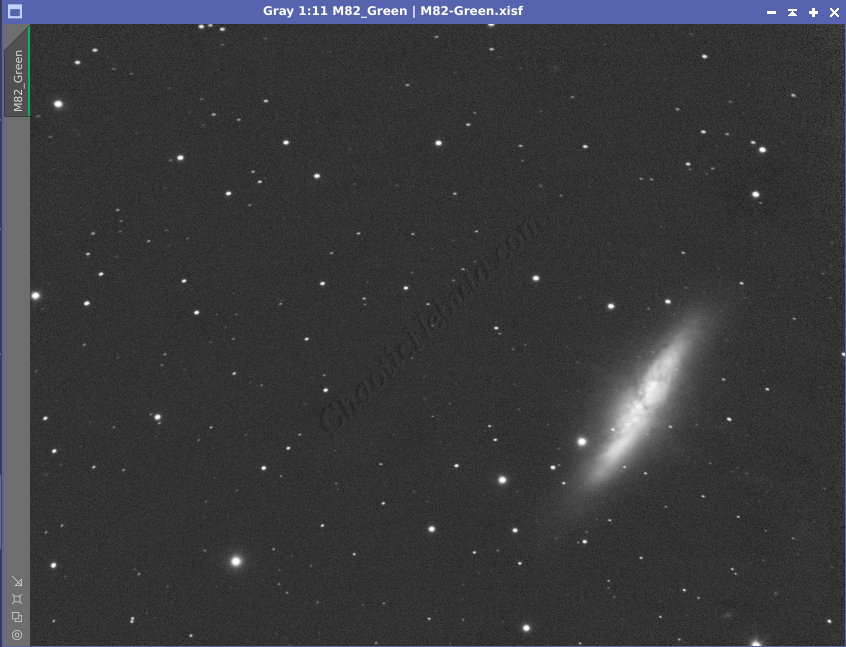
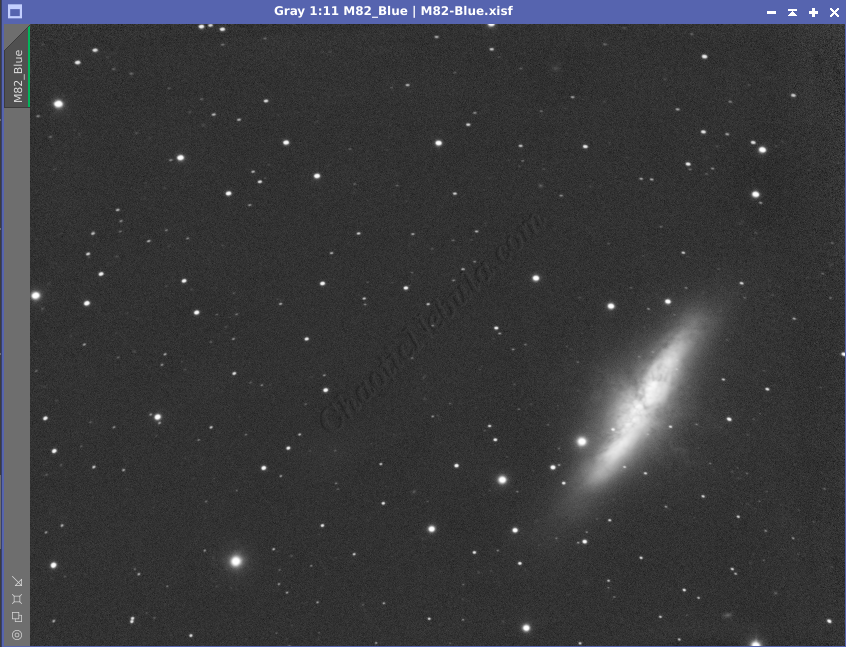
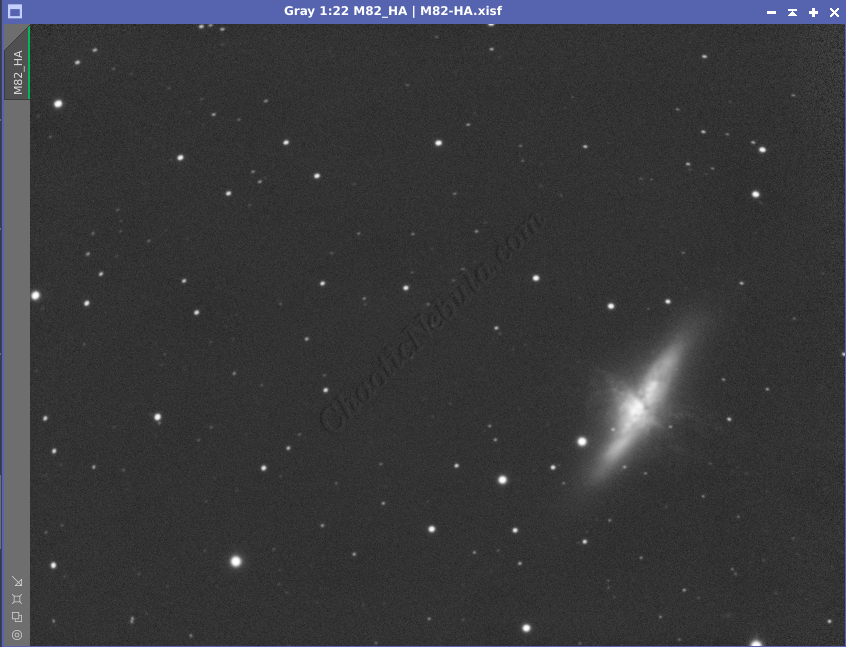
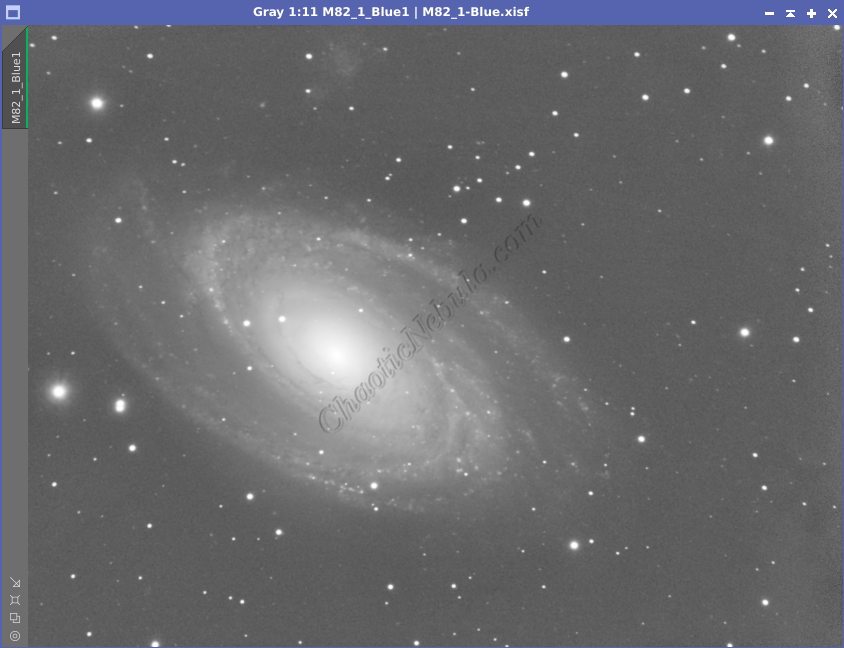
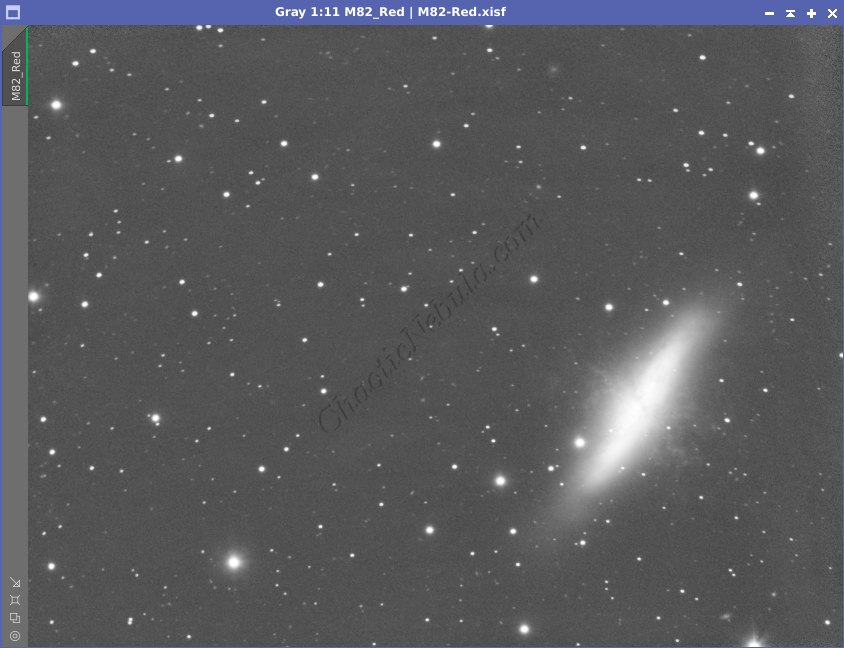
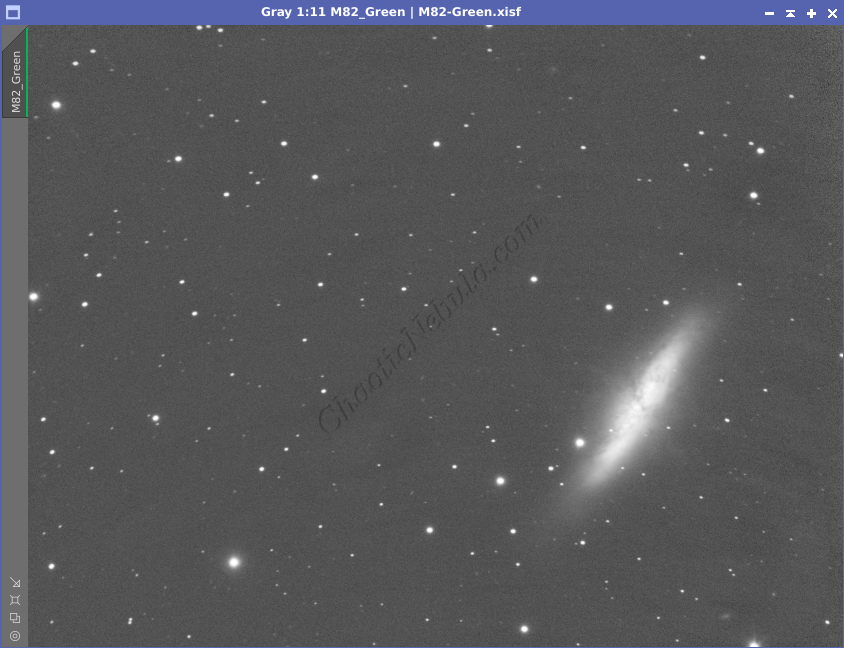
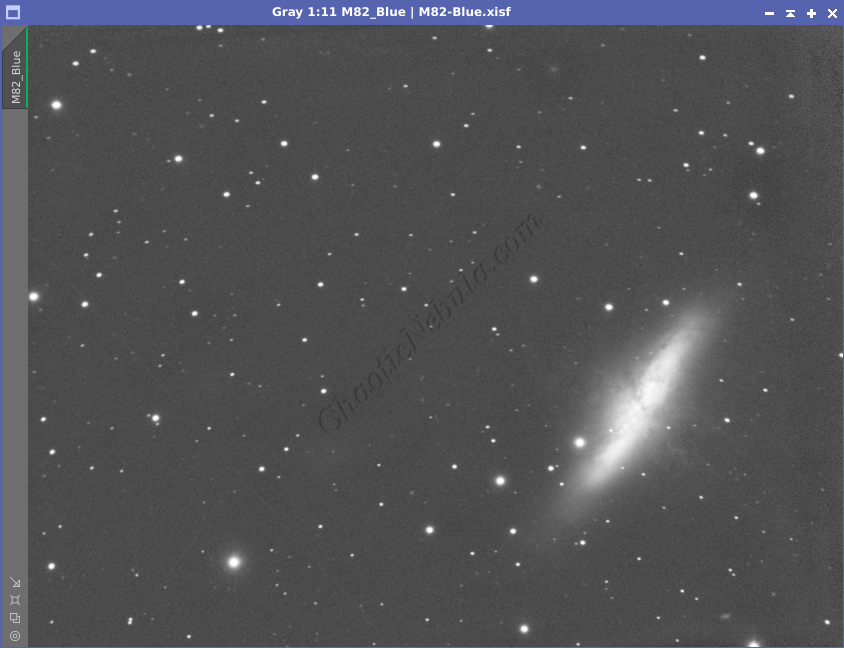
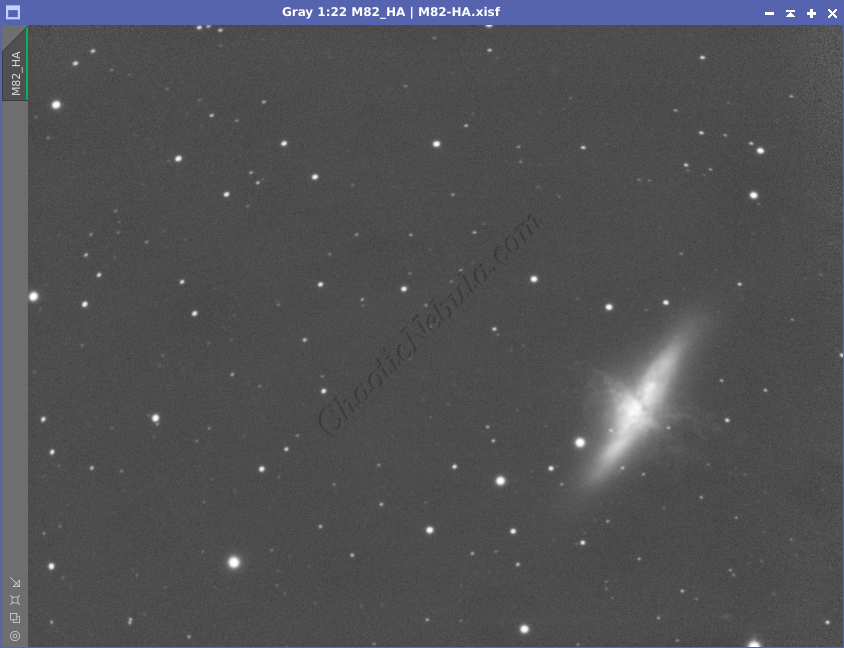
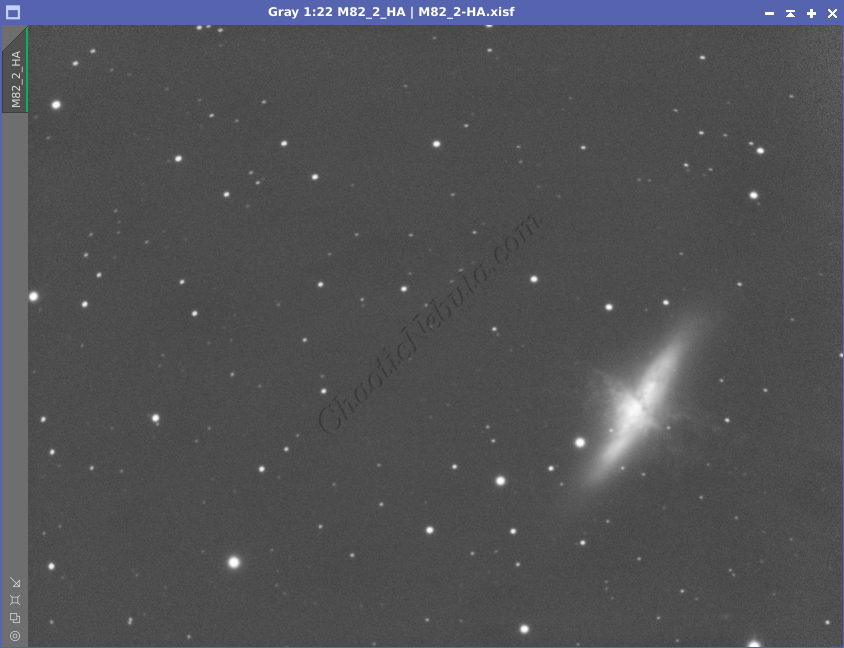
M82, also known as the Cigar Galaxy, was discovered at the same time as M81. This galaxy is characterized as an irregular galaxy as it does not exhibit the spiral structure one commonly associates with galaxies. This irregular shape is a result of intense interactions with its galactic neighbor, M81. These interactions have triggered vigorous star formation, creating a burst of stellar activity.
Imaging Details
M81
- Workflow: LRGB+HA
- Red: 30*600 seconds
- Green: 30*600 seconds
- Blue: 30*600 seconds
- HA: 30*600 seconds
- Total Imaging Time: 20 hours
- Imaging Dates (4 nights)
- 2/7/2023
- 2/10/2023
- 2/12/2023
- 2/16/2023
M82
- Workflow: LRGB+HA
- Red: 60*600 seconds
- Green: 60*600 seconds
- Blue: 60*600 seconds
- HA: 30*600 seconds
- Total Imaging Time: 35 hours
- Imaging Dates (7 nights)
- 2/10/2023
- 2/16/2023
- 2/25/2023
- 3/18/2023
- 3/23/2023
- 3/26/2023
- 4/11/2023
Imaging Notes
I tried imaging these two galaxies before, but didn’t try to incorporate them into a single mosaic. Plus, my initial attempt in 2020 ran into issues with my calibration frames, requiring me to significantly darken the background to hide the imperfections. These issues were caused by using a focal reducer not designed for astrophotography.
Imaging Workflow
This image followed my standard LRGB+HA workflow very closely, except that I removed stars early on.
Integrated Image
I started off with three really good images for HA, OIII, and SII. I did my normal integration process with drizzle integration, dynamic crop, and dynamic background extraction.
Noise Reduction
I followed my normal noise reduction process, first starting with TGV Denoise. I ran this process twice for the HA, OIII, and SII frames.

The second part of noise reduction was to use multi-scale linear transformation.


Mosaic
To merge the images into a mosaic, I followed my mosaic workflow. This involved using image solver, DNA Linear fit, gradient merge mosaic, dynamic crop, and dynamic background extraction

Star Removal
By removing the stars early on, I can focus on cleaning up the background as the merge was not seamless due to having different sky backgrounds. Using Starnet is a way to keep the stars from getting bloated due to additional processing being applied to the image. As part of this process, I had StarNet create a star mask, which I will use later to re-add the stars. I did this for all four channels (Red, Green, Blue, Hydrogen-Alpha)

Channel Combination for RGB
With the stars removed, I will use Channel Combination to combine the channels into RGB. I then used the narrowband combination workflow to integrate the HA channel to help boost the red color.

Histogram Stretch
I used histogram transformation to stretch the image.
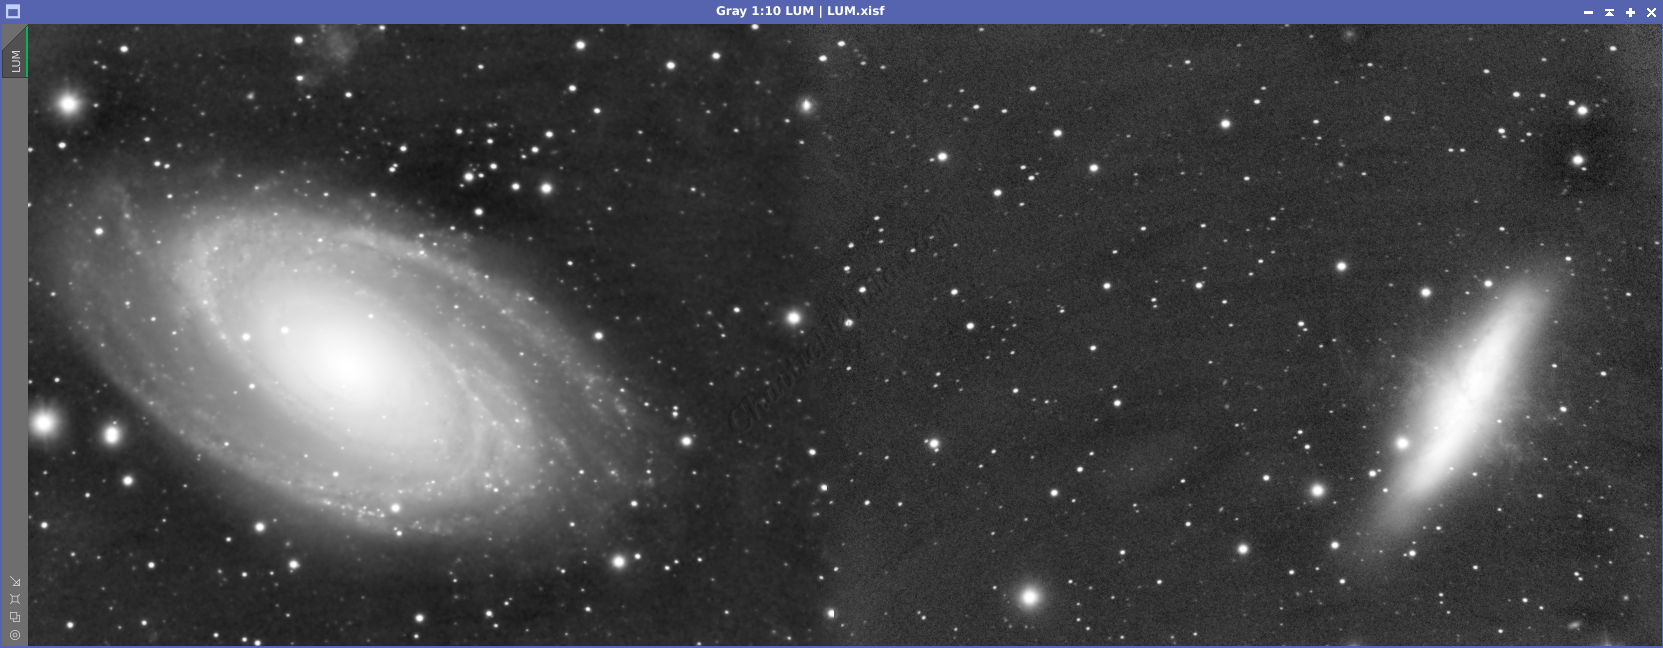
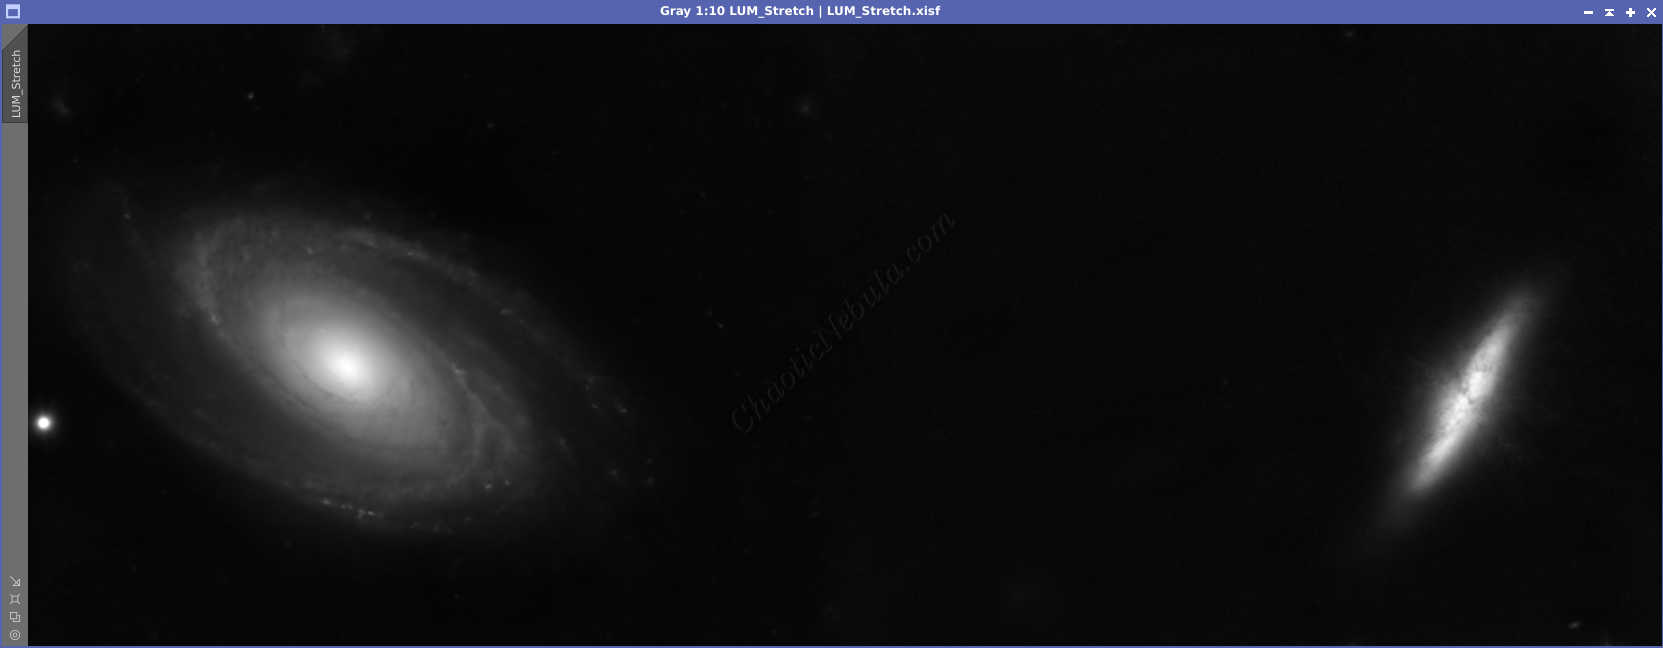
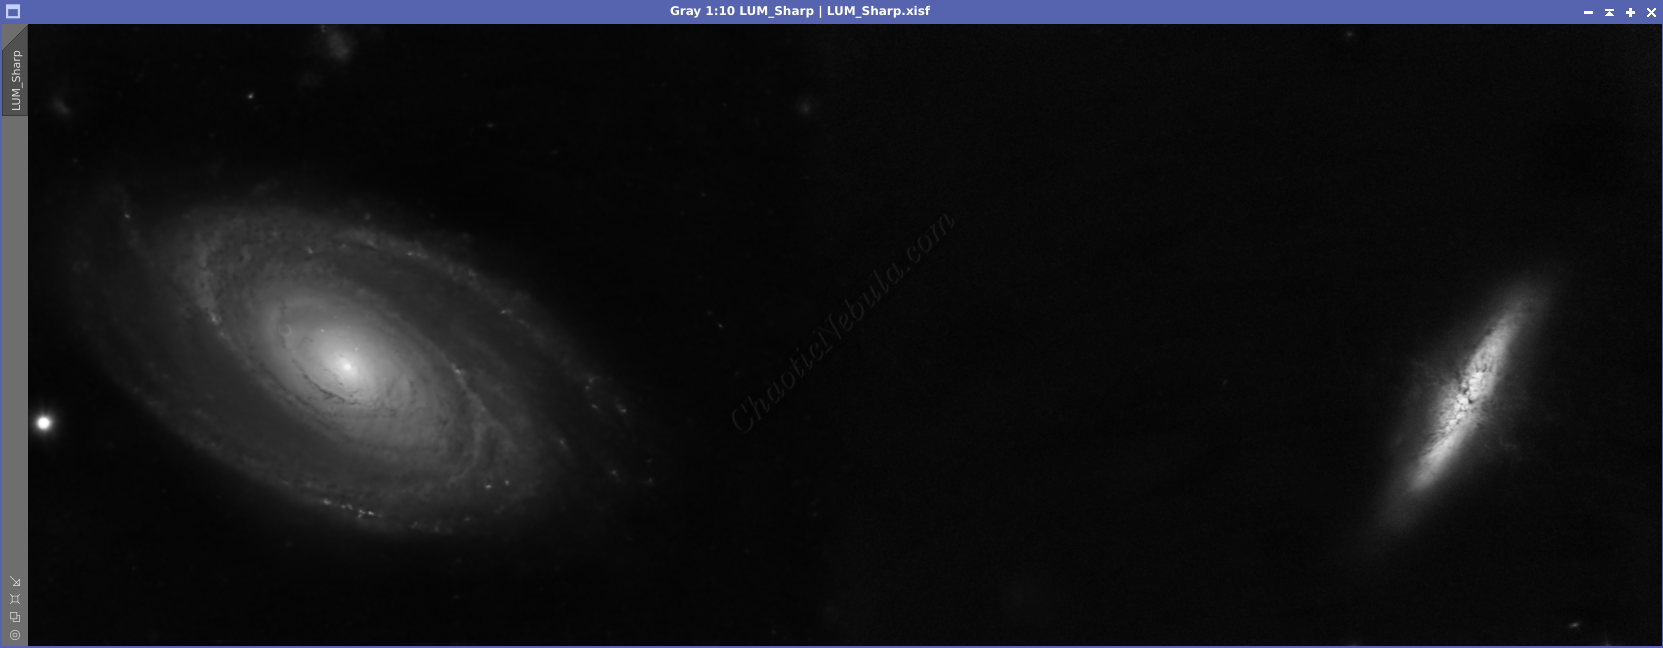
Luminance Workflow
Before doing anything more to the color image, I need to go through my Luminance Workflow.
Early on, I created a color image that included the stars. From that image, I extracted the luminance channel. With a luminance image, I ran through the luminance workflow, paying attention to the galaxy arms on the edges. I used my enhanced stretching routine to bring out those features.


Luminance Integration (LRGB)
With the luminance image processed, I can integrate it with the color image with Channel Combination. I run this process five times until I get the desired result.

Color Saturation
I used Curves Transformation to increase the overall color saturation for a second time. Again, I used my enhanced stretch mask from my Luminance worklow to brighten the outer edges.

Brightness and Color Adjustments
I used Curves Transformation to increase the overall brightness and colors.
Noise Reduction
Star Integration
Now that the image is almost complete, it is time to add the stars back into the image. I will use the star mask the StarNet created during the star removal process for the Red, Green, and Blue channels. I used linear fit before doing a simple RGB channel combination.
Once combined, Histogram Transformation permanently stretch the image, to make the stars visible. I did the same thing for the star mask created during the star removal on the luminance image.
I applied the luminance star mask to the RGB image.
Then, using Pixel Math, take the maximum values from both images and apply to the color image. Because of the star mask applied to the color image, this formula only impacts the unprotected areas from the star mask.