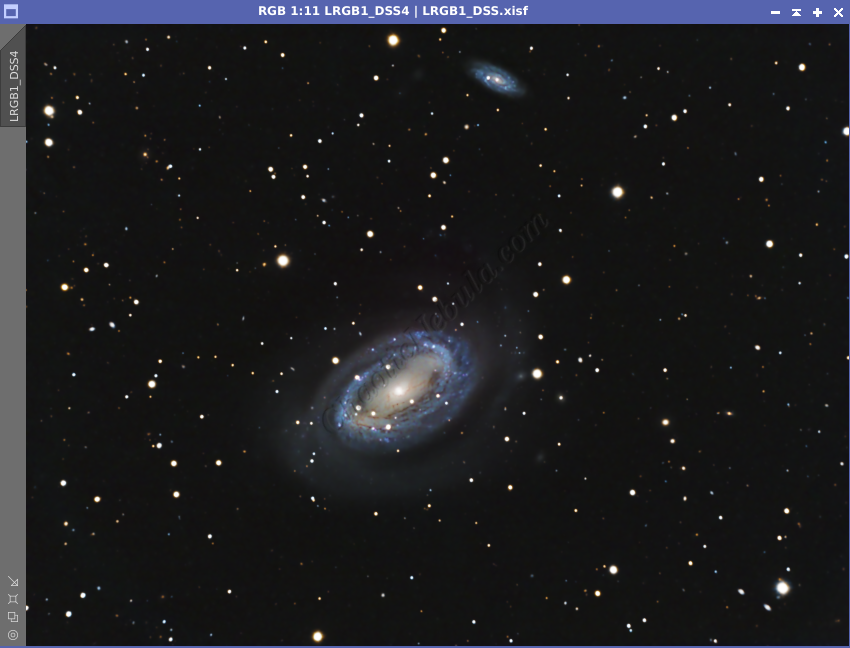
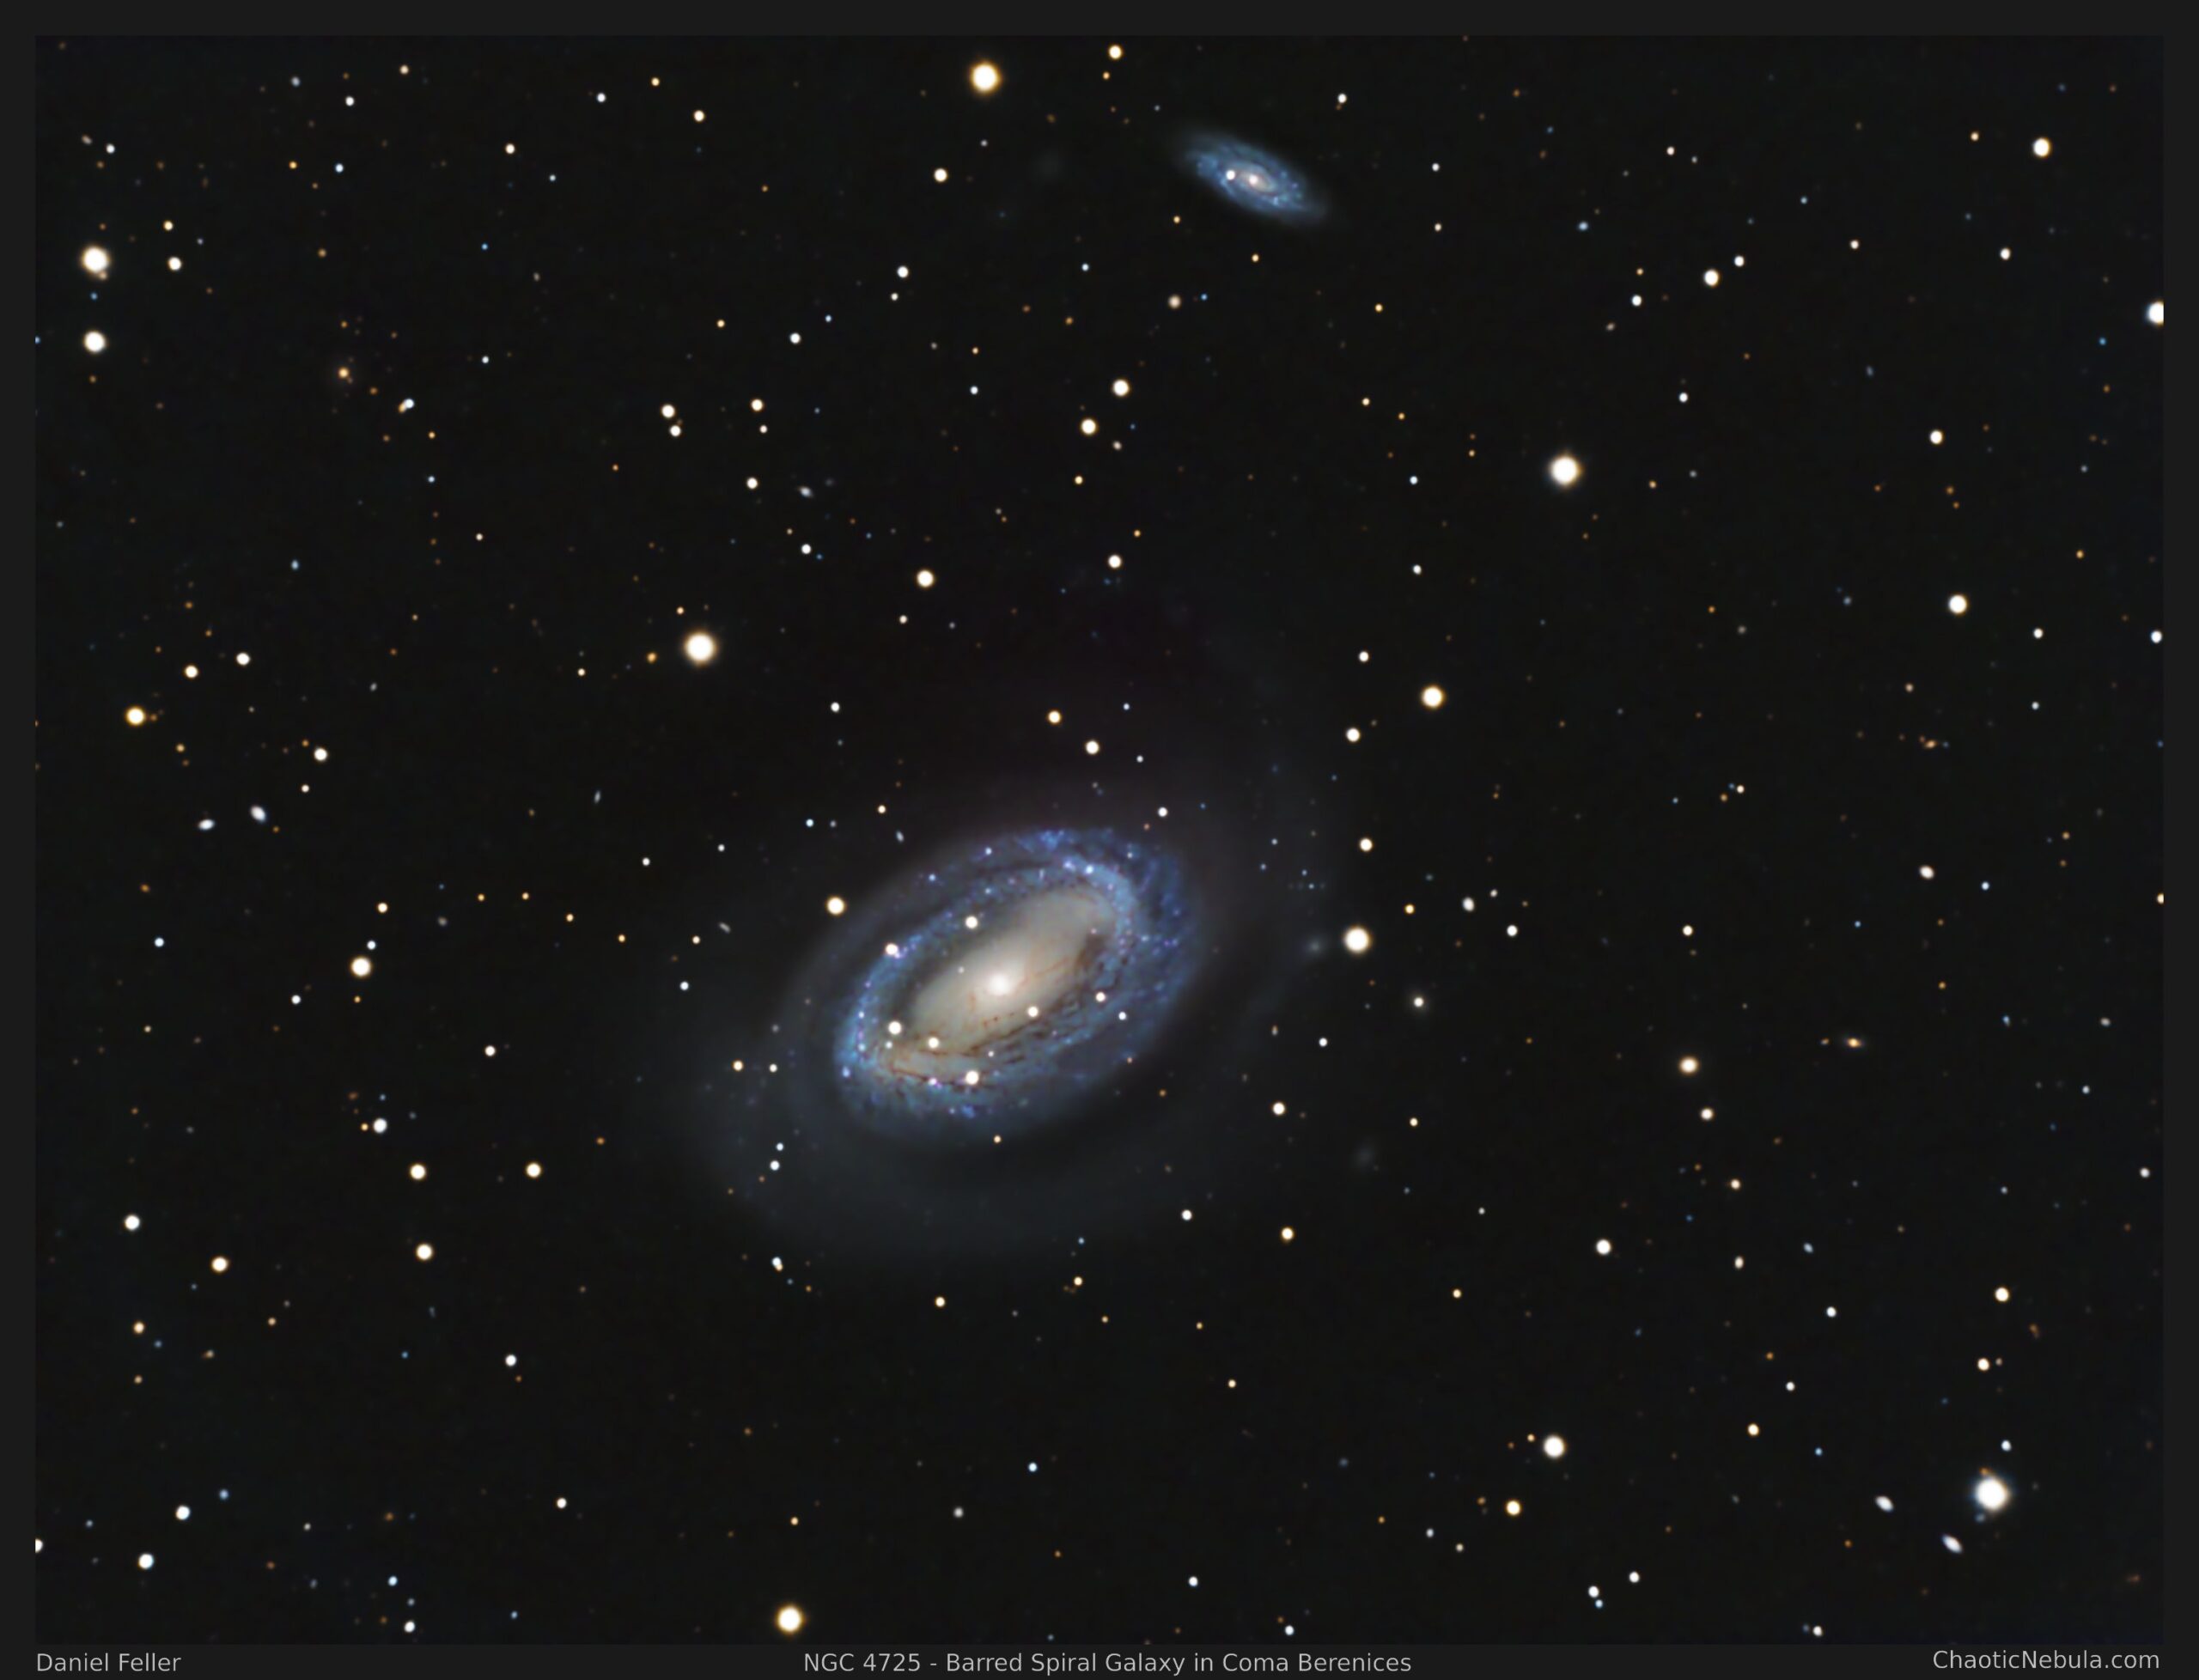
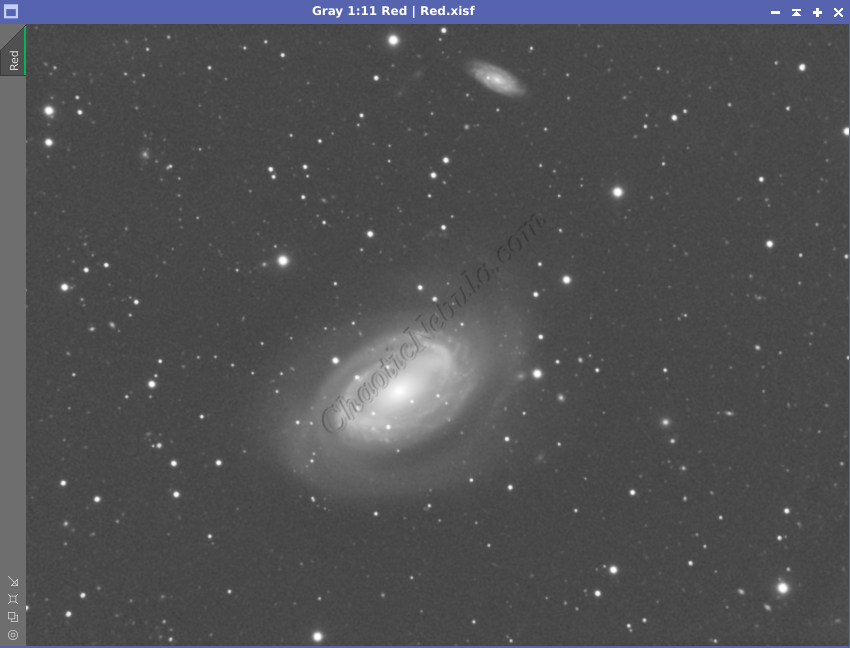
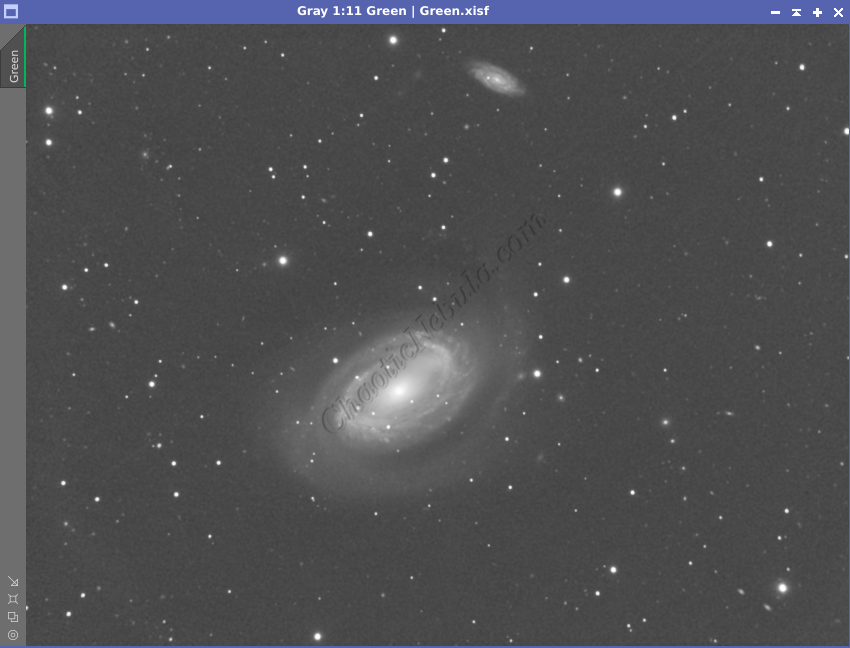
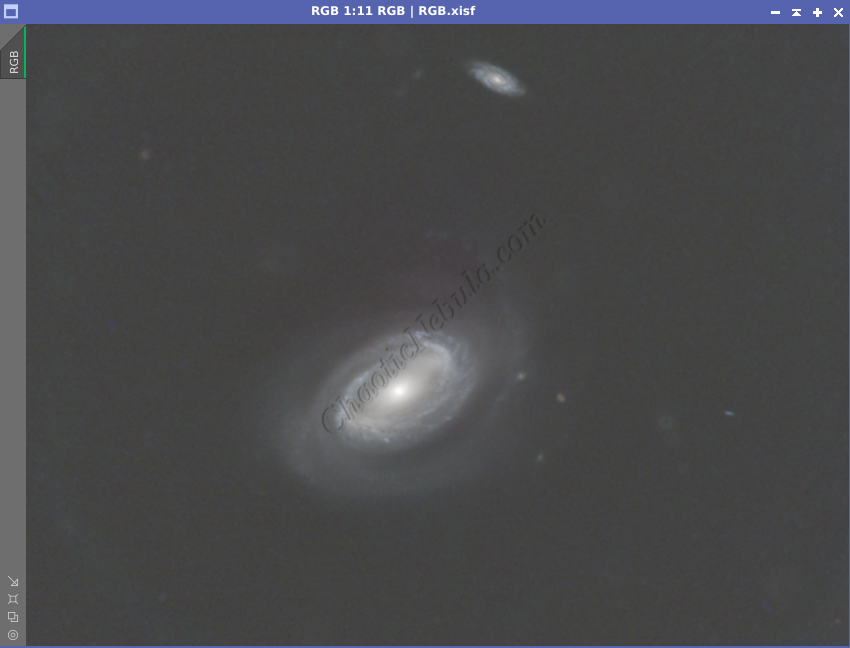
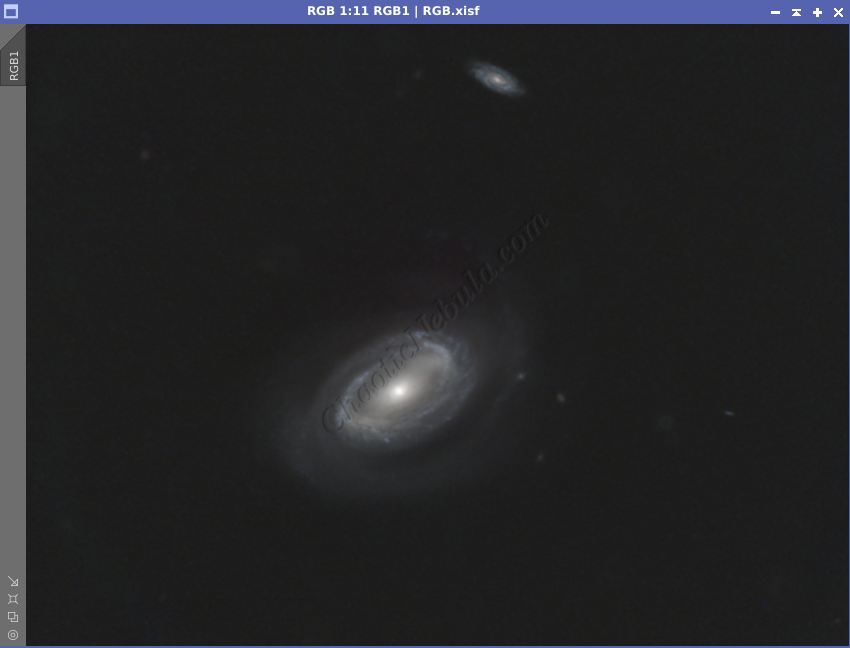
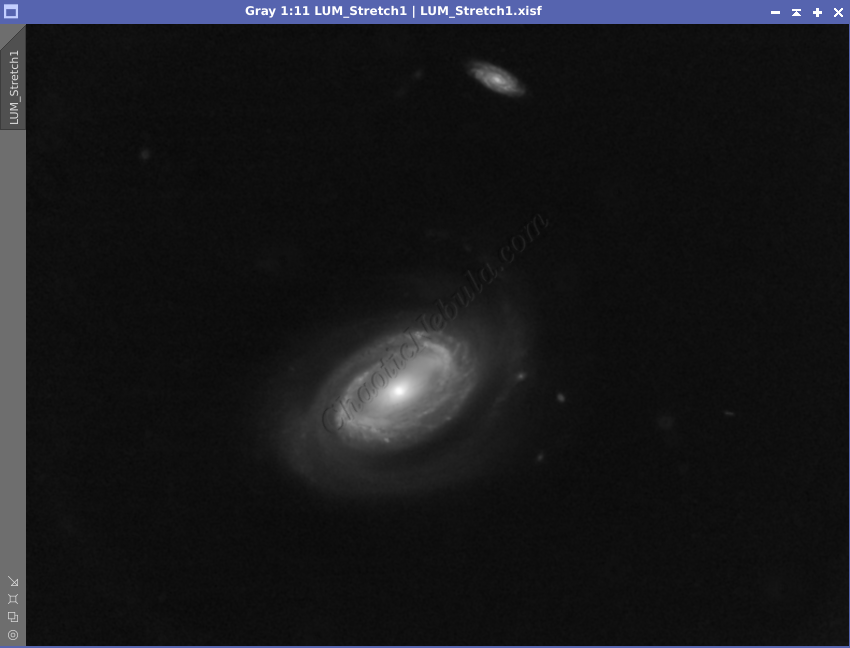
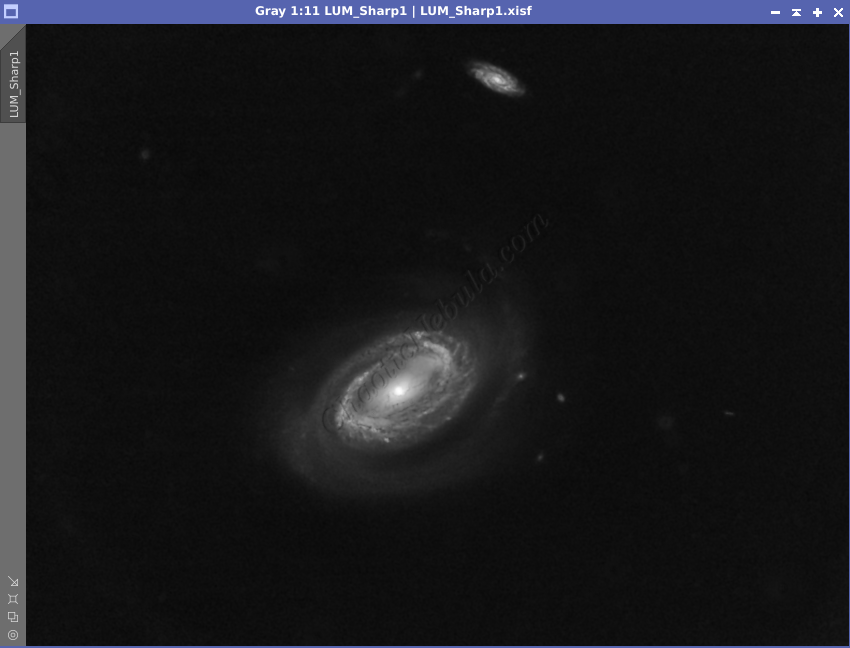
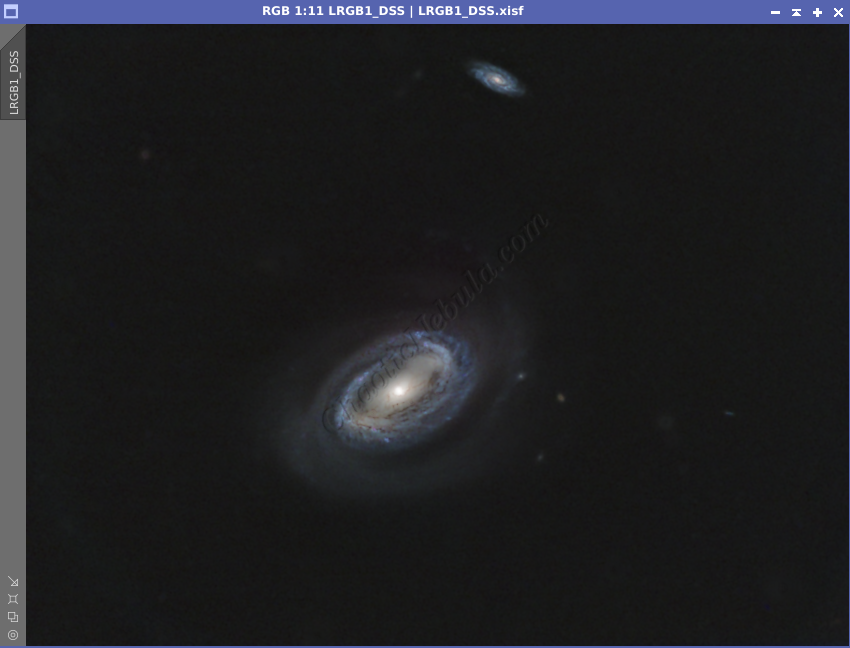
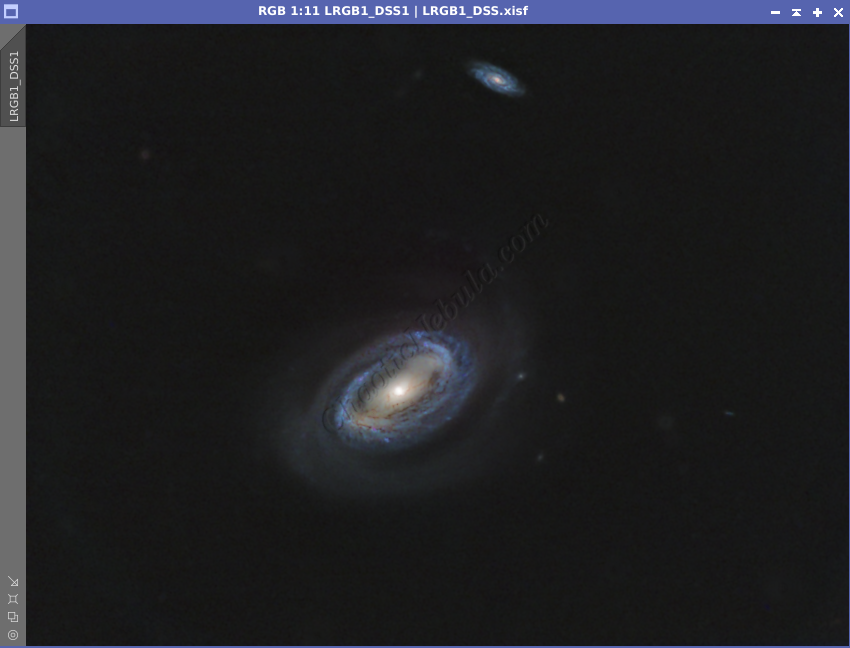
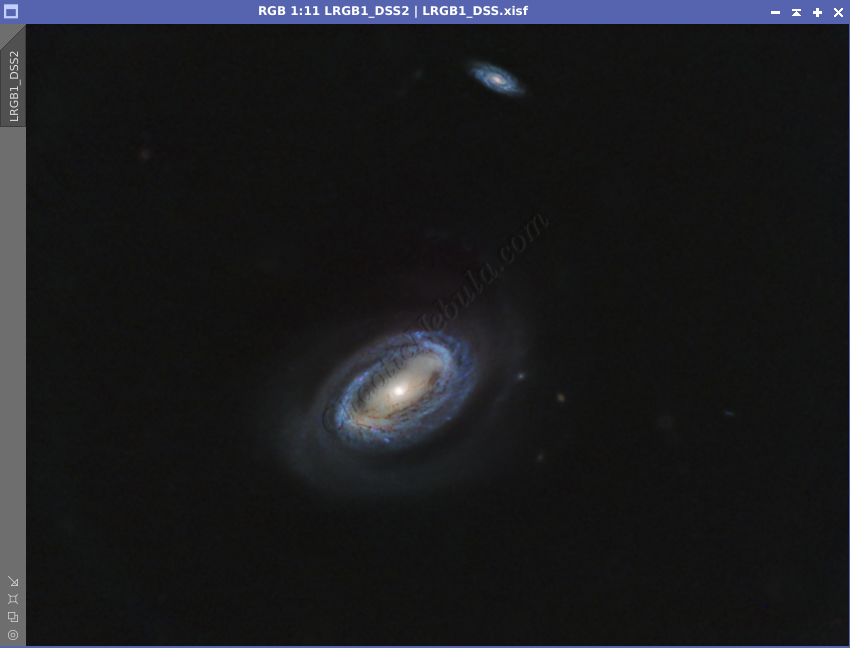
NGC 4725 is a striking spiral galaxy situated in the constellation Coma Berenices. Its placement in the night sky makes it a great subject for astronomers and astrophotographers alike. From Earth, NGC 4725 is 40 million light years away (40 mega-light years). This particular galaxy is the brightest member of the Coma I group of galaxies.
NGC 4725 showcases a grand spiral structure with well-defined arms that sweep outward from its bright central core. The galaxy spans a considerable distance, with its spiral arms adorned with regions of active star formation and interstellar dust.
At the heart of NGC 4725 lies a luminous nucleus, a hub of stellar activity. Astronomers suspect the presence of a supermassive black hole in this central region, contributing to the galaxy’s dynamic behavior and influencing its surrounding environment.
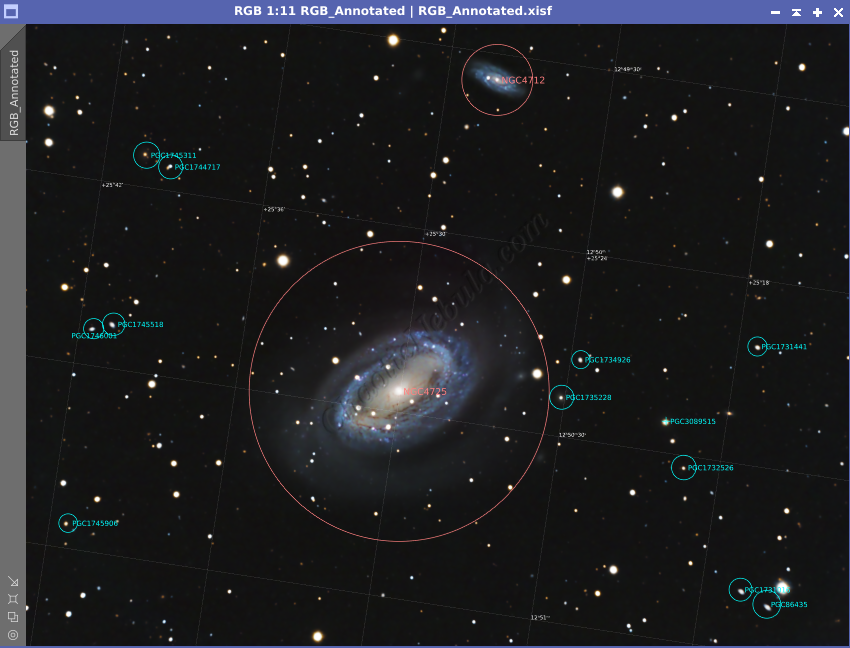
In addition, this image also contains another galaxy, NGC 4712. The current estimate is that this galaxy is 210 million light years away from Earth. Although it appears close the NGC 4725 in the image, NGC 4712 is much further away (210 million light years). This galaxy is in the background and is not part of the Coma I group of galaxies.
Imaging Details
- Workflow: LRGB
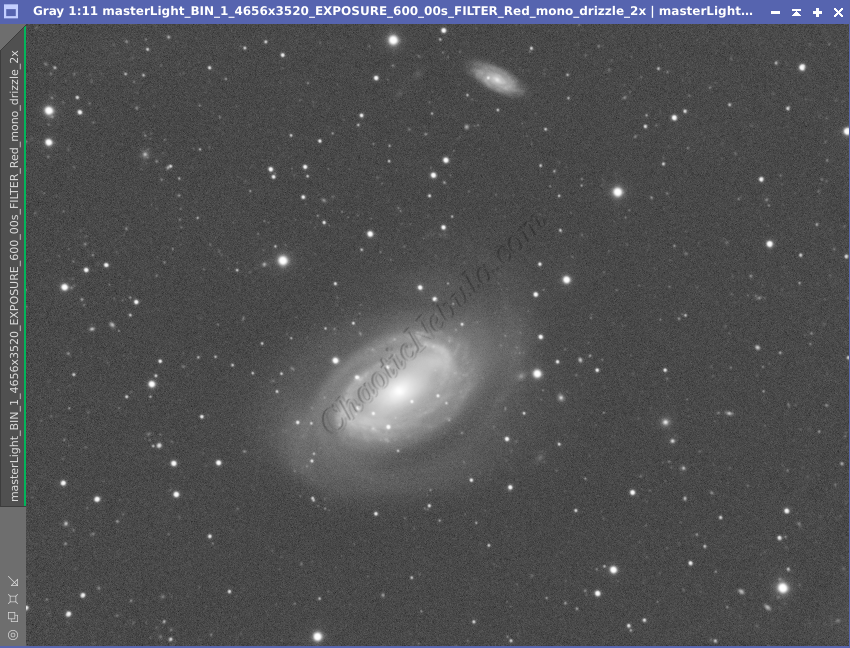
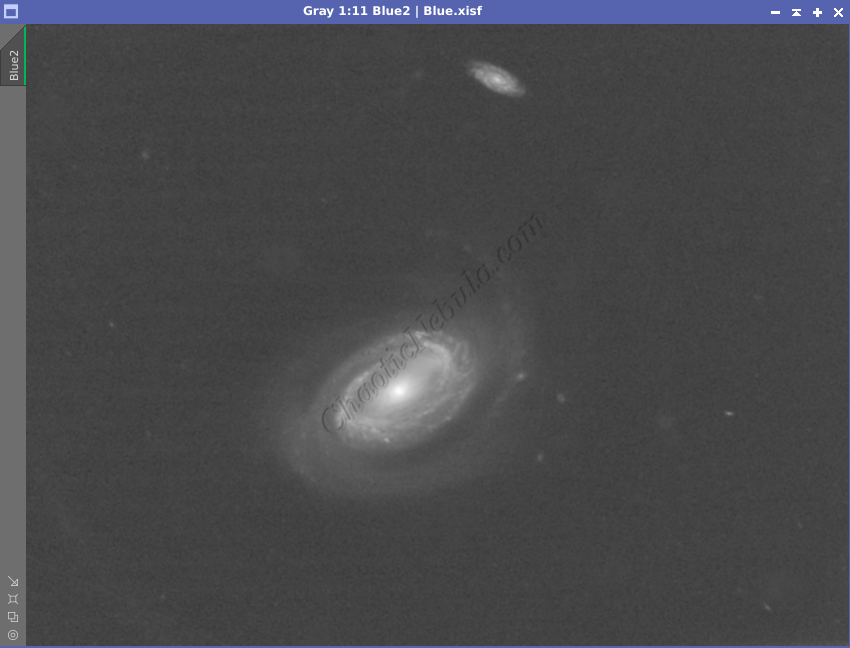
- Red: 60*600 seconds
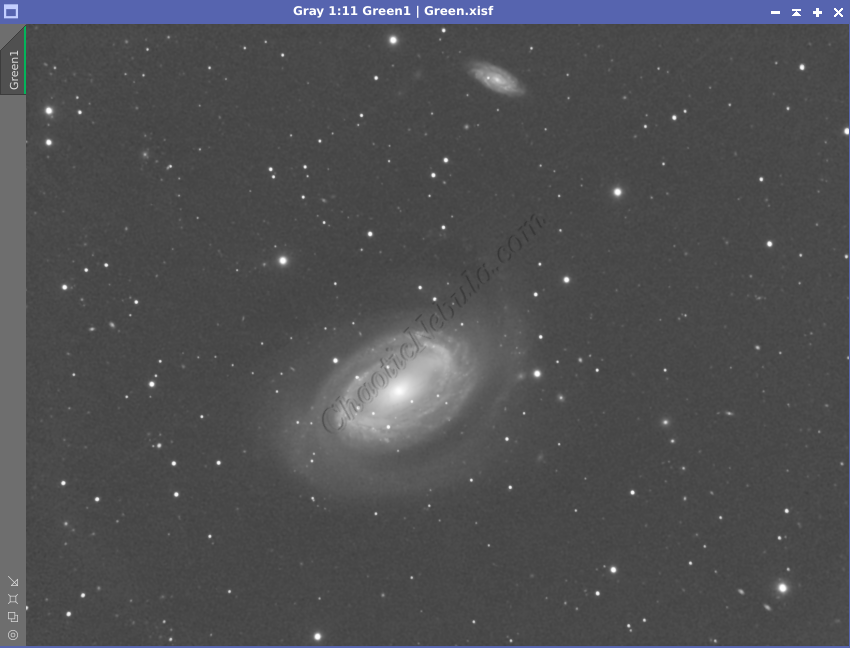
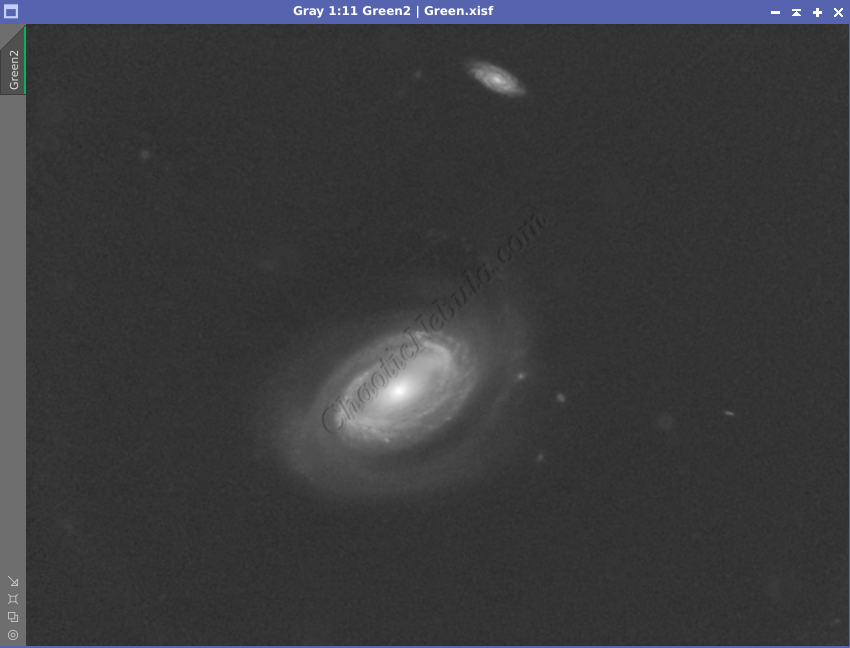
- Green: 60*600 seconds
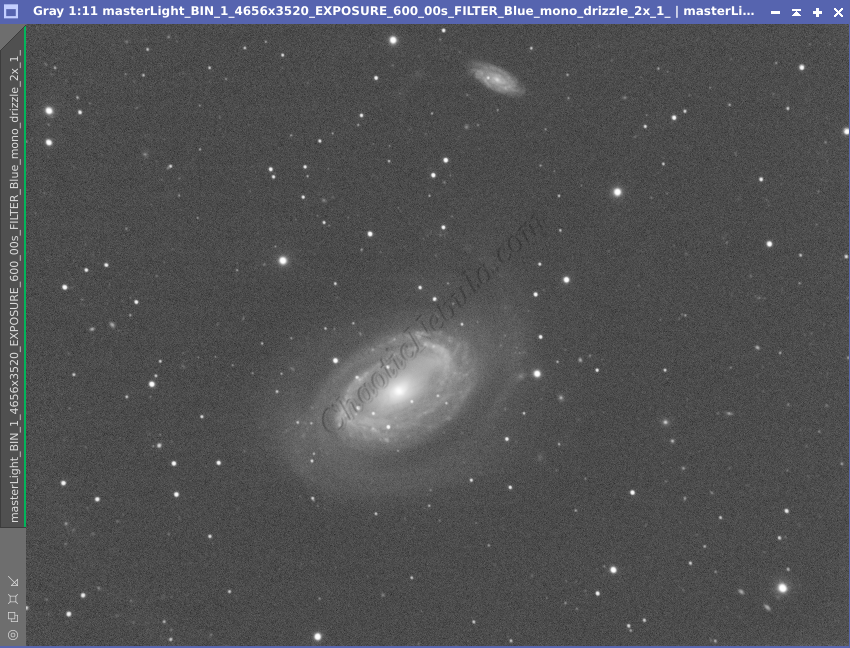
- Blue: 60*600 seconds
- Total Imaging Time: 30 hours
- Imaging Dates (9 nights):
- 4/12/2023
- 4/13/2023
- 4/17/2023
- 4/24/2023
- 4/25/2023
- 5/2/2023
- 5/15/2023
- 5/19/2023
- 5/21/2023
Imaging Notes
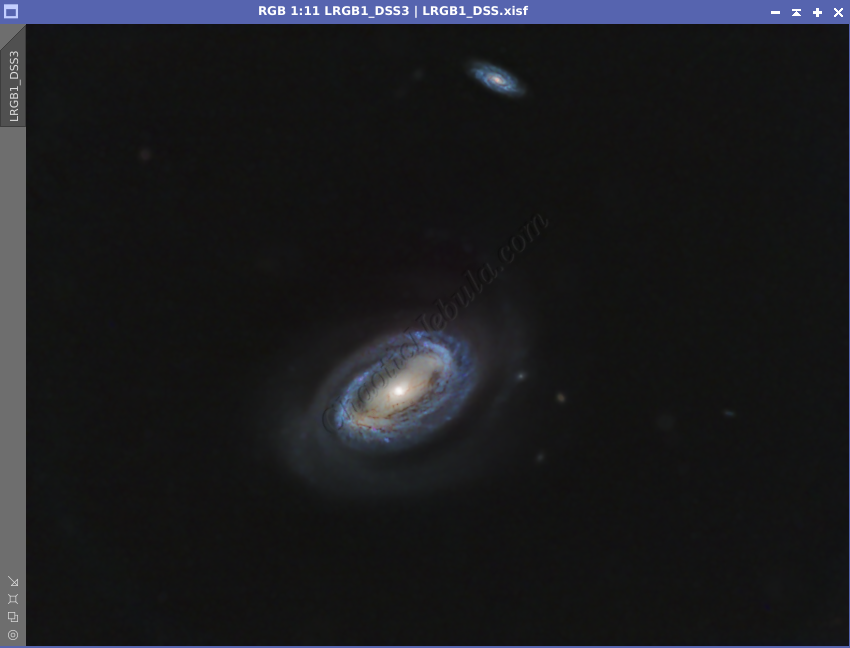
During the processing of this image, I couldn’t figure out what was wrong the lower -right corner of the image because a few of the stars are oblong. This typically happens when my telescope isn’t polar aligned, but this normally happens in all corners. Once I finished processing, I went and added annotation for the galaxies within this image. This oblong items are not stars. They are actually galaxies.
Imaging Workflow
This image followed my standard LRGB workflow very closely, except that I removed stars early on.
Integrated Image
I started off with three really good images for HA, OIII, and SII. I did my normal integration process with drizzle integration, dynamic crop, and dynamic background extraction.

Noise Reduction
I followed my normal noise reduction process, first starting with TGV Denoise. I ran this process twice for the Red, Green, and Blue frames.

The second part of noise reduction was to use multi-scale linear transformation.


Star Removal
By removing the stars early on, I can focus on colors and contrast of just the galaxy without affecting the stars. Using Starnet is a way to keep the stars from getting bloated due to additional processing being applied to the image. As part of this process, I had StarNet create a star mask, which I will use later to re-add the stars. I did this for all three channels (Red, Green, Blue)

Channel Combination for RGB
With the stars removed, I will use Channel Combination to combine the channels into RGB.
Histogram Stretch
I used histogram transformation to stretch the image.
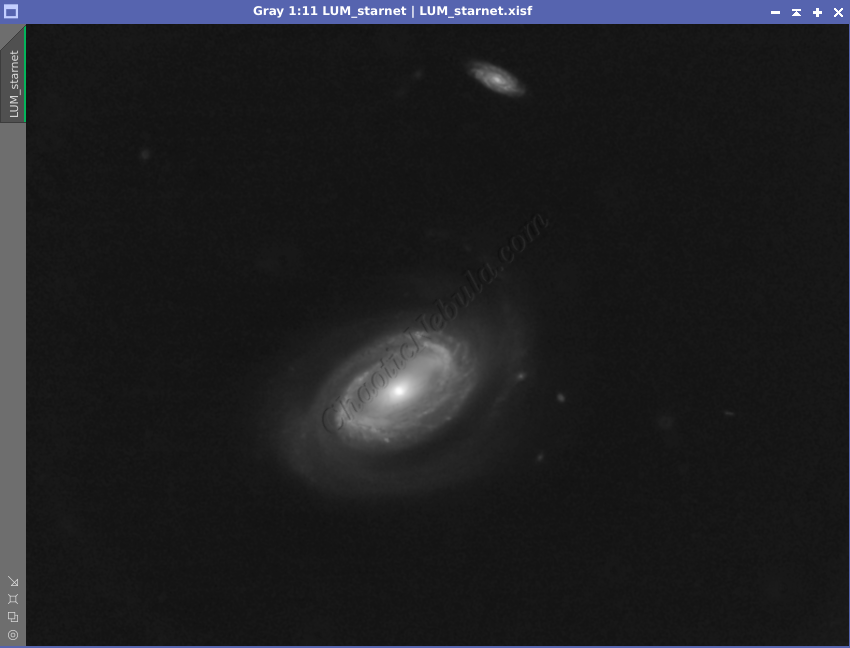
Luminance Workflow
Before doing anything more to the color image, I need to go through my Luminance Workflow.
Early on, I created a color image that included the stars. From that image, I extracted the luminance channel. With a luminance image, I ran through the luminance workflow, paying attention to the galaxy arms on the edges.
The dark structure process helped highlight the central bar within the galactic nucleus.


Luminance Integration (LRGB)
With the luminance image processed, I can integrate it with the color image with Channel Combination. I run this process five times until I get the desired result.
Color Saturation
I used Curves Transformation to increase the overall color saturation for a second time.
Brightness and Color Adjustments
I used Curves Transformation to increase the overall brightness and colors.
Noise Reduction
Now that the image is done, I run one last noise reduction with ACDNR.
Star Integration
Now that the image is almost complete, it is time to add the stars back into the image. I will use the star mask the StarNet created during the star removal process for the Red, Green, and Blue channels. I used linear fit before doing a simple RGB channel combination.
Once combined, Histogram Transformation permanently stretch the image, to make the stars visible. I also used Curves Transformation to significantly increase the color saturation for the stars. Because some stars appeared green or had magenta halos, I used SCNR on the normal image and on the inverted image to clean up these incorrect colors.
For the luminance image, I also had Starnet create a starmask. I simply stretch this image, which will be used as my mask to reintegrate the stars. I applied the luminance star mask to the RGB image.
Then, using Pixel Math, take the maximum values from both images and apply to the color image. Because of the star mask applied to the color image, this formula only impacts the unprotected areas from the star mask.