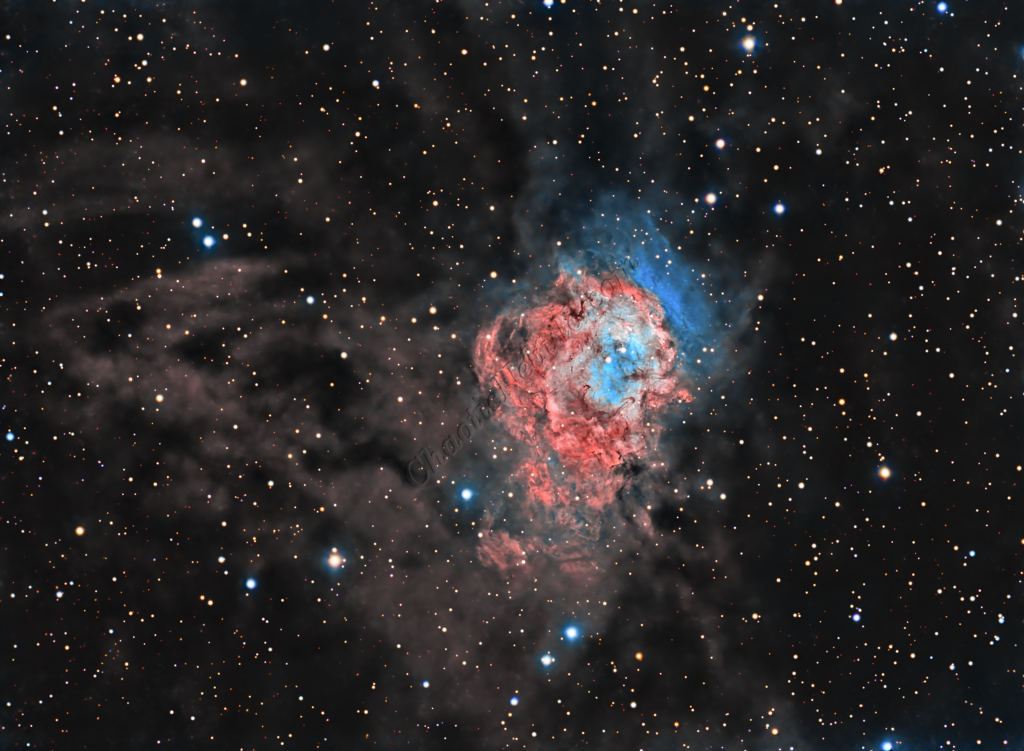
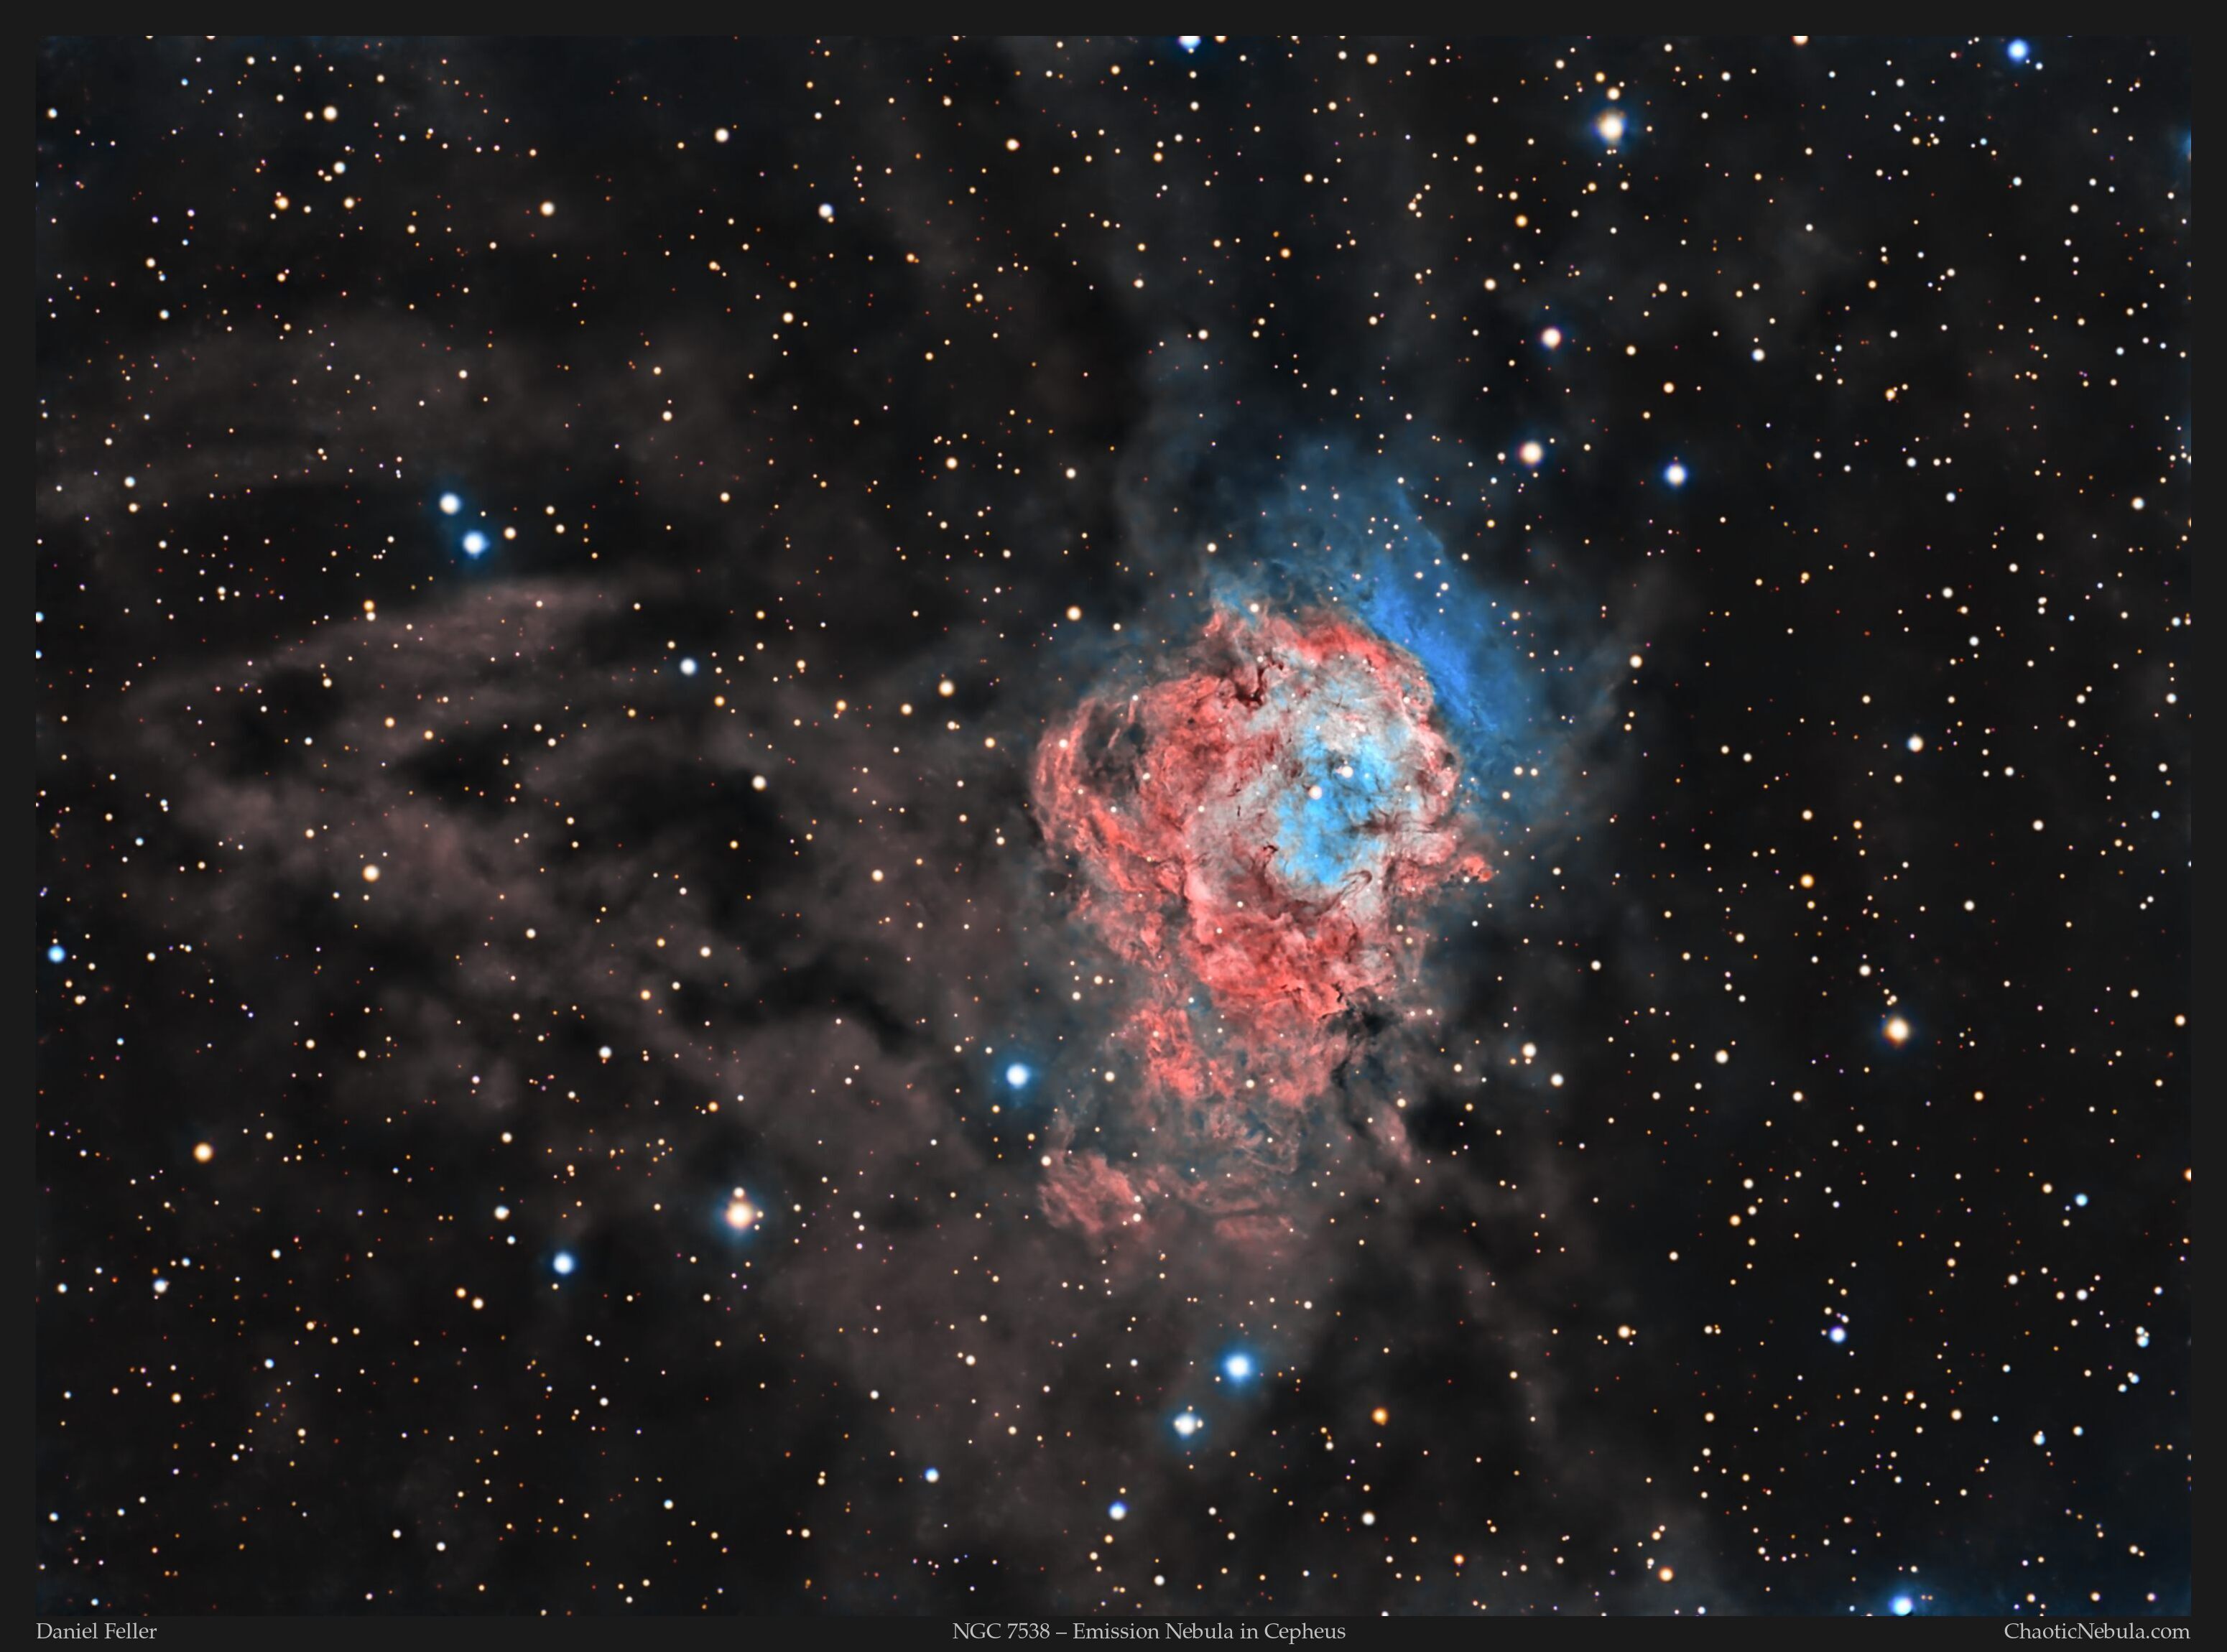
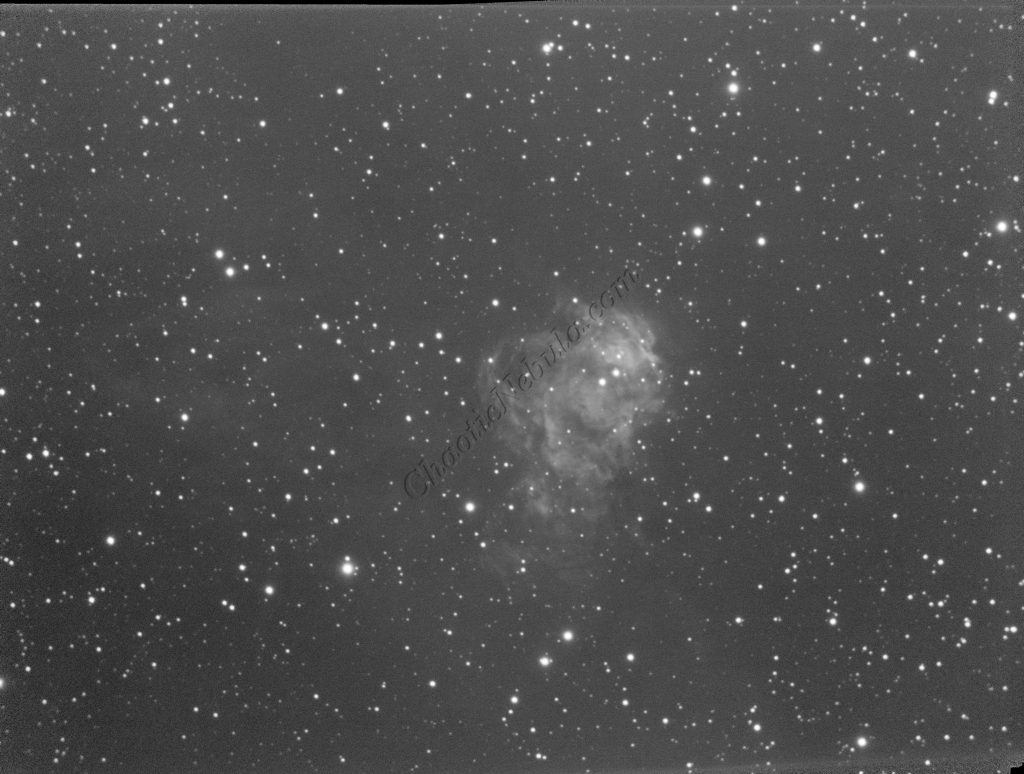
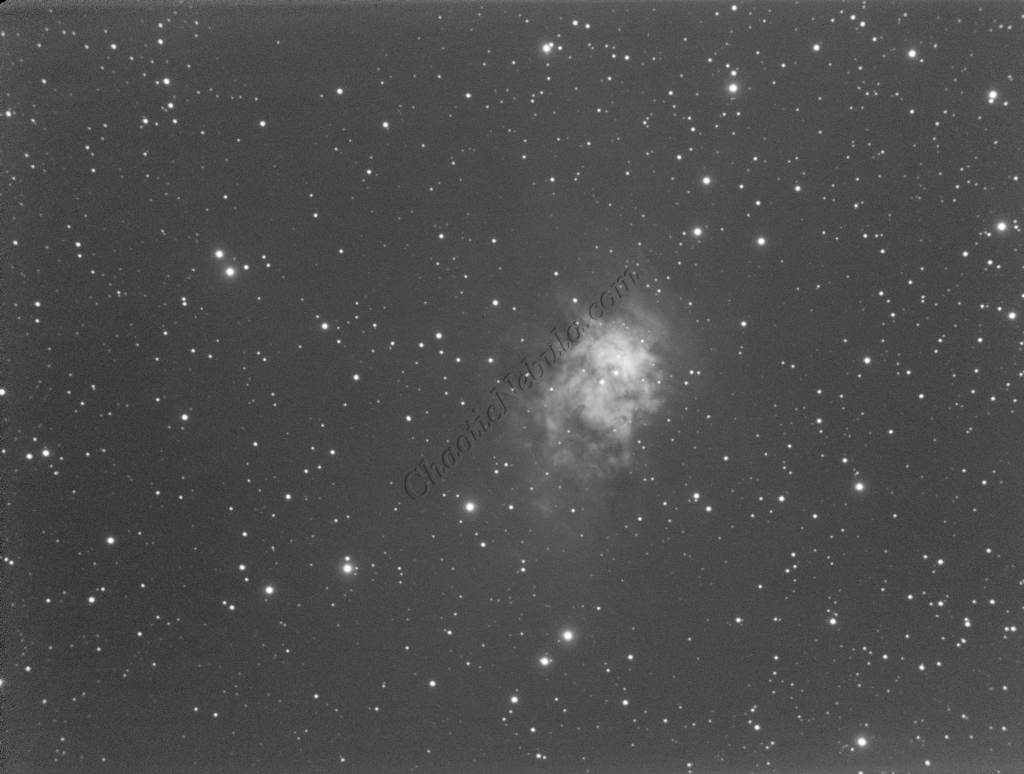
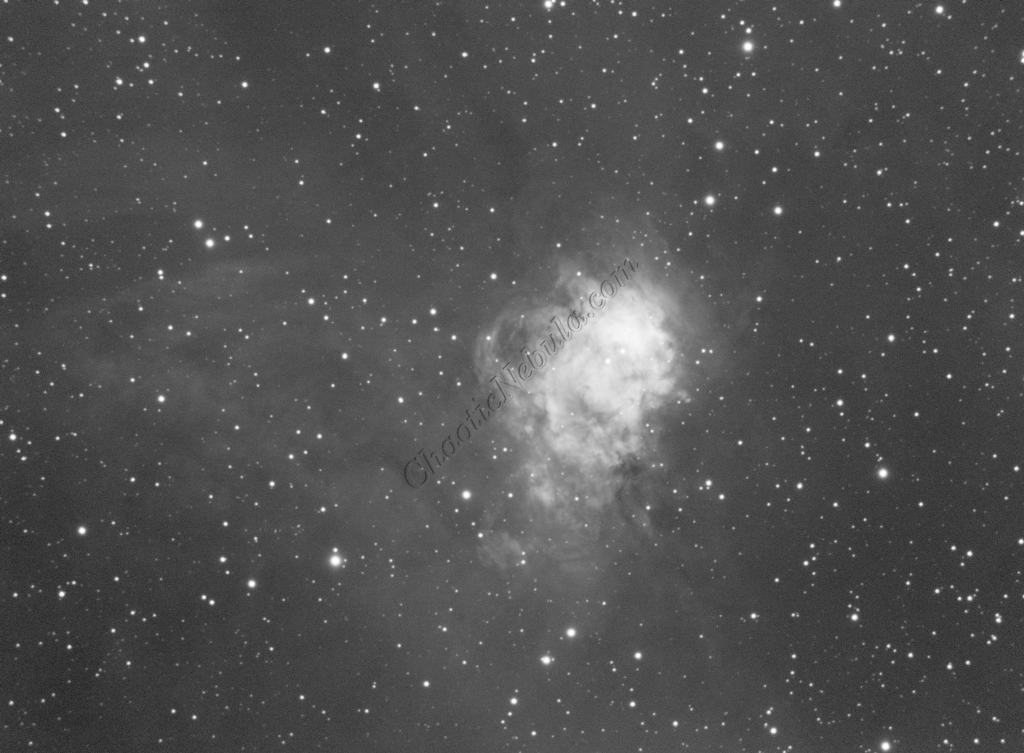
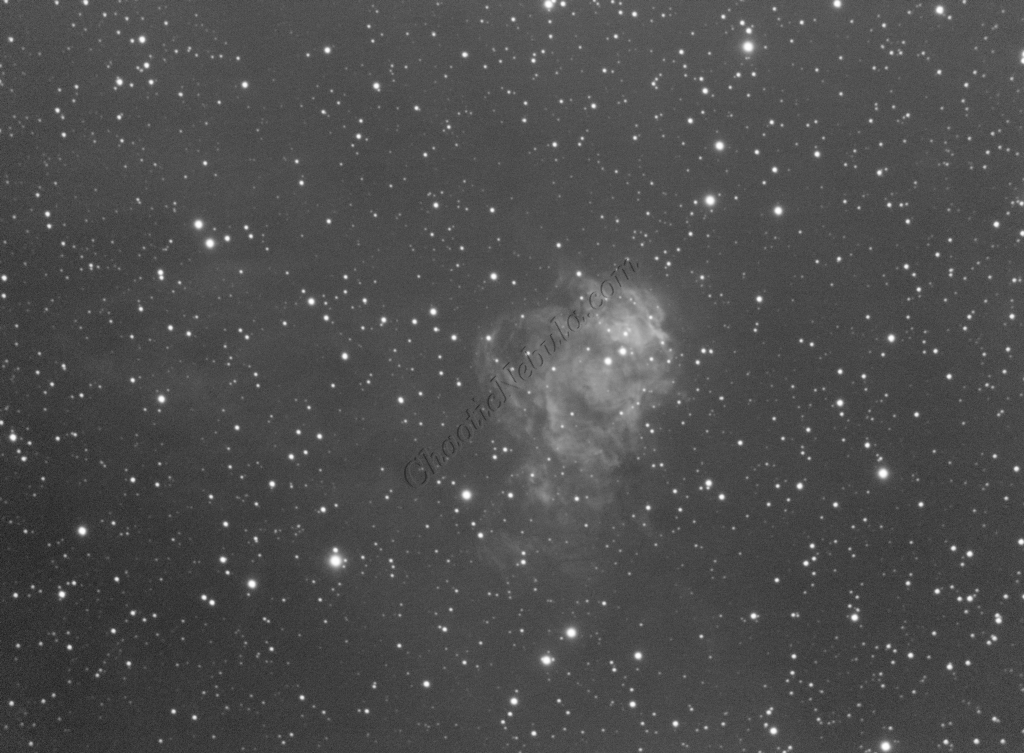
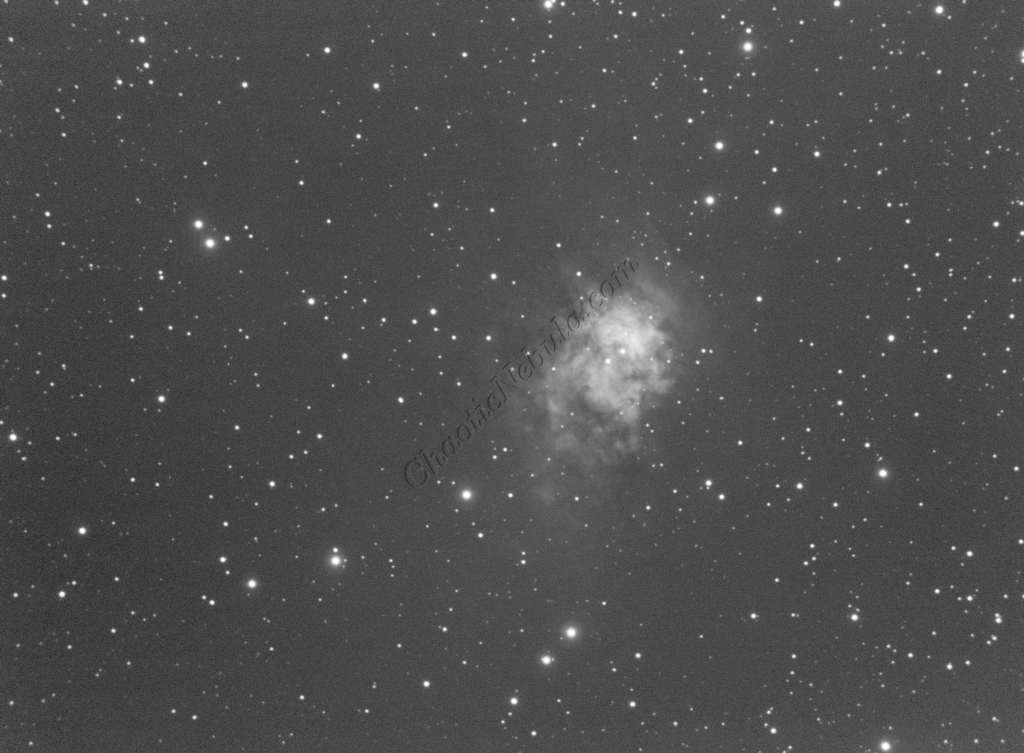
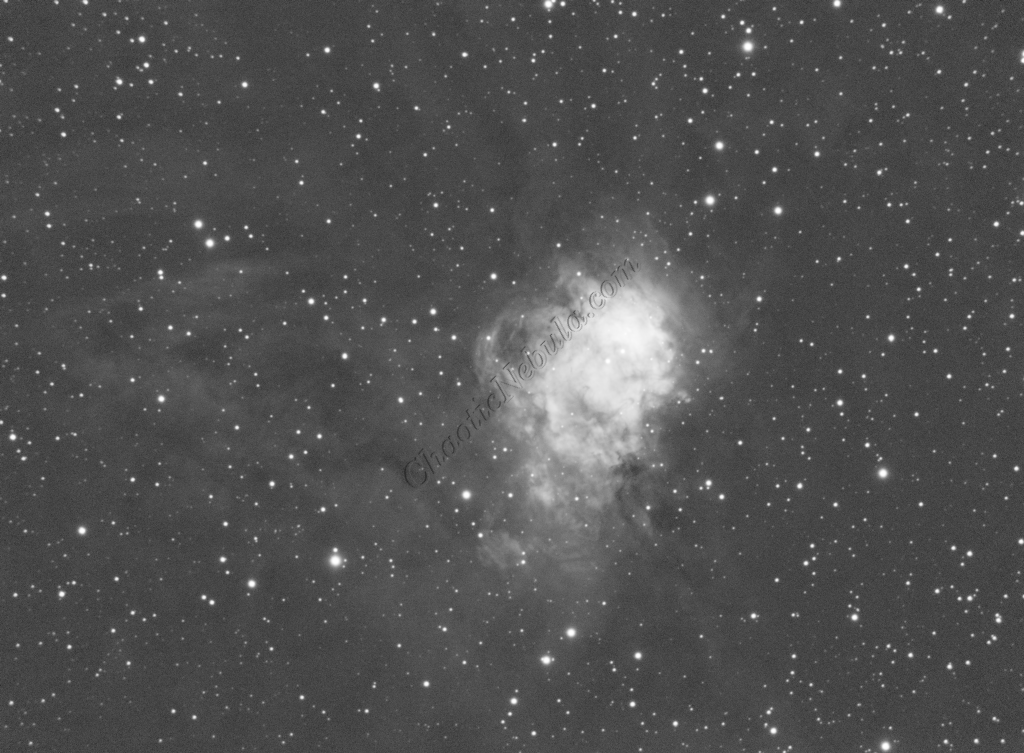
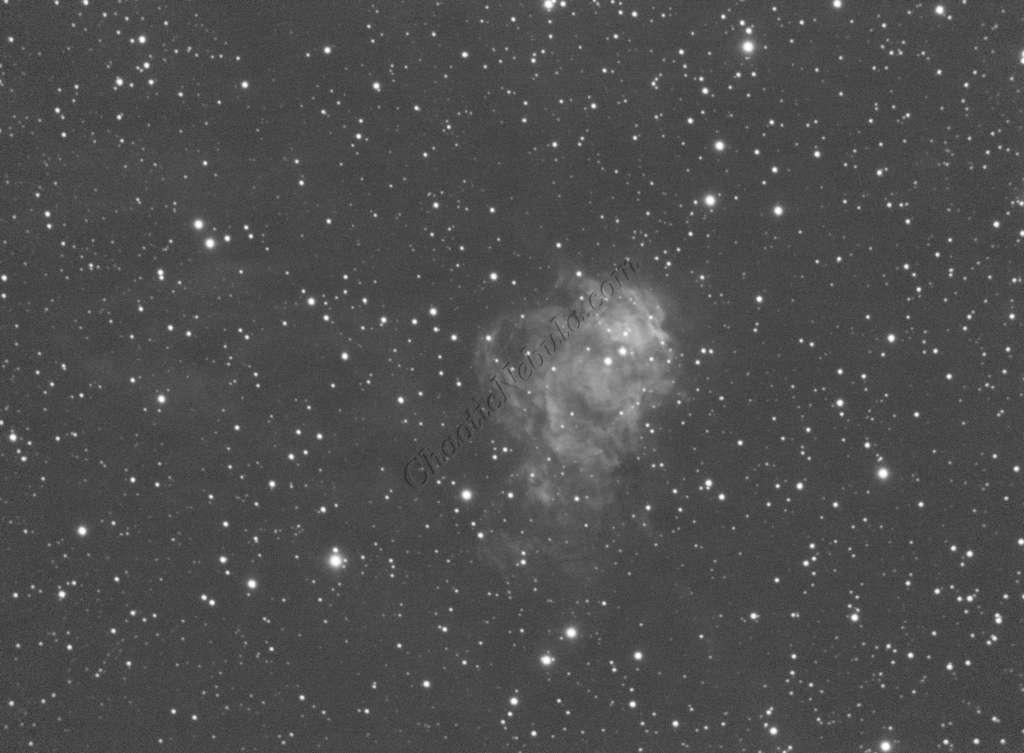
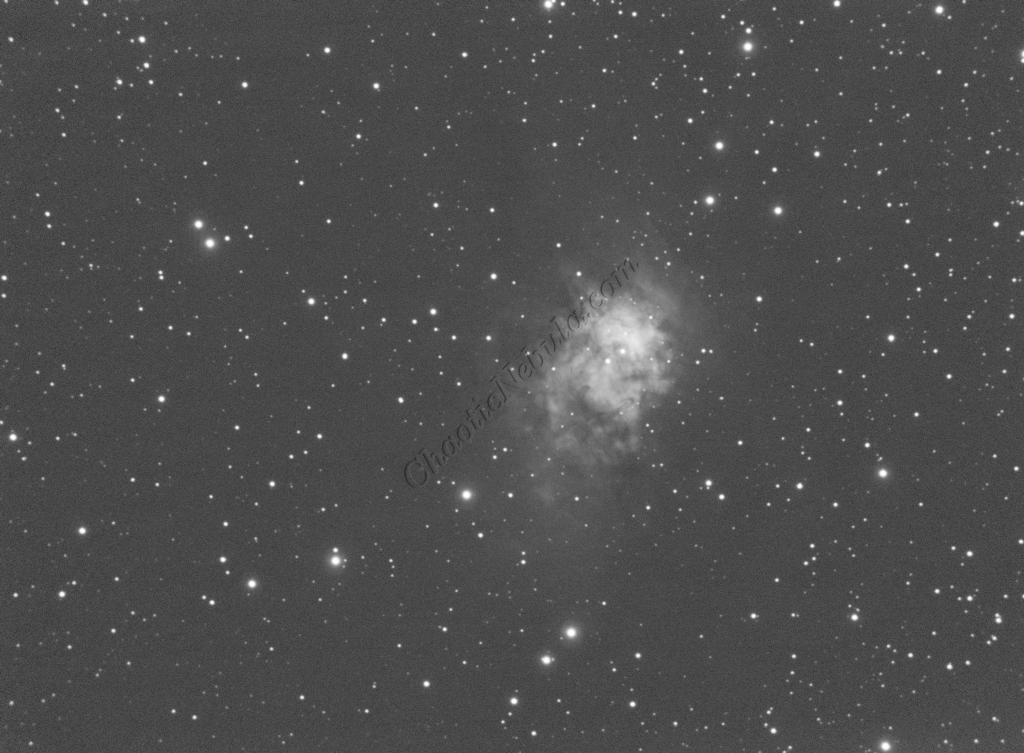
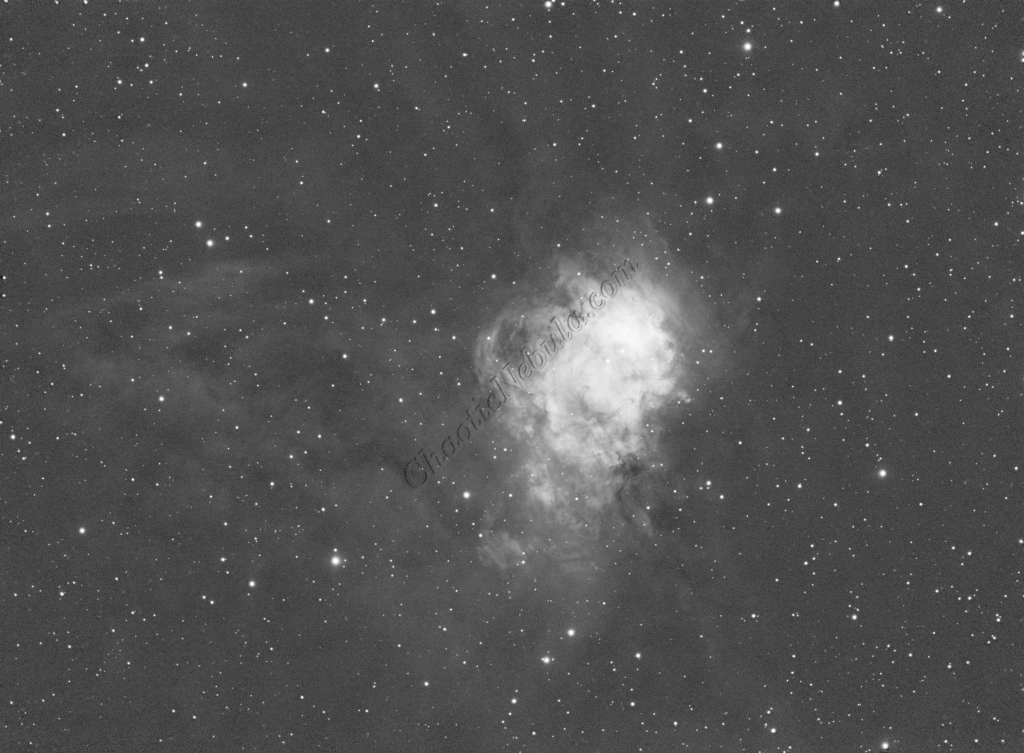
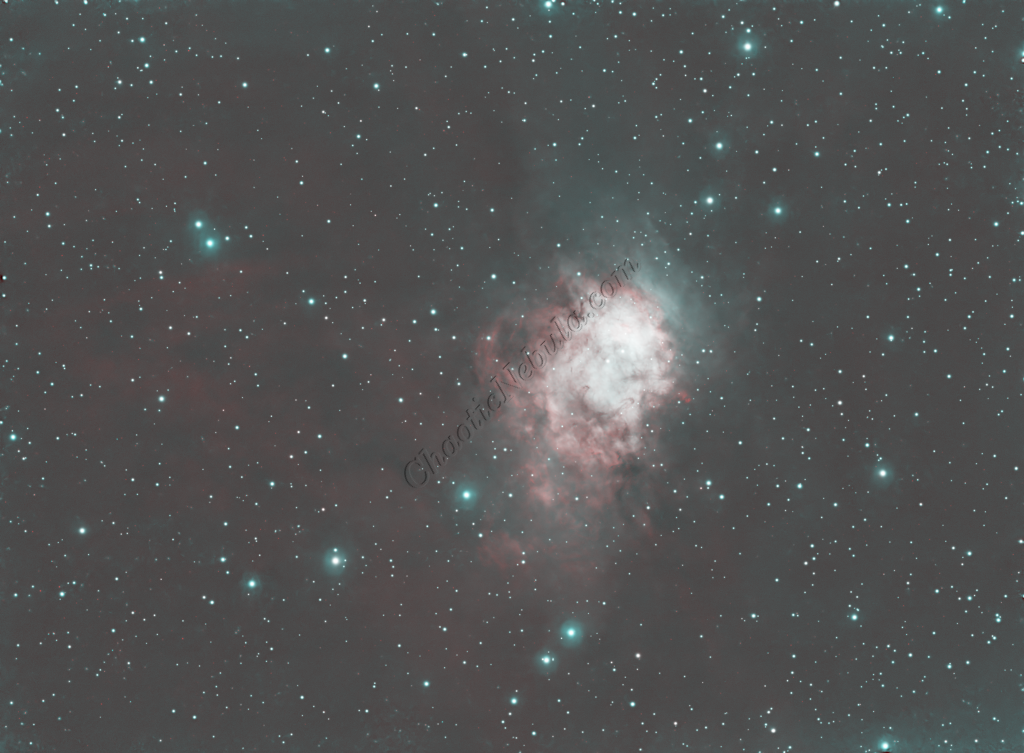
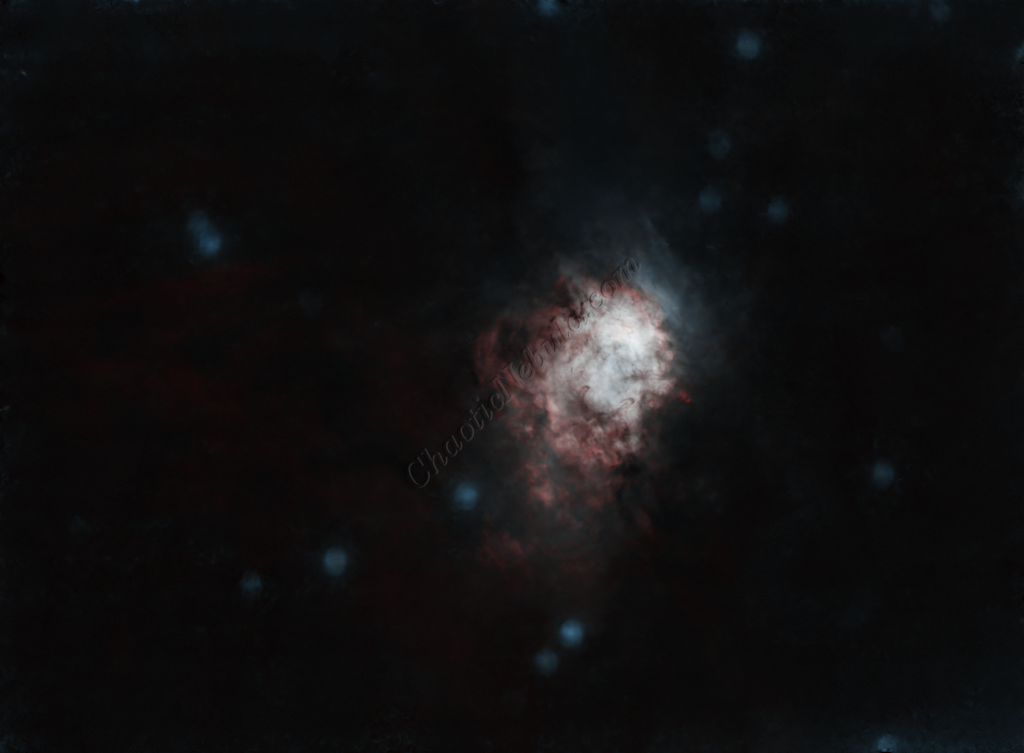
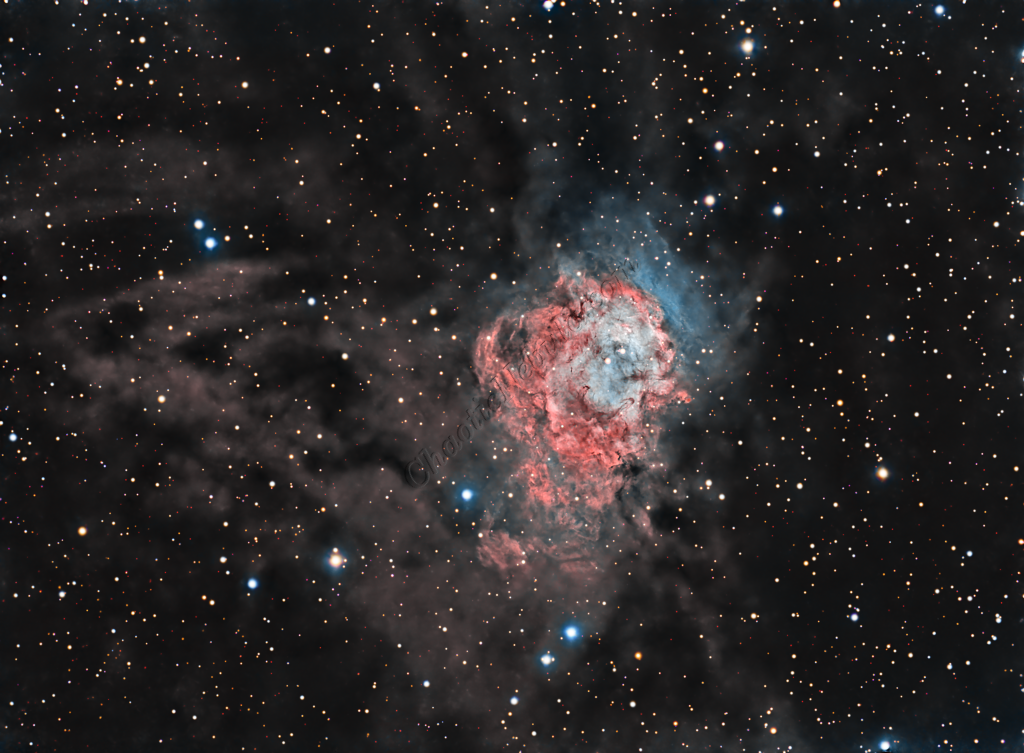
NGC 7538 is a striking emission and reflection nebula located approximately 9,100 light-years away in the constellation Cepheus. Nestled within a vast star-forming region, NGC 7538 is home to some of the largest known protostars in the Milky Way. The nebula glows brightly as ultraviolet radiation from young, massive stars excites surrounding hydrogen gas, causing it to emit light—a hallmark trait of emission nebulae.
In addition to its brilliant red glow from ionized hydrogen, NGC 7538 also contains regions of reflection nebulae, where starlight scatters off dust particles, contributing soft blue tones to its complex palette. This mix of glowing gas and reflecting dust creates intricate filaments and dark lanes that highlight processes shaping the stellar nursery within.
NGC 7538 is part of a larger molecular cloud complex and serves as a fertile ground for stellar birth. It is especially notable for containing NGC 7538 IRS 1, a massive protostar that is still in the process of forming and is believed to be more than 300 times the size of our solar system. Observations of this region provide key insights into the early stages of massive star formation, a process still not fully understood.
For astrophotographers, NGC 7538 presents a compelling target due to its mixture of emission and reflection elements, as well as its dramatic dust structures. Narrowband filters, such as hydrogen-alpha, sulfur-II, and oxygen-III, reveal the complex ionization zones and bring out hidden details, while broadband imaging highlights the interplay between glowing gas and reflected starlight.
Imaging Details
- Workflow: Narrowband workflow
- HA: 60*600 seconds
- OIII: 60*600 seconds
- SII: 60*600 seconds
- Red: 30*60 seconds
- Green: 30*60 seconds
- Blue: 30*60 seconds
- Total Imaging Time: 31.5 hours
- Imaging Dates (4 nights)
- 9/15/2024
- 9/24/2024
- 9/25/2024
- 9/26/2024
Imaging Notes
It took a few tries to get the color the way I wanted.
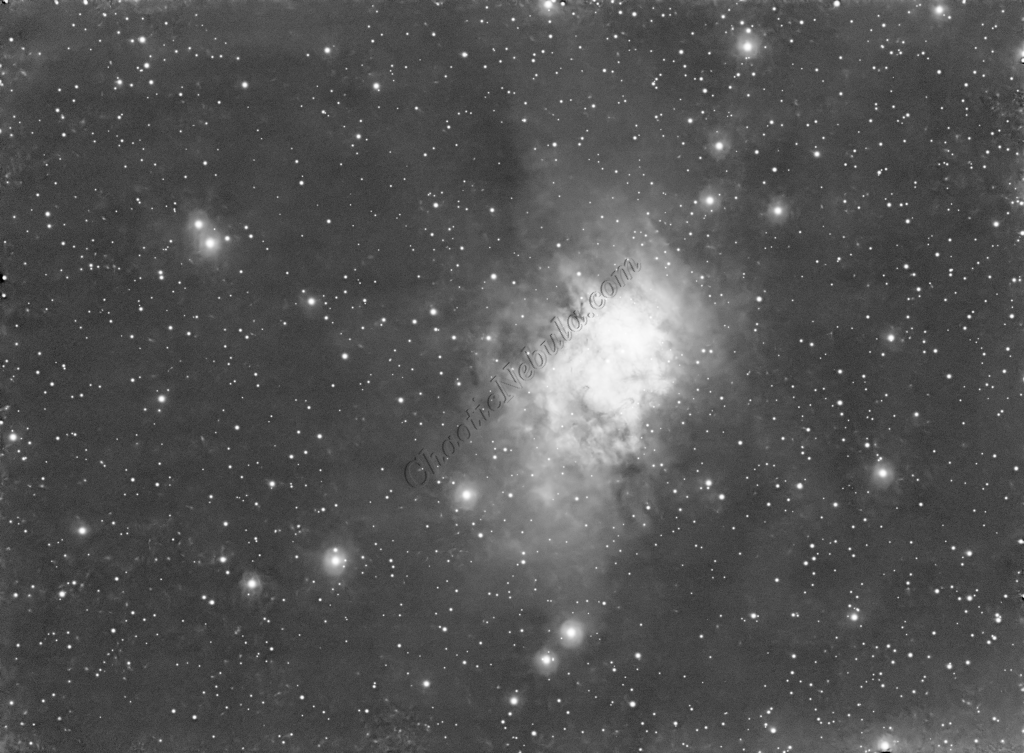
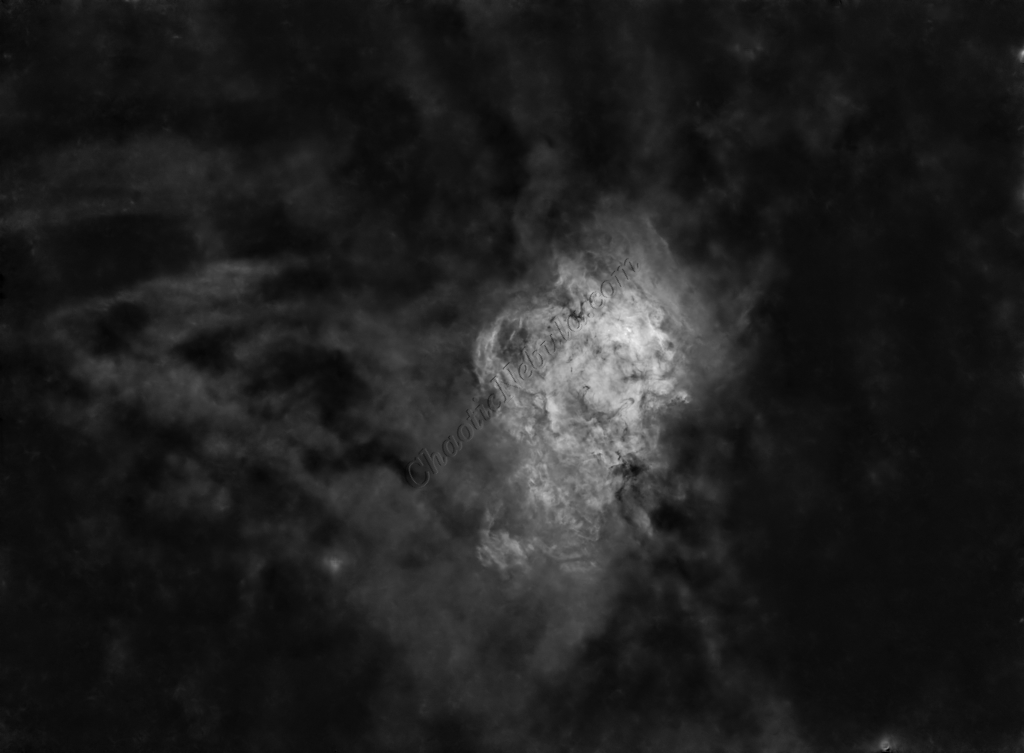
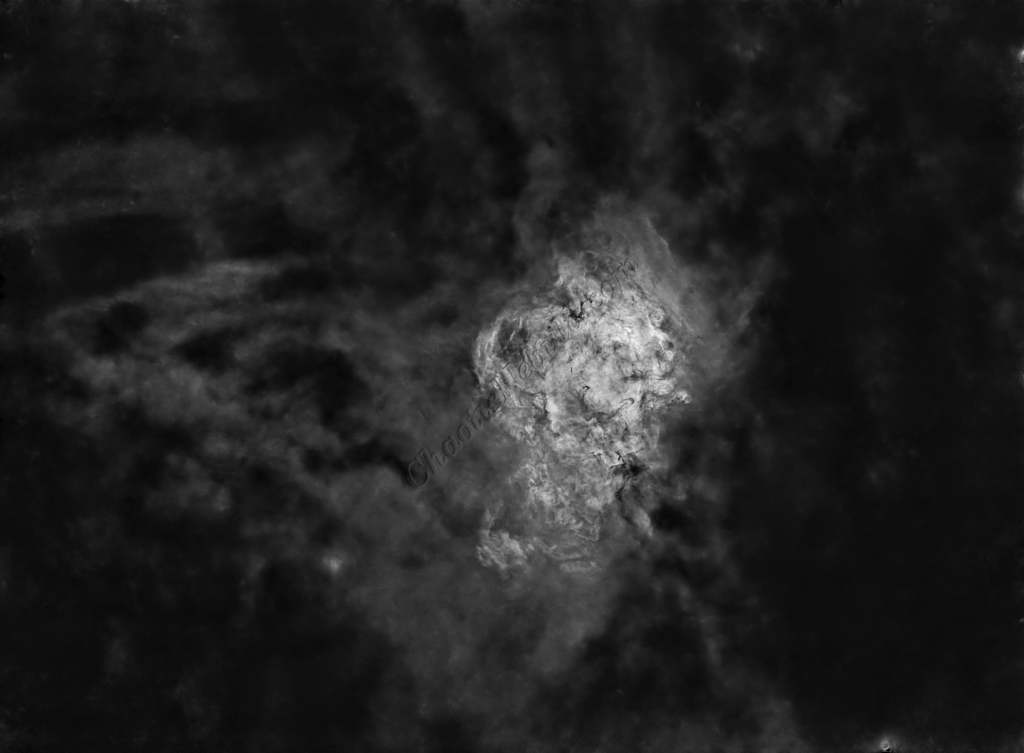
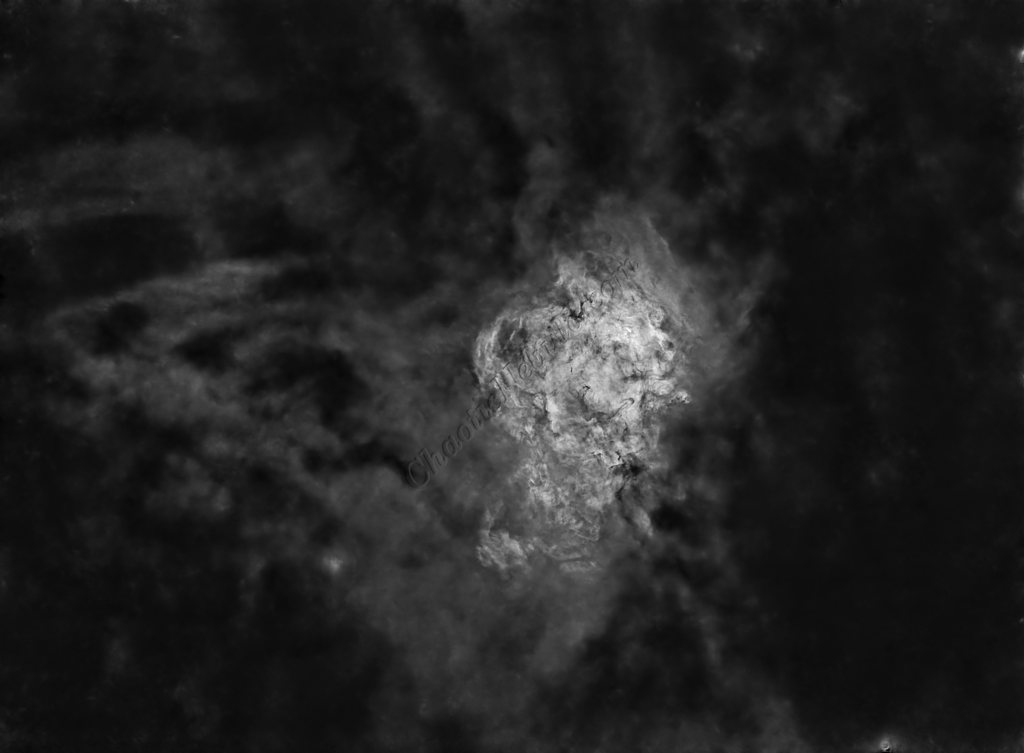
- SHO: This process simply assigned SII to Red, HA to Green, and OIII to Blue. Because the three channels were not balanced with linear fit process, the entire image is overly red.
- Linear Fit: This example followed the SHO example, except linear fit was applied to the SII, HA, and OIII channels before integration. This helped reduce the impact HA had on the overall intensity. However, this process removed too much red from the image.
- Dynamic: This process only blends HA to areas where SII has a low signal. This example provided a nice contrast between the red and blue channels.
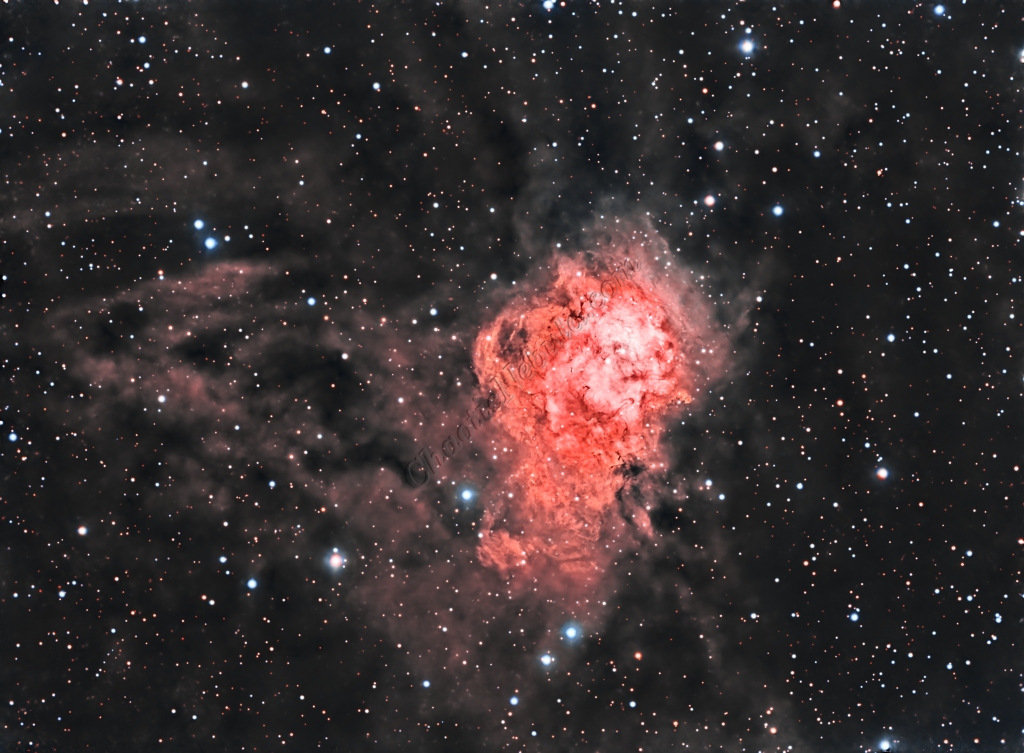
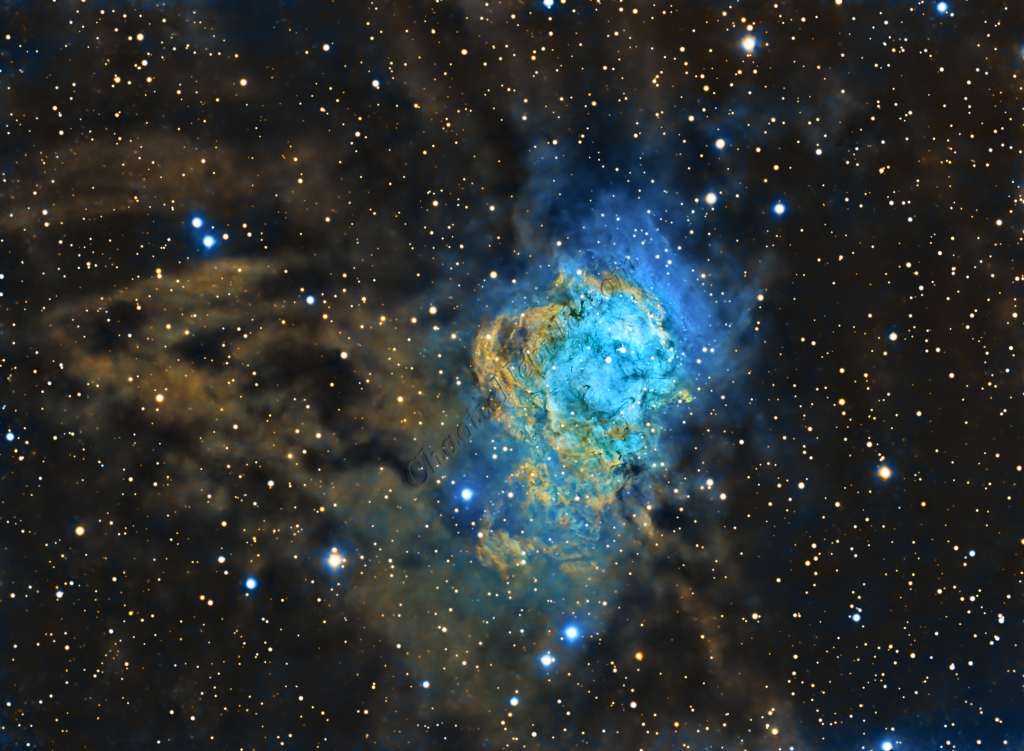

All of these blending examples are found in the Channel Integration tutorial.
Imaging Workflow
This image followed the Narrowband workflow
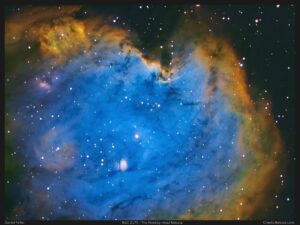
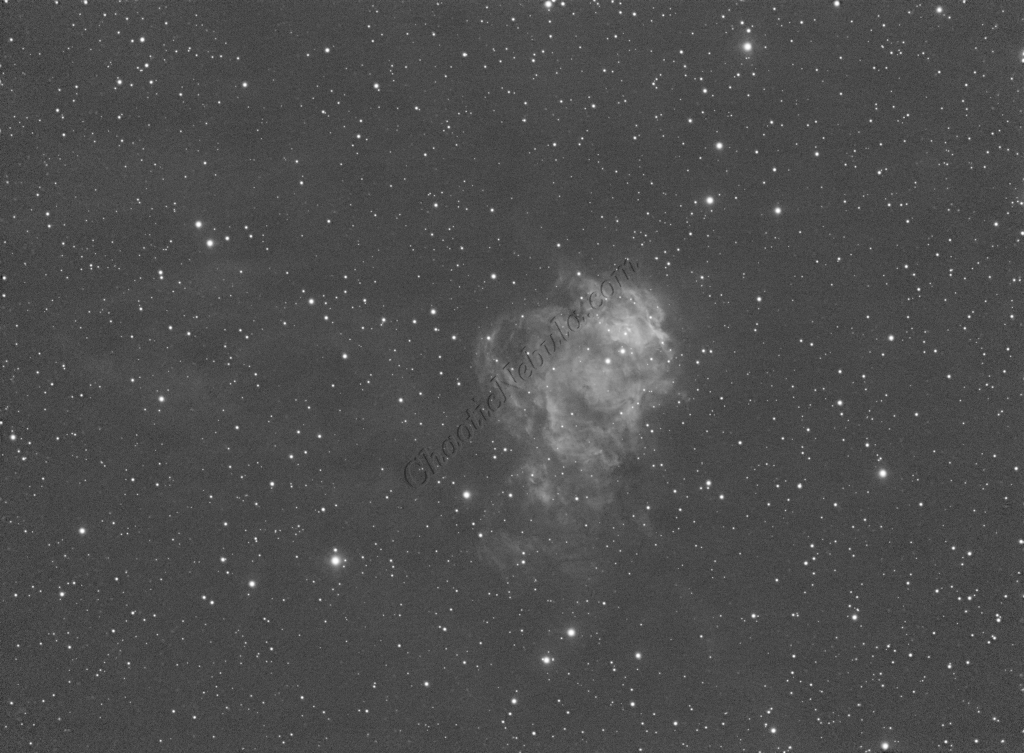
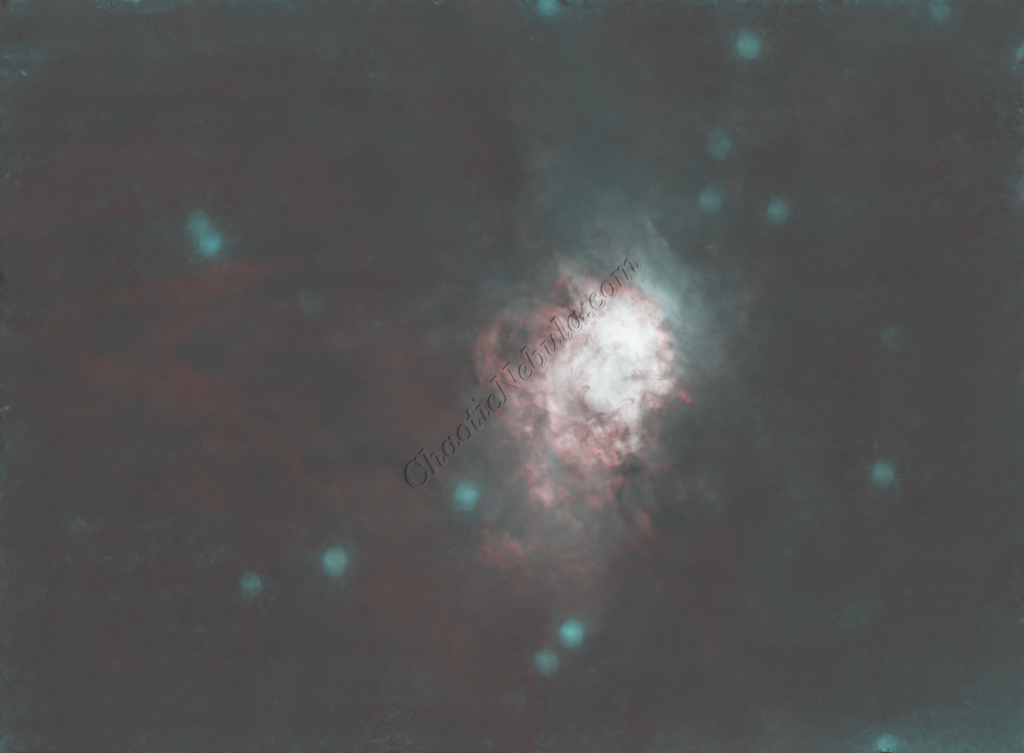
Integrated Image
I started off with six images. For the structure, I used HA, SII, and OIII filters. For the star color, I used red, green, and blue filters. I did my normal integration process using the PixInsight Weighted Batch Preprocessing Script.
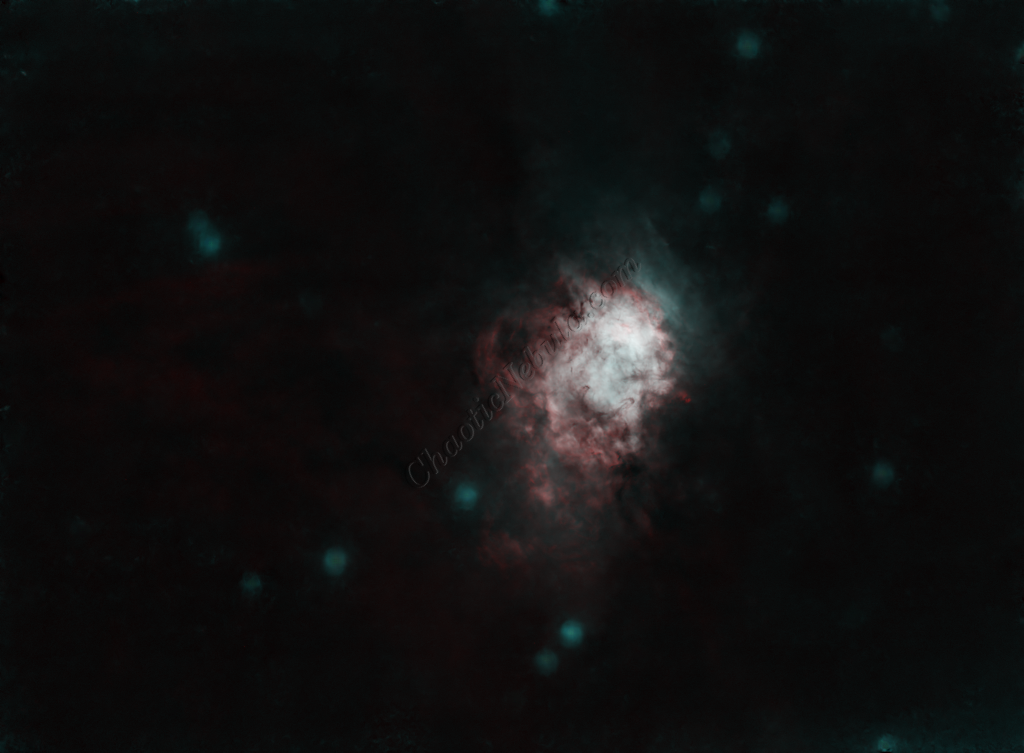
Dynamic Crop
The Dynamic Crop process was used to clean up the edges of the 3 images.
Gradient Correction
The Gradient Correction process made it easy to remove the extreme darkness/brightness around the edges.
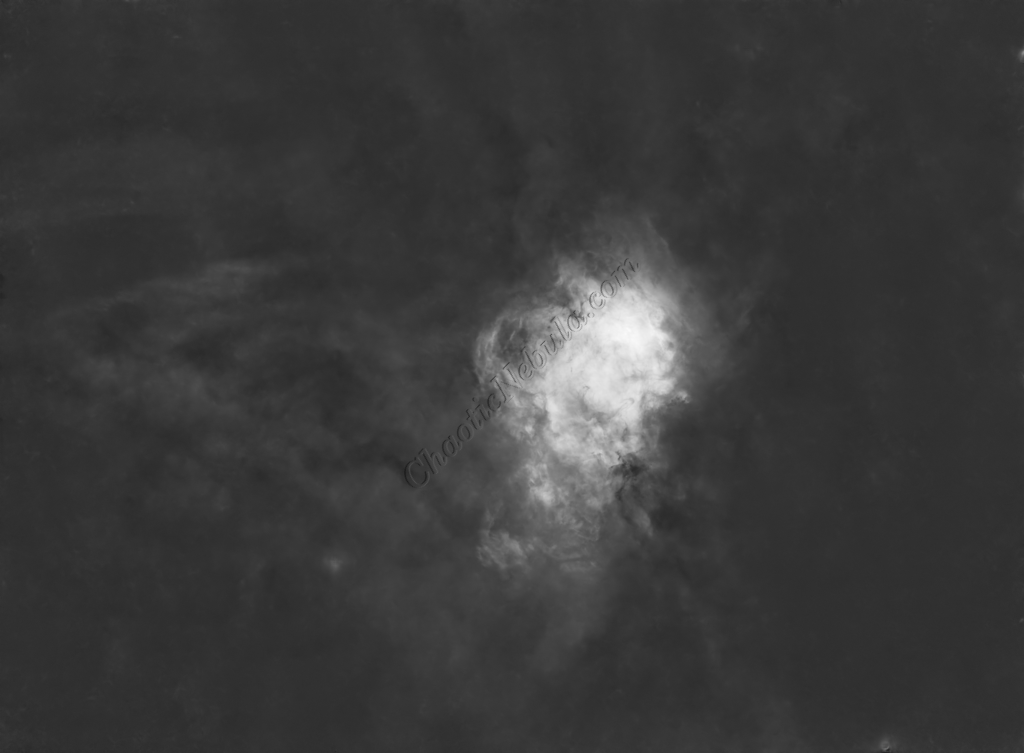
Deconvolution
BlurXTerminator is applied two times. The first time is for Correction only. This takes care of the coma (blurring of stars along the edges).
The second application of BlurXTerminator handles deconvolution, which improves the sharpness and details of the nebula while removing the blur from the image.

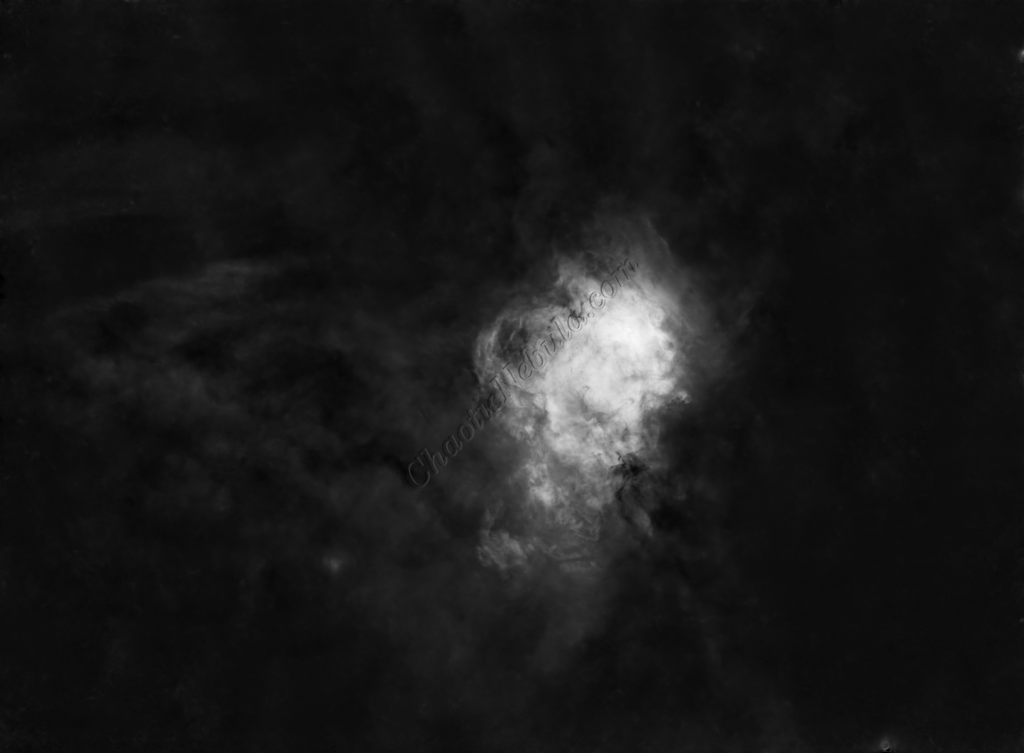
Noise Reduction
With the blurring corrected, it is time to do noise reduction. This time I used the new NoiseXTerminator add on.
Channel Combination for RGB
The next step is to do a Linear Fit across the SII, HA, OIII channels. After many different attempts at numerous channel integration options, the best resulting image was using the dynamic integration option, where HA and SII were used for the Red channel. HA would only get applied if its signal strength was stronger than the SII.
Star Removal
StarNet+ was applied to remove the stars. This helps protect the stars from getting bloated with the rest of the image processing.
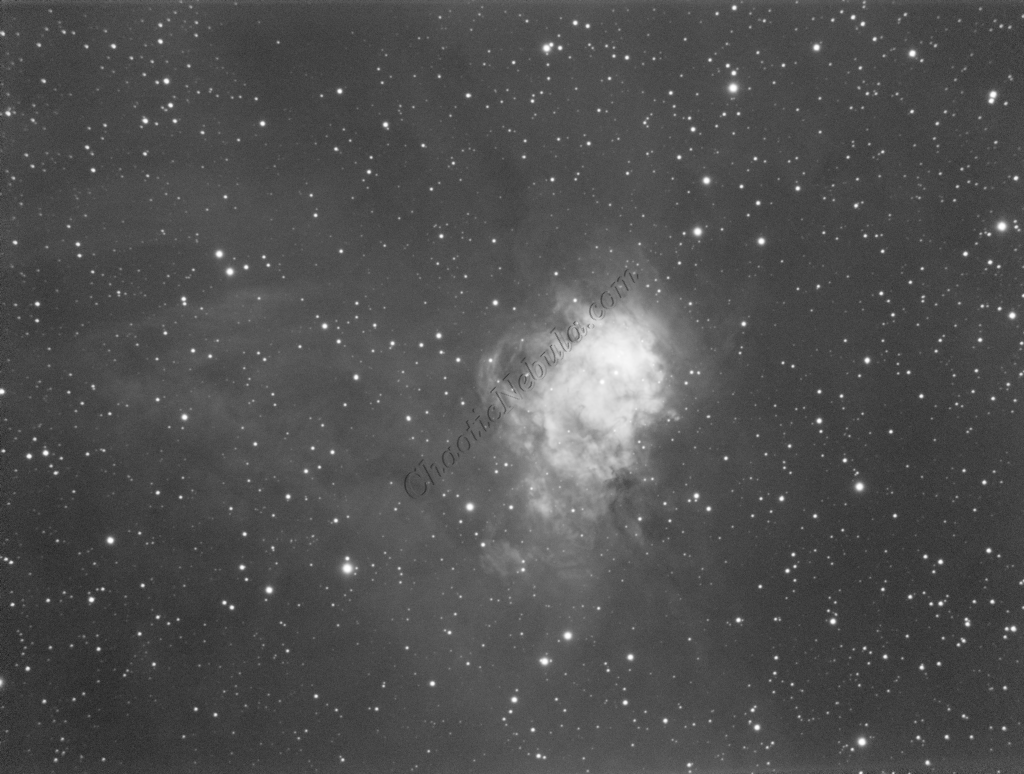
Histogram Stretch
Histogram transformation was used to stretch the image. Although the image appears dark, the entire image will get brighter when the synthetic luminance is added.
SCNR
The green hue was lowered by using SCNR
Color Saturation
PixInsight Curves Transformation increased the overall color saturation.

Luminance Workflow
Before doing anything more to the color image, it is time to go through the Luminance Workflow.


Luminance Integration (LRGB)
With the luminance image processed, it can get integrated with the color image with LRGB Combination process. This used 45% for lightness and 35% for saturation.

Saturation
PixInsight Curves Transformation increased the overall color saturation.

Brightness
PixInsight Curves Transformation increased the overall brightness.

Stars
The stars were added back in. Curves Transformation was used to increase the brightness and saturation of the stars.
ACDNR for Chrominance
Although NoiseXTerminator did a great job in removing the noise from the image early on in the workflow, some of the processing might have added noise in the color. Applying ACDNR for only chrominance helps correct this without losing details.

Final Adjustments
To finish the image, I make a few minor tweaks to the brightness and colors of the stars using Curves Transformation.