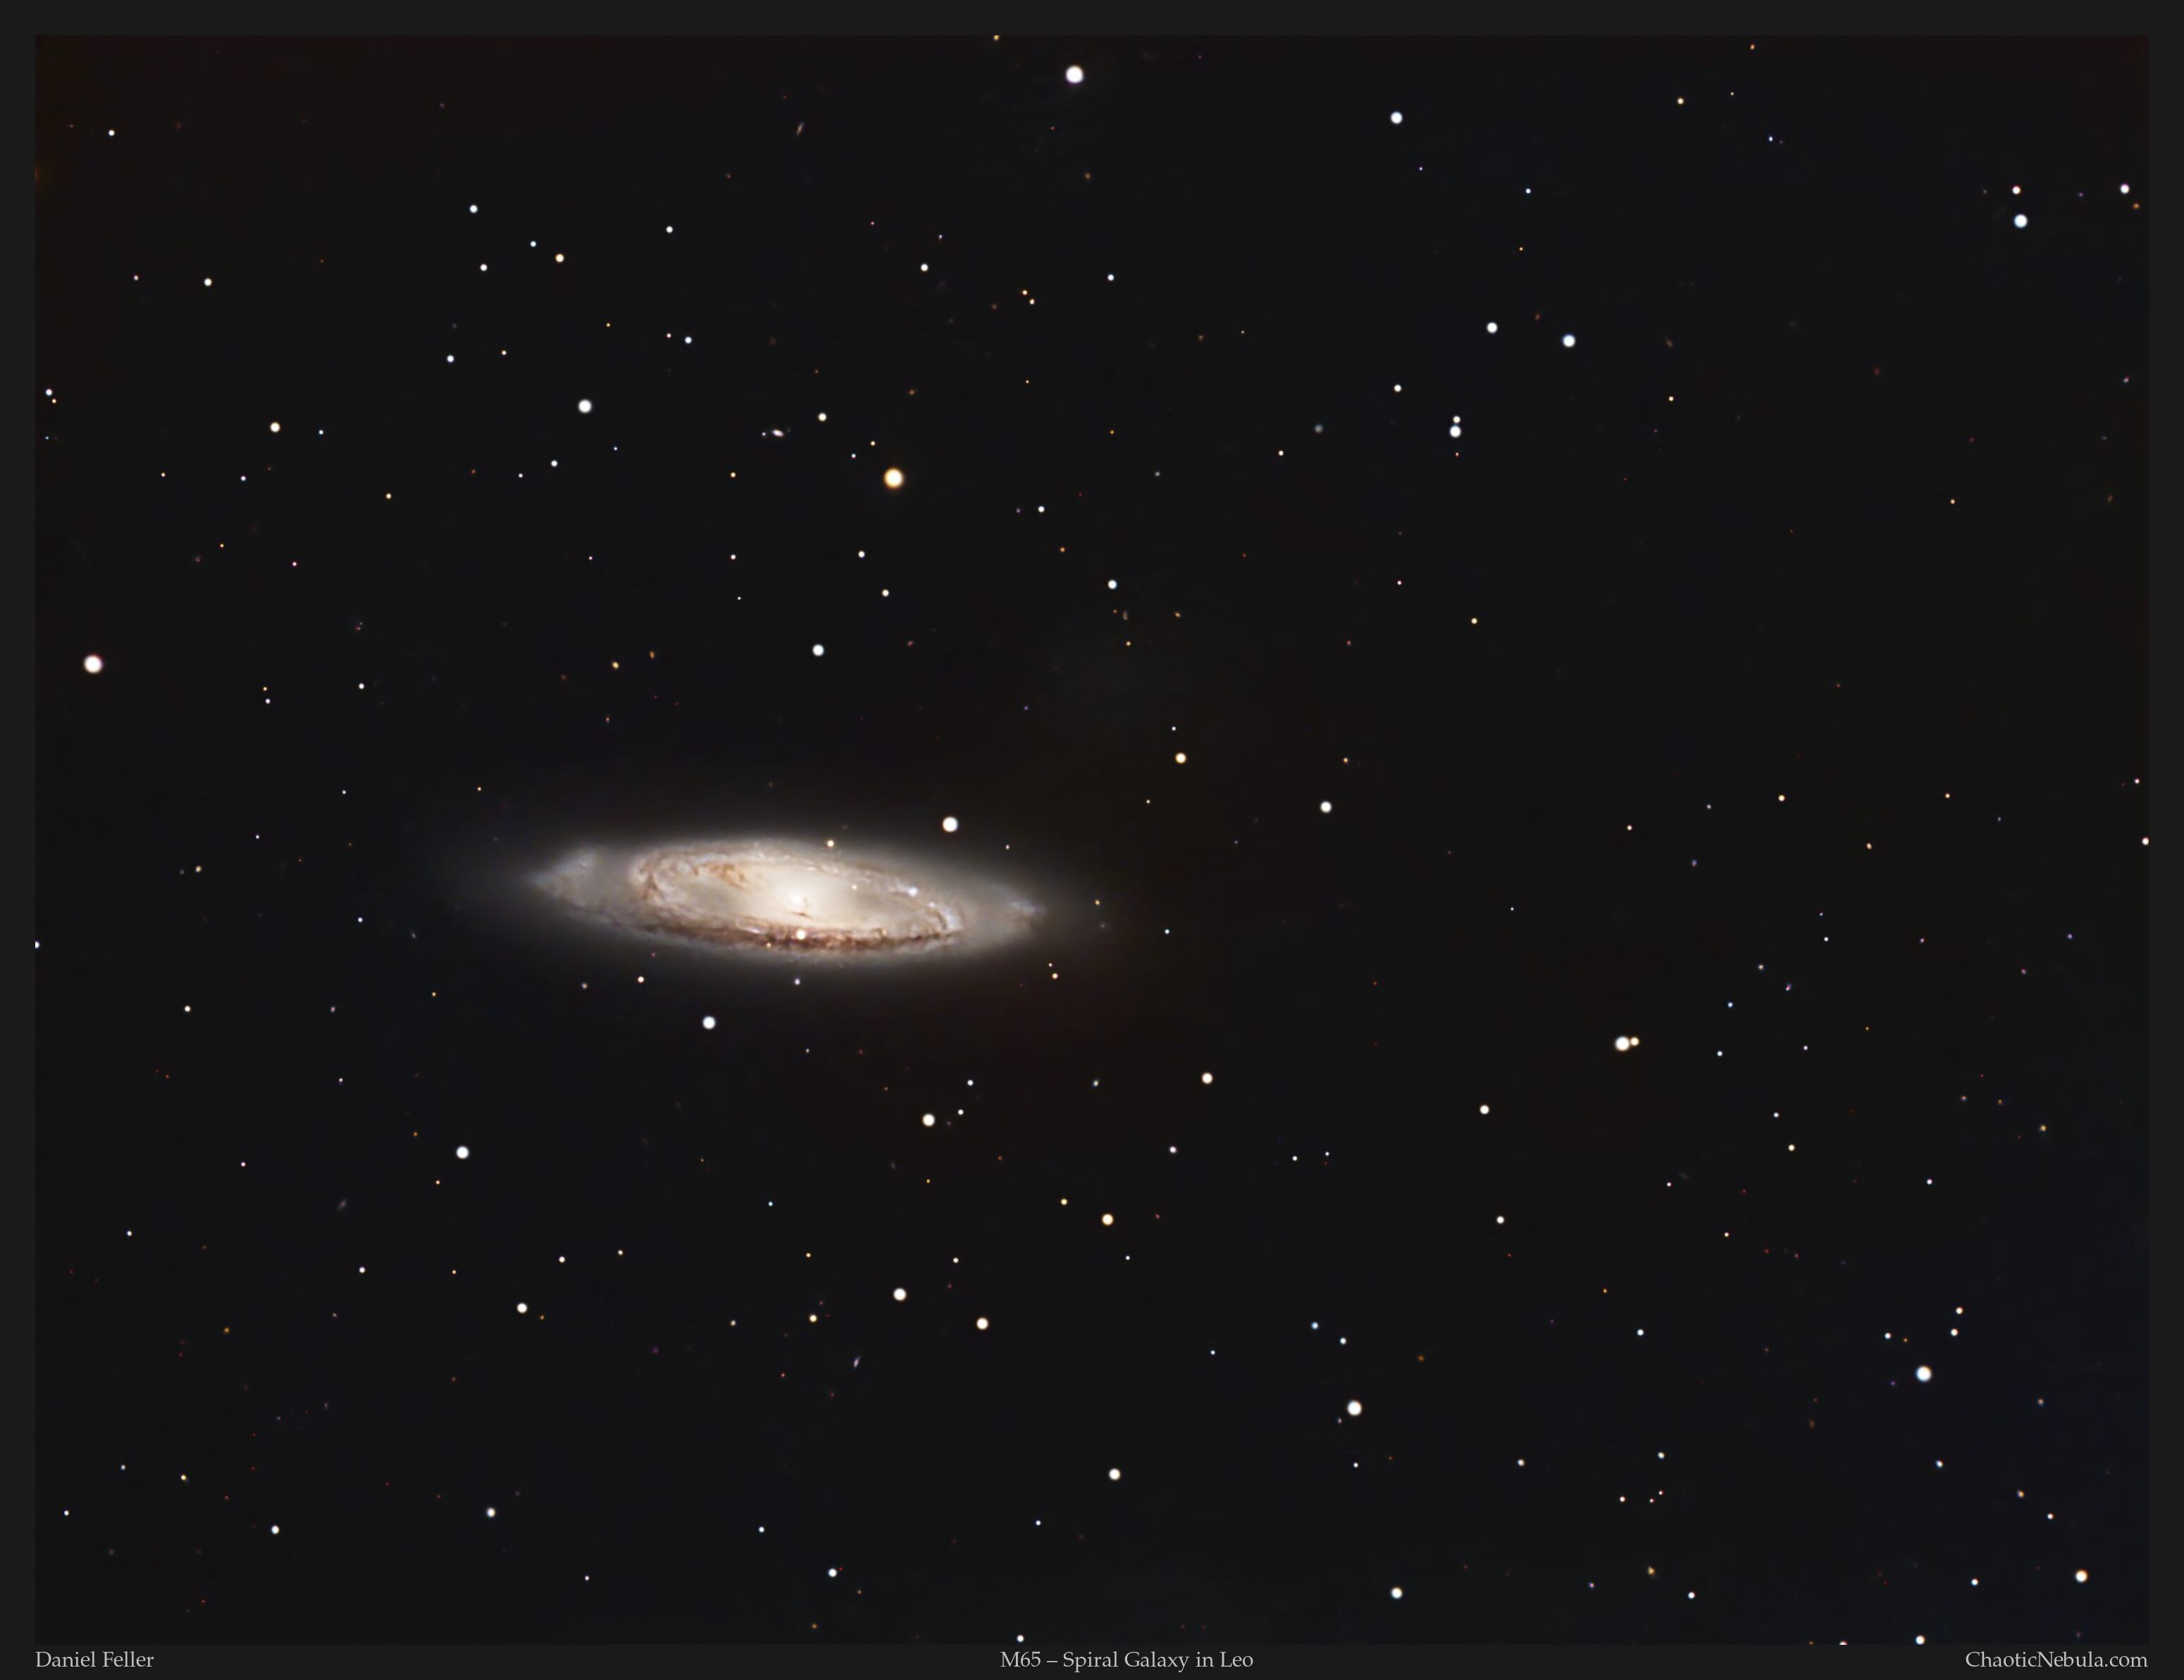
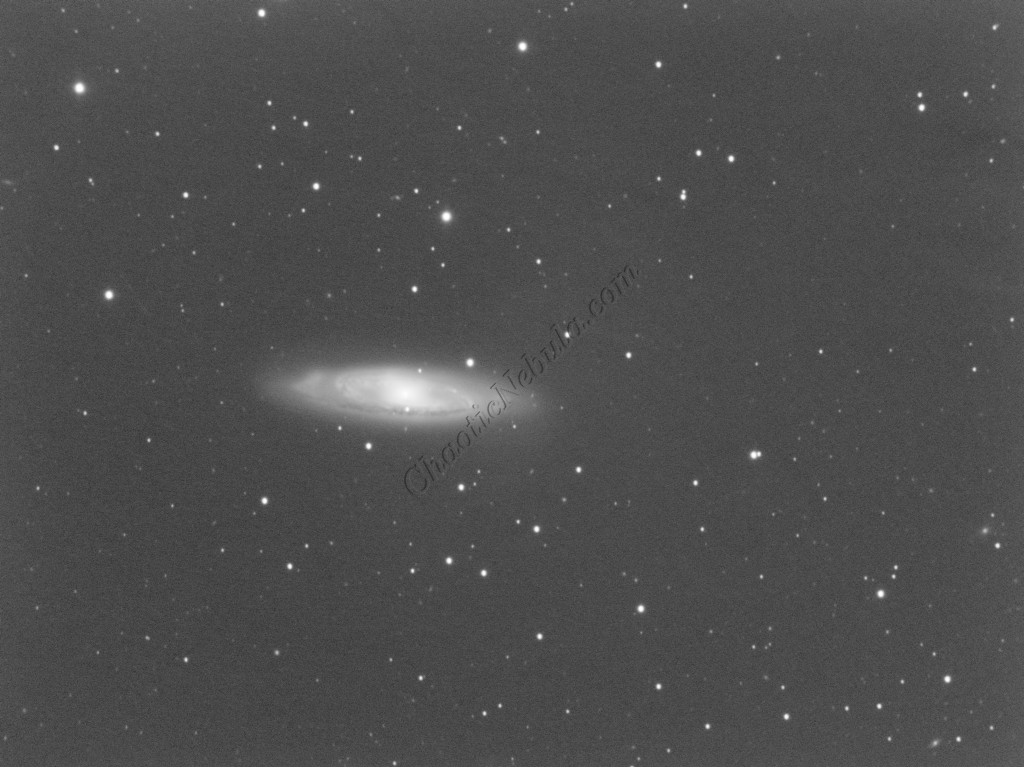
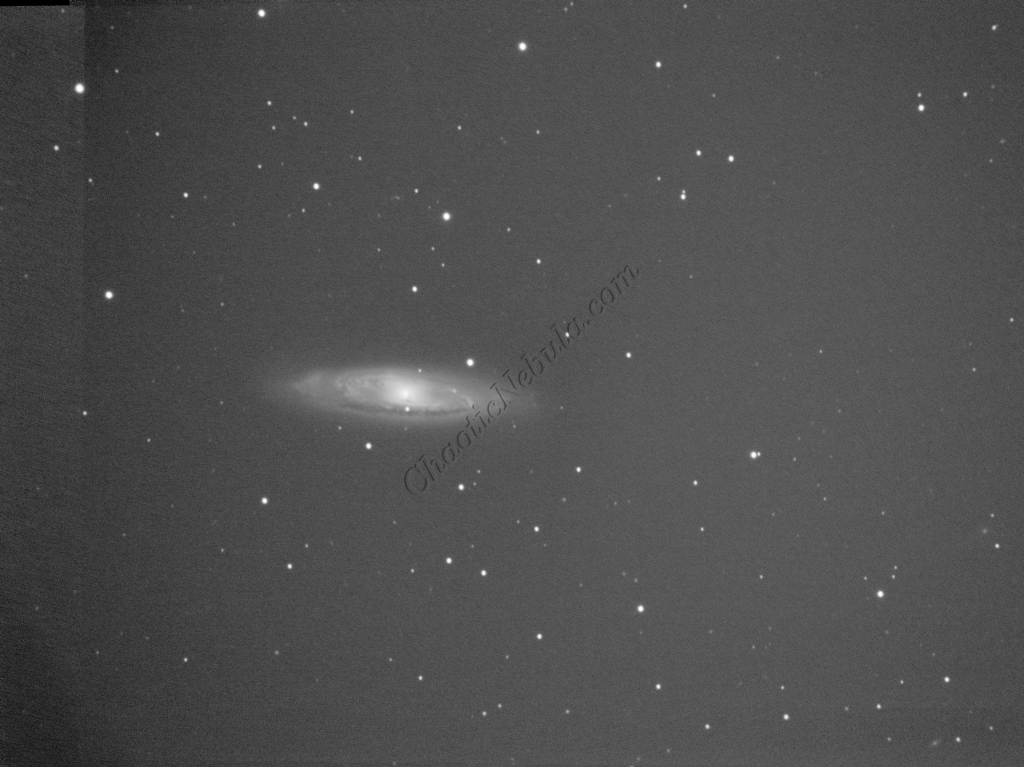
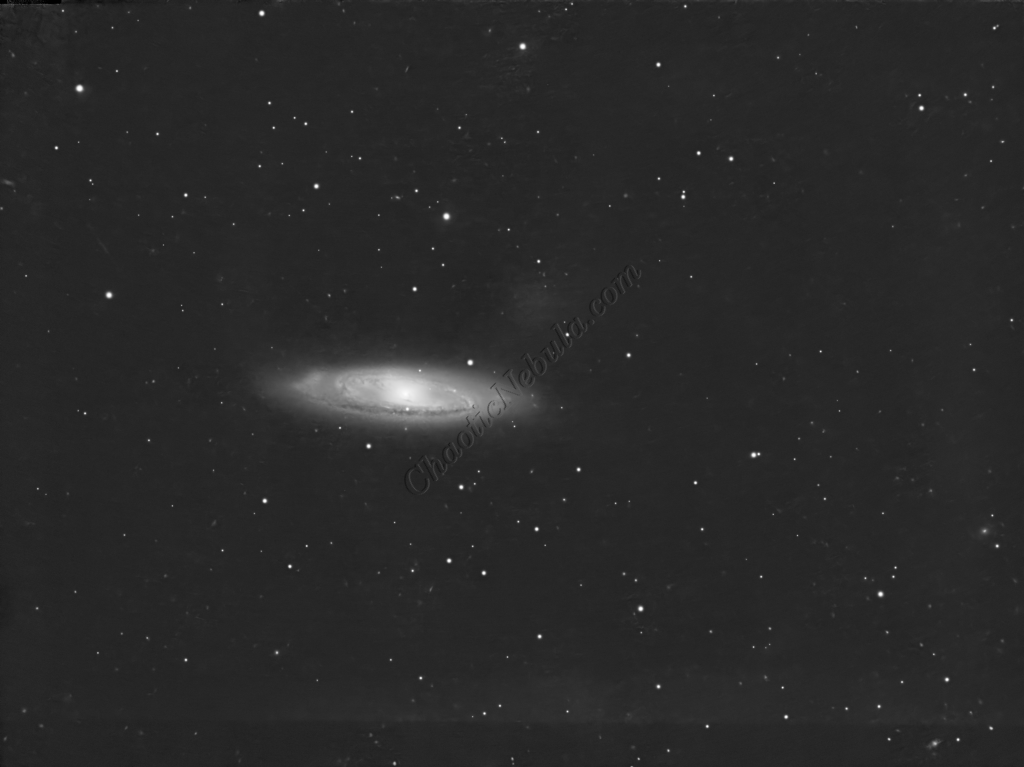
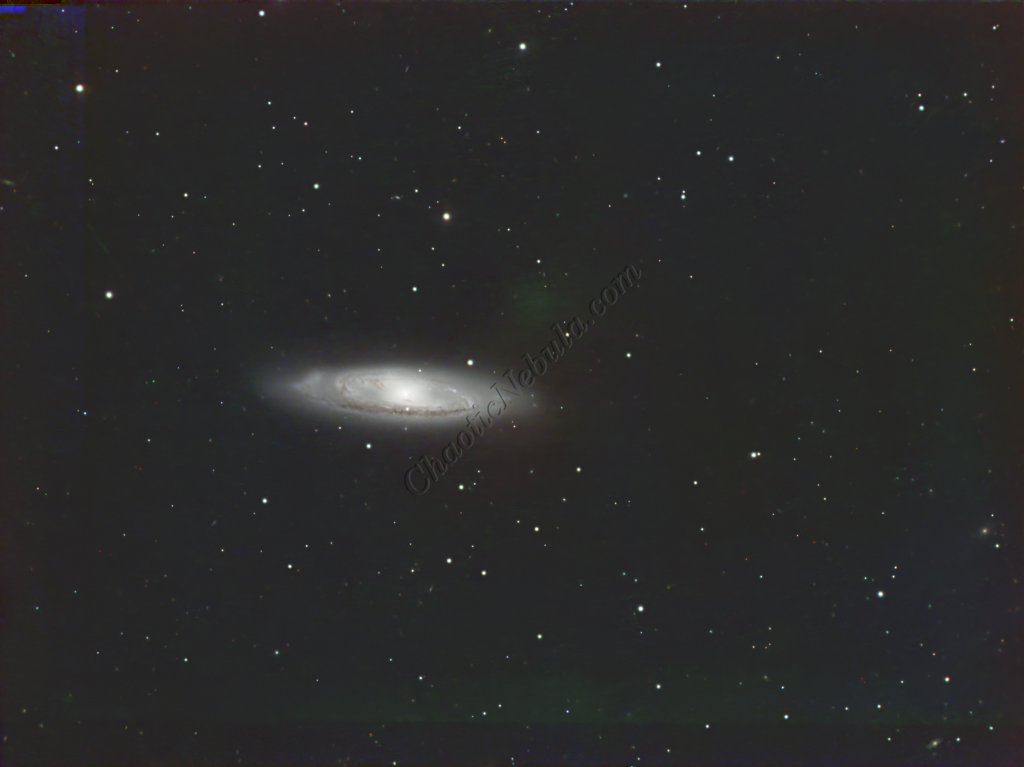
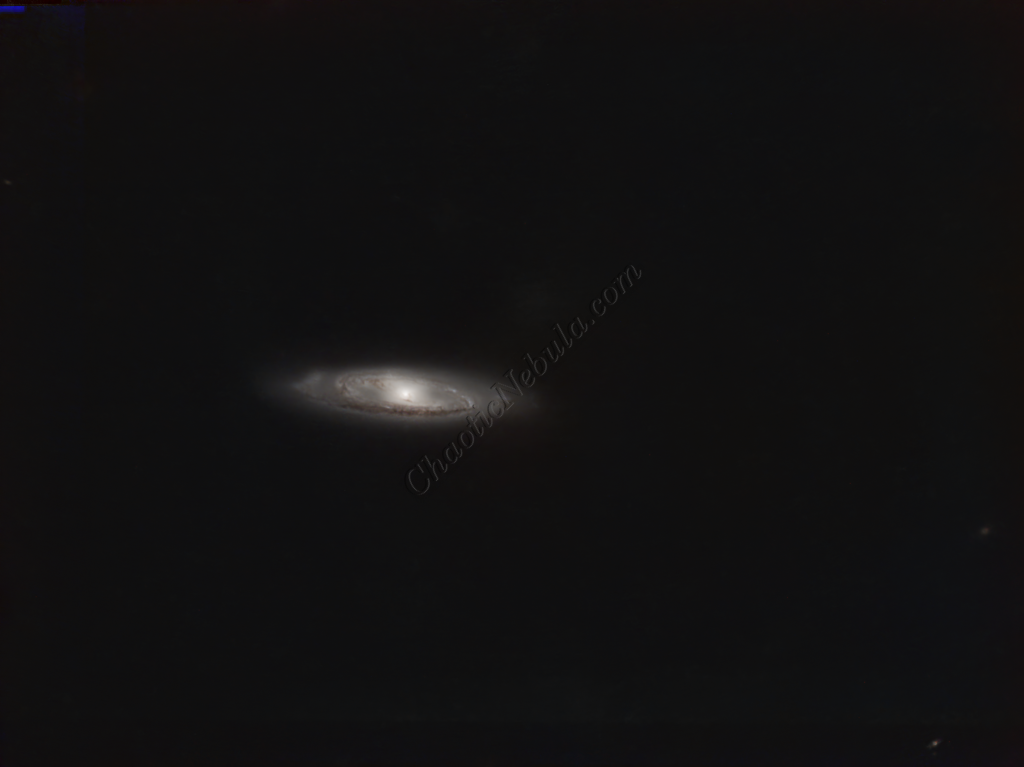
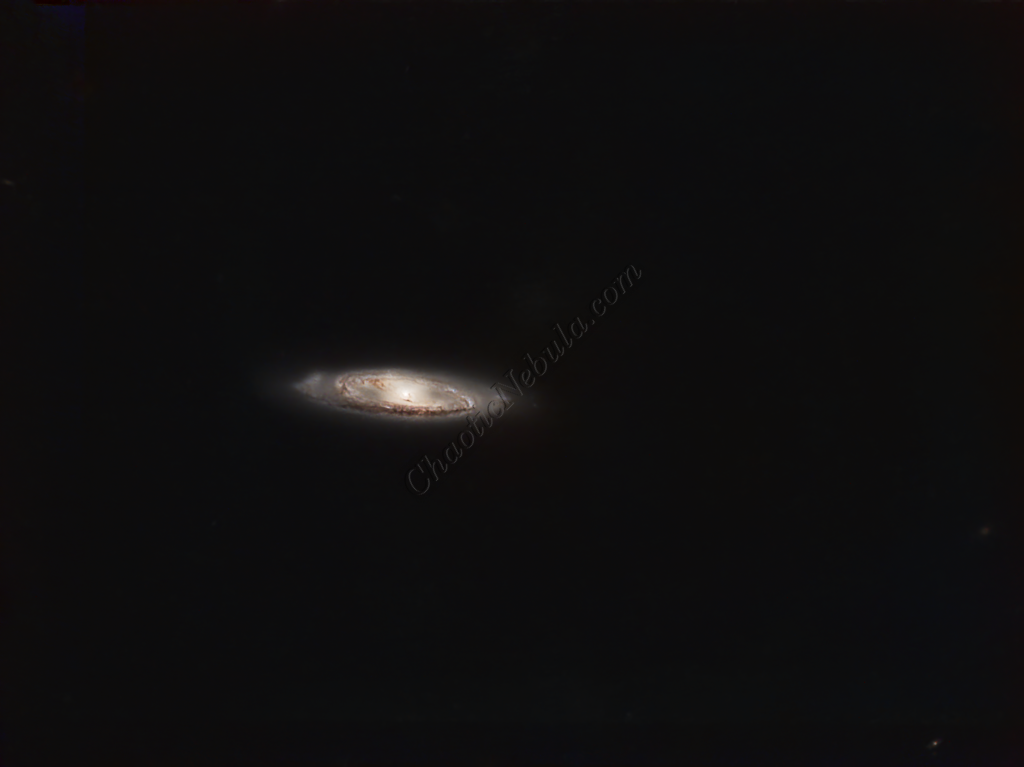
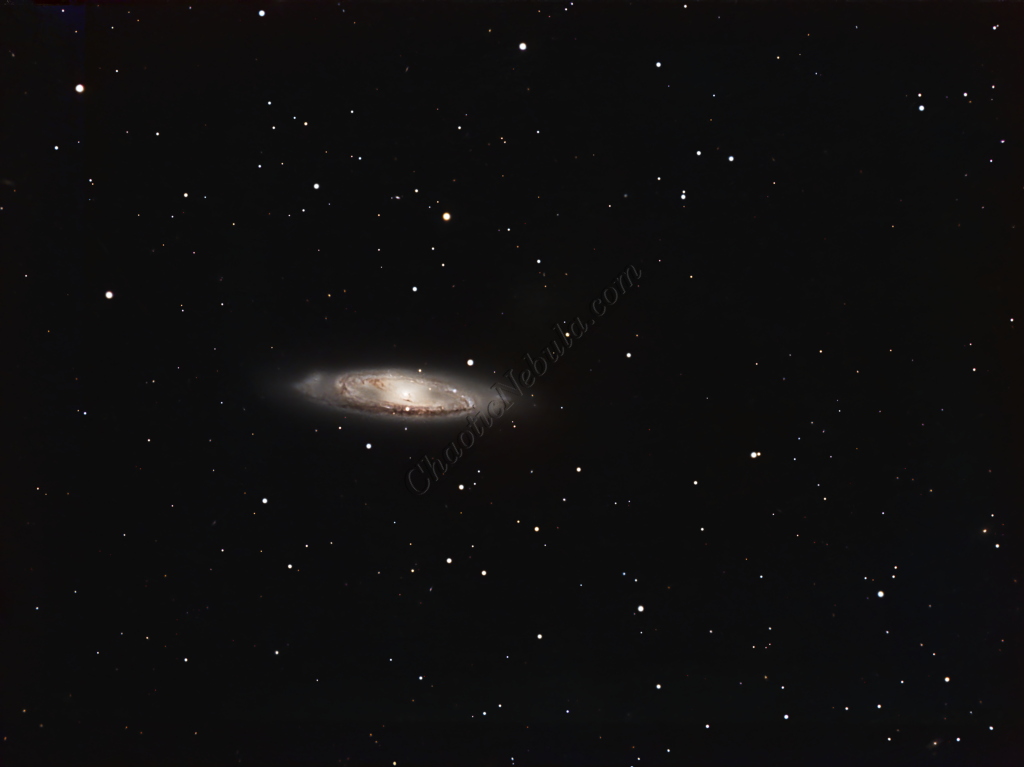
Messier 65 (M65), also cataloged as NGC 3623, is a striking intermediate spiral galaxy located approximately 35 million light-years away in the constellation Leo. As a prominent member of the famous Leo Triplet, M65 sits in a gravity-bound neighborhood alongside M66 and NGC 3628. Spanning roughly 100,000 light-years in diameter, its high inclination relative to Earth provides astrophotographers with a stunning, nearly edge-on perspective of its tightly wound structure.
Classification-wise, M65 is an intermediate spiral, possessing features that bridge the gap between standard and barred spiral galaxies. It is characterized by a prominent central bulge and a well-defined dust lane that bisects its disk, though it exhibits noticeably lower rates of star formation compared to its more “active” neighbors.
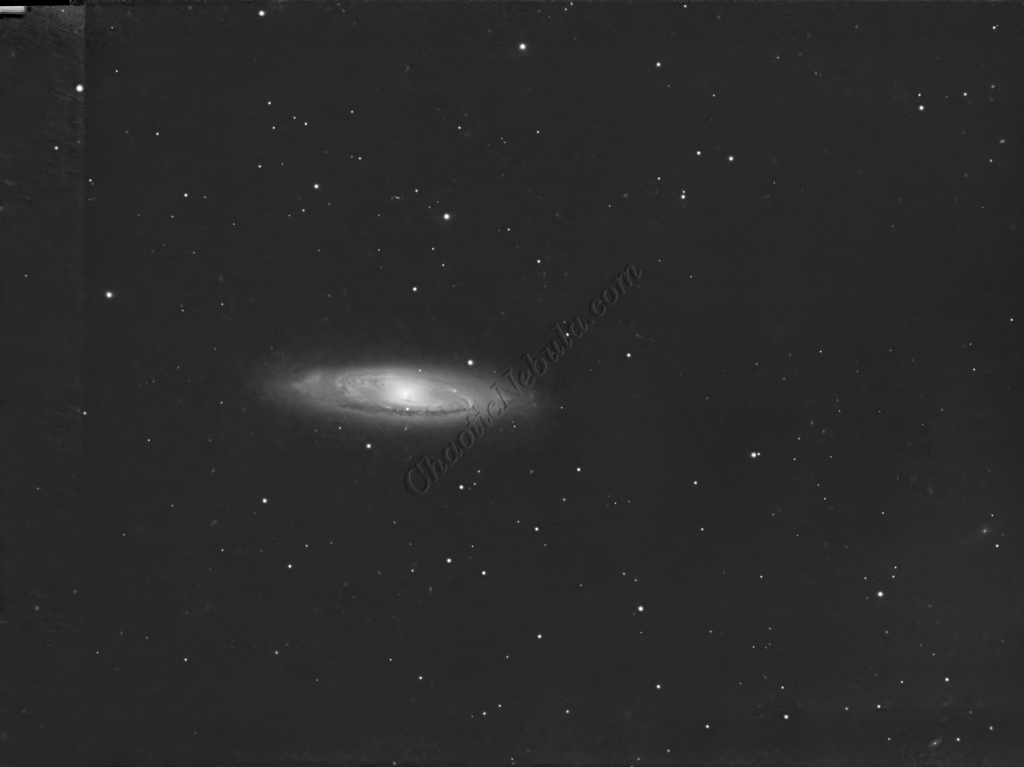
The most compelling aspect of M65 is its membership in the Leo Triplet group. Unlike many galaxies in dense clusters that show obvious signs of tidal warping, M65 appears remarkably symmetrical and “neat.” However, its proximity to M66 and the “Hamburger Galaxy” (NGC 3628) suggests a history of complex gravitational tugs. While M65 seems to have resisted the dramatic distortions seen in NGC 3628, its placement within this trio offers a masterclass in how galactic evolution is shaped by local interaction, making it a cornerstone target for wide-field deep-sky imaging.

Imaging Details
- Workflow: Broadband workflow for Galaxies
- Red: 60*300 seconds
- Green: 60*300 seconds
- Blue: 60*300 seconds
- Total Imaging Time: 15 hours
- Imaging Dates (3 nights)
- 3/1/2025
- 3/8/2025
- 3/21/2025
Imaging Workflow
This image followed the Broadband workflow for Galaxies
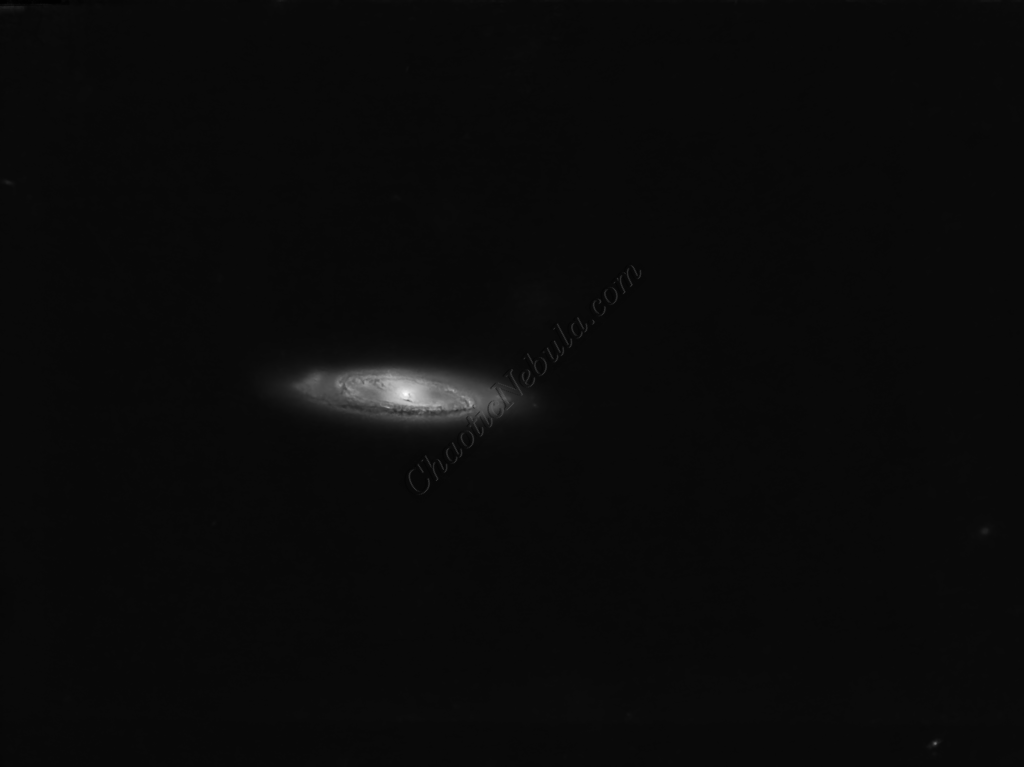
Integrated Image
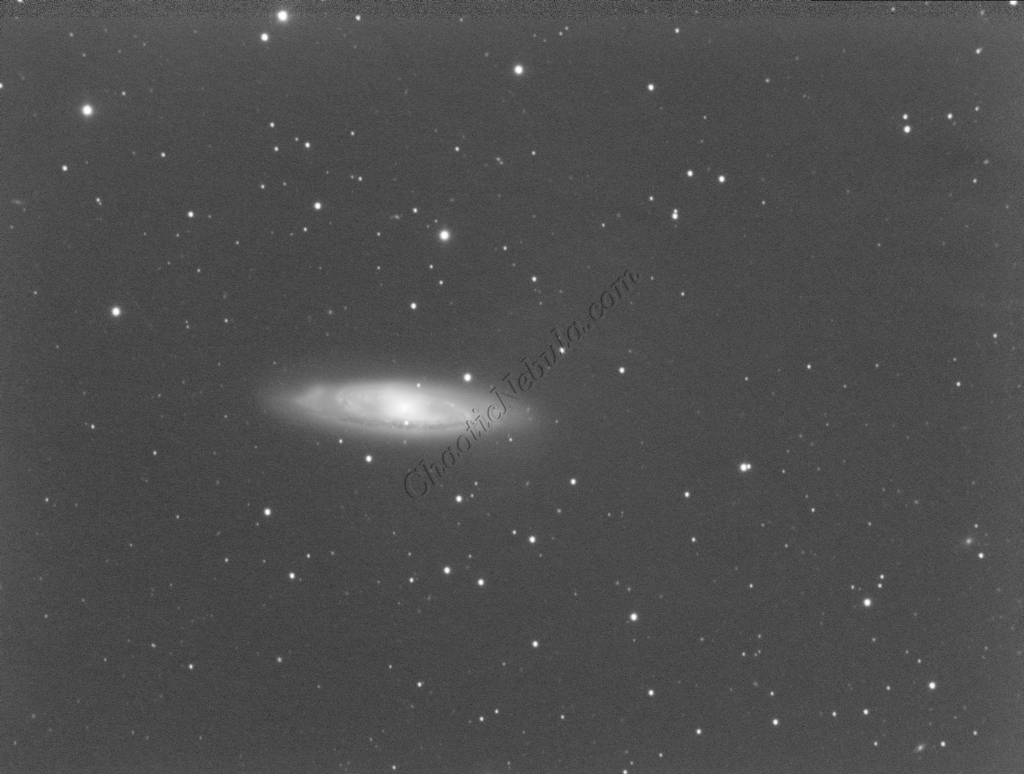
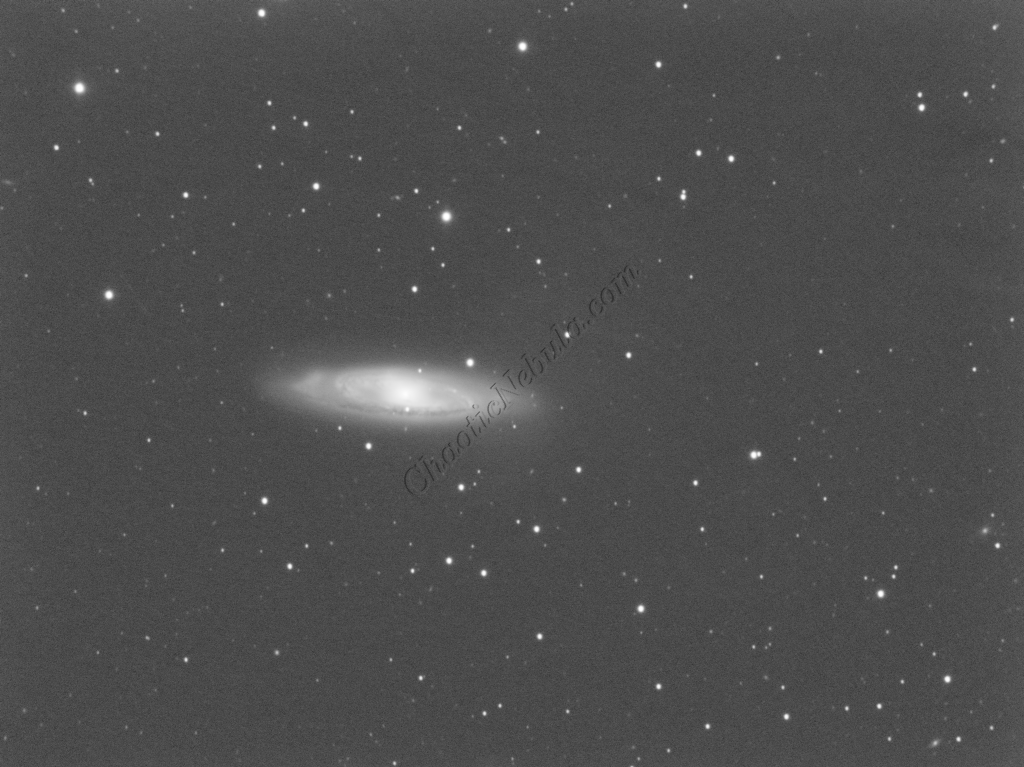
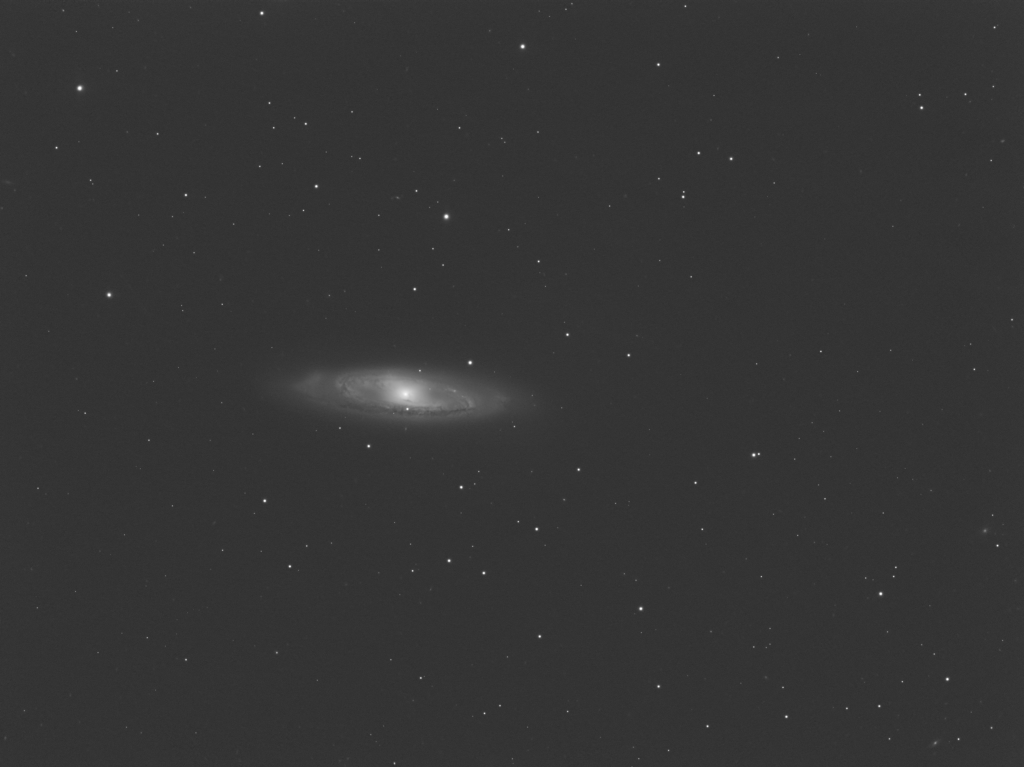
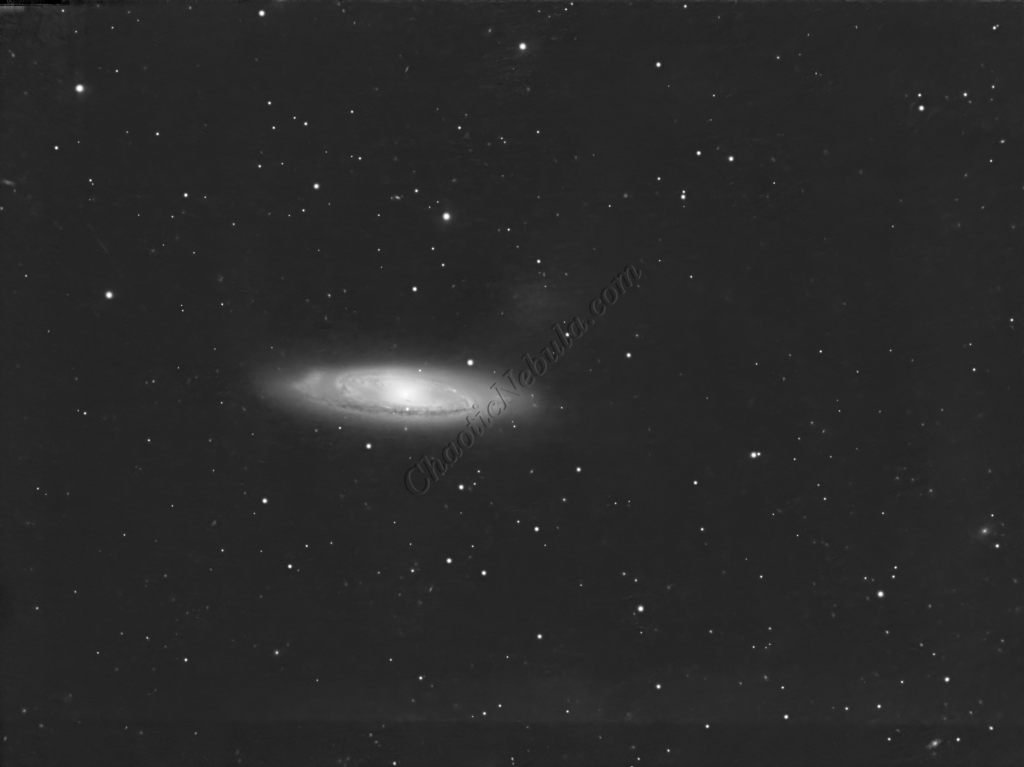
I started off with three images for red, green, and blue filters. I did my normal integration process using the PixInsight Weighted Batch Preprocessing Script.
Dynamic Crop
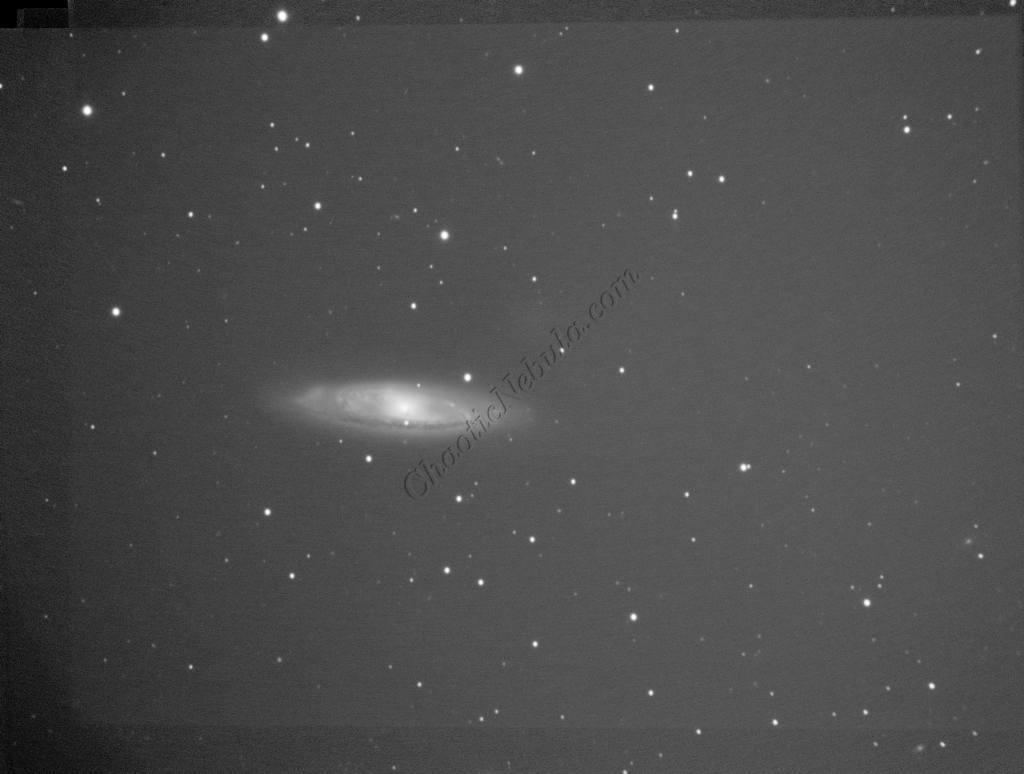
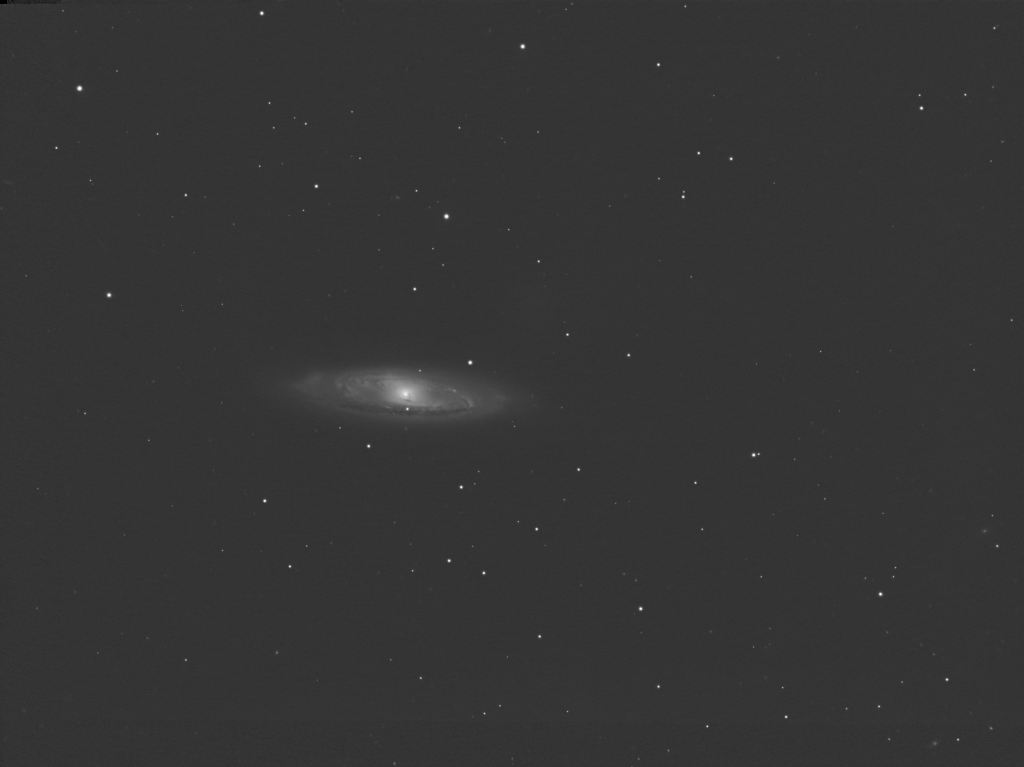
The Dynamic Crop process was used to clean up the edges of the 3 images.

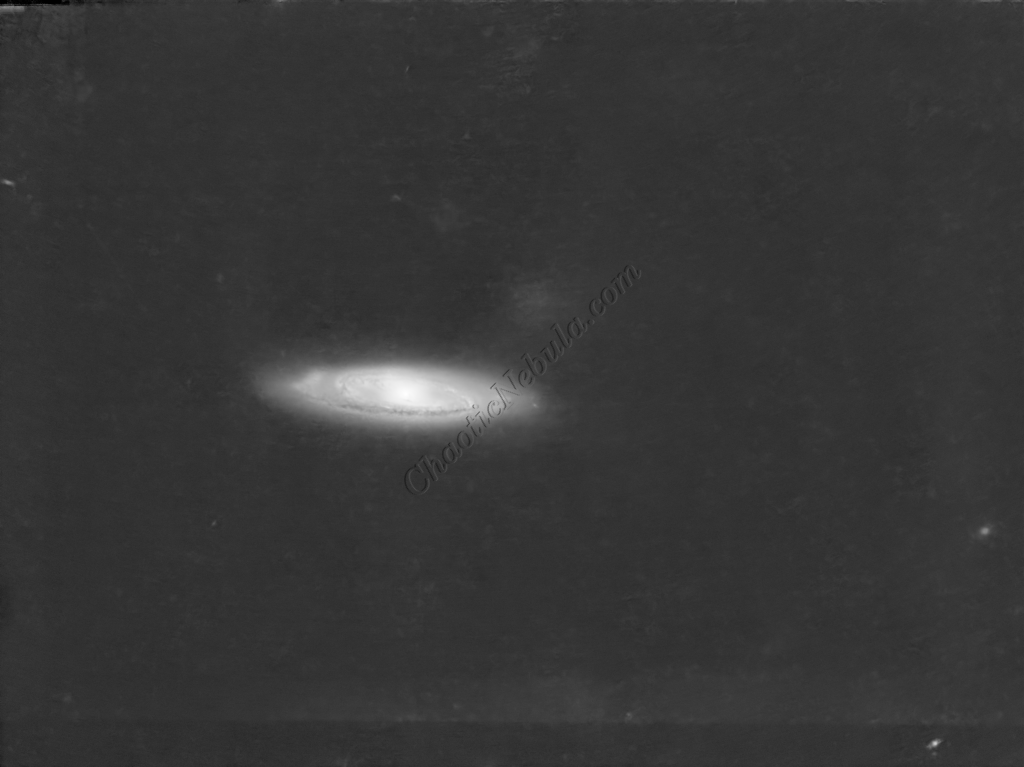
Gradient Correction
The Gradient Correction process made it easy to remove the extreme darkness/brightness around the edges.
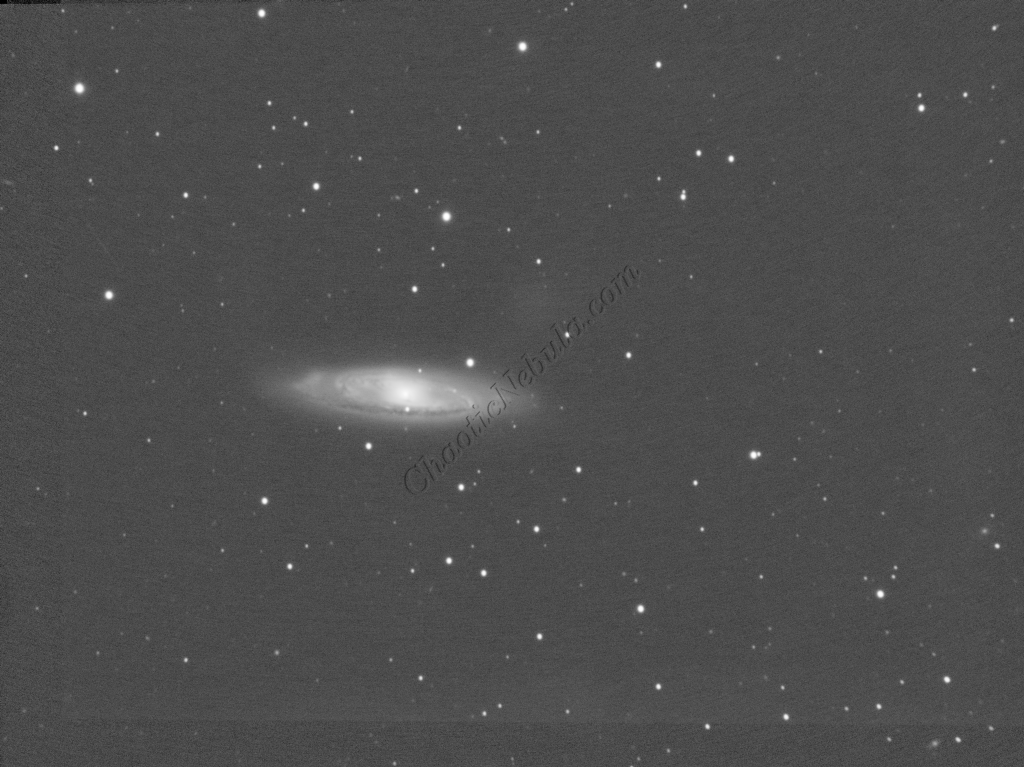
Deconvolution
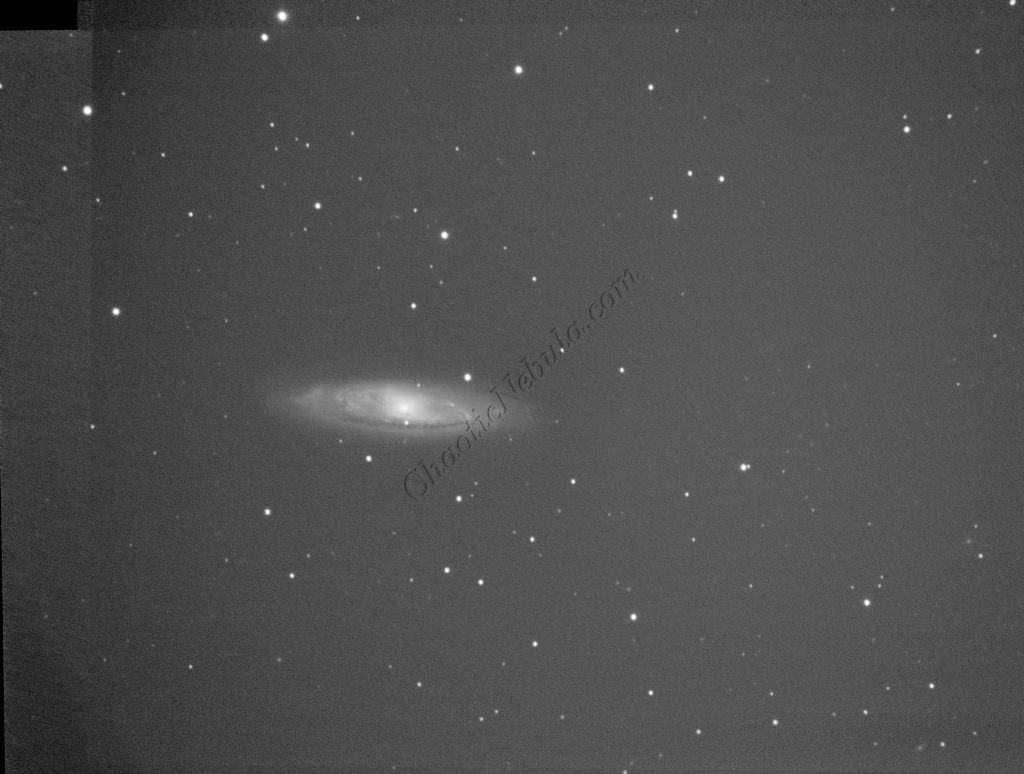
BlurXTerminator is applied two times. The first time is for Correction only. This takes care of the coma (blurring of stars along the edges).
The second application of BlurXTerminator handles deconvolution, which improves the sharpness and details of the nebula while removing the blur from the image.

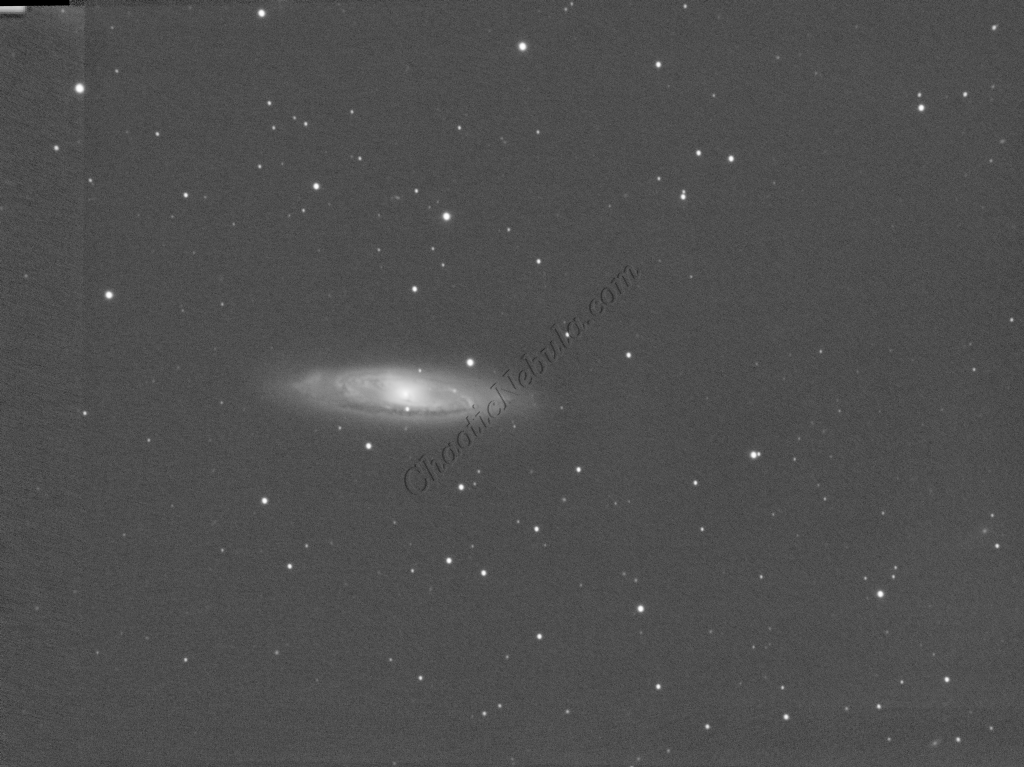
Noise Reduction
With the blurring corrected, it is time to do noise reduction. This time I used the new NoiseXTerminator add on.

Channel Combination for RGB
The next step is to do a Linear Fit across the Red, Green, and Blue channels.
Spectro-Photometric Color Calibration
The Gaia dataset was used to apply color calibration by using the Spectro-Photometric Color Calibration process.
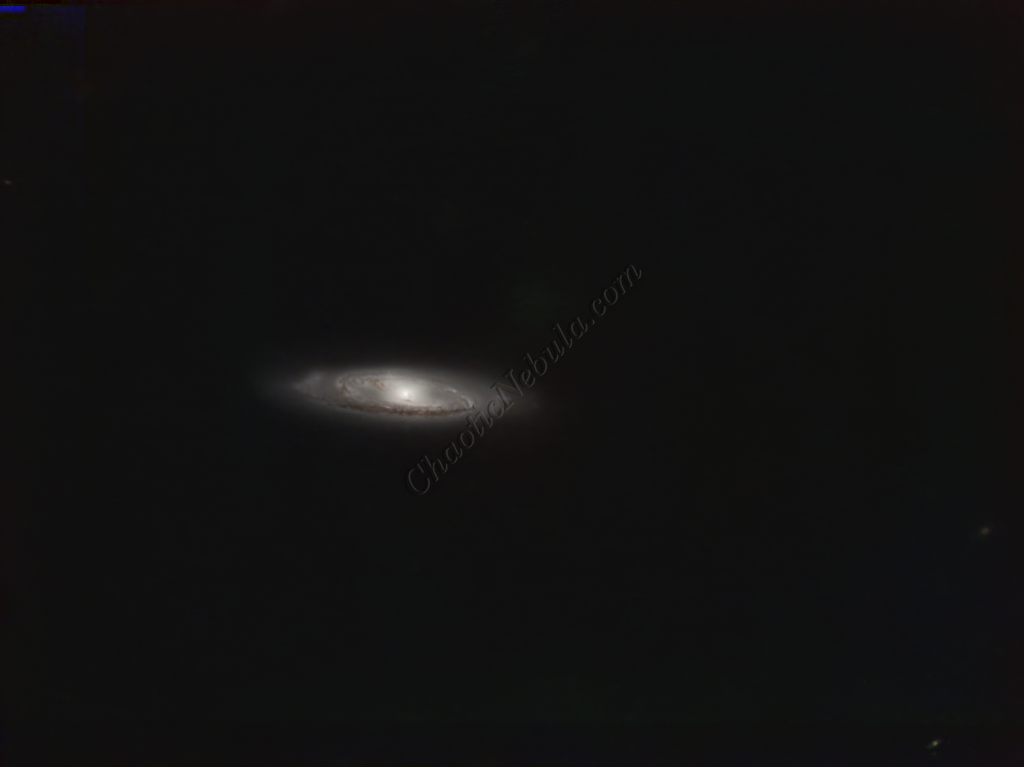
Star Removal
To ensure the hydrogen-alpha image does not influence the star color, StarNet+ was applied to remove the stars.
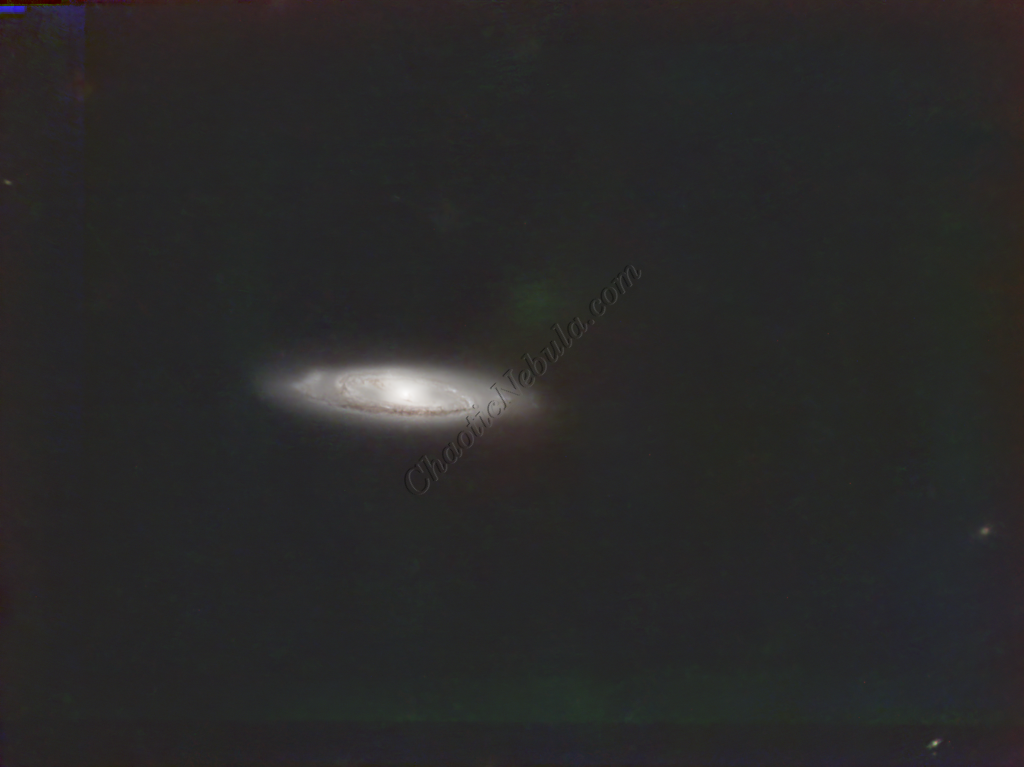
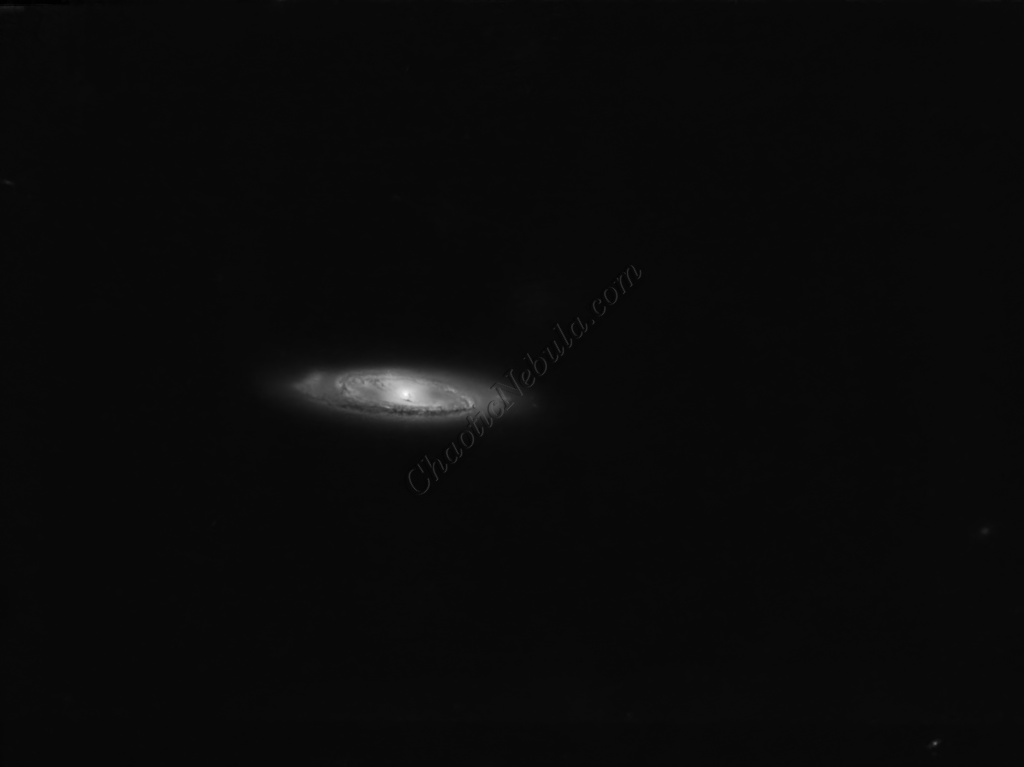
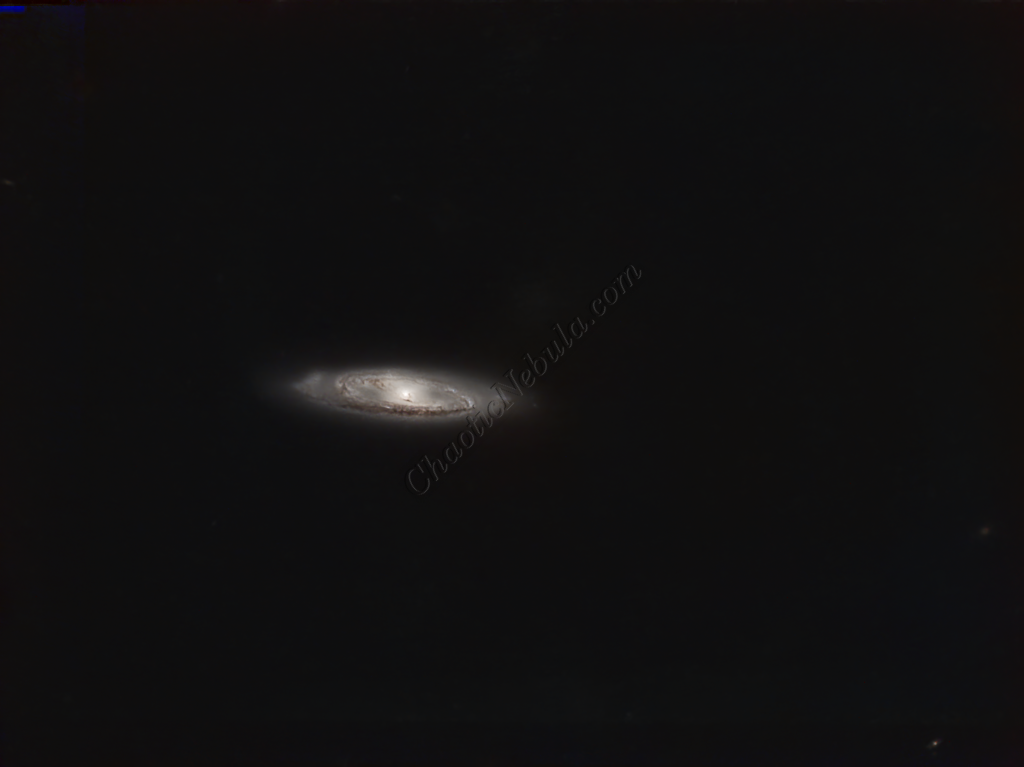
Histogram Stretch
Histogram transformation was used to stretch the image. Although the image appears dark, the entire image will get brighter when the synthetic luminance is added.
SCNR
The green hue was lowered by using SCNR
Luminance Workflow
Before doing anything more to the color image, it is time to go through the Luminance Workflow.


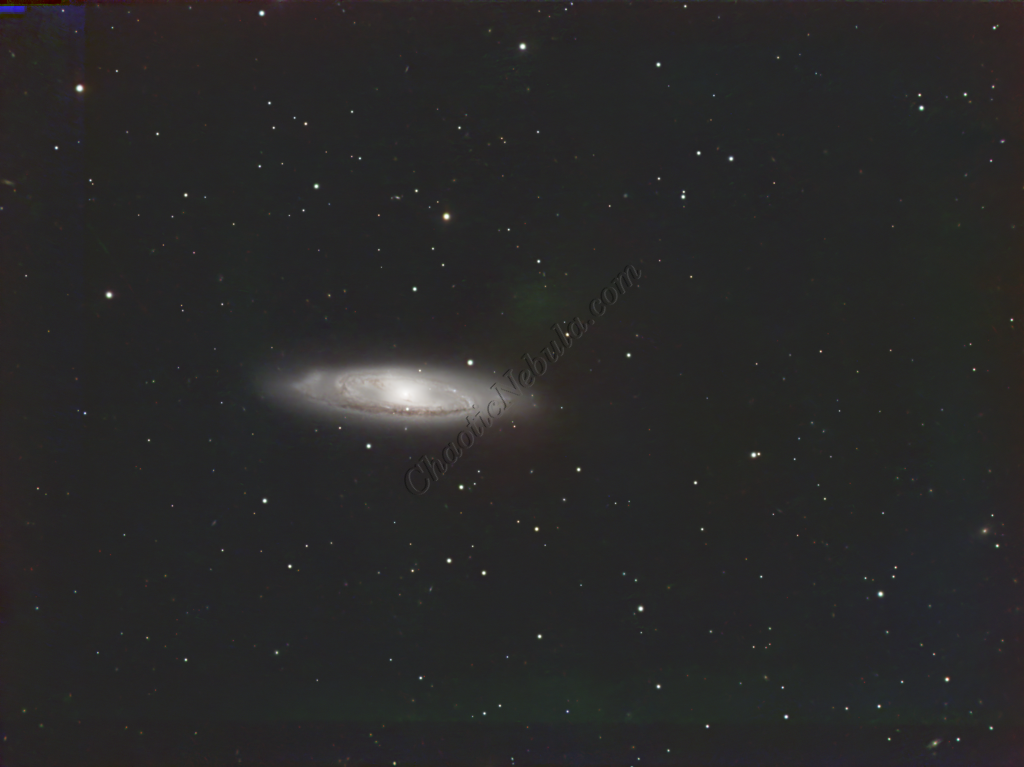
Luminance Integration (LRGB)
With the luminance image processed, it can get integrated with the color image with LRGB Combination process. This used 45% for lightness and 35% for saturation.
Saturation
PixInsight Curves Transformation increased the overall color saturation.
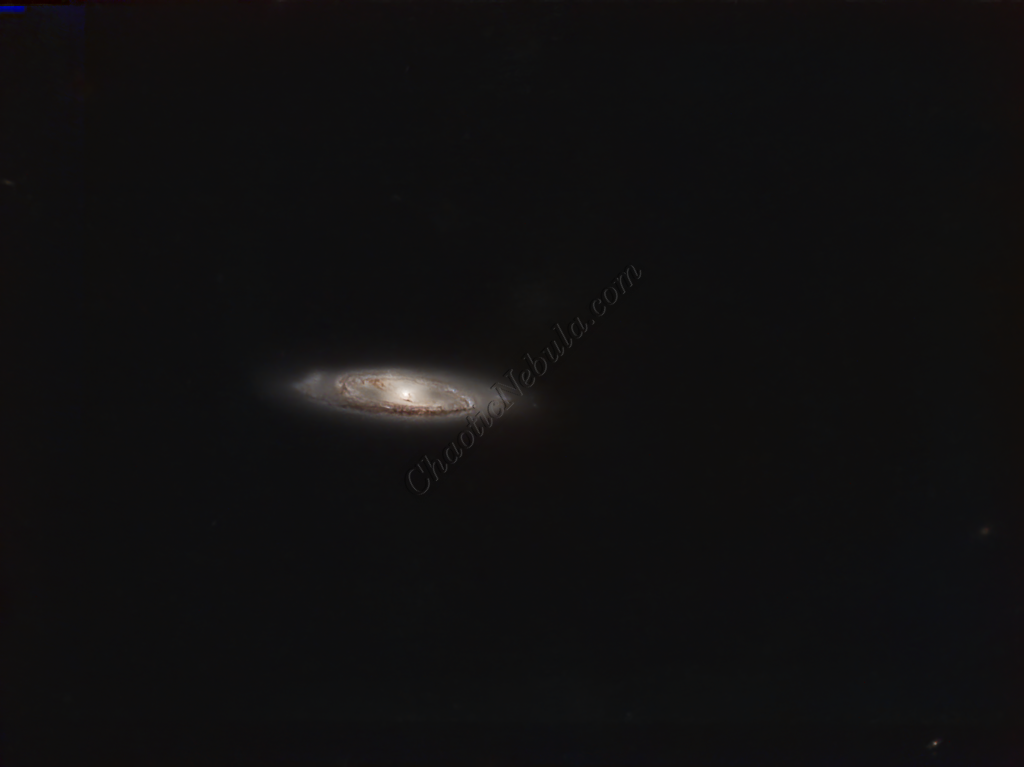
Brightness
PixInsight Curves Transformation increased the overall brightness.
ACDNR for Chrominance
Although NoiseXTerminator did a great job in removing the noise from the image early on in the workflow, some of the processing might have added noise in the color. Applying ACDNR for only chrominance helps correct this without losing details.

Stars
The stars were added back in. Curves Transformation was used to increase the brightness and saturation of the stars.
Final Adjustments
To finish the image, I make a few minor tweaks to the brightness and colors of the stars using Curves Transformation.