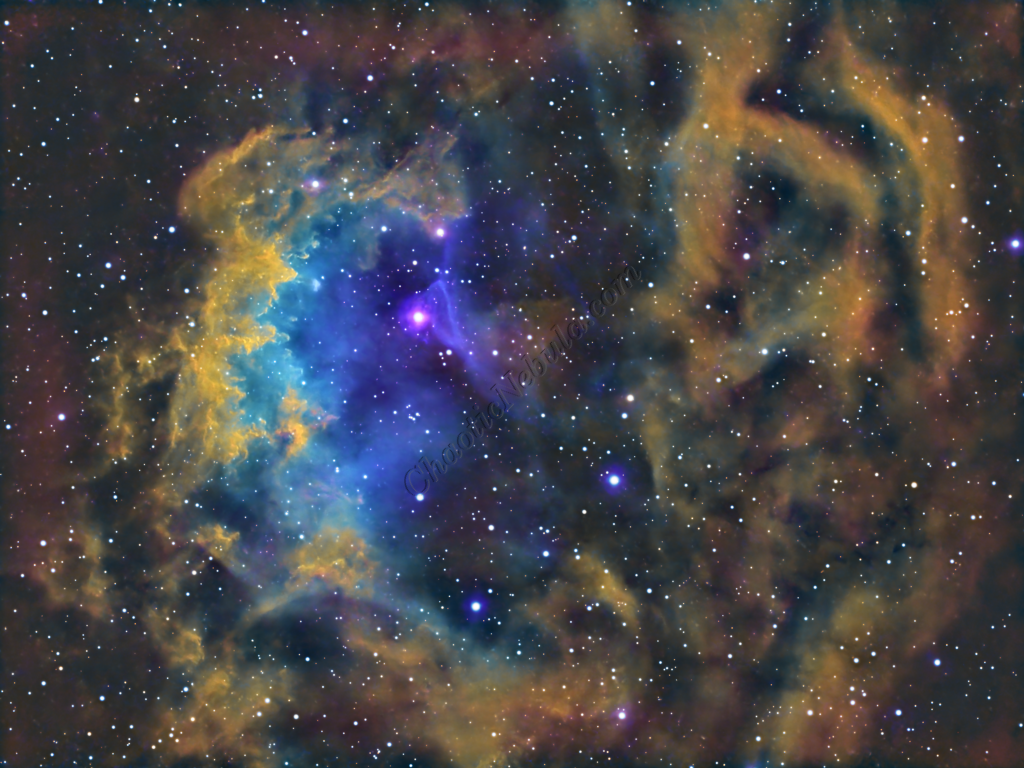
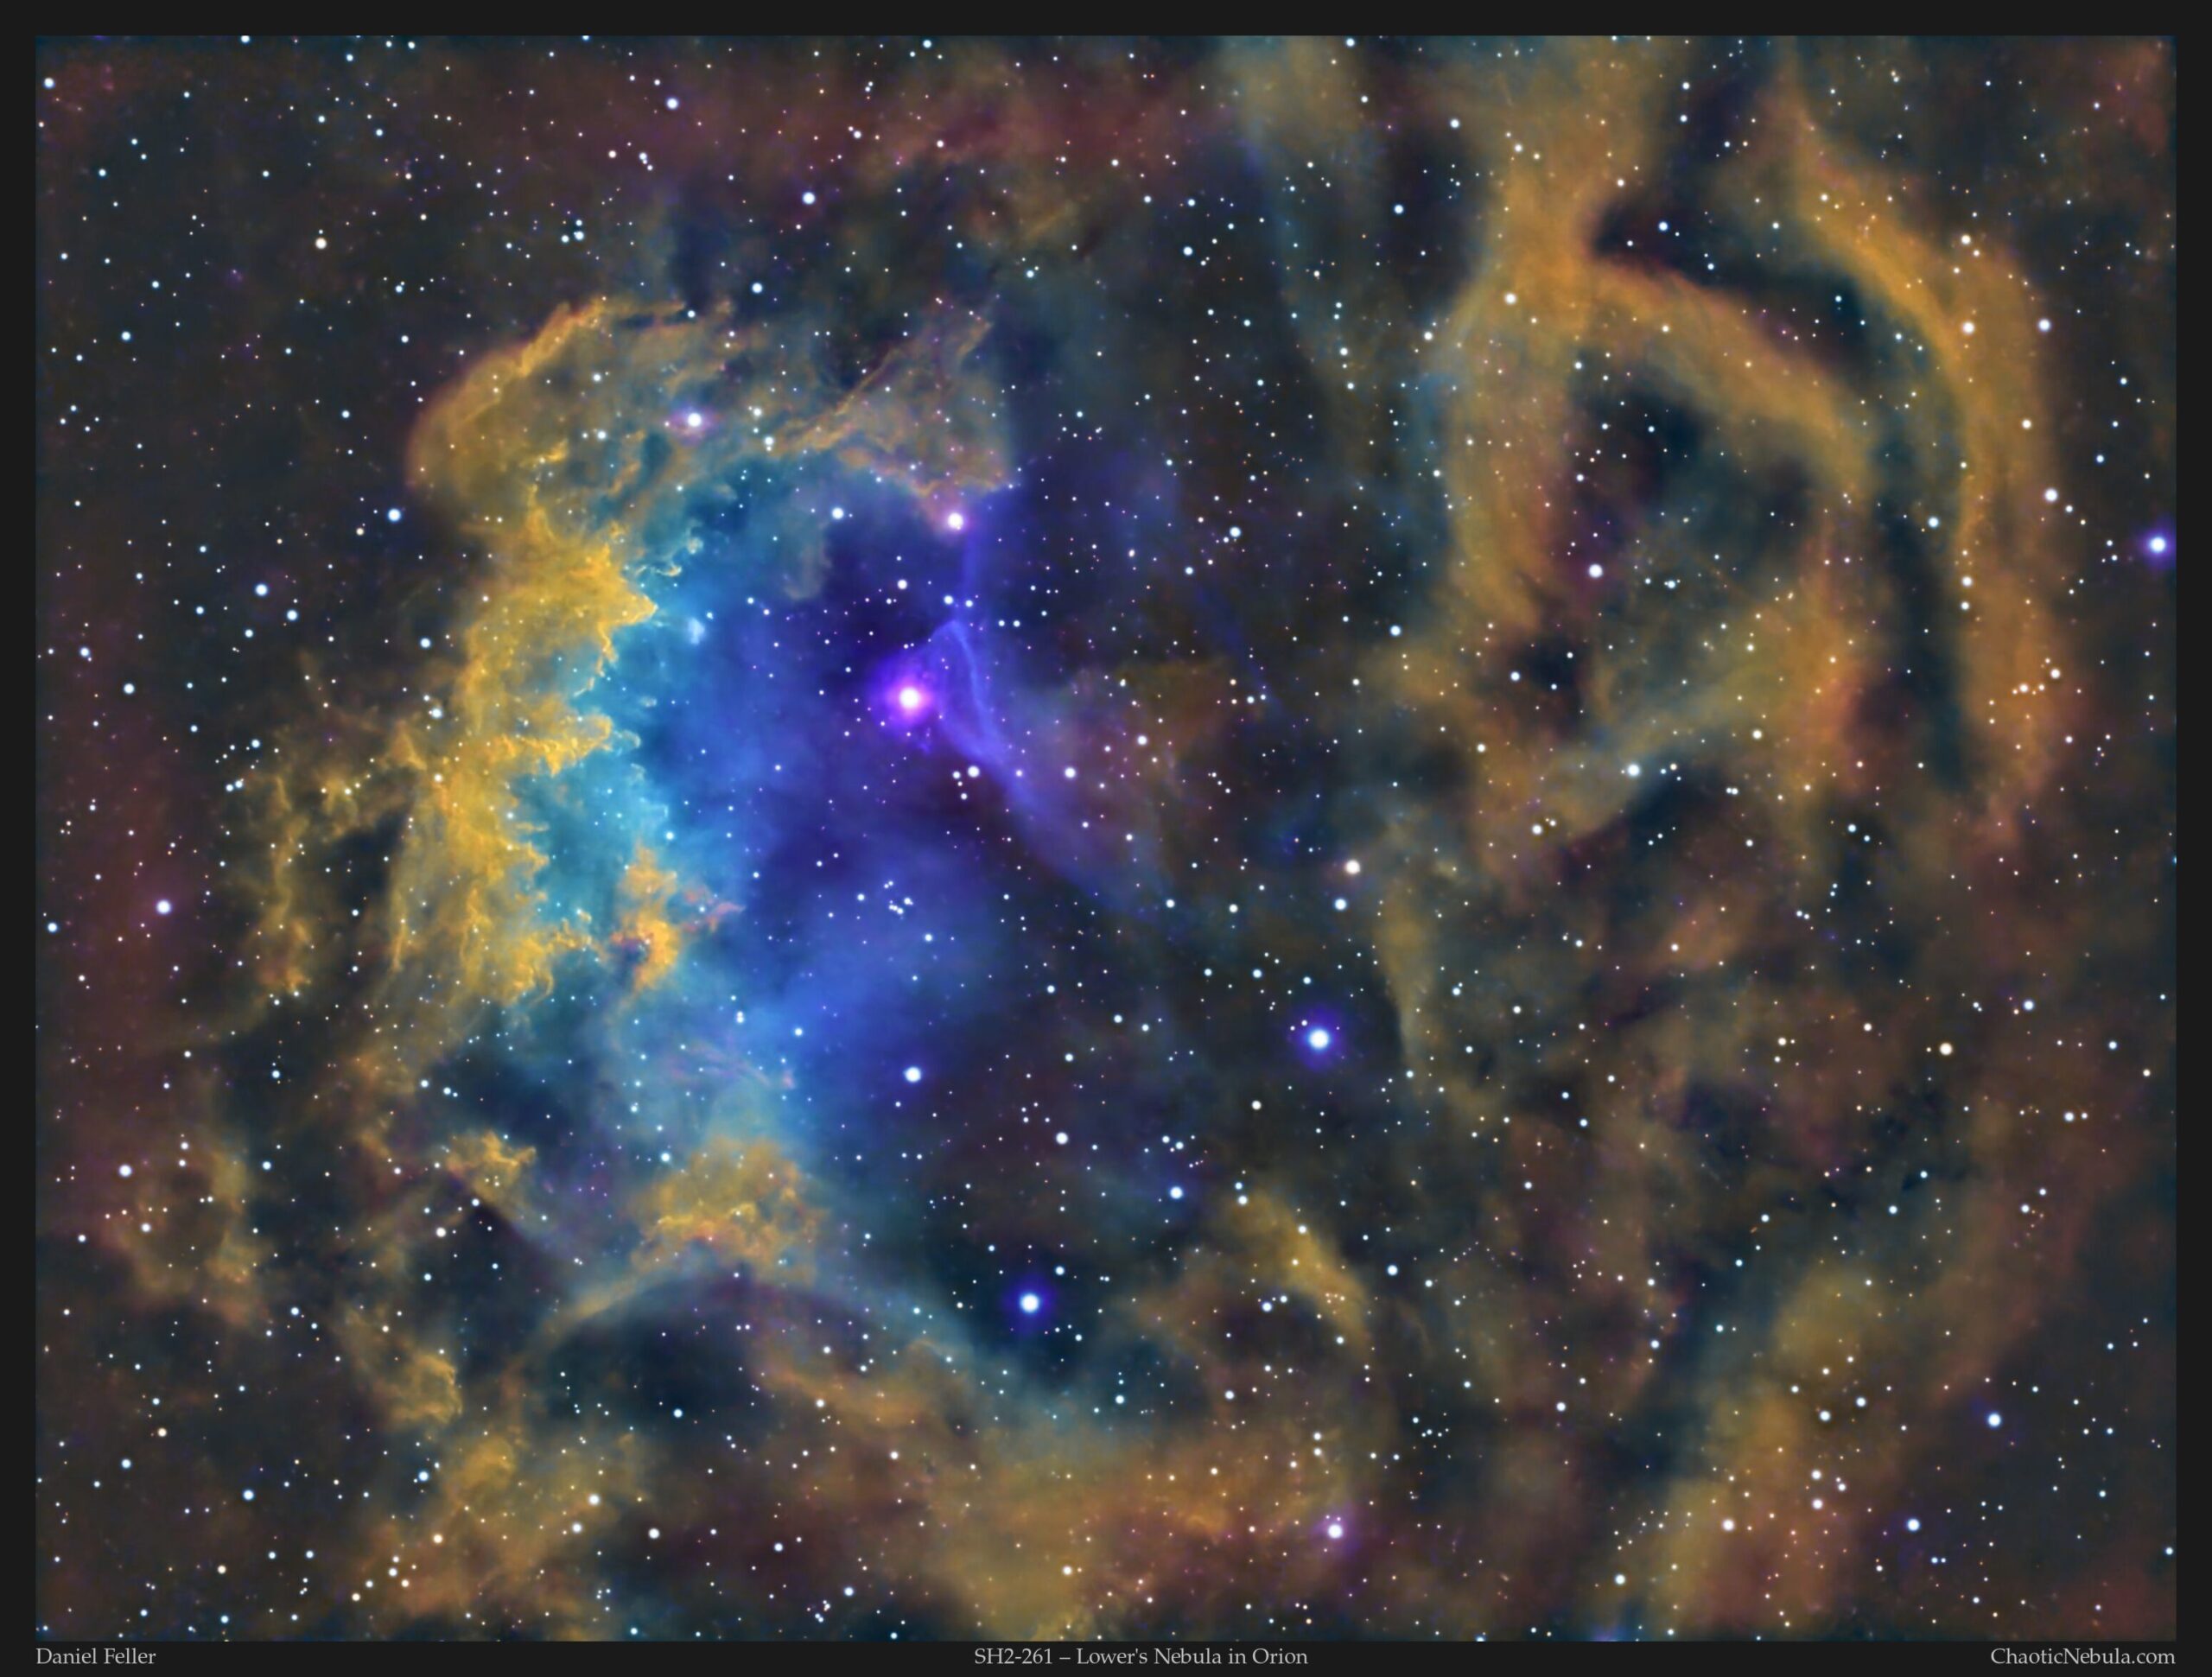
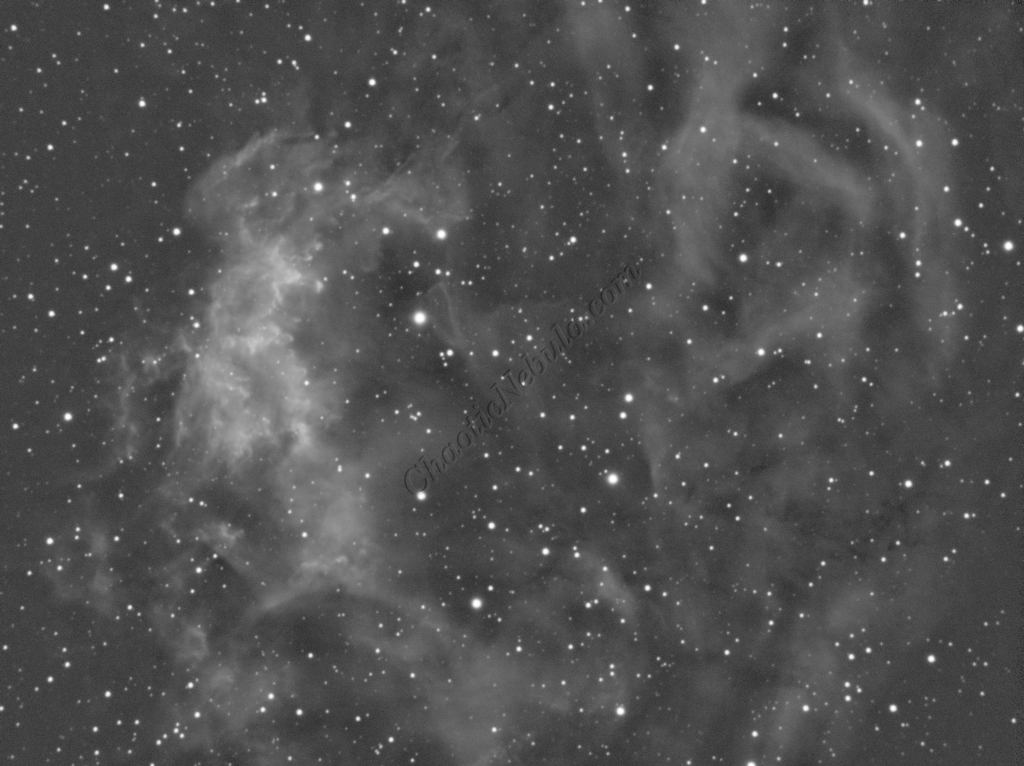
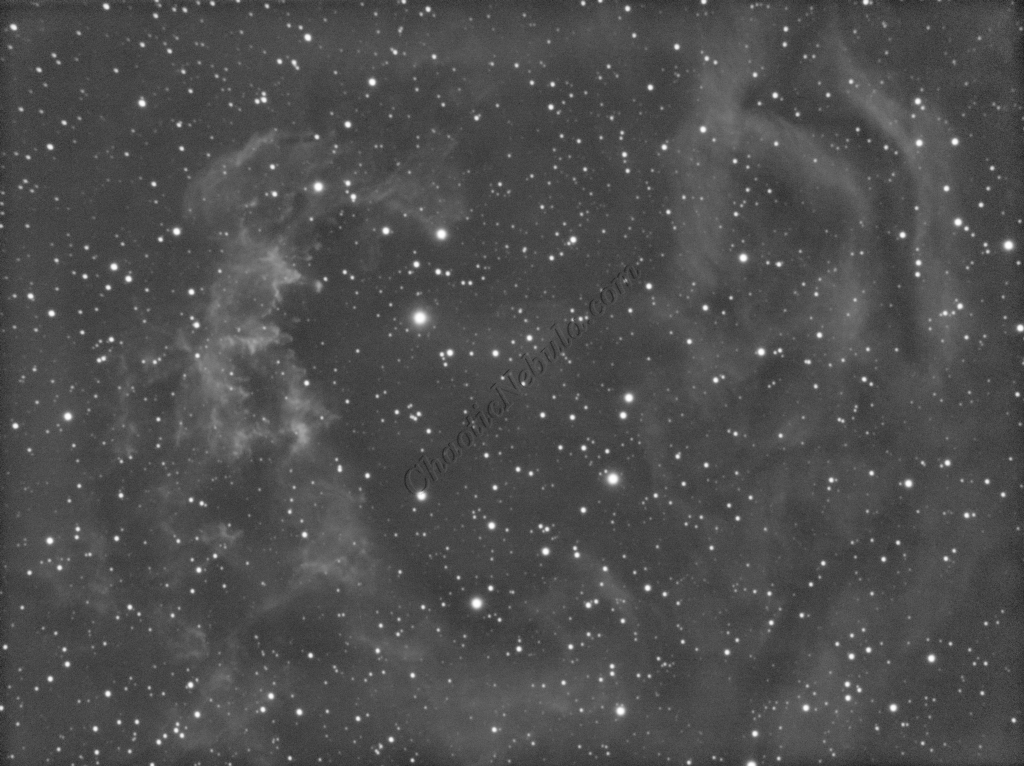
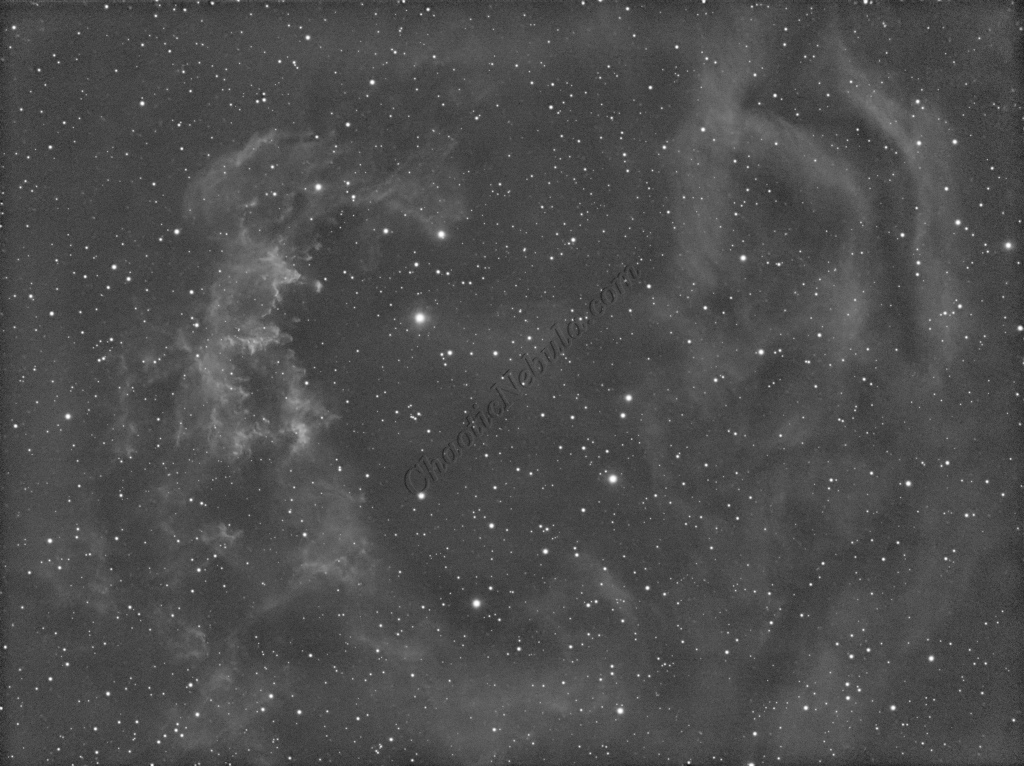
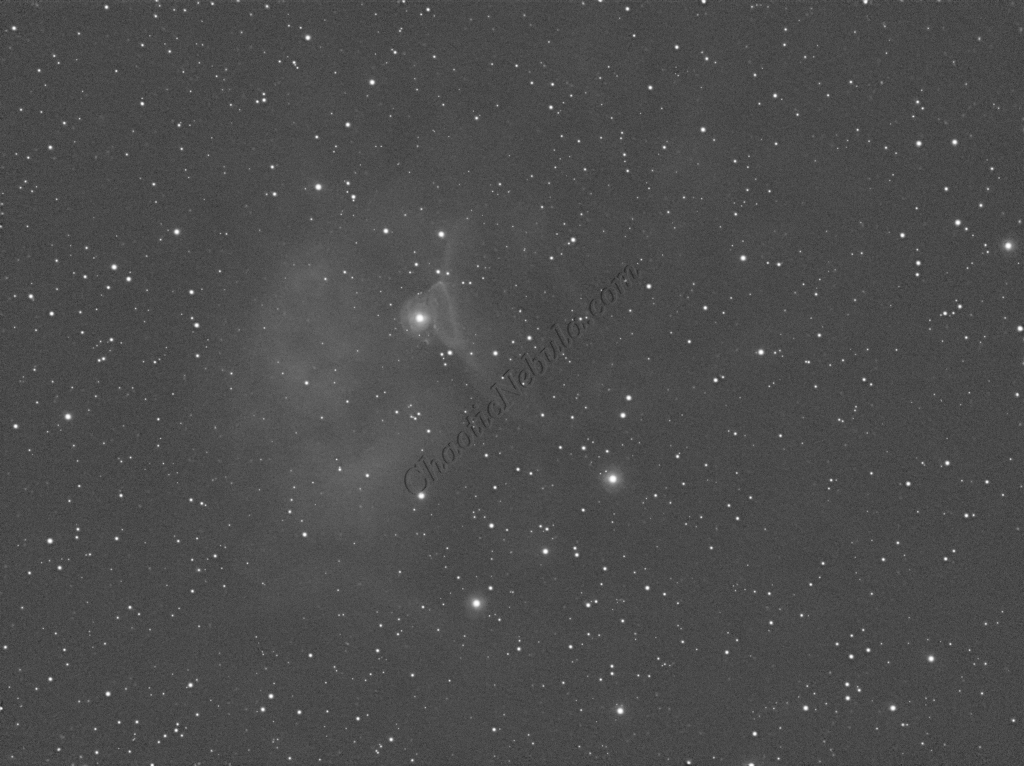
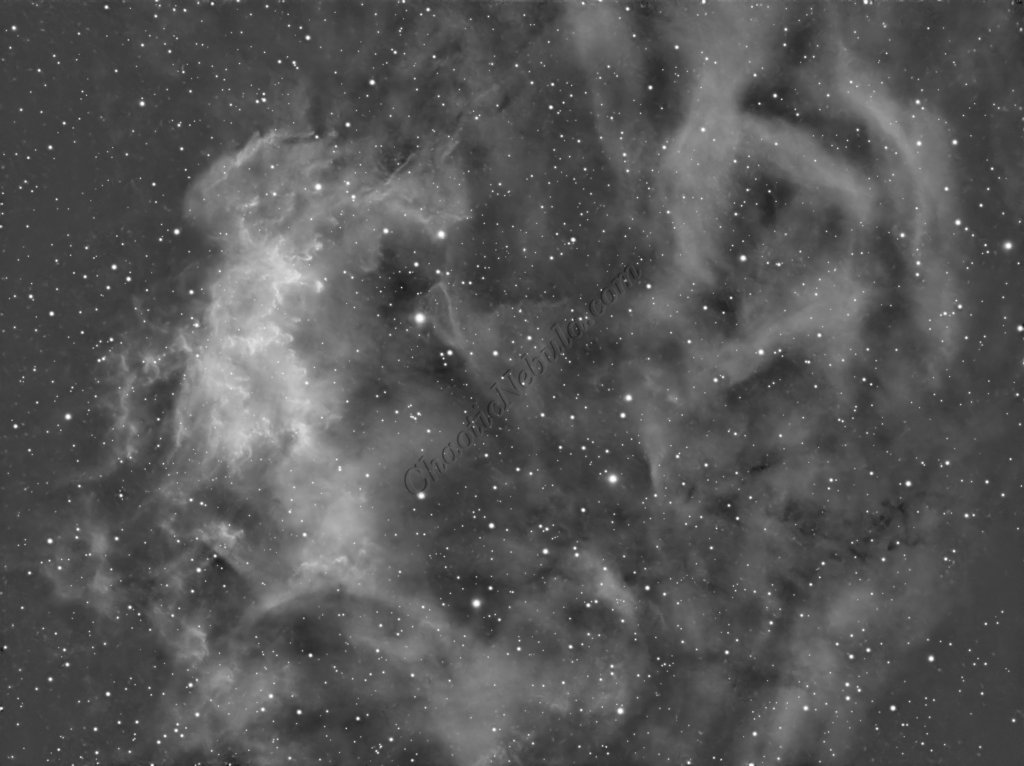
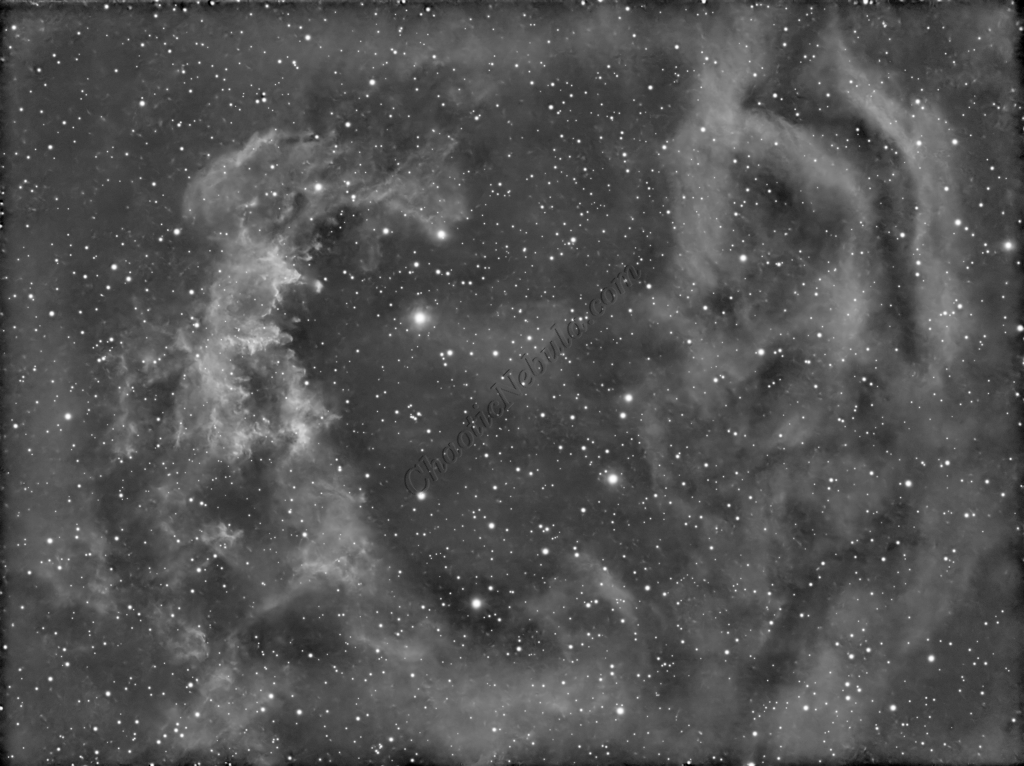
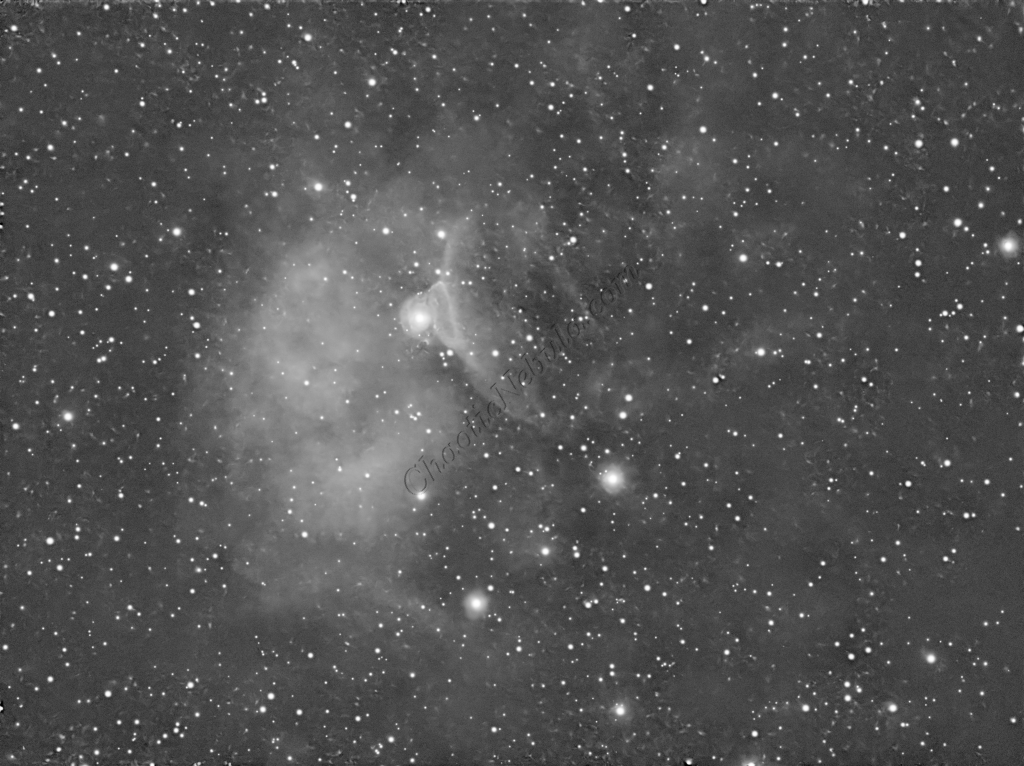
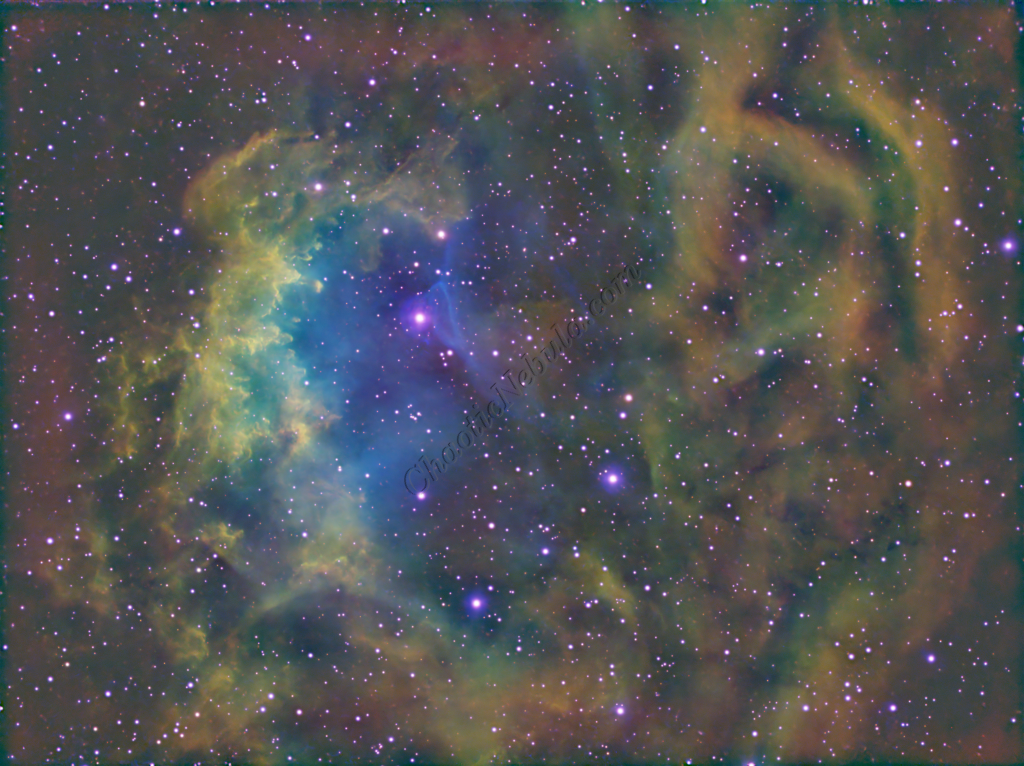
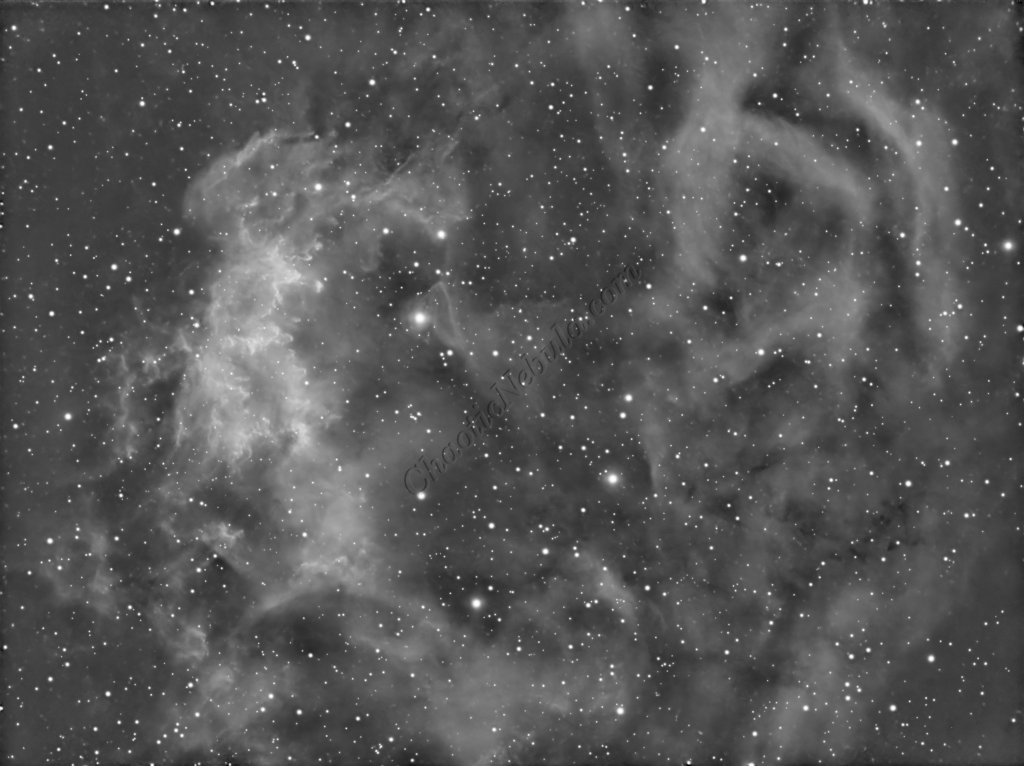
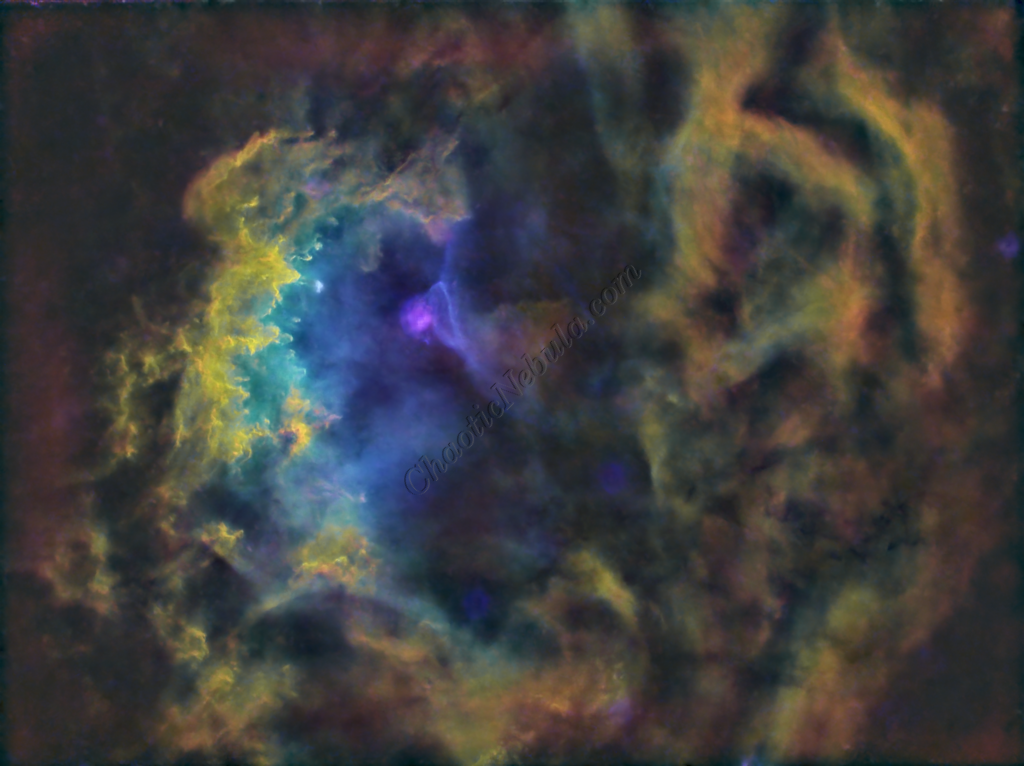
Sh2-261, widely known as Lower’s Nebula, is a faint and expansive emission nebula situated approximately 3,300 light-years away in the constellation Orion. Tucked away in the northernmost reaches of the Hunter, near the border of Gemini, this ionized hydrogen cloud offers a more subtle and sophisticated target than its famous neighbor, the Great Orion Nebula.
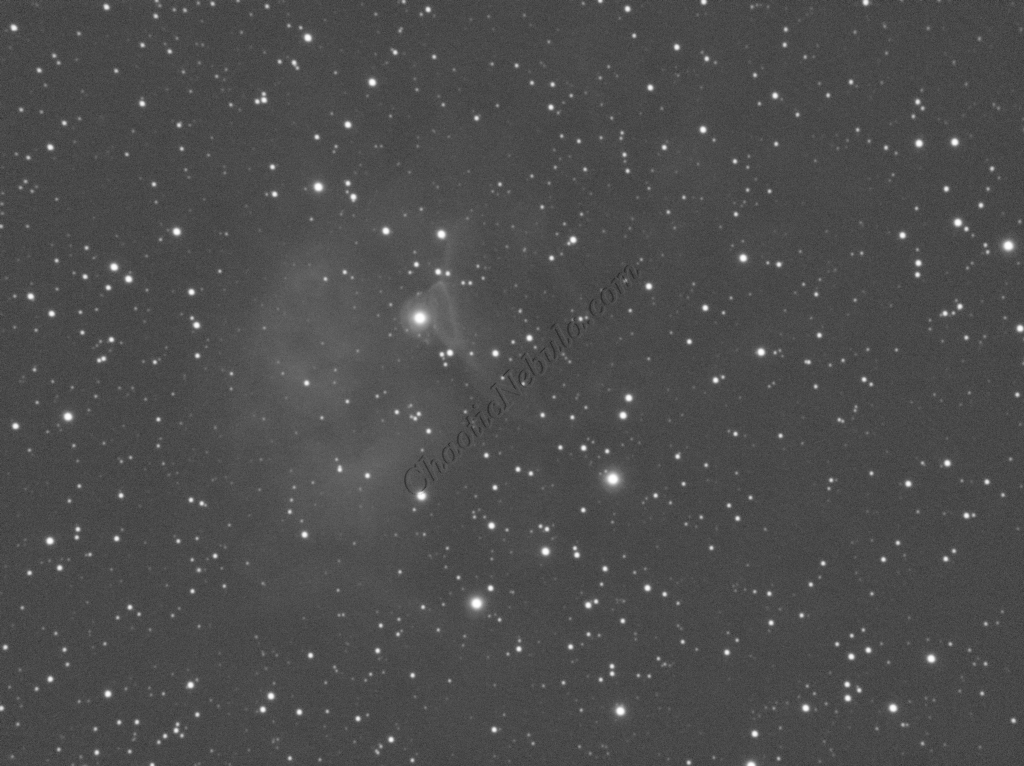
The nebula glows with a characteristic deep red hue, fueled by the intense ultraviolet radiation from the massive, hot blue star HD 41997. This O-type star acts as the primary engine for the region, exciting the surrounding hydrogen gas and causing it to fluoresce. Unlike many dense, compact nebulae, Sh2-261 is characterized by its delicate, wispy structures and a central “void” or darker region that gives it a distinctive, eye-like appearance—earning it the nickname the “Eye of Ra.”
Beyond its visual appeal, Sh2-261 serves as a fascinating laboratory for studying the interaction between massive stars and the interstellar medium. The nebula is a classic H II region, where the radiation pressure from central stars carves out bubbles and shapes the surrounding gas into intricate filaments. These structures are often punctuated by dark dust lanes that provide a sharp contrast against the glowing background, highlighting the turbulent environment of this stellar nursery.
For astrophotographers, Sh2-261 is a rewarding but challenging subject that demands significant integration time. Because it is relatively dim and dominated by hydrogen emission, it is an ideal candidate for narrowband imaging, particularly through an H-alpha filter, which helps to pull out the faint outer shells and internal textures that are often lost in broad-spectrum RGB shots. Its large apparent size—roughly the diameter of the full moon—makes it a perfect fit for wide-field setups looking to capture the “hidden” side of Orion.
Imaging Details
- Workflow: Narrowband workflow
- HA: 60*600 seconds
- OIII: 60*600 seconds
- SII: 60*600 seconds
- Total Imaging Time: 30 hours
- Imaging Dates (7 nights)
- 1/23/2025
- 1/26/2025
- 1/30/2025
- 2/20/2025
- 2/21/2025
- 3/1/2025
- 3/2/2025
Imaging Notes
All of these blending examples are found in the Channel Integration tutorial.
Imaging Workflow
This image followed the Narrowband workflow
Integrated Image
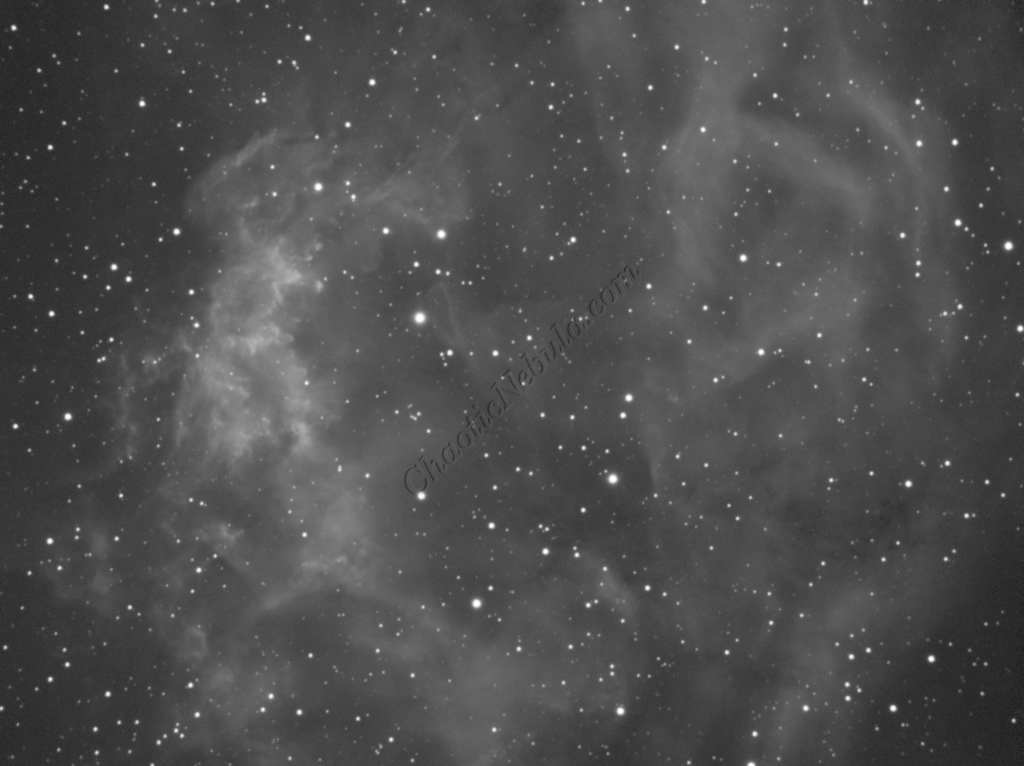
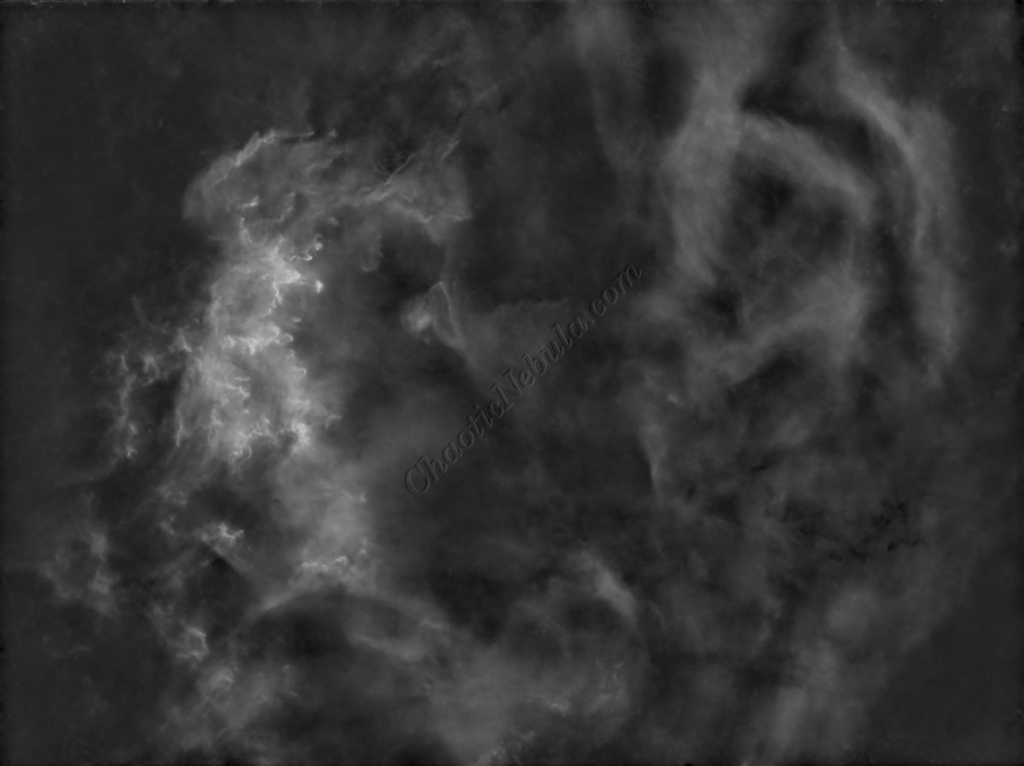
I started off with three images (HA, SII, and OIII filters). I did my normal integration process using the PixInsight Weighted Batch Preprocessing Script.
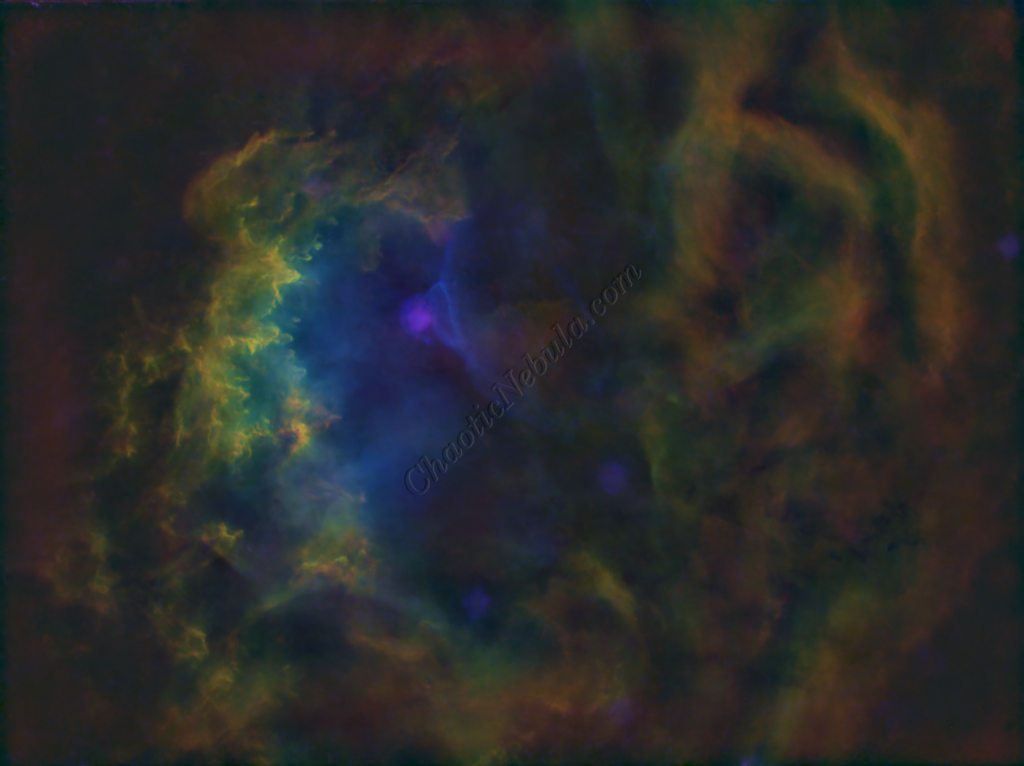
Gradient Correction
The Gradient Correction process made it easy to remove the extreme darkness/brightness around the edges.
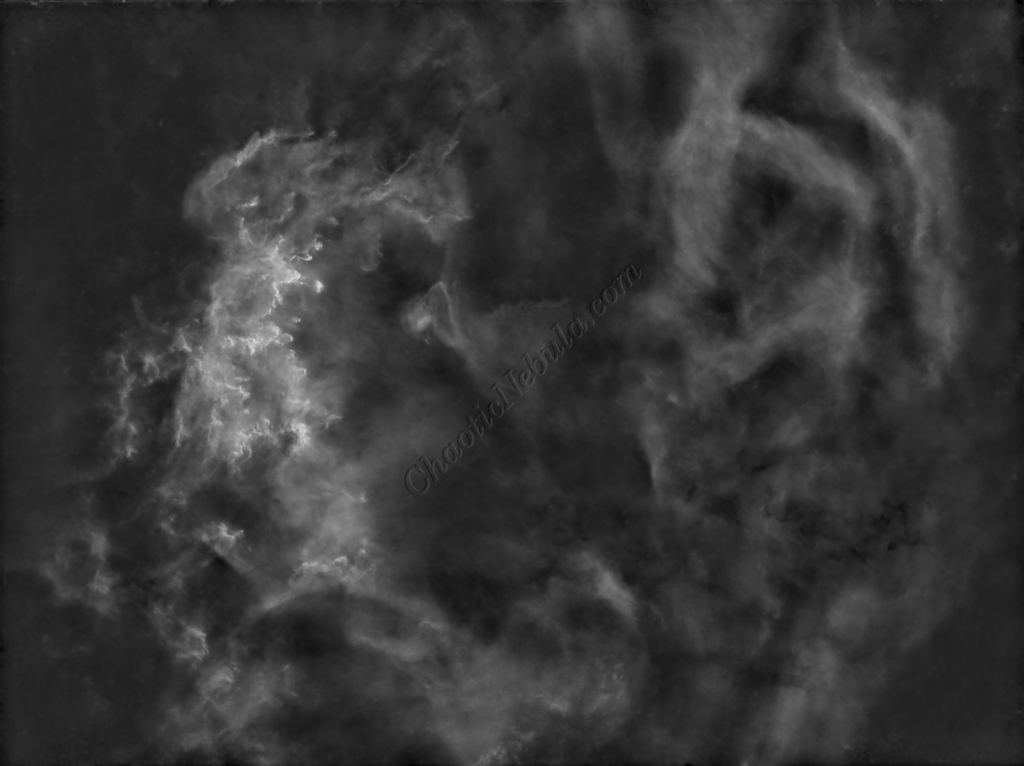
Deconvolution
BlurXTerminator is applied two times. The first time is for Correction only. This takes care of the coma (blurring of stars along the edges).
The second application of BlurXTerminator handles deconvolution, which improves the sharpness and details of the nebula while removing the blur from the image.

Noise Reduction
With the blurring corrected, it is time to do noise reduction. This time I used the new NoiseXTerminator add on.
Channel Combination for RGB
The next step is to do a Linear Fit across the SII, HA, OIII channels. After many different attempts at numerous channel integration options, the best resulting image was using the channel combination method where red=SII, green=HA, and blue=OIII.
Star Removal
StarNet+ was applied to remove the stars. This helps protect the stars from getting bloated with the rest of the image processing.
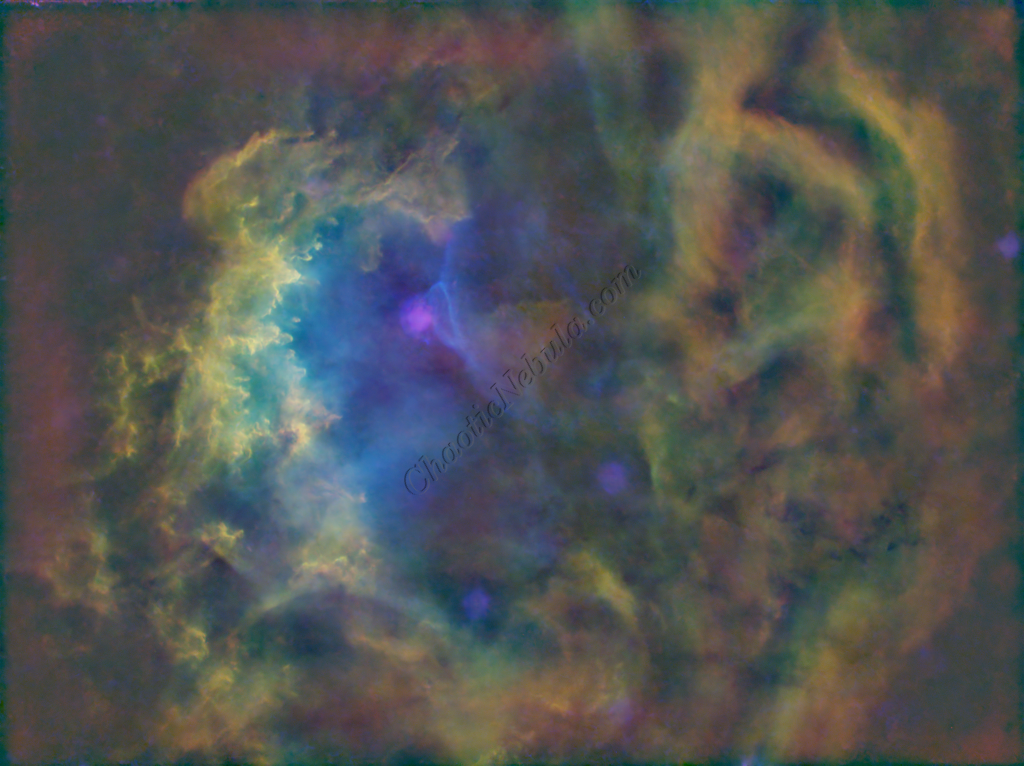
Image Stretch
The image was moved into a non-linear stage by stretching the histogram. In this case, the new process (Multiscale Adaptive Stretch) was utilized.
SCNR
The green hue was lowered by using SCNR with a max neutral setting of 75%
Luminance Workflow
Before doing anything more to the color image, it is time to go through the Luminance Workflow.


Luminance Integration (LRGB)
With the luminance image processed, it can get integrated with the color image with LRGB Combination process. This used 45% for lightness and 35% for saturation.
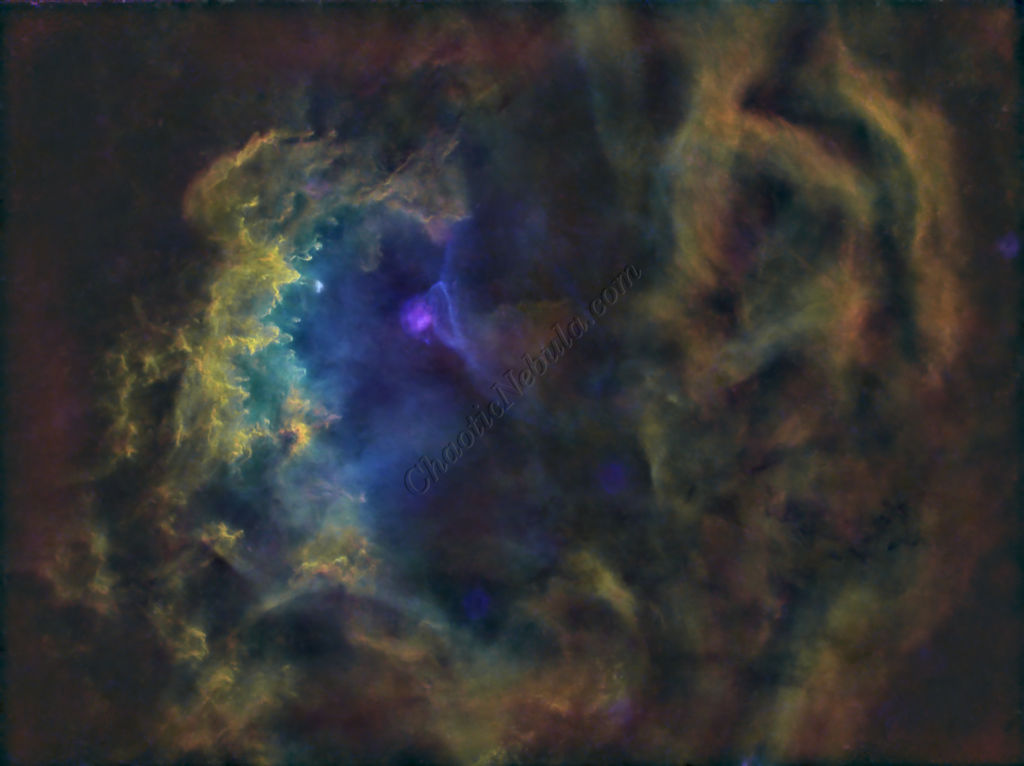
Saturation
PixInsight Curves Transformation increased the overall color saturation.

Brightness
PixInsight Curves Transformation increased the overall brightness.

ACDNR for Chrominance
Although NoiseXTerminator did a great job in removing the noise from the image early on in the workflow, some of the processing might have added noise in the color. Applying ACDNR for only chrominance helps correct this without losing details.
Stars
The stars were added back in. Curves Transformation was used to increase the brightness and saturation of the stars.

Final Adjustments
To finish the image, I make a few minor tweaks to the brightness and colors of the stars using Curves Transformation.