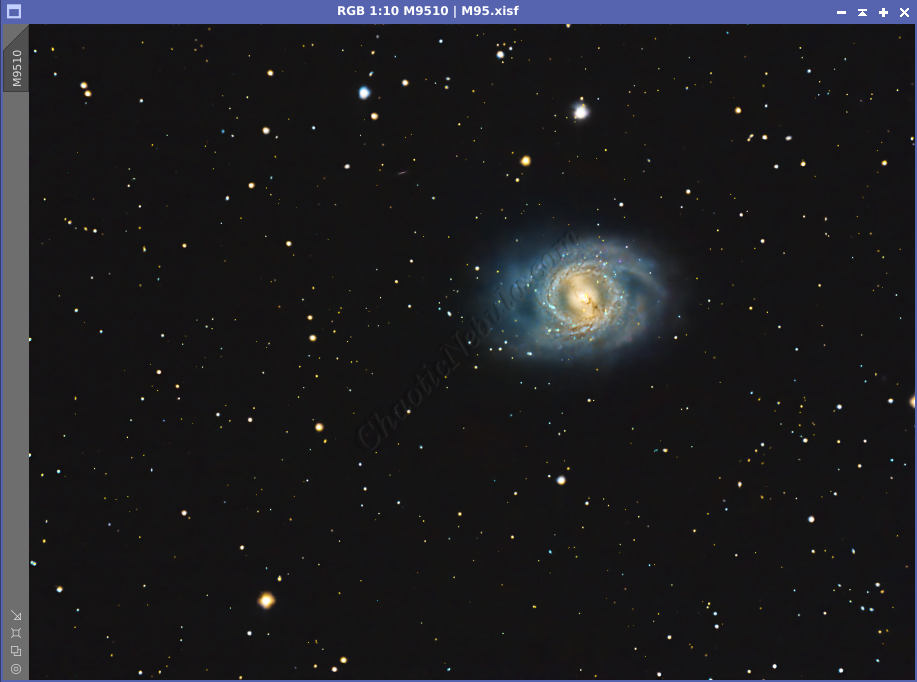
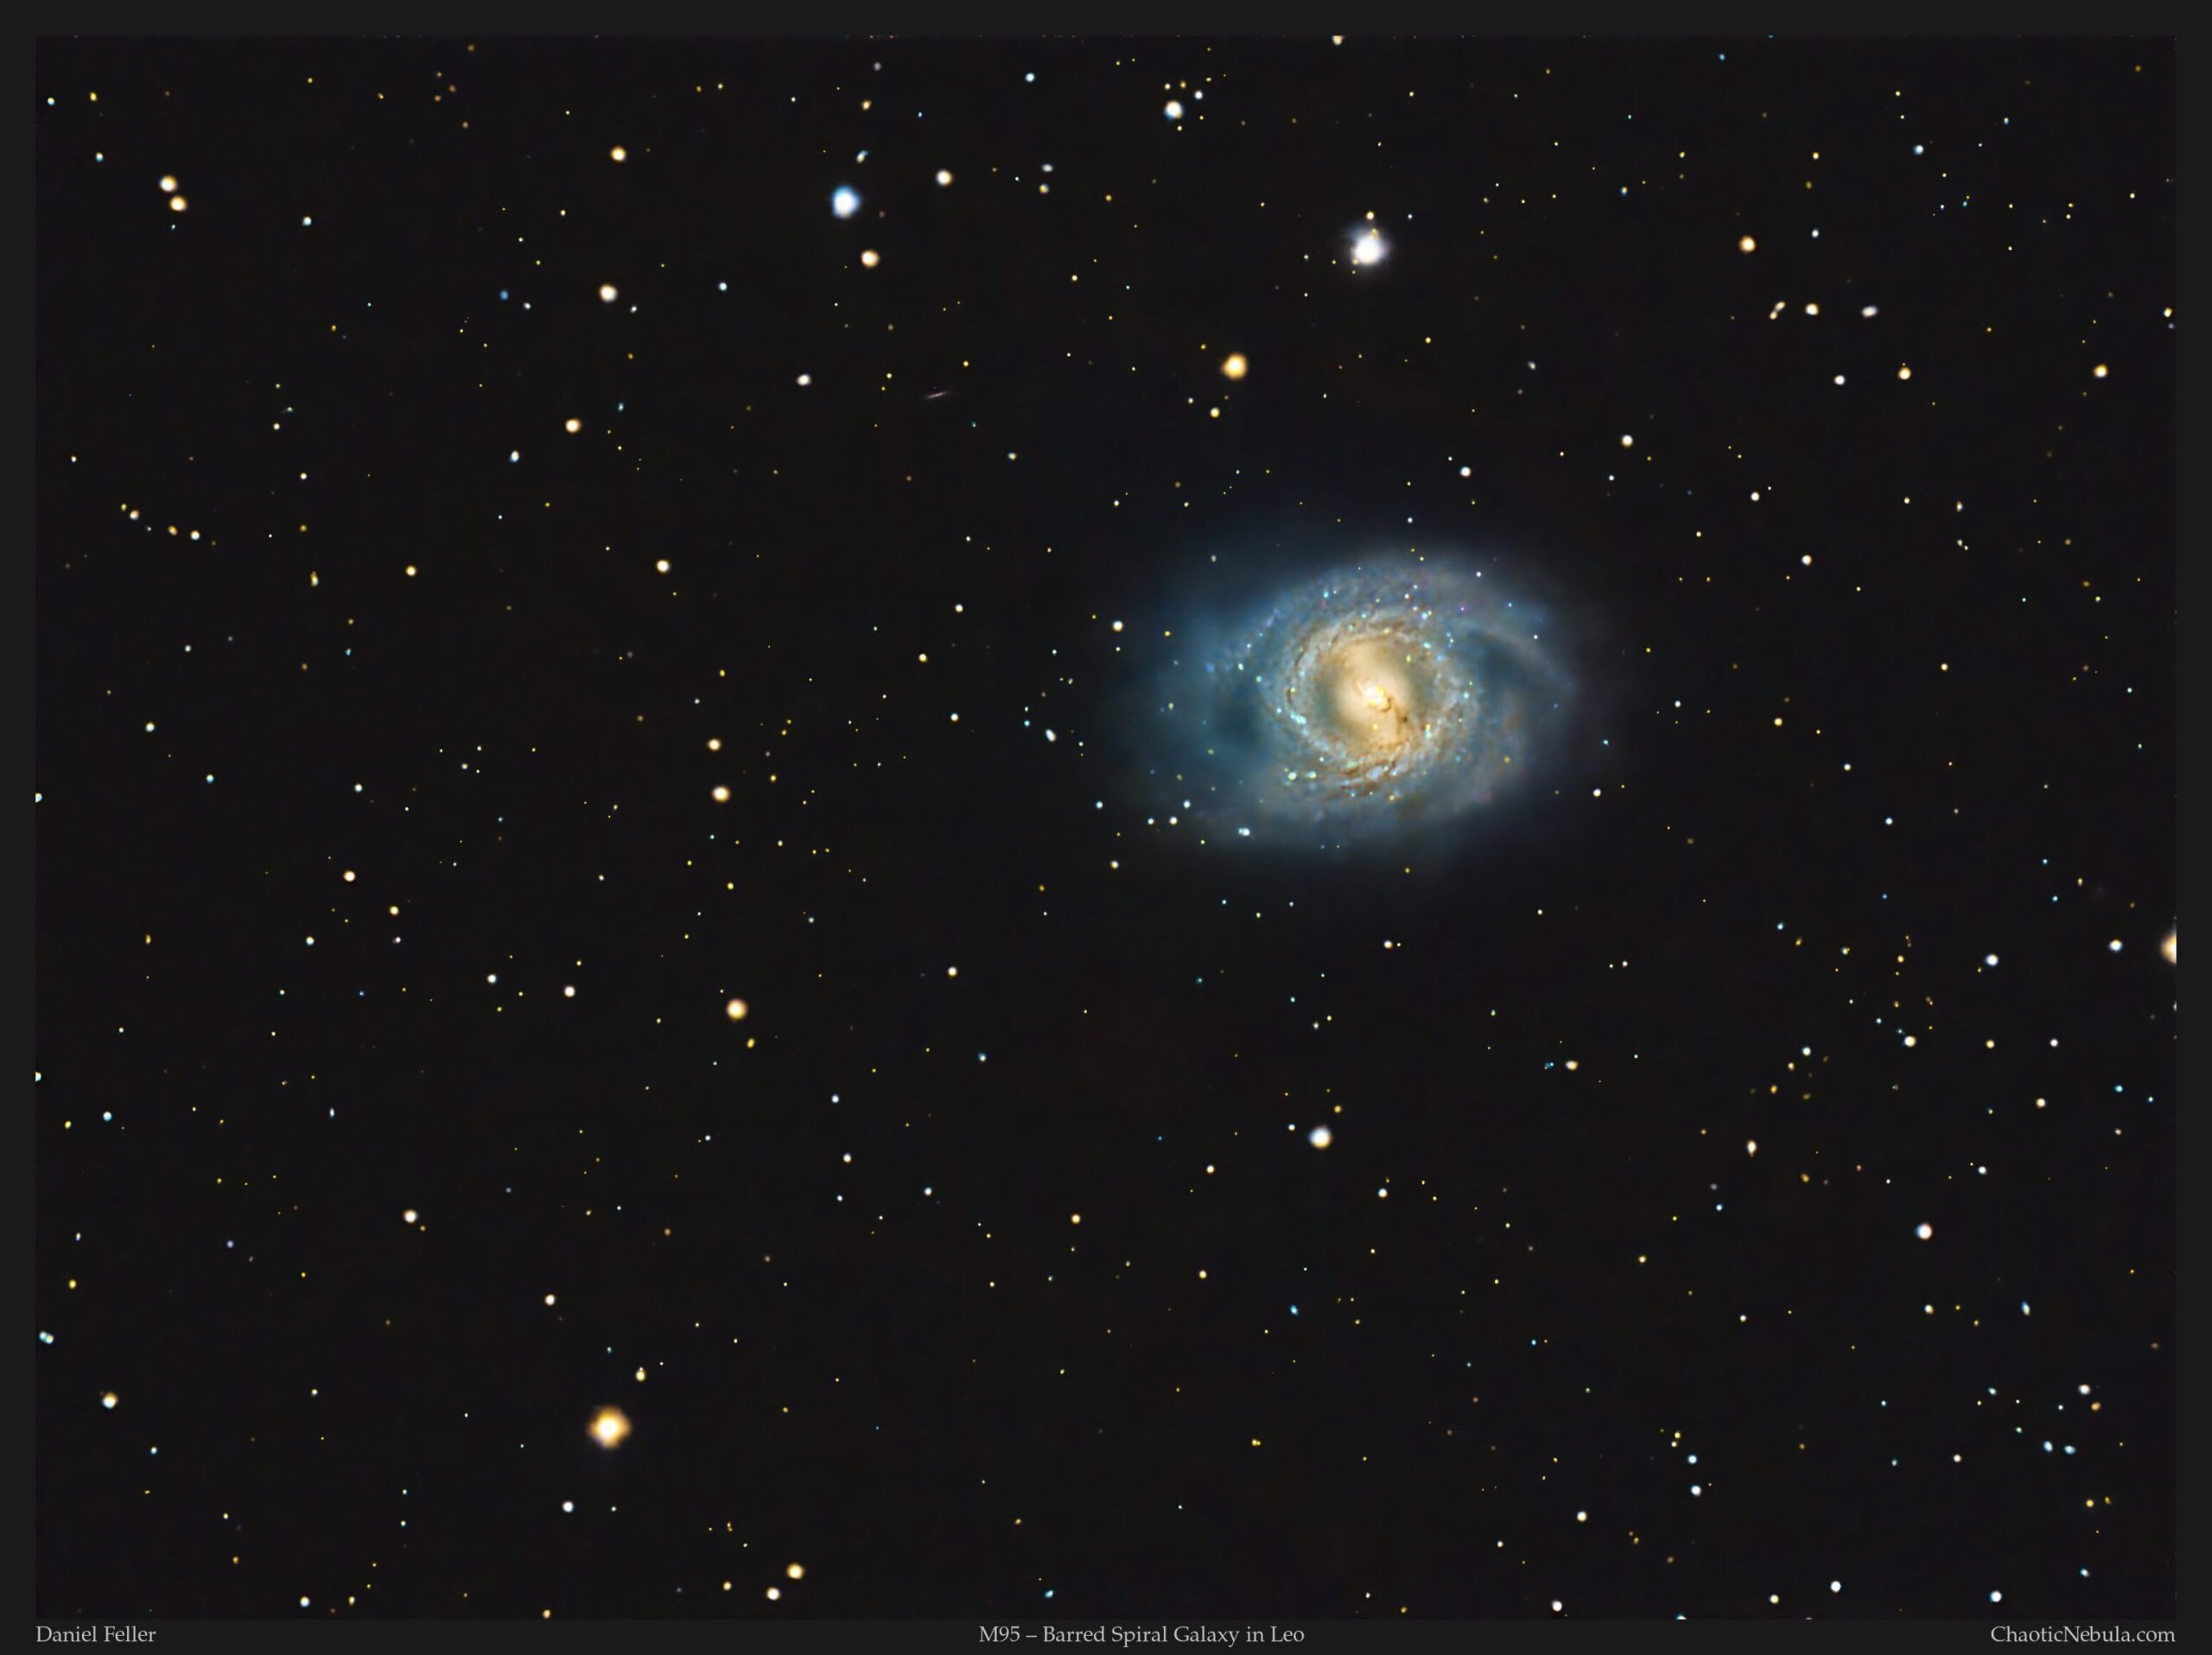
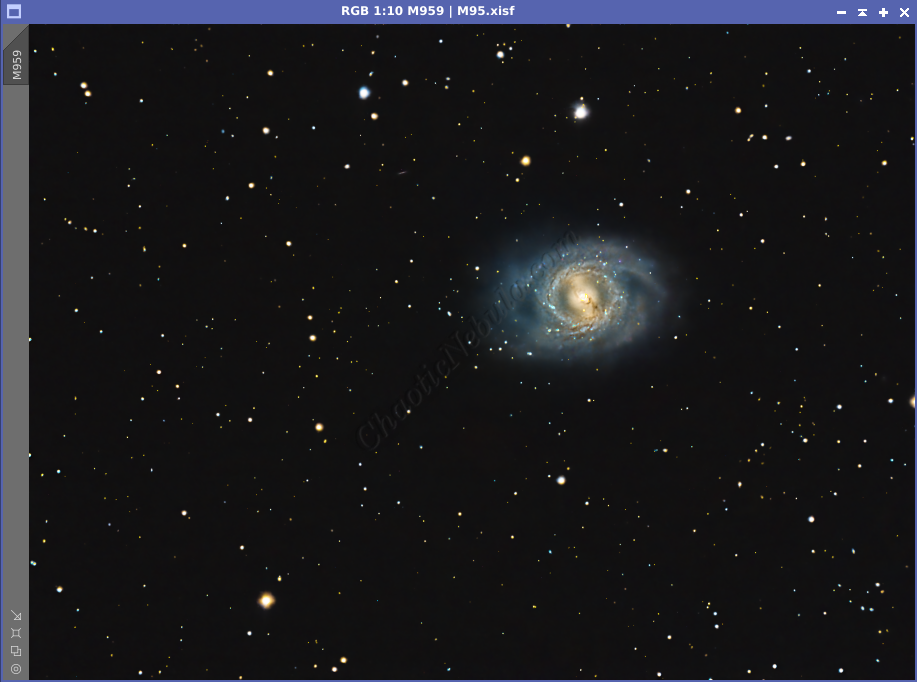
Roughly 33 million light-years away in the constellation Leo resides a majestic barred spiral galaxy known as Messier 95, or M95 for short. M95 is a vibrant, young galaxy by cosmic standards. Its spiral arms are teeming with star formation, fueled by vast reserves of gas and dust. A prominent feature within the galaxy is a ring-shaped structure encircling the central bar. This ring is a hotbed of star formation, churning out new stars at a rapid pace.
M95 and the Milky Way galaxy are actually quite comparable in size. Estimates suggest M95 has a diameter of around 75,000 light-years, while the Milky Way is thought to be roughly 100,000 light-years across. So, the Milky Way might be a bit wider, but they’re both considered large spiral galaxies.
While similar in size, they have some key differences. M95 has a prominent central bar, a feature not as readily apparent in the Milky Way. Additionally, the Milky Way is estimated to contain significantly more stars, somewhere between 100 to 400 billion, compared to M95’s estimated 40 billion.
Despite its immense size, M95 is quite faint from our vantage point on Earth. To unravel its intricate details, astronomers require long exposure times to capture the galaxy’s delicate light.
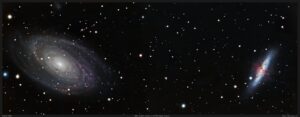
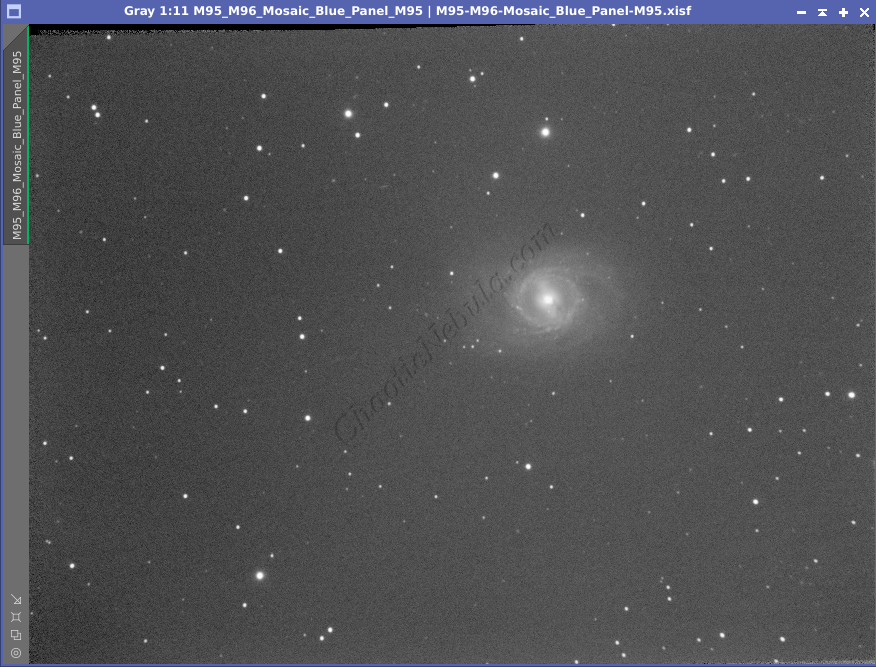
M95 is part of a small group of galaxies called the Leo I Group, which also includes its neighbors M96 and M105. Astronomers believe the interaction between these galaxies may influence their star formation rates. M95 and M96 are often photographed together to help showcase different galaxy structures.
Imaging Details
- Workflow: Broadband workflow for Galaxies
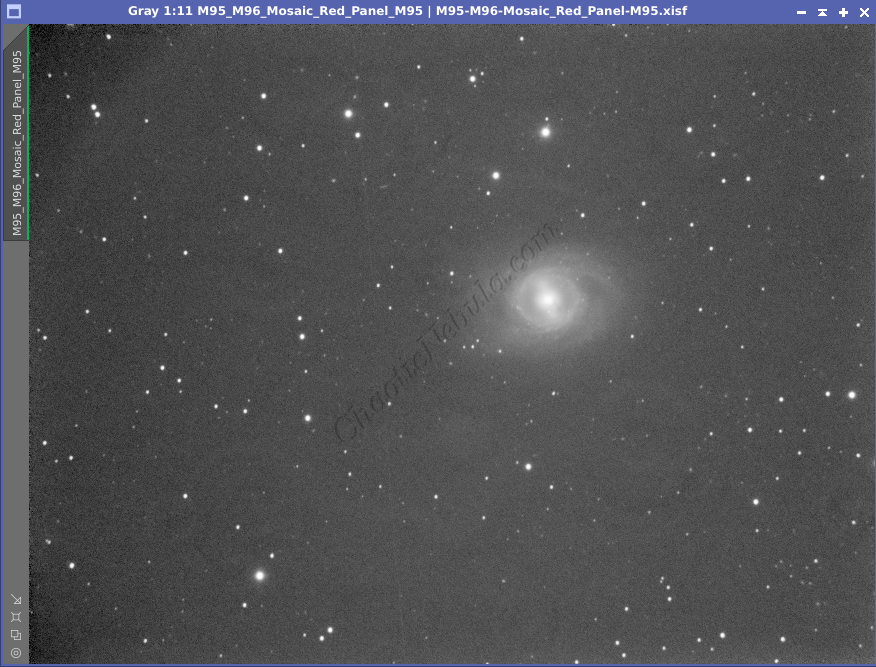
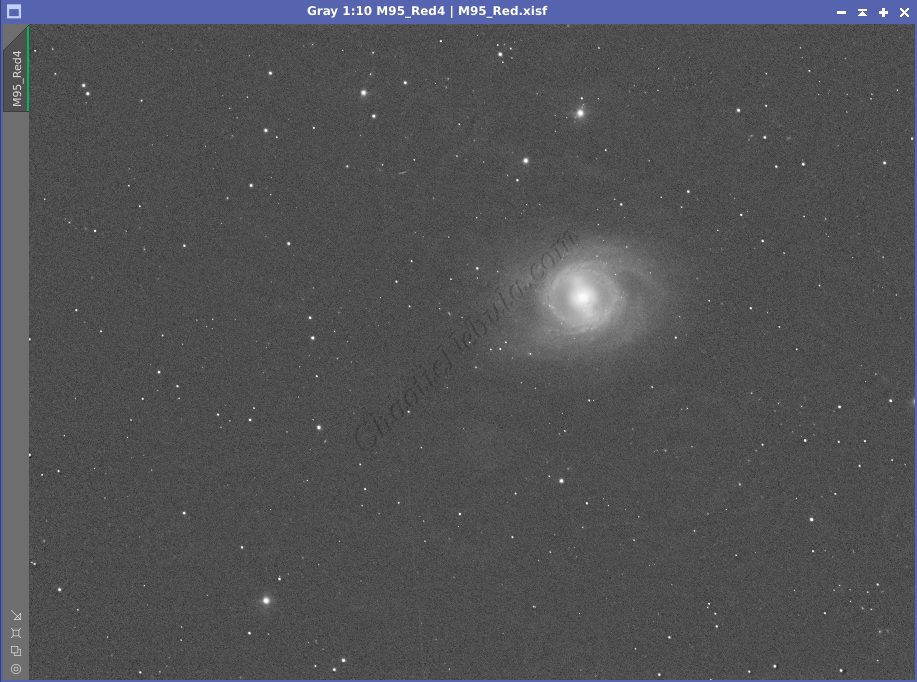
- Red: 50*300 seconds
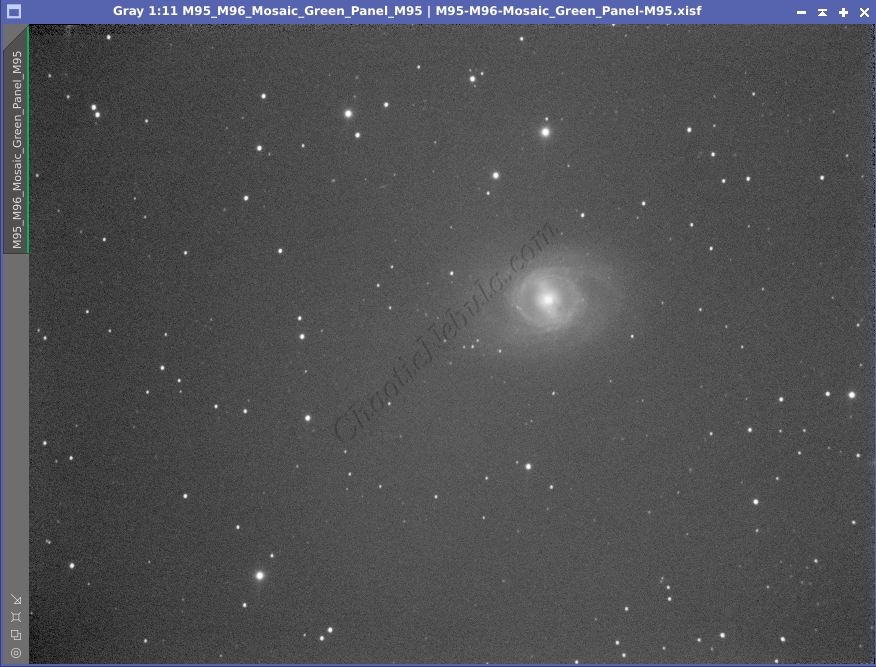
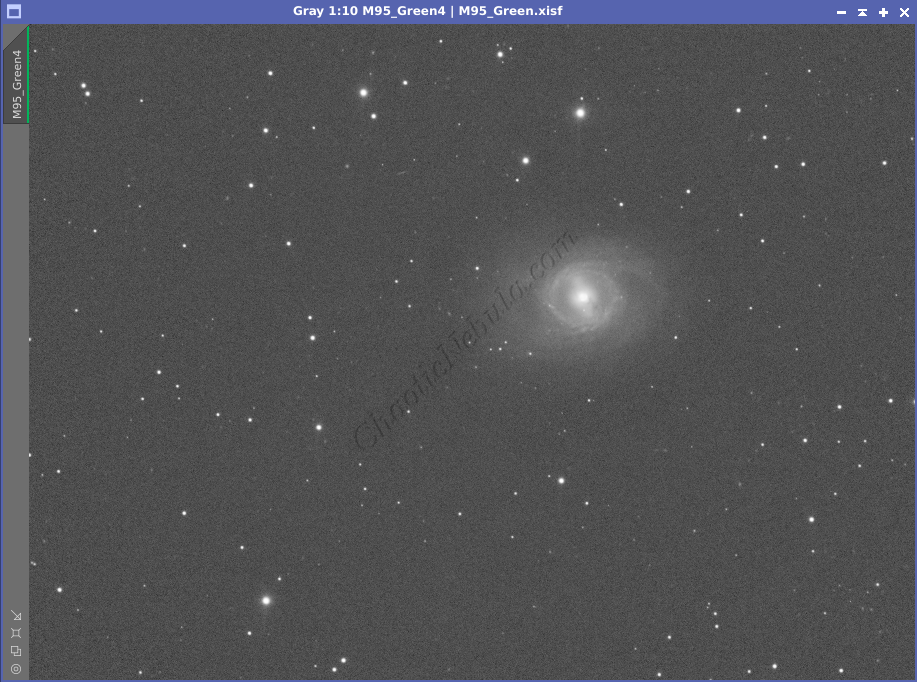
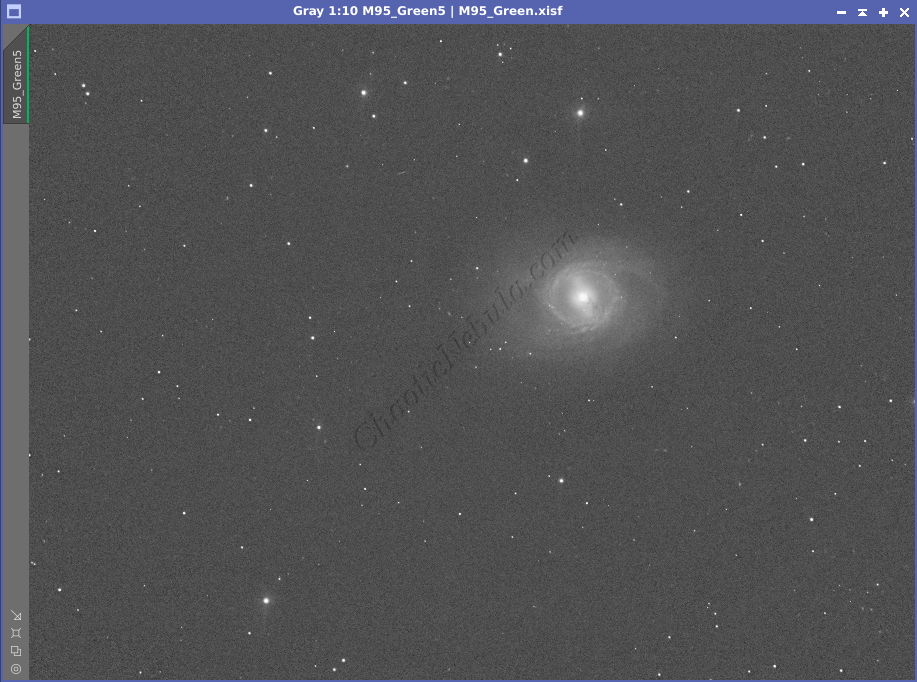
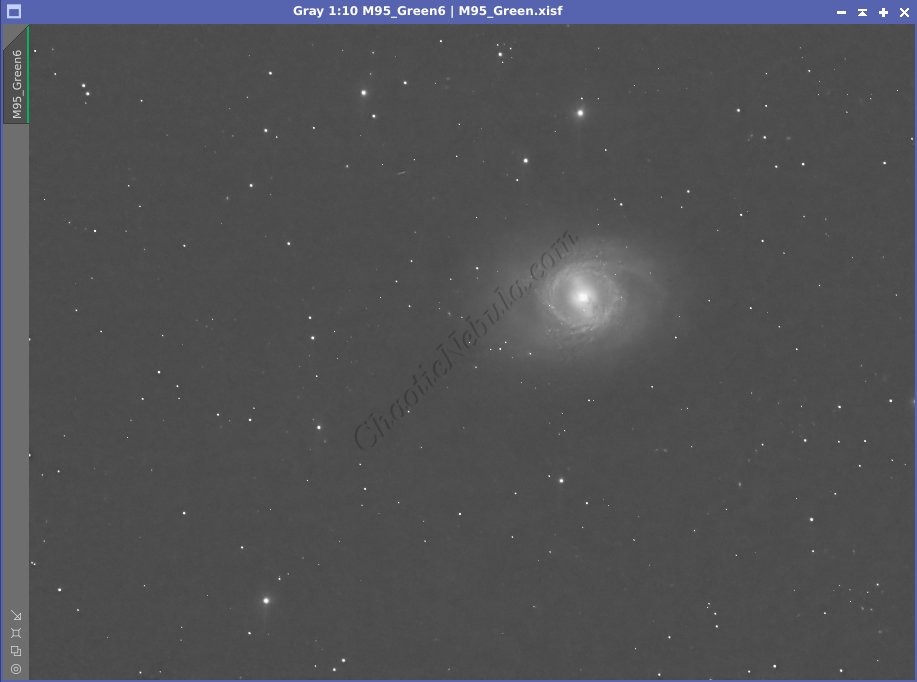
- Green: 45*300 seconds
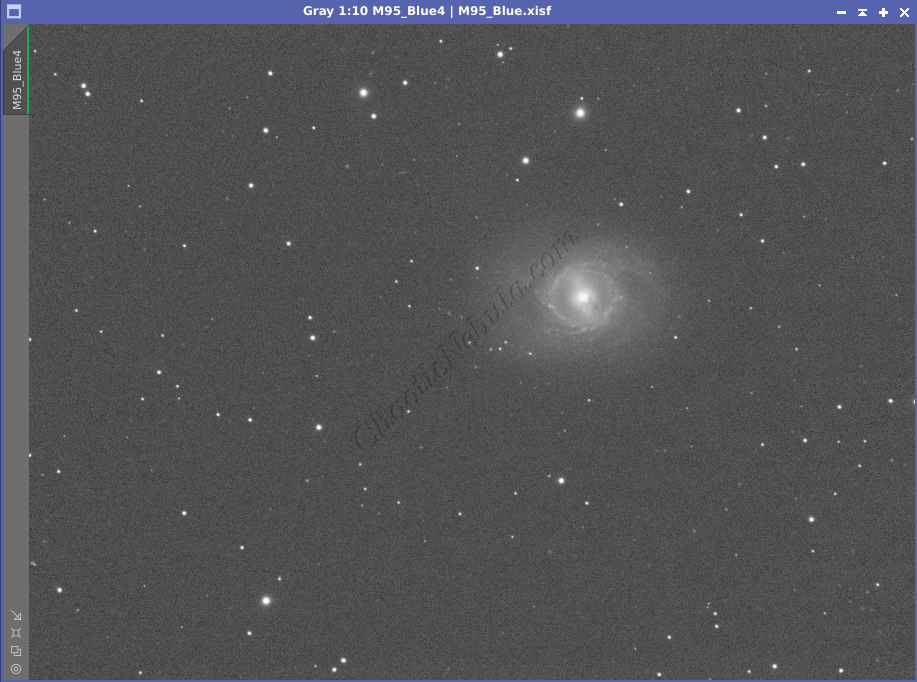
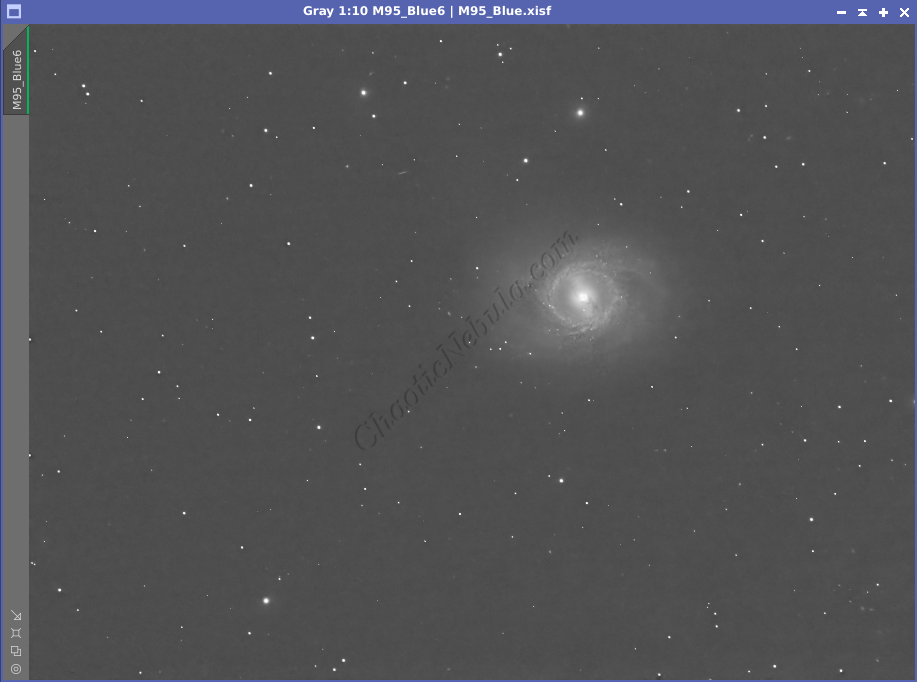
- Blue: 35*300 seconds
- Binning: 1×1
- Total Imaging Time: 10 hours
- Imaging Dates: (3 nights)
- 3/8/2024
- 4/12/2024
- 4/15/2024
Imaging Notes
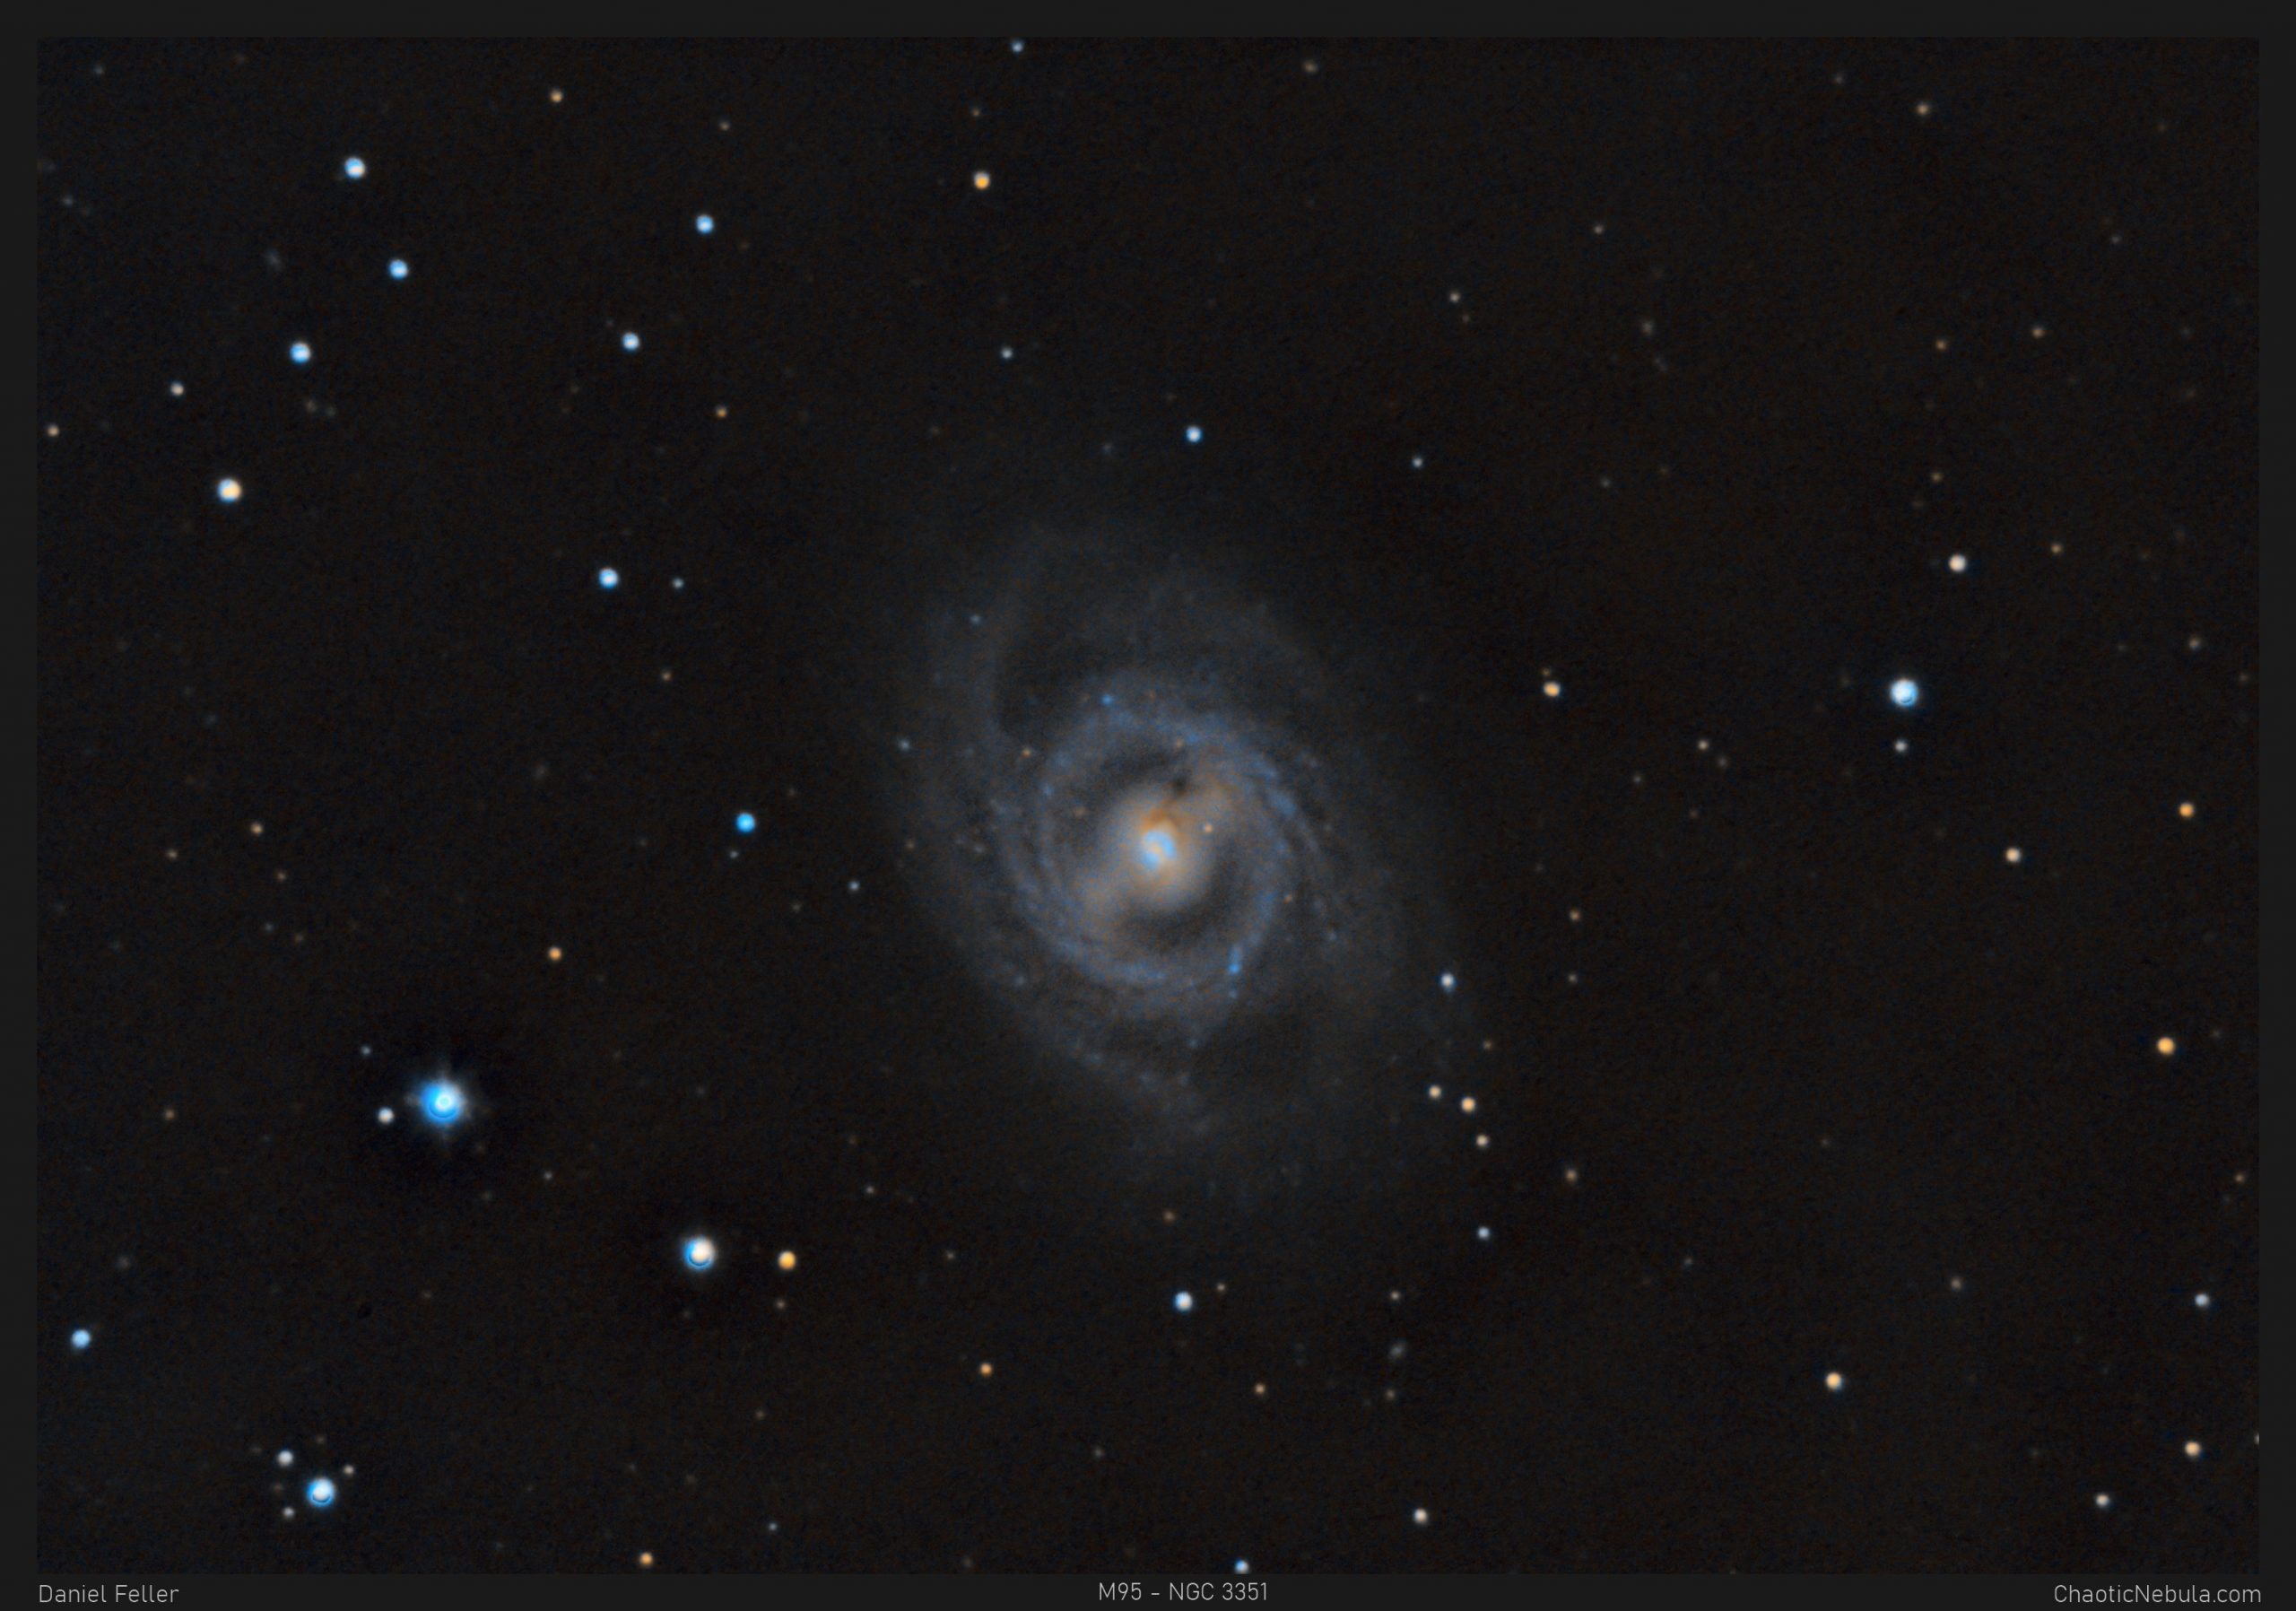
I imaged this galaxy in 2021 with 5 hours of data. Since then, I’ve improved my PixInsight workflows, upgraded the focal reducer, and learned how to take better flat frames.
Imaging Workflow
This image followed the Broadband Workflow for Galaxies and Reflection Nebula.
Integrated Image
I started off with three images for red, green, and blue filters. I did my normal integration process using the PixInsight Weighted Batch Preprocessing Script.
Gradient Correction
The Gradient Correction process made it easy to remove the extreme darkness/brightness around the edges.


Deconvolution
BlurXTerminator is applied two times. The first time is for Correction only. This takes care of the coma (blurring of stars along the edges).
The second application of BlurXTerminator handles deconvolution, which improves the sharpness and details of the nebula while removing the blur from the image.


Noise Reduction
With the blurring corrected, it is time to do noise reduction. This time I used the new NoiseXTerminator add on.

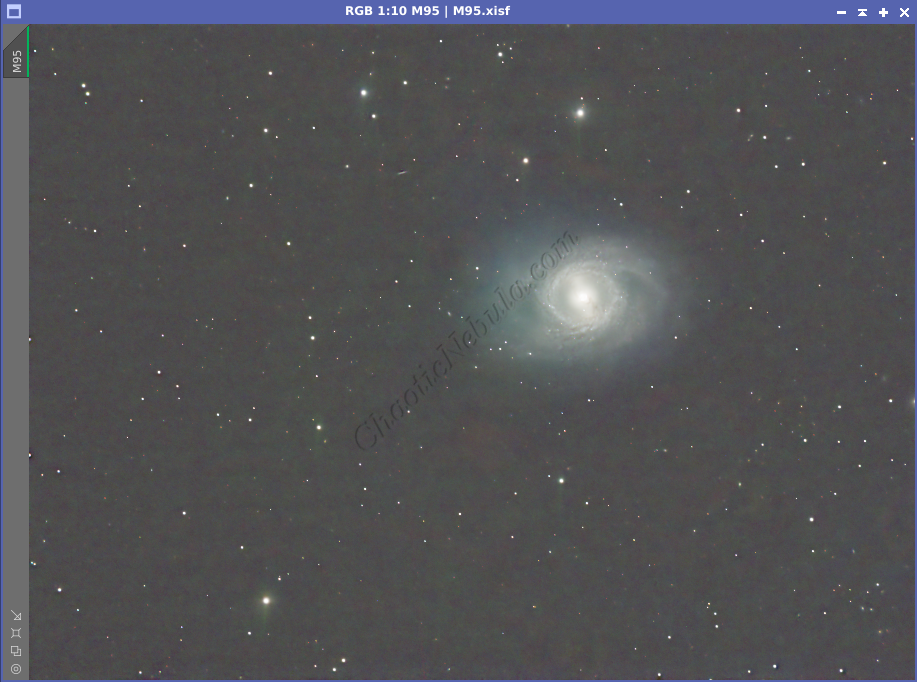
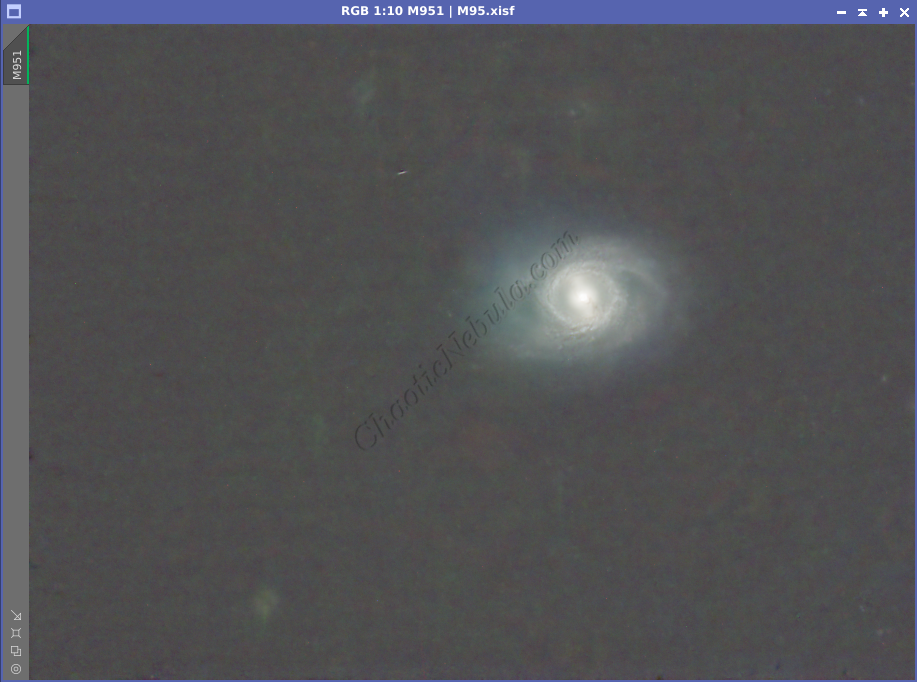
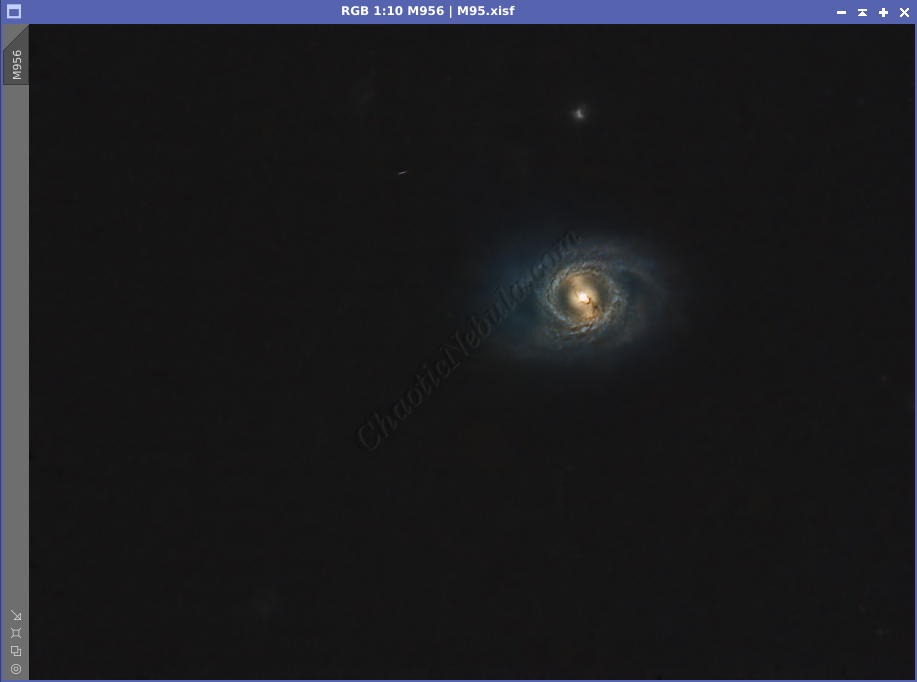
Channel Combination for RGB
The next step is to do a Linear Fit and then a Channel Combination to combine the channels into RGB.
In addition, once the color image was created, the luminance channel was extracted to be used for the luminance workflow.
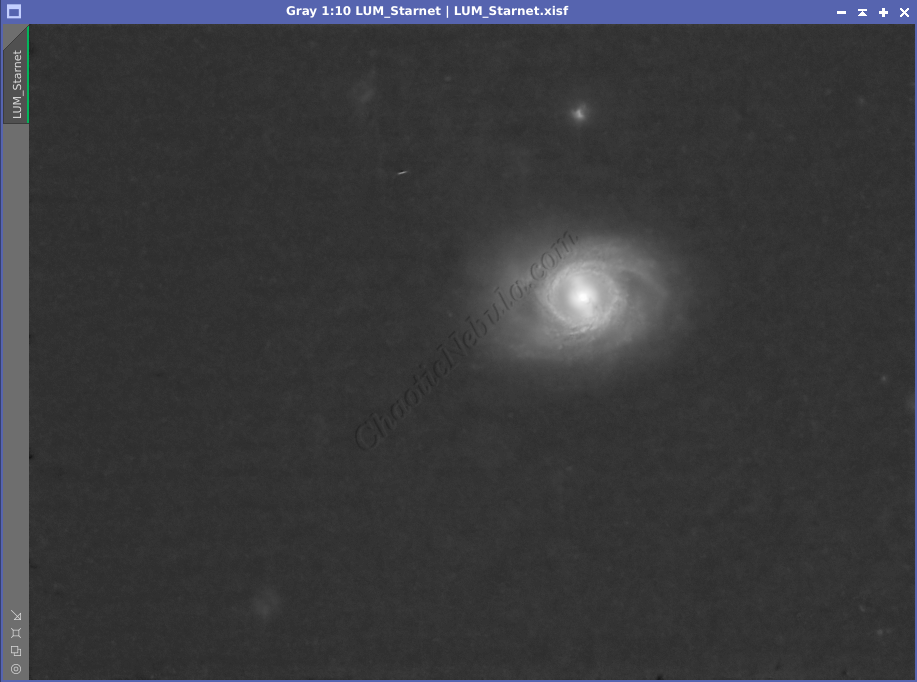
Star Removal
To better protect the stars from bloating due to additional processing, they are removed with StarNet+
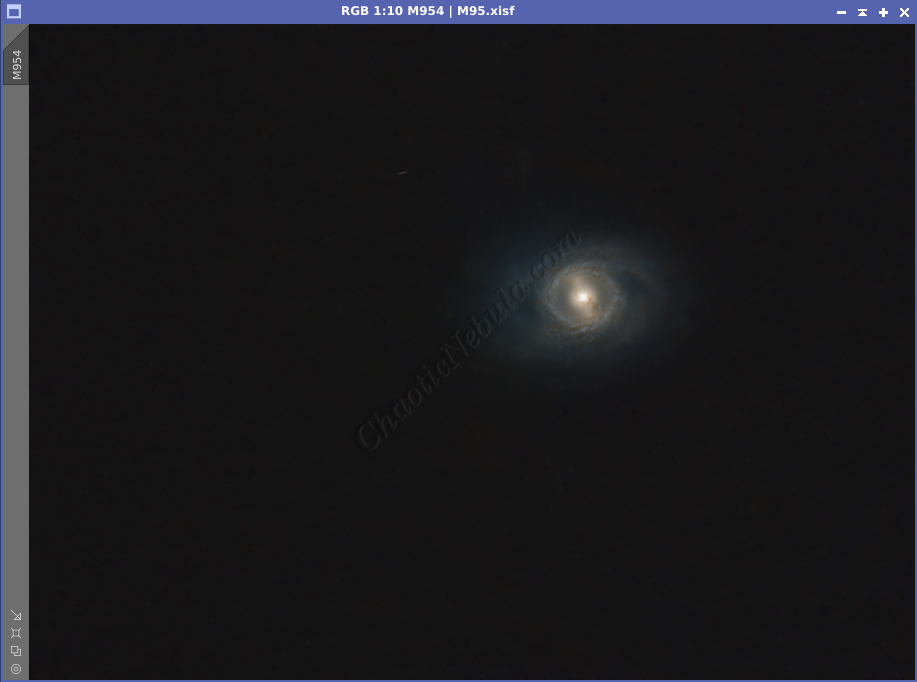
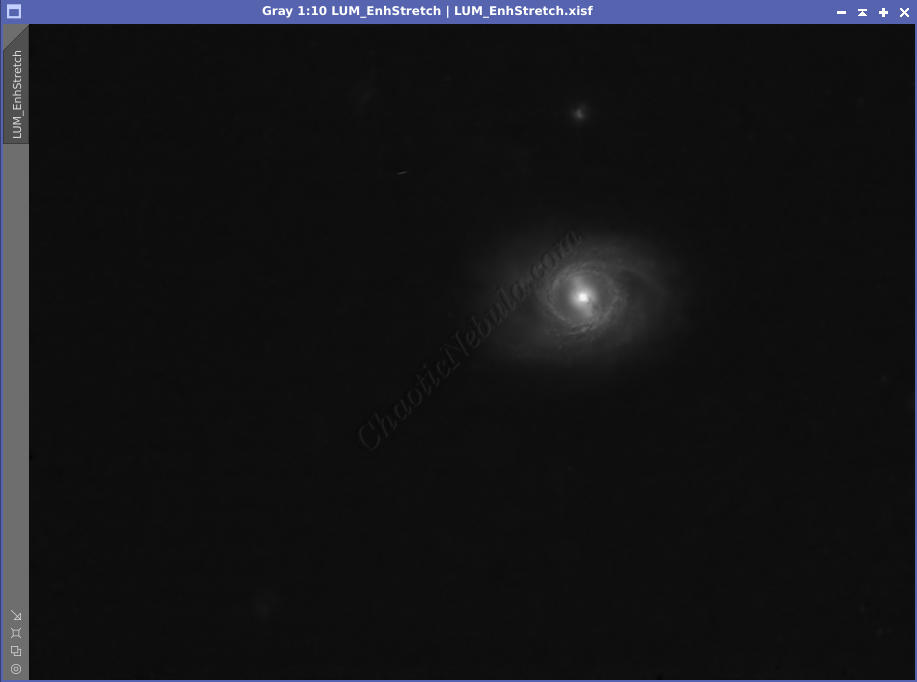
Histogram Stretch
I used histogram transformation to stretch the image. Although the image appears dark, the entire image will get brighter when the synthetic luminance is added.

SCNR
To remove the slight green hue, SCNR was applied.

Color Saturation
PixInsight Curves Transformation increased the overall color saturation.
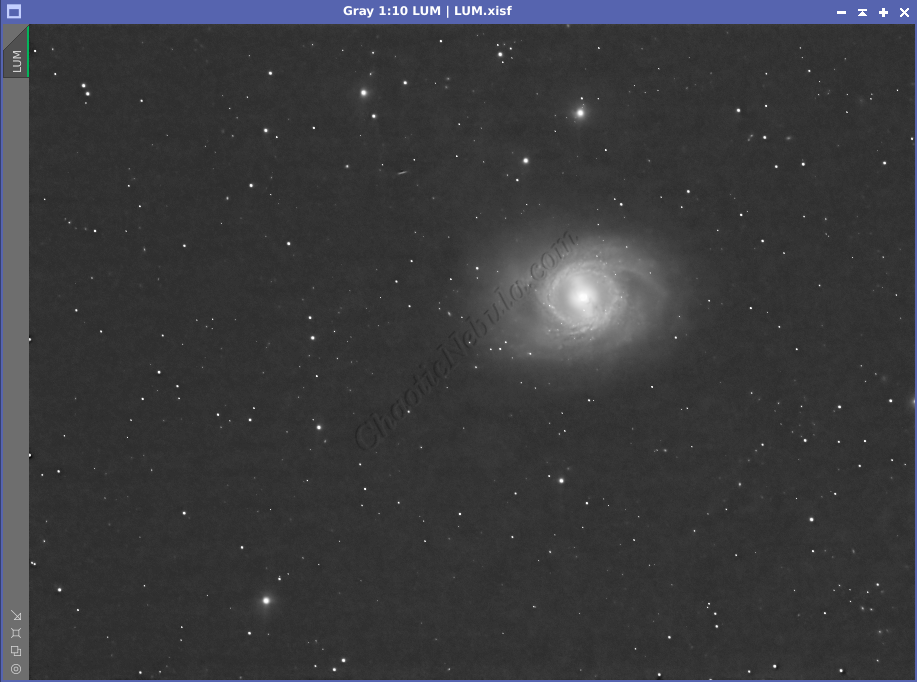
Luminance Workflow
Before doing anything more to the color image, it is time to go through the Luminance Workflow.
Deconvolution was skipped as it was done to the RGB image with the use of BlurXTerminator.


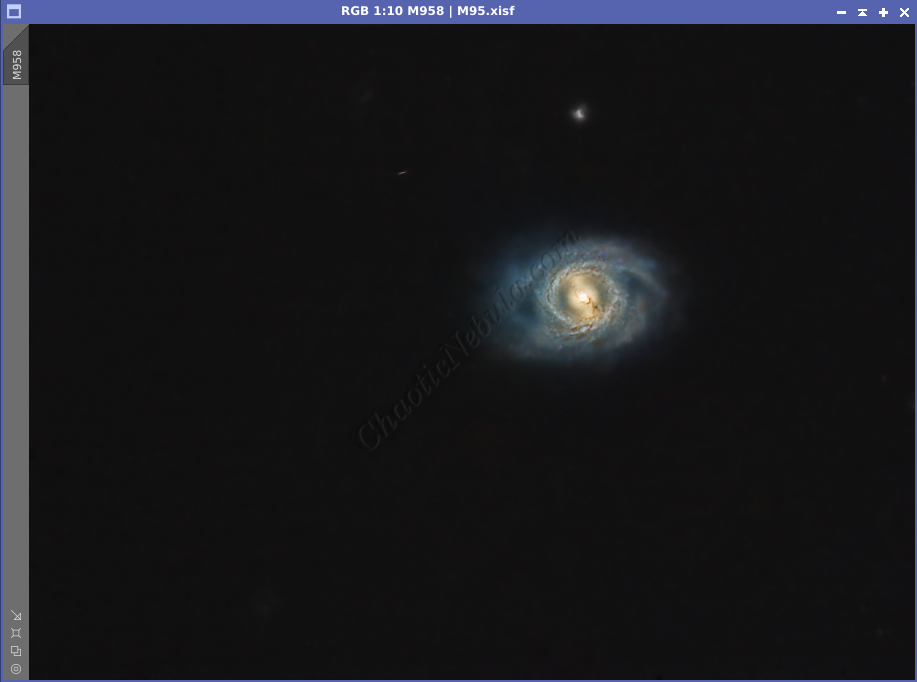
Luminance Integration (LRGB)
With the luminance image processed, it can get integrated with the color image with LRGB Combination process. This used 45% for lightness and 35% for saturation.

Saturation
PixInsight Curves Transformation increased the overall color saturation.
Brightness
PixInsight Curves Transformation increased the overall brightness.

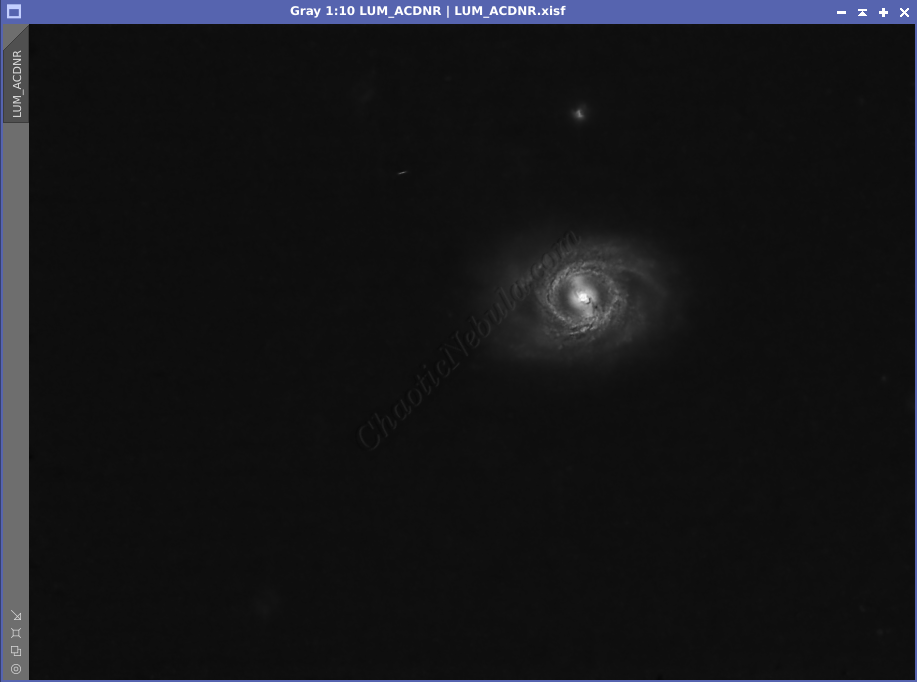
ACDNR for Chrominance
Although NoiseXTerminator did a great job in removing the noise from the image early on in the workflow, some of the processing might have added noise in the color. Applying ACDNR for only chrominance helps correct this without losing details.
Stars
Pixel Math was used to re-add the star field back into the image. The luminance star field was used as a mask and the color star field was then applied.
Final Adjustments
To finish the image, I make a few minor tweaks to the brightness and colors of the stars using Curves Transformation.