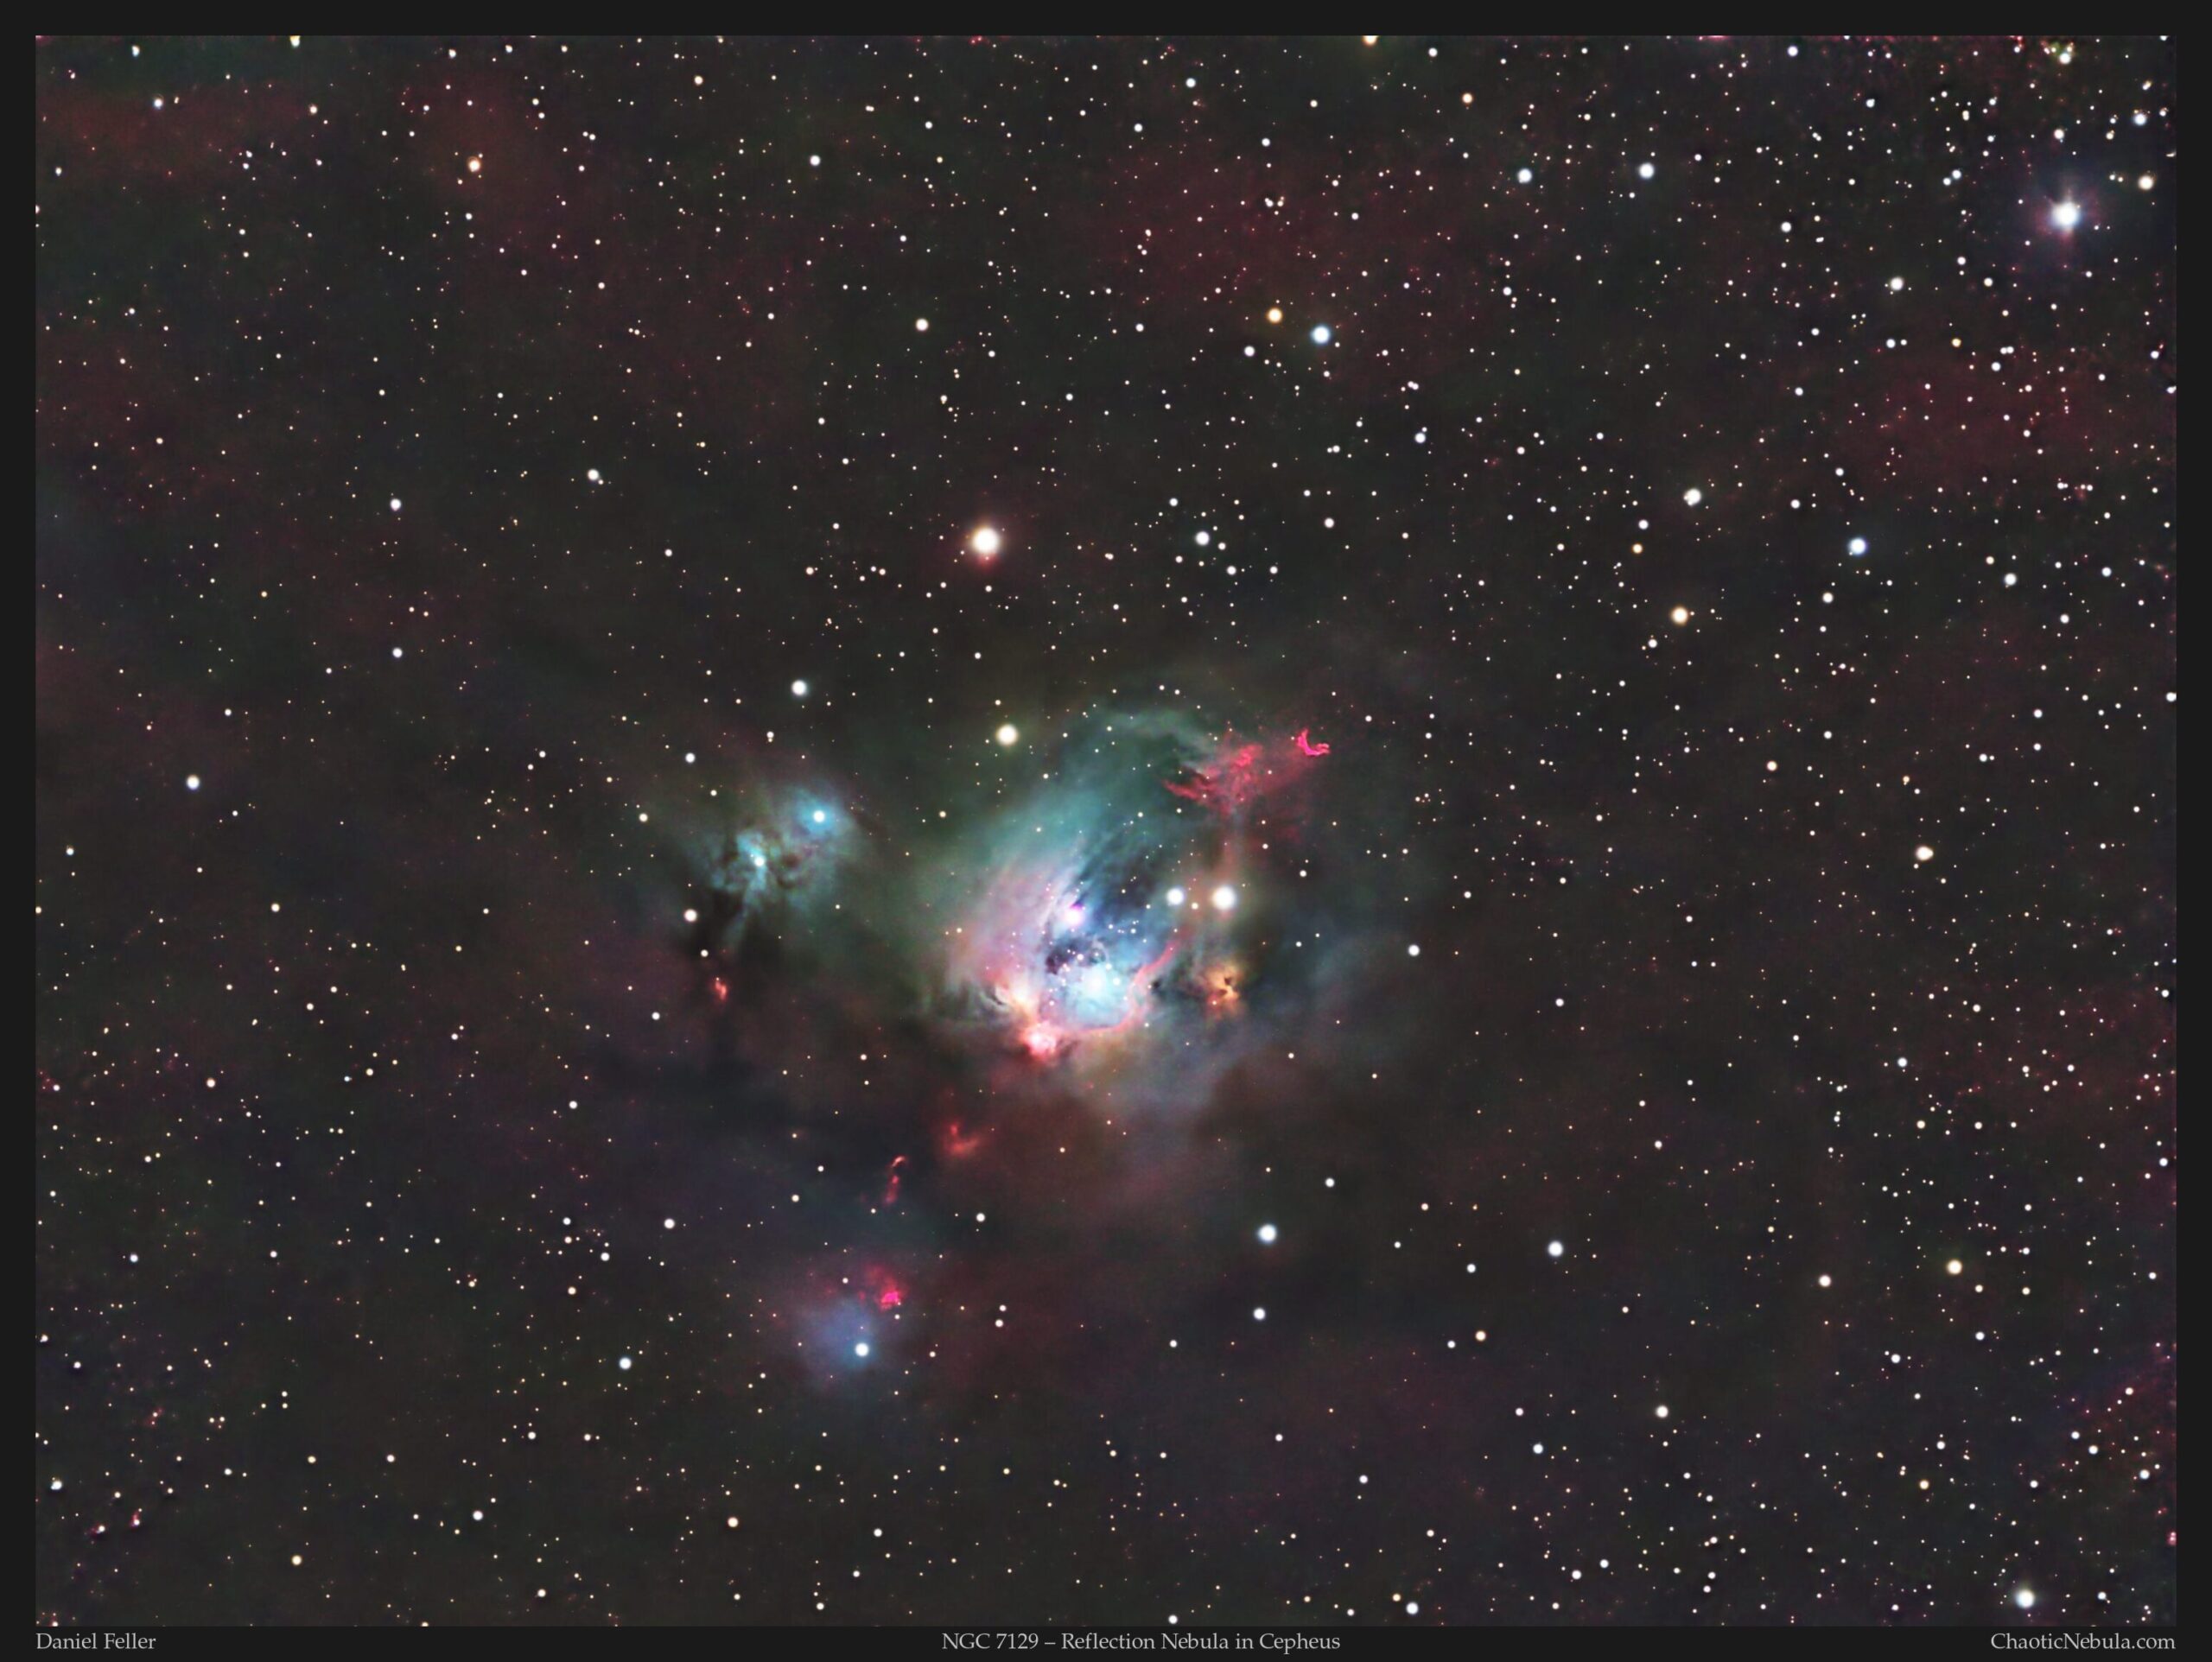
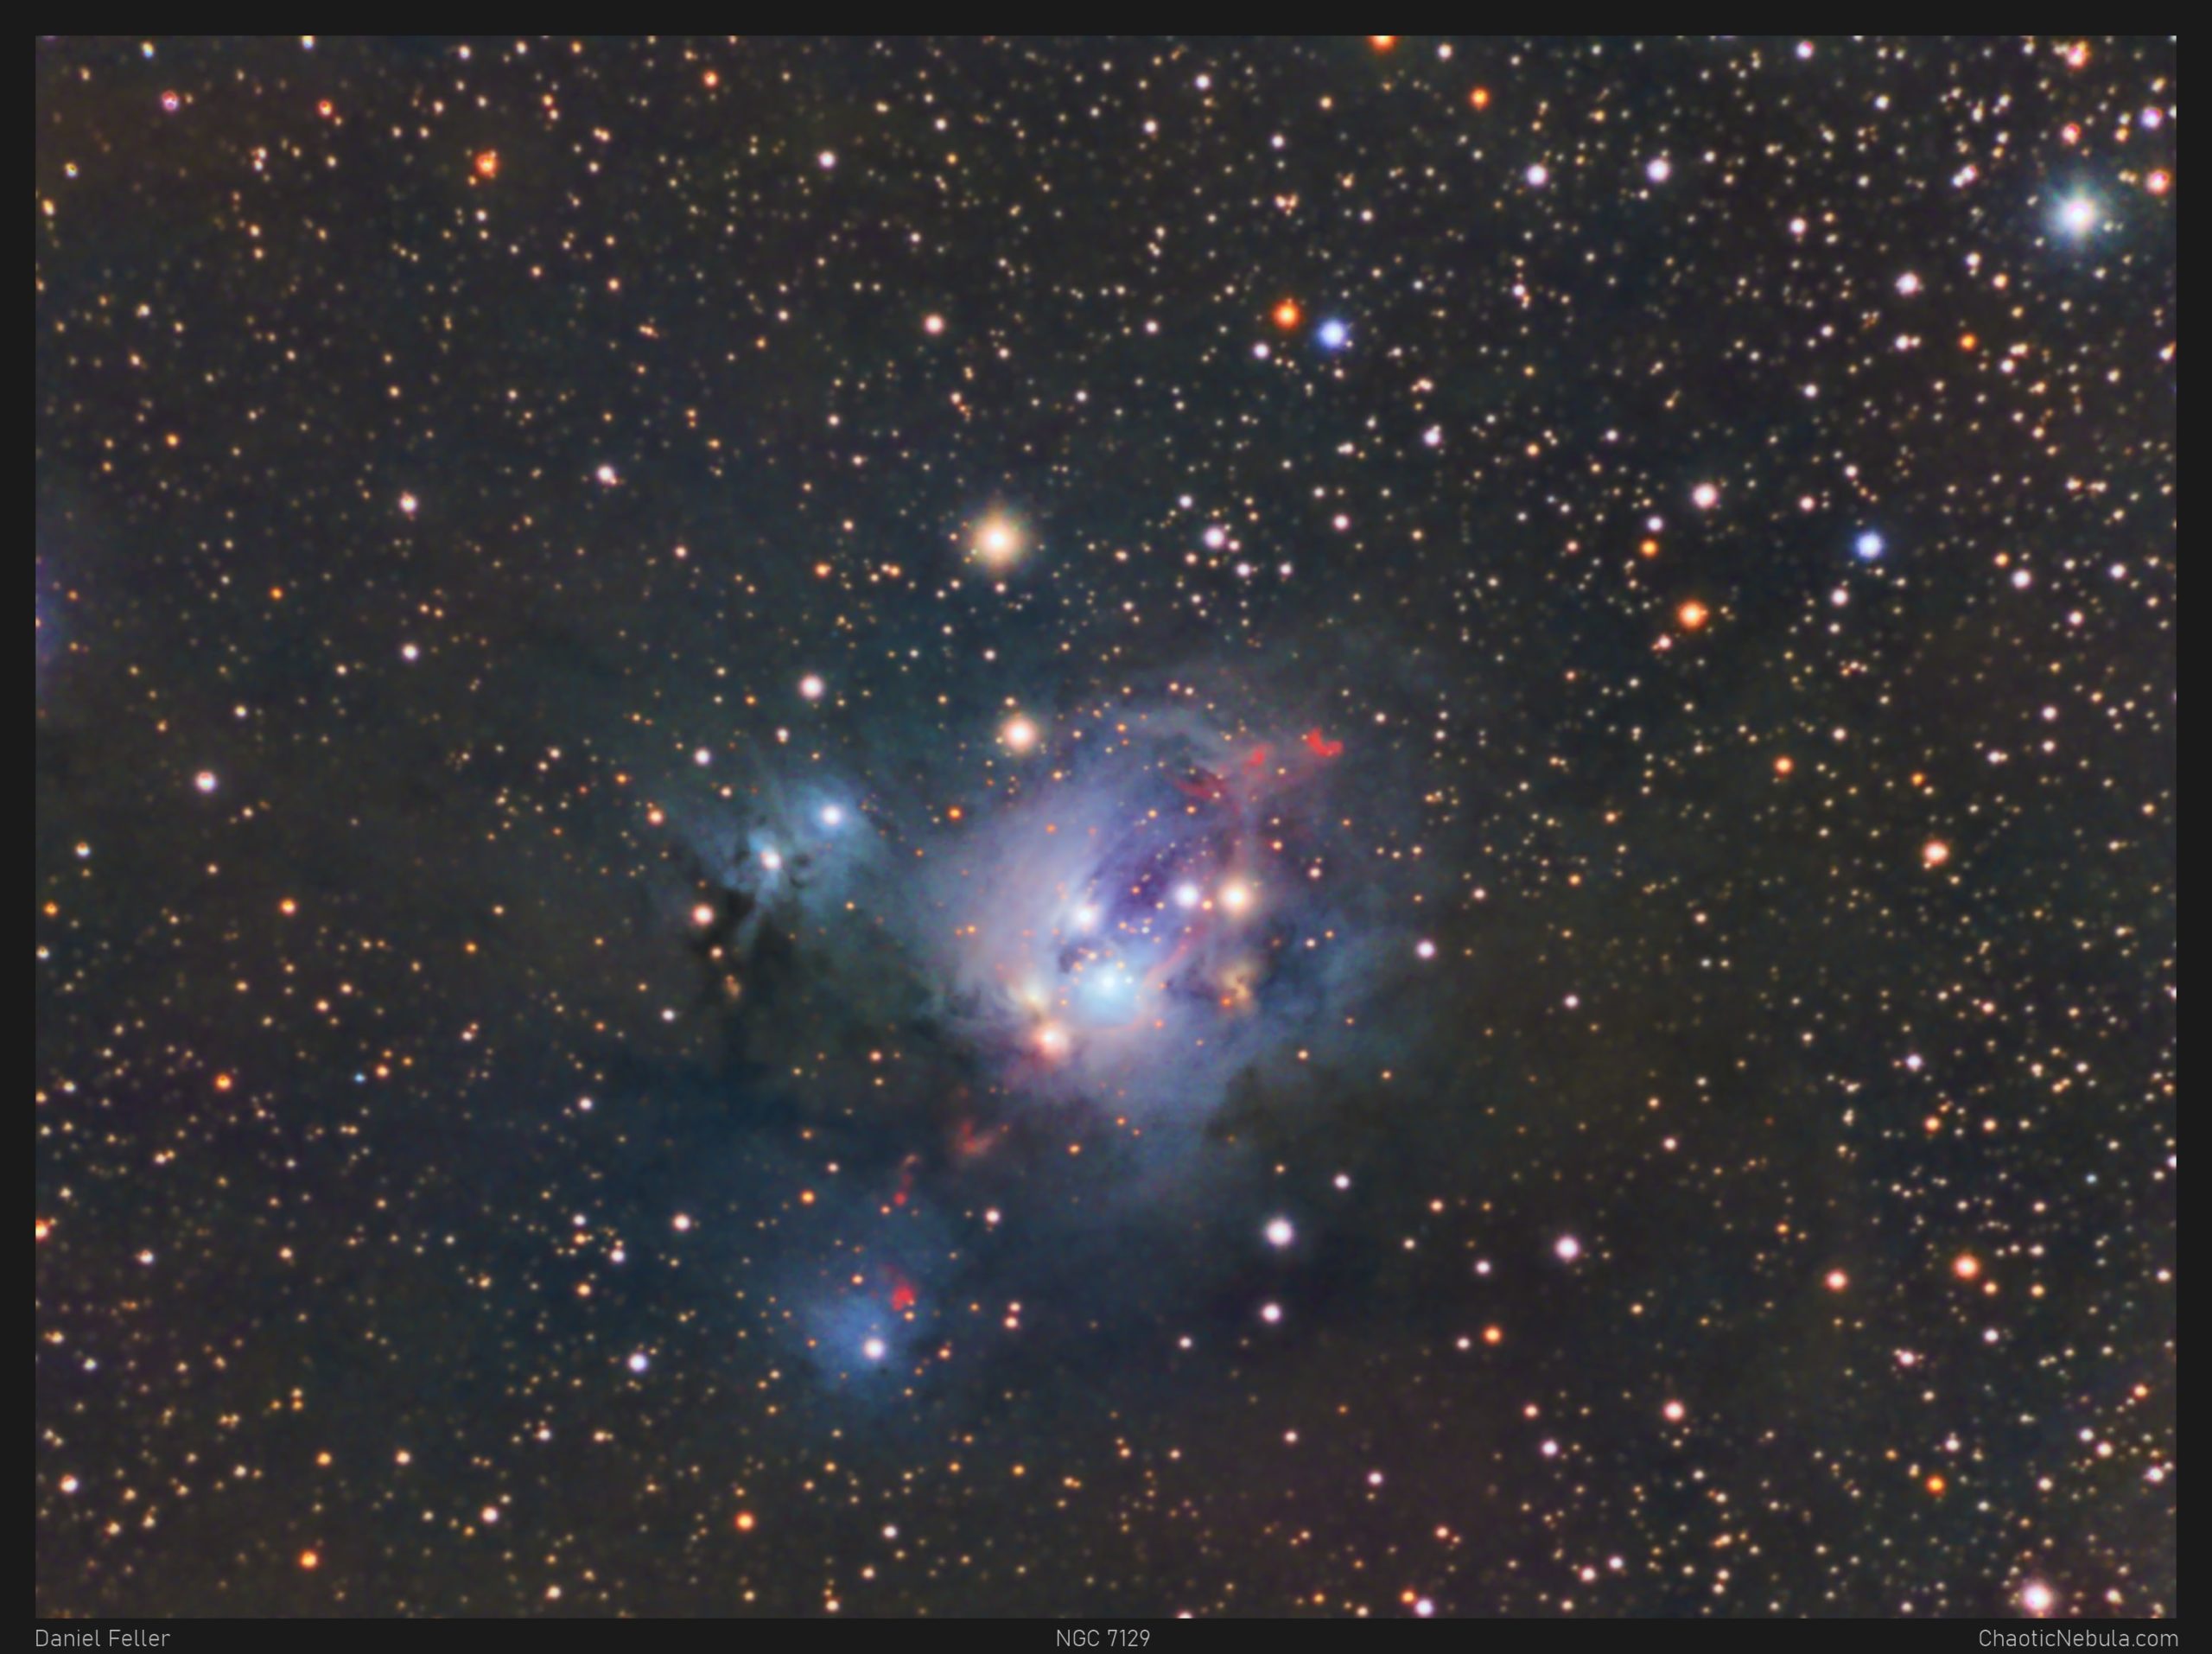
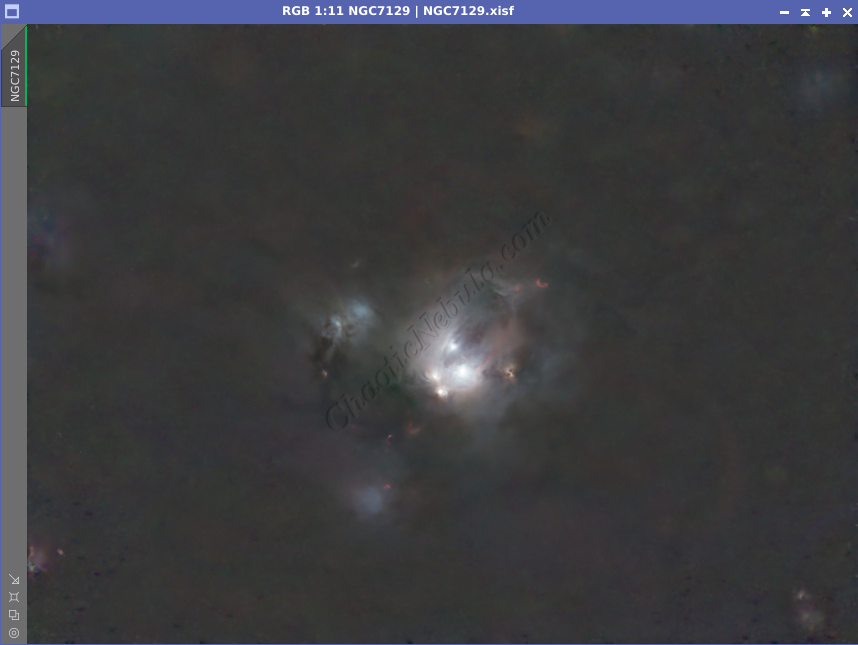
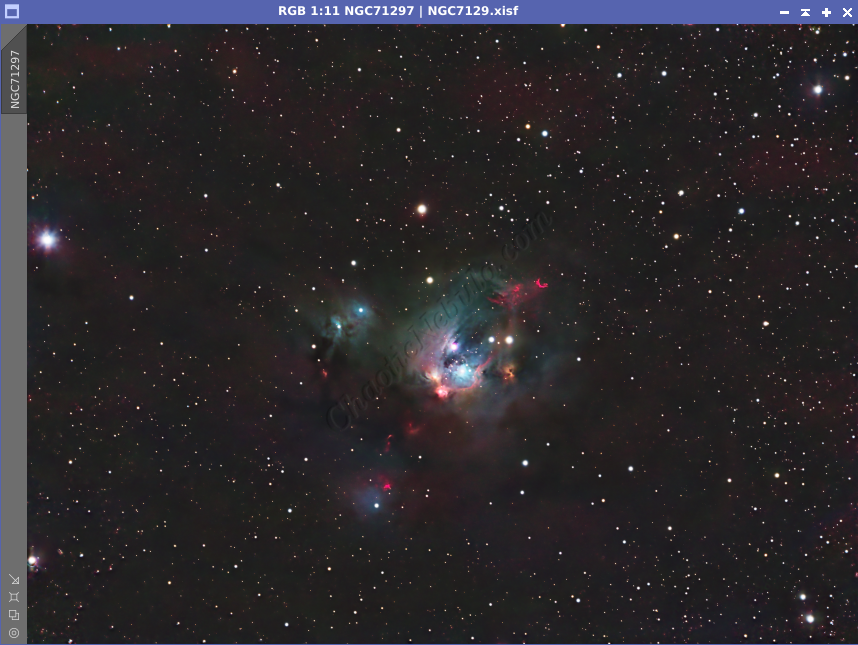
Located roughly 3,300 light-years away in the constellation Cepheus, let’s set our sights on a particularly stunning reflection nebula known as NGC 7129. NGC 7129 isn’t your average nebula. Unlike its emission nebula cousins that produce their own light, NGC 7129 reflects the light from a young, energetic star cluster at its heart.
The star cluster within NGC 7129 is an infant in stellar terms. Most of its member stars are estimated to be less than a million years old. These stellar newborns are actively sculpting their surroundings, blasting away at the surrounding gas and dust with their strong stellar winds. This stellar sculpting has formed a cavity within the nebula, giving it a distinctive rosebud-like appearance.
The nebula is faint and small. Imaging this beauty requires a significant amount of time to capture the intricate details.
Imaging Details
- Workflow: Broadband workflow for Nebula
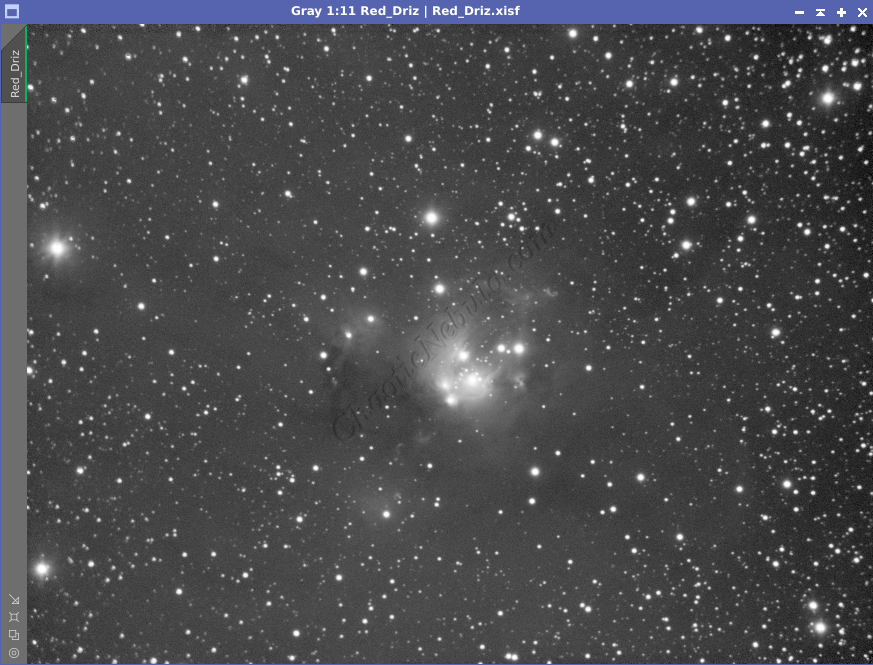
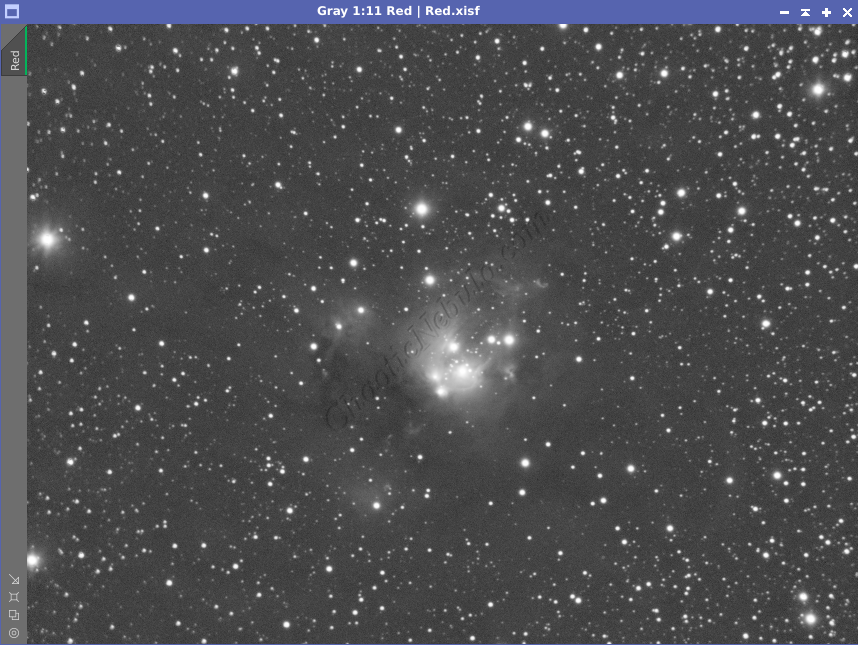
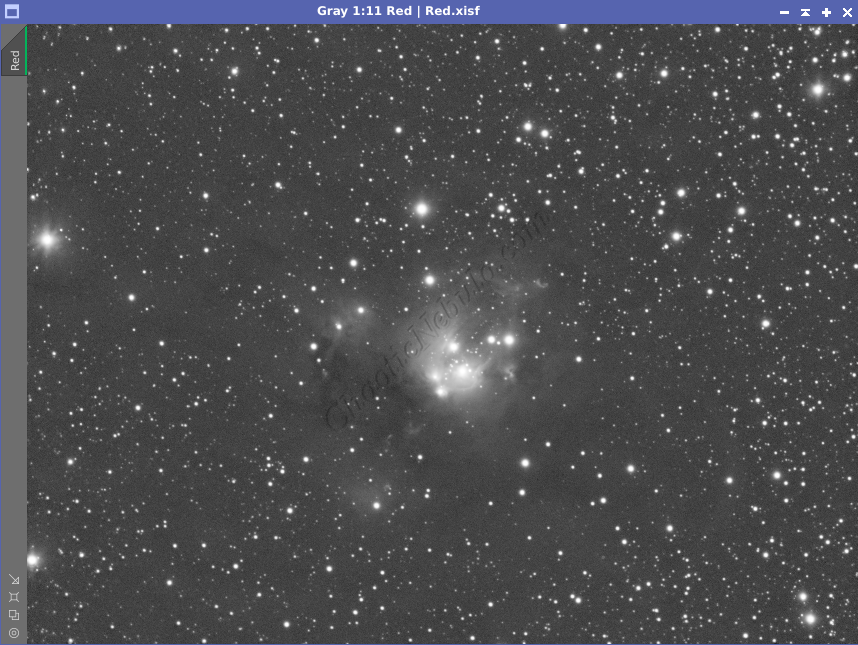
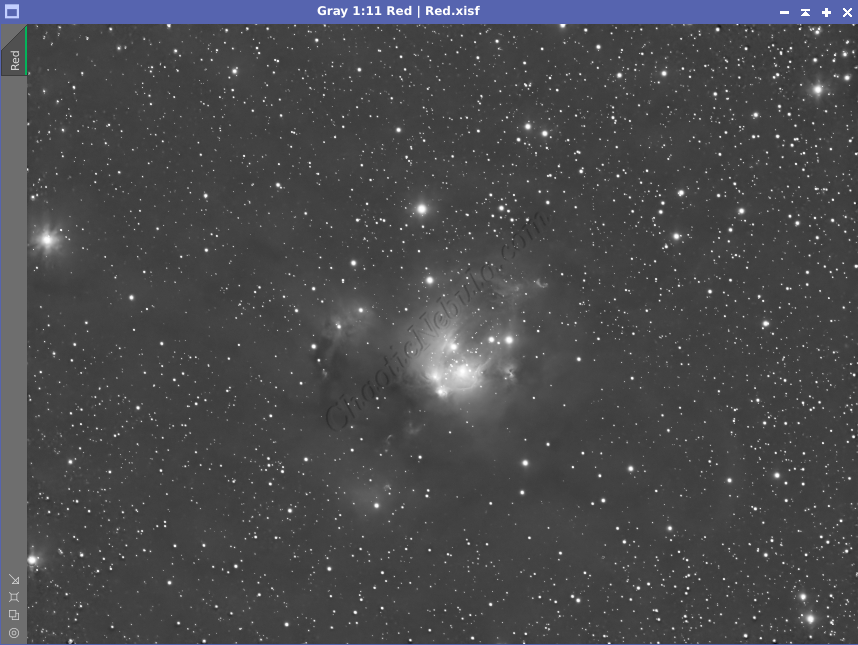
- Red: 60*600 seconds
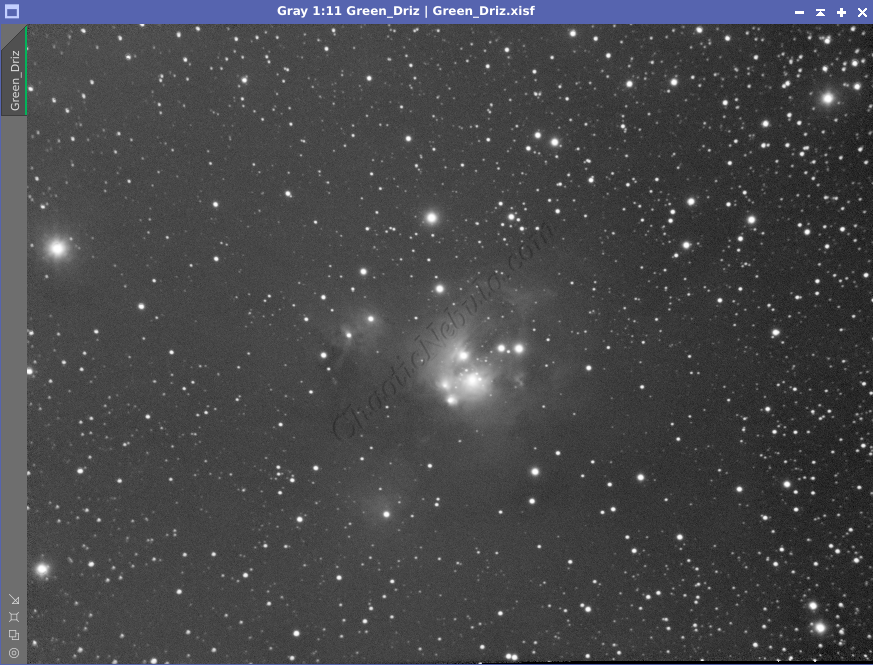
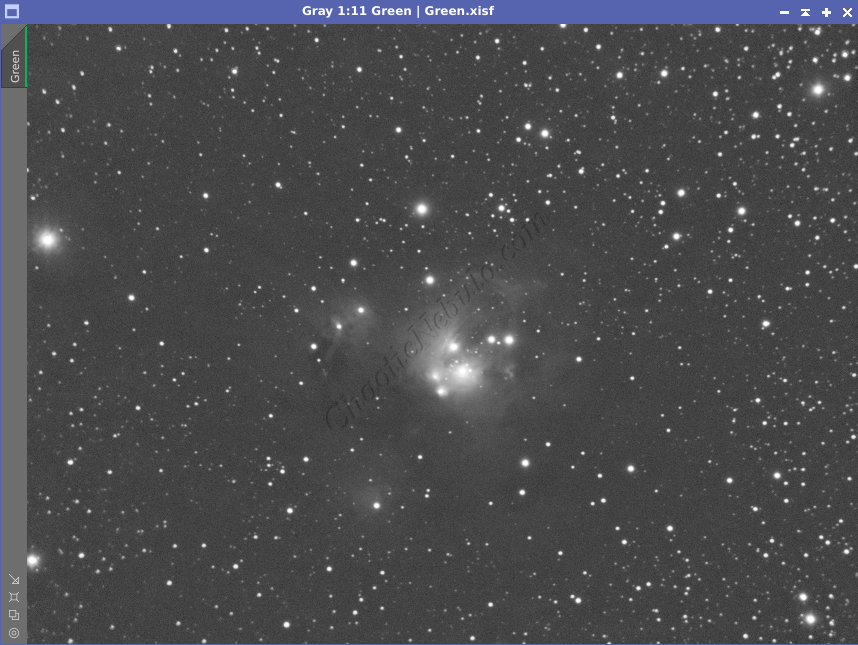
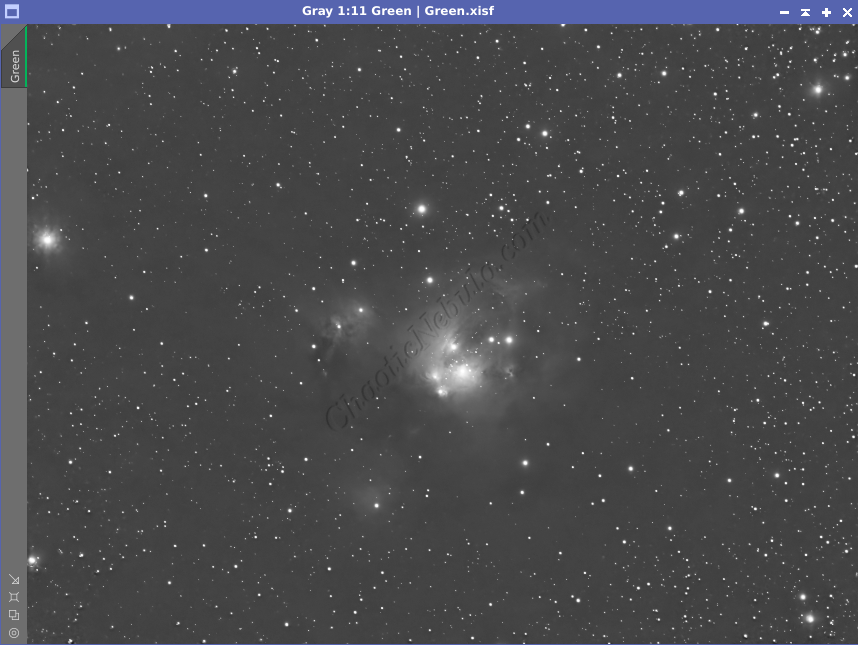
- Green: 60*600 seconds
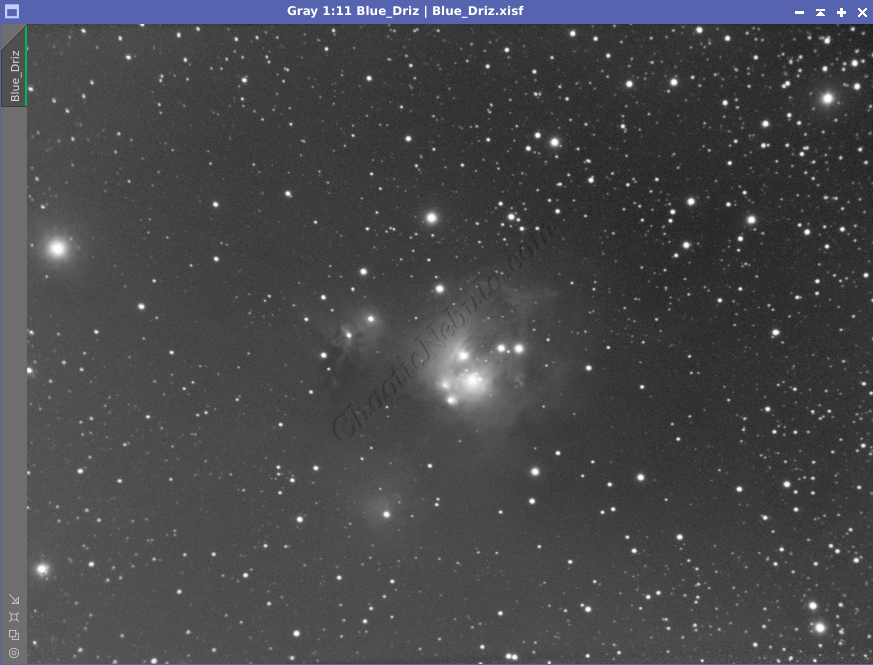
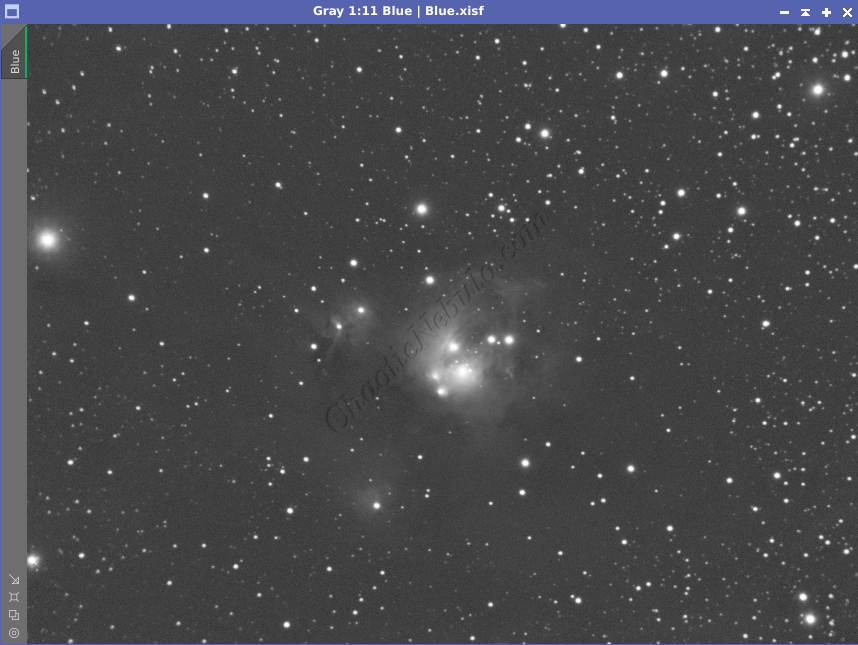
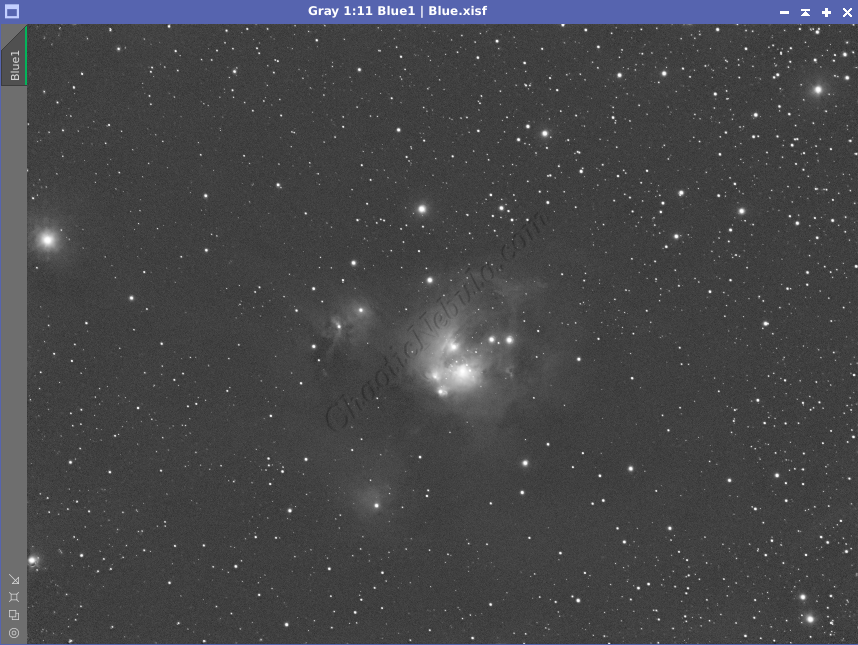
- Blue: 60*600 seconds
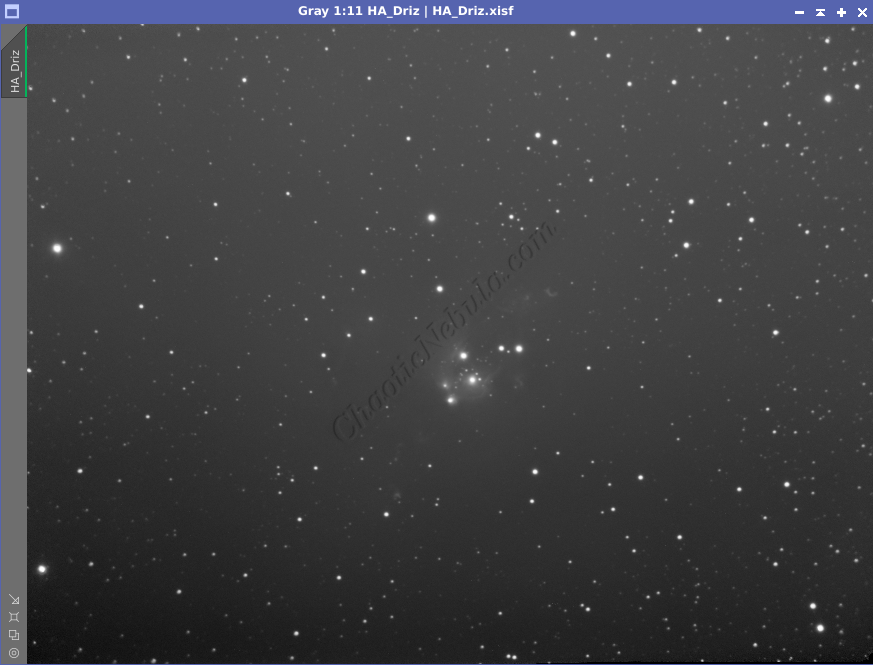
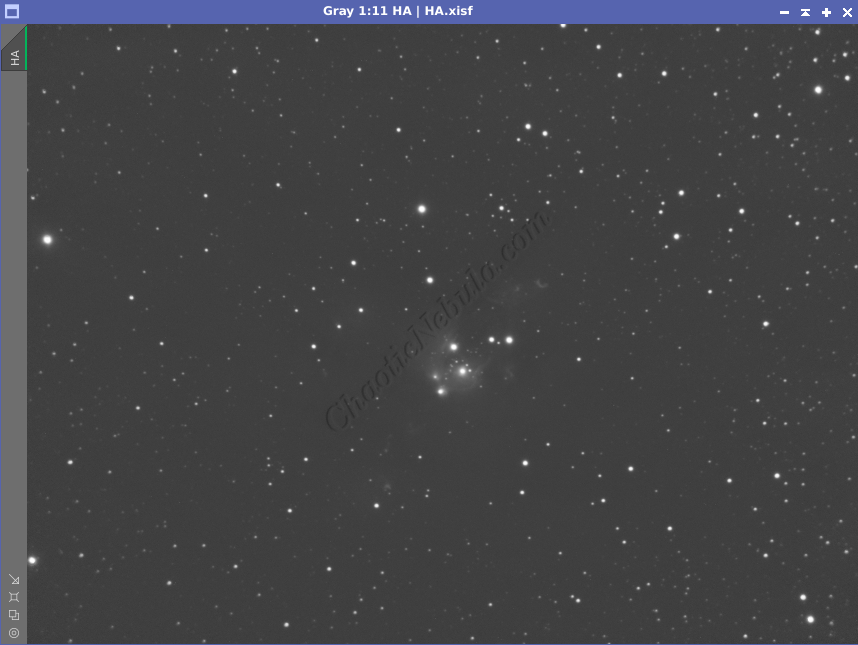
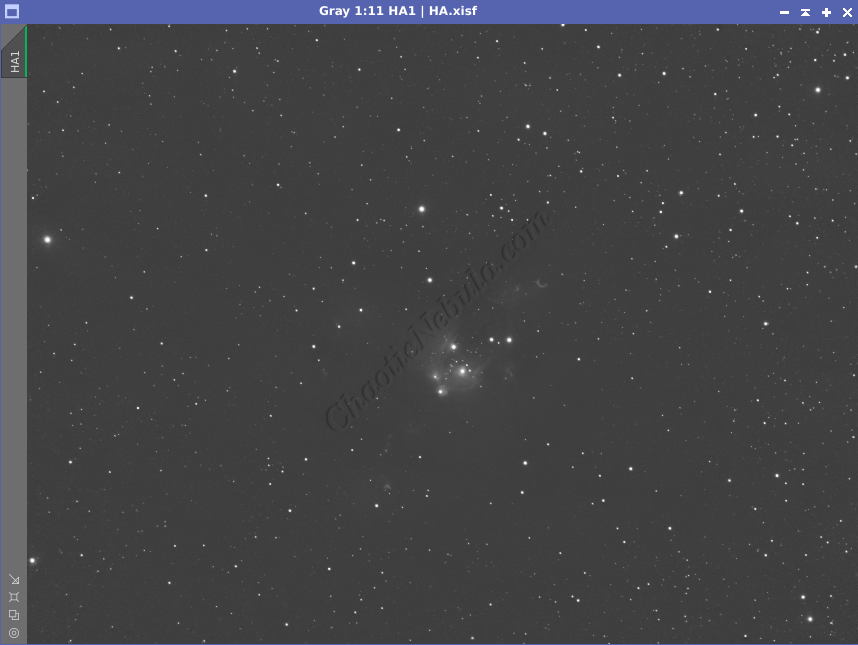
- Hydrogen-Alpha: 60*600 seconds
- Binning: 1×1
- Total Imaging Time: 40 hours
- Imaging Dates: (8 nights)
- 9/17/2021
- 9/21/2021
- 9/22/2021
- 9/23/2021
- 9/25/2021
- 9/26/2021
- 9/27/2021
- 9/28/2021
Imaging Notes
This image is a reprocess from an earlier attempt. Based on my knowledge and experience with PixInsight, and the recent inclusion of BlurXTerminator and NoiseXTerminator, I wanted to see what kind of improvement I could make on the original process done in 2021.
When originally completed, I was pleased with the result of the image. I was able to capture quite a big of detail in the core as well as some of the dust surrounding the nebula. The new process looks like it came from a different telescope, camera, and data. There is less noise and more detail. I’m surprised at the improvement.
Imaging Workflow
This image followed the Broadband Workflow for Galaxies and Reflection Nebula, except for when I used NoiseXTerminator and BlurXTerminator
Integrated Image
I started off with two images for Hydrogen-Alpha and Oxygen-III filters. I did my normal integration process with drizzle integration.
Gradient Correction
The Gradient Correction process made it easy to remove the extreme darkness/brightness around the edges.
Deconvolution
BlurXTerminator is applied two times. The first time is for Correction only. This takes care of the coma (blurring of stars along the edges).
The second application of BlurXTerminator handles deconvolution, which improves the sharpness and details of the nebula while removing the blur from the image.


Noise Reduction
With the blurring corrected, it is time to do noise reduction. This time I used the new NoiseXTerminator add on.


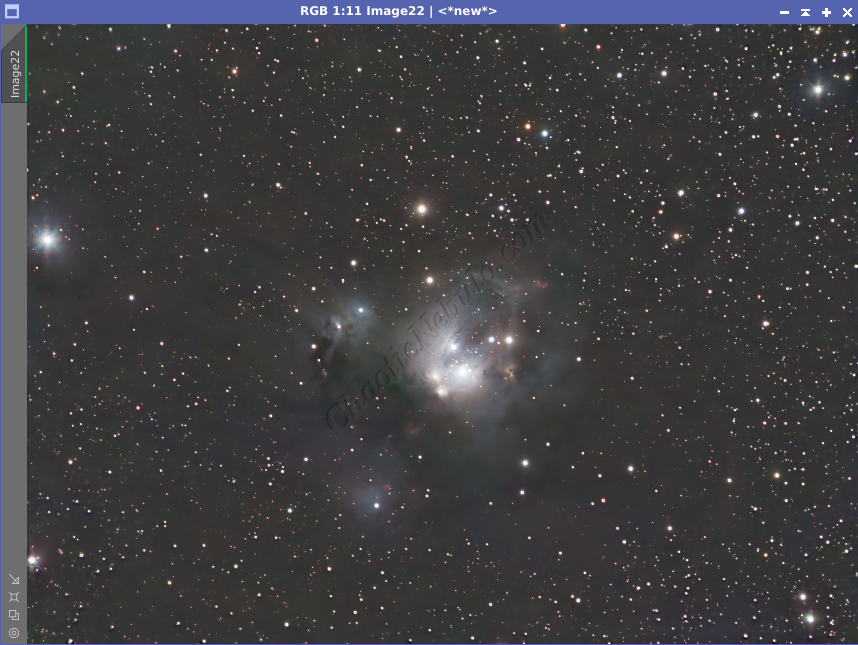
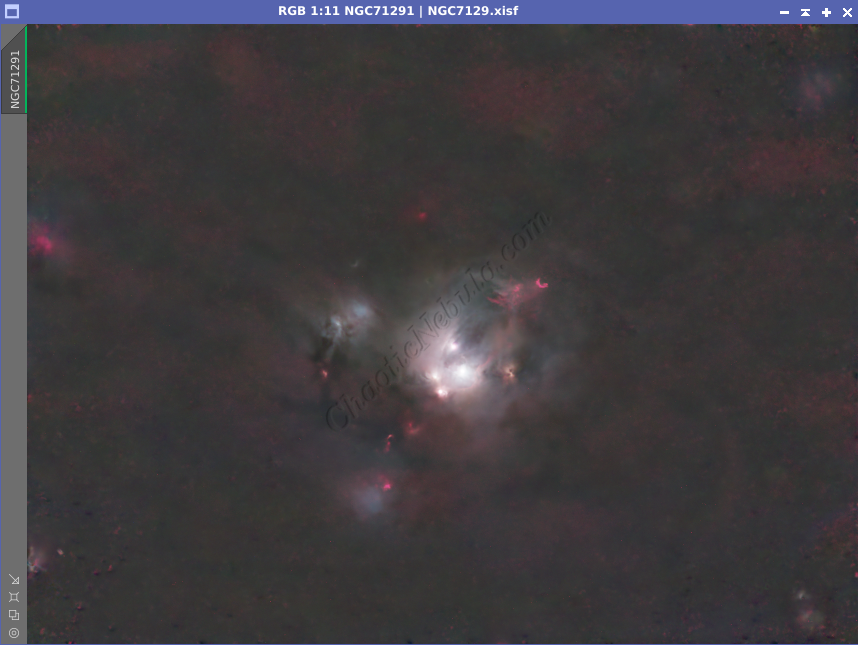
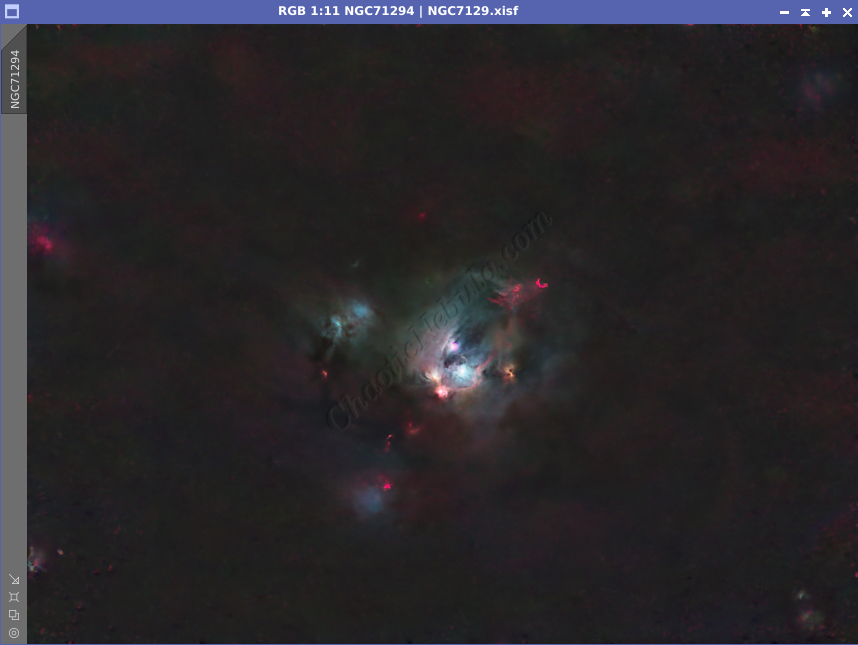
Channel Combination for RGB
The next step is to do a Linear Fit and then a Channel Combination to combine the channels into RGB.
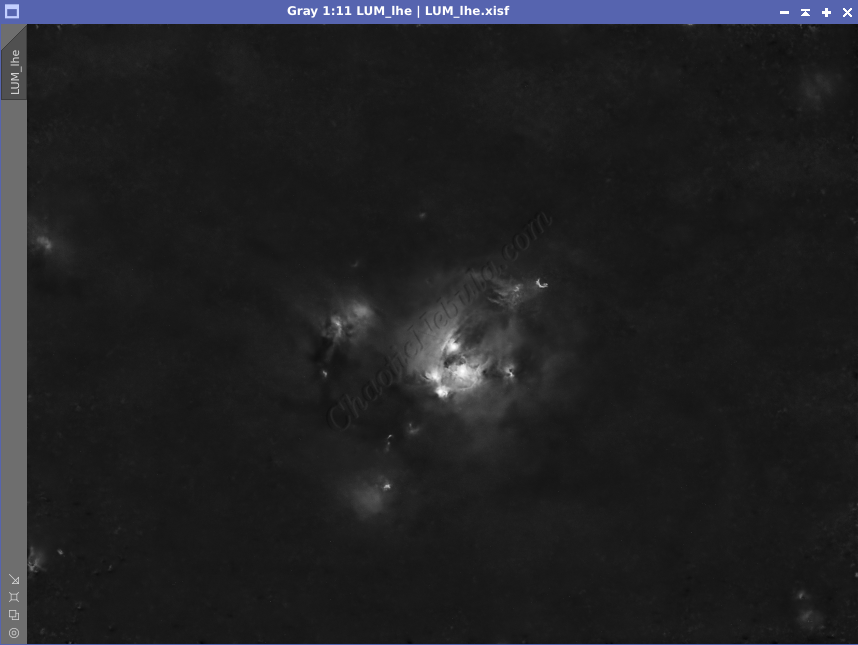
In addition, once the color image was created, the luminance channel was extracted to be used for the luminance workflow.
Star Removal
To better protect the stars from bloating due to additional processing, they are removed with StarNet+
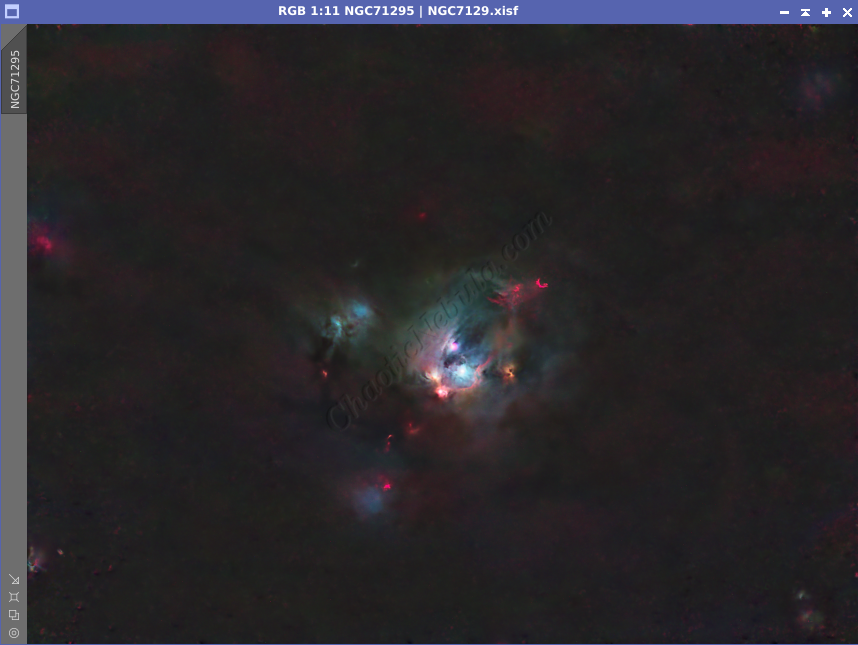
Narrowband Integration
At this point, it is time to add in the Hydrogen Alpha data by using the NBRGB Combination Script.
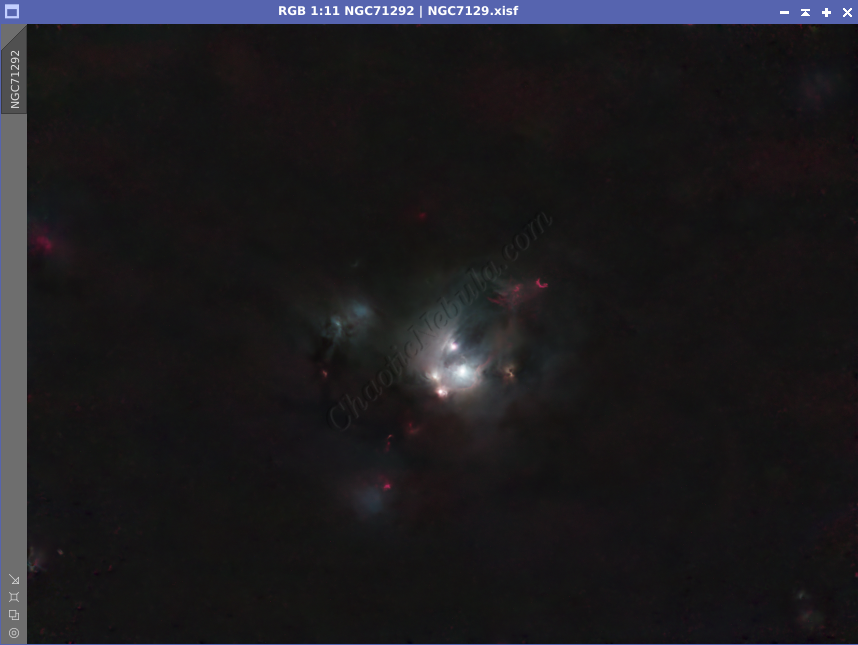
Histogram Stretch
I used histogram transformation to stretch the image. Although the image appears dark, the entire image will get brighter when the synthetic luminance is added.
Color Saturation
PixInsight Curves Transformation increased the overall color saturation.

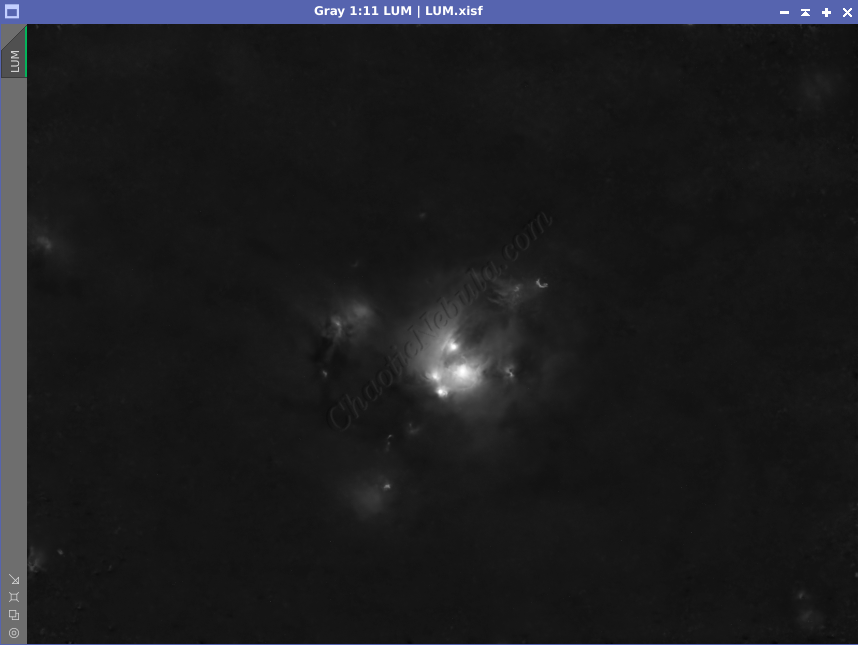
Luminance Workflow
Before doing anything more to the color image, it is time to go through the Luminance Workflow.
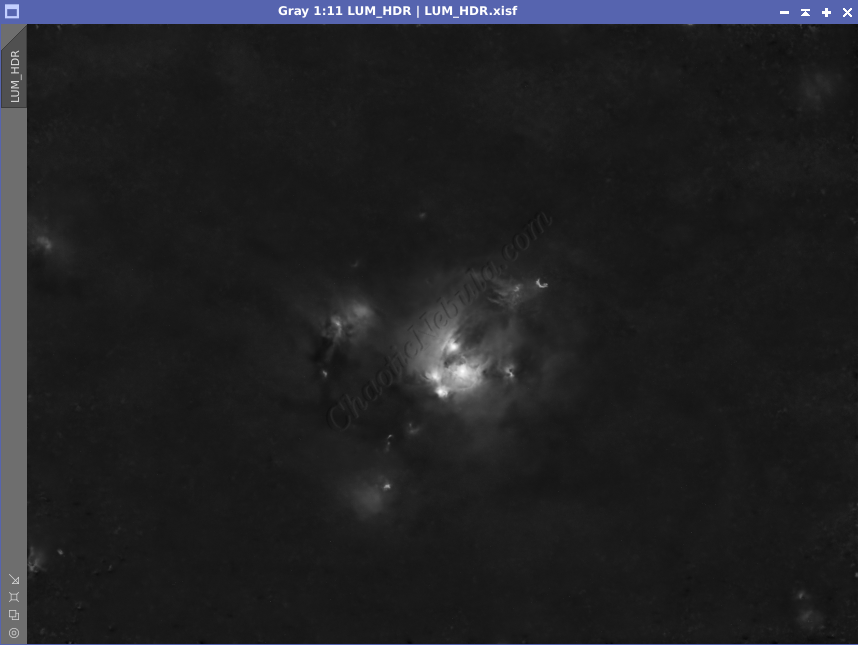
Deconvolution was skipped as it was done to the RGB image with the use of BlurXTerminator.


Luminance Integration (LRGB)
With the luminance image processed, it can get integrated with the color image with LRGB Combination process. This used 45% for lightness and 35% for saturation.
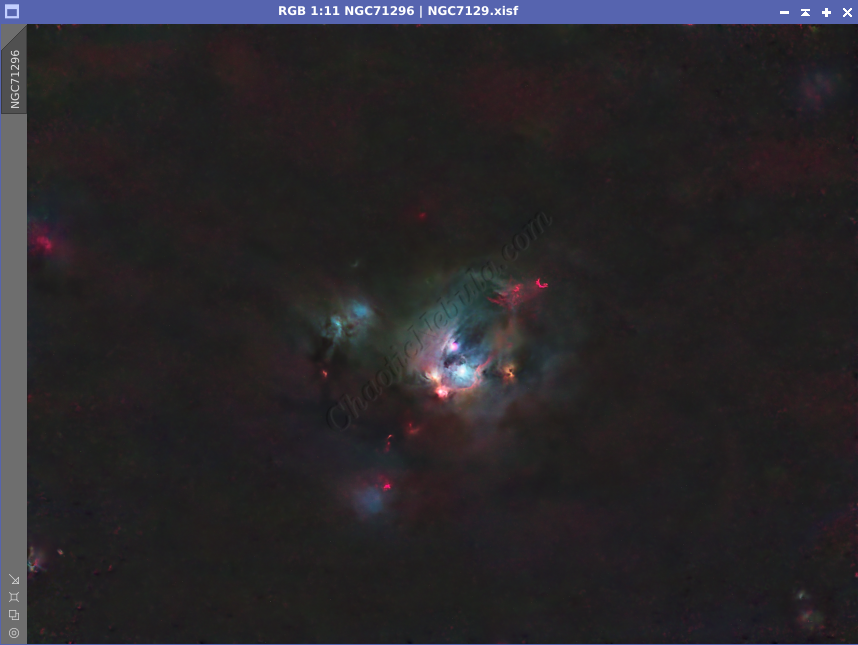
Saturation
PixInsight Curves Transformation increased the overall color saturation.
ACDNR for Chrominance
Although NoiseXTerminator did a great job in removing the noise from the image early on in the workflow, some of the processing might have added noise in the color. Applying ACDNR for only chrominance helps correct this without losing details.
Stars
Pixel Math was used to re-add the star field back into the image. The luminance star field was used as a mask and the color star field was then applied.
Final Adjustments
To finish the image, I make a few minor tweaks to the brightness and colors of the stars using Curves Transformation.