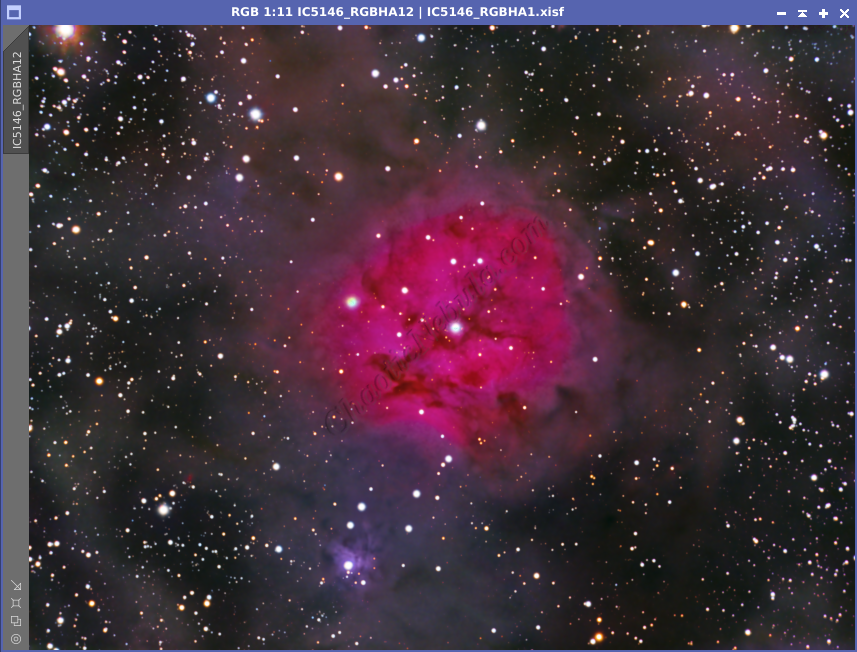
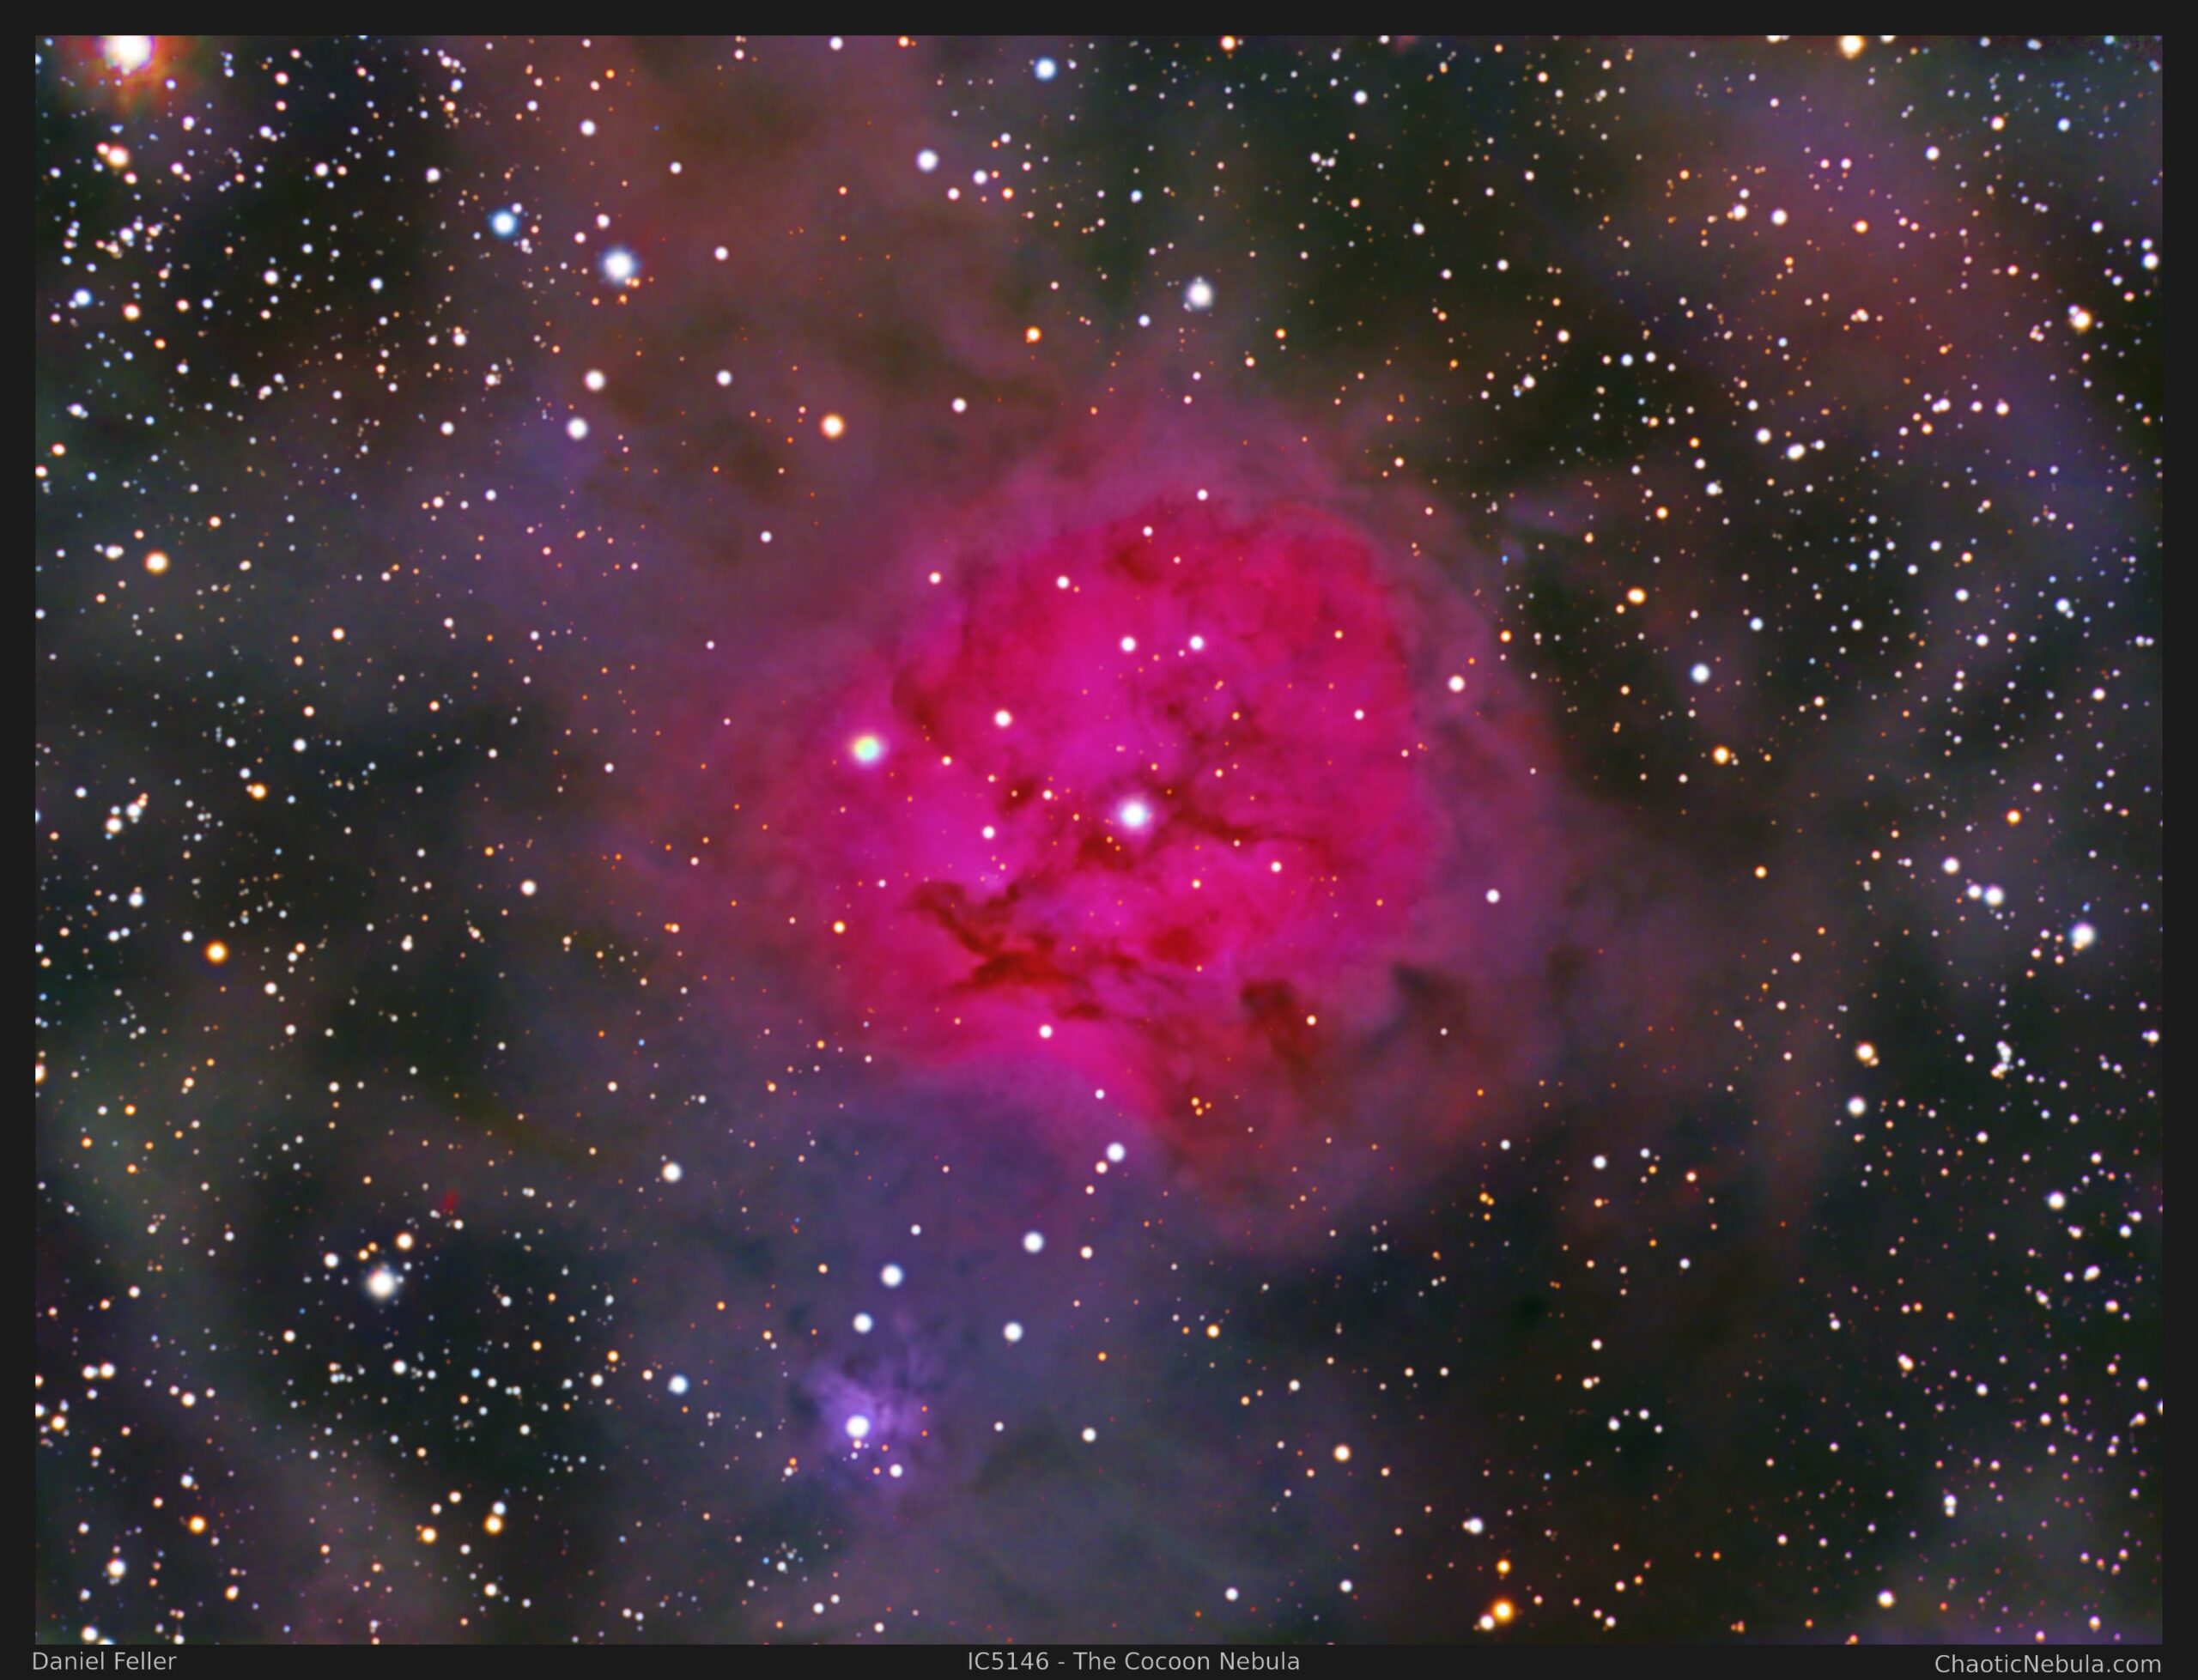
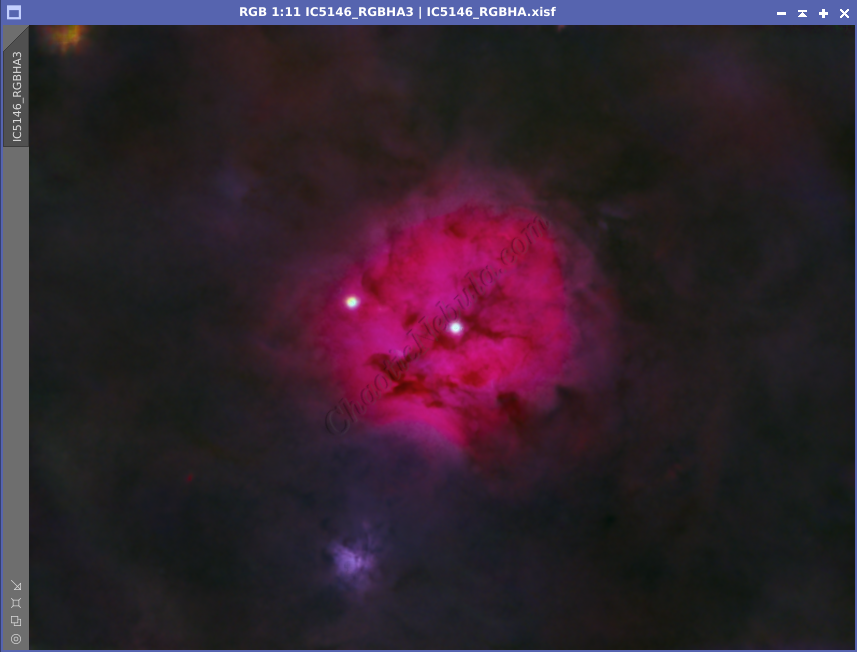
The constellation Cygnus has a stellar nursery called the Cocoon Nebula; which looks like a chicken’s face. This reflection/emission nebula is more than just a pretty picture; it’s a laboratory of life, where swirling dust and gas morph into blazing suns.
The Cocoon Nebula, also known as IC5146, Caldwwell 19, SH 2-125, and Barnard 168 is 3,262 light year away and an excellent target for astrophotographers.
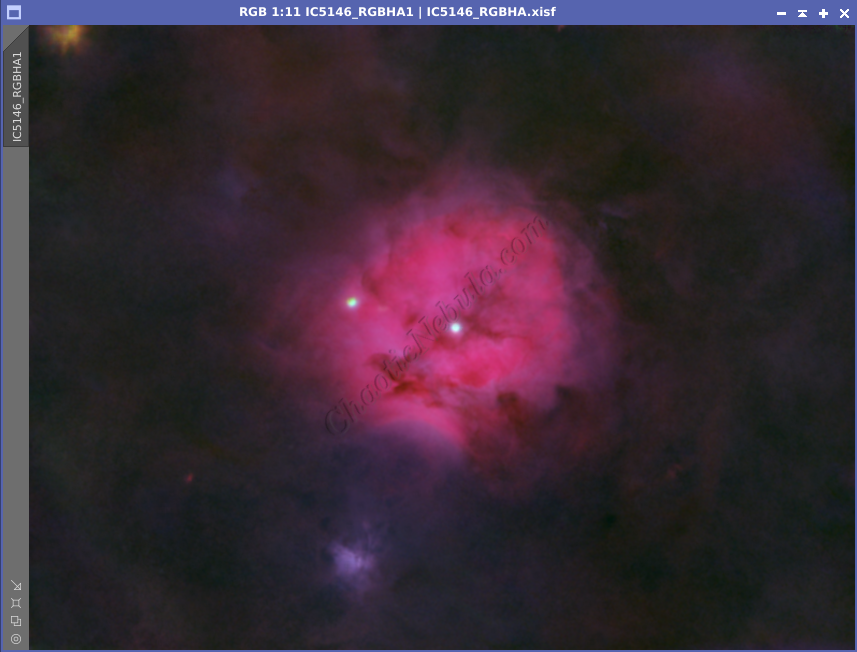
The Cocoon Nebula is aptly named because it is a hotbed of star formation, where hundreds of young stars were recently born. Because of the hot young stars, and available dust, the nebula boasts a wealth of color.
Surrounding the central region is the dust cloud known as Barnard 168, earning the nebula its Cocoon nickname. This dust plays a crucial role in the star formation, providing the raw materials for new stars.
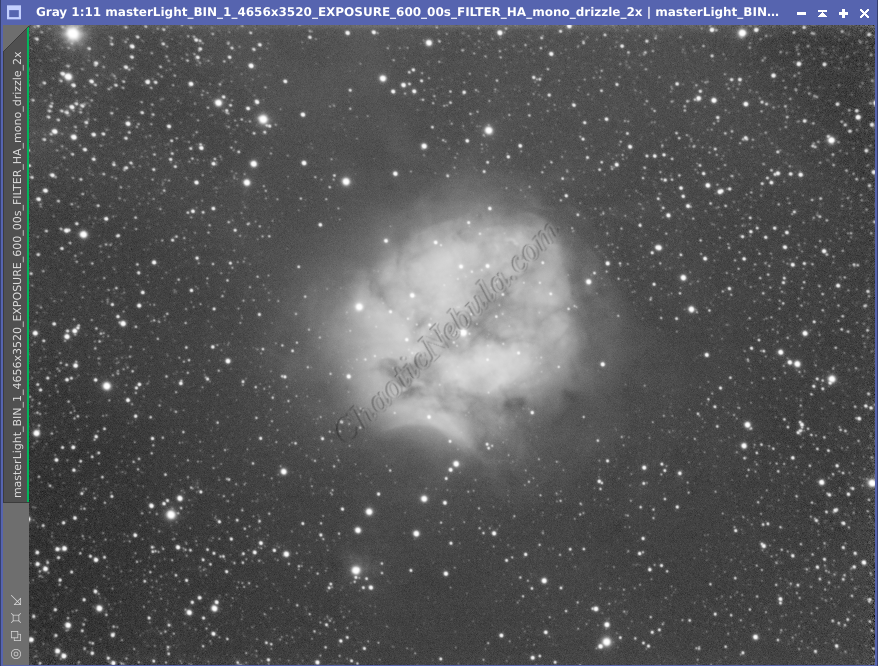
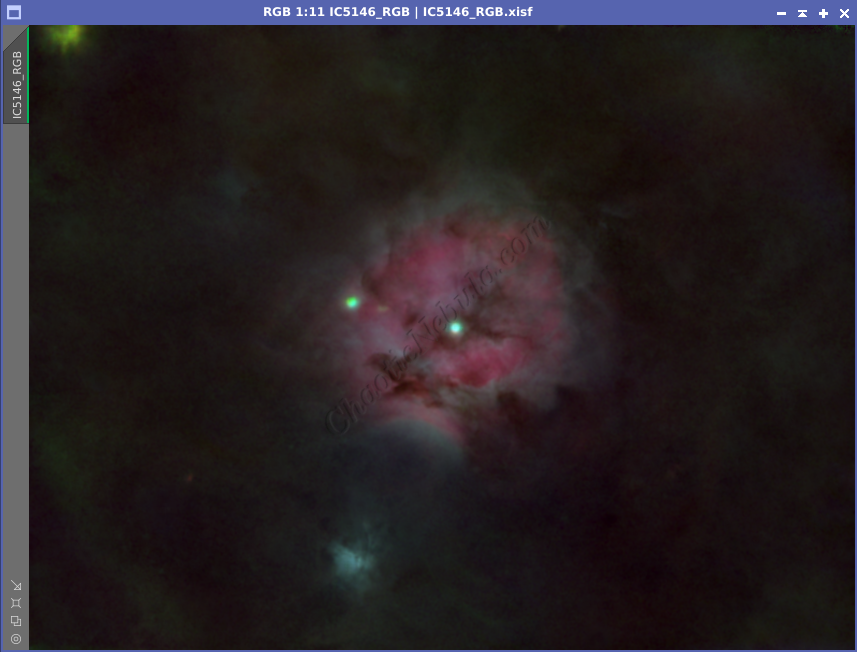
Because this is a reflection nebula, using Red, Green, Blue filters will help bring out the details. But the Cocoon Nebula is also an emission nebula, which means narrowband filters will also bring out other details.
Imaging Details
- Workflow: LRGBHA
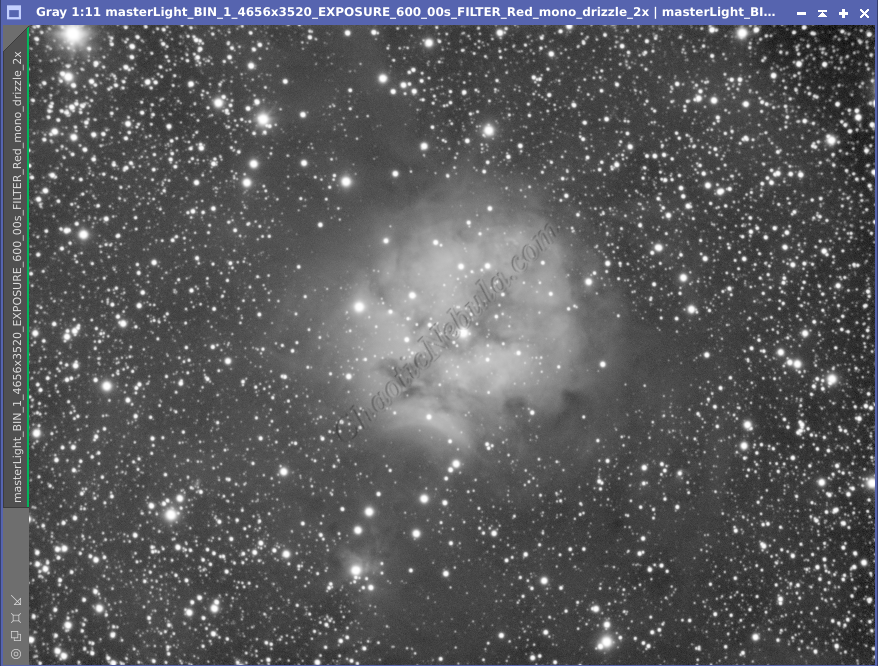
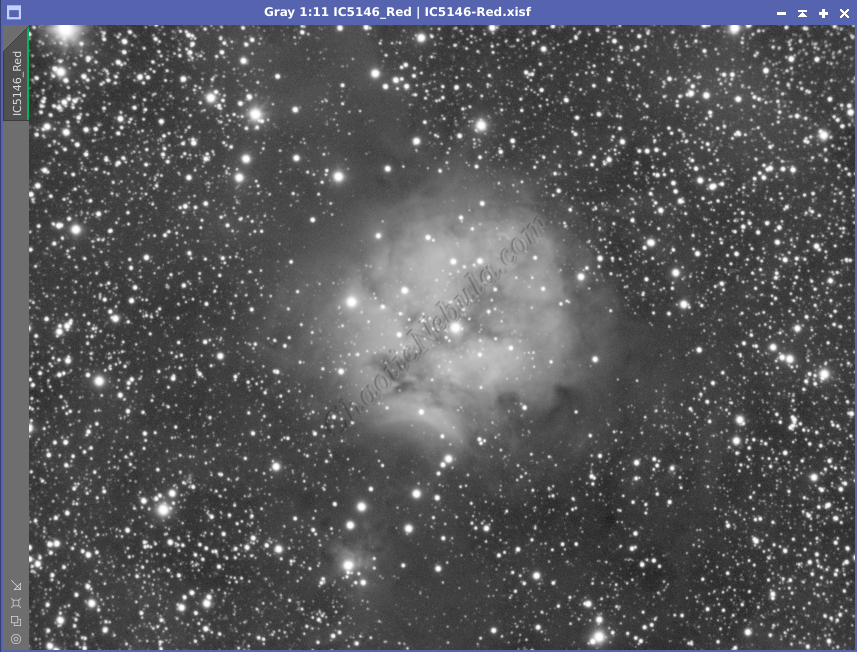
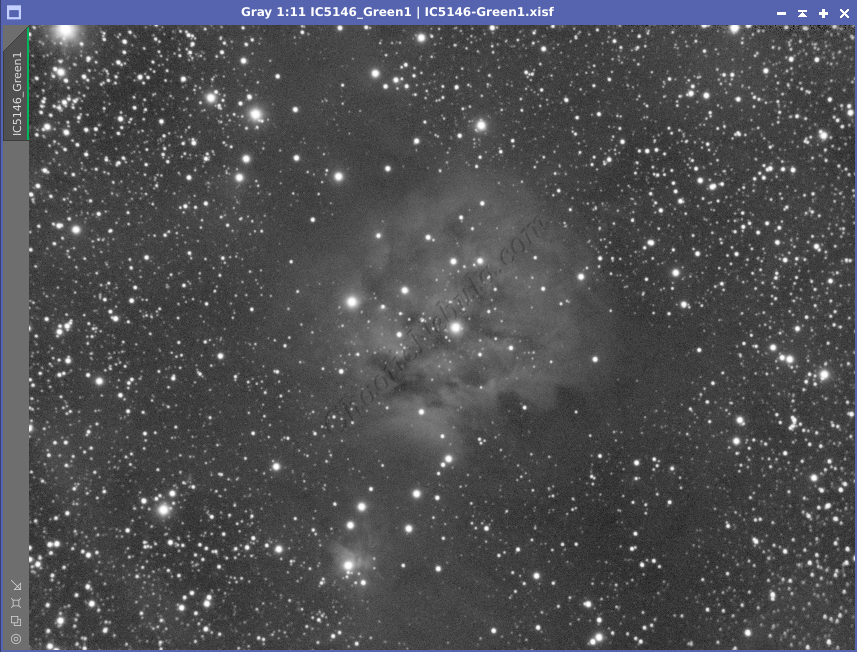
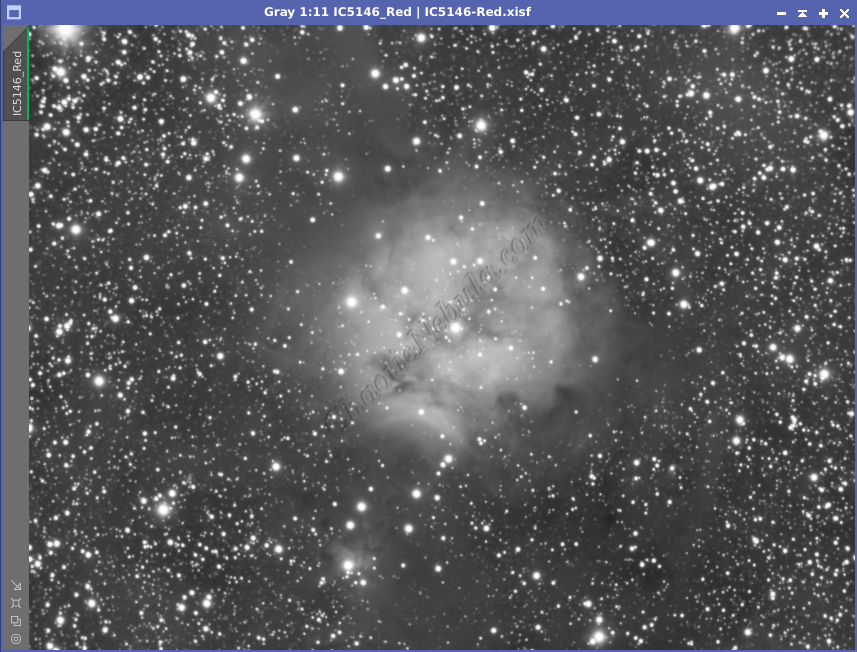
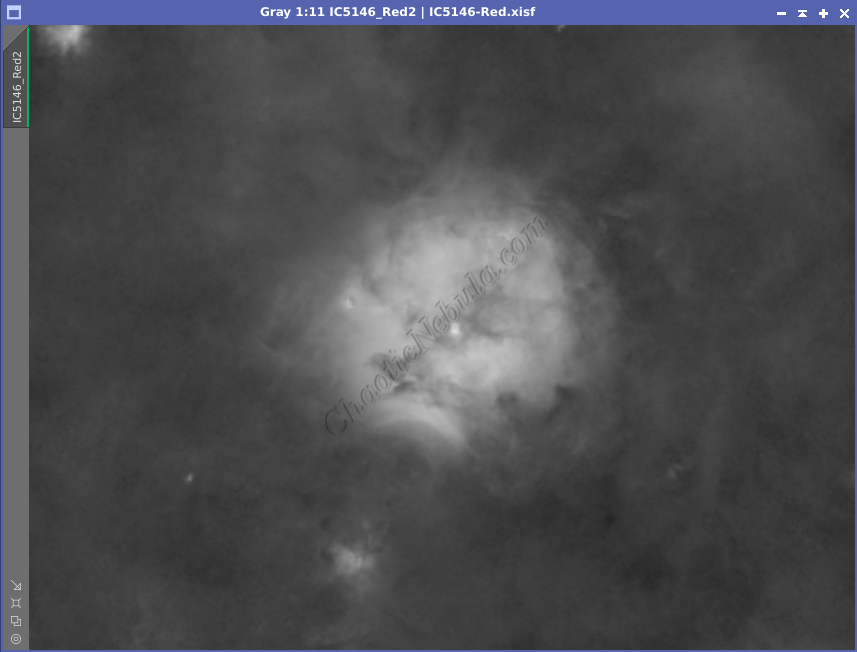
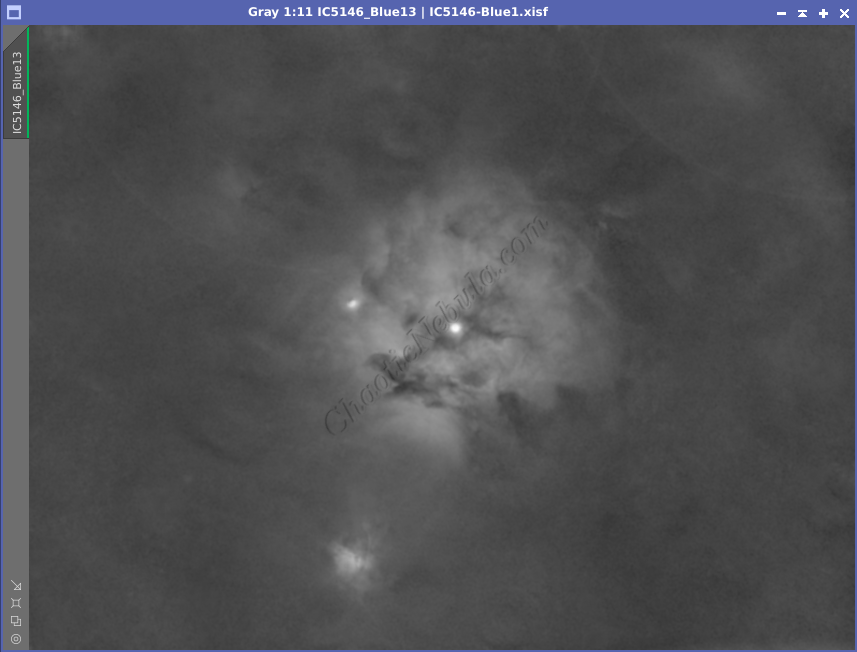
- Red: 101*600 seconds
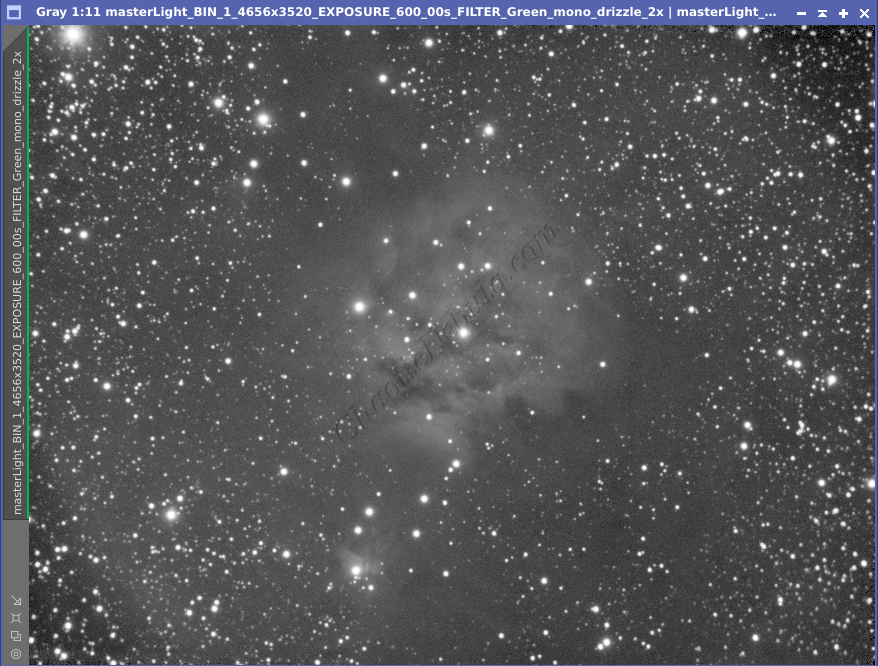
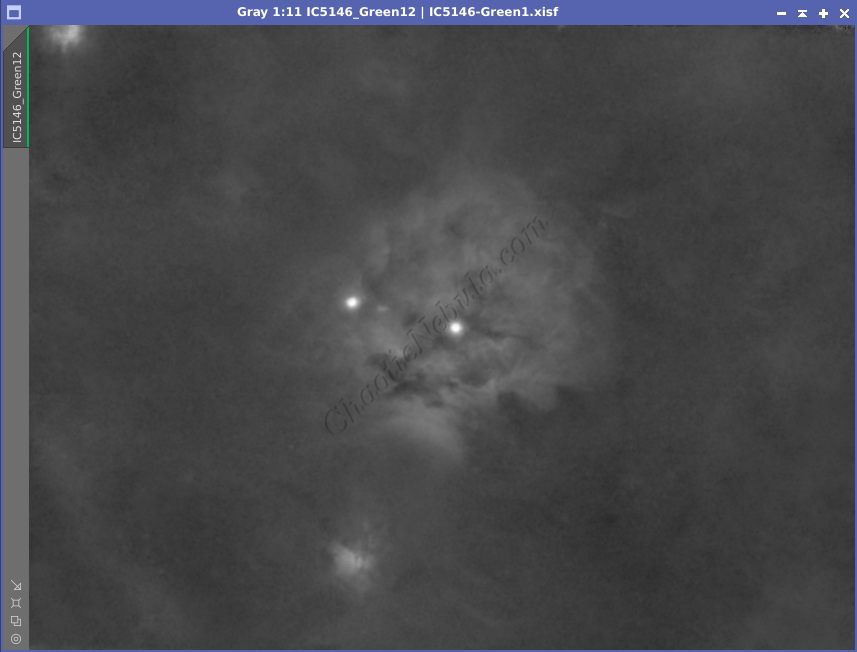
- Green: 60*600 seconds
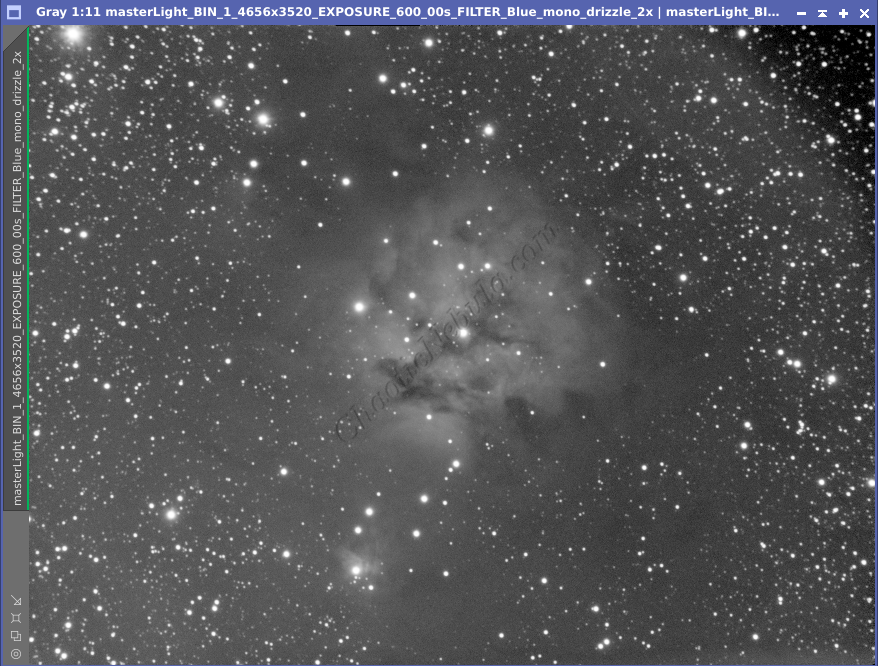
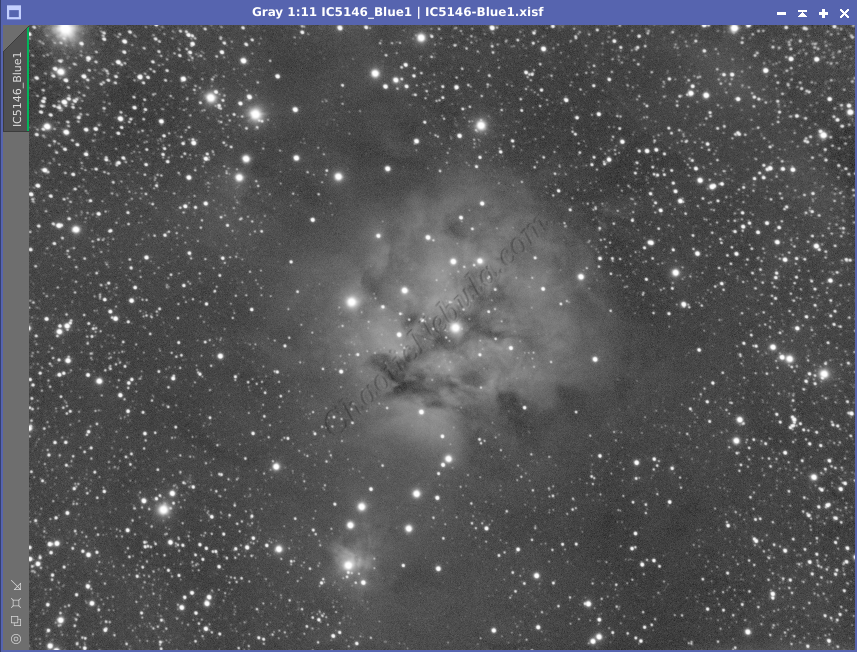
- Blue: 60*600 seconds
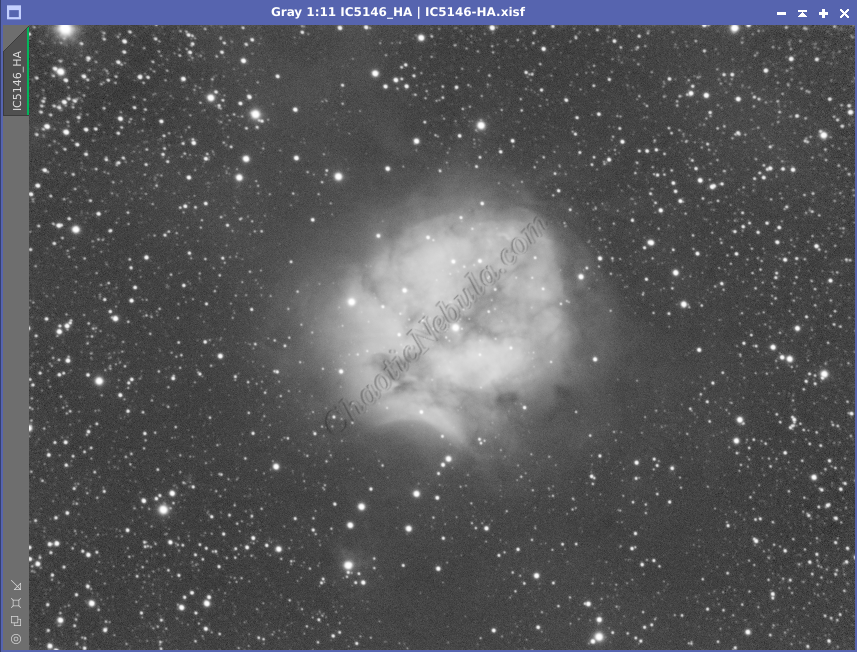
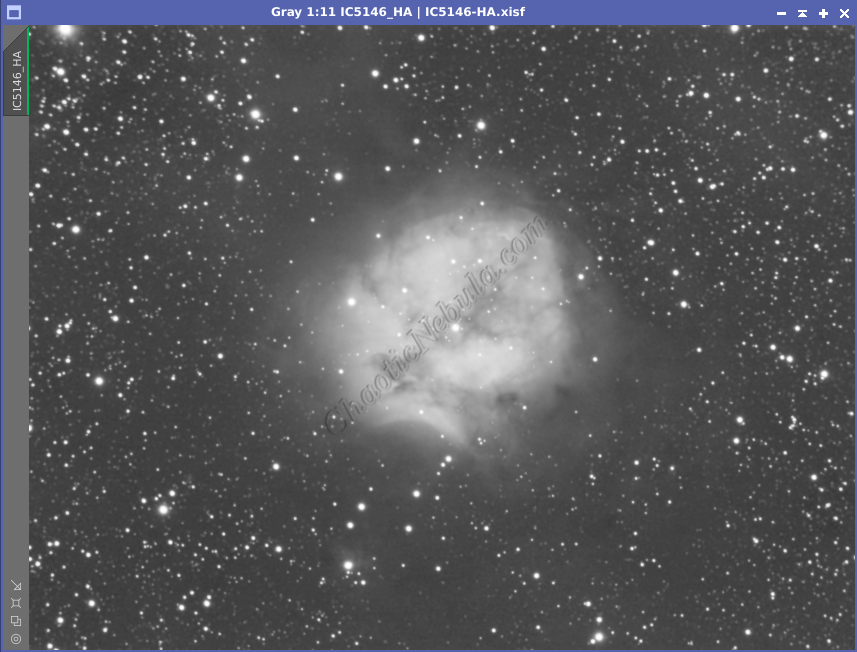
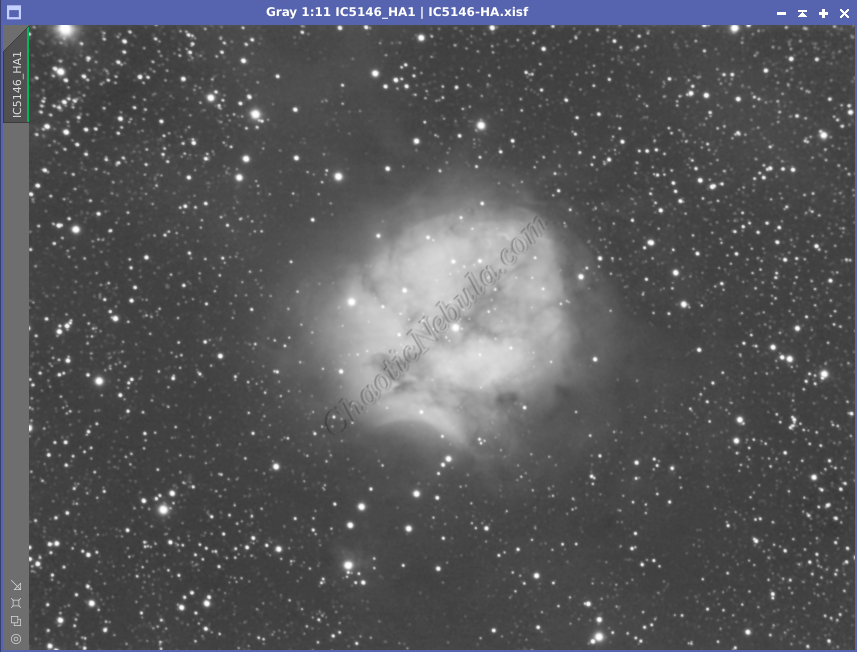
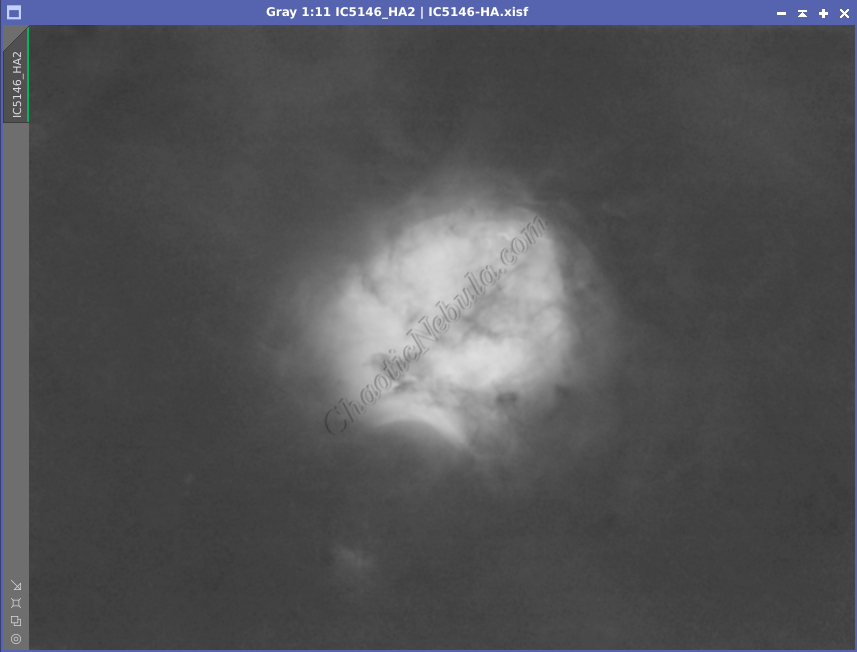
- HA: 60*600 seconds
- Total Imaging Time: 46 hours
- Imaging Dates (8 nights):
- 9/12/2023
- 9/13/2023
- 10/9/2023
- 10/10/2023
- 10/11/2023
- 10/15/2023
- 11/12/2023
- 11/14/2023
Imaging Notes
During the processing of this image, I couldn’t decide if I preferred the image with our without the Hydrogen-Alpha channel. I believe the big challenge is that my Red channel had such a strong signal, and adding HA just makes it even stronger.
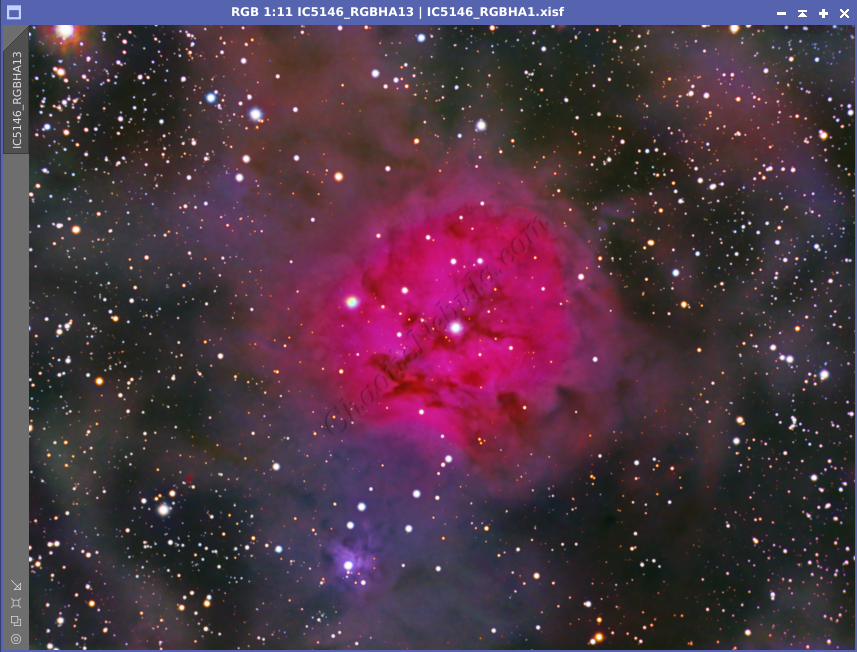
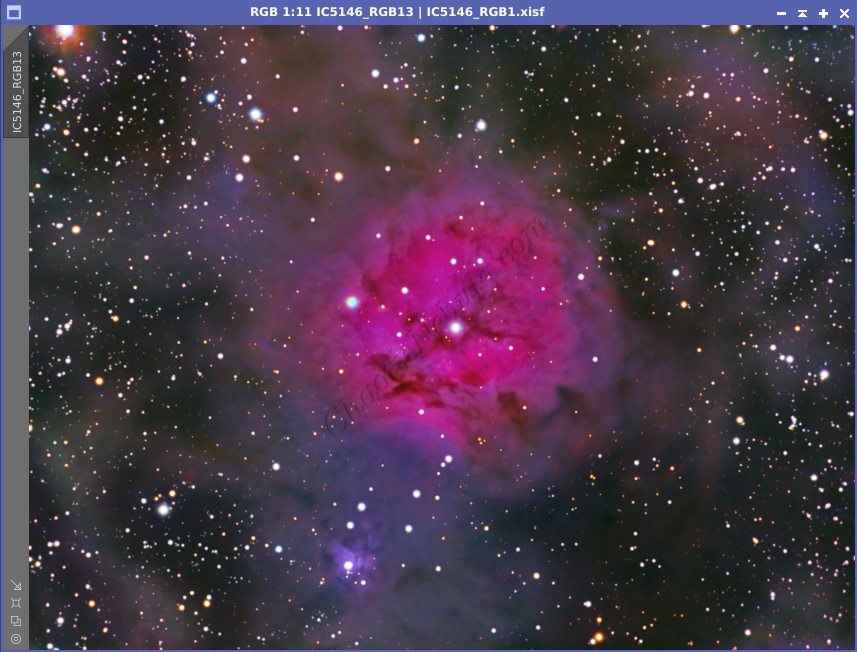
In the end, I ended up going with the version that included the HA channel because it made the central part of the nebula brighter, allowing it to stand out more.
Imaging Workflow
This image followed my standard LRGBHA workflow very closely, except that I removed stars early on.
Integrated Image
I started off with four really good images for Red, Green, Blue, and HA.
Dynamic Background Extraction
I did my normal integration process with drizzle integration, dynamic crop, and dynamic background extraction.
Noise Reduction
I followed my normal noise reduction process, first starting with TGV Denoise. I ran this process twice for the Red, Green, Blue, and HA frames.


The second part of noise reduction was to use multi-scale linear transformation.


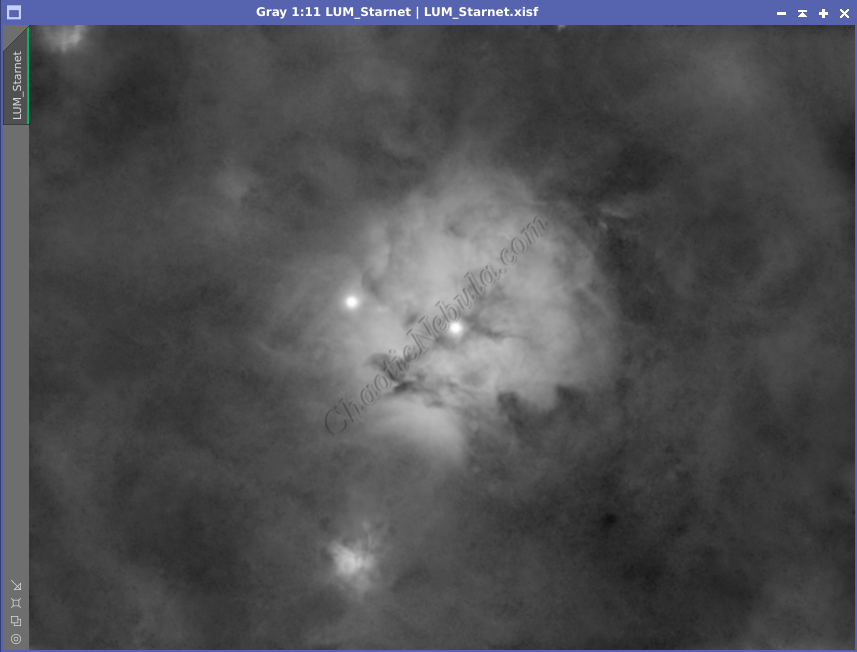
Star Removal
By removing the stars early on, I can focus on colors and contrast of just the galaxy without affecting the stars. Using Starnet is a way to keep the stars from getting bloated due to additional processing being applied to the image. As part of this process, I had StarNet create a star mask, which I will use later to re-add the stars. I did this for all three channels (Red, Green, Blue)
Channel Combination for RGB
With the stars removed, I will use Channel Combination to combine the channels into RGB. I then add in the narrowband channel (HA) to provide a boost to the red channel.

Histogram Stretch
I used histogram transformation to stretch the image.
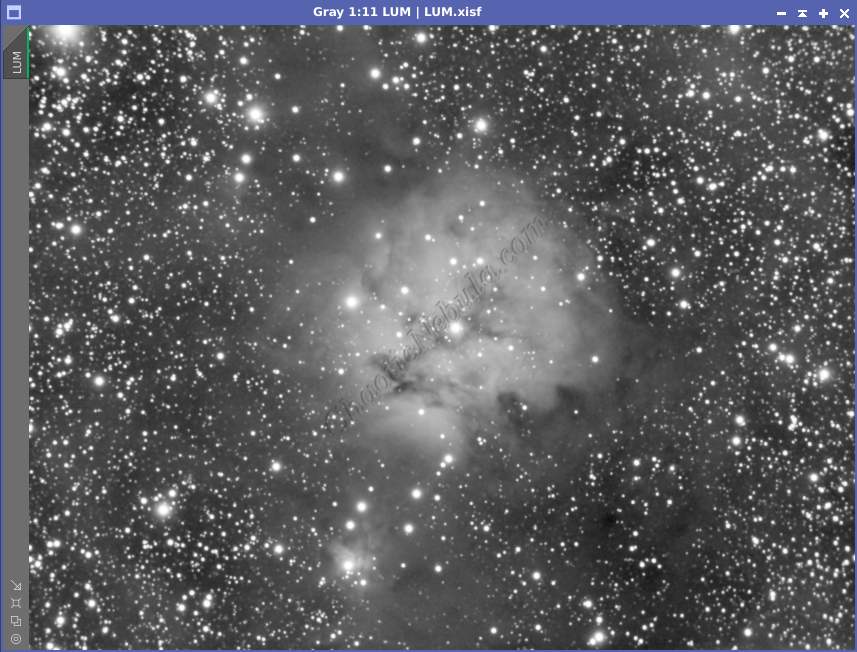
Luminance Workflow
Before doing anything more to the color image, I need to go through my Luminance Workflow.
After I complete the noise reduction on the red, green, and blue channels, I do a quick channel combination to create an RGB image. From that image, I extract the luminance channel.
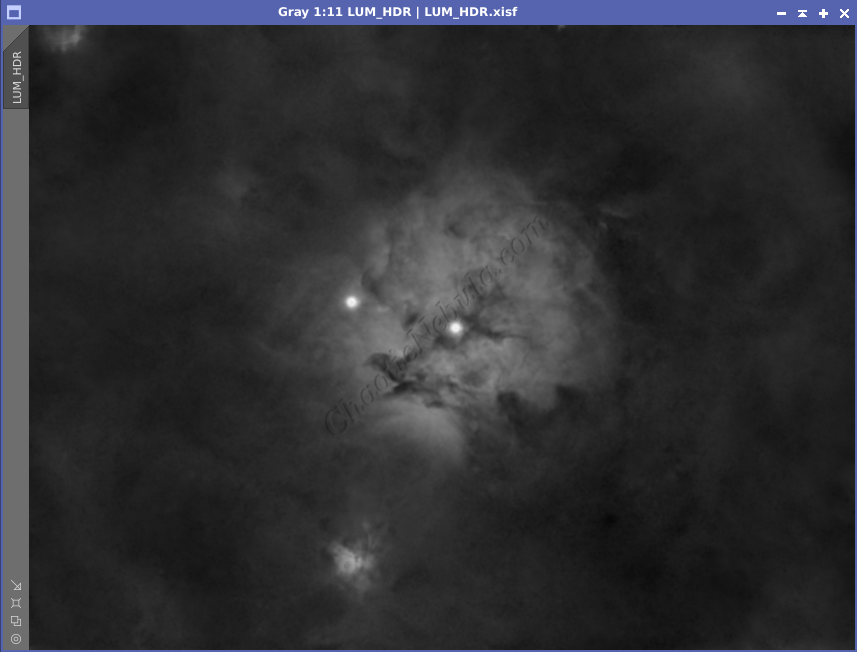
With a luminance image, I ran through the luminance workflow, paying attention to the dark nebulous clouds surrounding the bright central region.
When I completed the normal luminance workflow, I opted to also do a round of ACDNR to remove the noise in the dark nebula region. I made sure to apply a mask to protect the central nebula area. I only want the noise reduction to focus on the background. My thinking is that when I integrate the luminance into the color image, it will help reduce the background noise from the low signal areas.


Luminance Integration (LRGB)
With the luminance image processed, I can integrate it with the color image with Channel Combination. I run this process five times until I get the desired result.
Brightness Adjustments
I used Curves Transformation to increase the overall brightness.

Noise Reduction
Normally, this is where I run through ACDNR to reduce noise. Because I ran this on my luminance image, my integrated LRGB+HA image required no more noise reduction.
Star Integration
Now that the image is almost complete, it is time to add the stars back into the image. I will use the star mask the StarNet created during the star removal process for the Red, Green, and Blue channels. I used linear fit before doing a simple RGB channel combination.
Once combined, Histogram Transformation permanently stretch the image, to make the stars visible. I also used Curves Transformation to significantly increase the color saturation for the stars. Because some stars appeared green or had magenta halos, I used SCNR on the normal image and on the inverted image to clean up these incorrect colors.
For the luminance image, I also had Starnet create a starmask. I simply stretch this image, which will be used as my mask to reintegrate the stars. I applied the luminance star mask to the RGB image.
Then, using Pixel Math, take the maximum values from both images and apply to the color image. Because of the star mask applied to the color image, this formula only impacts the unprotected areas from the star mask.