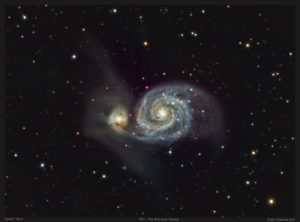
As the northern hemisphere moves into springtime, that brings about the start of galaxy season for astrophotographers. During the warmer northern months of spring and summer, Earth is facing towards the outer edge of the Milky Way galaxy (our home galaxy). This makes it easier to see the remote galaxies. During the colder months of fall and winter, the nighttime side of Earth faces into the heart of our galaxy. This is where we see the numerous nebula.
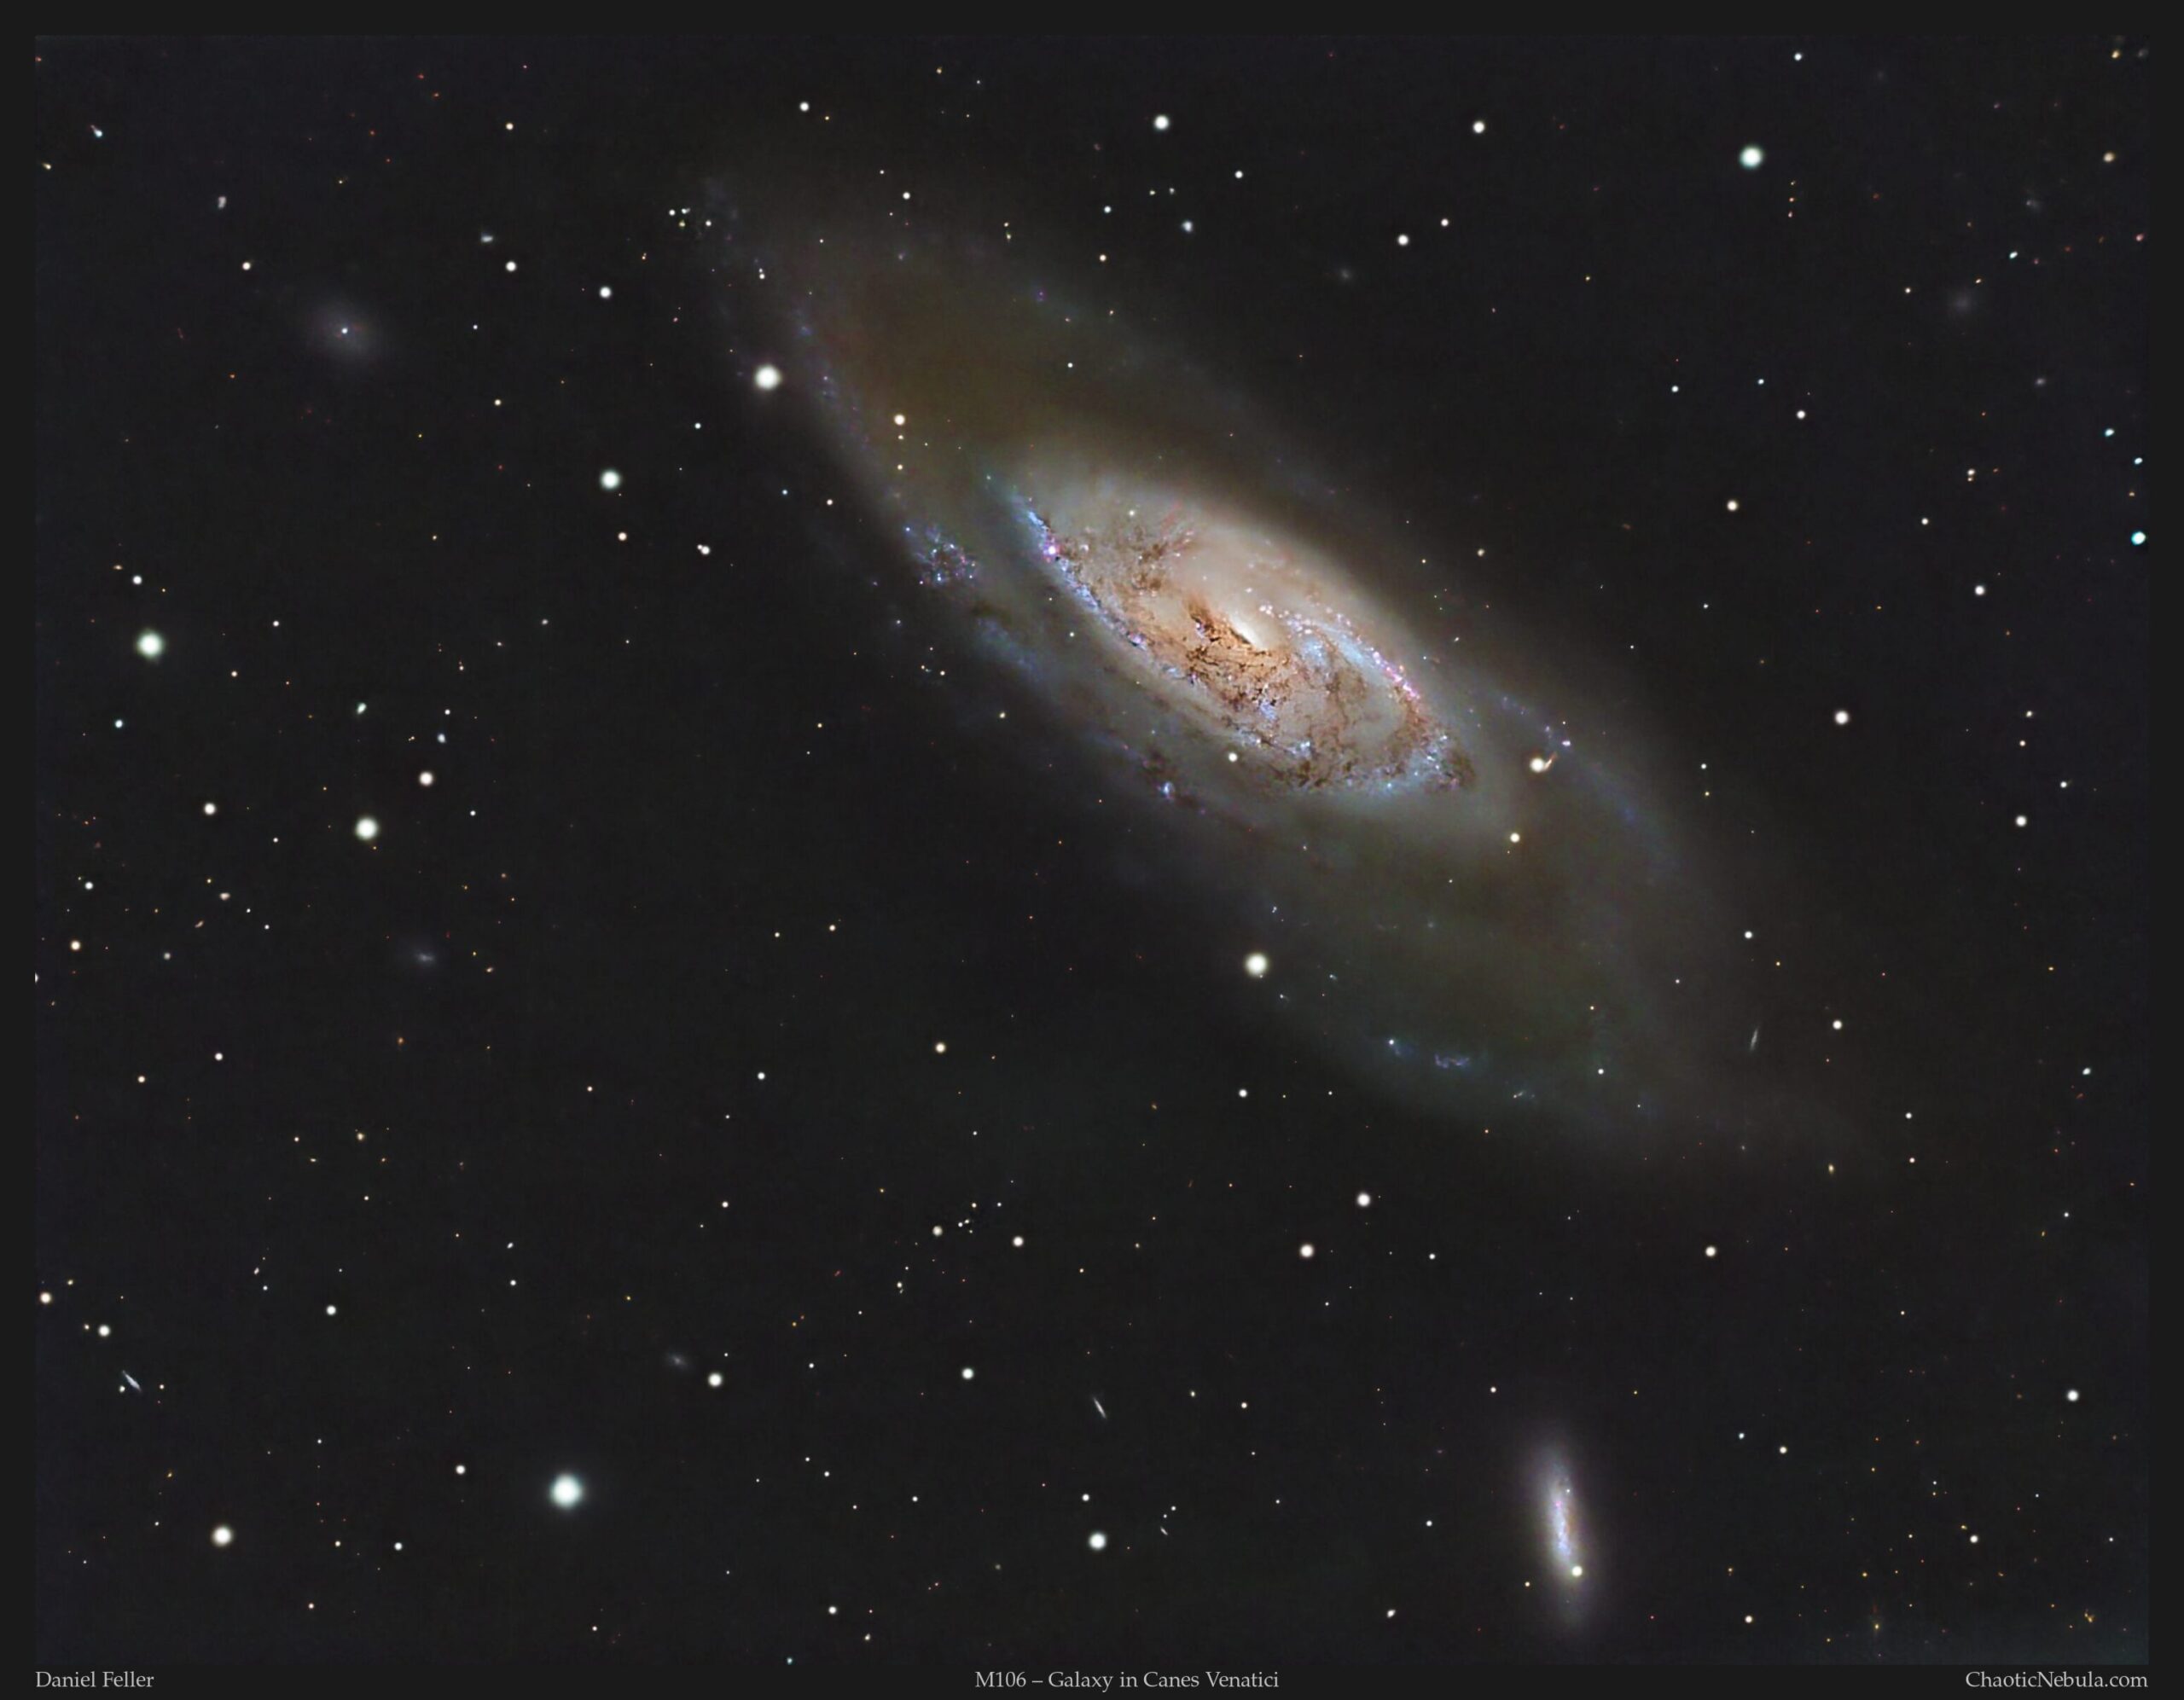
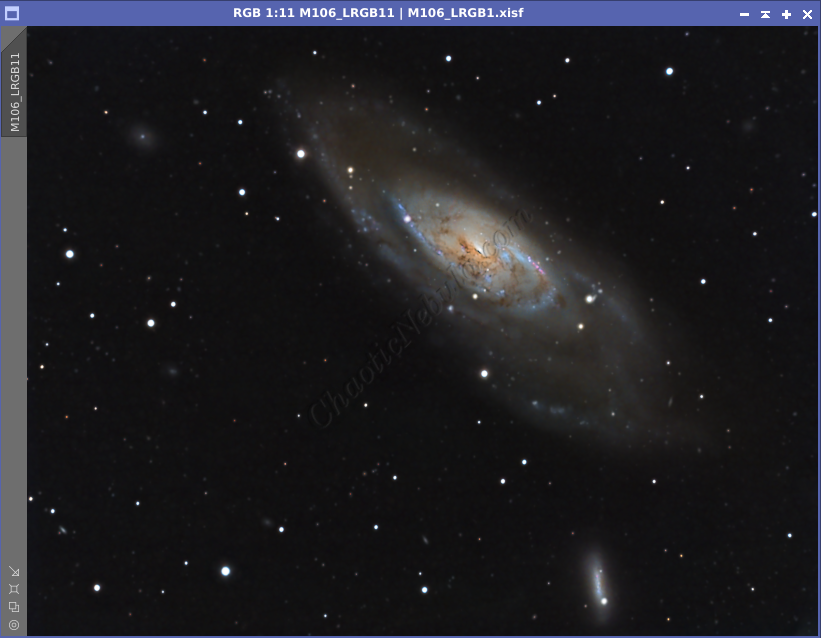
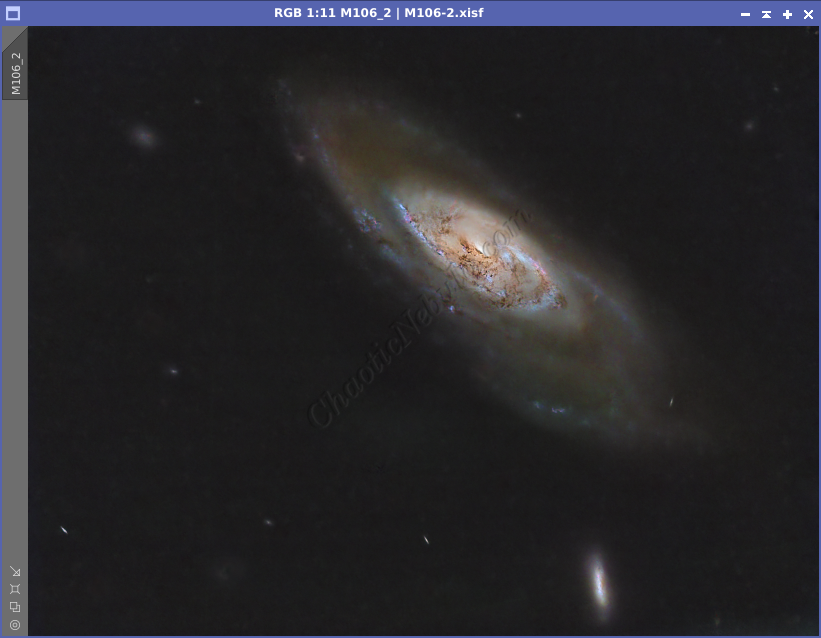
To kick off galaxy season 2024, we take a look at Messier 106 (M106), also known as NGC 4258. It is a majestic intermediate spiral galaxy located roughly 23 million light-years away in the constellation Canes Venatici, the Hunting Dogs. M106 is a giant among galaxies, boasting a diameter of over 130,000 light-years, comparable to our own Milky Way galaxy
Despite its impressive size, M106 is a challenging target for skywatchers in the Northern Hemisphere due to its position never rising very high above the horizon. However, for astrophotographers with the right equipment, M106 unveils a stunning spectacle of swirling arms, glowing gas clouds, and a mysterious central region
Imaging Details
- Workflow: Broadband for Galaxies
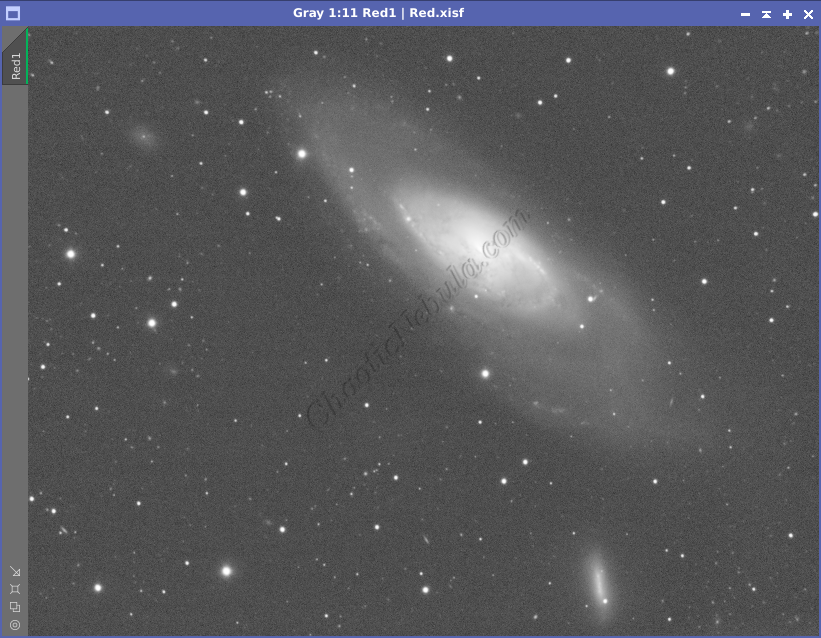
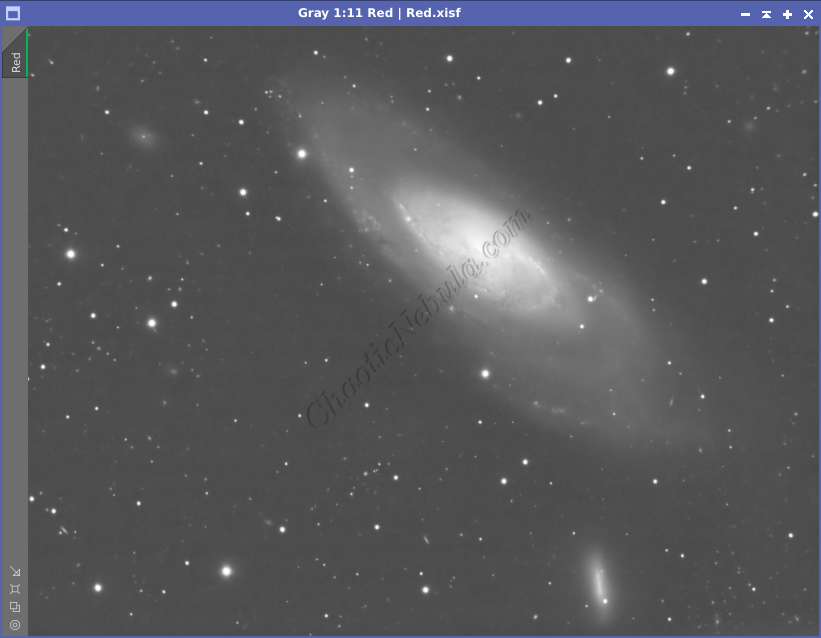
- Red: 60*600 seconds
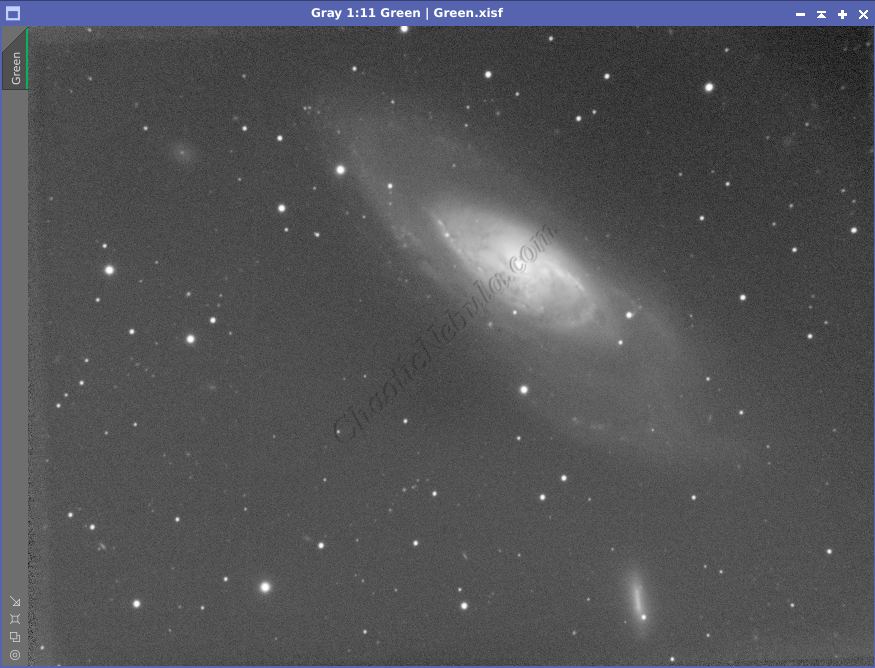
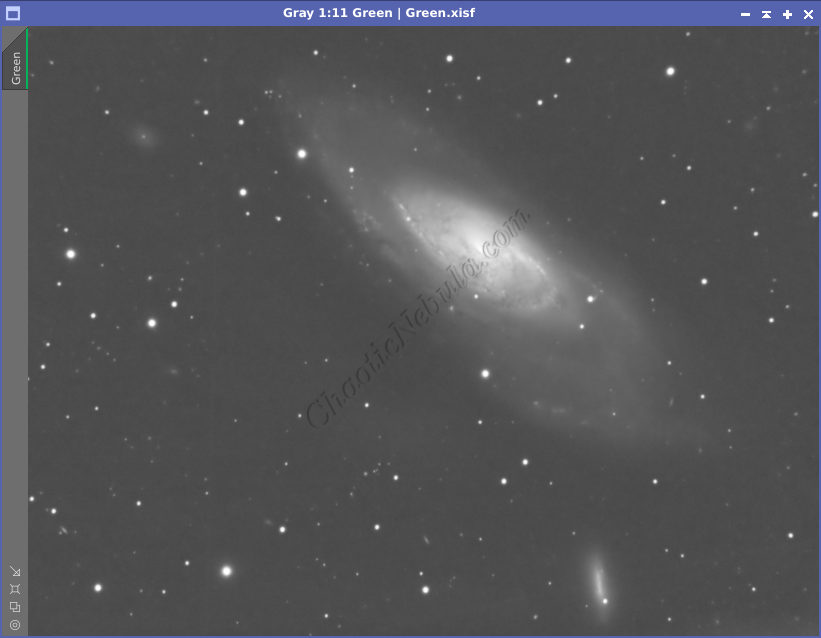
- Green: 60*600 seconds
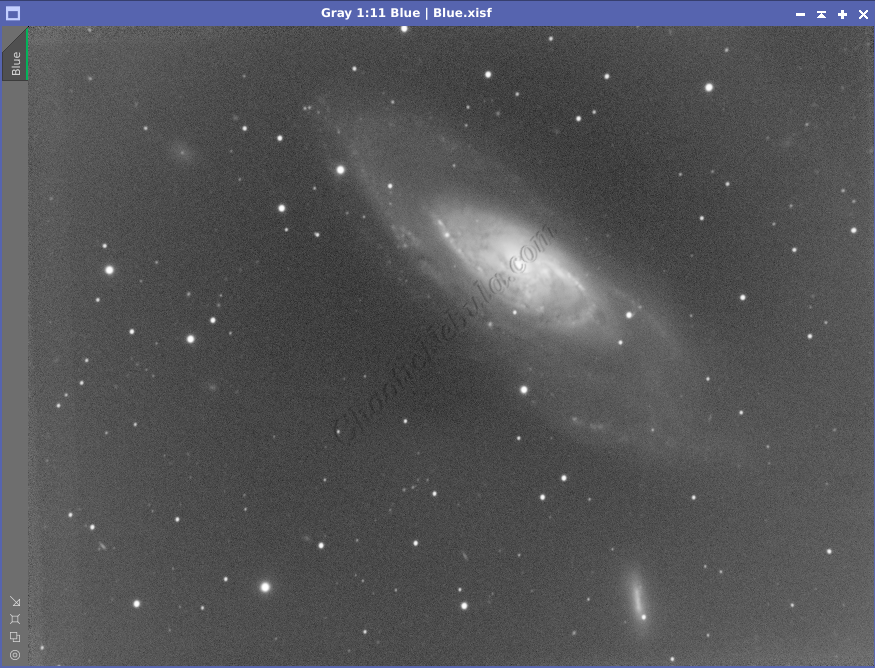
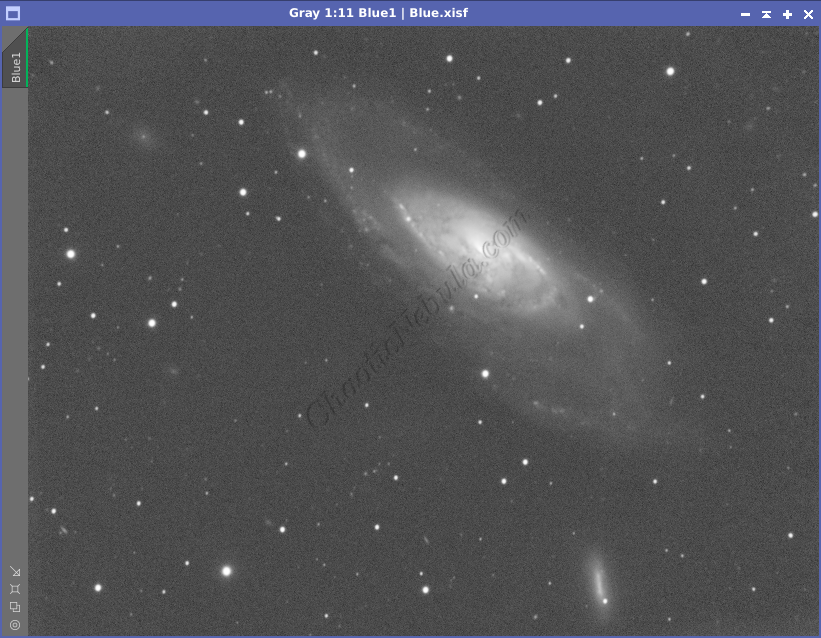
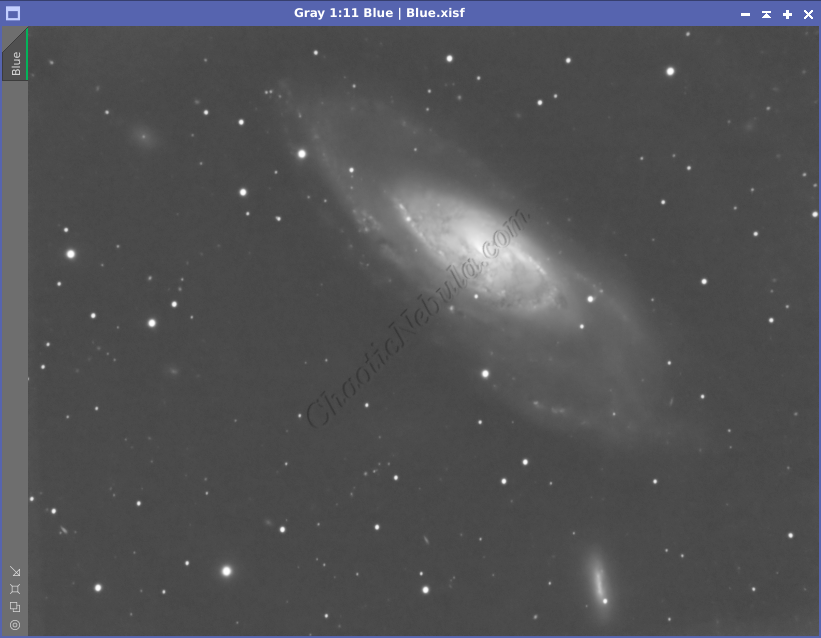
- Blue: 60*600 seconds
- Total Imaging Time: 30 hours
- Imaging Dates (9 nights):
- 5/3/2023
- 5/16/2023
- 5/20/2023
- 5/21/2023
- 5/25/2023
- 5/26/2023
- 5/27/2023
- 6/11/2023
- 6/13/2023
Imaging Notes
A few notes about this particular image. Although this post is in the Spring of 2024, these images were actually taken in the early summer of 2023. They’ve been sitting, waiting to get processed, which I’m happy to say has now occurred.
From an imaging processing perspective, although i did follow the Broadband Workflow for Galaxies, I decided to try something new with AMAZING results.

Quite the difference. The new method is producing a lot more detail in the bright galactic core. The faint fuzzy stars are sharp, points of light. The background is smooth.
So what changed? I’m testing using NoiseXTerminator for noise reduction and BlurXTerminator for deconvolution (sharpening). These two add ons (free trial) for PixInsight utilize artificial intelligence to do a much better and faster job with noise reduction and deconvolution. I’m pretty sure these might be my next purchase for my astrophotography setup.
Imaging Workflow
This image followed the Broadband Workflow for Galaxies, except for when I used NoiseXTerminator and BlurXTerminator
Integrated Image
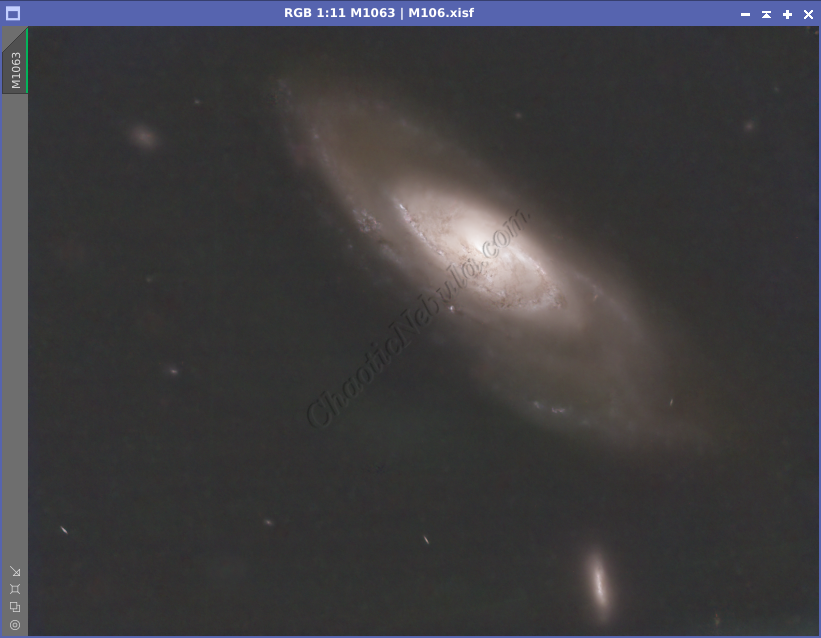
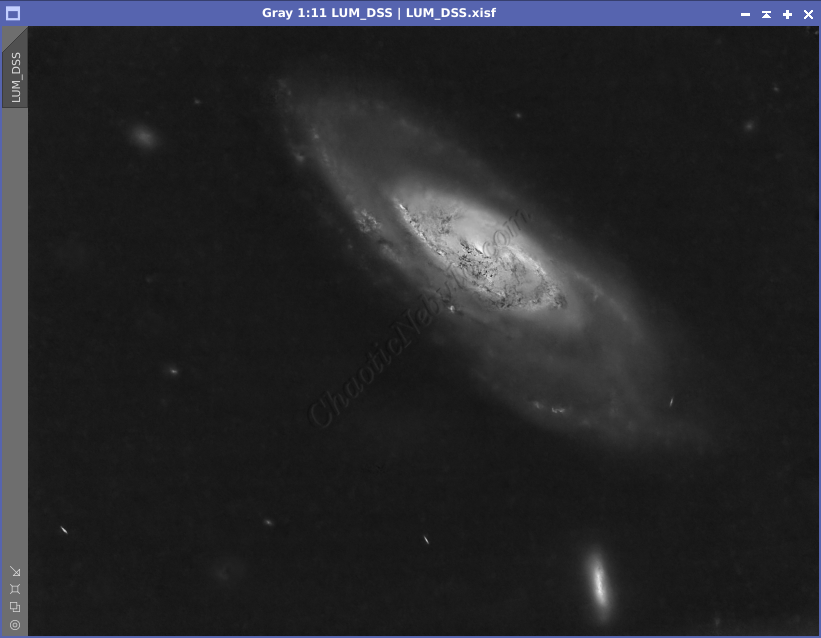
I started off with three images for Red, Green, and Blue filters. I did my normal integration process with drizzle integration.

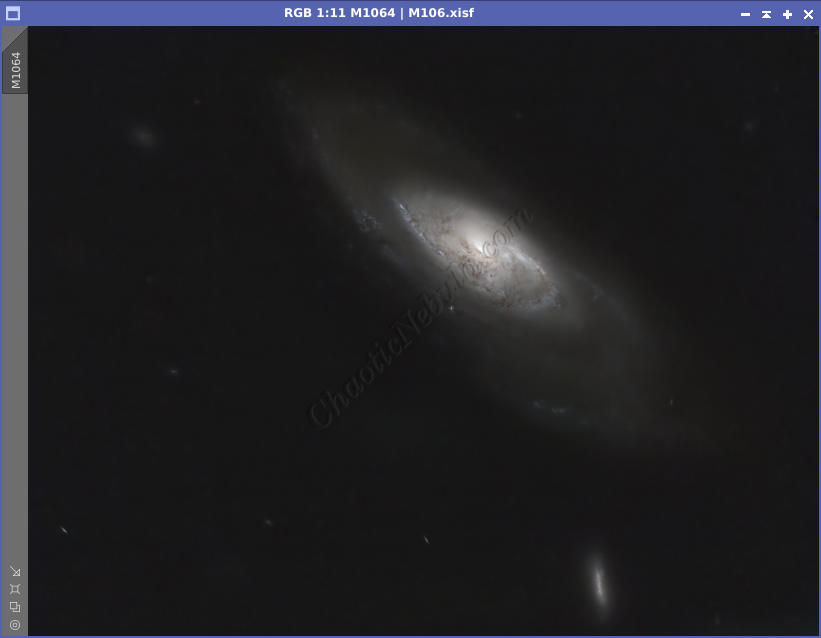
Gradient Correction
The Gradient Correction process made it easy to remove the extreme darkness/brightness around the edges.

Noise Reduction
This is where I would normally do my normal noise reduction process with first applying TGV Denoise and then using multi-scale linear transformation. However, this time I used the new NoiseXTerminator add on.
Channel Combination for RGB
The next step is to do a Linear Fit and then a Channel Combination to combine the channels into RGB. In addition, once the color image was created, the luminance channel was extracted to be used for the luminance workflow.

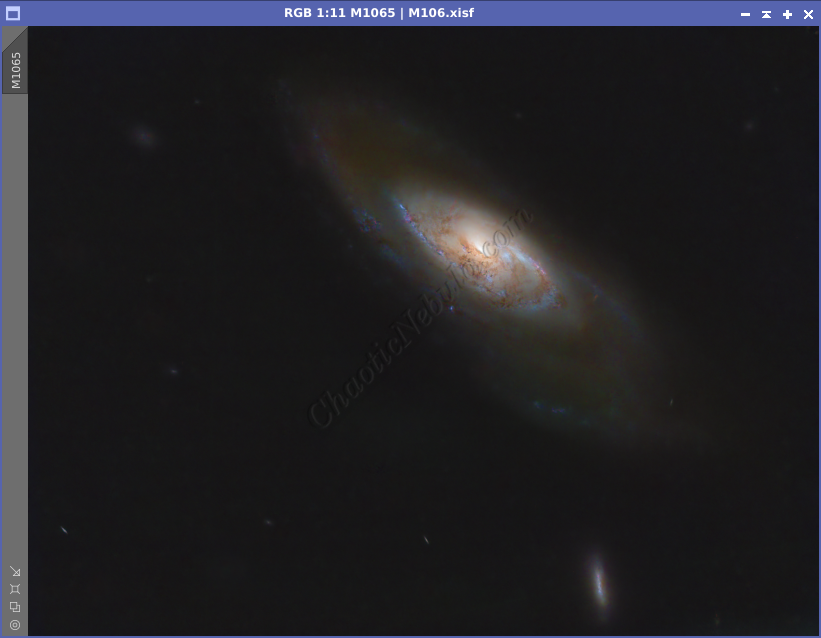
Color Correction
Color correction was applied using Spectrophotometric Color Calibration process.

Deconvolution
Normally, deconvolution would be done during the the luminance workflow. However, when using BlurXTerminator, it is done right after channel combination on the color image.

Star Removal
To better protect the stars from bloating due to additional processing, they are removed with StarNet+
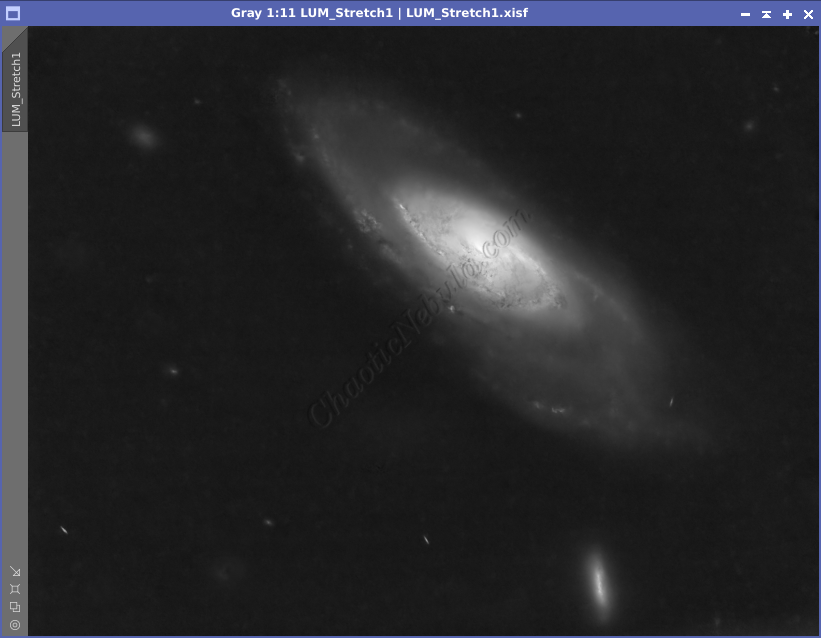
Histogram Stretch
I used histogram transformation to stretch the image.
Color Saturation
PixInsight Curves Transformation increased the overall color saturation.
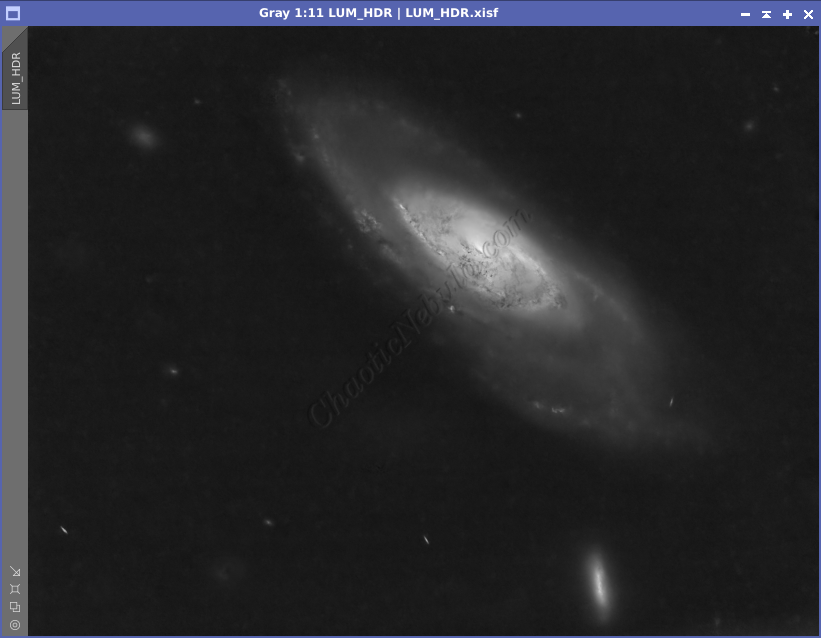
Luminance Workflow
Before doing anything more to the color image, it is time to go through the Luminance Workflow.
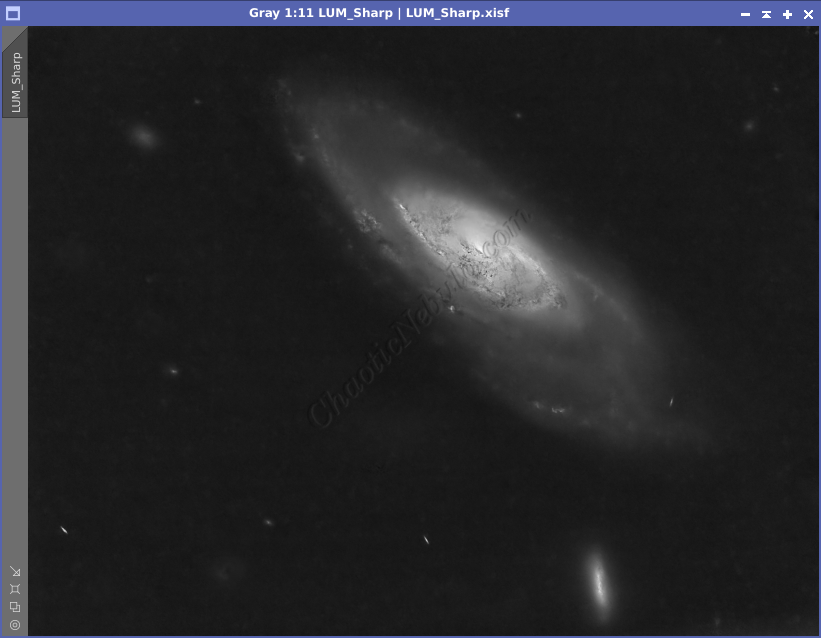
Deconvolution was skipped as it was done to the RGB image with the use of BlurXTerminator
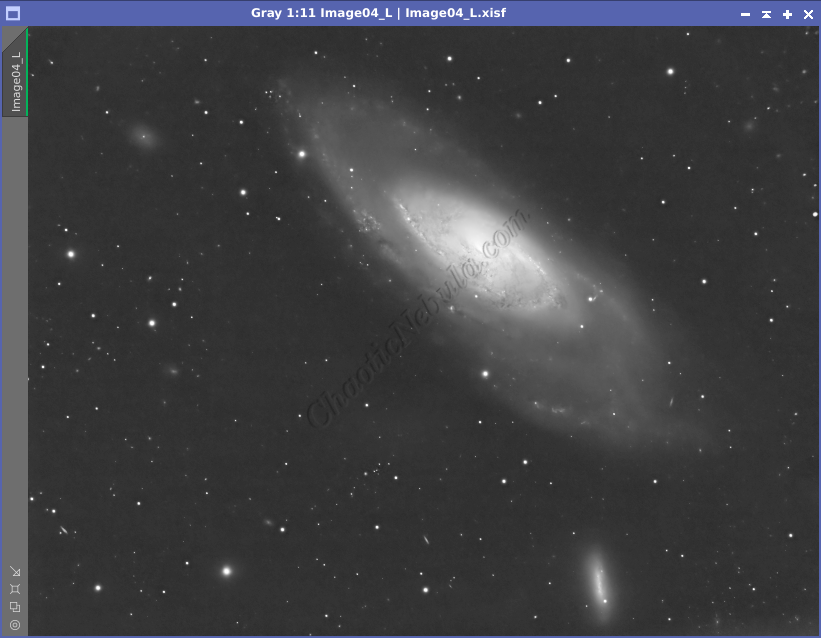
Luminance Integration (LRGB)
With the luminance image processed, it can get integrated with the color image with LRGB Combination process. This used 50% for lightness and 45% for saturation.
Noise Reduction
Now that the image is done, I run one last noise reduction with ACDNR to mostly remove chrominance noise introduced during the color saturation processes.

Stars
Pixel Math was used to re-add the star field back into the image. The luminance star field was used as a mask and the color star field was then applied.