With just over one month before the big solar eclipse crossing the United States on April 8, 2024, I decided to get a solar filter to try and capture the show. But first, I need to practice solar photography skills. This is quite a bit different in that I’m not using a telescope. Instead, I’m using a Canon T7i DSLR with a Sigma 150-600mm lens.
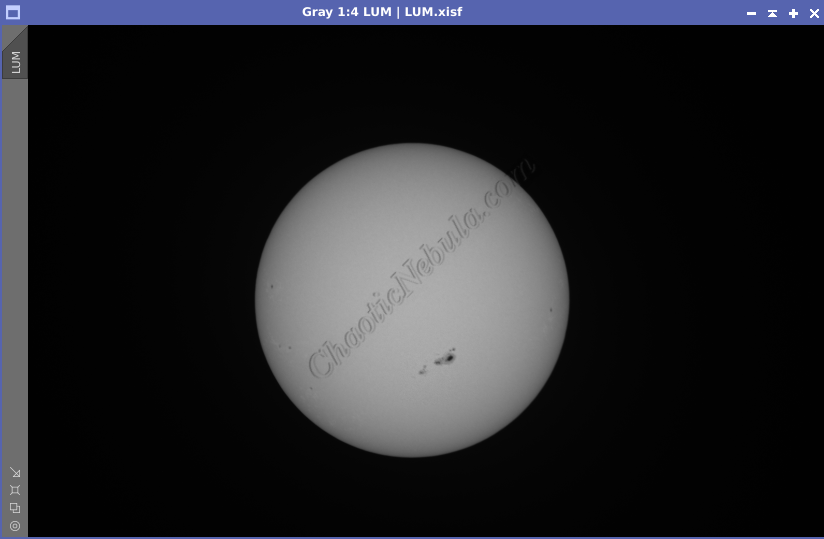
I get lucky in that on February 24, 2024, there was a big sunspot on the face and that the skies were clear. The image did take some time to process because I’ve never imaged the sun before. Based on my experience with lunar photography and PixInsight, I went ahead and developed a Solar Workflow

Imaging Details
- Workflow: Solar
- RGB: 5*1/30 of a second
- ISO: 100
- F Number: F/8
- Focal Length: 600mm
- Imaging Date: February 24, 2024
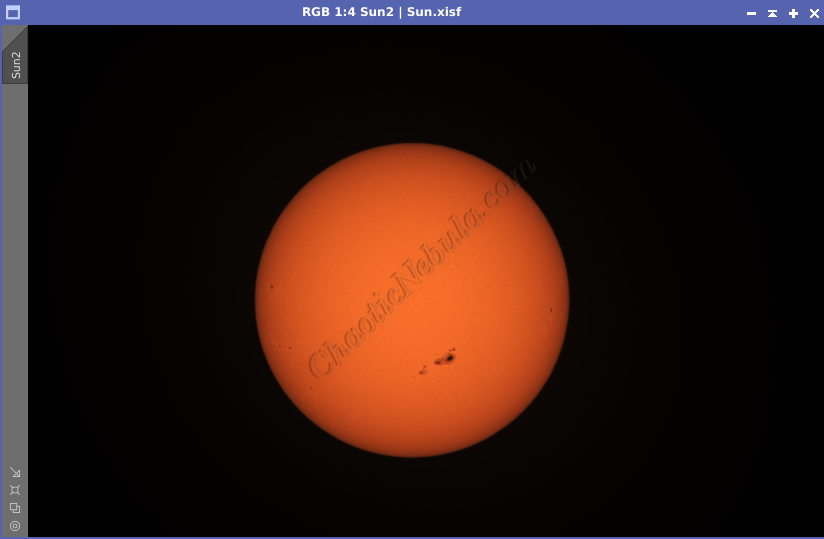
Integrated Image
I started off with 10 images of the sun and I integrated 50% of the solar images with AutoStakkert! Because the camera doesn’t do uncompressed video, I’m left with still images. However, AutoStakkert was able to slightly improve the quality by integrated the best half of the images.

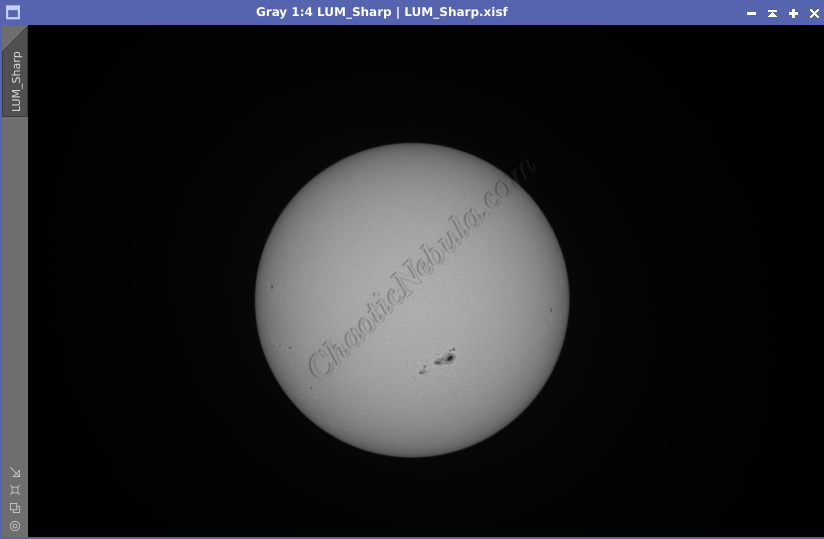
Luminance Extraction
Just like I do with deep space images, I prefer to make my sharpening to the luminance channel. So I extracted the luminance channel from the color image of the sun
Deconvolution
Applying deconvolution for solar images was able to bring out additional details on the solar surface. The surface isn’t smooth, and deconvolution was able to enhance it.
However, the deconvolution process was slightly different than what I do for deep space images.

Sharpening
To sharpen the image further, I still used a combination of Unsharp Mask and Multiscale Linear Transform.
Luminance Integration (LRGB)
With the luminance image processed, I can integrate it with the color image with Channel Combination. I run this process four times until I get the desired result.

Shading
The solar image appears flat. In order to make it look more spherical, I used Curves Transformation to add contrast to the image.
Saturation
The final step is to adjust the color saturation with curves transformation.
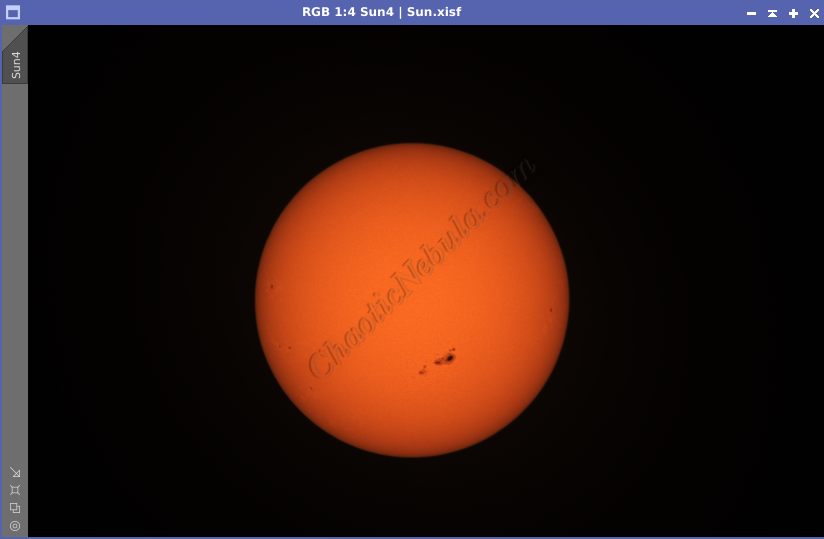
Final