Looking through a telescope or camera, the sun might appear slightly rippled. This blurring effect, caused by atmospheric turbulence, can be partially corrected using a technique called deconvolution.
Deconvolution is particularly effective for solar images because the sun has a very strong signal. It works best in the initial, linear stage of image processing, before other adjustments are applied. Additionally, deconvolution for solar images is generally simpler and faster compared to deep-sky objects, which often require more complex approaches.
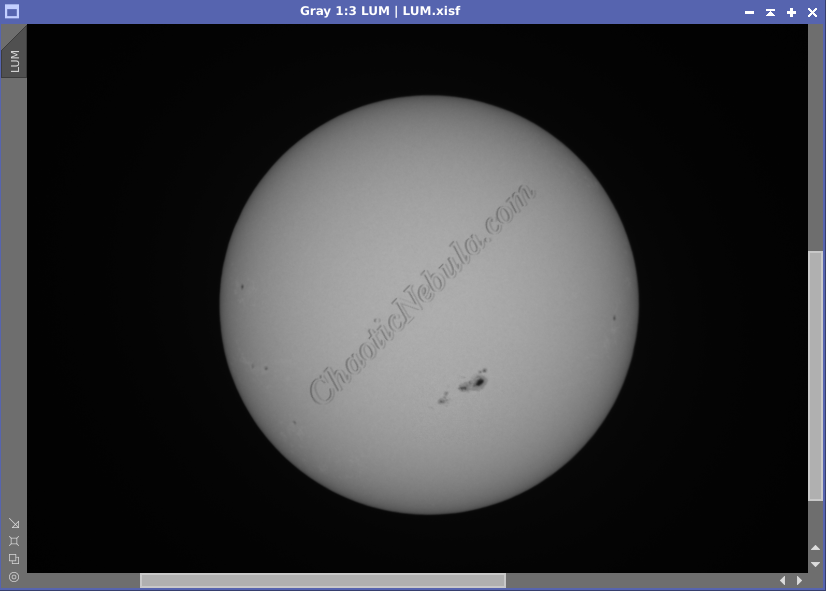
It is typically easier to apply deconvolution to the luminance channel, which you can integrate later. If you haven’t, go ahead and extract the luminance channel.
Preview
Deconvolution does take some time to run, so it is a good idea to create a preview area of the image and test the settings with the preview.
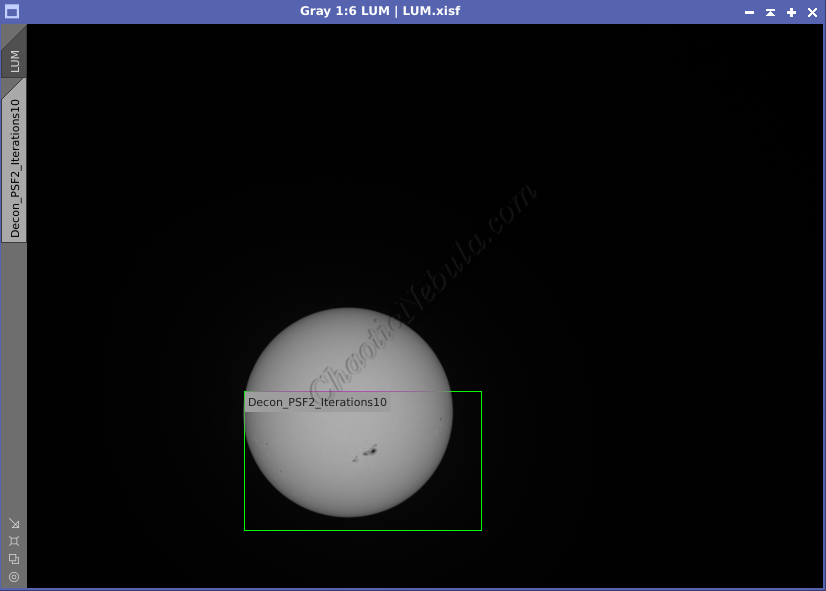
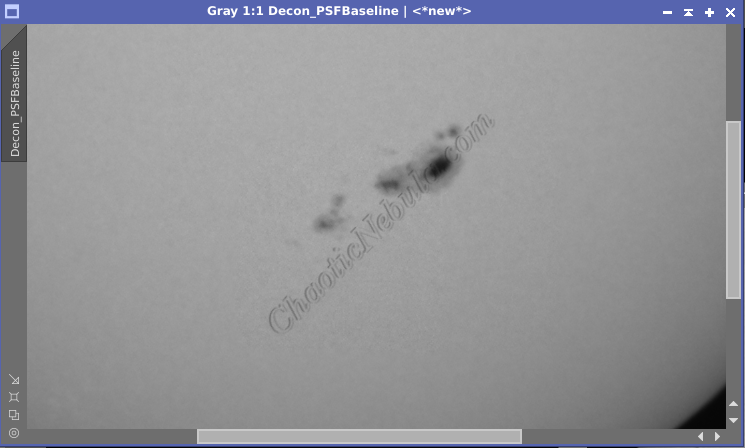
As we test the different Deconvolution parameters, we will use this preview window as a baseline
Deconvolution Mask
It is generally a good idea to create a mask for the deconvolution process. This will help to focus the process to the central areas of the sphere and apply less enhancement to the edges of the sun.

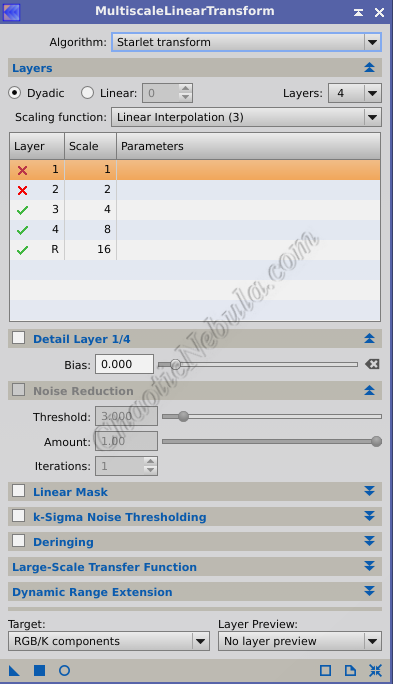
To create a deconvolution mask, simply make a duplicate of the luminance image of the sun and apply Histogram Transformation and Multiscale Linear Transformation.
For Histogram Transformation, move the left-most slider to the right so that the peak lands in the middle of the top graph.
This will darken the image, especially on the edges of the sun.

For Multiscale linear transformation, the goal is to remove the details form the surface of the sun for the mask. Simply remove the details from layer 1 and 2.
Apply the mask the the luminance channel of the sun.
Parametric PSF
The Point Spread Function (PSF) determines the performance of the imaging rig. Basically, if we look at a point of light, how much does that point spread out?
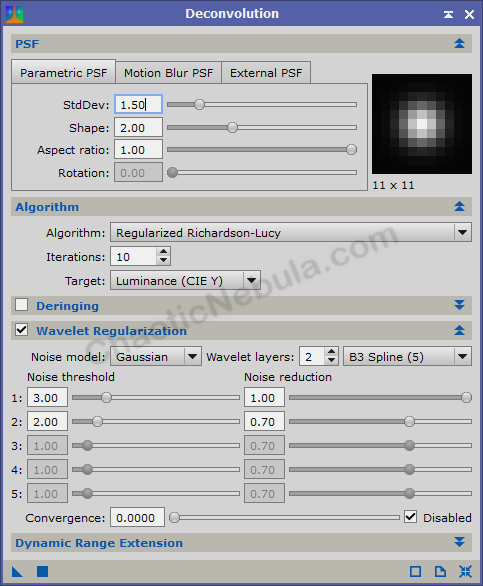
Unlike astronomical images, solar images lack point-like references like stars to directly determine the point spread function (PSF). Therefore, we rely on iterative testing to identify the PSF value that yields the most desirable outcome.


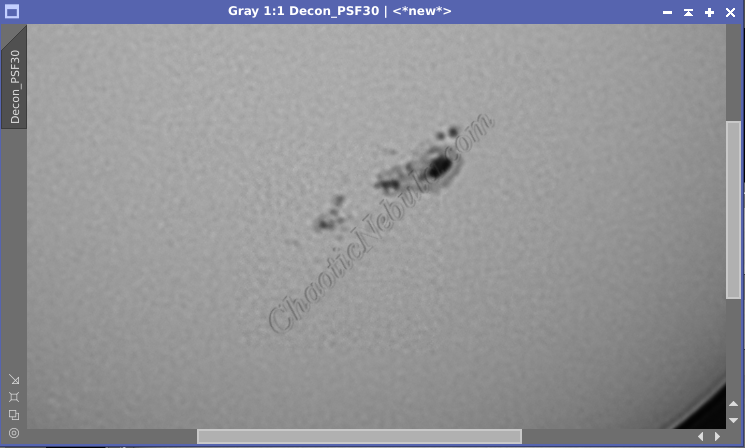
Based on visual inspection, a PSF Standard Deviation of 2.00 provides the best clarity. If you notice towards the edge of the sun, going above a 2.0 PSF starts to show a line. This doesn’t exist at a PSF value of 2.0.
Algorithm
With the PSF value determined, you can now look at the preferred algorithm and number of iterations. Typically, the Regularized Richardson-Lucy Algorithm works best.

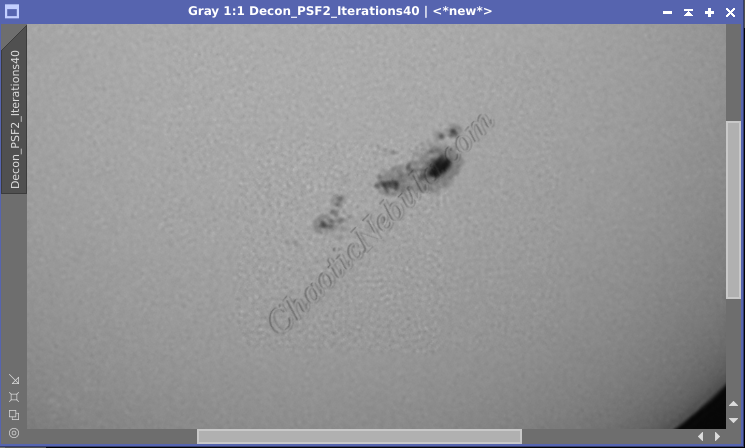
But when it comes to number of iterations, You need to test multiple iterations to find the right number. When working with a solar image, this process doesn’t take long.

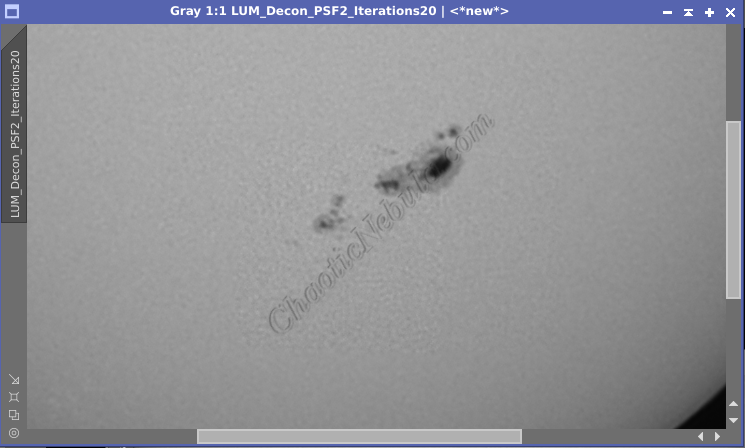
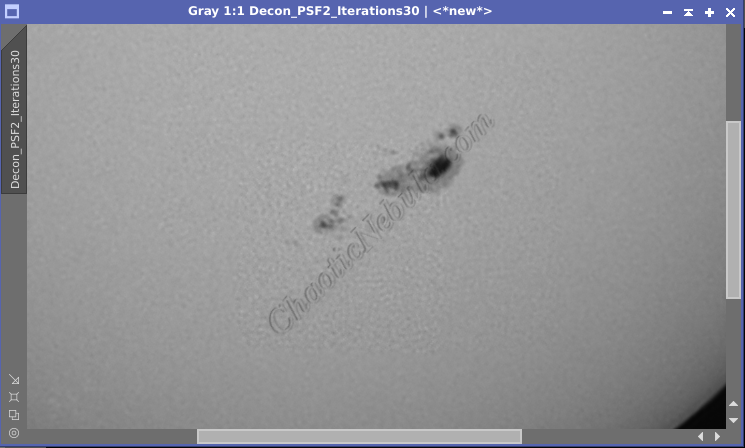
Based on these samples, 20 and 30 iterations appear to produce the best results, with 30 being slightly better.
Deconvolution Results
With the PSF, algorithm and number of iterations determined, we can now apply the deconvolution settings to our solar image.

You can easily see how Deconvolution helped increase clarity of the image and how it improved the clarity of the granules on the sun’s surface.