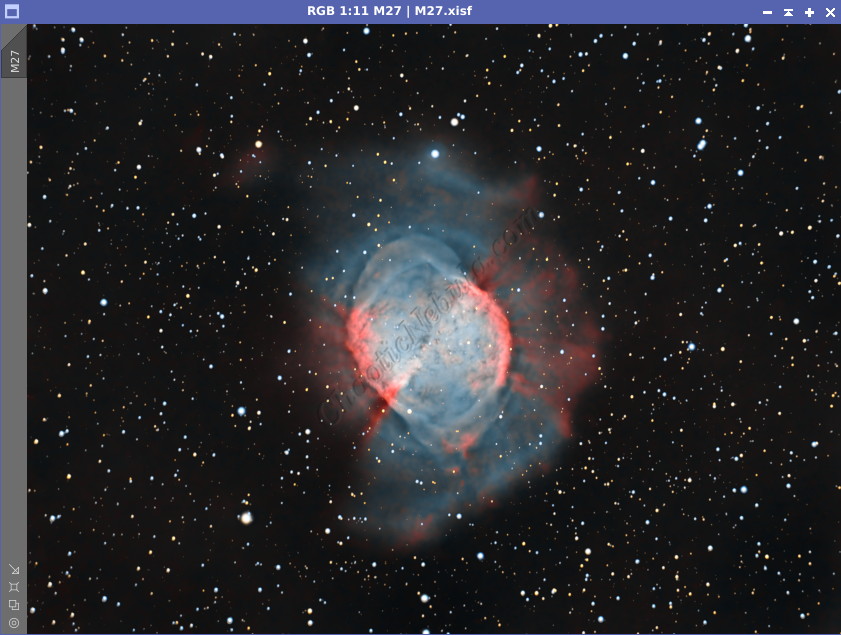
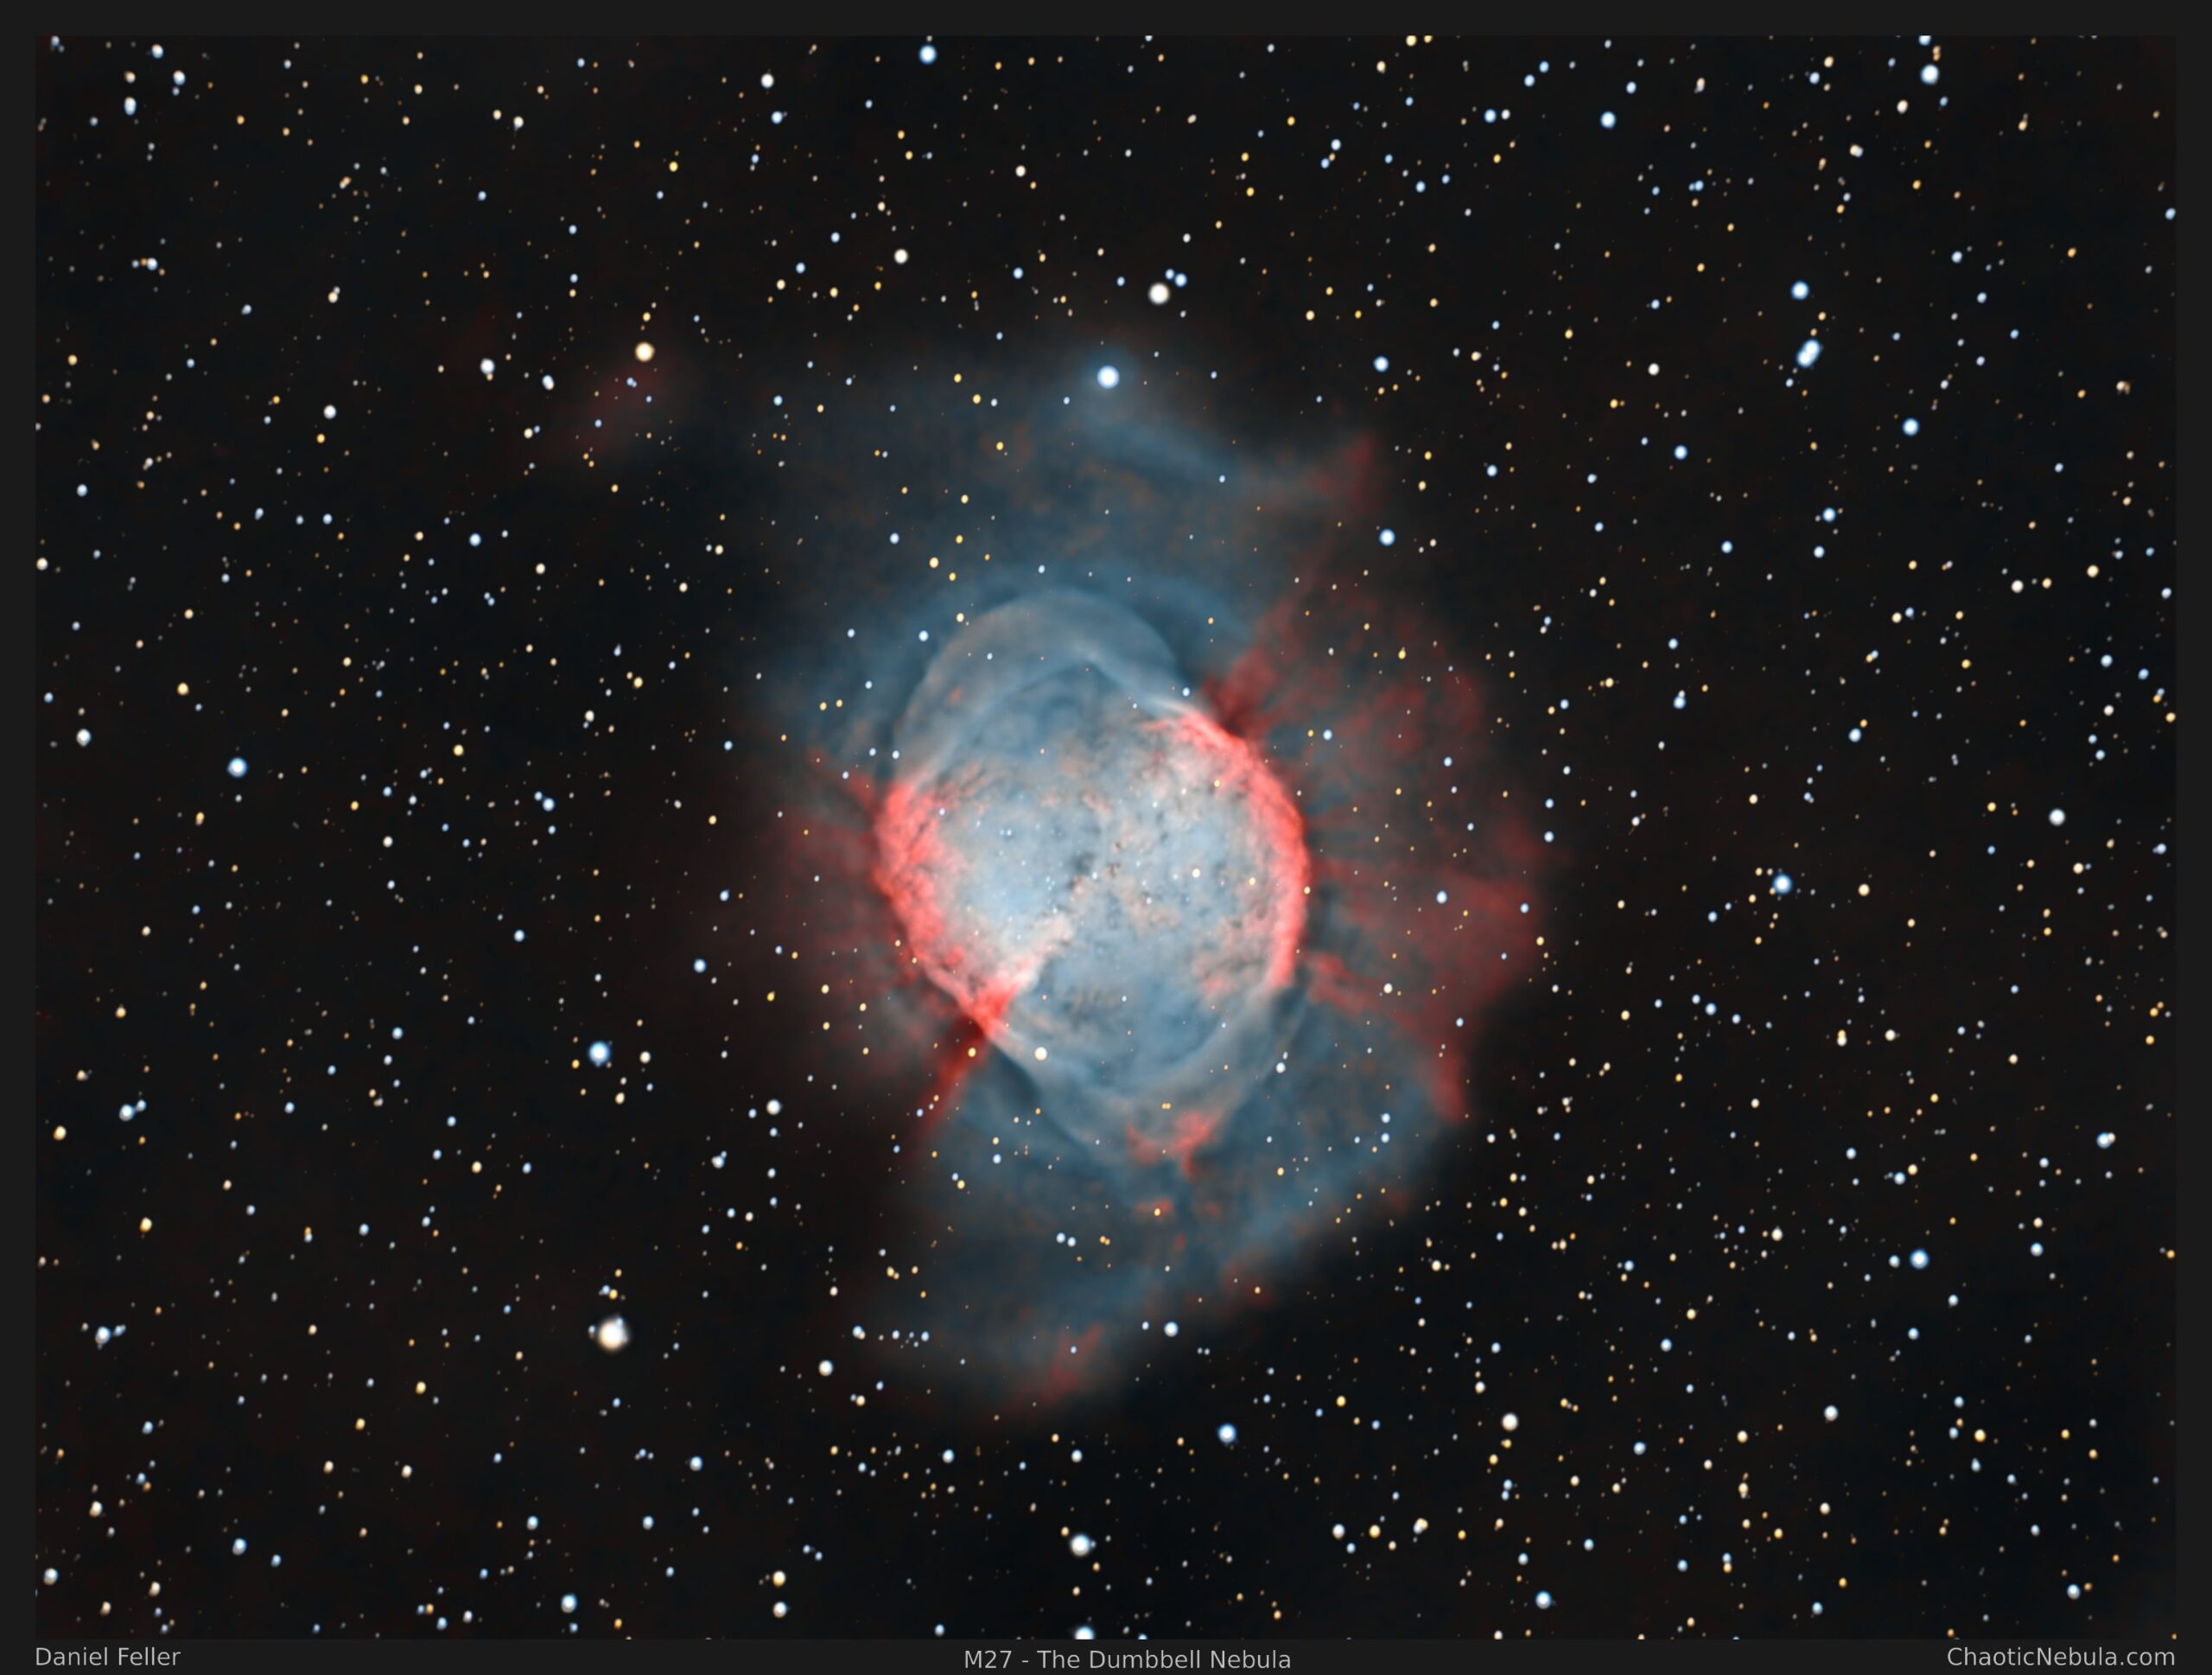
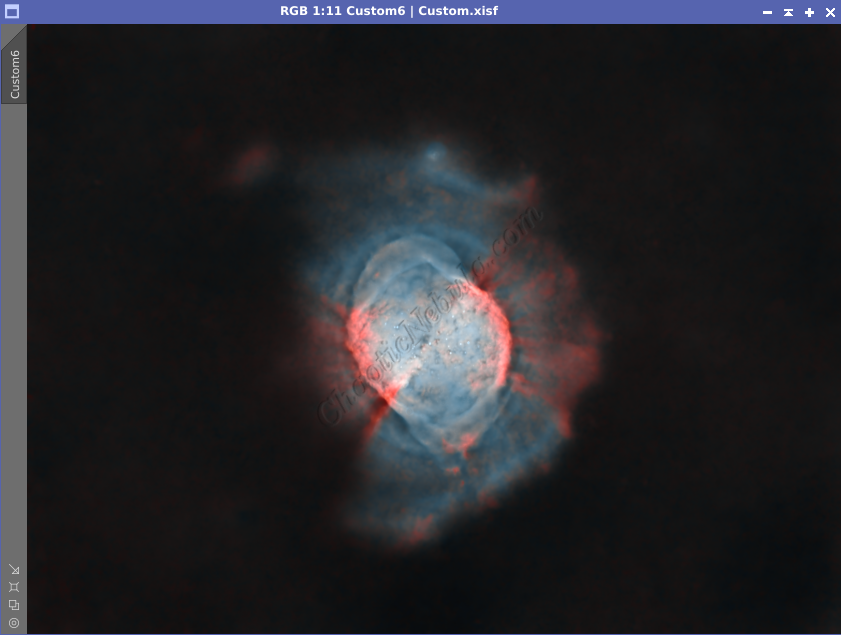
The Dumbbell Nebula, also known as Messier 27 or M27, is a prominent planetary nebula located in the constellation Vulpecula. Planetary nebulae are shells of ionized gas and dust ejected from aging stars, and despite their name, they have no direct connection with planets. Studying planetary nebulae, like M27, provides valuable insights into the late stages of stellar evolution, including the final evolution of our sun. The process of a star shedding its outer layers and forming a nebula contributes to the enrichment of the interstellar medium with heavy elements, which can later be incorporated into new stars and planetary systems.
M27 is one of the brightest and most well-known planetary nebulae in the night sky. Most planetary nebulae look small from Earth, because they are much farther away than M27. This planetary nebula is 1360 light years away. Pretty close compared to everything else that is out there.
Imaging Details
- Workflow: Narrowband
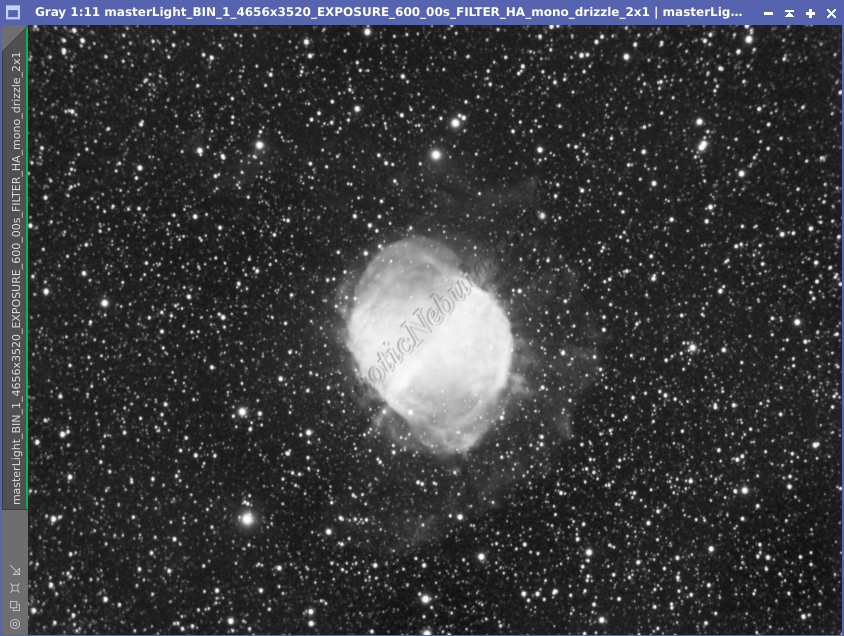
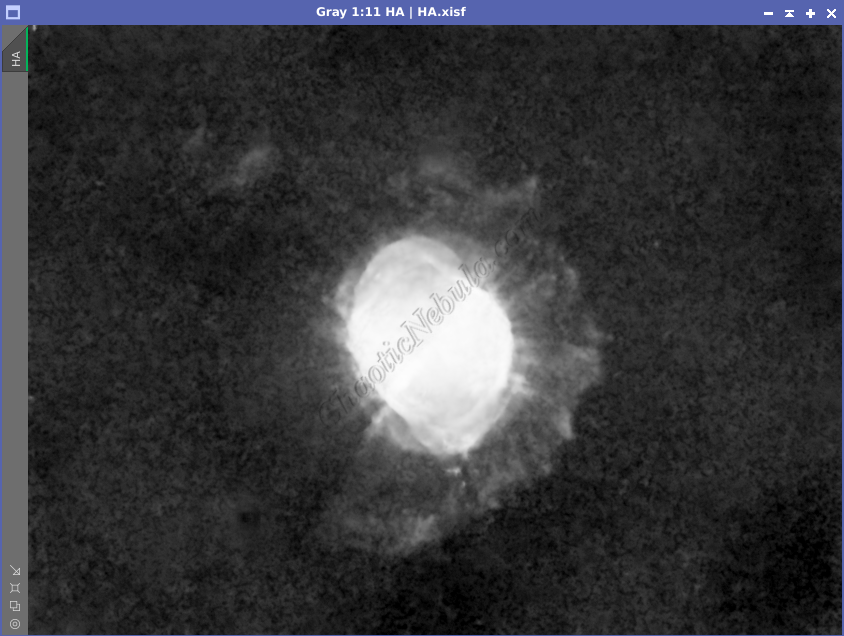
- HA: 60*600 seconds
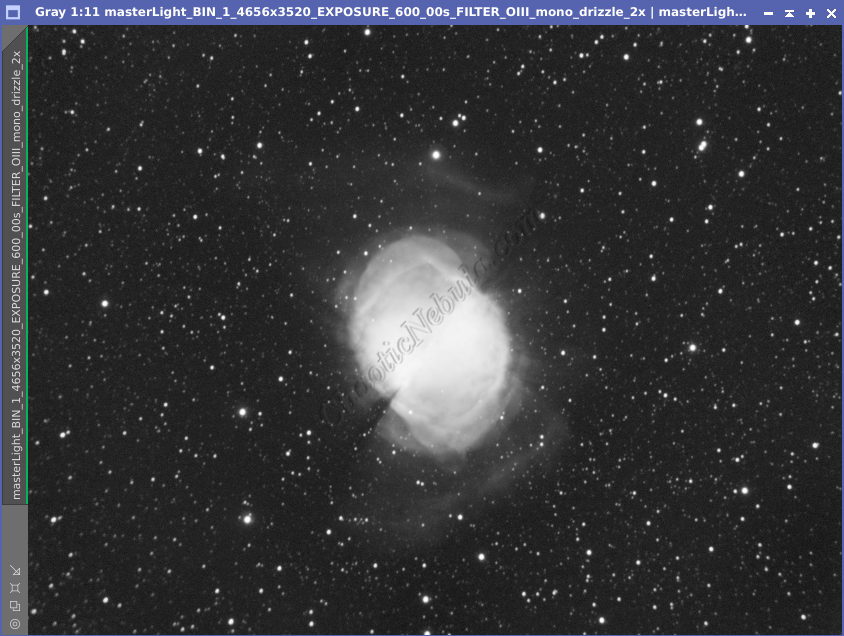
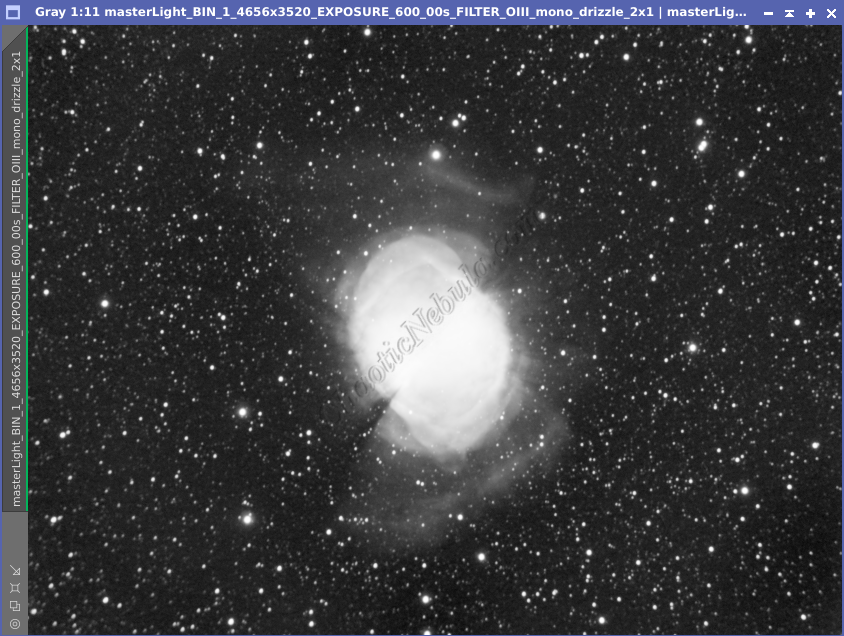
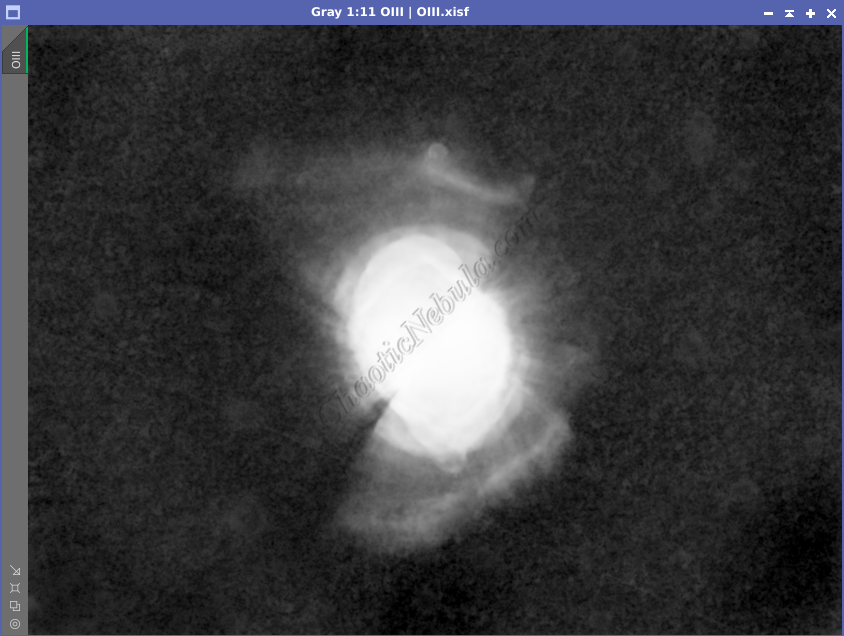
- OIII: 60*600 seconds
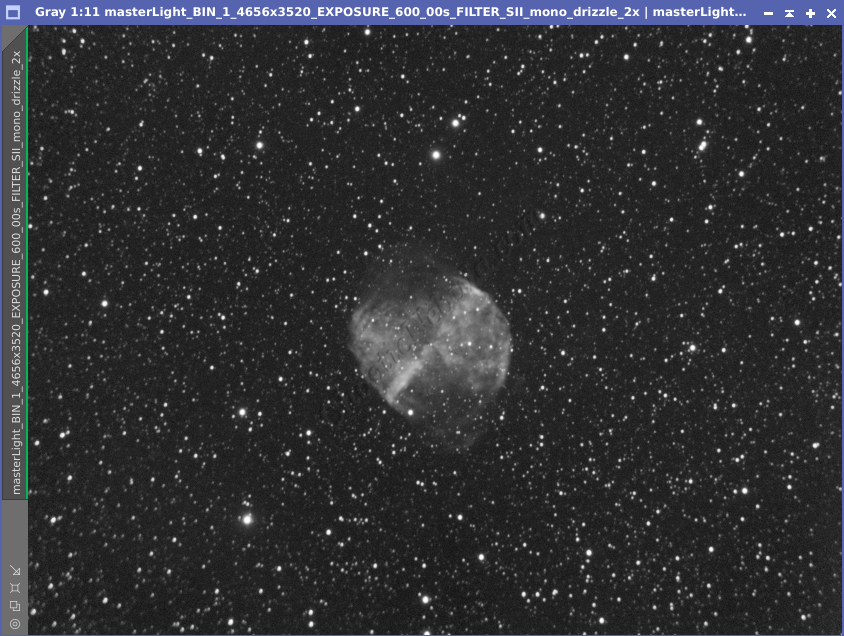
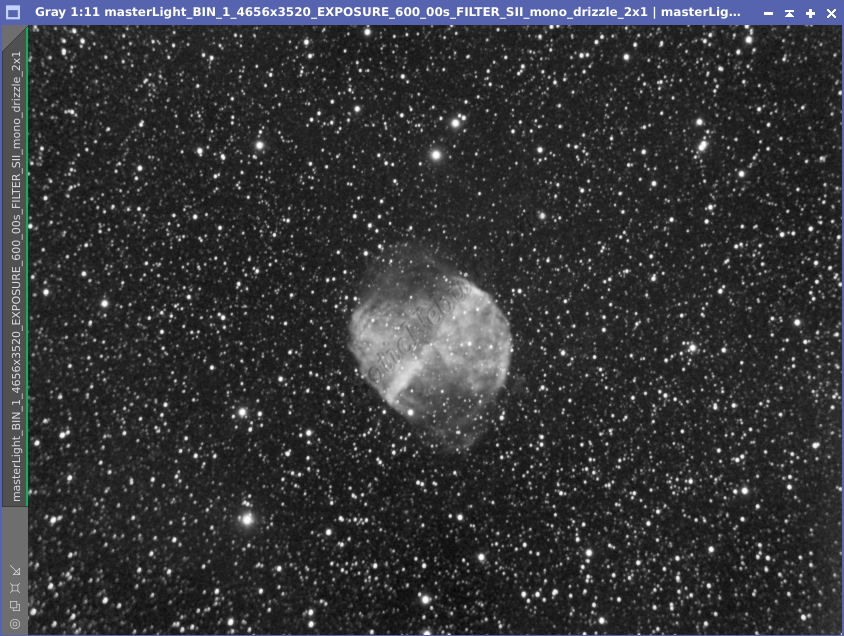
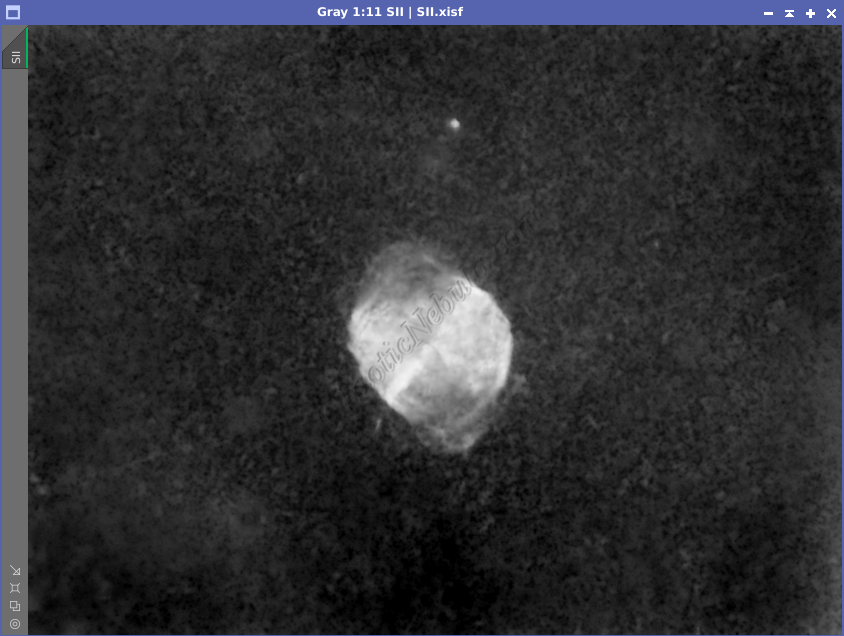
- SII: 60*600 seconds
- Total Imaging Time: 30 hours
- Imaging Dates (8 nights):
- 6/12/2023
- 6/14/2023
- 6/19/2023
- 6/20/2023
- 6/22/2023
- 6/26/2023
- 7/16/2023
- 7/20/2023
Imaging Notes
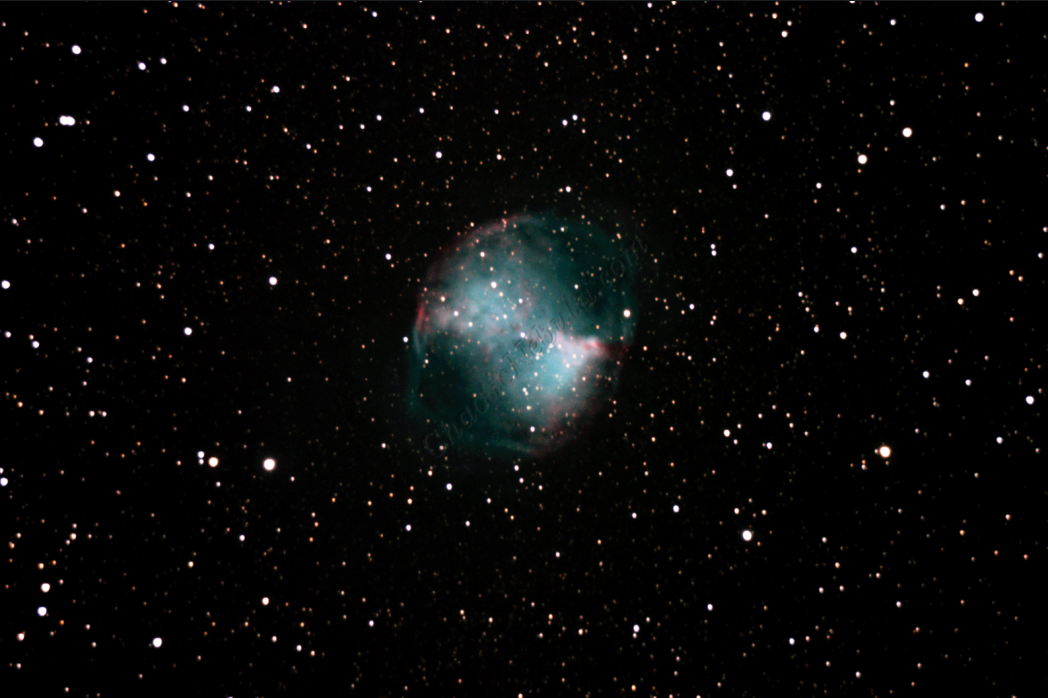
One of the first deep space astro photos I ever took was of M27, The Dumbbell Nebula. I took it through the telescope with a unmodified DSLR camera. This first try was 58 minutes of data, with each frame being 60 seconds long.
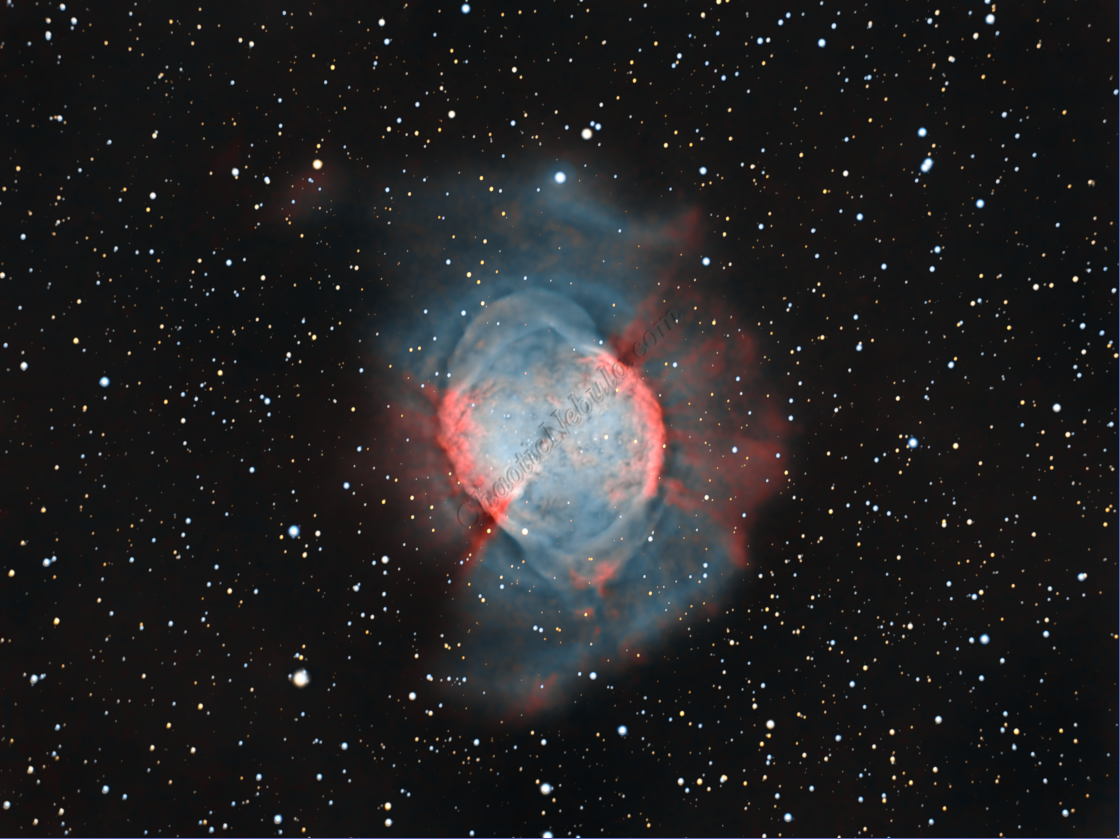
Eight years has passed and my knowledge about astrophotography has grown. My telescope mount, camera, and editing software were all upgraded. I decided to re-shoot The Dumbbell Nebula.
Overall, imaging the The Dumbbell Nebula was straightforward. I did the following things, which I will update my master workflows as I think it results in a better image.
- Before stretching the color image, I do a star removal. I then stretch and make the necessary color/saturation changes as needed.
- My synthetic luminance image that I integrate with the color image is also processed without stars.
- When I finish all image processing, the last step is to add the stars back into the final image. This approach keeps my stars small as most image processing workflows often cause stars to bloat.
Imaging Workflow
This image followed my standard Narrowband workflow very closely, except that I removed stars early on.
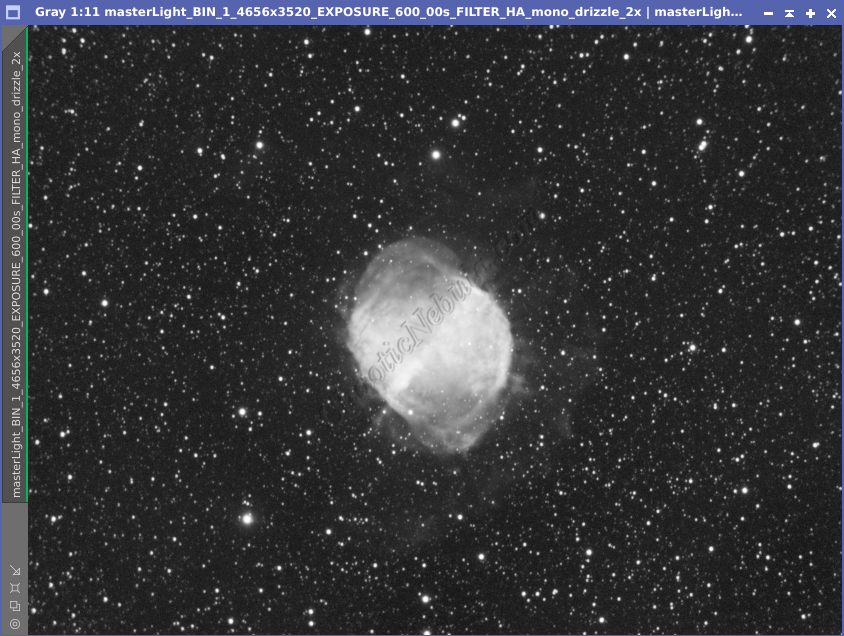
Integrated Image
I started off with three really good images for HA, OIII, and SII. I did my normal integration process with drizzle integration, dynamic crop, and dynamic background extraction.
Noise Reduction
I followed my normal noise reduction process, first starting with TGV Denoise. I ran this process twice for the HA, OIII, and SII frames.
The second part of noise reduction was to use multi-scale linear transformation.


Channel Combination for Luminance
I ran my normal channel combination approach (SHO combination) as well as the dynamic approach (created by the thecoldestnights.com blog.
- Red: (OIII^~OIII)*SII + ~(OIII^~OIII)*HA
- Green: ((OIII*HA)^~(OIII*HA))*HA + ~((OIII*HA)^~(OIII*HA))*OIII
- Blue: OIII
I did both because I was not happy with the color result with the standard SHO combination (SII=Red, HA=Green, and OIII=Blue).
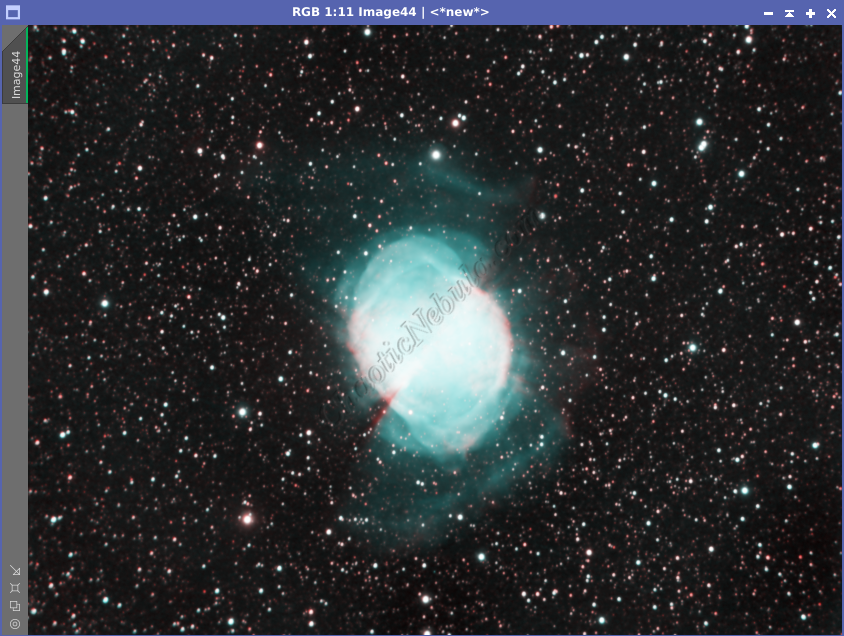
I only did this combination so I could generate a Luminance image, which I will use in the Luminance workflow.
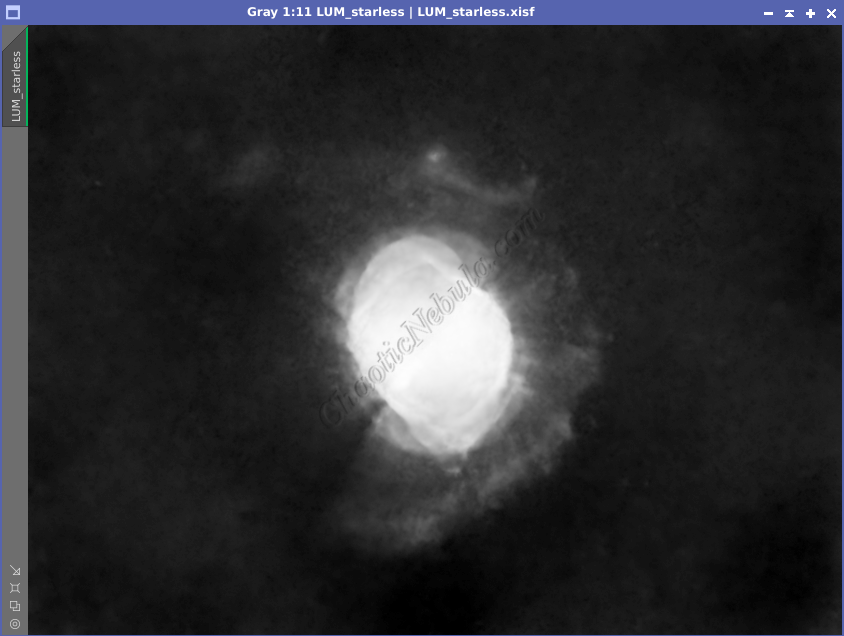
Star Removal
I’ve been testing image processing by removing the stars early on as a way to keep the stars from getting bloated due to additional processing being applied to the image. As part of this process, I had StarNet create a star mask, which I will use later to re-add the stars. I did this for all three channels (HA, OIII, and SII)
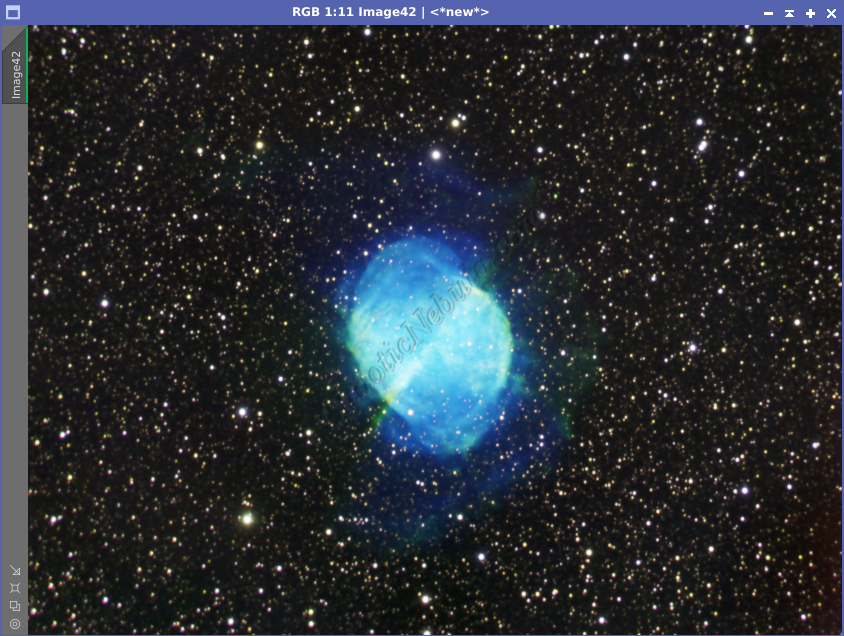
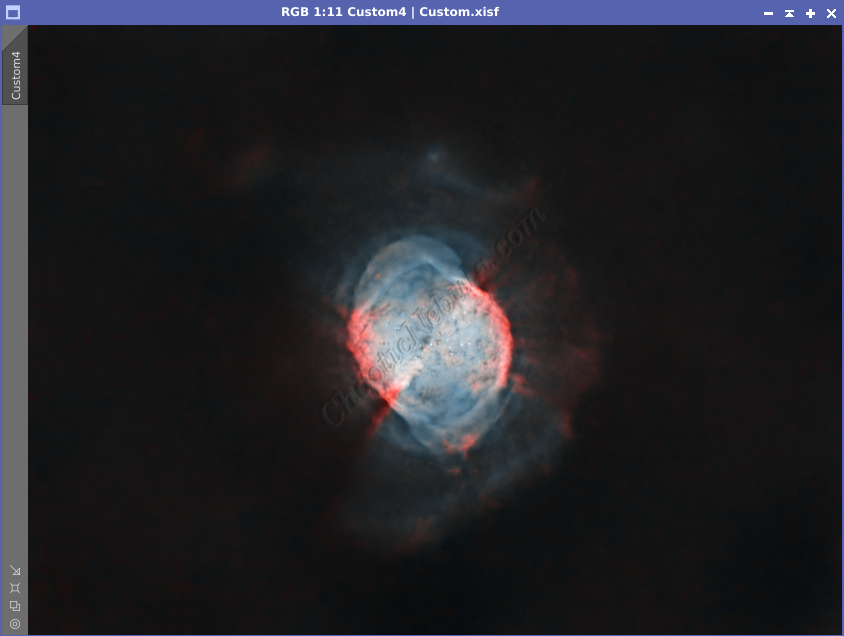
Channel Combination for RGB
With the stars removed, I will use Pixel Math to combine the channels dynamically, using the same formulas as previously explained.
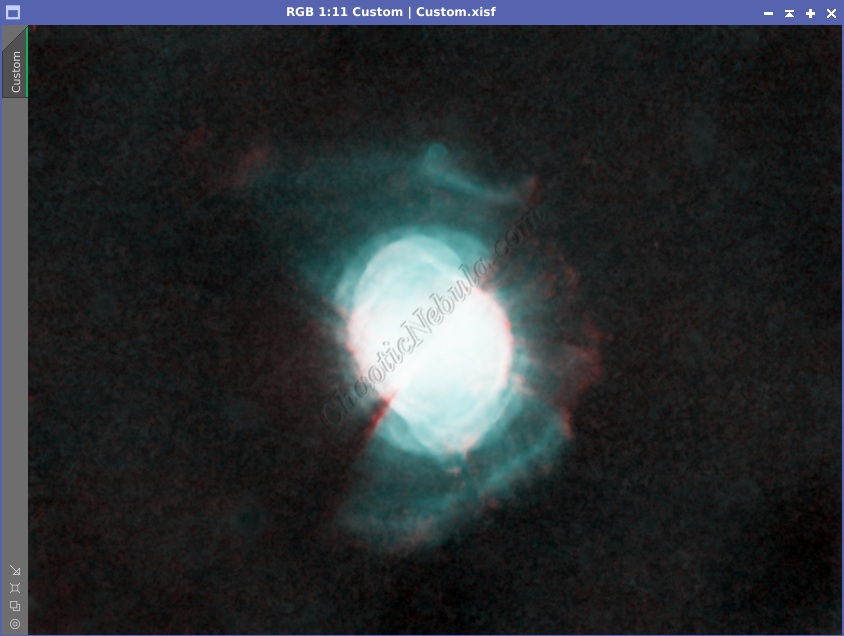
Histogram Stretch
I used histogram transformation to stretch the image.
Color Saturation
After I stretched the image, I used Curves Transformation to increase the overall color saturation.
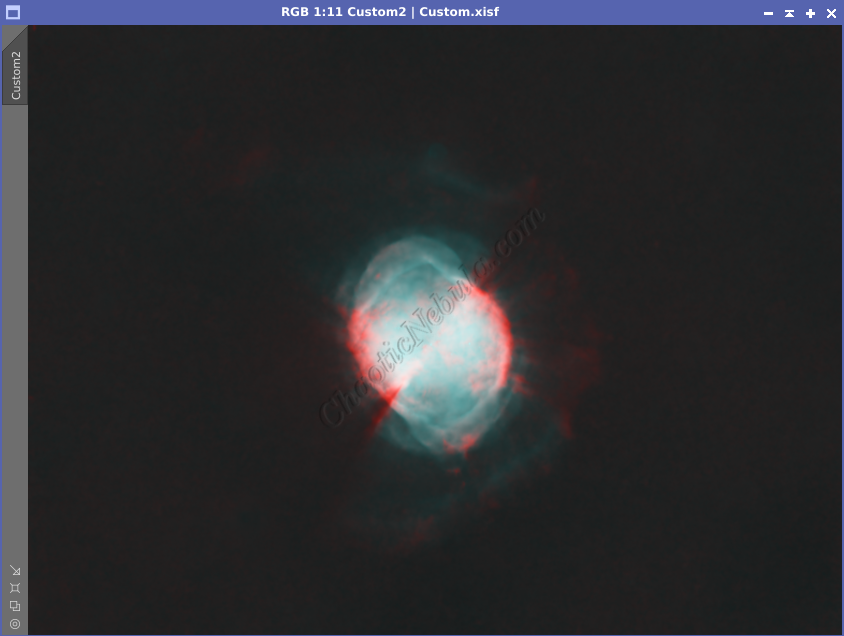
SCNR
I then used SCNR to remove the green hue from the image.
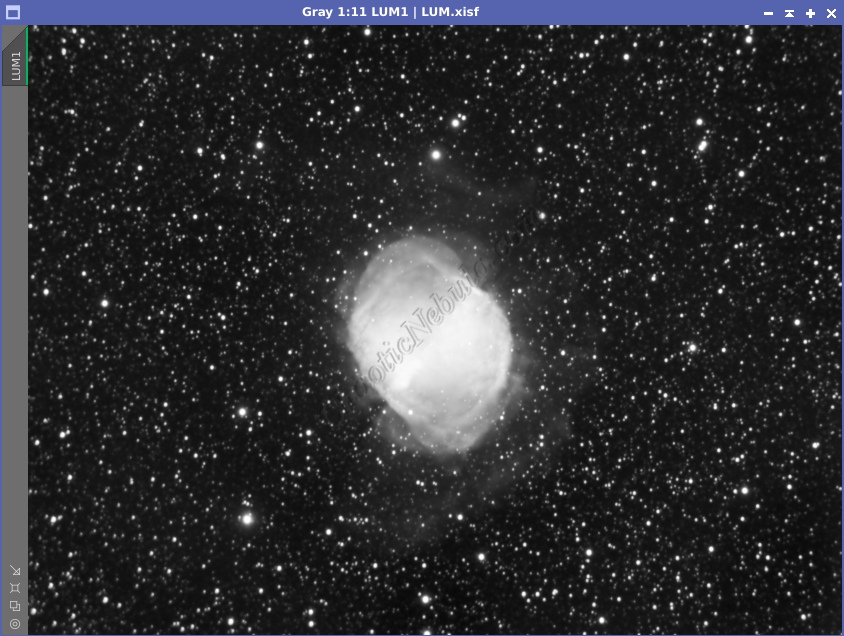
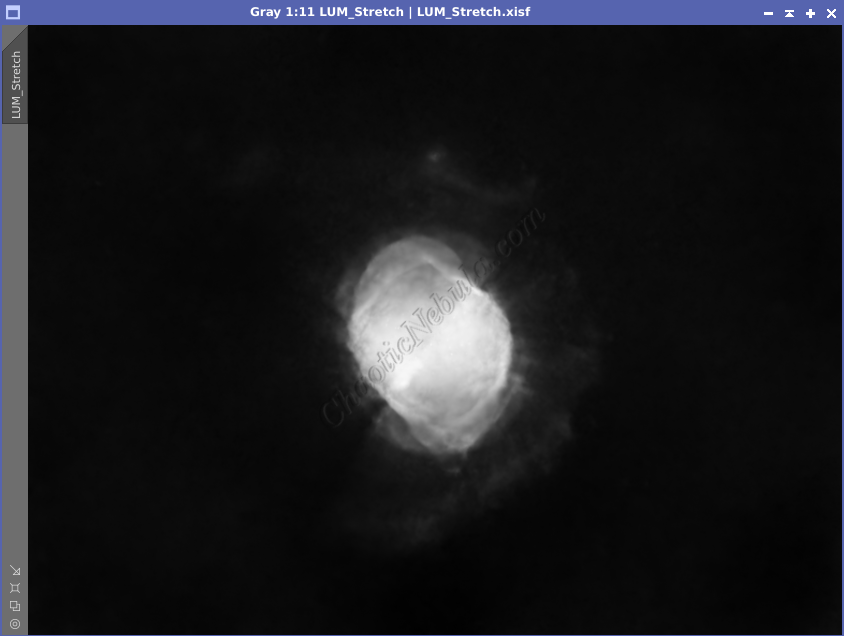
Luminance Workflow
Before doing anything more to the color image, I need to go through my Luminance Workflow.
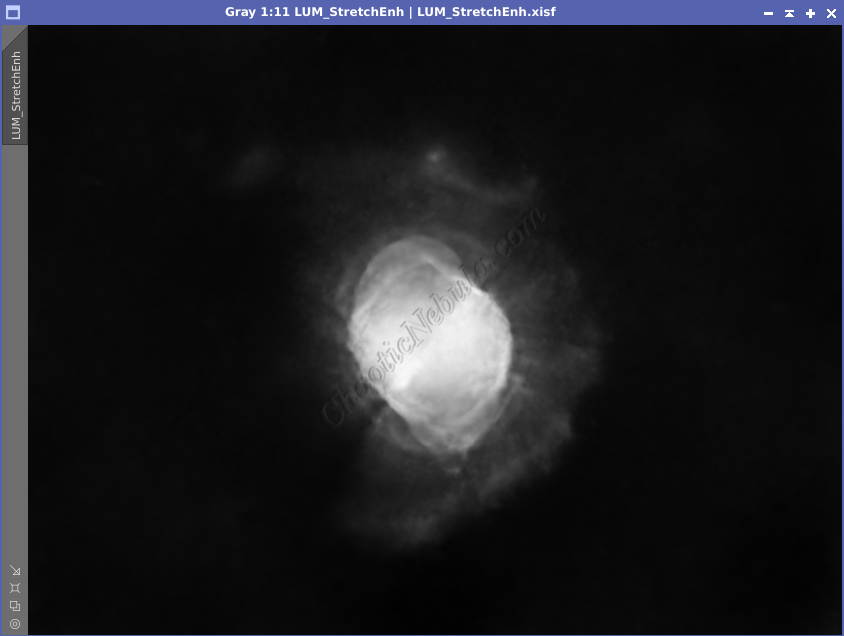
Early on, I created a color image that included the stars. From that image, I extracted the luminance channel. With a luminance image, I ran through the luminance workflow, paying attention to the subtle wisps on the edges. I used my enhanced stretching routine to bring out those features.


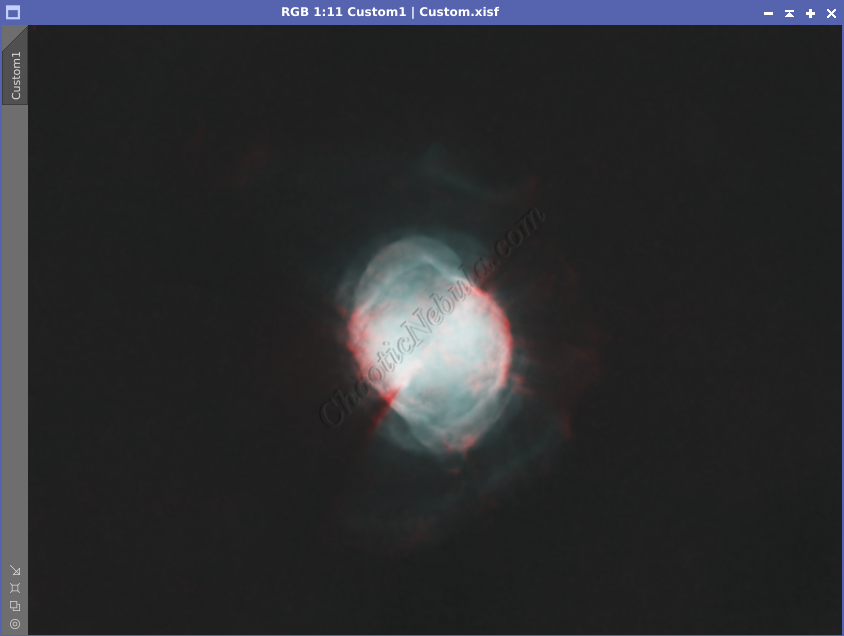
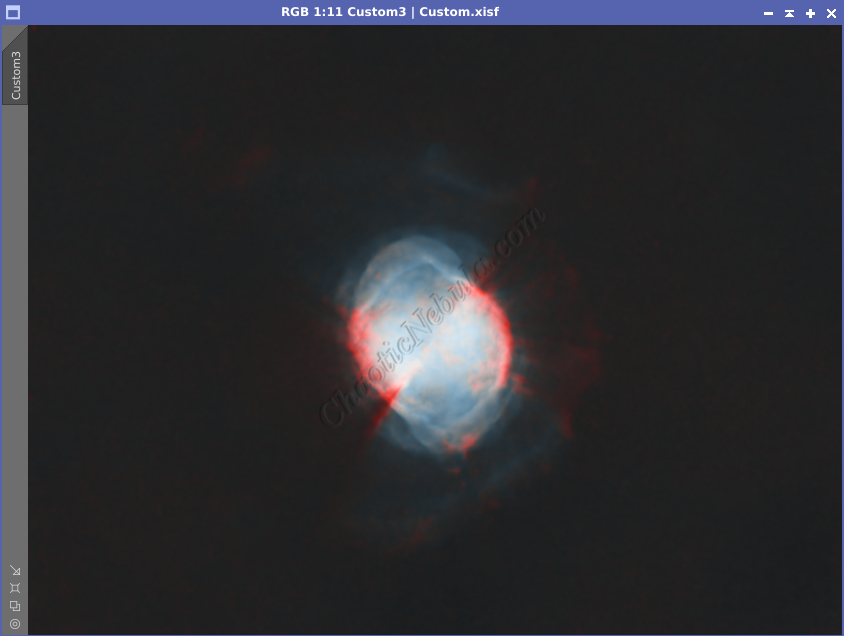
Luminance Integration (LRGB)
With the luminance image processed, I can integrate it with the color image with Channel Combination. I run this process five times until I get the desired result.
Color Saturation
I used Curves Transformation to increase the overall color saturation for a second time. Again, I used my enhanced stretch mask from my Luminance worklow to brighten the outer edges.
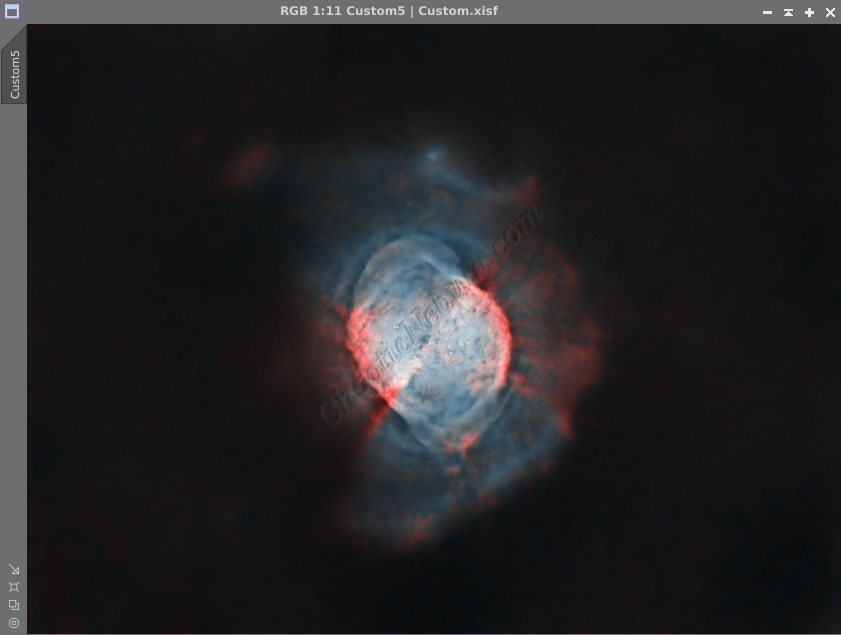
Brightness and Color Adjustments
I used Curves Transformation to increase the overall brightness and colors.

Noise Reduction
Now that the image is done, I run one last noise reduction with ACDNR.
Star Integration
Now that the image is almost complete, it is time to add the stars back into the image. I will use the star mask the StarNet created during the star removal process for the HA, OIII, and SII channels. I used linear fit before doing a simple SHO channel combination.
Once combined, Histogram Transformation permanently stretch the image, to make the stars visible. I did the same thing for the star mask created during the star removal on the luminance image.
I applied the luminance star mask to the RGB image.
Then, using Pixel Math, take the maximum values from both images and apply to the color image. Because of the star mask applied to the color image, this formula only impacts the unprotected areas from the star mask.