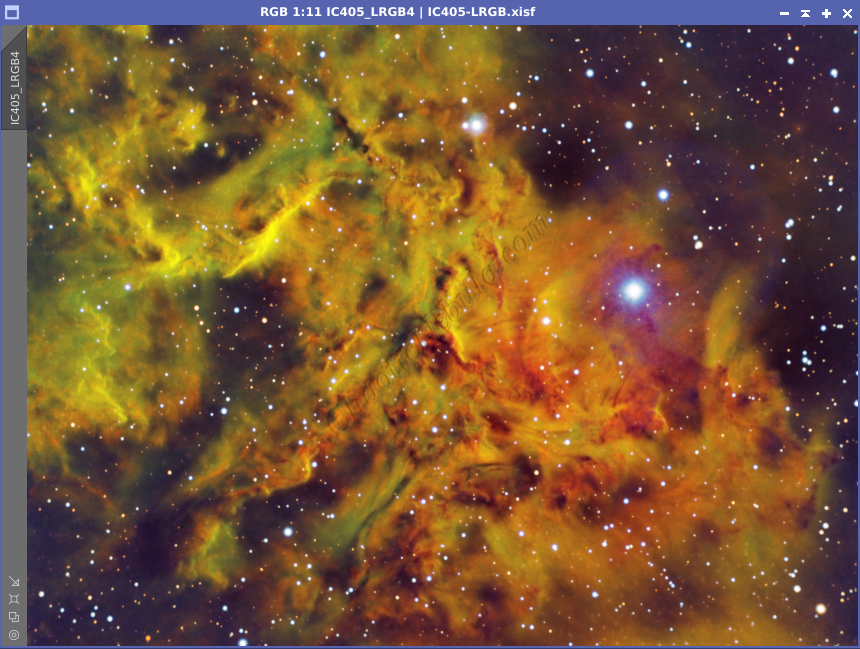
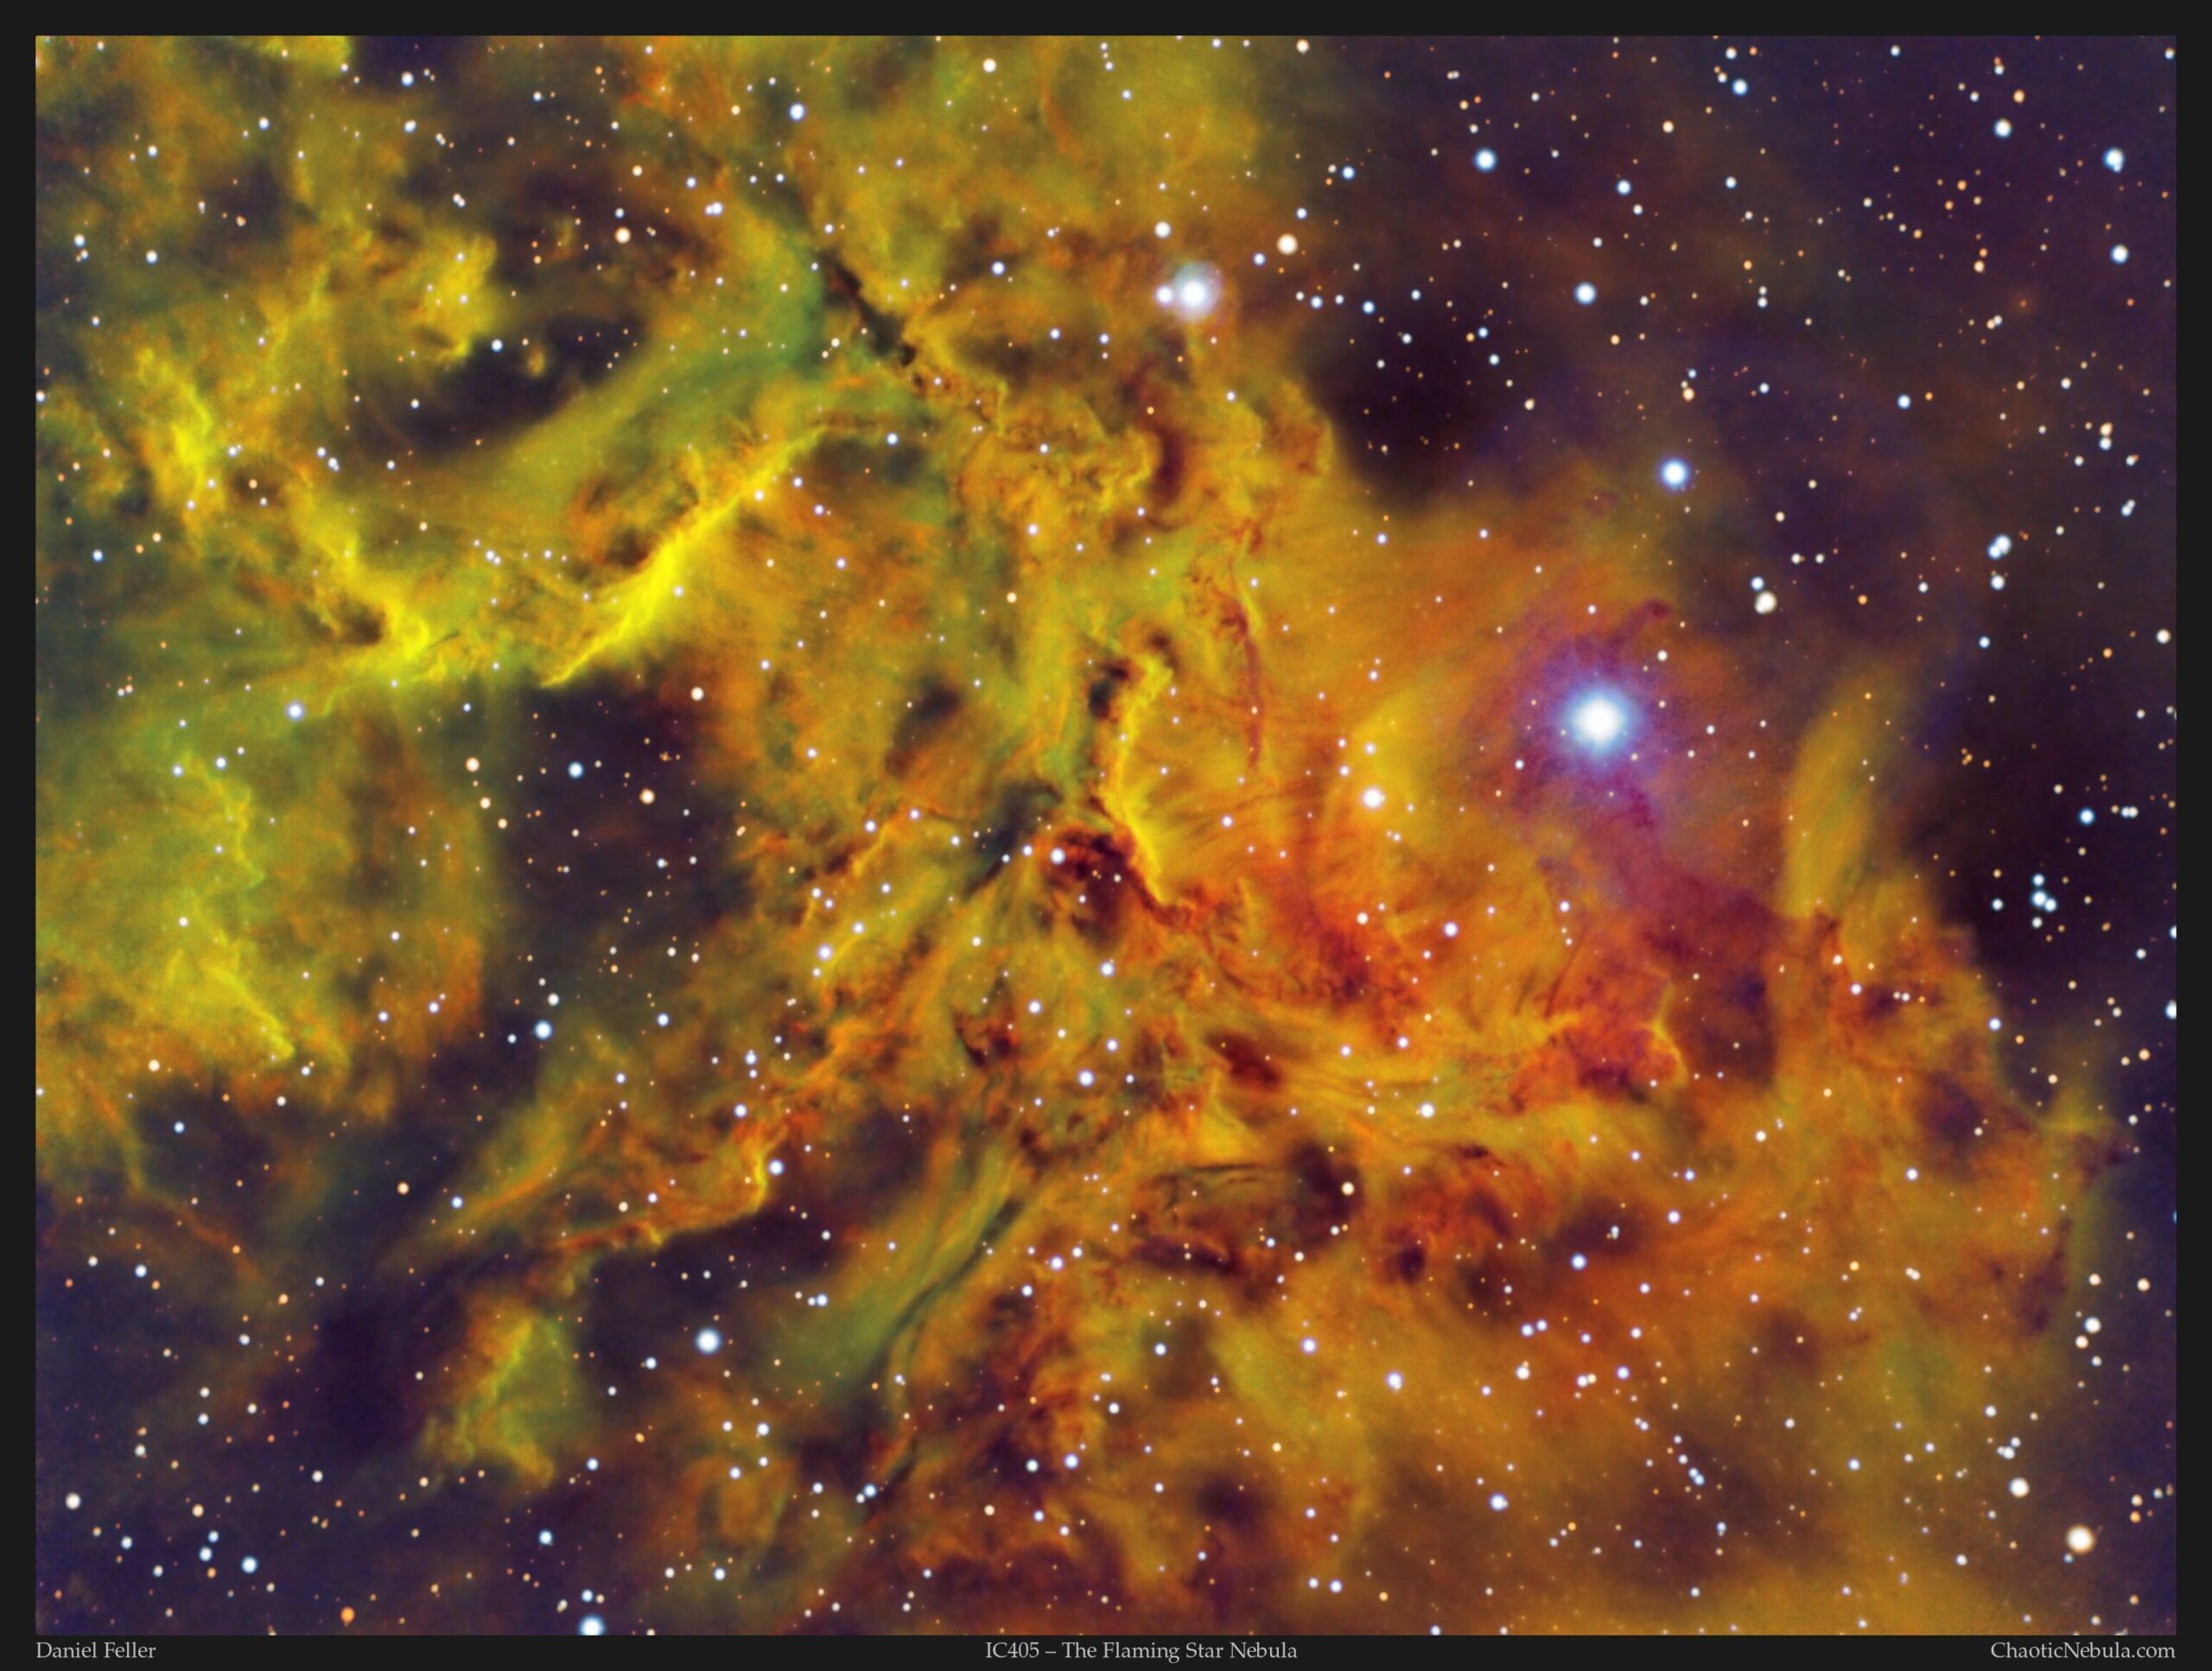
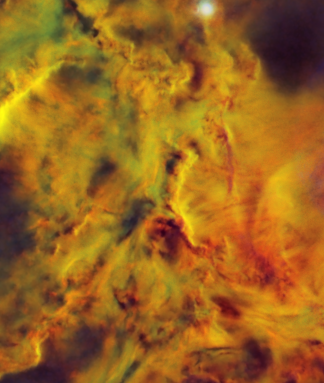
Nestled in the constellation Auriga, the Flaming Star Nebula (IC405) isn’t just a celestial object, it’s a photographer’s siren song. Its wispy tendrils glisten under the watchful eye of AE Aurigae, a young, hot star casting its fiery glow upon the molecular cloud. But capturing this cosmic masterpiece on your camera requires more than just pointing your camera and clicking.
IC405 boasts both emission and reflection nebulae. Its red glow comes from excited hydrogen gas lit by AE Aurigae, which is no ordinary inhabitant. Theorized to be ejected from the Orion Nebula millions of years ago, it still carries a youthful punch, making it a fascinating subject in its own right.
IC405 resides roughly 1,500 light-years away from Earth, placing it relatively close to us in cosmic terms. It’s easily visible through telescopes and, under ideal conditions, with the naked eye. You’ll find it near the bright stars Capella and Algol in Auriga.
Imaging Details
- Workflow: Narrowband
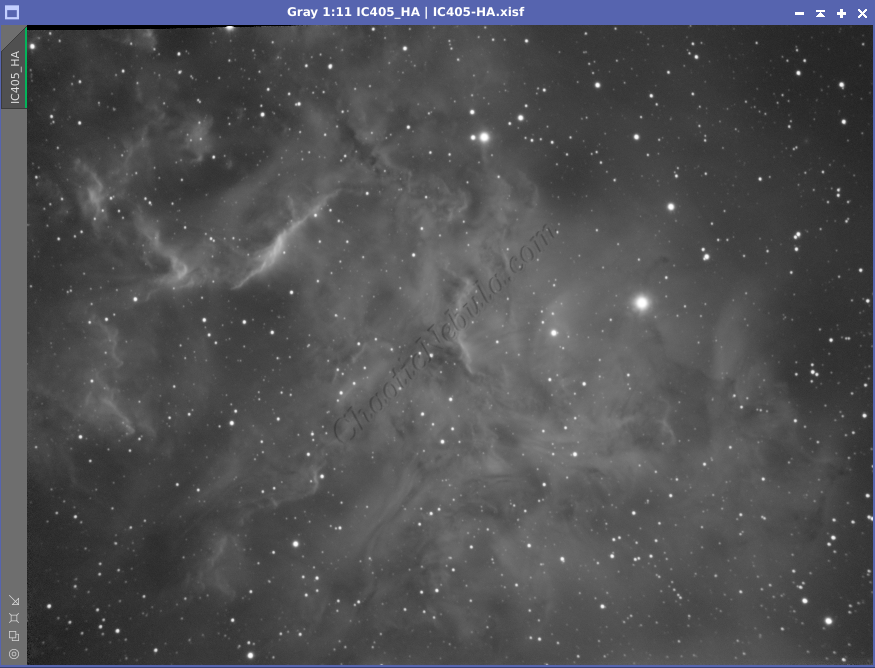
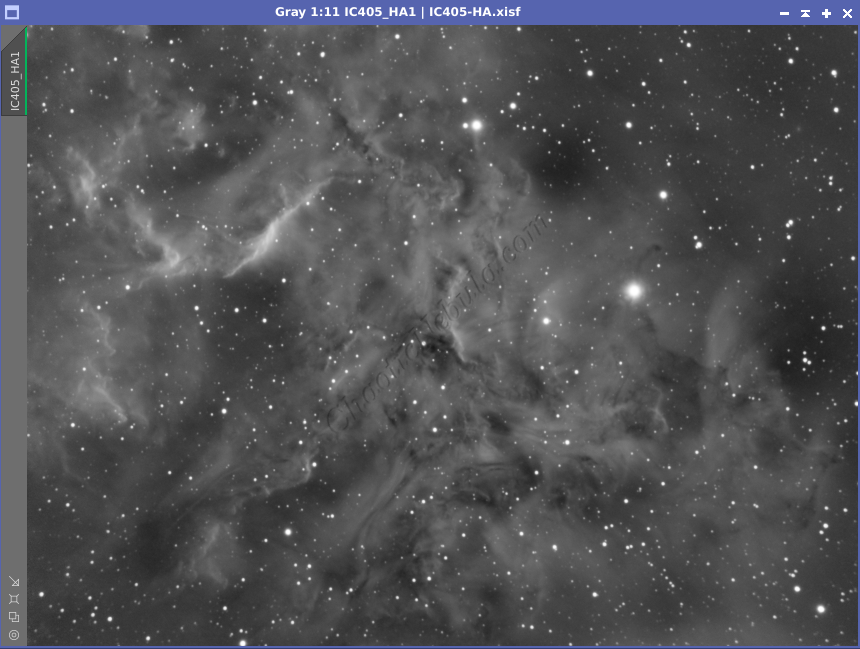
- HA: 60*600 seconds
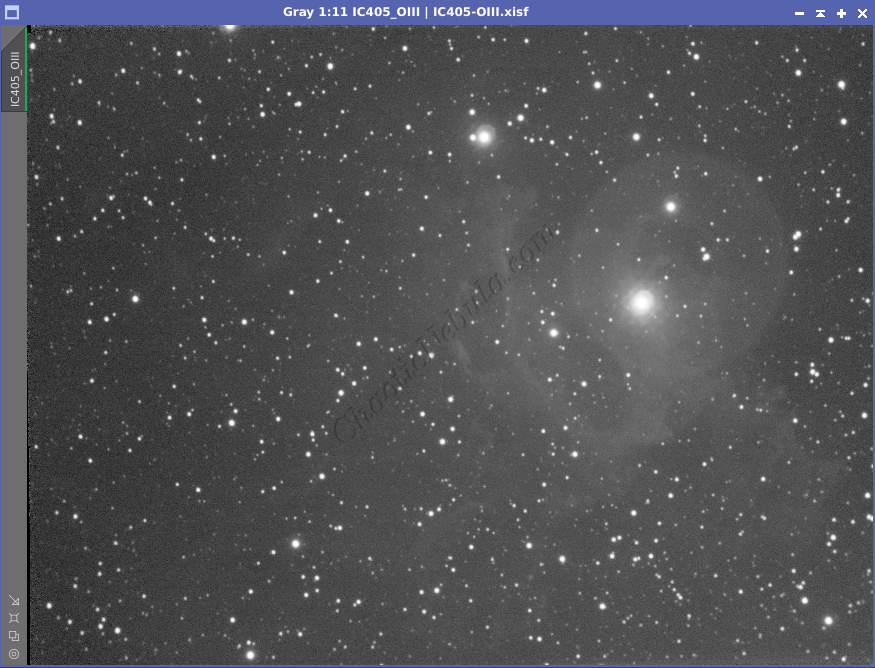
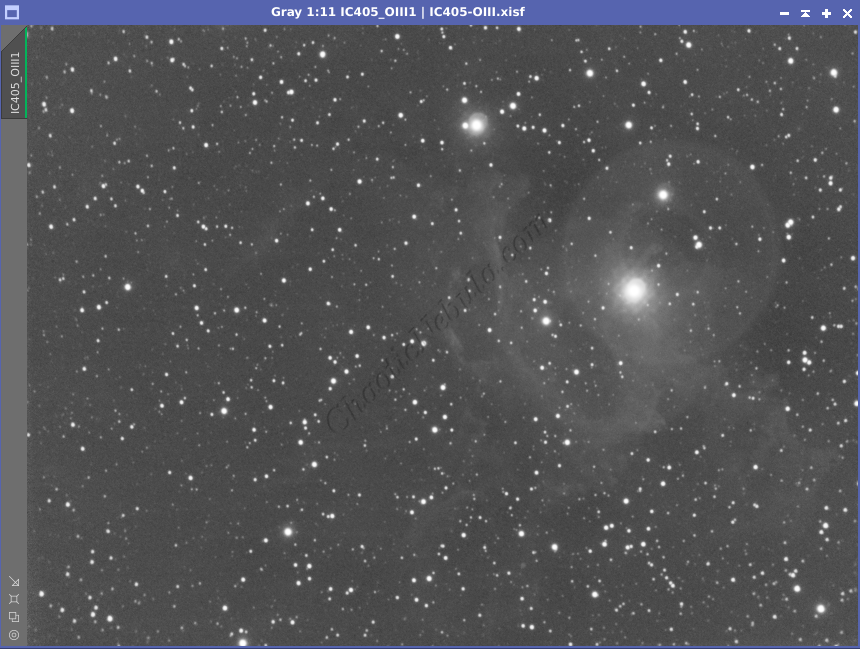
- OIII: 60*600 seconds
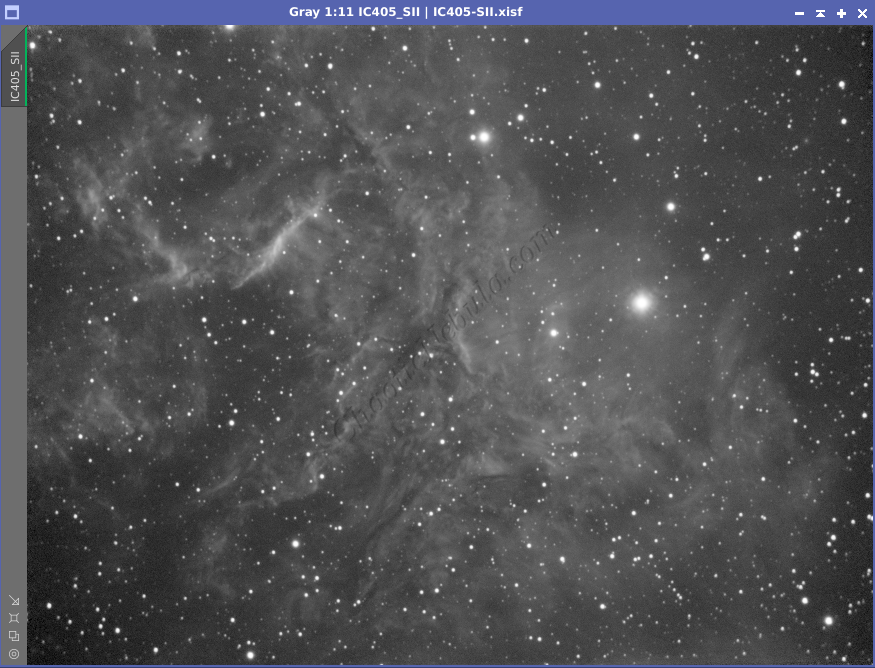
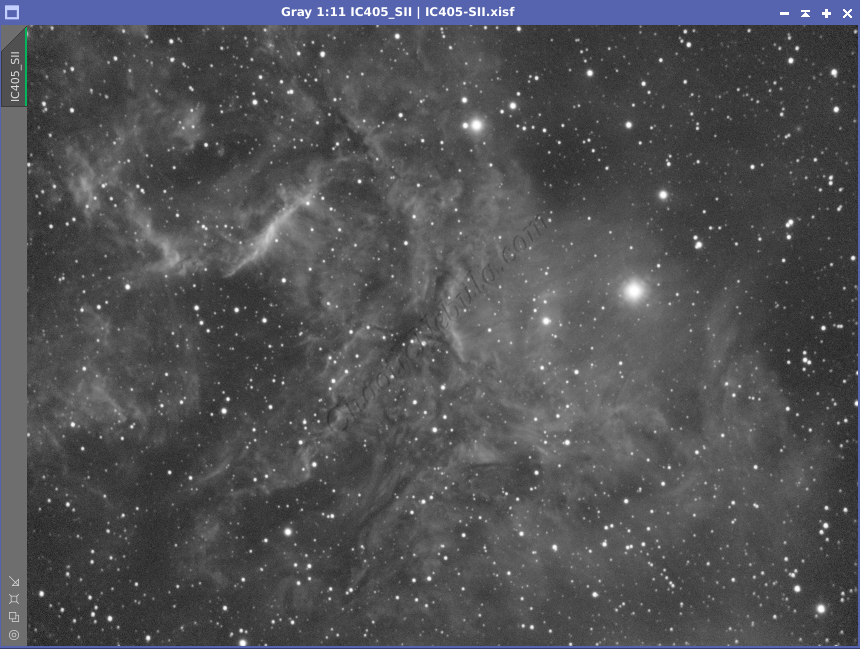
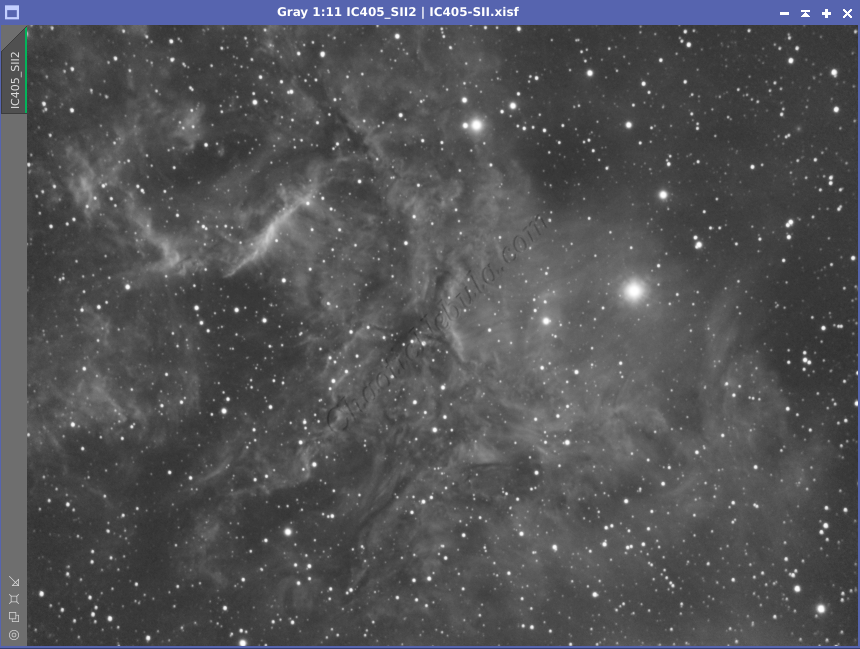
- SII: 60*600 seconds
- Total Imaging Time: 30 hours
- Imaging Dates (8 nights):
- 10/10/2023
- 10/11/2023
- 10/12/2023
- 10/16/2023
- 11/13/2023
- 11/15/2023
- 11/17/2023
- 11/18/2023
Imaging Notes
The Flaming Star Nebula is a perfect example where my telescope’s field of view is so narrow that I’m only able to capture a small portion of the entire structure. However, this allows me to gather a lot of detail within the busiest section of the nebula.
In addition, The Flaming Star Nebula is an emission nebula (good for narrowband imaging: HA, SII, and OIII) and a reflection nebula (good for broadband imaging R, G, B). From a broadband perspective, simply capturing the blue channel should bring out additional details of the reflection portion of the nebula. Unfortunately, the blue filter was not used for this image (future project).
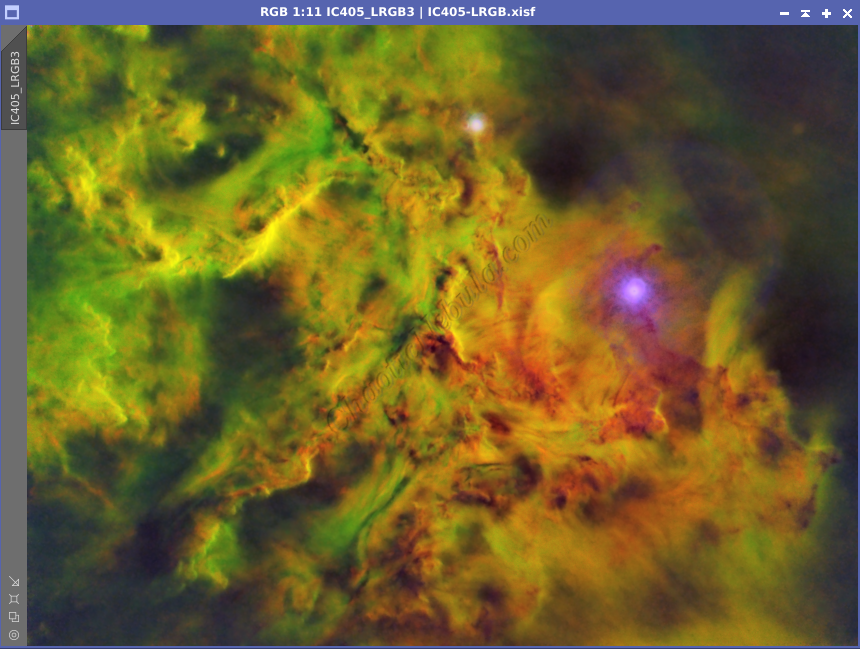
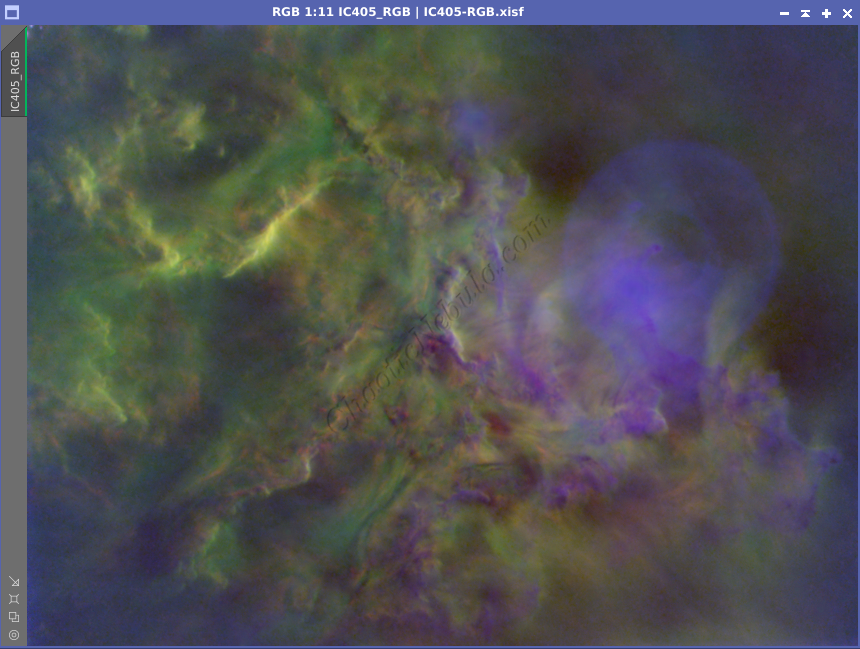
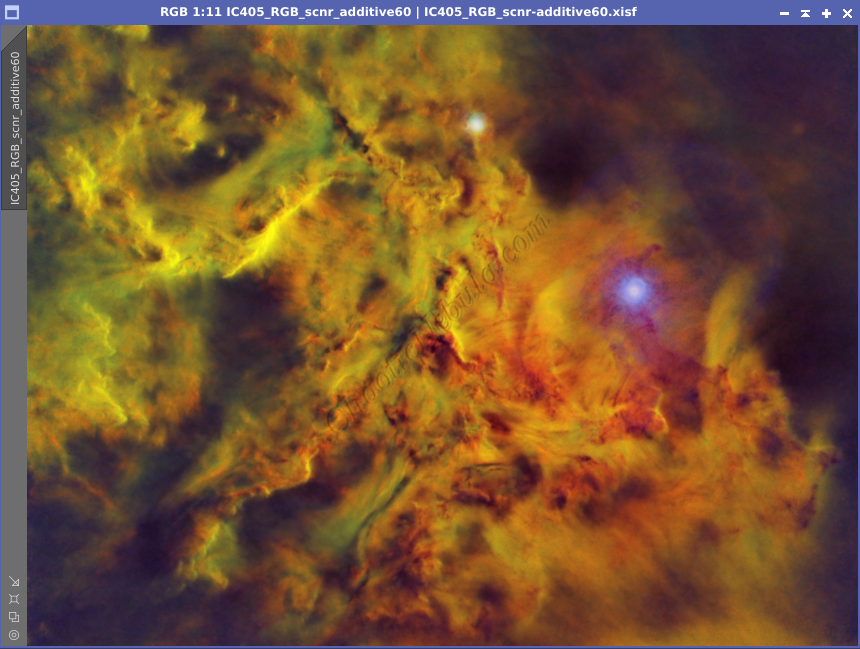
Like most narrowband images, the Hydrogen-Alpha channel is overpowering. I normally use SCNR to remove the green (sometimes 100% remove and other times 60% removal). I still wasn’t satisfied.
- No SCNR: Too much green in the image without SCNR
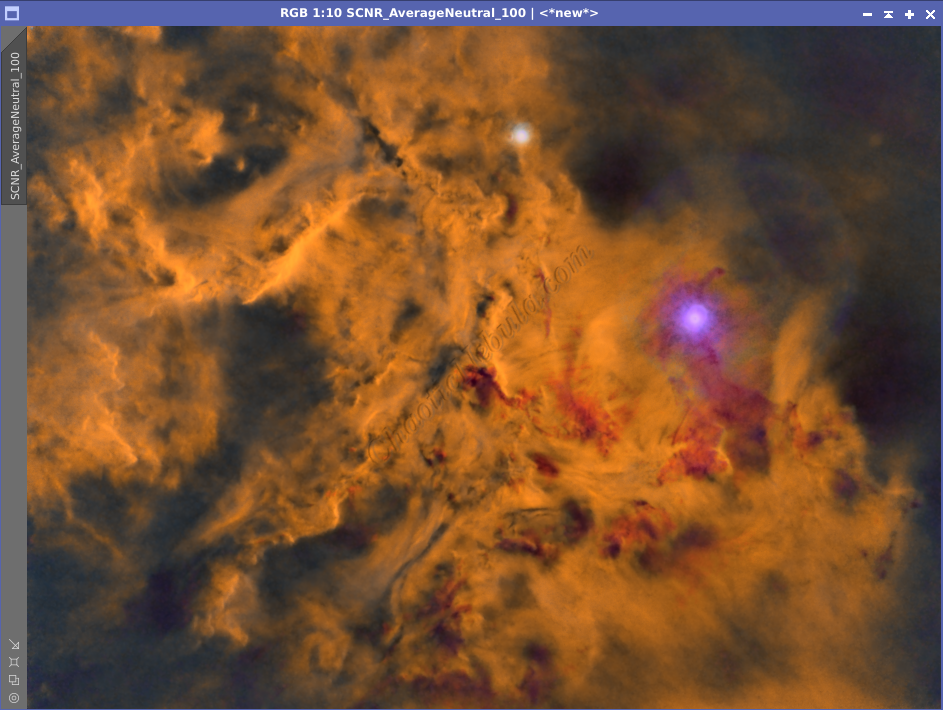
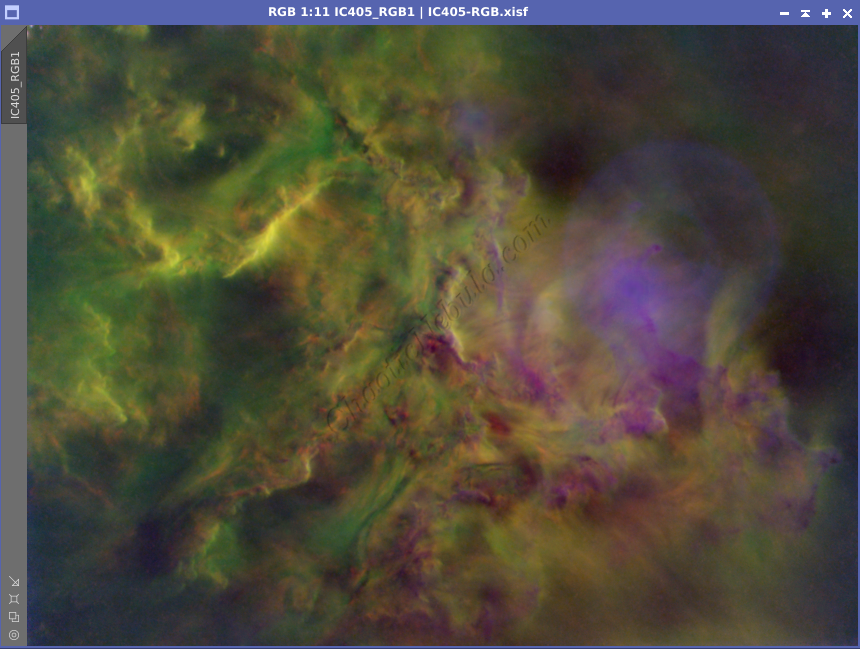
- Average Neutral 100%: This removes all of the green, leaving very little color variation.
- Average Neutral 60%: This removes 60% of the green, which creates a more interesting image that with 100% removal
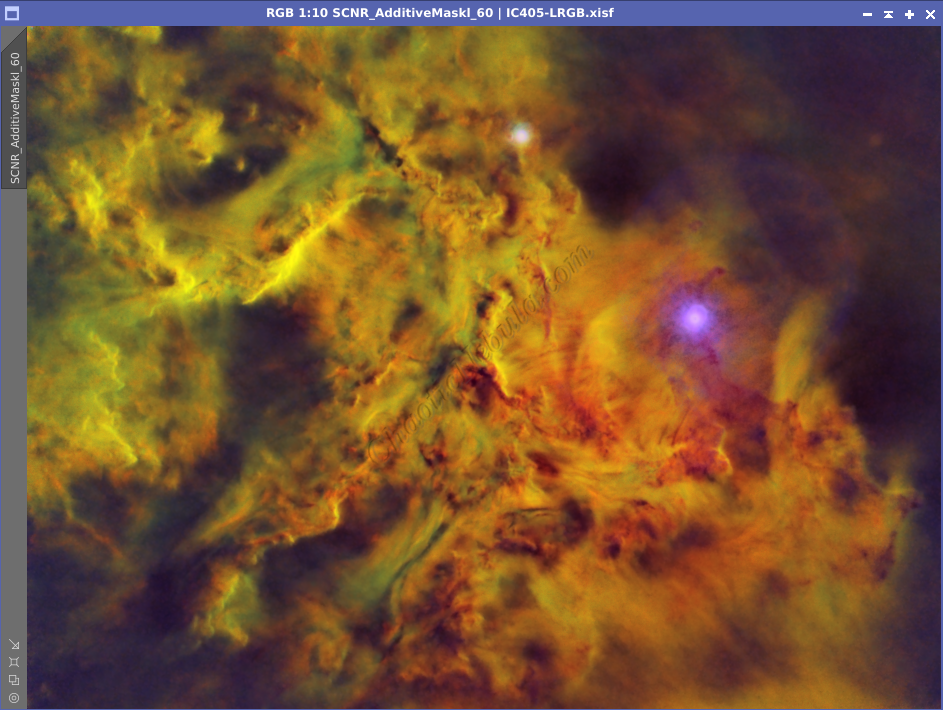
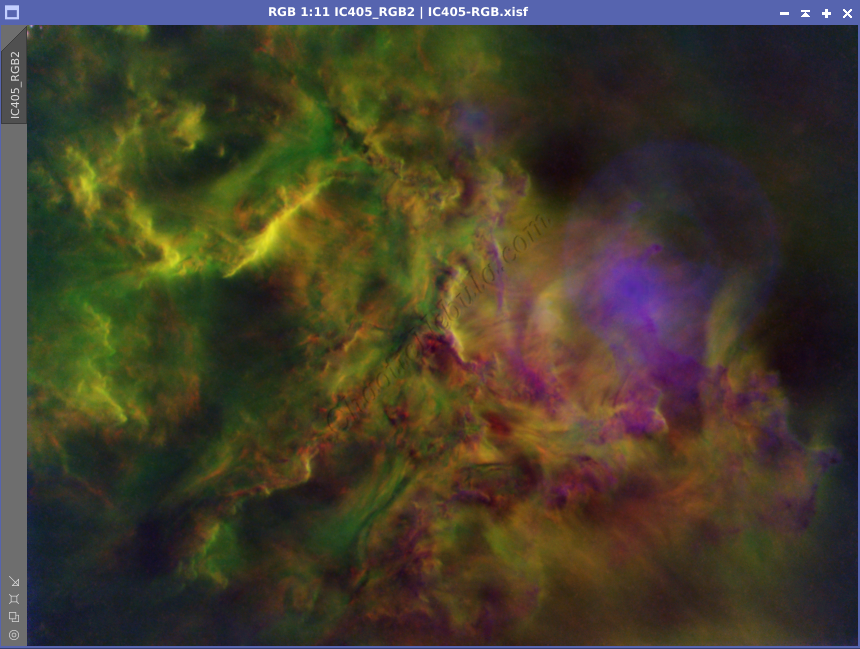
- Additive Mask 60%: This is a new setting I tried with SCNR. From my perspective, this was the best result

And also, during the image editing process, I kept seeing a face in the clouds. Do you see it?
Imaging Workflow
This image followed my standard Narrowband workflow very closely
Baseline Image
I started off with three really good images for HA, OIII, and SII. I did my normal integration process using the weighted batch pre-processing script.
Background Extraction
The next step was to do a dynamic crop and dynamic background extraction.


Noise Reduction
I followed my normal noise reduction process, first starting with an updated TGV Denoise process, which seems to work better than previously.

The second part of noise reduction was to use multi-scale linear transformation.


Channel Combination

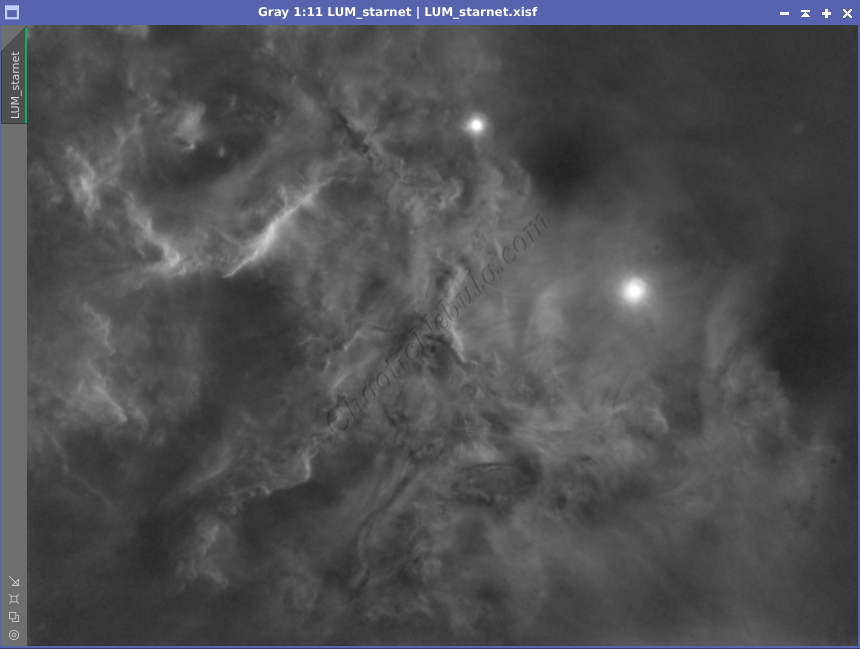
Star Removal
Previously, I would do star removal before integrating the channels into a color image. However, I’ve recently discovered that the star removal works better on a RGB image that it does with single channel images.
Histogram Stretch
I used histogram transformation to stretch the image.
Color Saturation
After I stretched the image, I used Curves Transformation to increase the overall color saturation.
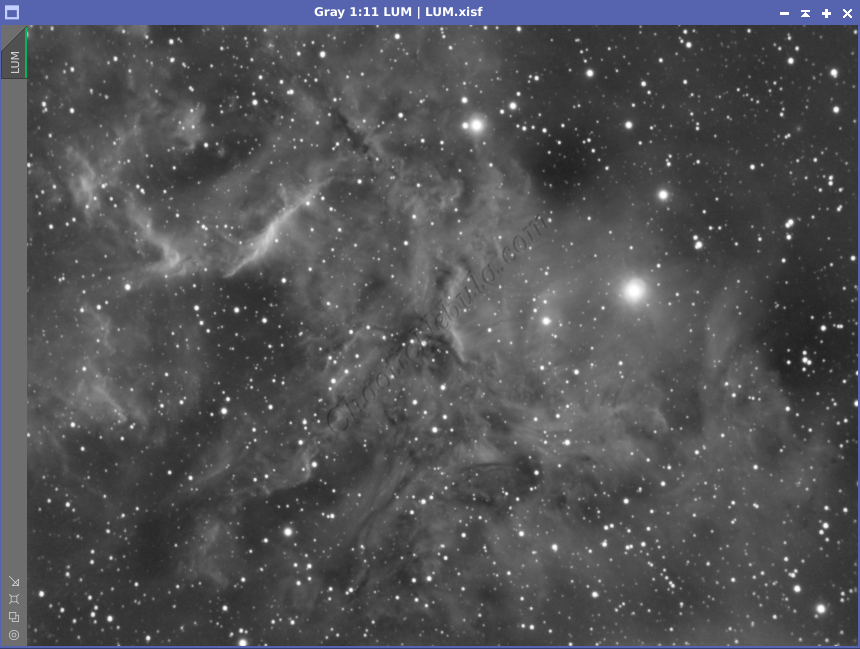
Luminance Workflow
Before doing anything more to the color image, I need to go through my Luminance Workflow.

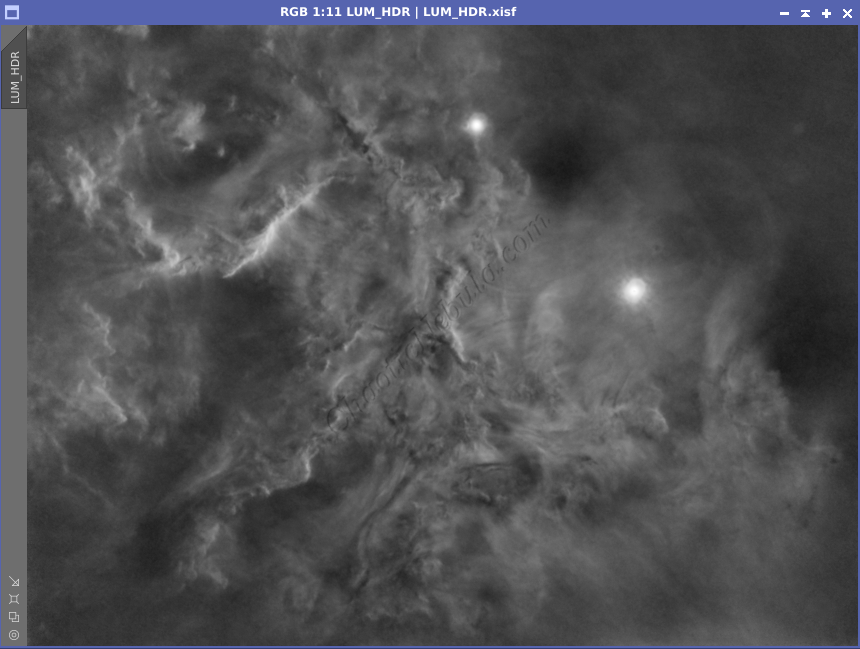


Luminance Integration (LRGB)
With the luminance image processed, I can integrate it with the color image with Channel Combination. I run this process five times until I get the desired result.

Brightness and Color Adjustments
I used Curves Transformation to increase the overall brightness and colors.

Noise Reduction
SCNR
I then used SCNR using a 60% additive mask.
Star Integration
Now that the image is almost complete, it is time to add the stars back into the image.