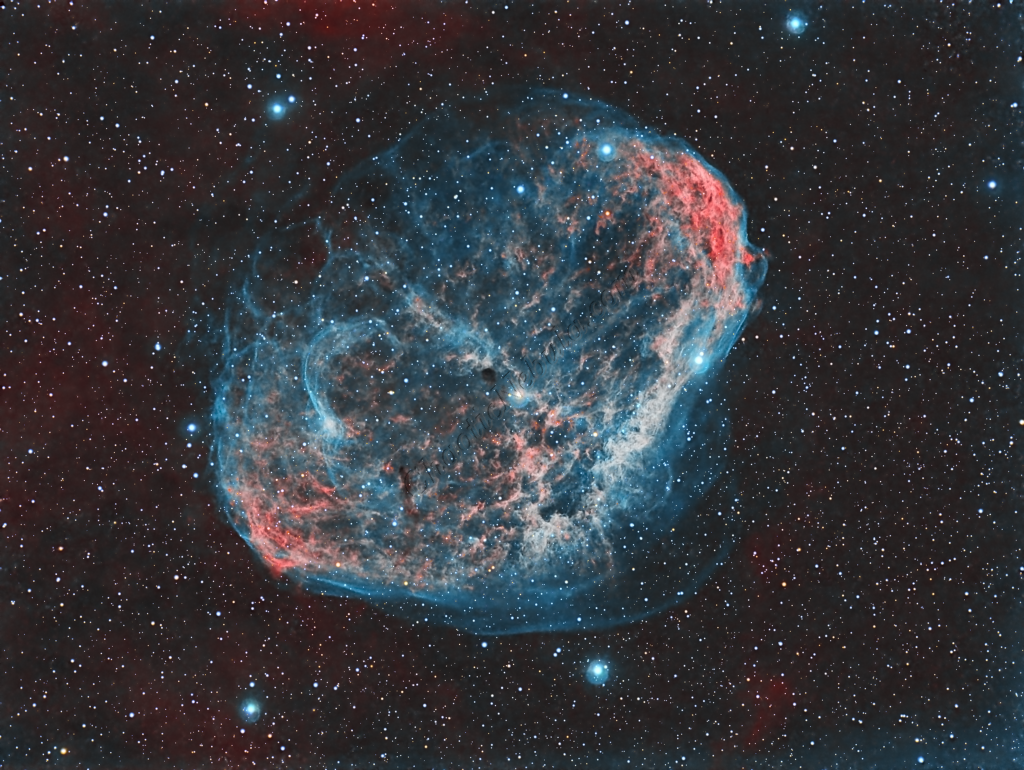
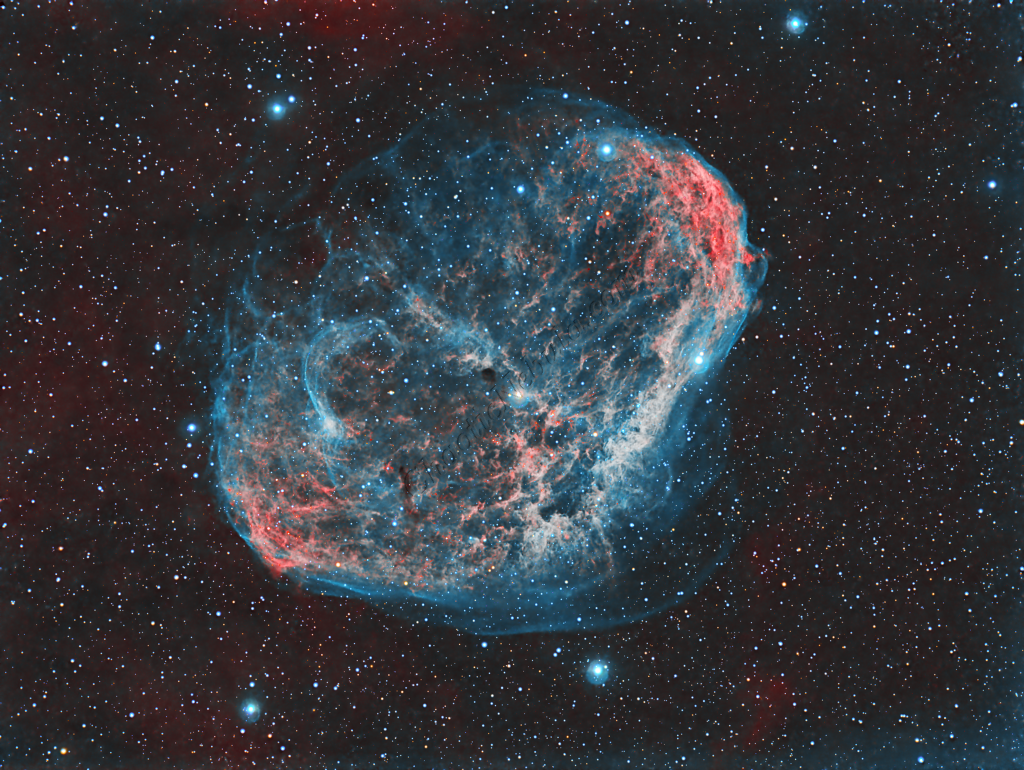
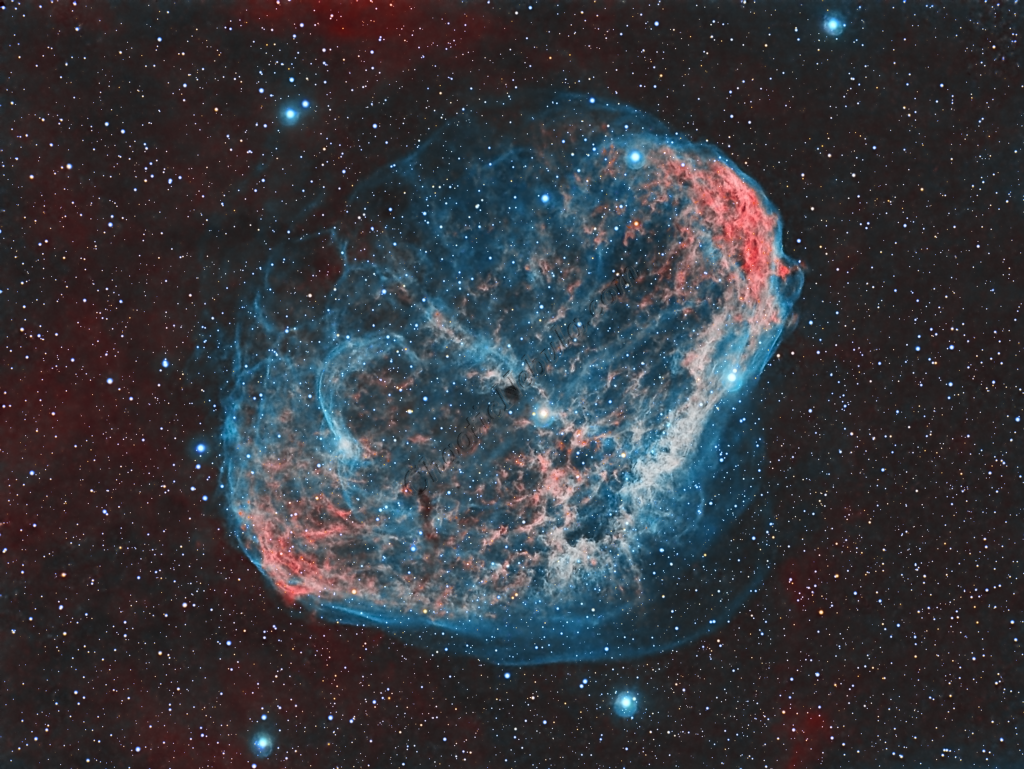
NGC 6888 – The Crescent Nebula is an emission nebula located about 5,000 light-years away in the constellation Cygnus. While its name suggests a crescent shape, its true form is more complex, appearing as a delicate, semi-circular shell of ionized gas and dust. This nebula marks the remnants of a massive Wolf-Rayet star, HD 192163, which is at the center of the structure. The star’s powerful stellar winds have sculpted the nebula into the shape we observe today, pushing gas outward and creating intricate layers of glowing gas.
The Crescent Nebula is a classic example of a Wolf-Rayet nebula, a region where a massive star is shedding its outer layers, creating dramatic interactions with surrounding material. As the star expels its high-energy radiation, it ionizes the surrounding gas, making it glow in rich hues of red, blue, and green.
For astrophotographers, NGC 6888 offers a stunning display with its structure and dynamic processes making it a captivating object of study and observation. The nebula shines brightly in hydrogen-alpha (Hα) emission lines, which makes it an excellent target for narrowband filters (especially in the Hα, OIII, and SII wavelengths). In long-exposure astrophotography, even relatively small telescopes can capture striking details with the right equipment. The nebula’s intricate gas structures and colorful emission lines (due to ionized hydrogen and oxygen) can be captured with even modest setups, as long as there is adequate exposure time.
Imaging Details
- Workflow: Narrowband workflow
- HA: 60*600 seconds
- OIII: 60*600 seconds
- SII: 60*600 seconds
- Total Imaging Time: 30 hours
- Imaging Dates (6 nights)
- 7/17/2024
- 7/18/2024
- 7/24/2024
- 7/27/2024
- 8/1/2024
- 8/2/22024
Imaging Notes
This is the second time I imaged NGC 6888. In 2020, I was able to get 3 hours of data through HA and OIII filters each, which resulted in a very good final image. I decided to see if I could improve on the image by increasing the data gathering to 10 hours each through HA, OIII and SII filters.
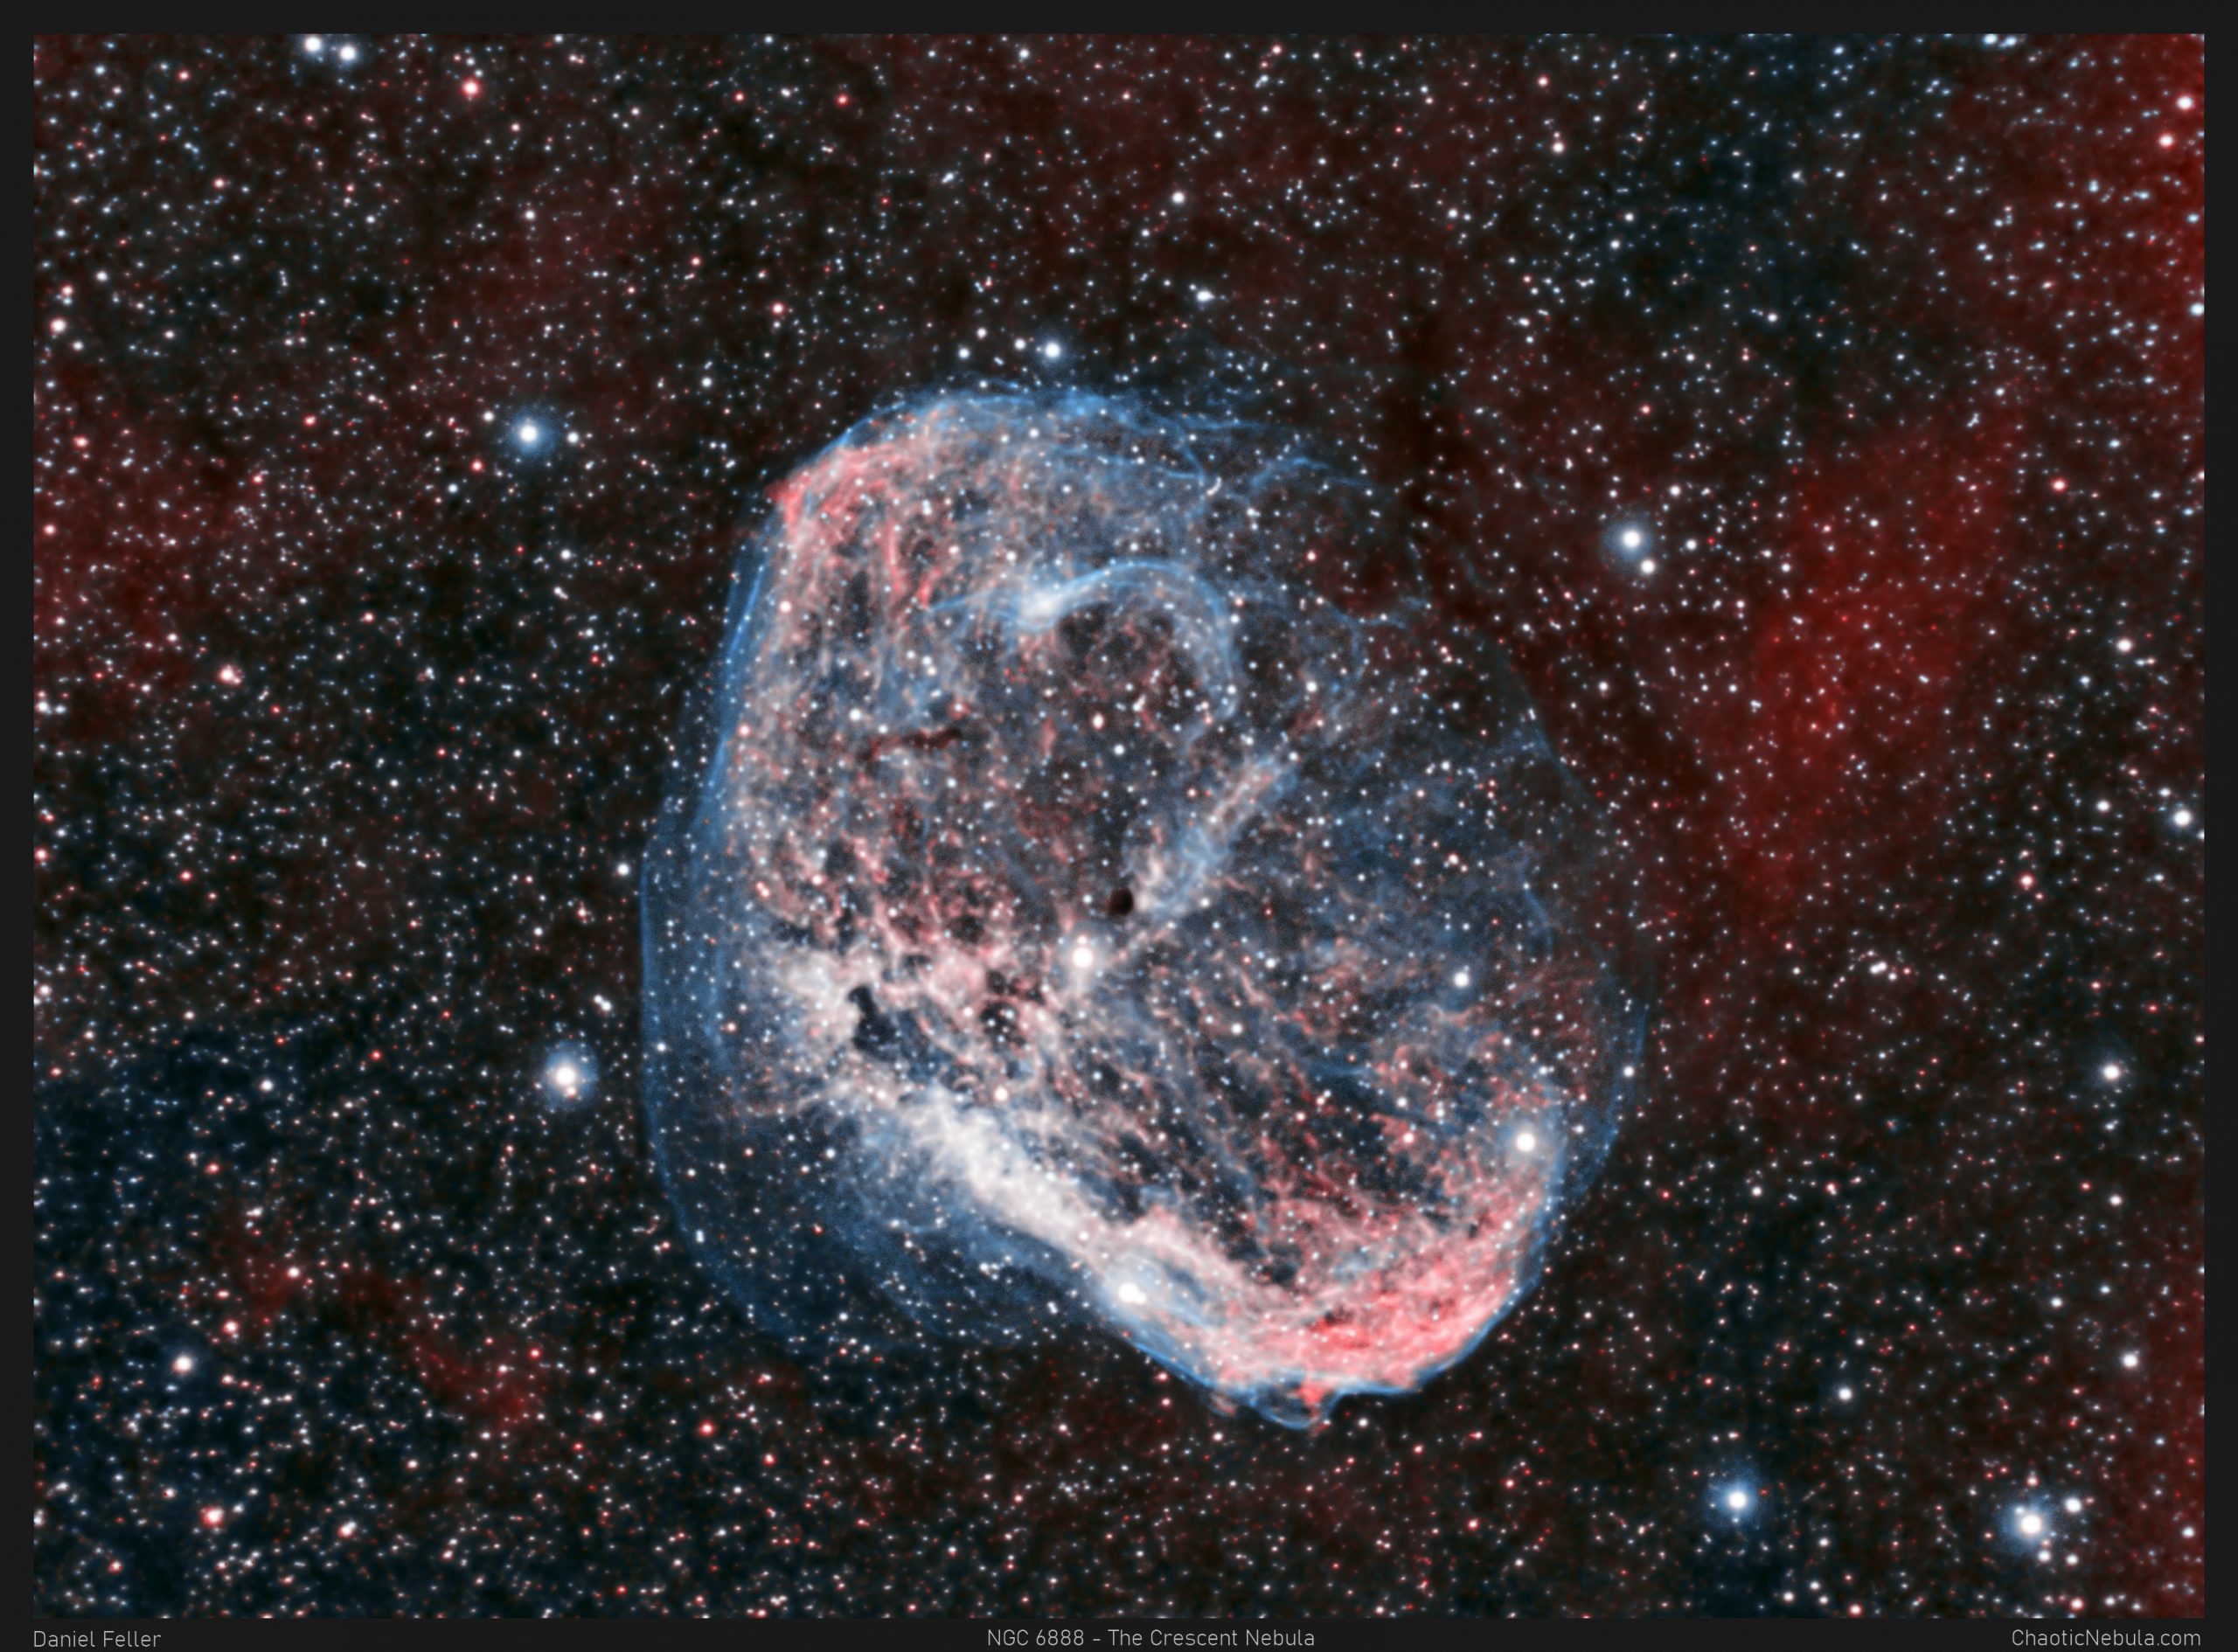
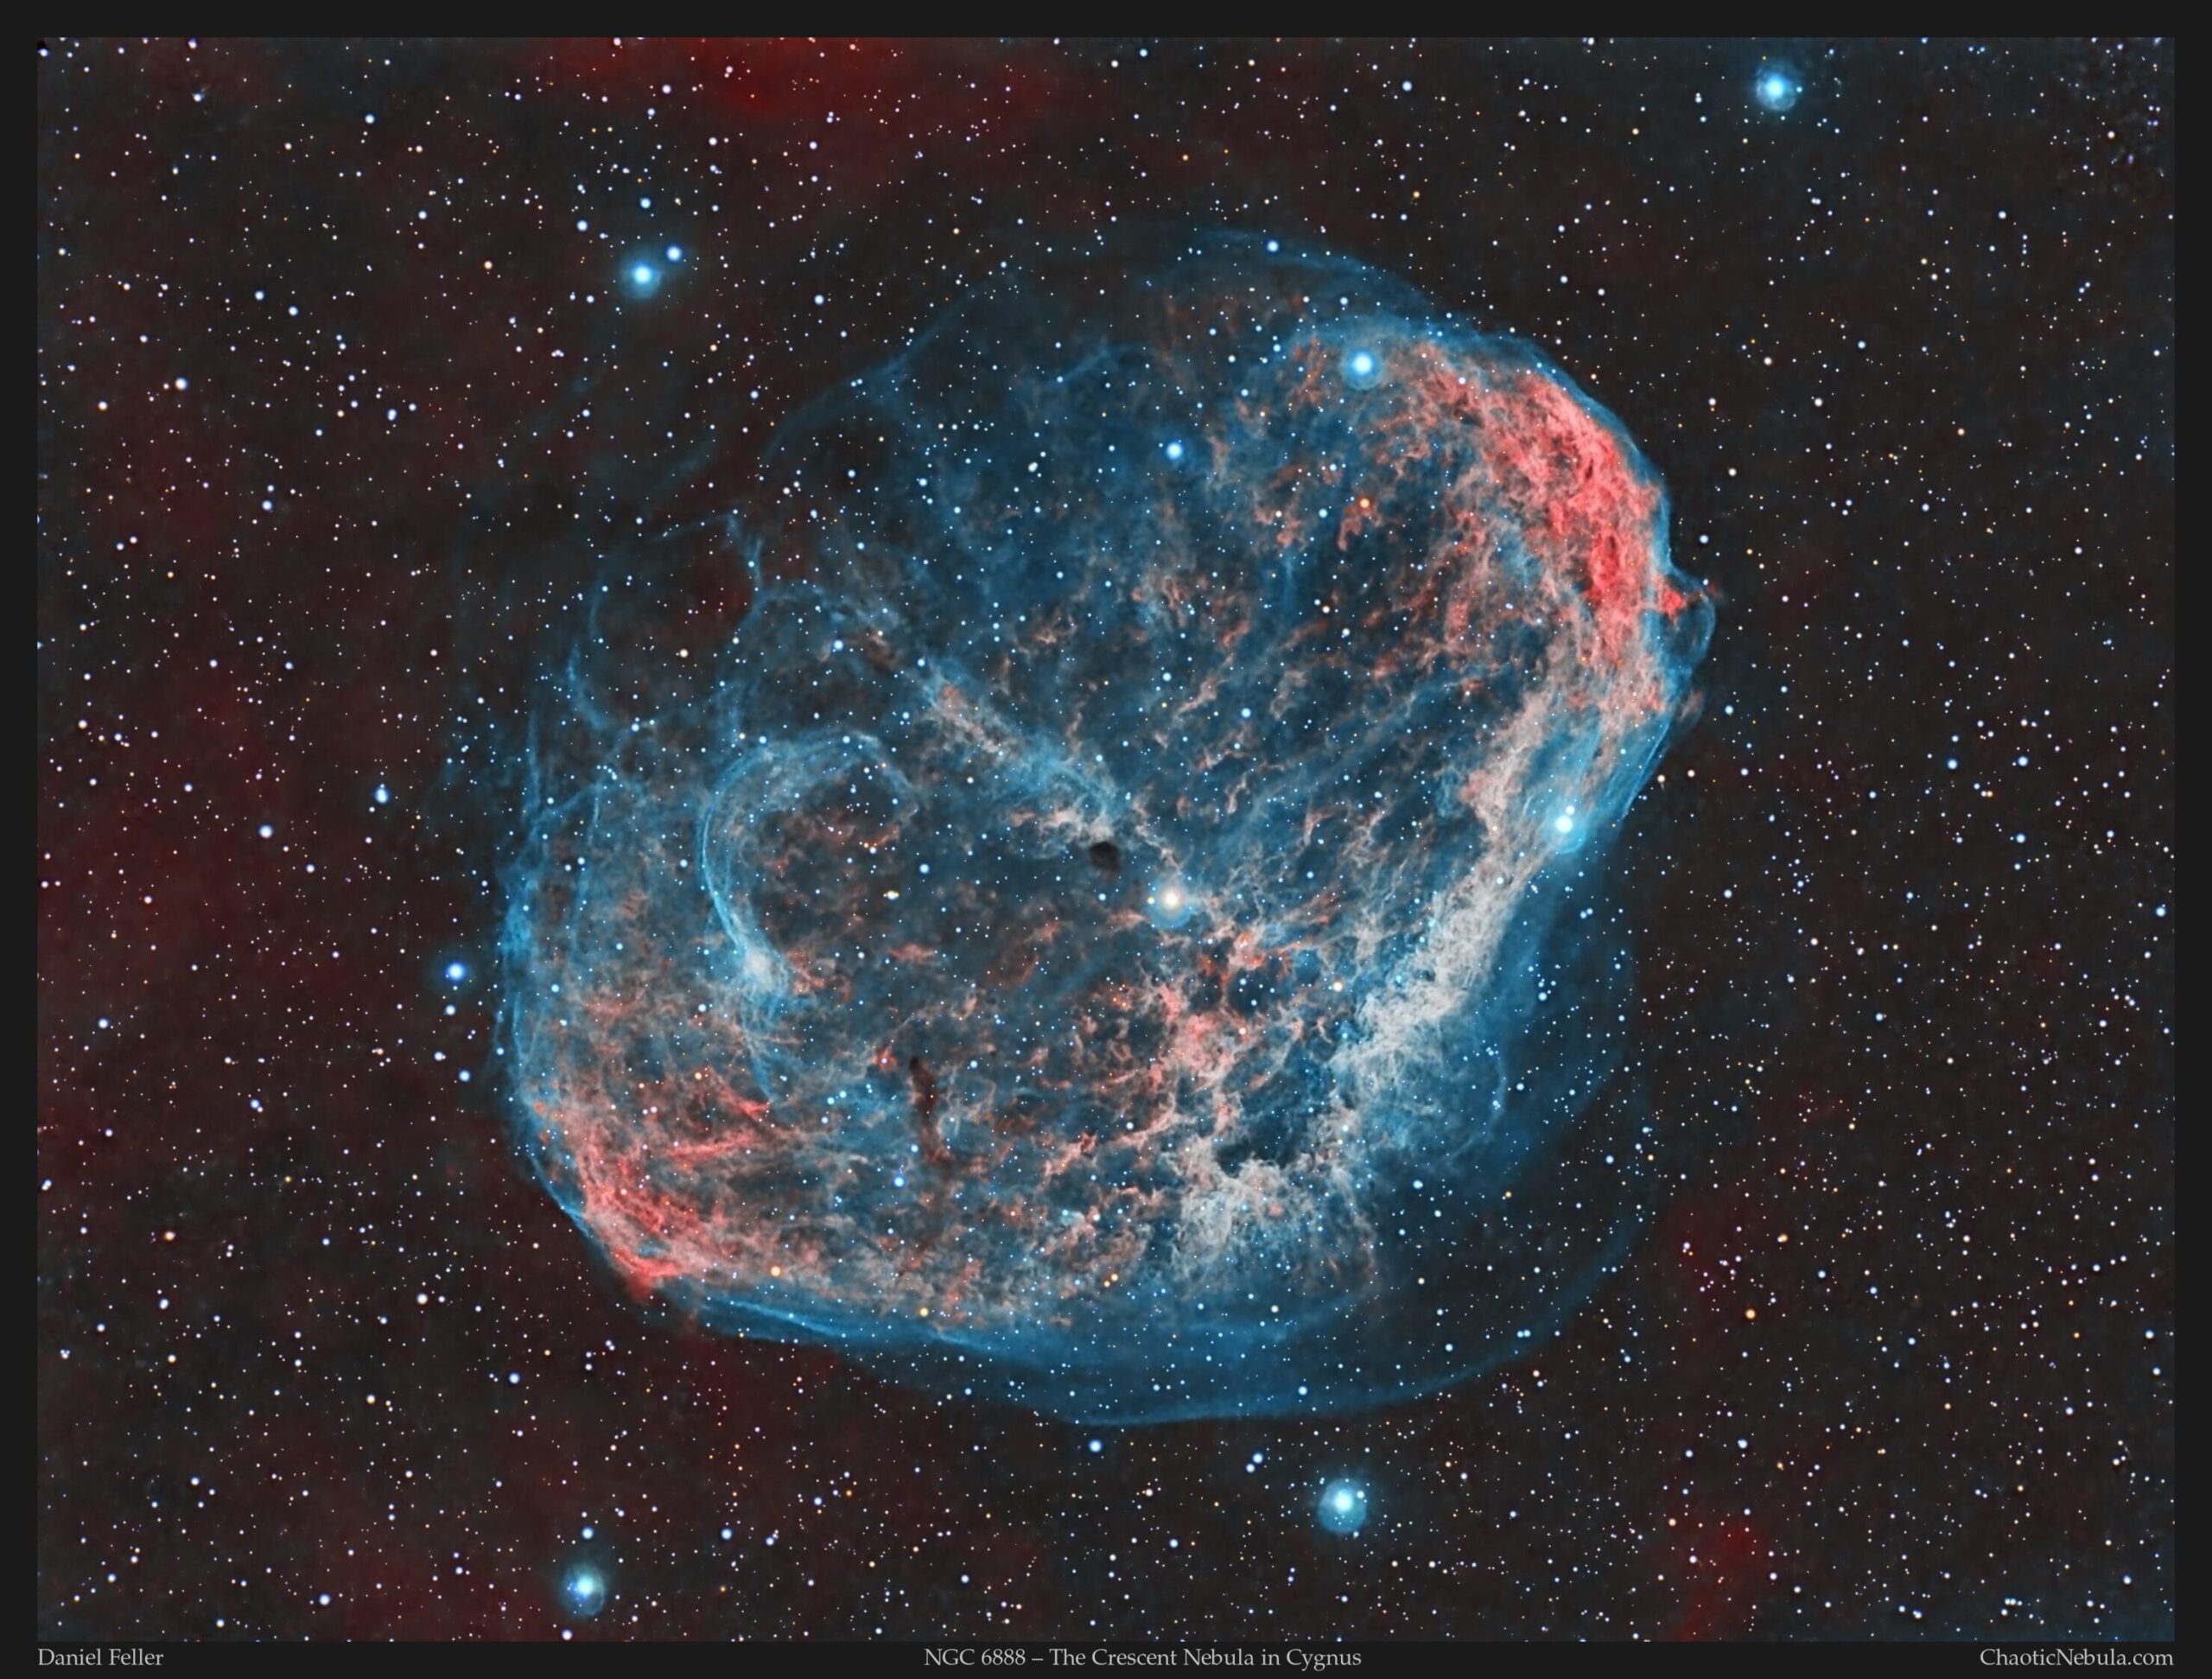
As I said, I also captured data using the SII filter, which was not used in the earlier image.
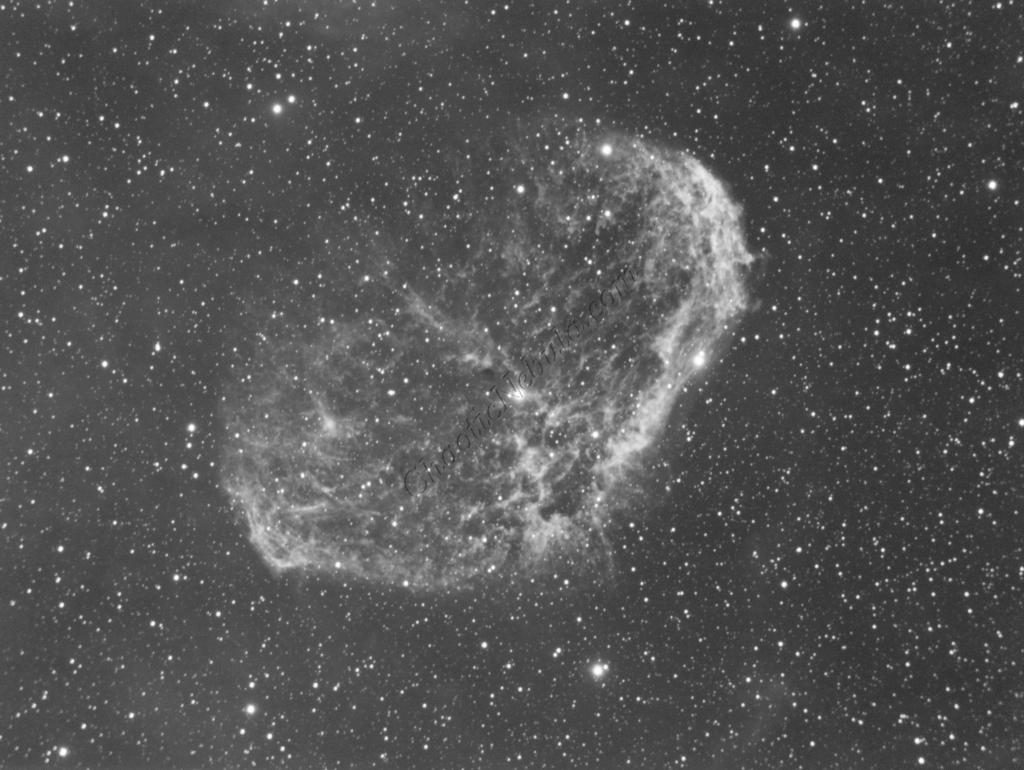
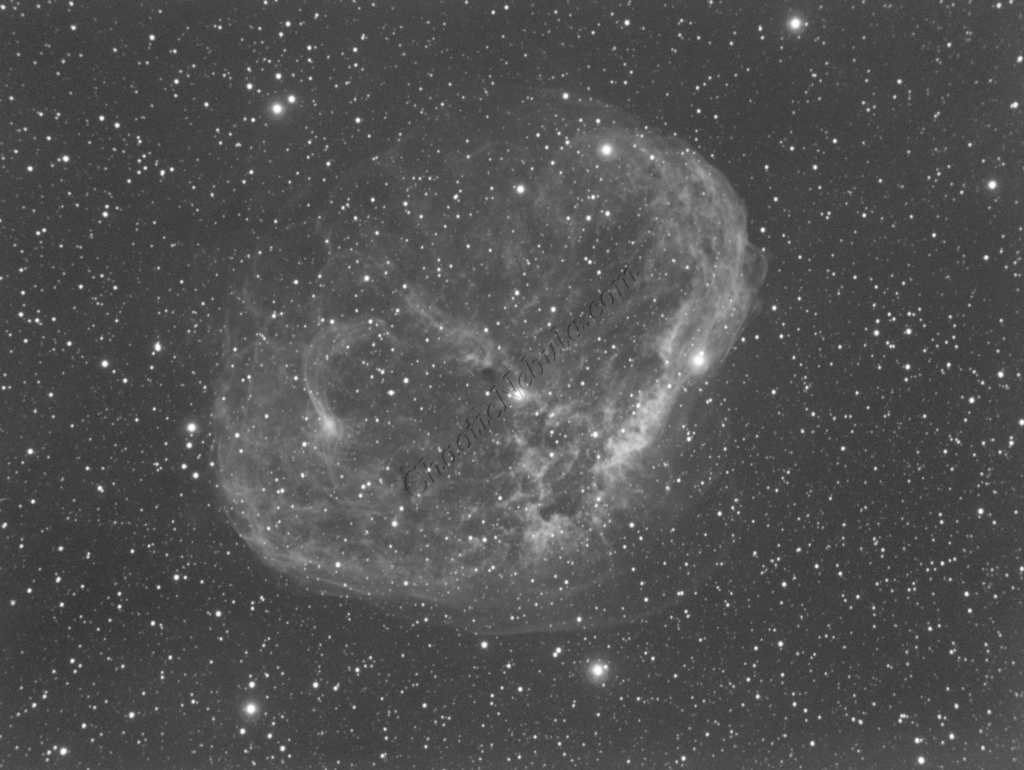
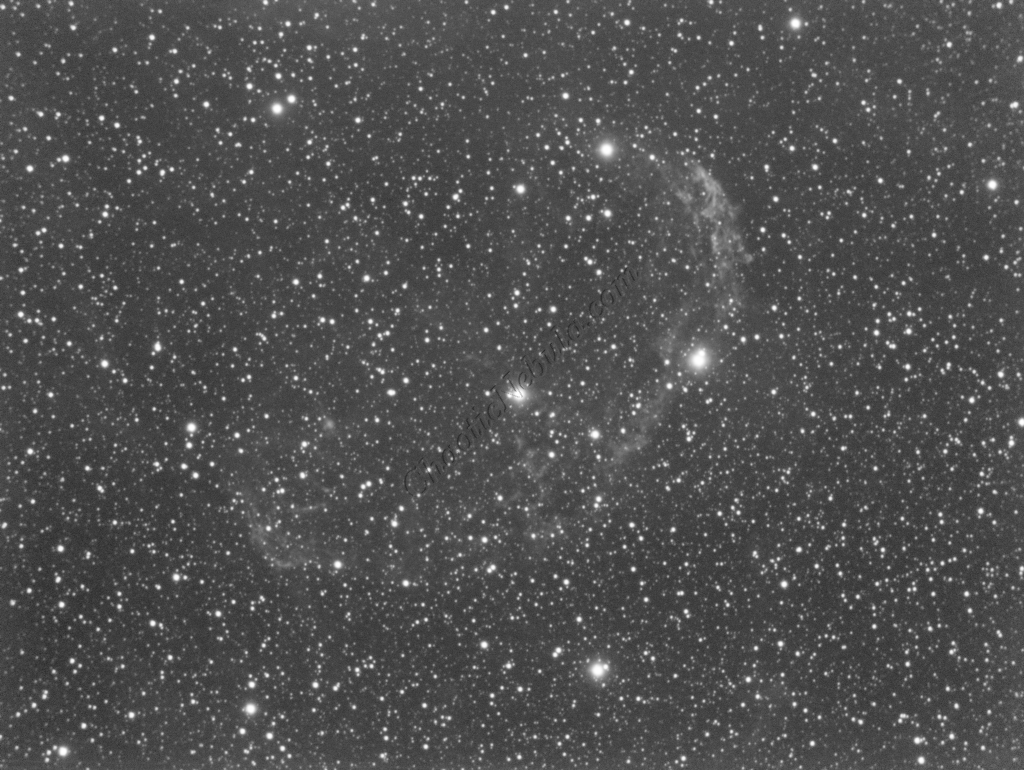
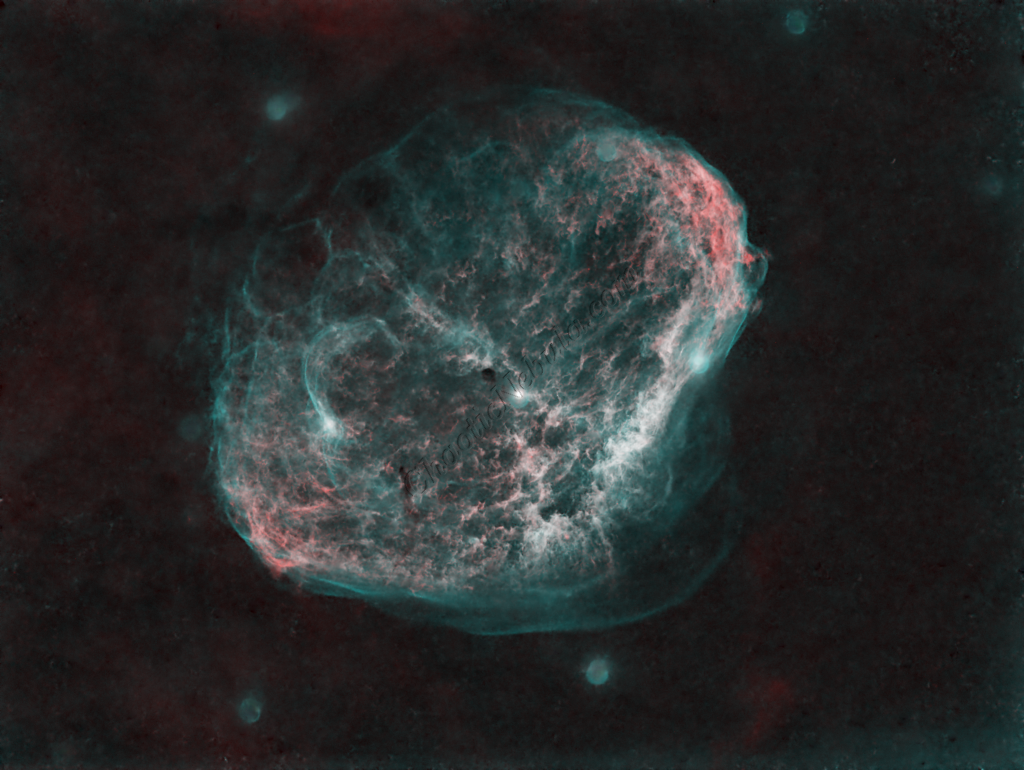
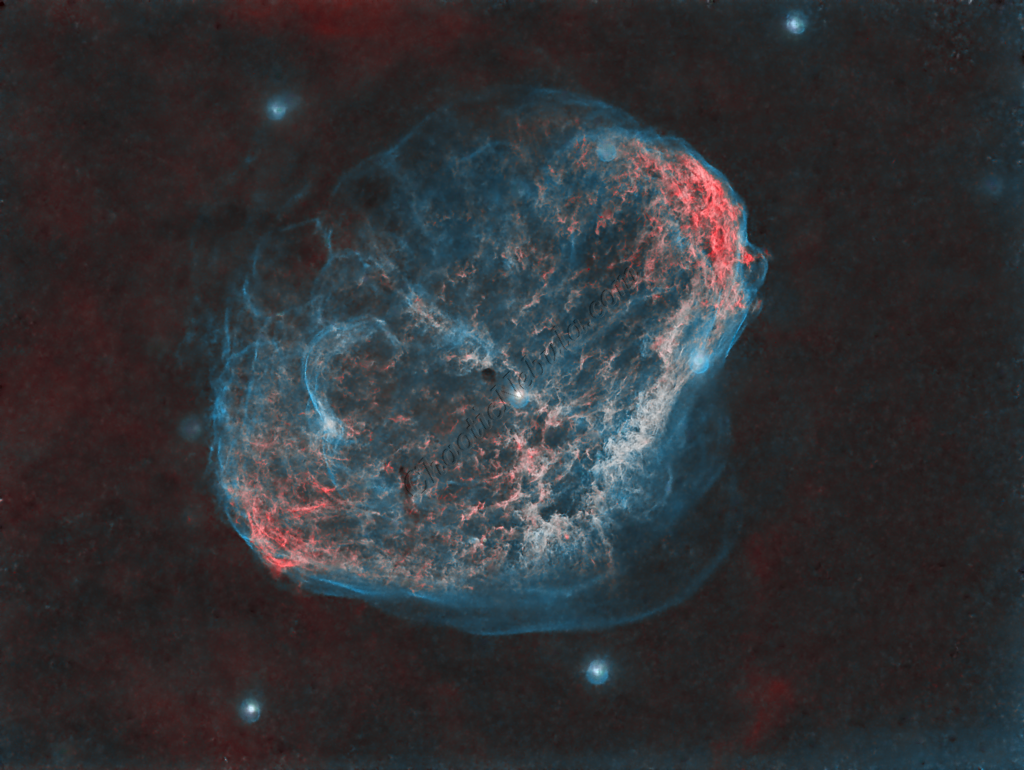
However, when following an SHO integration model where SII=Red, HA=Green, and OIII=Blue, the resulting image was not what I expected. It was missing the highly visible shell. In order to make the shell stand out more, I needed to go back to the HOO integration model that I used in the 2020 image.
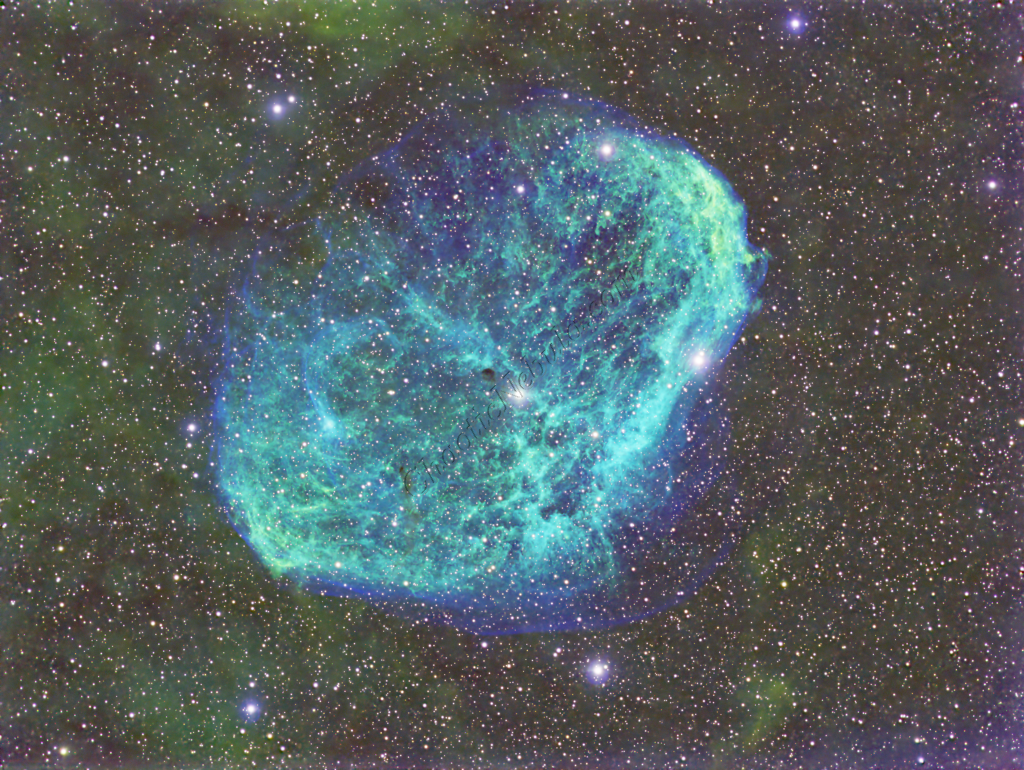
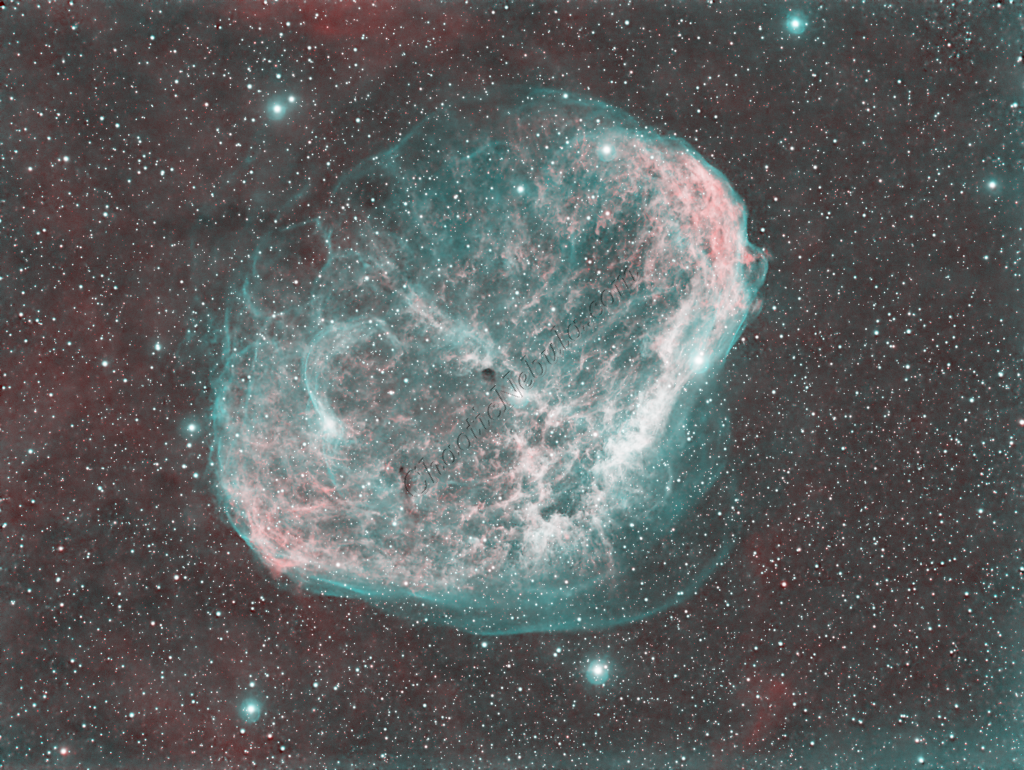
Now that the shell was more inline with my goal, I knew that I had to leave the OIII filter assigned to the green and blue channels. That leaves me with the red channel to mix with the HA and SII data. I tried multiple channel integration options to try and incorporate SII data, but with lackluster results.
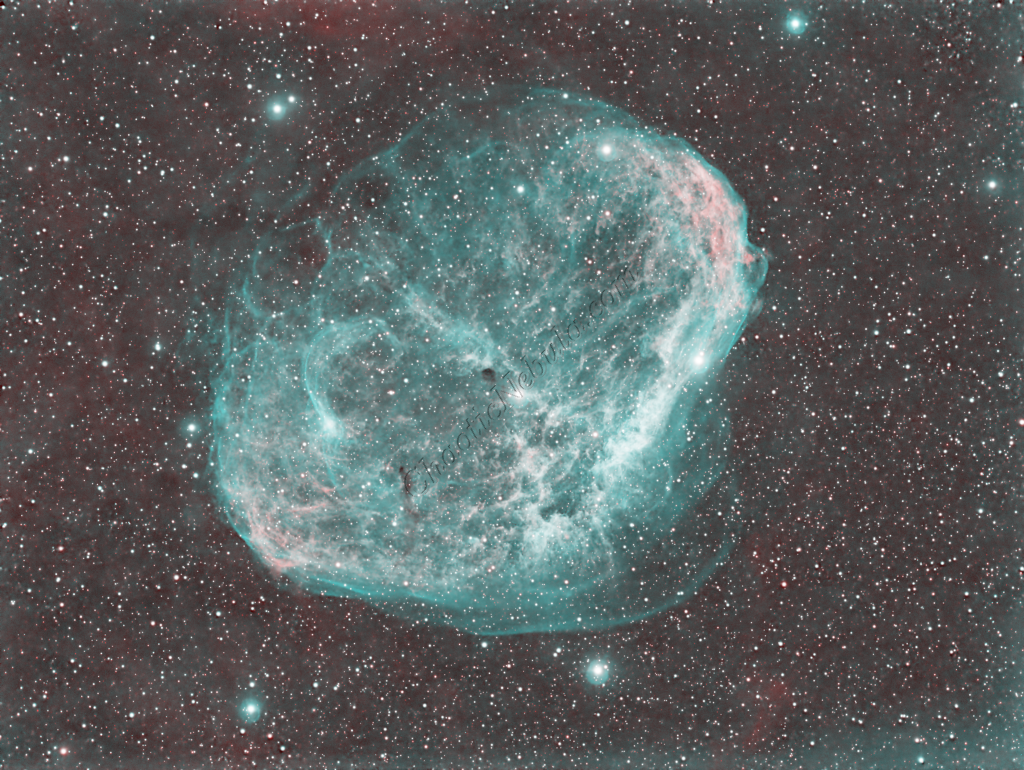
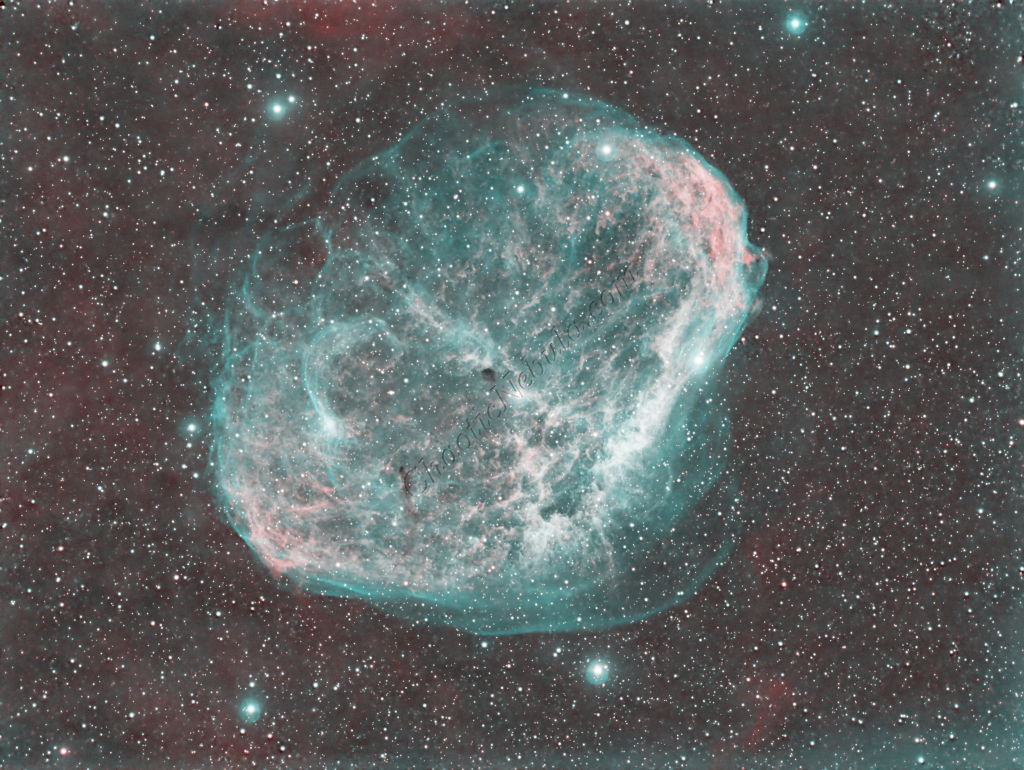
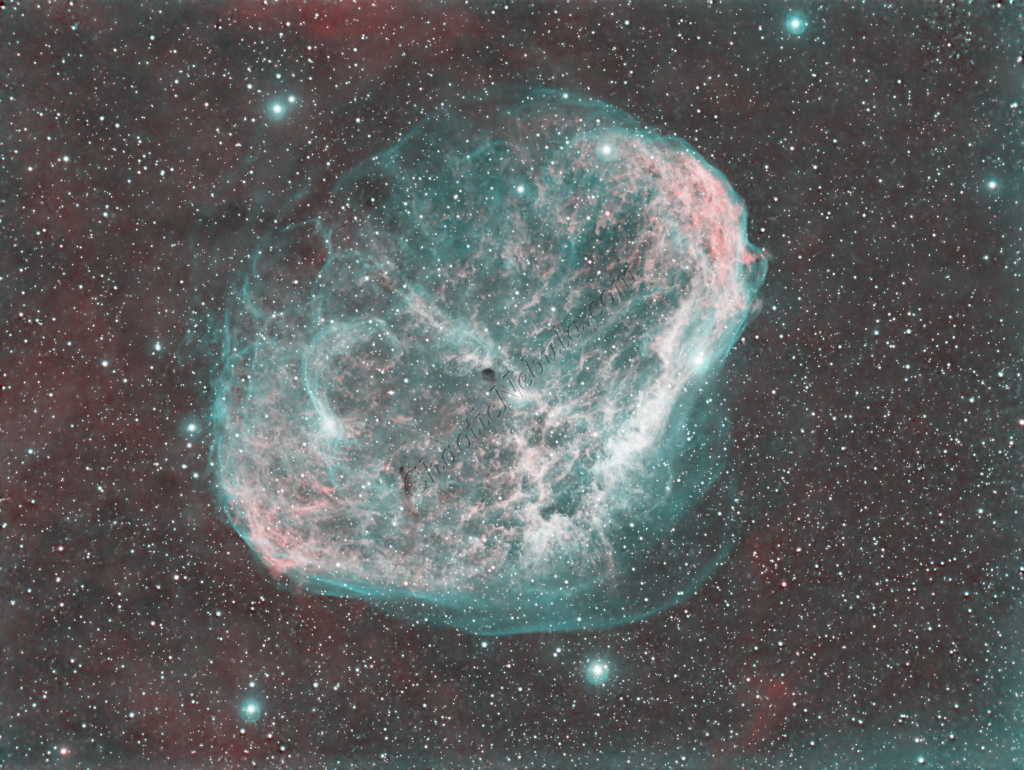
The custom blend integration examples created the red channel by blending HA and SII as percentages. But using the custom blends, it simply reduced the red intensity, which I wanted to avoid. I also tried the dynamic blend integration model. The dynamic blend will use HA if there is no SII signal. And although the dynamic blend did produce a great image, it is identical to the HOO blend.
This leads me to the conclusion that capturing SII data for NGC 6888 is not worth the time commitment. It is better to use that time to gather more HA and OIII data.
Imaging Workflow
This image followed the Narrowband workflow
Integrated Image
I started off with three images for red, green, and blue filters. I did my normal integration process using the PixInsight Weighted Batch Preprocessing Script.
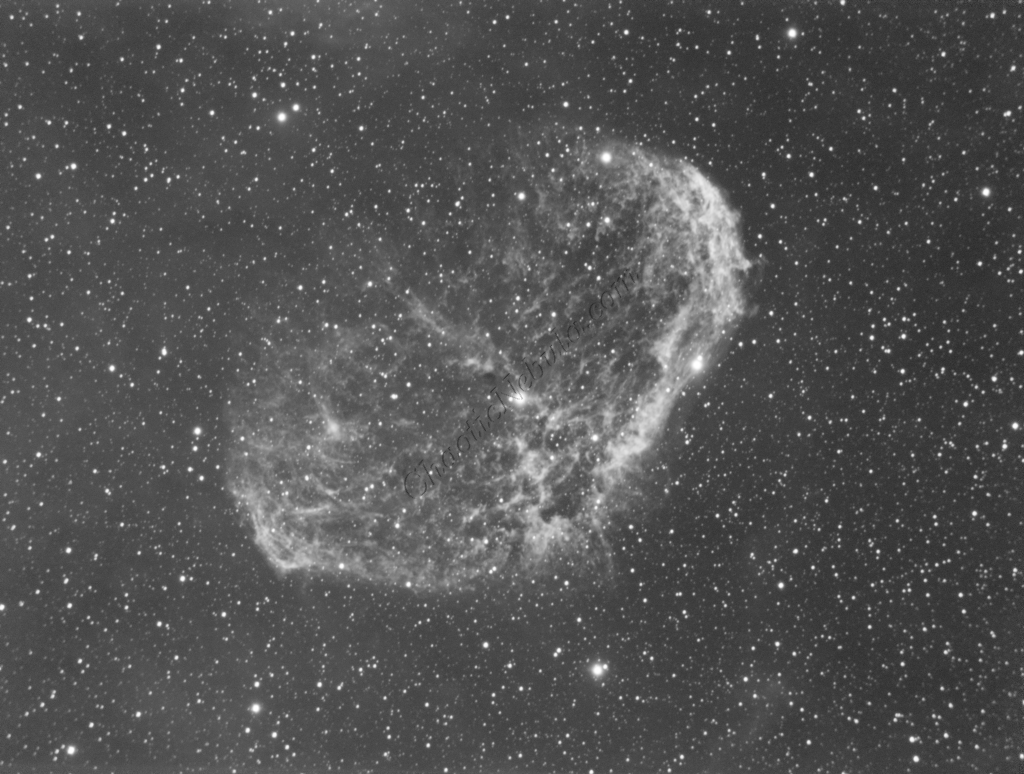
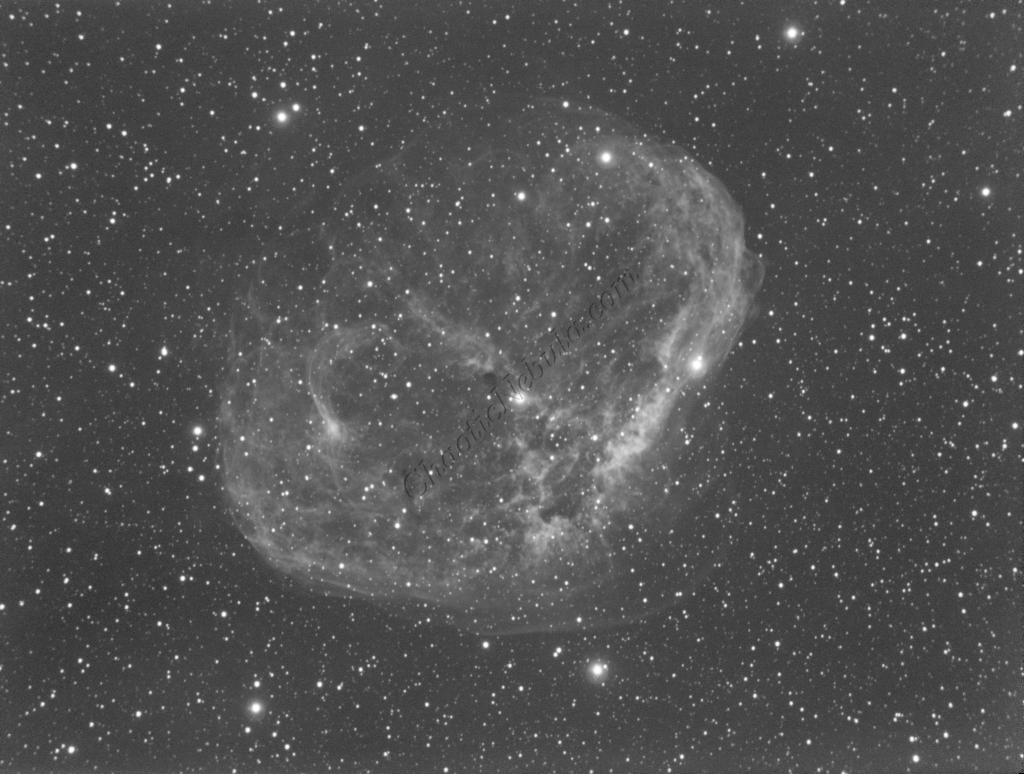
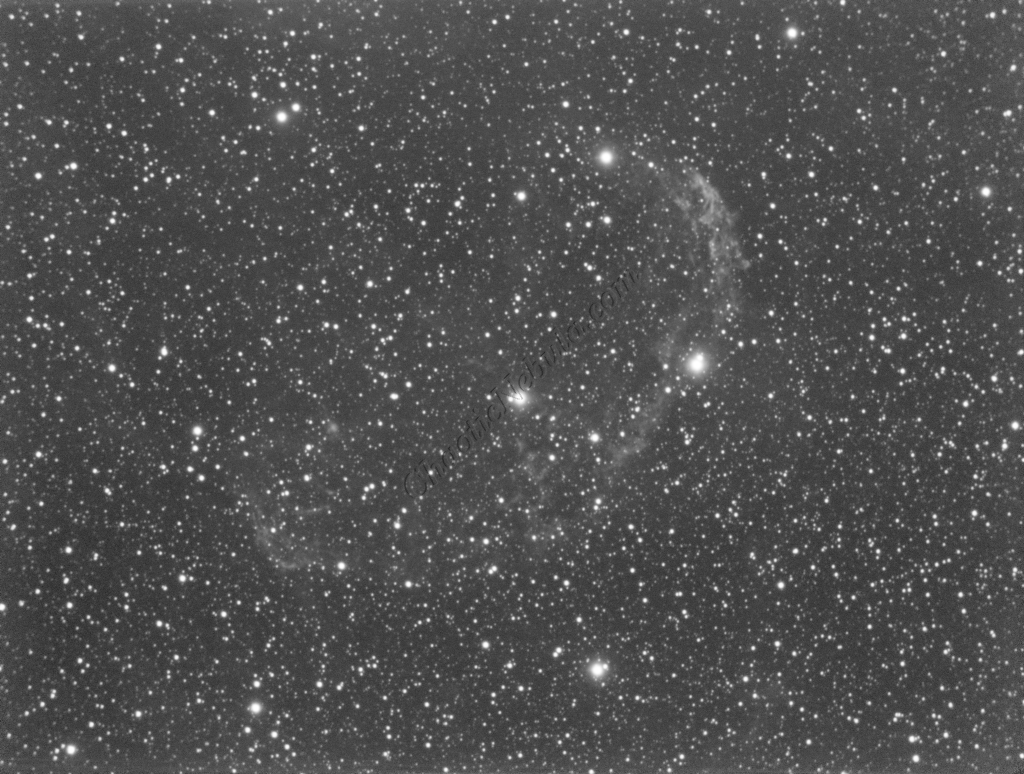
Dynamic Crop
Gradient Correction
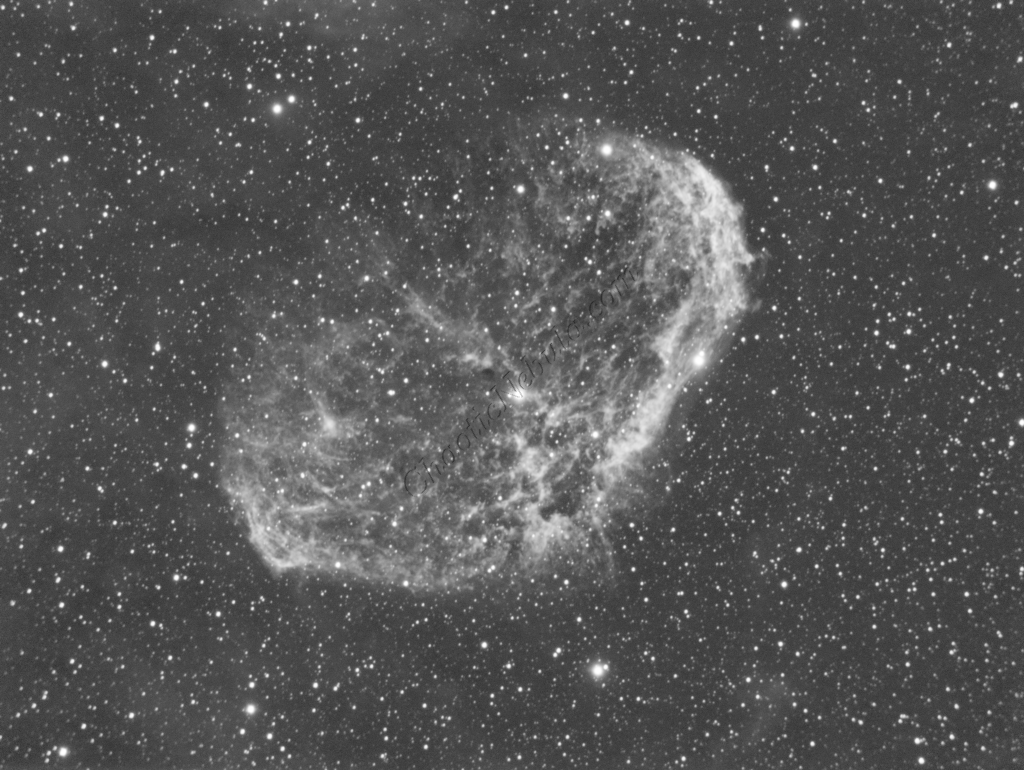
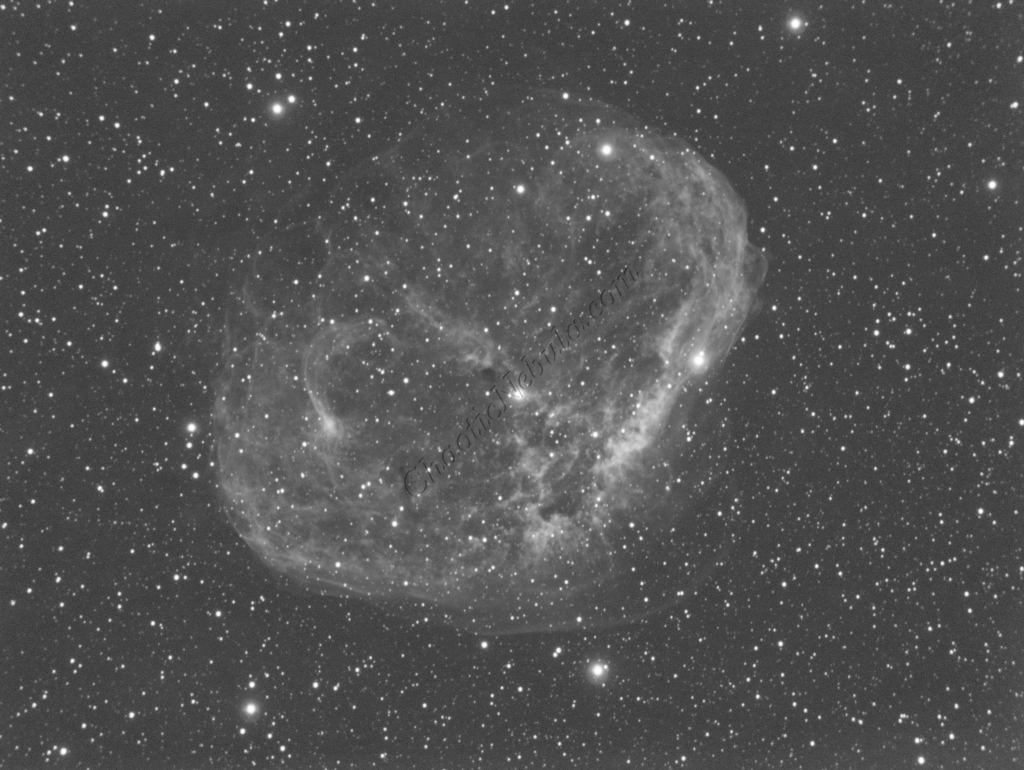
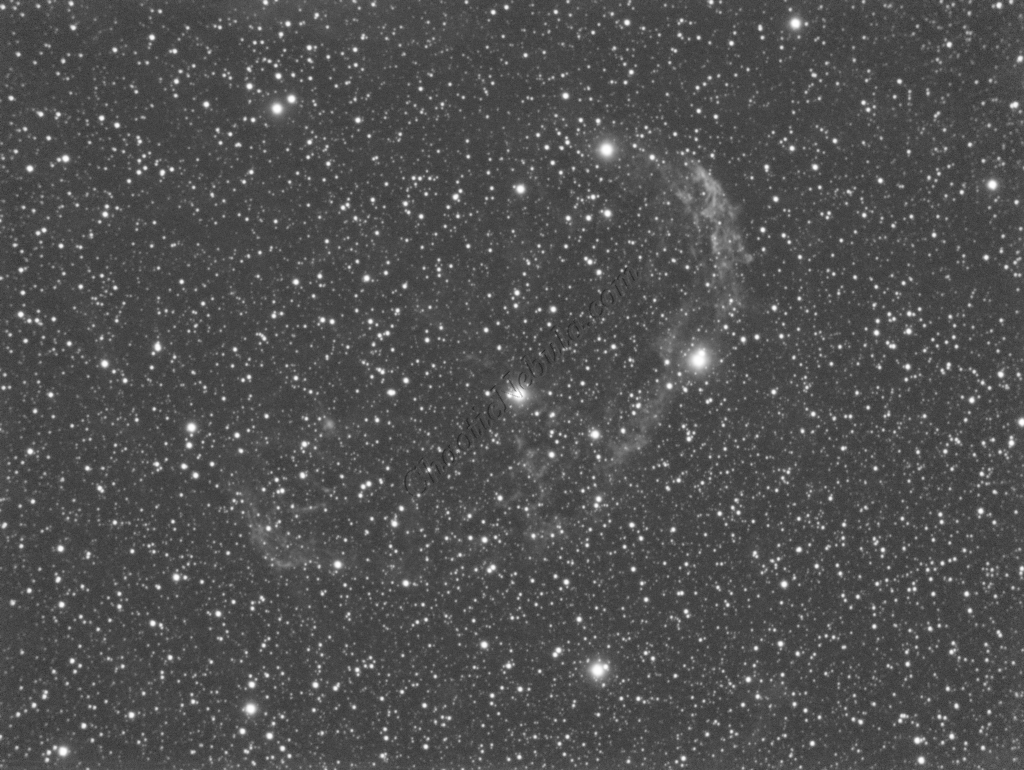
The Gradient Correction process made it easy to remove the extreme darkness/brightness around the edges.
Deconvolution
BlurXTerminator is applied two times. The first time is for Correction only. This takes care of the coma (blurring of stars along the edges).
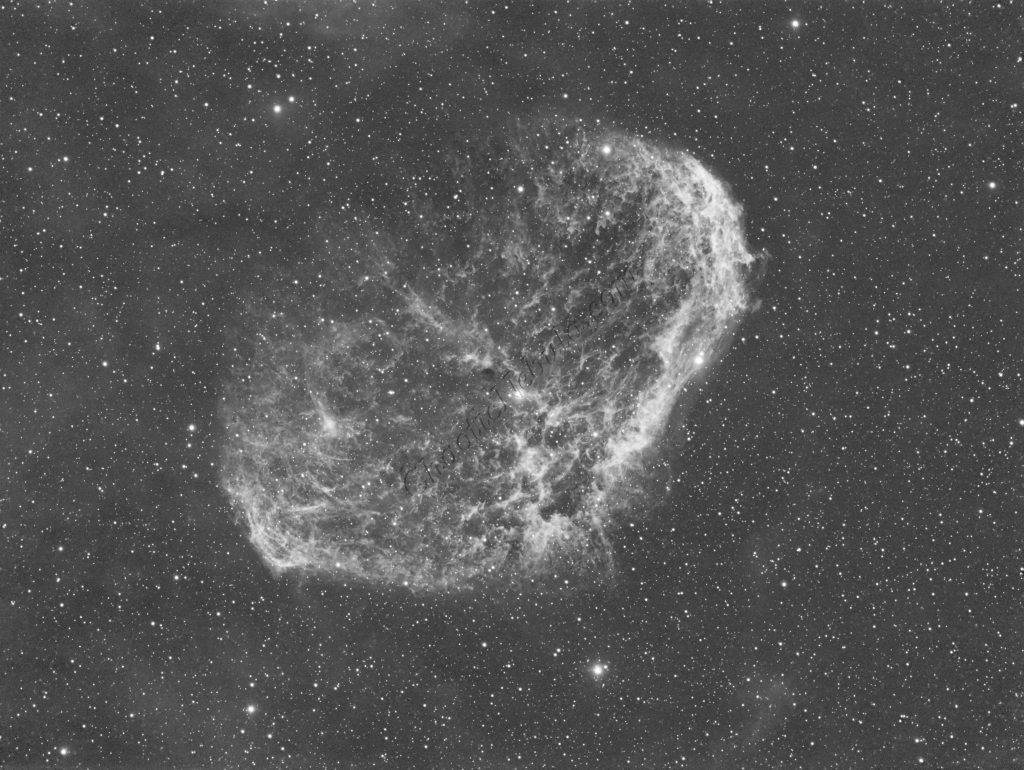
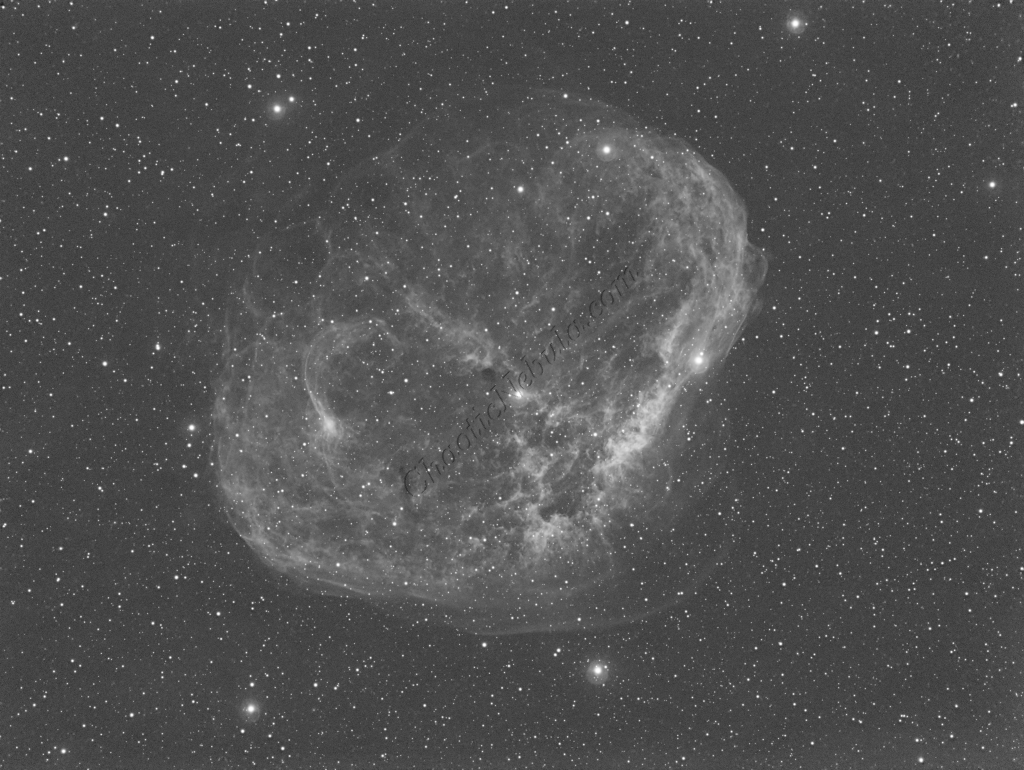
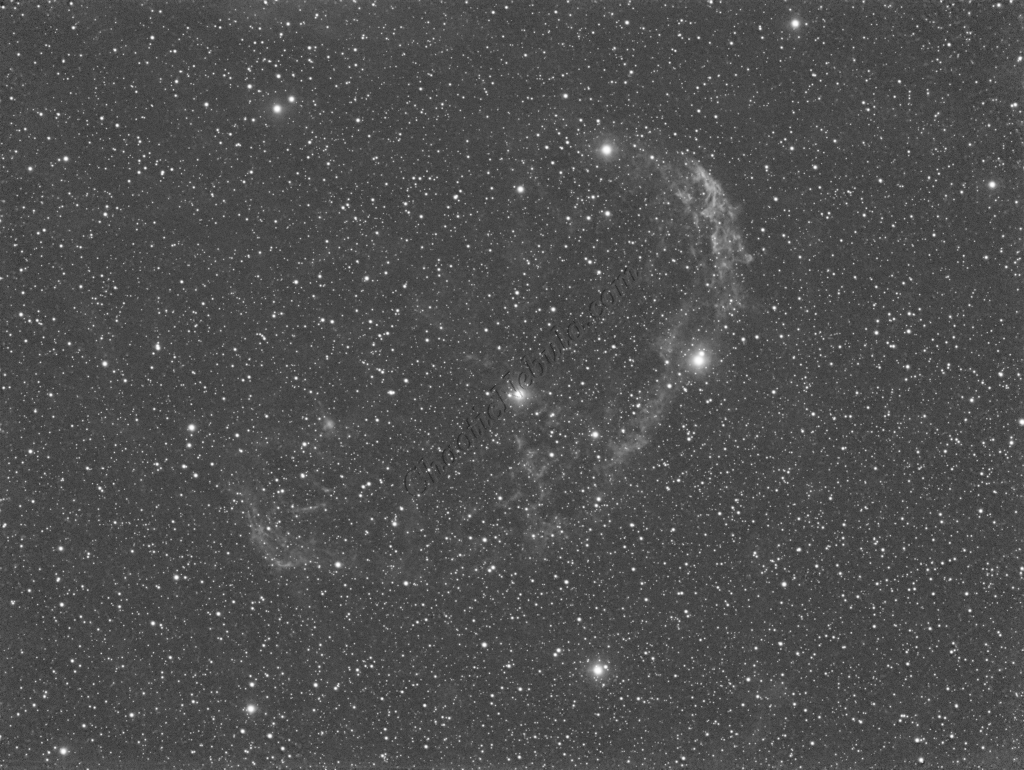
The second application of BlurXTerminator handles deconvolution, which improves the sharpness and details of the nebula while removing the blur from the image.
Noise Reduction
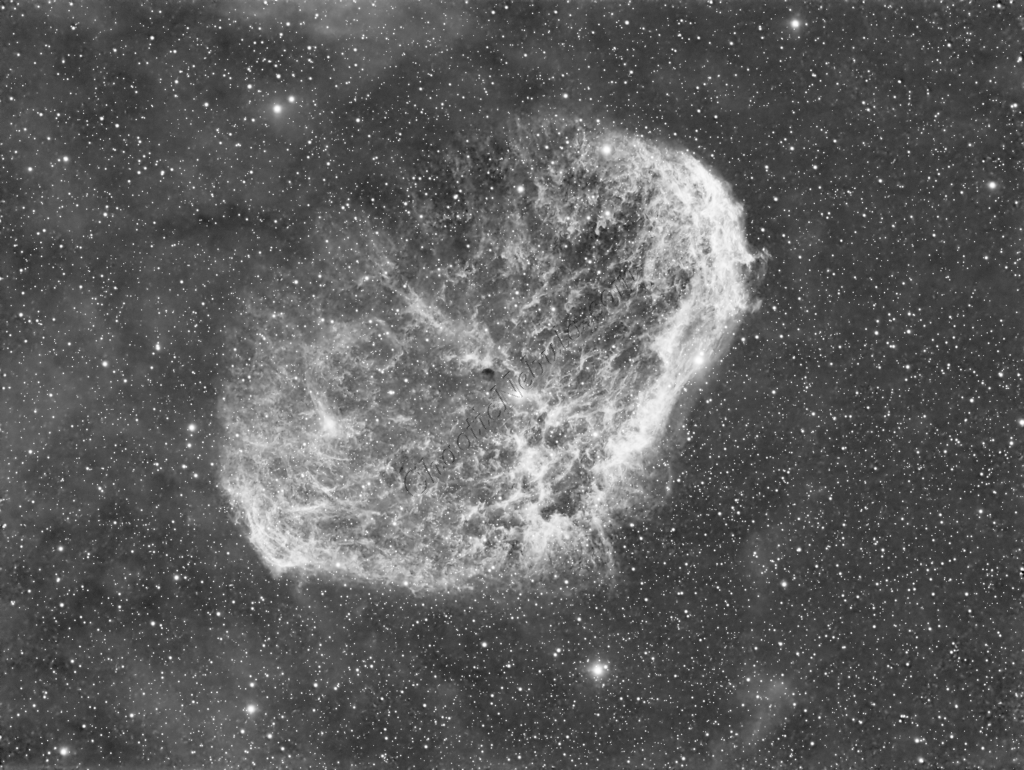
With the blurring corrected, it is time to do noise reduction. This time I used the new NoiseXTerminator add on.
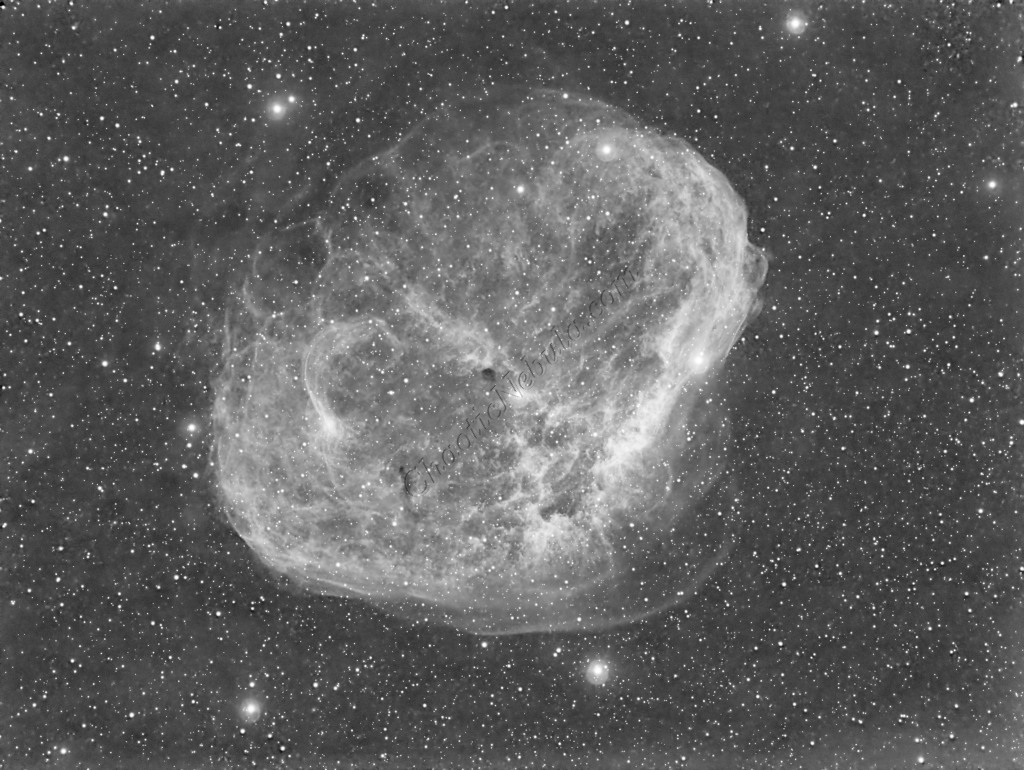
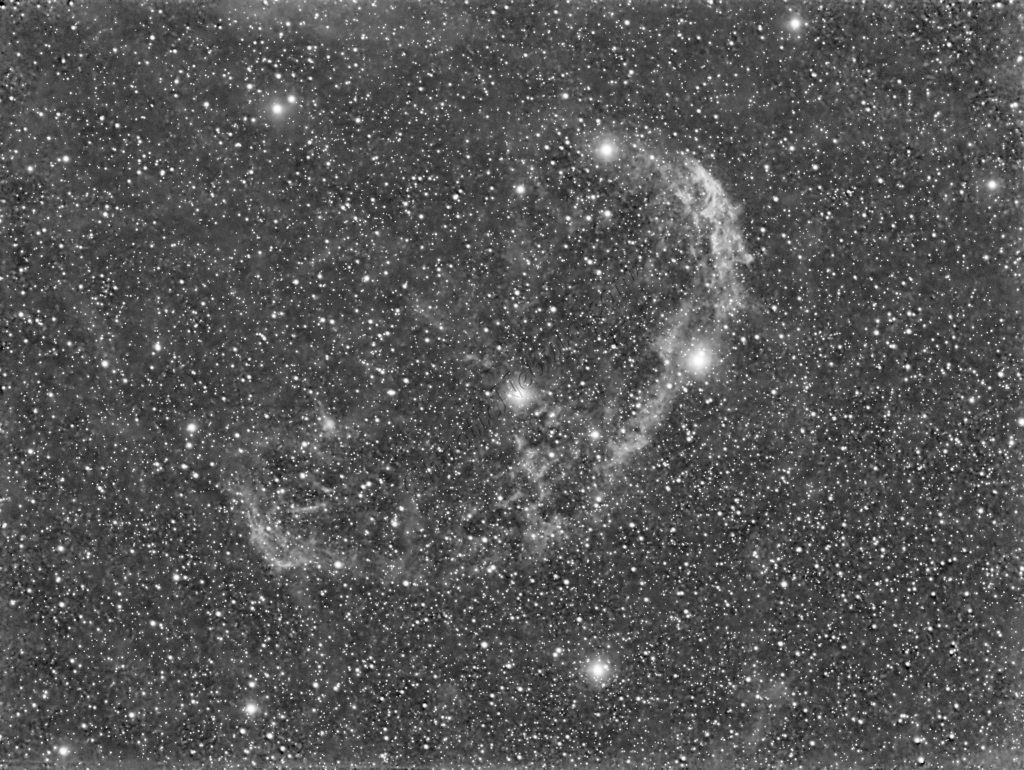
Channel Combination for RGB
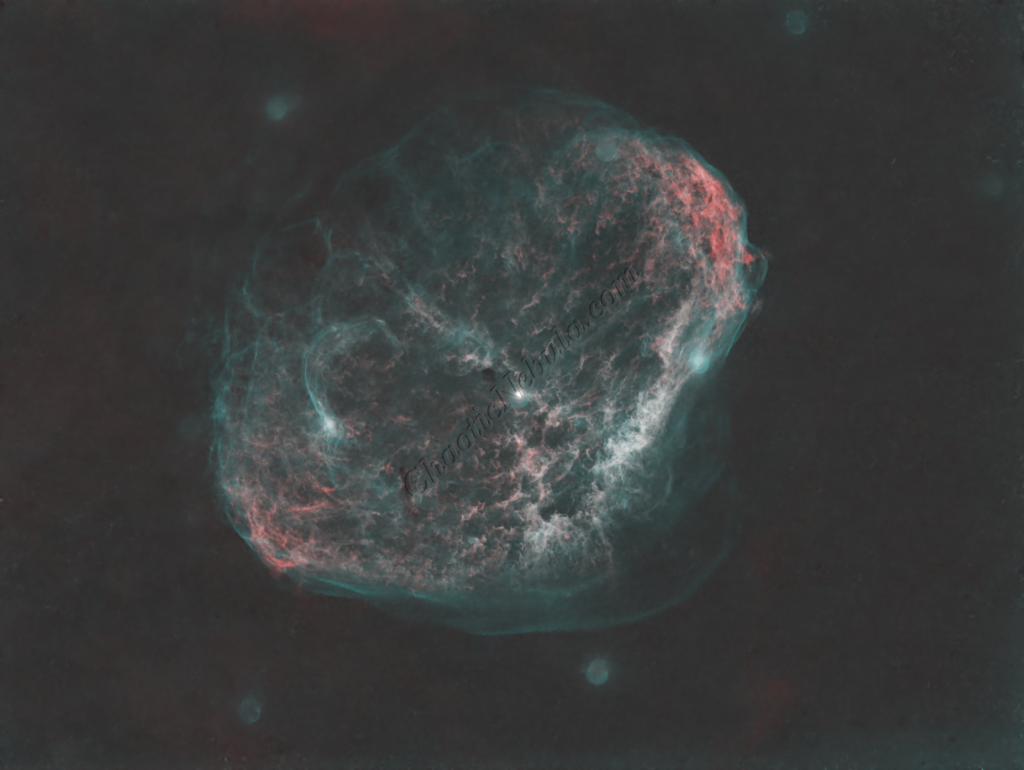
The next step is to do a Linear Fit across the SII, HA, OIII channels. After many different attempts at numerous channel integration options, the best resulting image was from dropping the SII data and applying an HOO channel combination model where Red=HA, Green=OIII, and Blue=OIII.

Star Removal
To ensure the hydrogen-alpha image does not influence the star color, StarNet+ was applied to remove the stars.
Histogram Stretch
Color Saturation
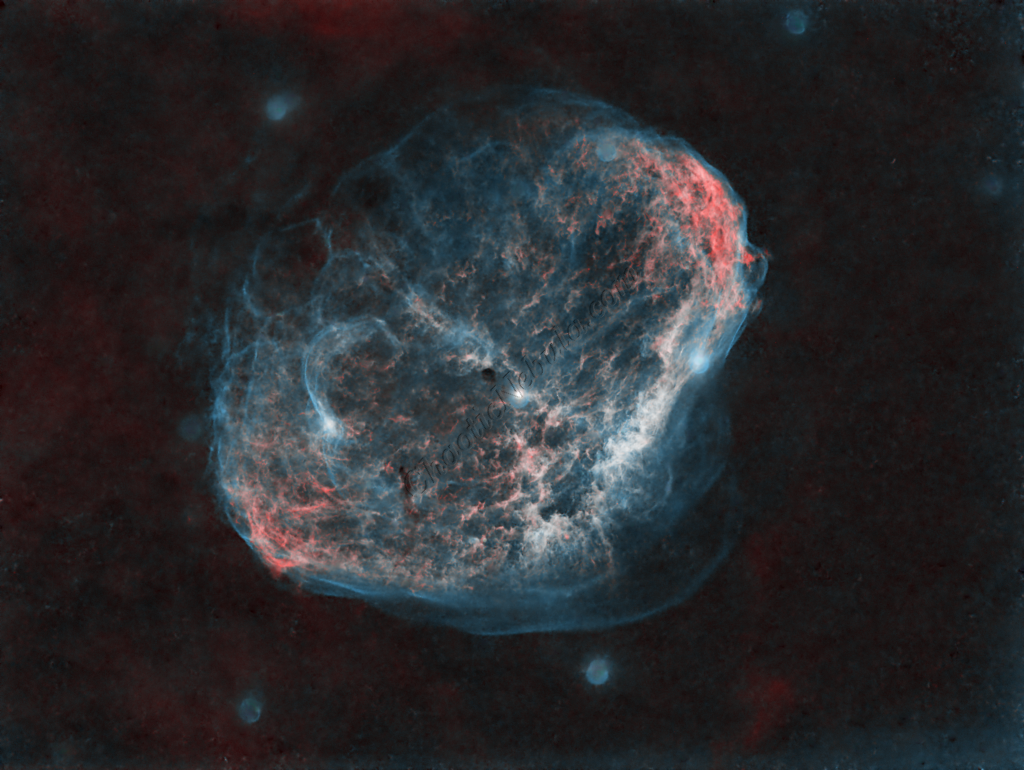
PixInsight Curves Transformation increased the overall color saturation.
Luminance Workflow
Before doing anything more to the color image, it is time to go through the Luminance Workflow.
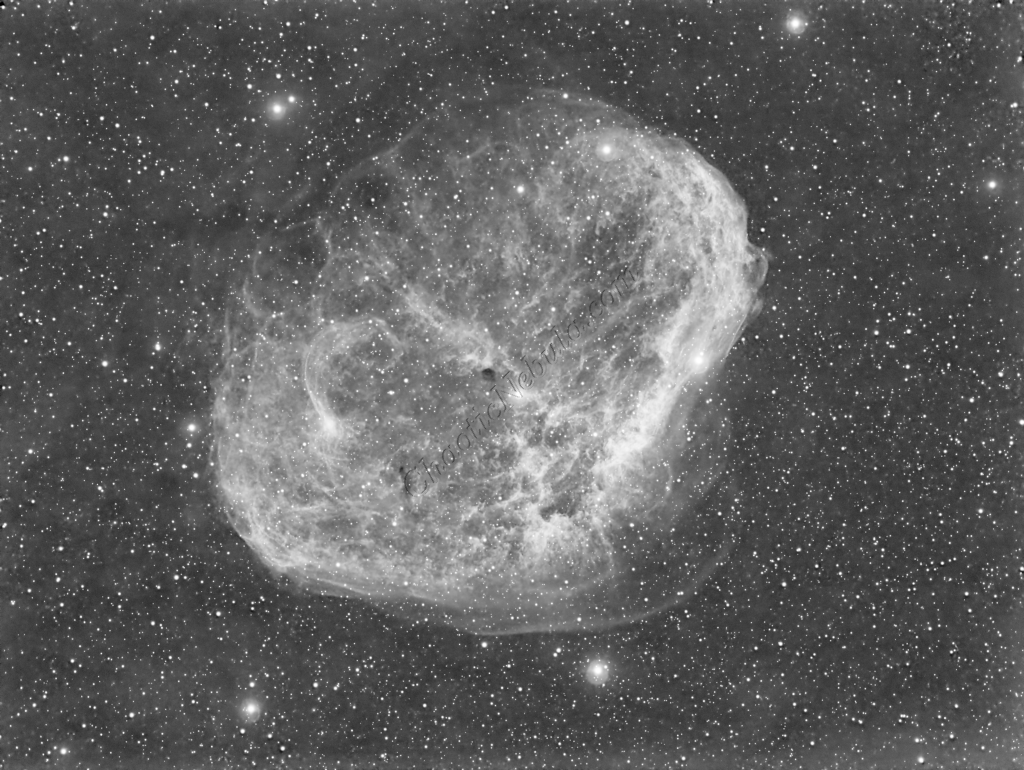
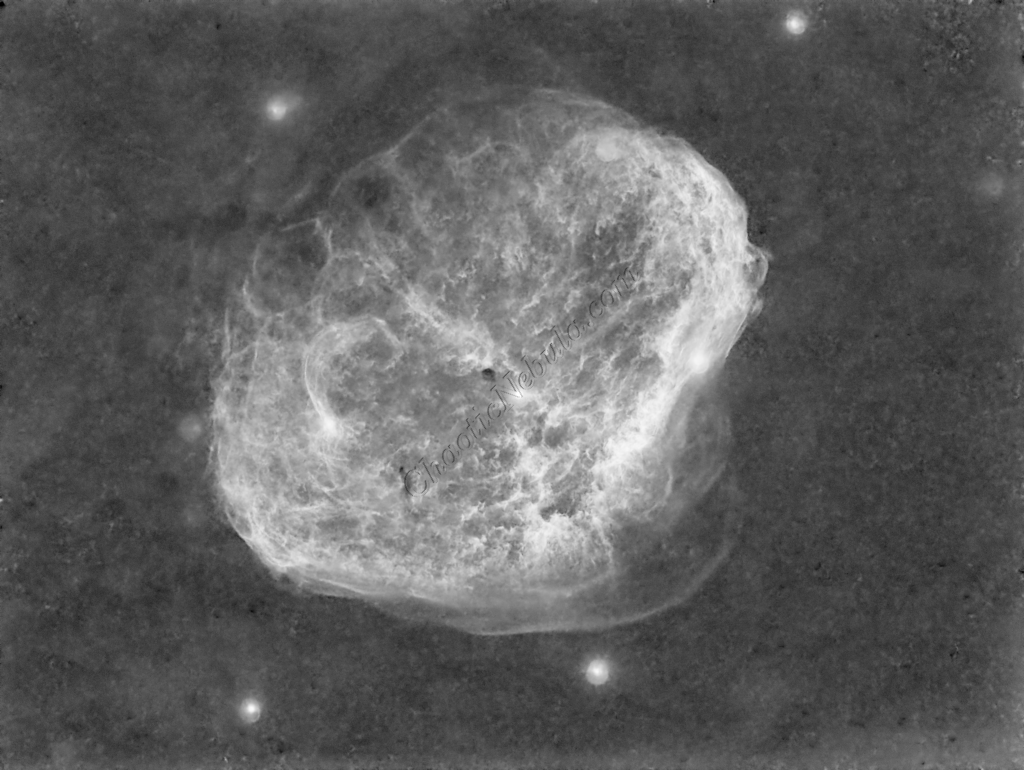
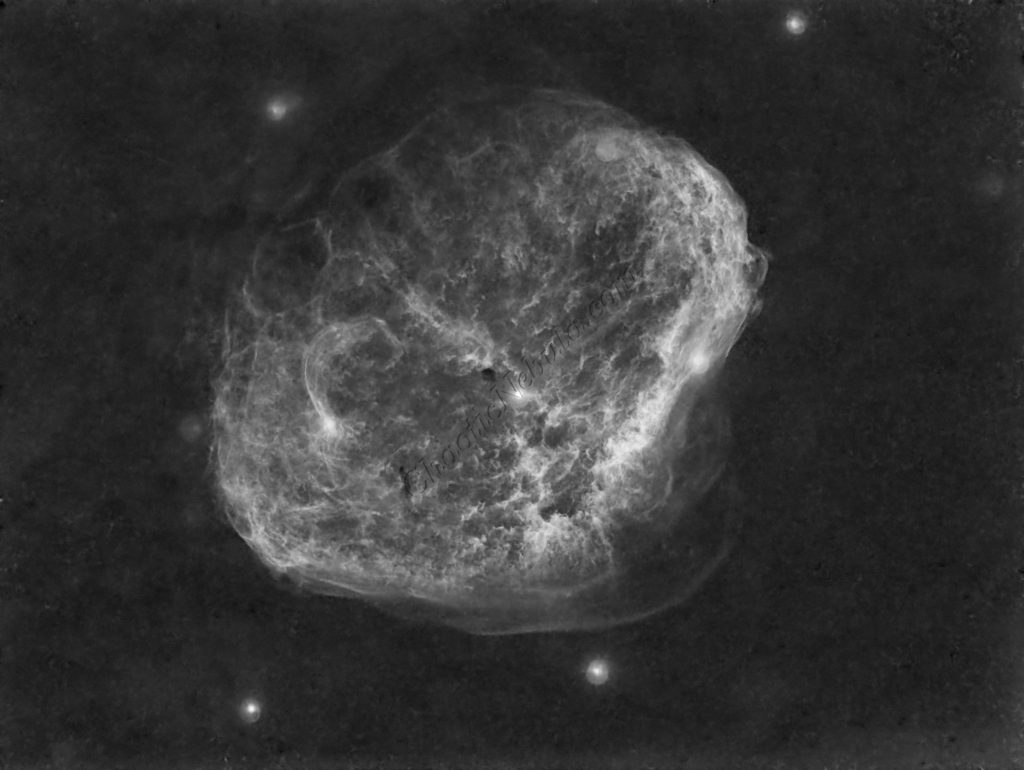
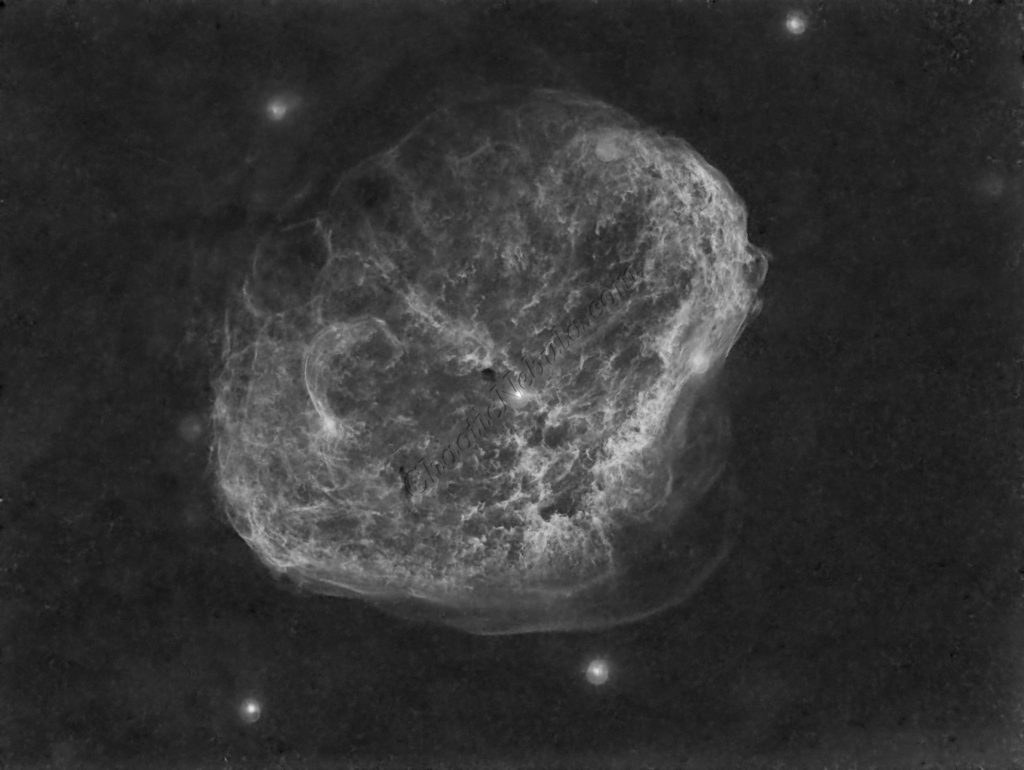
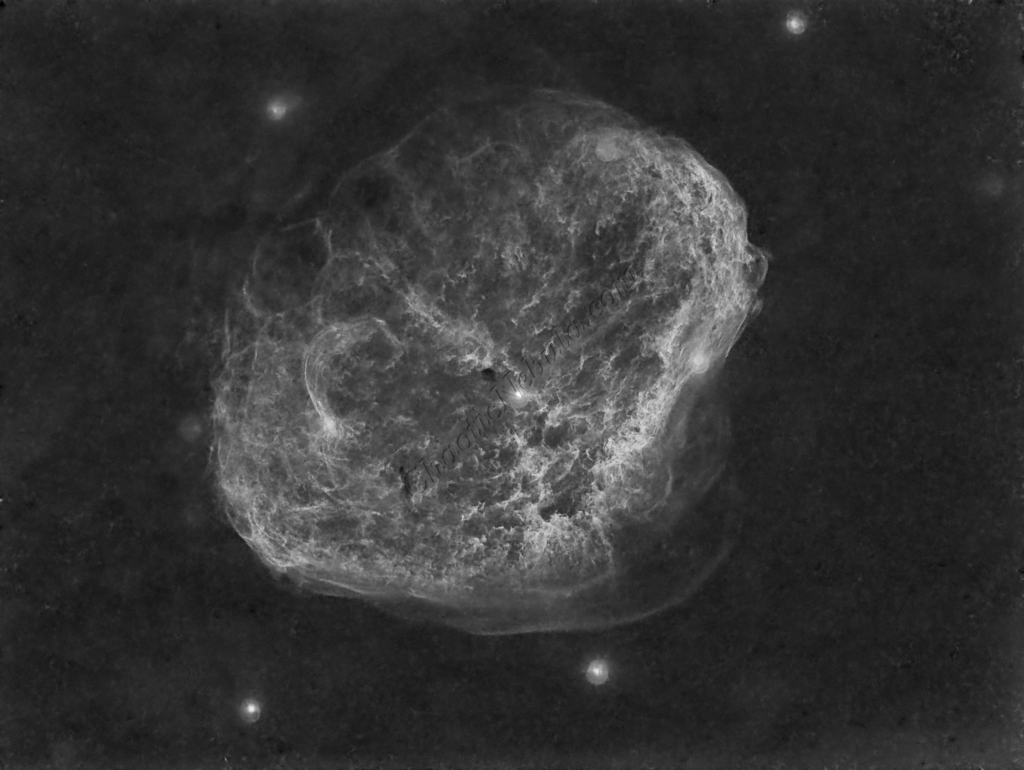
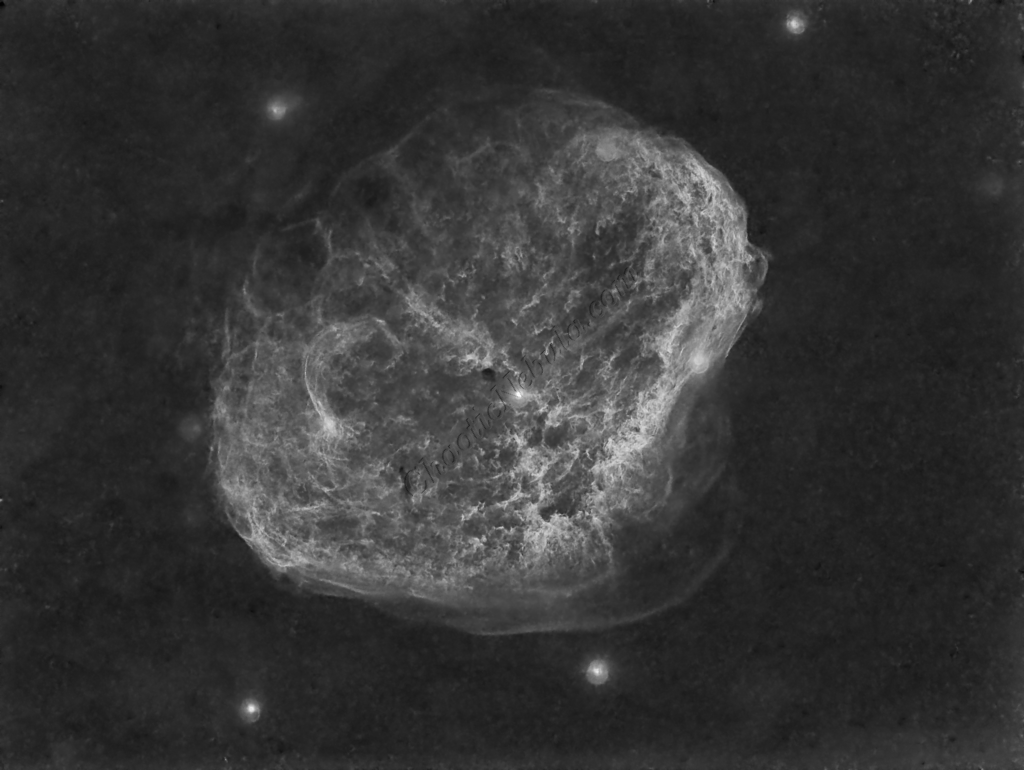
Luminance Integration (LRGB)
Brightness
PixInsight Curves Transformation increased the overall brightness.
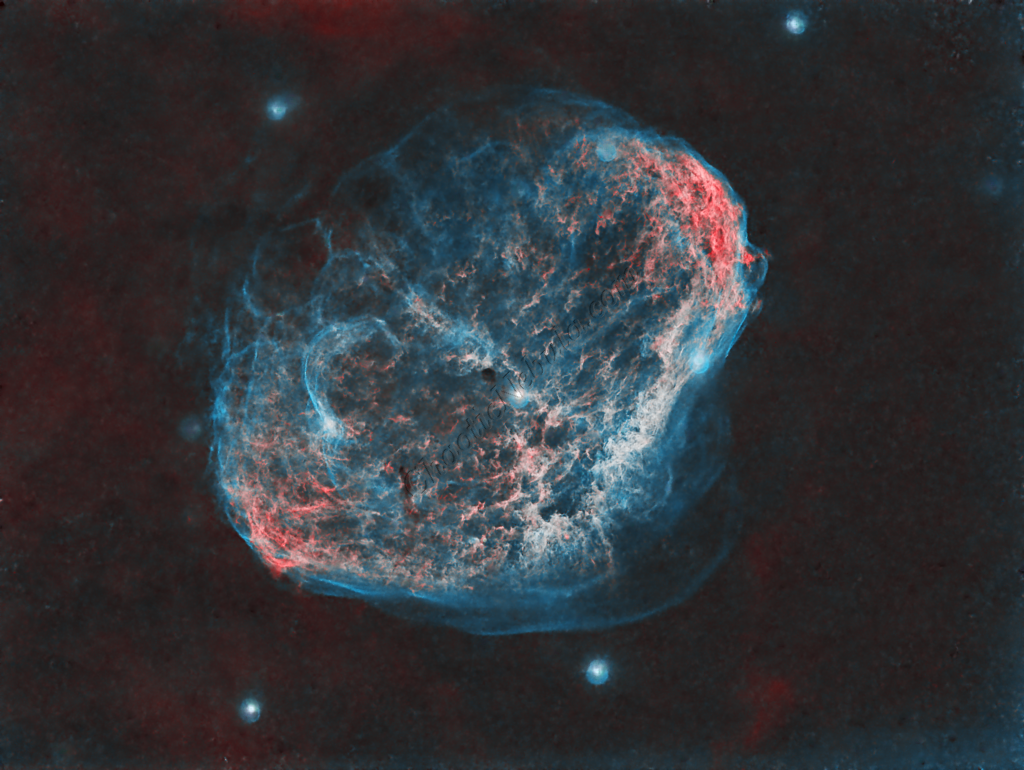
Stars
ACDNR for Chrominance
Although NoiseXTerminator did a great job in removing the noise from the image early on in the workflow, some of the processing might have added noise in the color. Applying ACDNR for only chrominance helps correct this without losing details.
