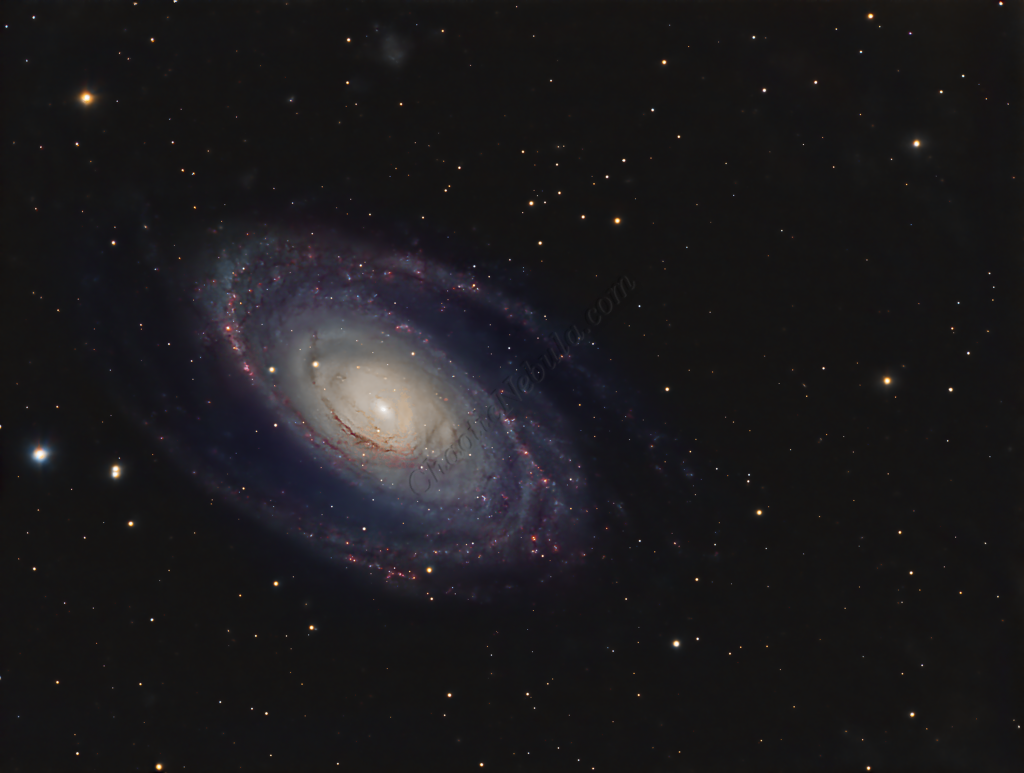
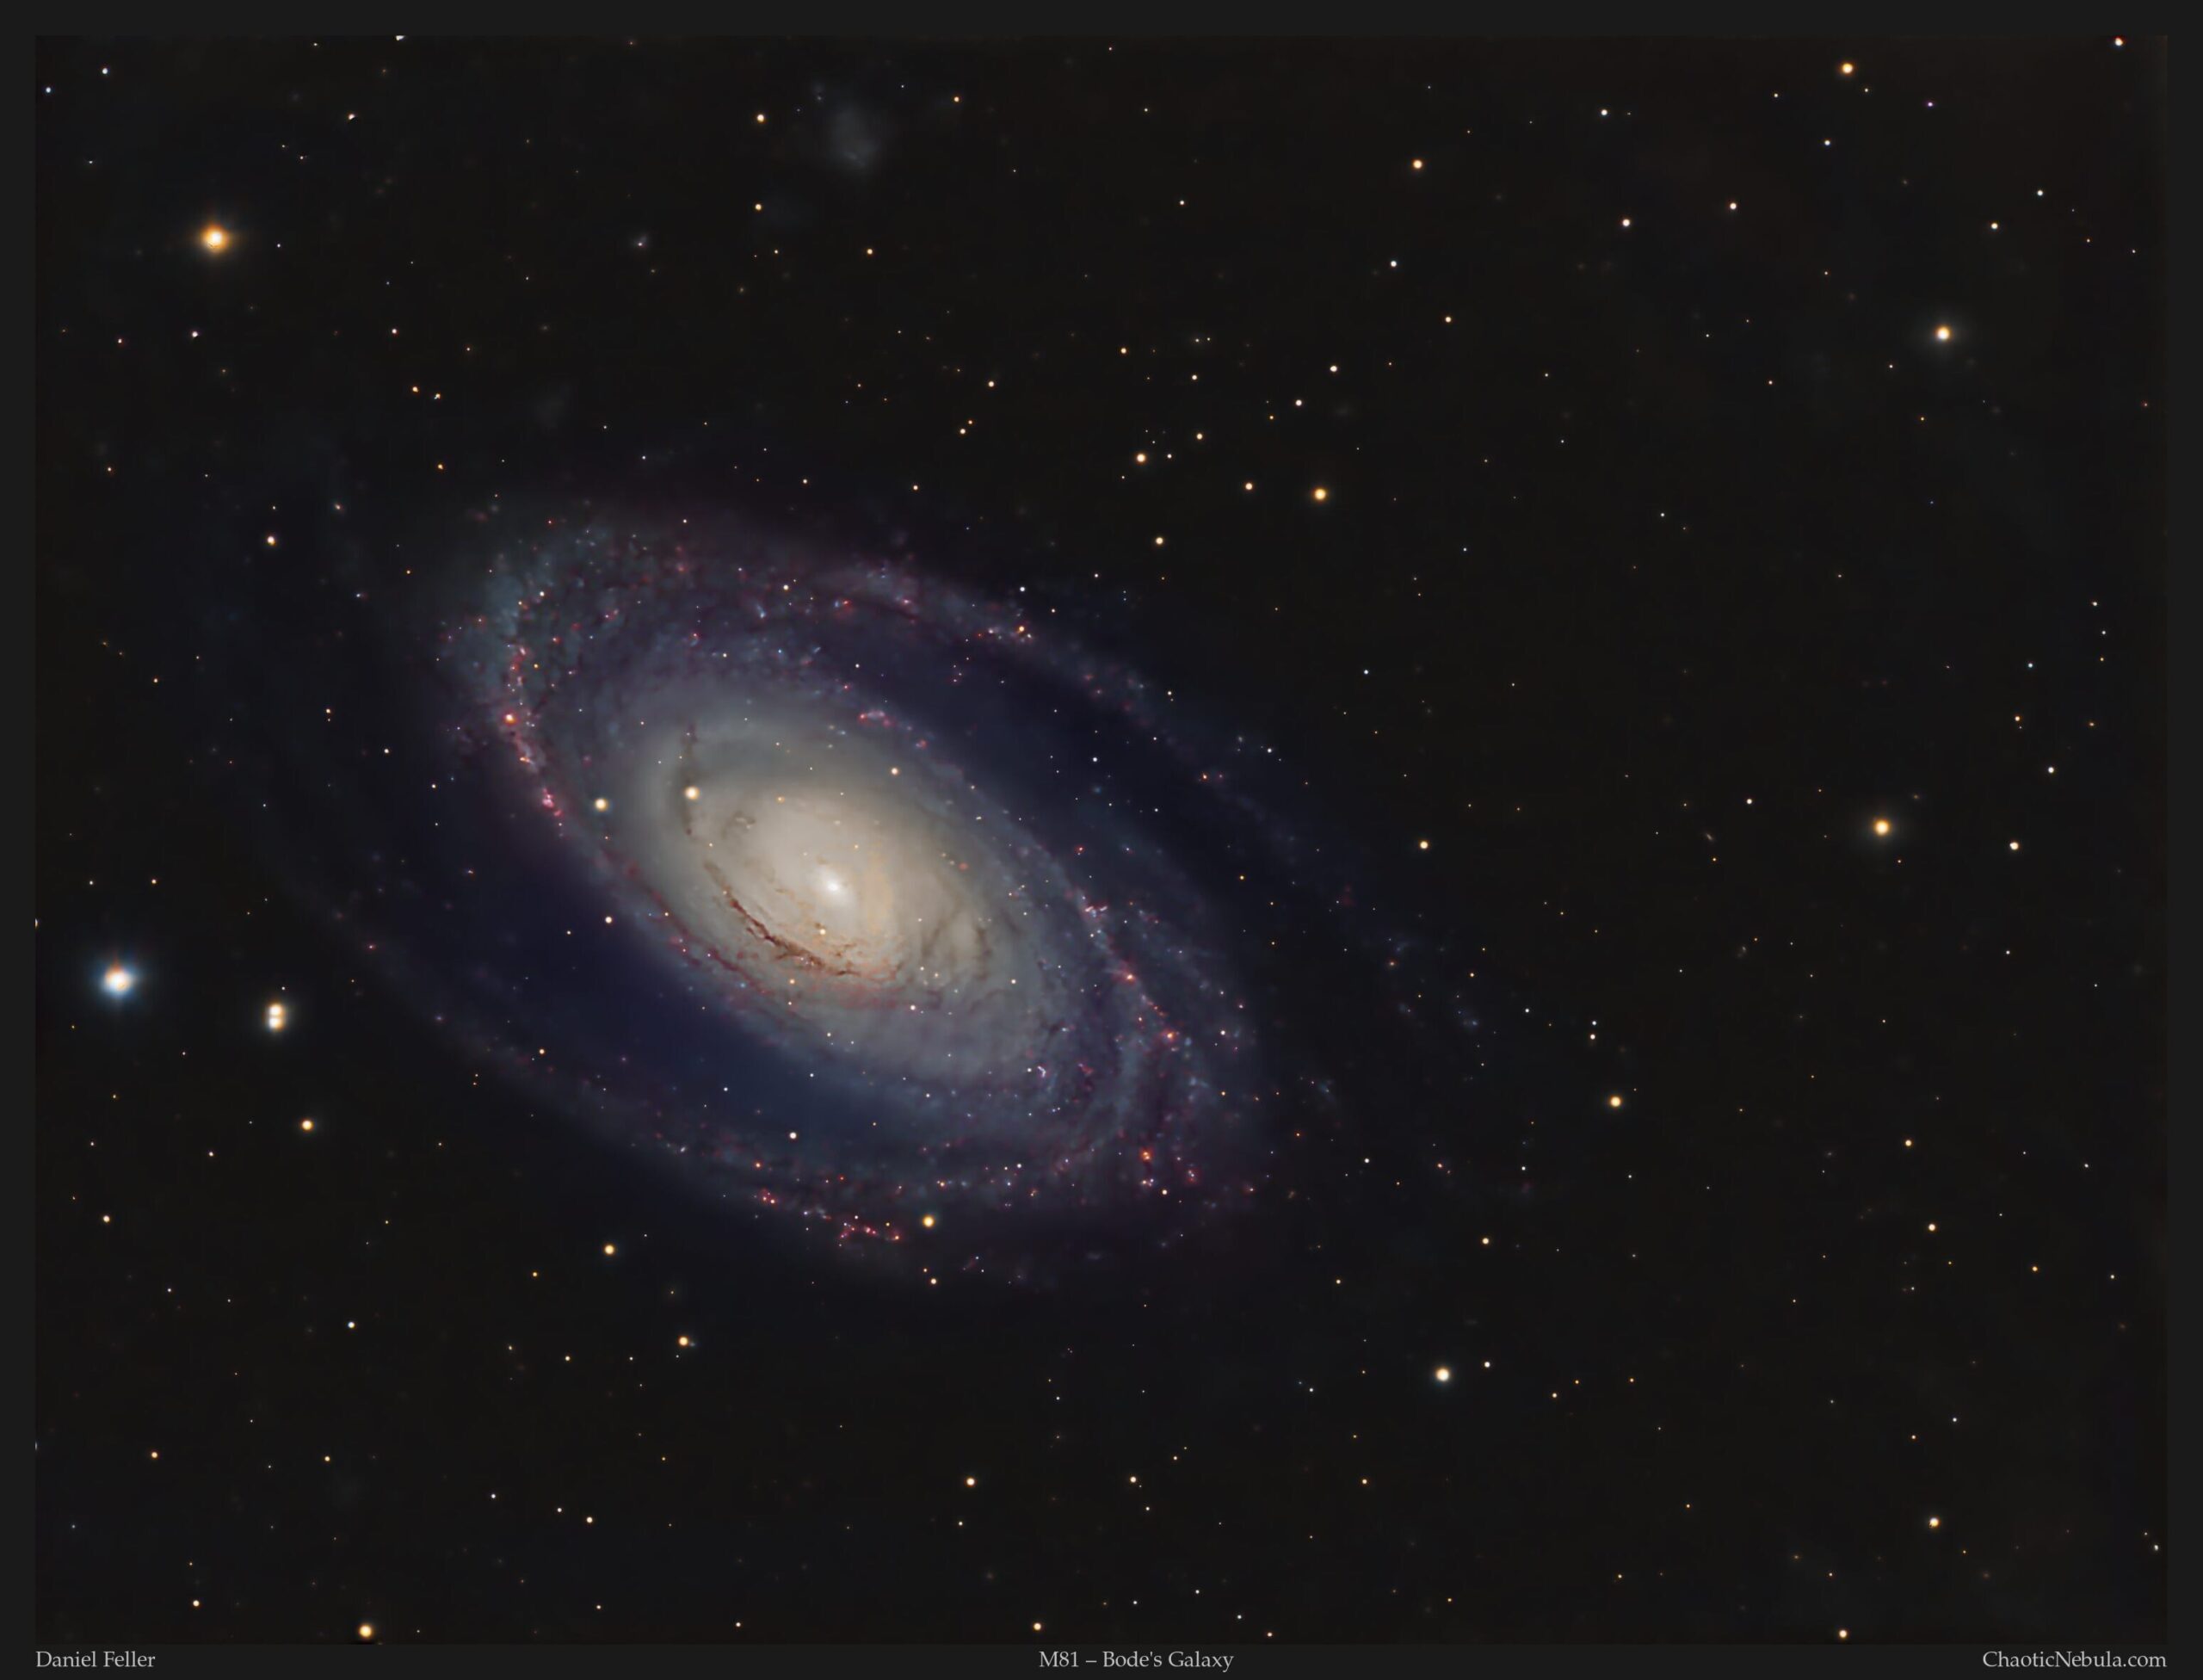
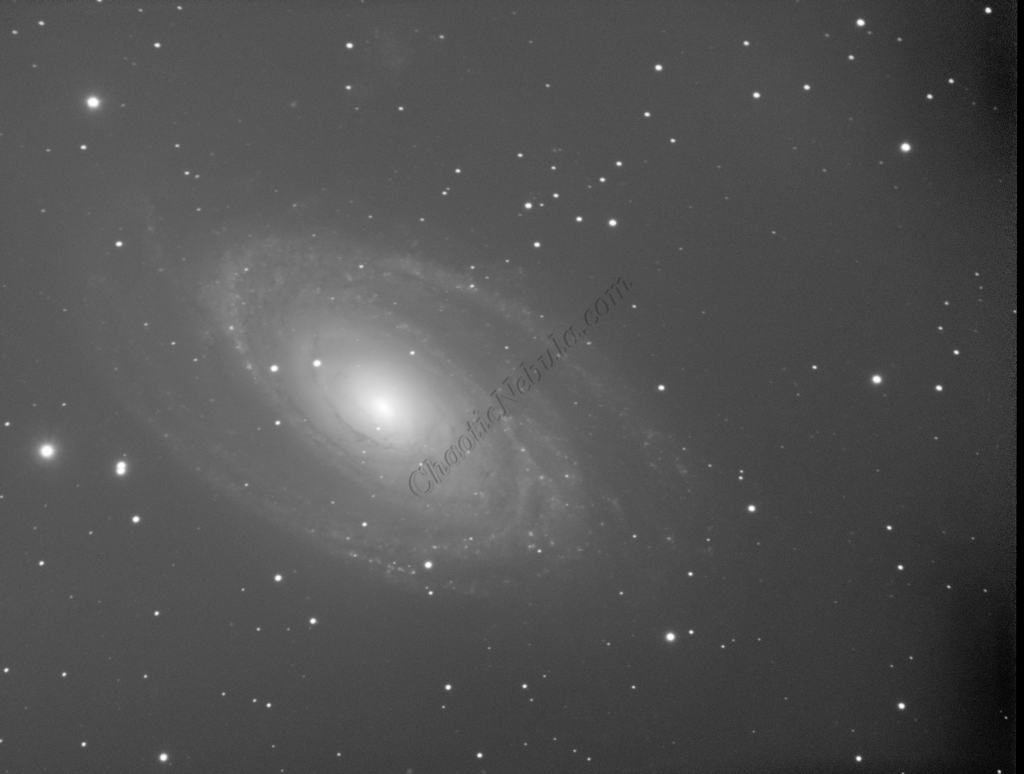
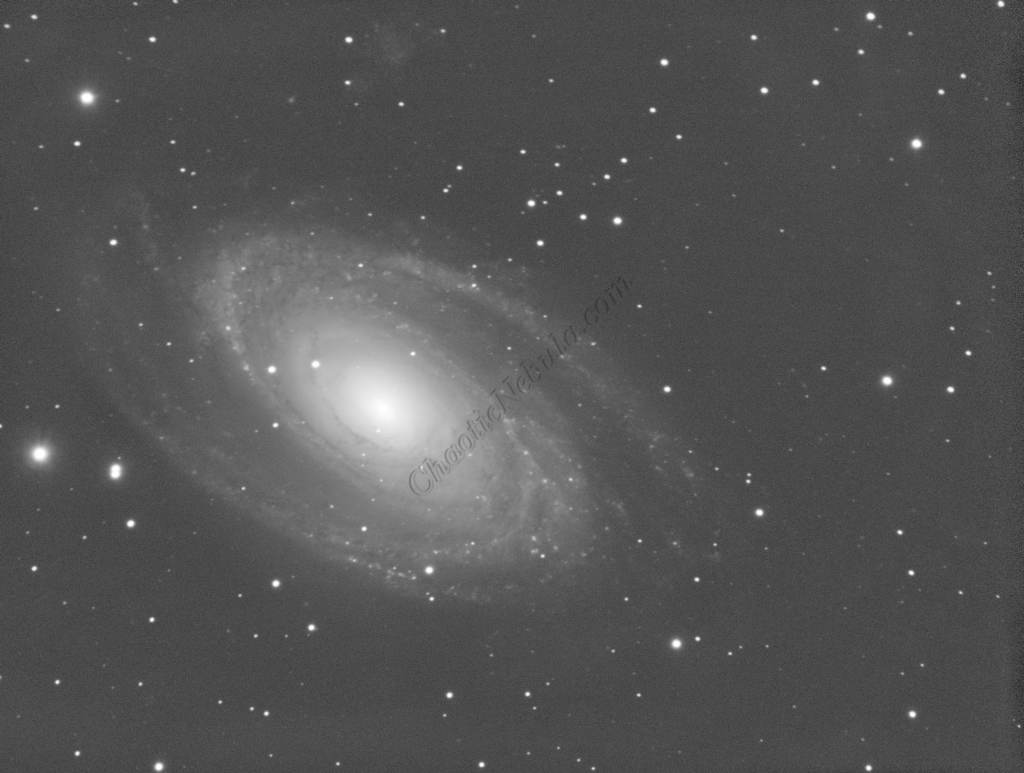
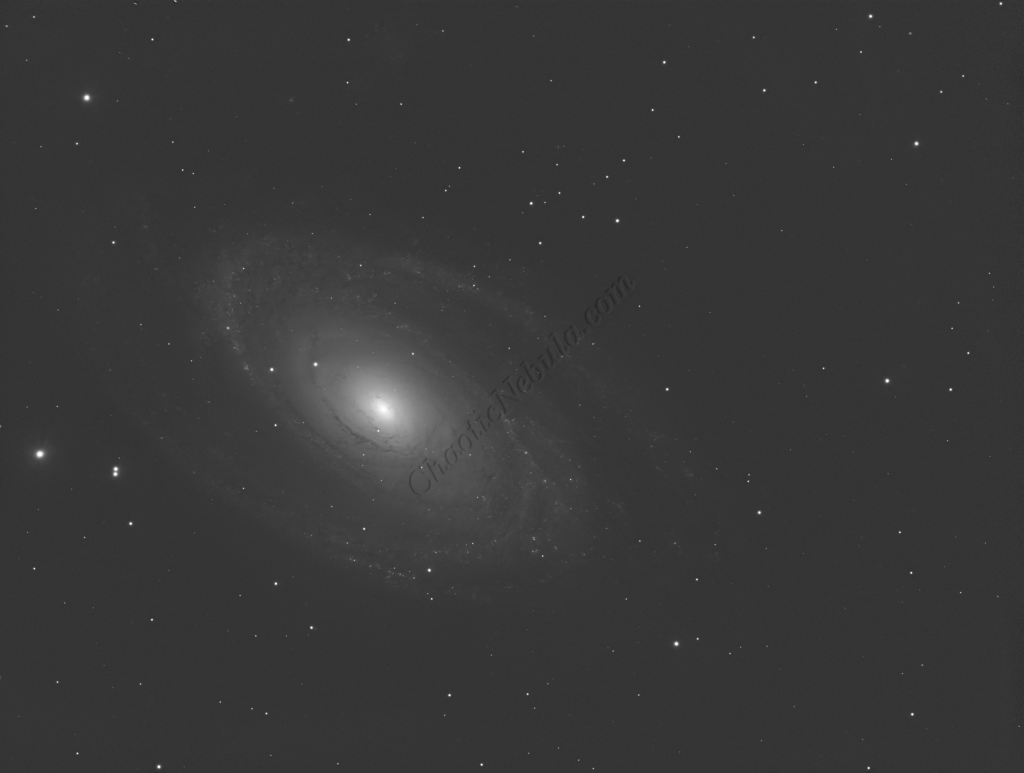
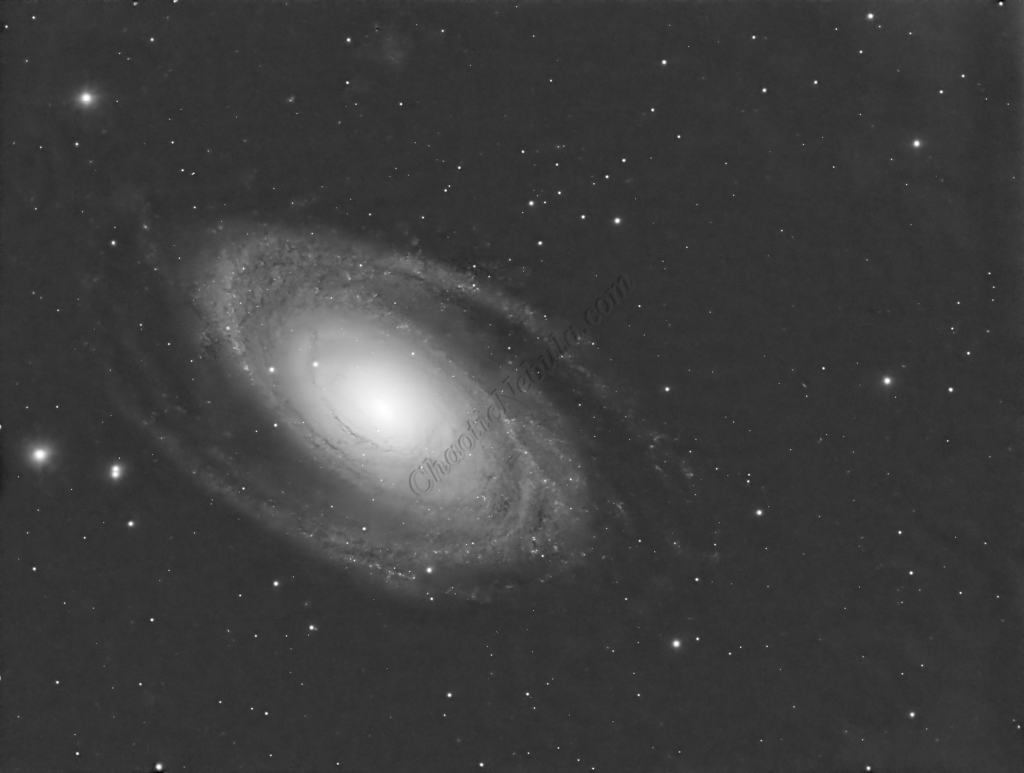
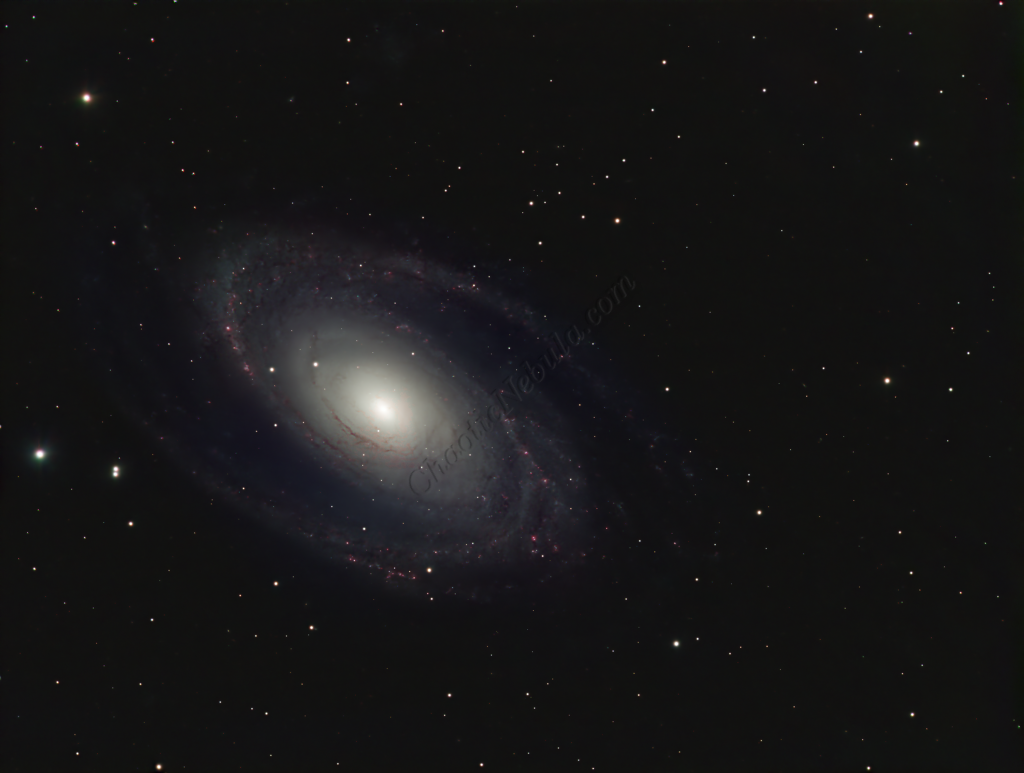
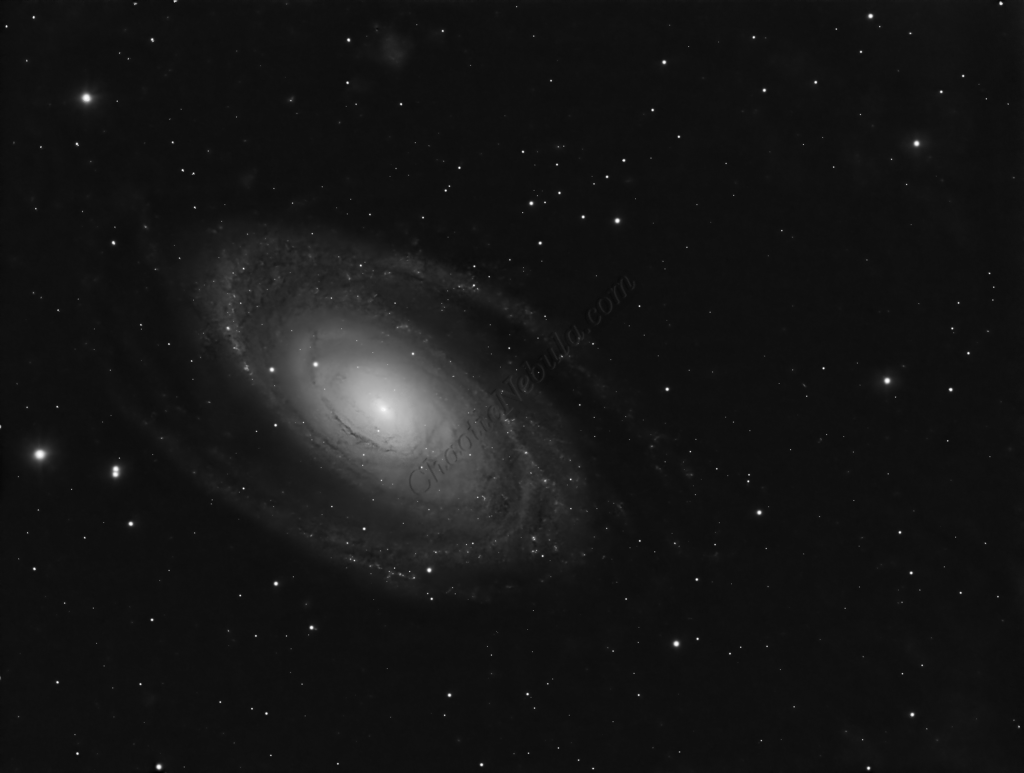
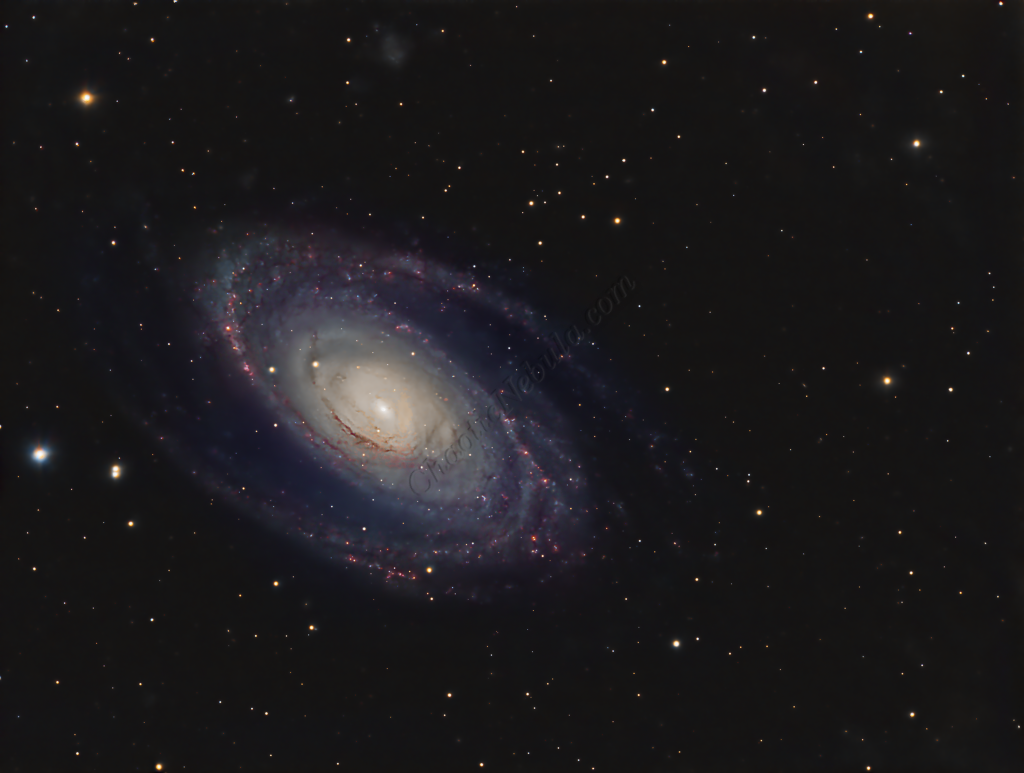
M81, known as Bode’s Galaxy, resides about 12 million light-years away in the constellation Ursa Major. This grand spiral galaxy stands out with its prominent central bulge and sweeping, well-defined spiral arms, presenting a stunning celestial spectacle.
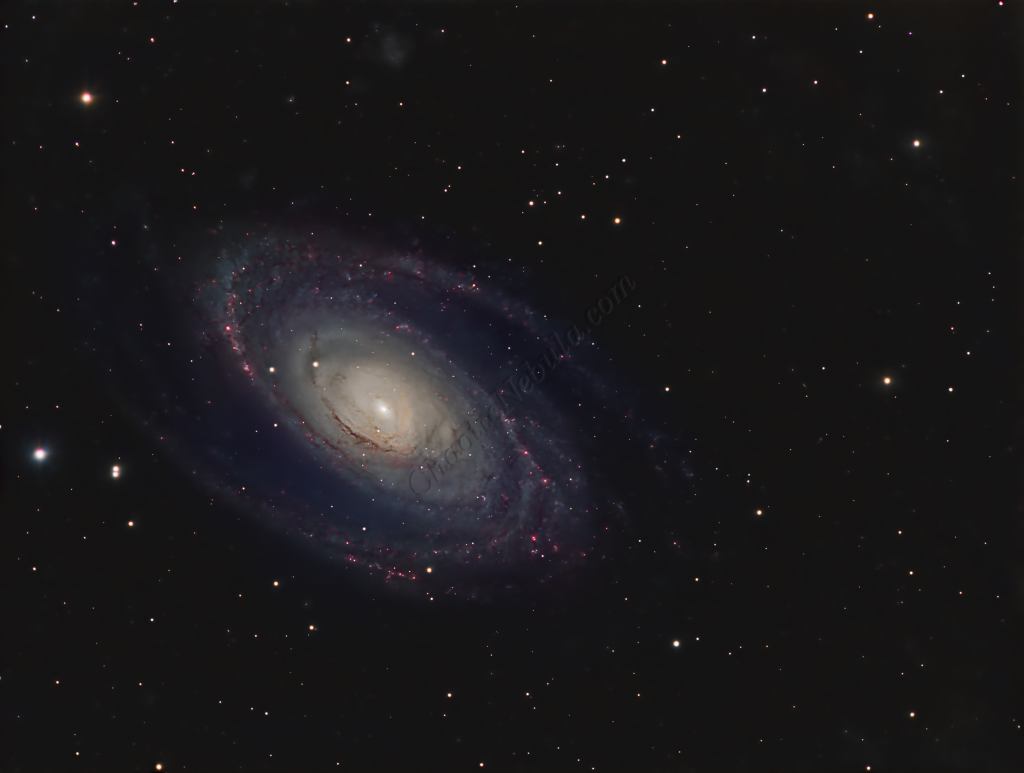
The intricate dust lanes woven within M81’s spiral arms are crucial to its ongoing stellar evolution. These dense regions of dust and gas act as stellar nurseries, where gravitational forces trigger the formation of new stars. The compression of gas and dust within these regions fuels the birth of brilliant, newborn stars through the process of nuclear fusion, often emitting a reddish glow when observed through specific filters like the hydrogen-alpha narrowband.
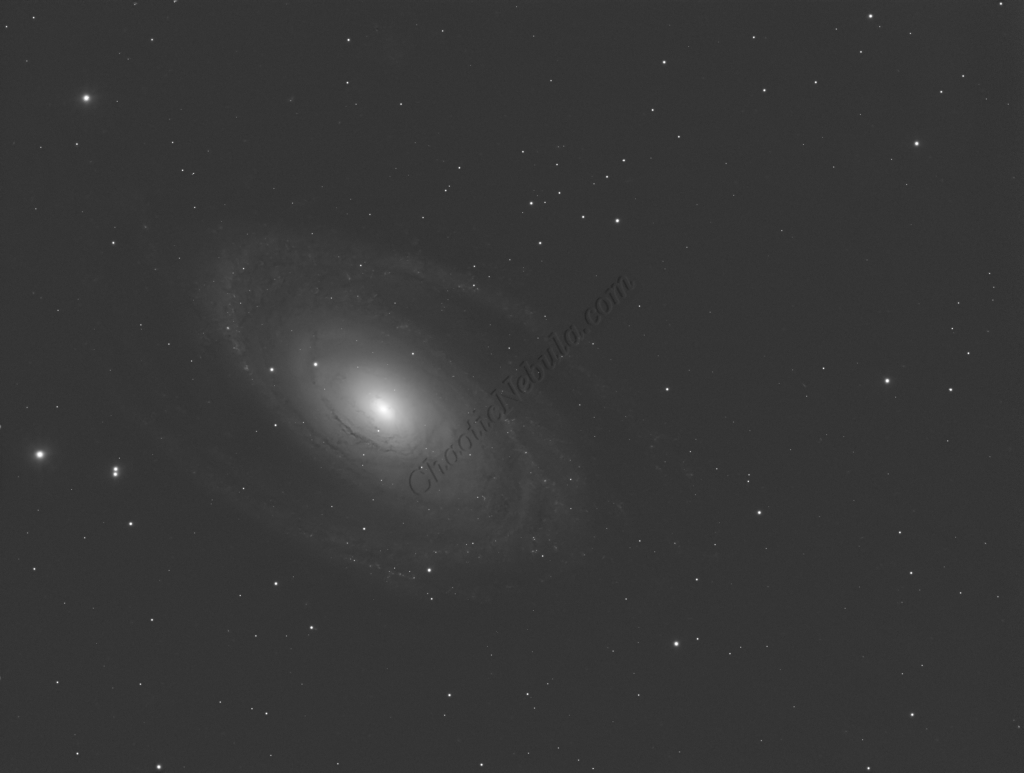
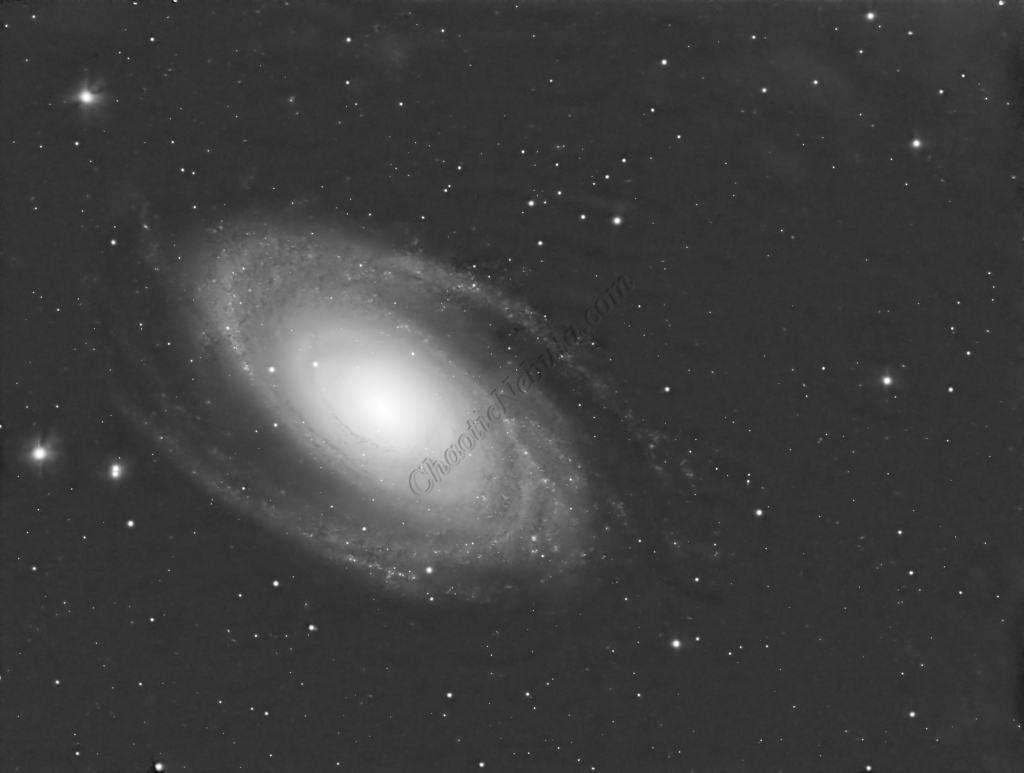
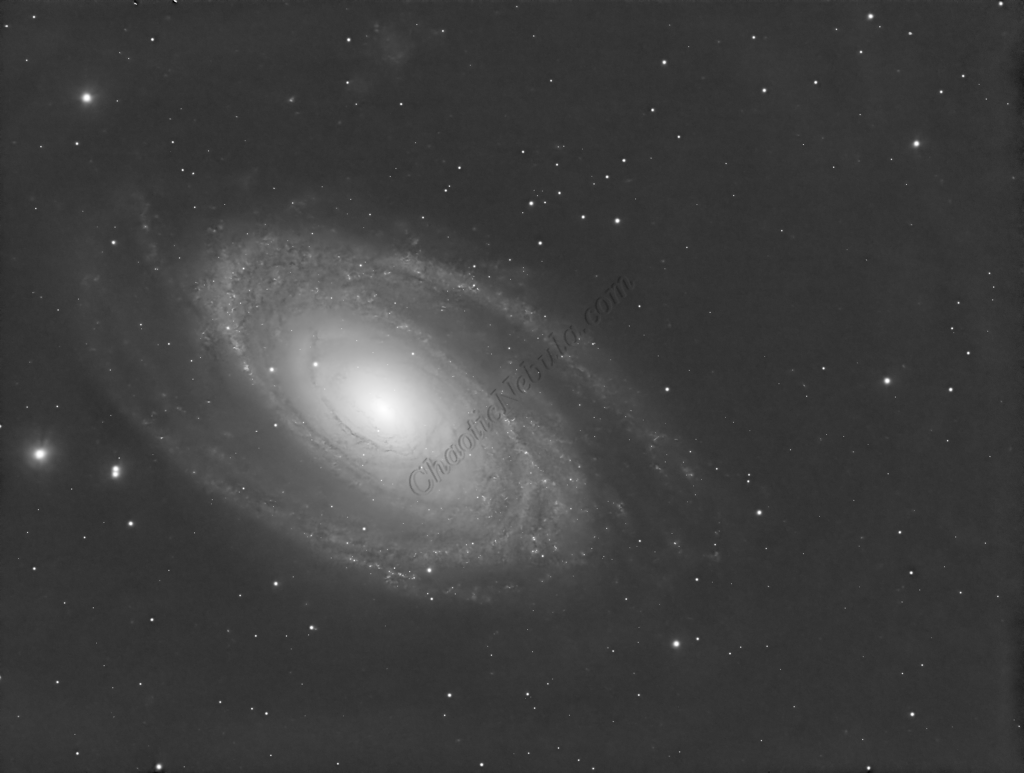
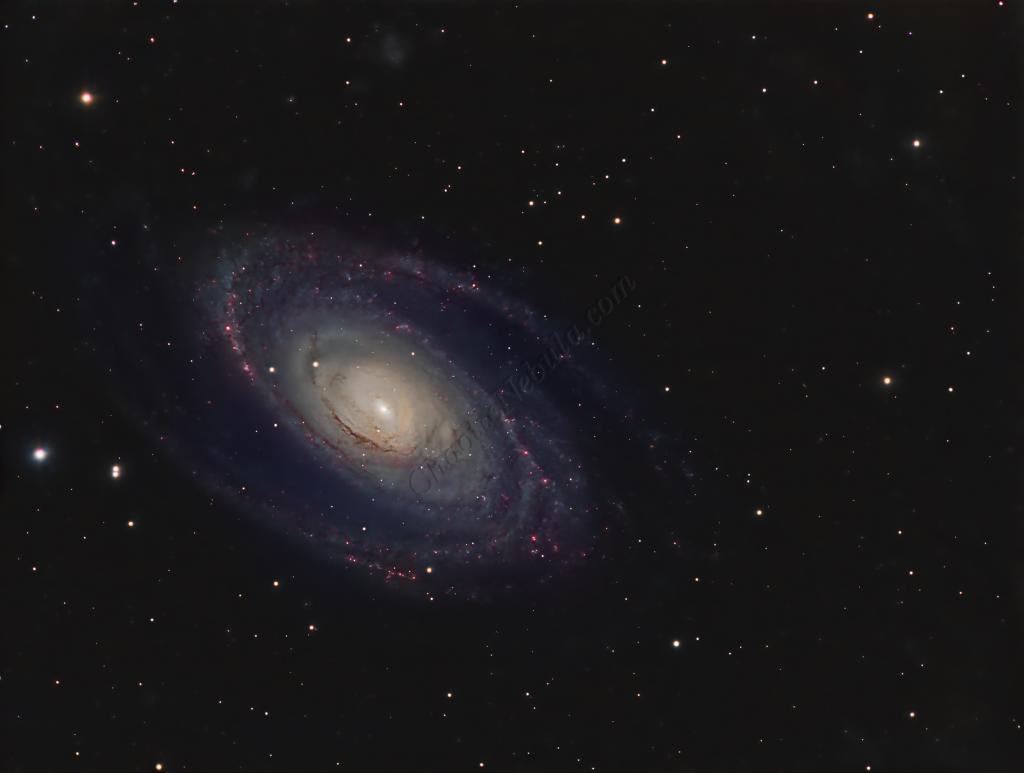
For astrophotographers, M81 offers a fun target. Its substantial size and moderate brightness make it accessible for telescopes of varying capabilities. Using advanced imaging techniques and specialized filters, photographers can capture intricate details of M81’s spiral structure, dust lanes, and clusters of young stars with remarkable clarity.
Imaging Details
- Workflow: Broadband workflow for Galaxies
- Red: 30*600 seconds
- Green: 30*600 seconds
- Blue: 30*600 seconds
- HA: 30*600 seconds
- Total Imaging Time: 20 hours
- Imaging Dates (4 nights)
- 2/7/2023
- 2/10/2023
- 2/12/2023
- 2/16/2023
Imaging Notes
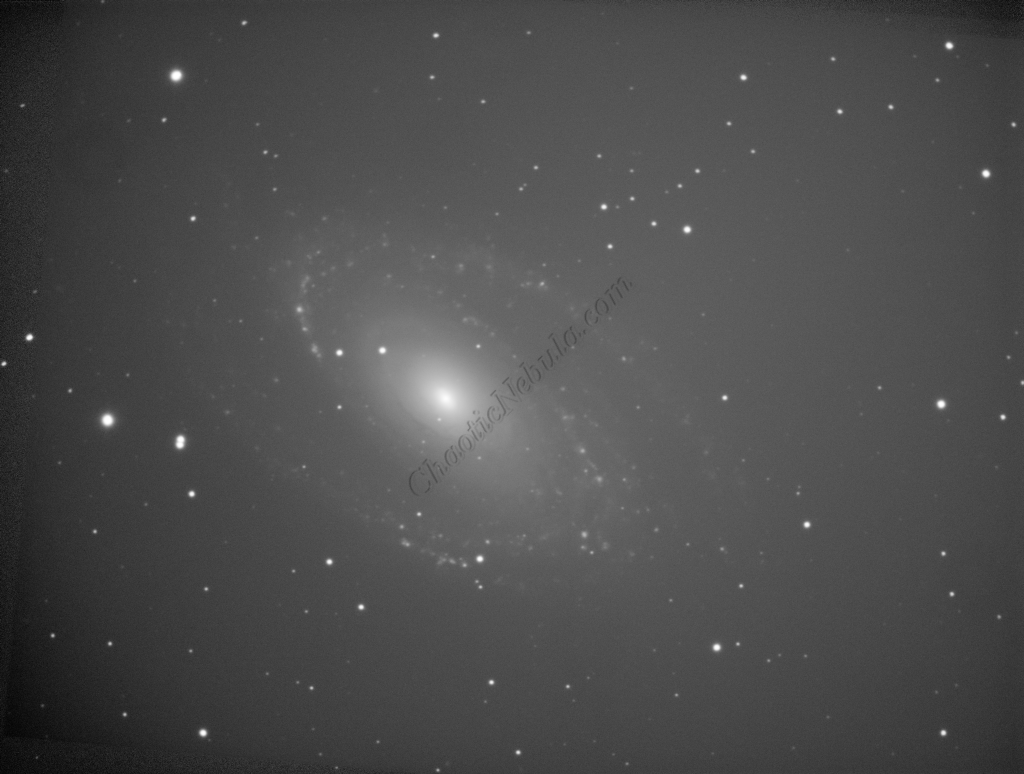
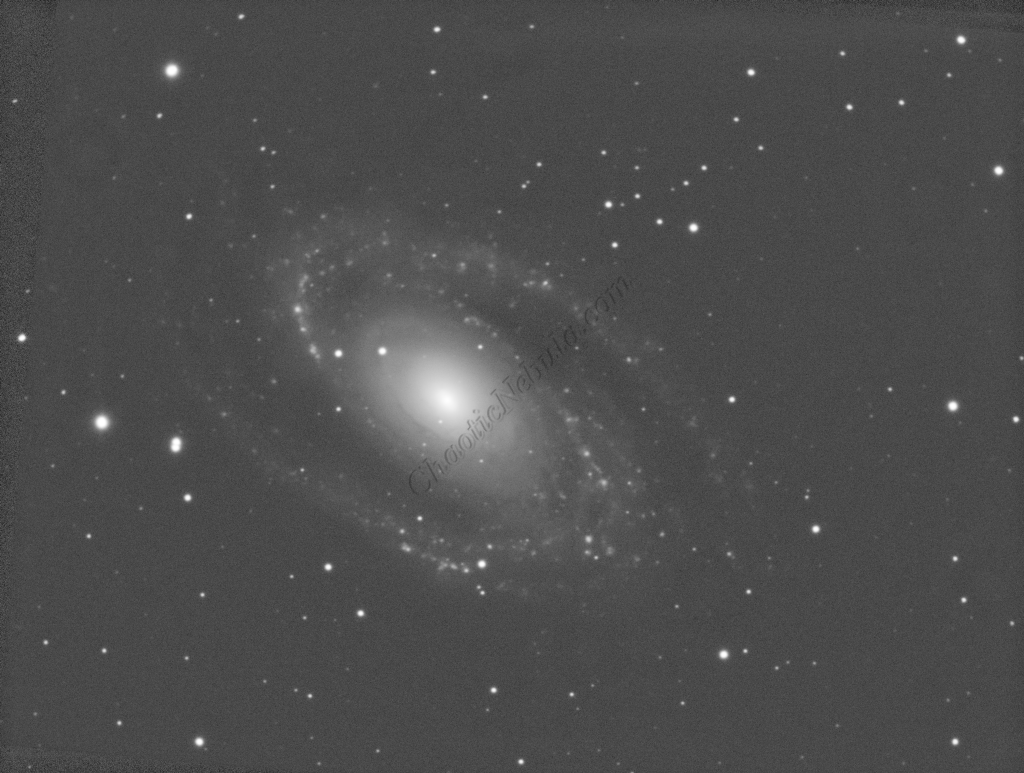
I’ve tried to image this galaxy multiple times over the course of a decade, each with varying results.
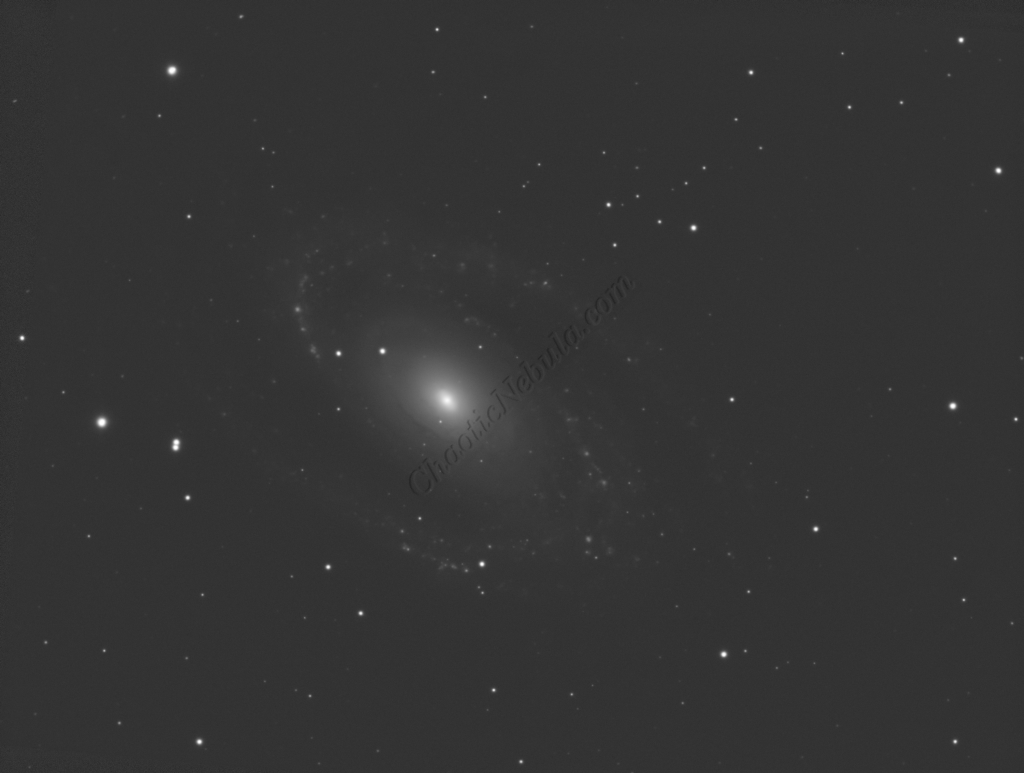
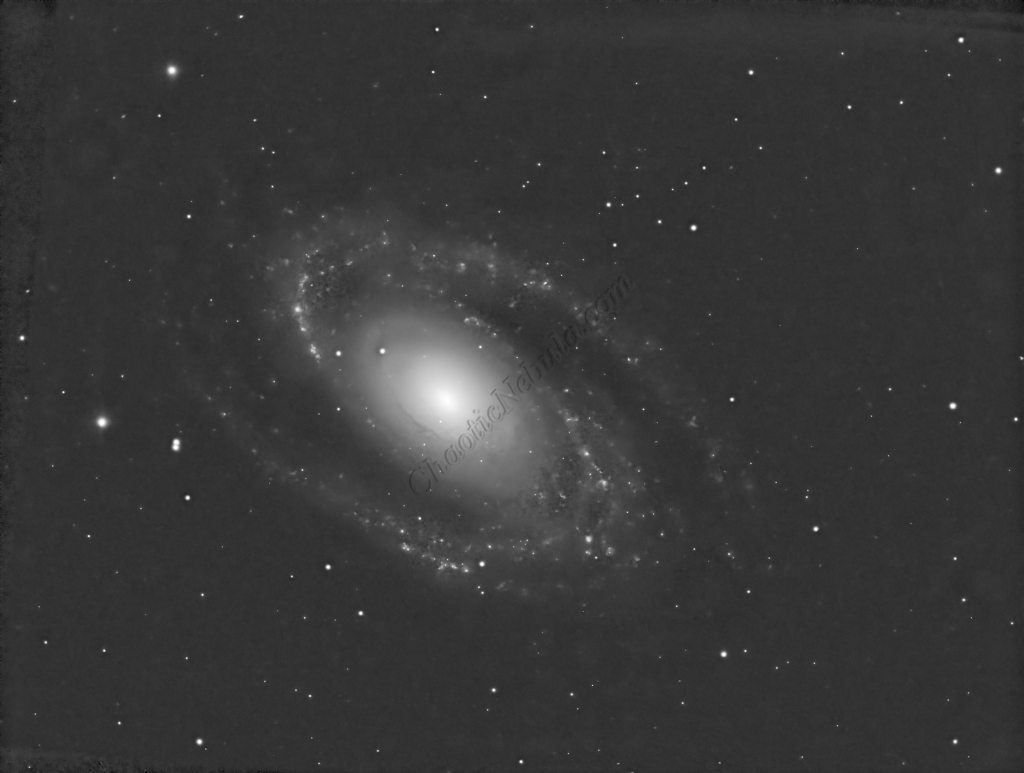
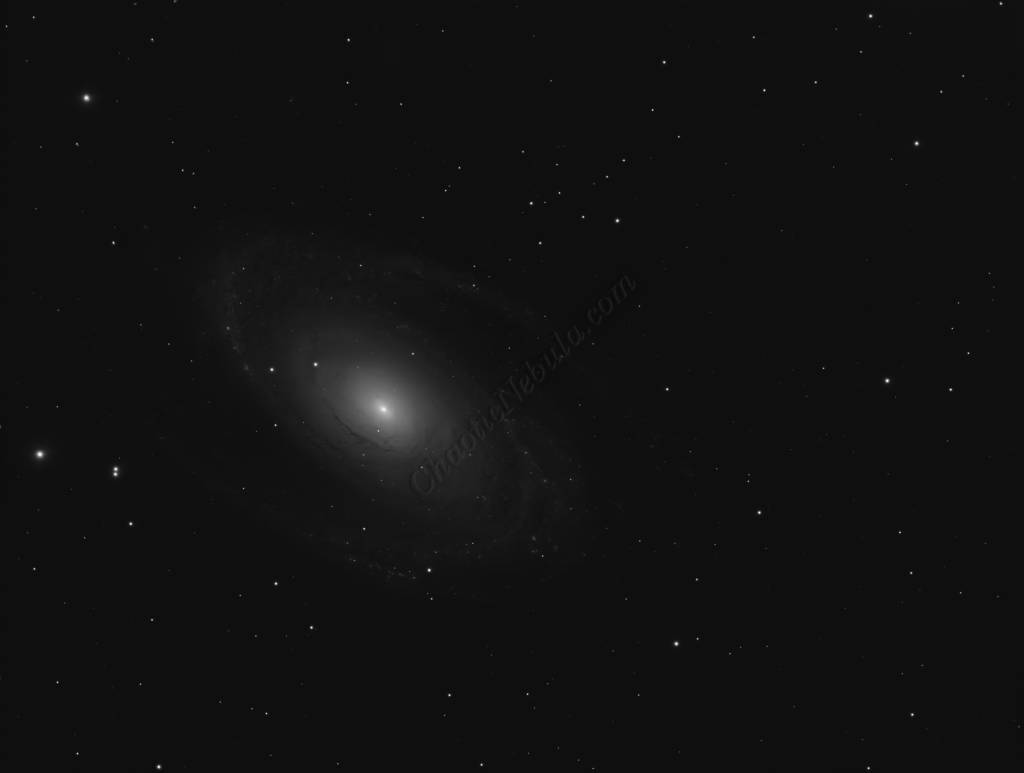
2020: I was using a focal reducer that was meant for visual and not photographic usage. This caused severe vignetting around the edges. Plus, the flat frames were created with a custom made light source that did not effectively remove dust motes and other anomalies.
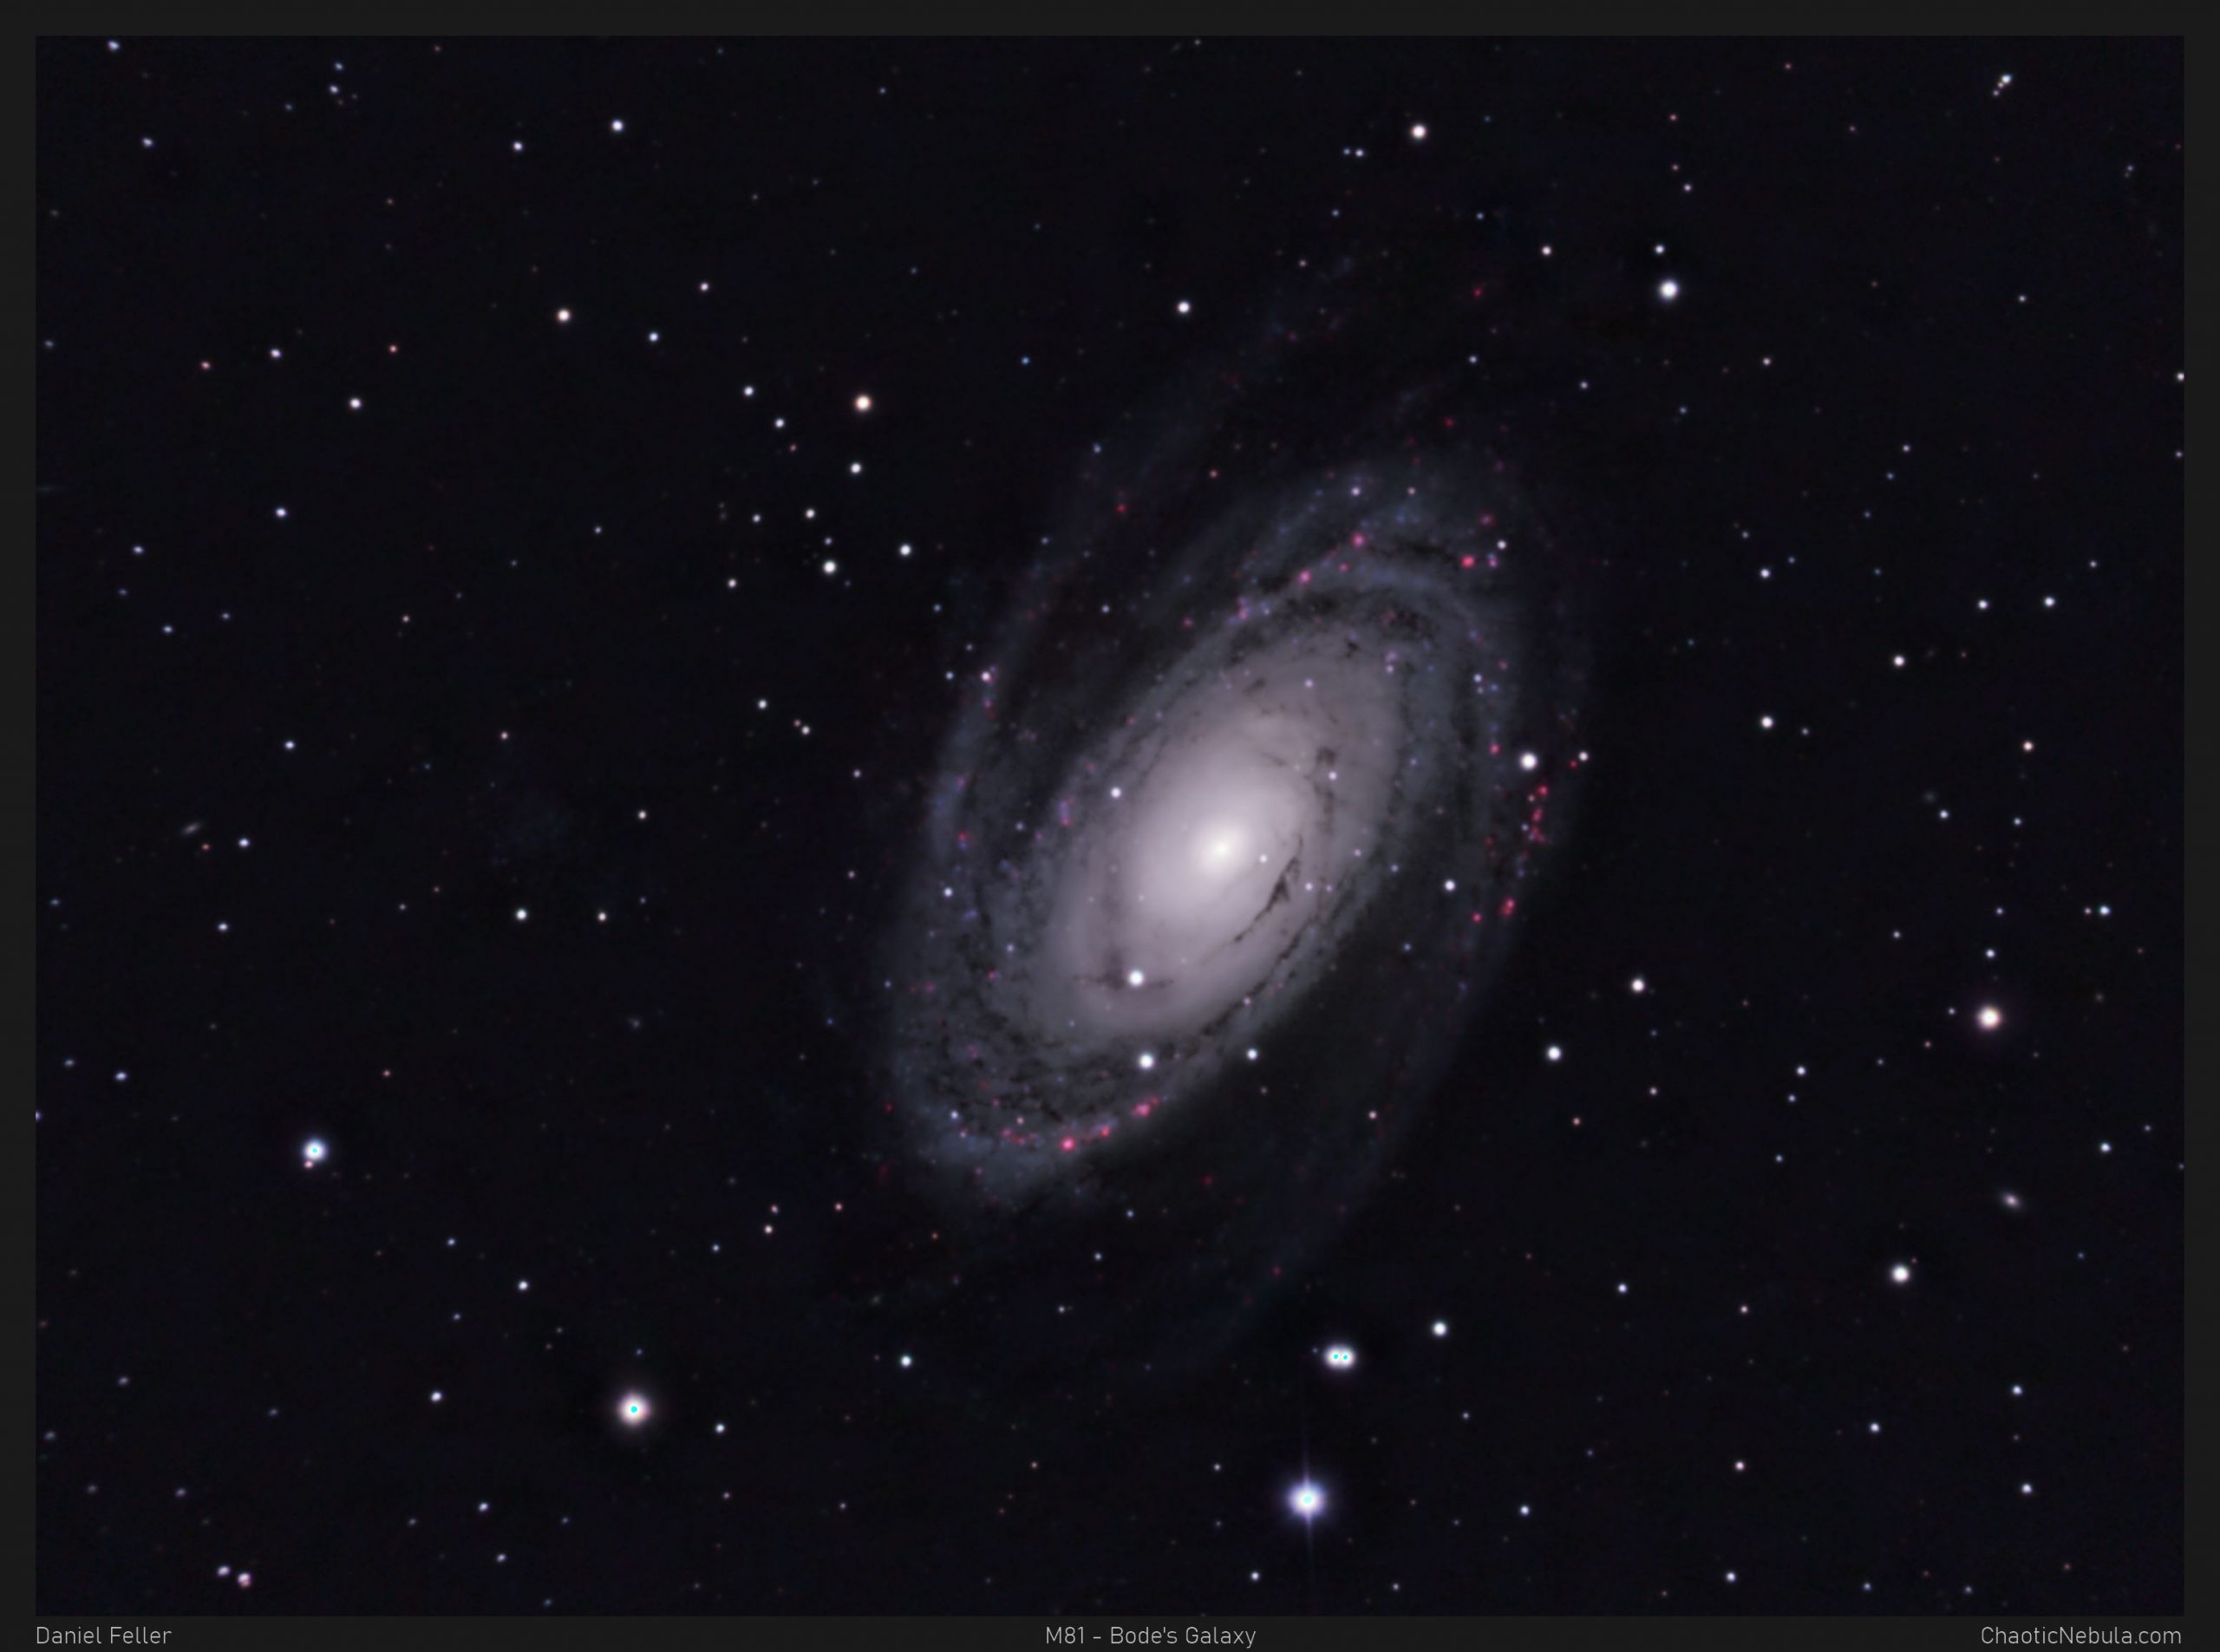
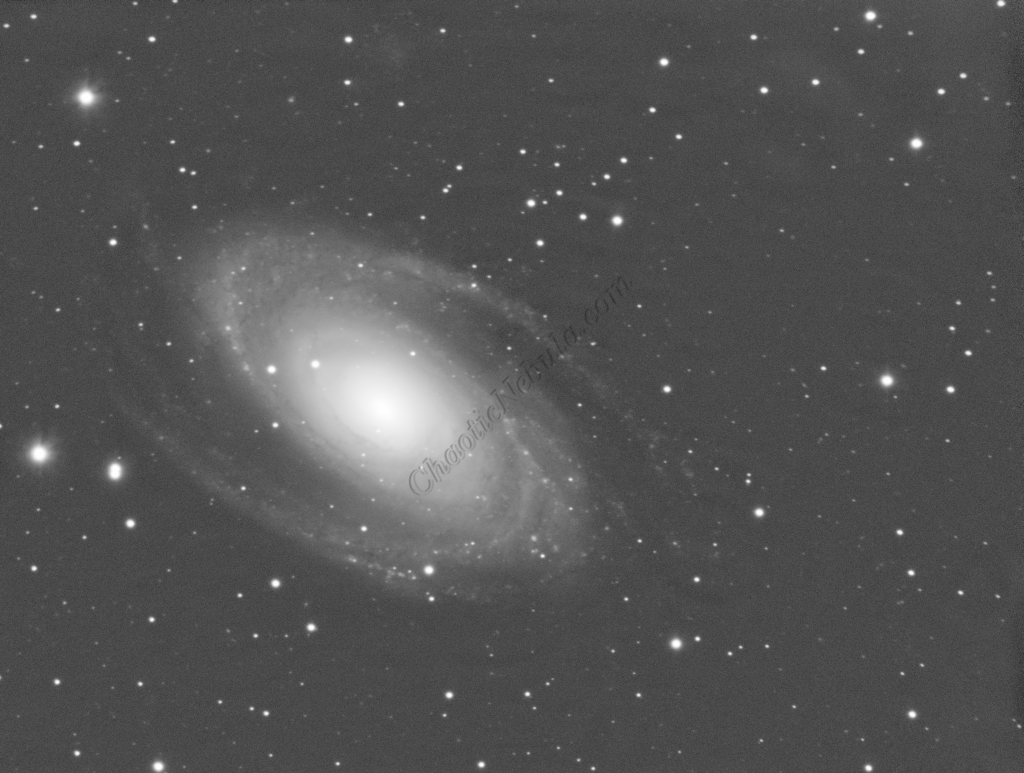
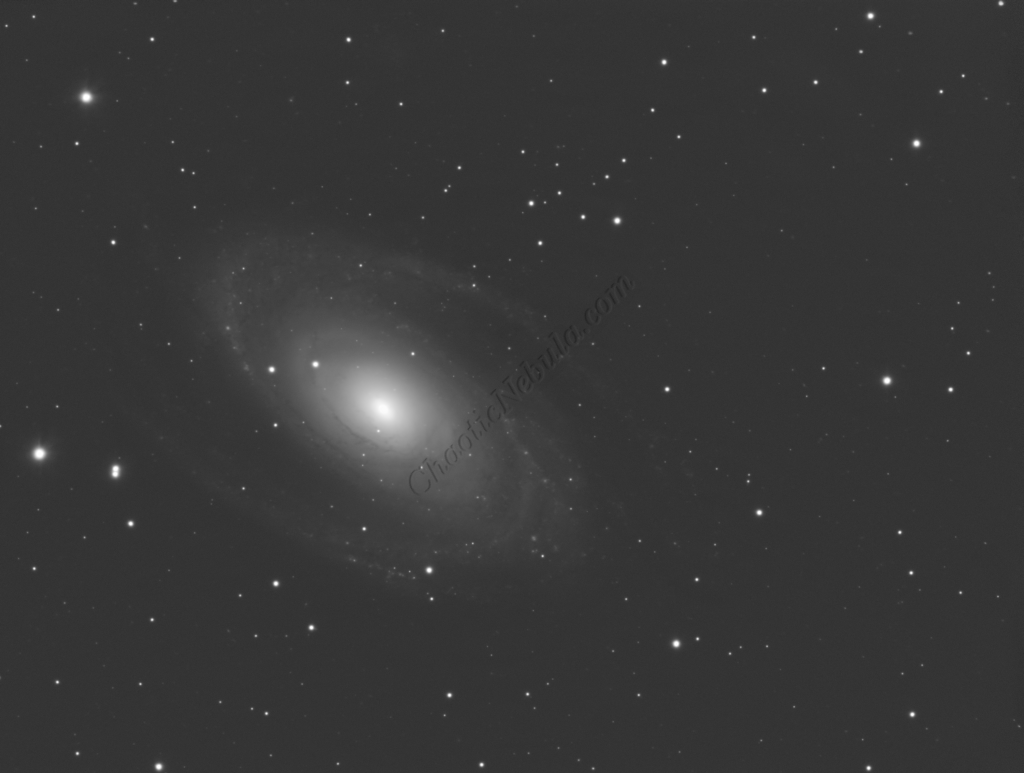
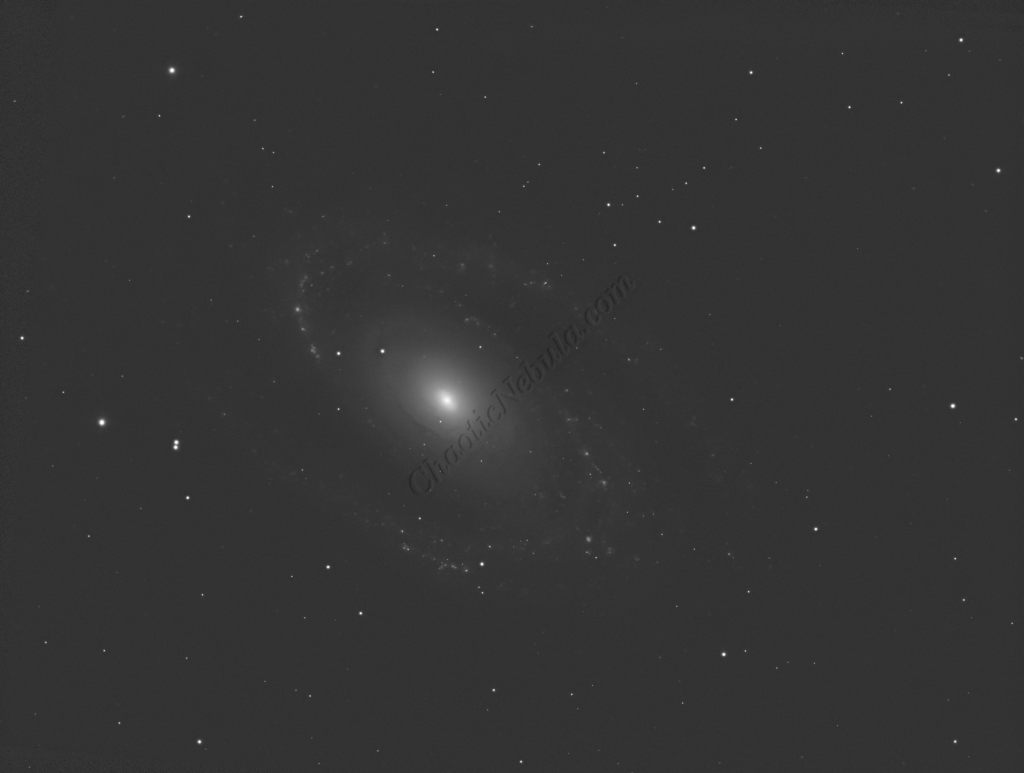
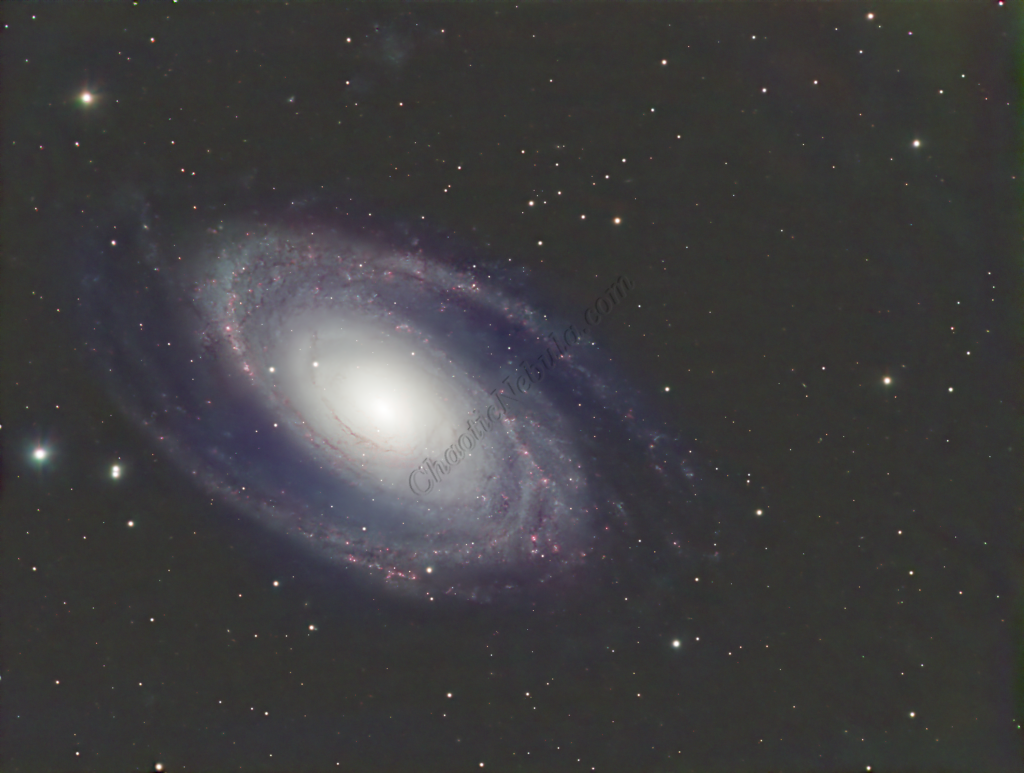
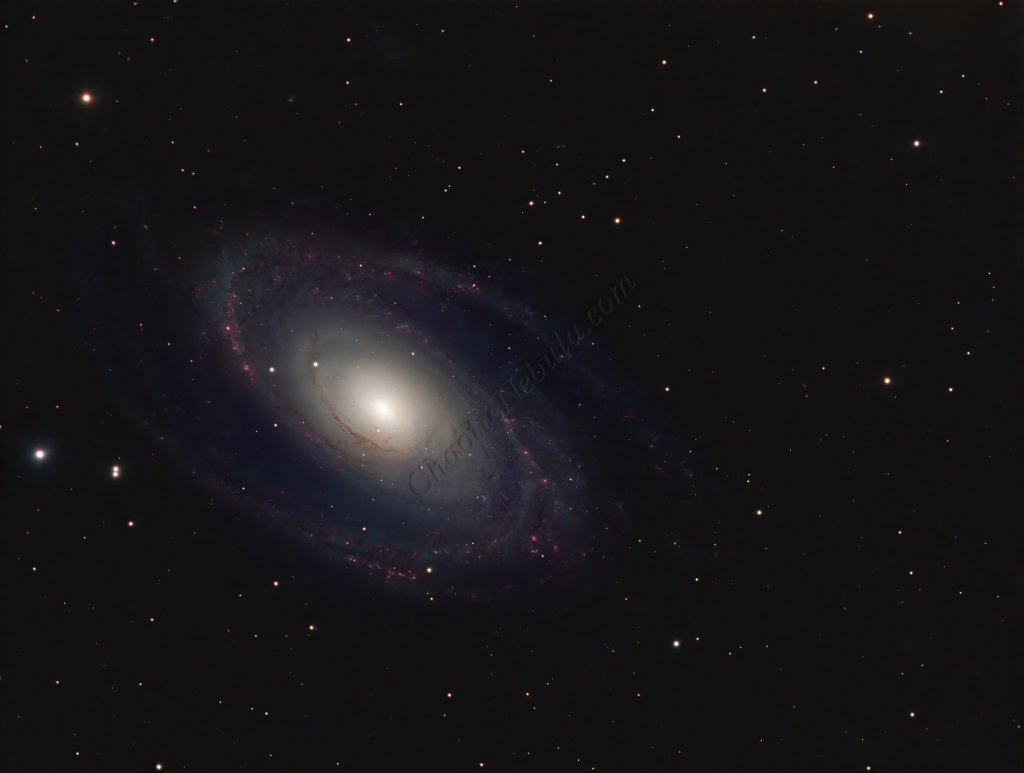
2024: Over the years, I’ve learned a lot about the numerous processes in PixInsight. I’ve continued updating my workflows to create better images. The image created in 2024, uses the latest Broadband workflow for Galaxies workflow that leverages BlurXTerminator and NoiseXTerminator as part of this process.
Imaging Workflow
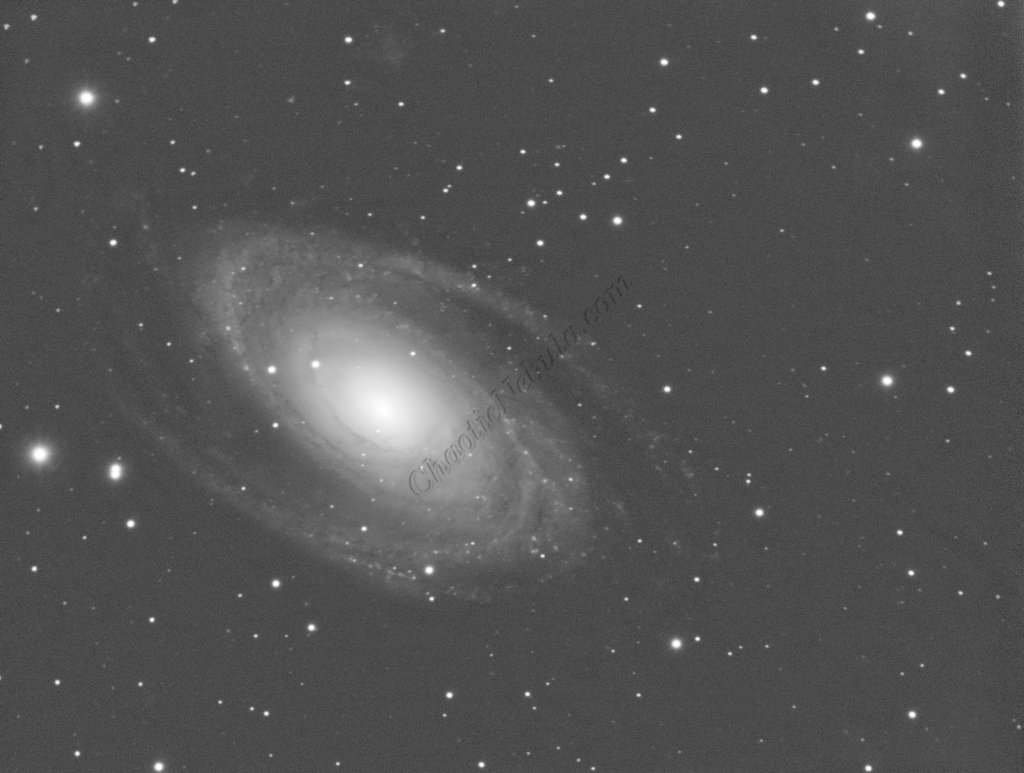
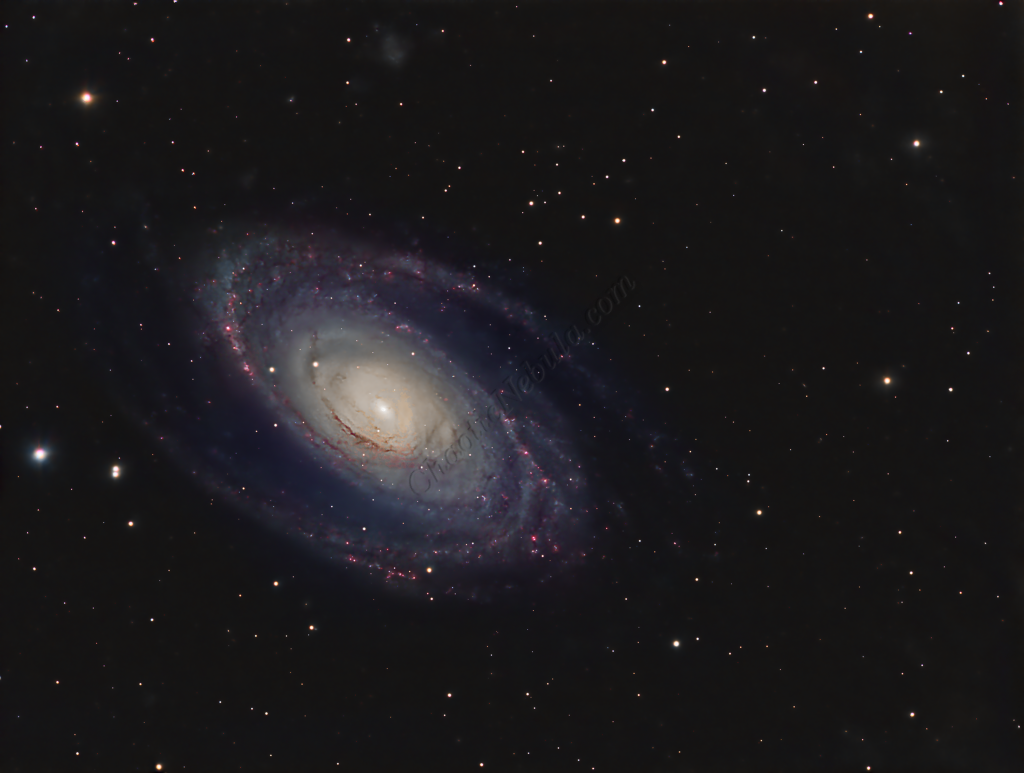
This image followed the Broadband workflow for Galaxies
I ran through the normal process of doing star removal early on. However, because this galaxy is so large and bright, the star removal technique removed detail within the arms of the galaxy. Although these would have been added back in at the end of the image processing workflow, the overall sharpness of the galaxy was poor. By keeping the stars integrated for the entire workflow, allowed for a better end result. With the stars present during the workflow, a more complex image stretching technique was required to prevent the stars from bloating. This is explained in the Luminance workflow section below.
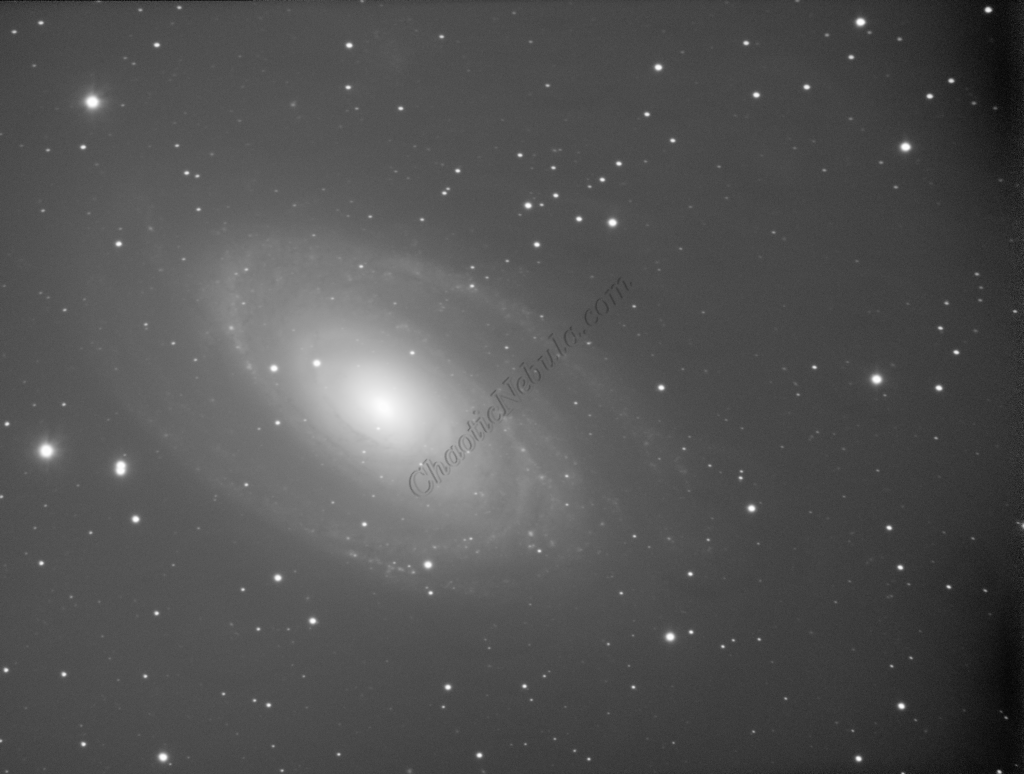
Integrated Image
I started off with three images for red, green, and blue filters. I did my normal integration process using the PixInsight Weighted Batch Preprocessing Script.
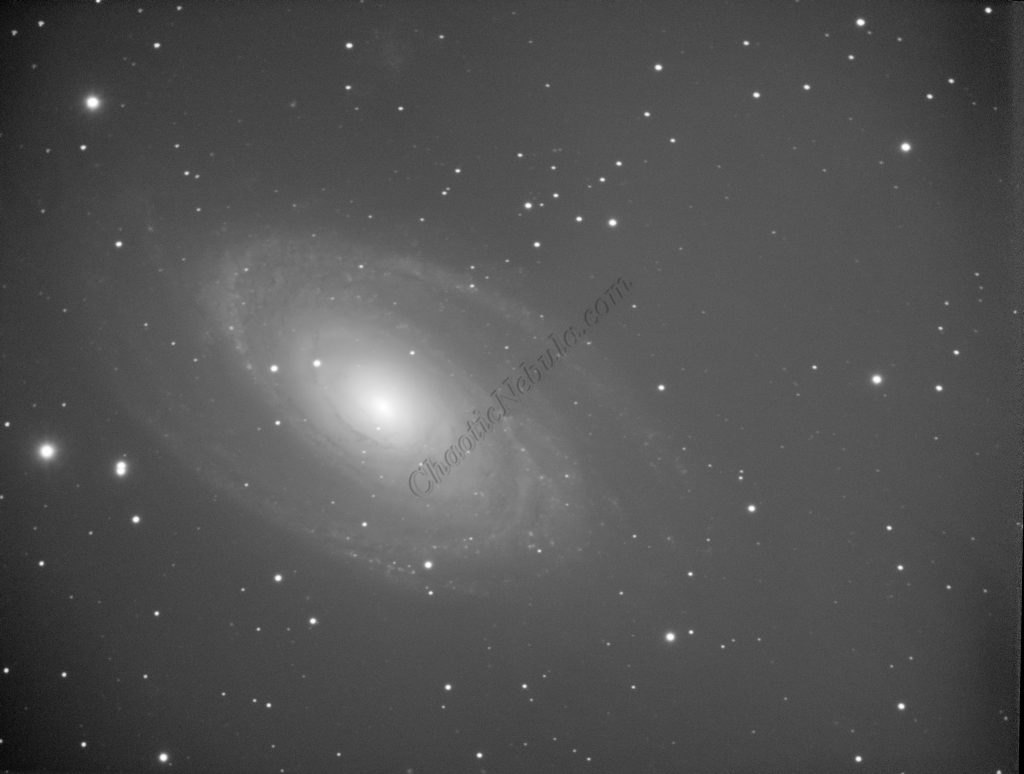
Gradient Correction
The Gradient Correction process made it easy to remove the extreme darkness/brightness around the edges.
Deconvolution
BlurXTerminator is applied two times. The first time is for Correction only. This takes care of the coma (blurring of stars along the edges).
The second application of BlurXTerminator handles deconvolution, which improves the sharpness and details of the nebula while removing the blur from the image.


Noise Reduction
With the blurring corrected, it is time to do noise reduction. This time I used the new NoiseXTerminator add on.
Channel Combination for RGB+HA
The next step is to do a Linear Fit across all 4 channels.
The hydrogen-alpha image was integrated into the RGB image in order to enhance the red channel. This use the Narrowband Integration (LRGB+HA) process of Pixel Replacement Multiplier with a strength of 0.25.
In addition, once the color image was created, the luminance channel was extracted to be used for the luminance workflow.
Histogram Stretch
I used histogram transformation to stretch the image. Although the image appears dark, the entire image will get brighter when the synthetic luminance is added.
Color Saturation
PixInsight Curves Transformation increased the overall color saturation.
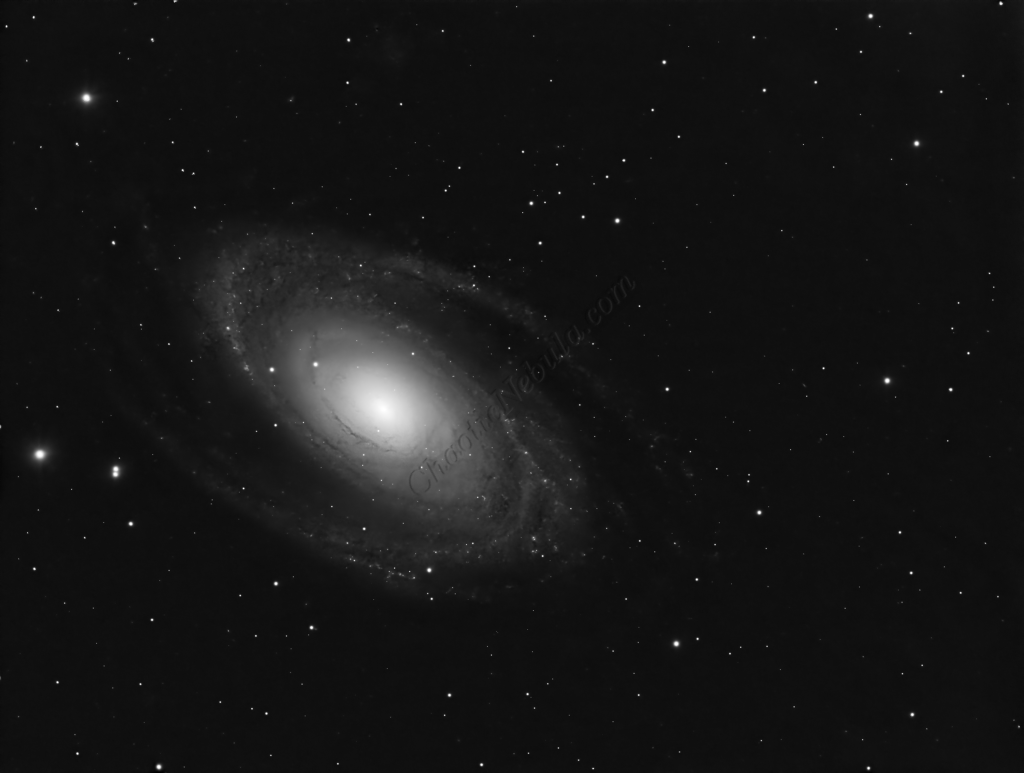
Luminance Workflow
Before doing anything more to the color image, it is time to go through the Luminance Workflow.
Because the stars were not removed from the image, the stretching to non-linear did the initial stretch by using masked stretch with exponential transformation. This helped reduce the impact a stretch would have on bloating the stars. Once complete, histogram transformation was used to complete the stretch.
To learn more about this approach, review the Image Stretching Techniques for Better Astrophotos tutorial.


Luminance Integration (LRGB)
With the luminance image processed, it can get integrated with the color image with LRGB Combination process. This used 45% for lightness and 35% for saturation.
Saturation
PixInsight Curves Transformation increased the overall color saturation.
Brightness
PixInsight Curves Transformation increased the overall brightness.
ACDNR for Chrominance
Although NoiseXTerminator did a great job in removing the noise from the image early on in the workflow, some of the processing might have added noise in the color. Applying ACDNR for only chrominance helps correct this without losing details.
Stars
Even though the stars were never removed, Curves Transformation was used to increase the brightness and saturation of the stars.