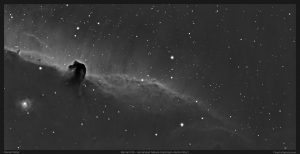
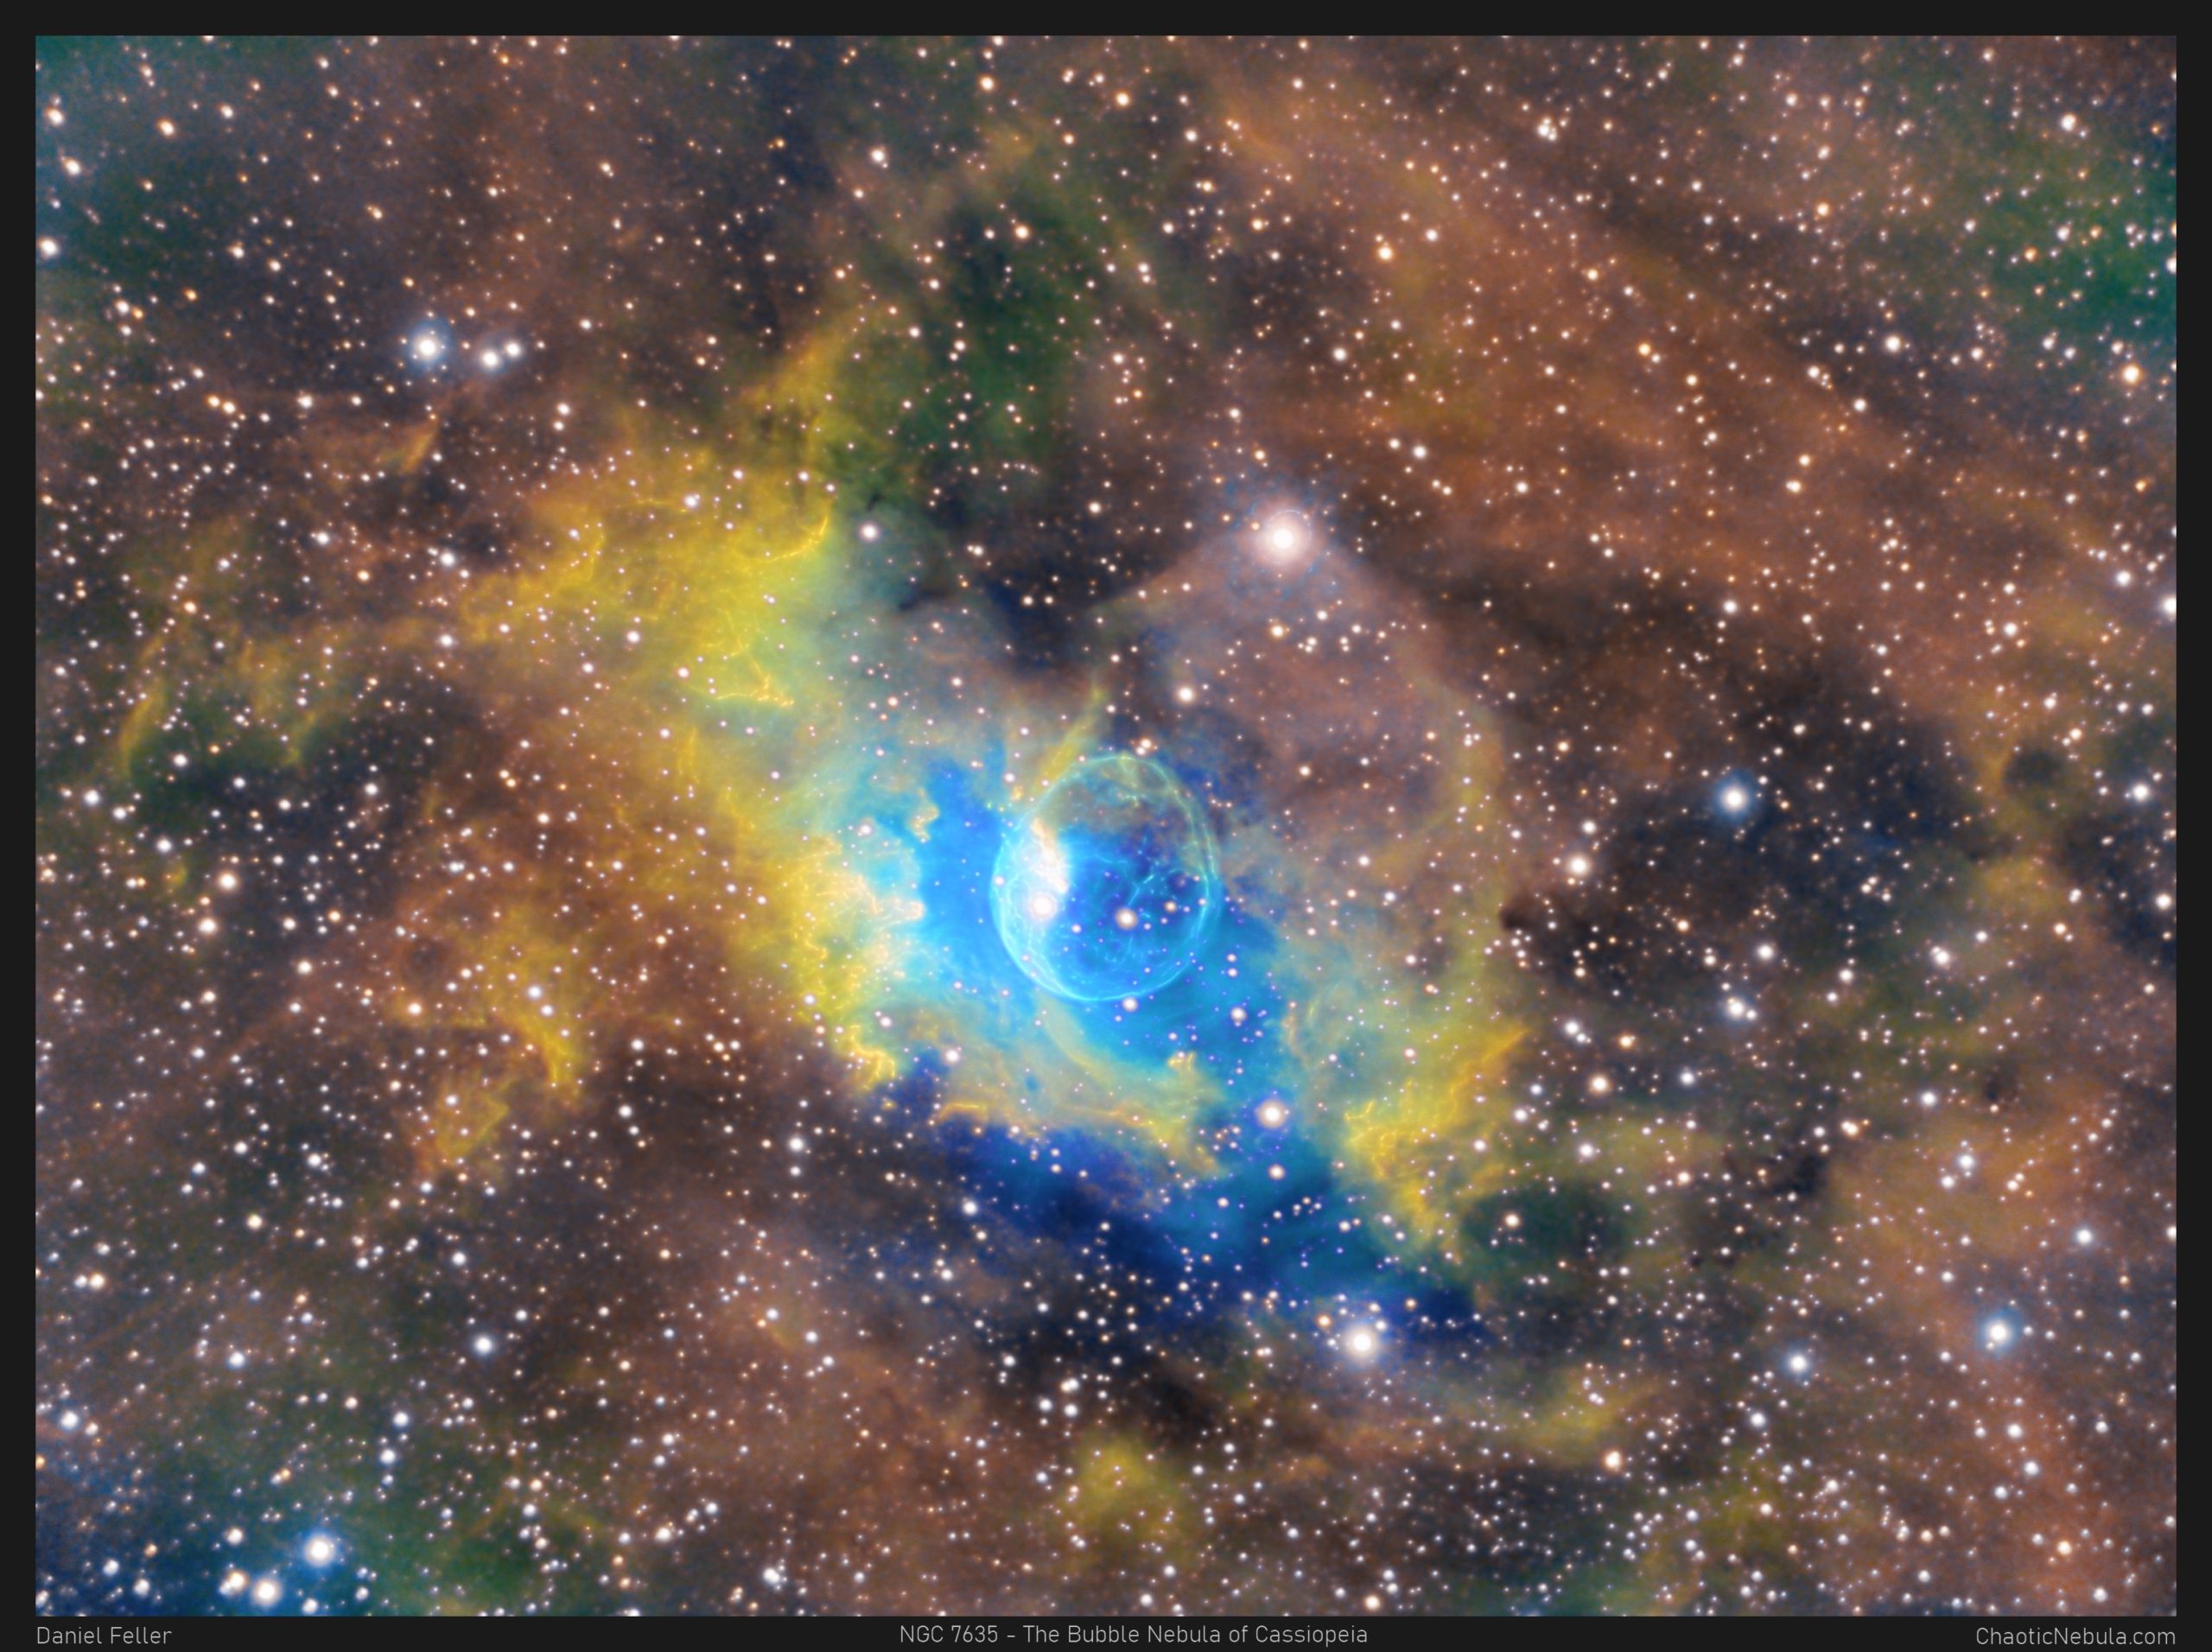
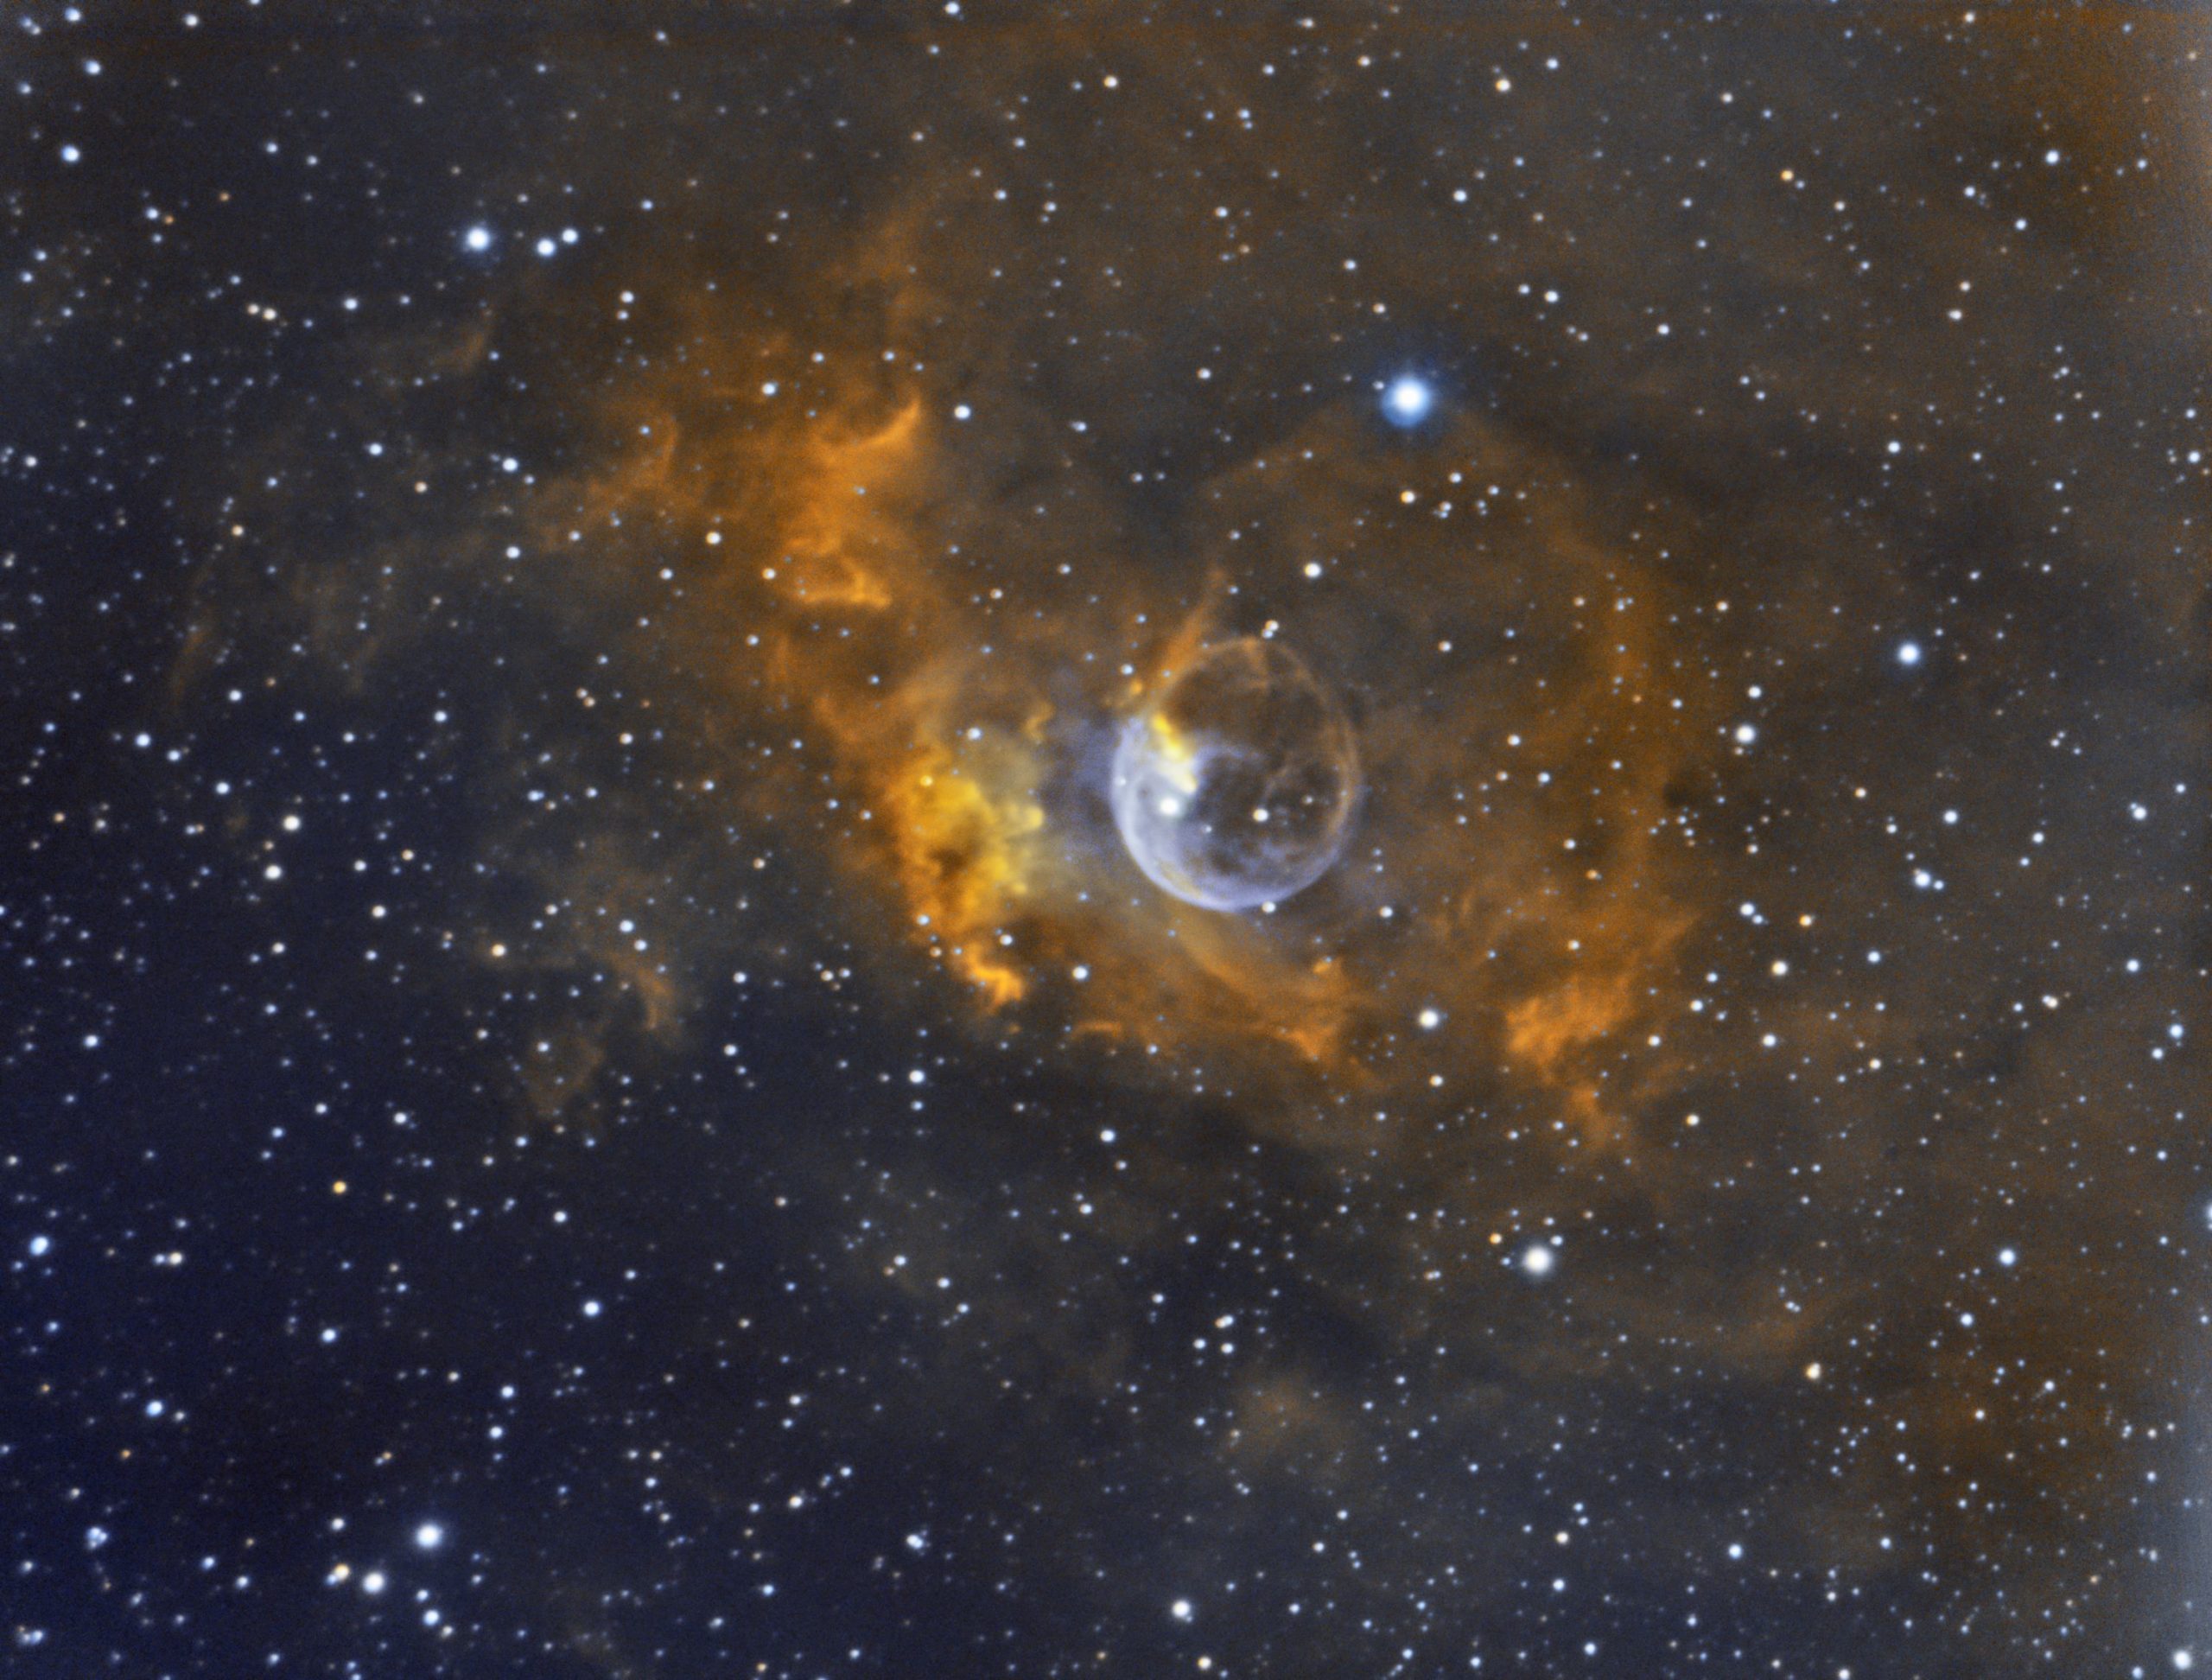
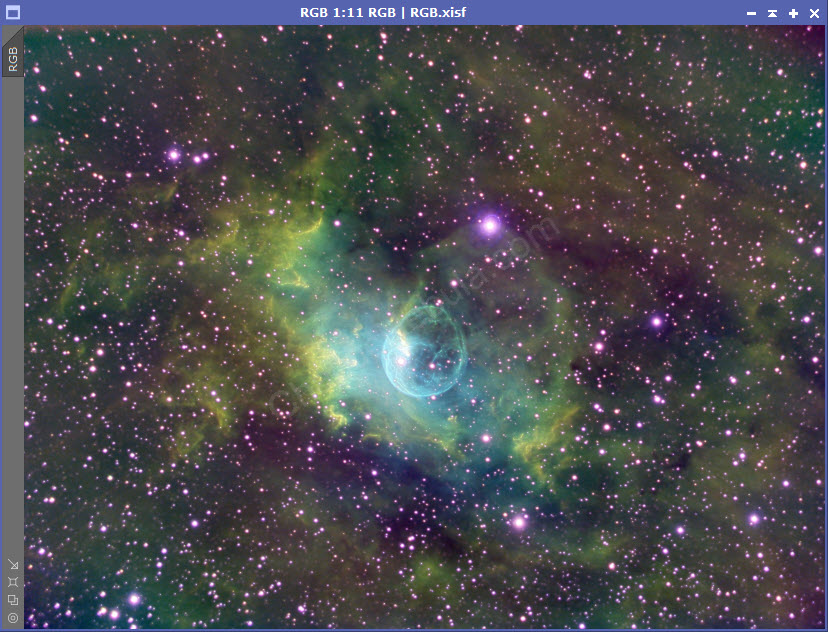
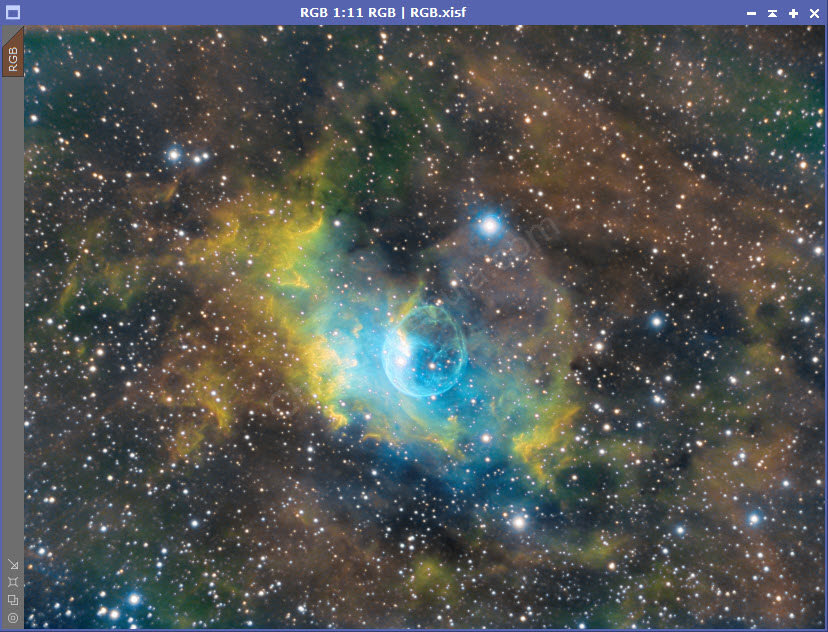
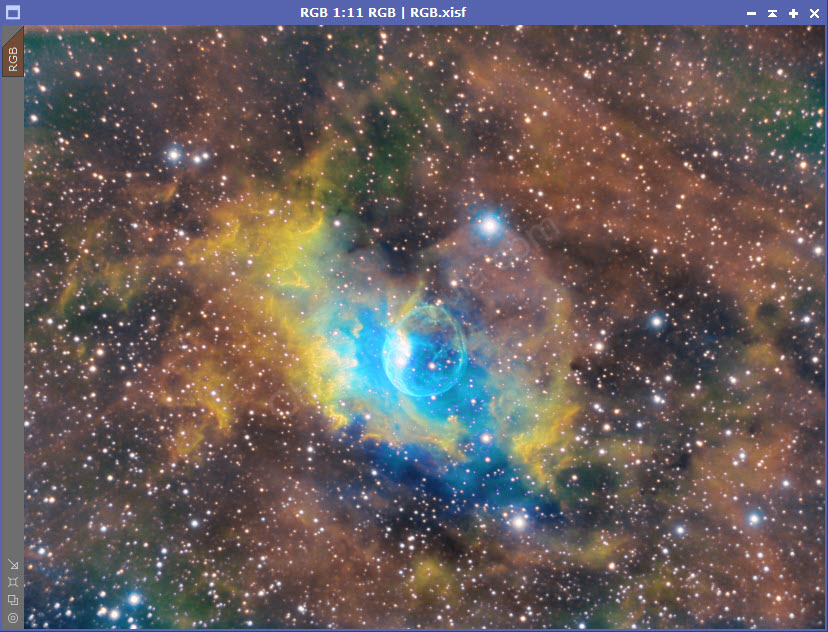
I always like to see how much imagination you need to have to see how the name of a nebula aligns with what we see in the image. We’ve had the Elephant Trunk nebula, the Heart nebula, the Horsehead nebula, and Thor’s Helmet. Some are easier to see than others. But now we get to NGC 7635 – The Bubble Nebula. This is one of the easiest things to see.
The first question is, what caused the bubble? To the left of the center of the bubble is a large, bright star. It is thousands of times brighter than our sun and 45 times more massive. The winds and radiation coming off of this star is blowing gas and other dense material away, creating the bubble shape.
The second question is how big is the bubble? How about 7 light years across. It takes 7 years for light to travel the width of the bubble.
And finally, how far away is this bubble? Somewhere between 7,100 and 11,000 light years away.
Imaging Details
- Processing Workflow: Narrowband
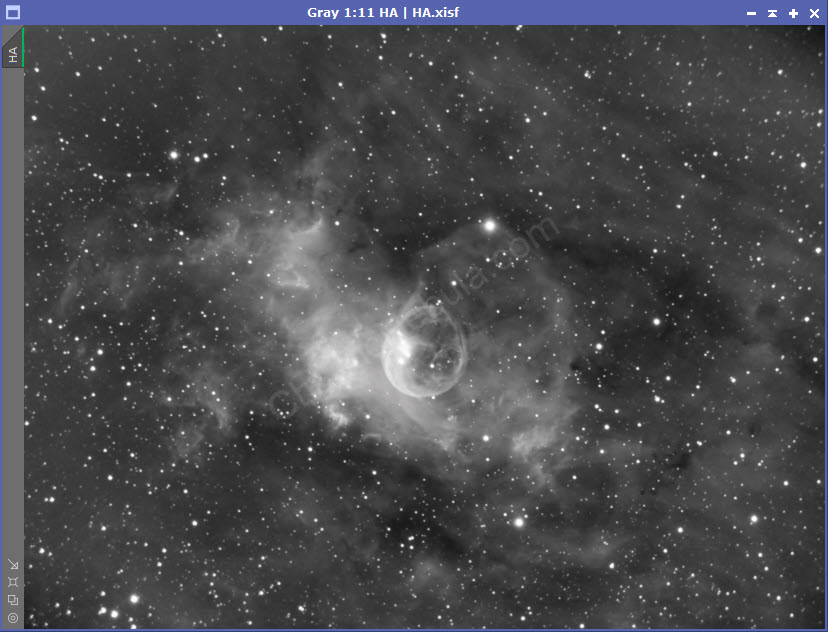
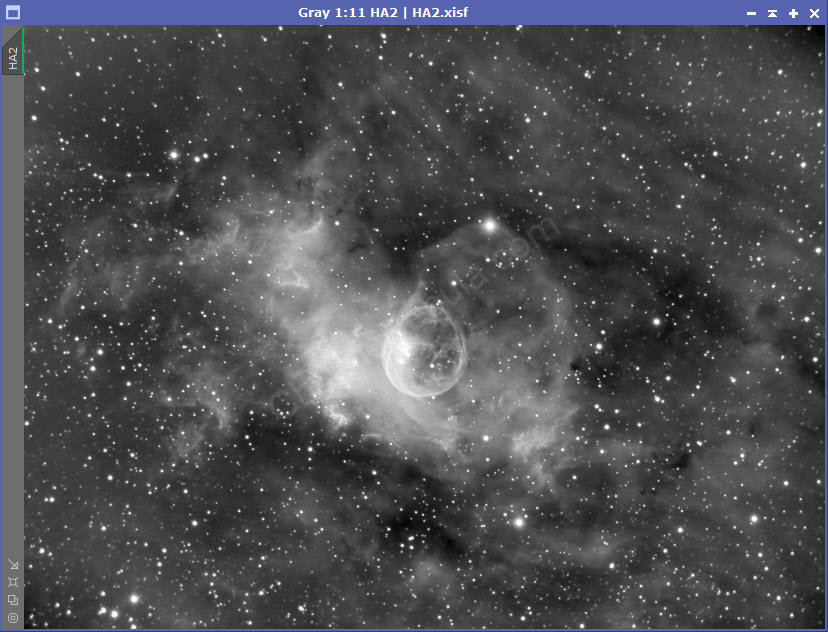
- HA: 60*600 seconds
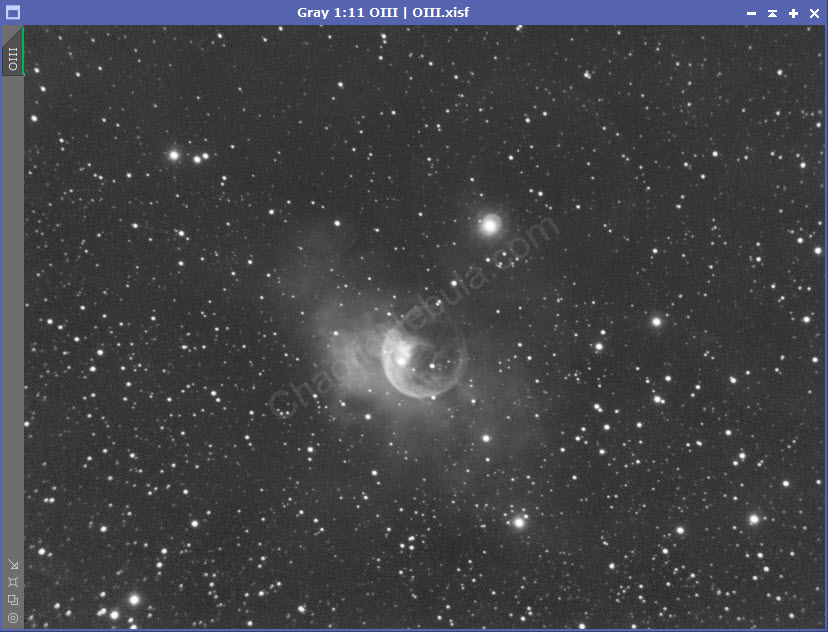
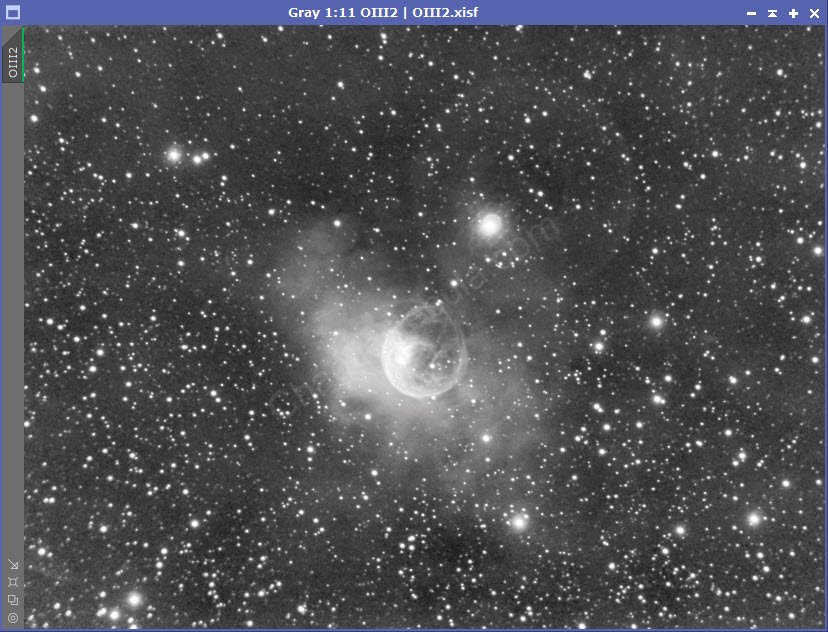
- OIII: 60*600 seconds
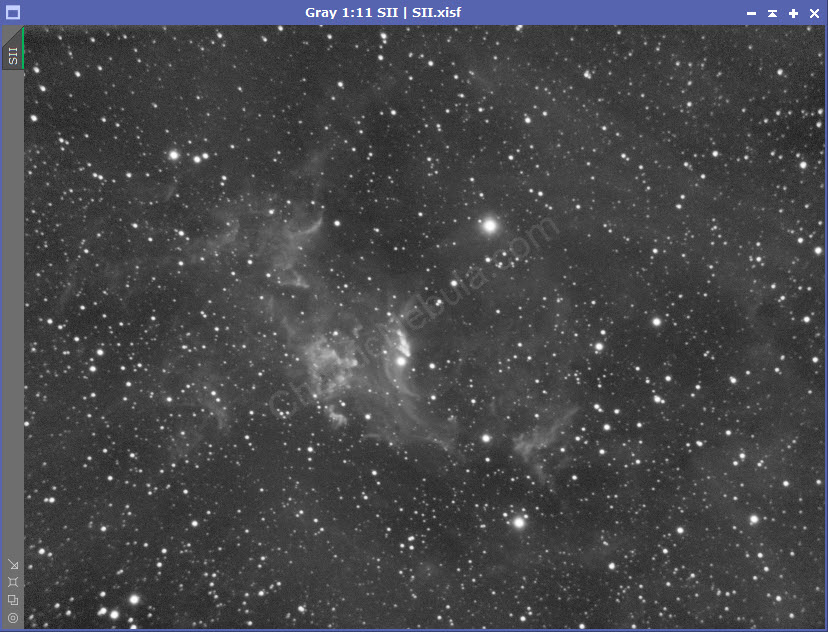
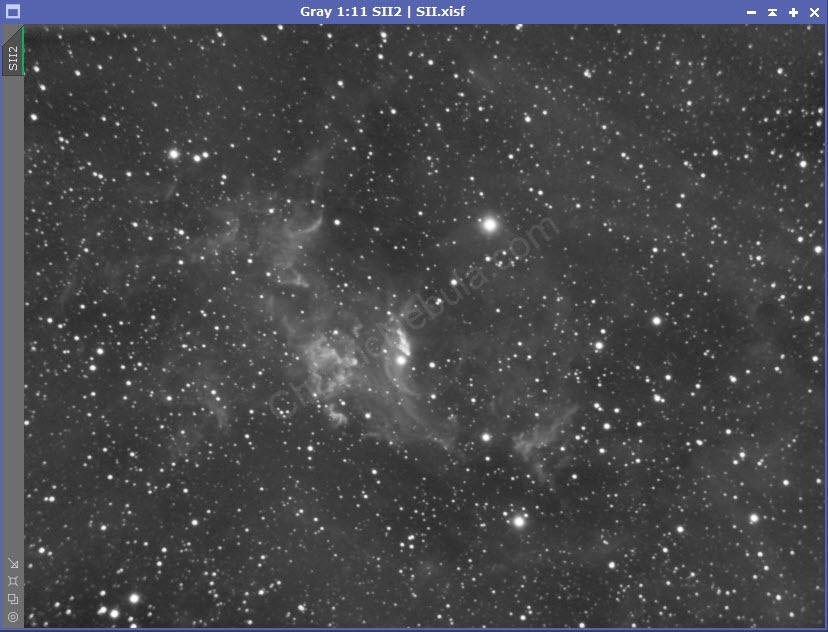
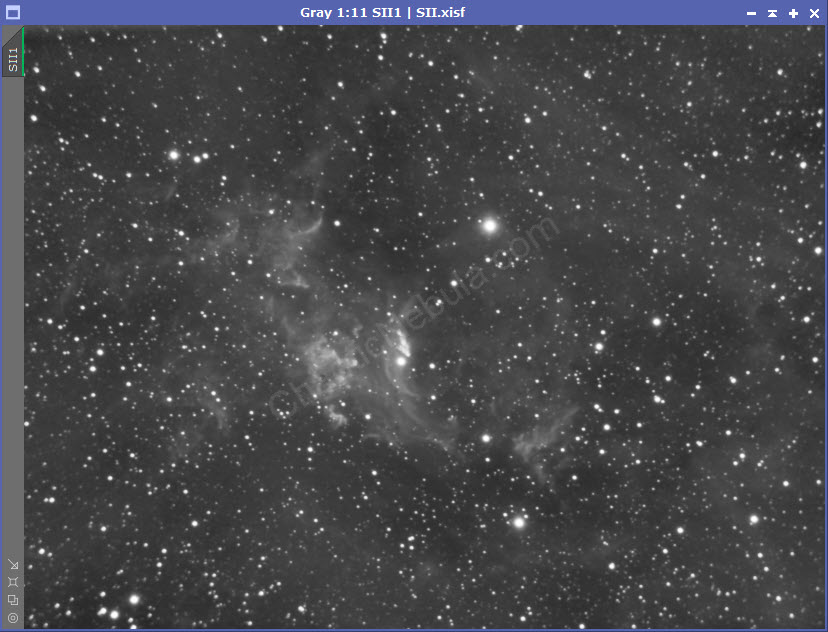
- SII: 60*600 seconds
- Total Imaging Time: 30 hours
- Imaging Dates (6 nights):
- 8/31/2022
- 9/1/2022
- 9/5/2022
- 9/21/2022
- 9/25/2022
- 9/26/2022
Imaging Notes
With so many things to image in the night sky, I often don’t want to spend time revisiting old objects. Especially when I’ve already imaged an object twice before. I decided to give this one a go for the 3rd time and it didn’t disappoint.
All three images were taken with the same telescope: Meade LX200 12″ telescope. The drastic improvements were as follows:
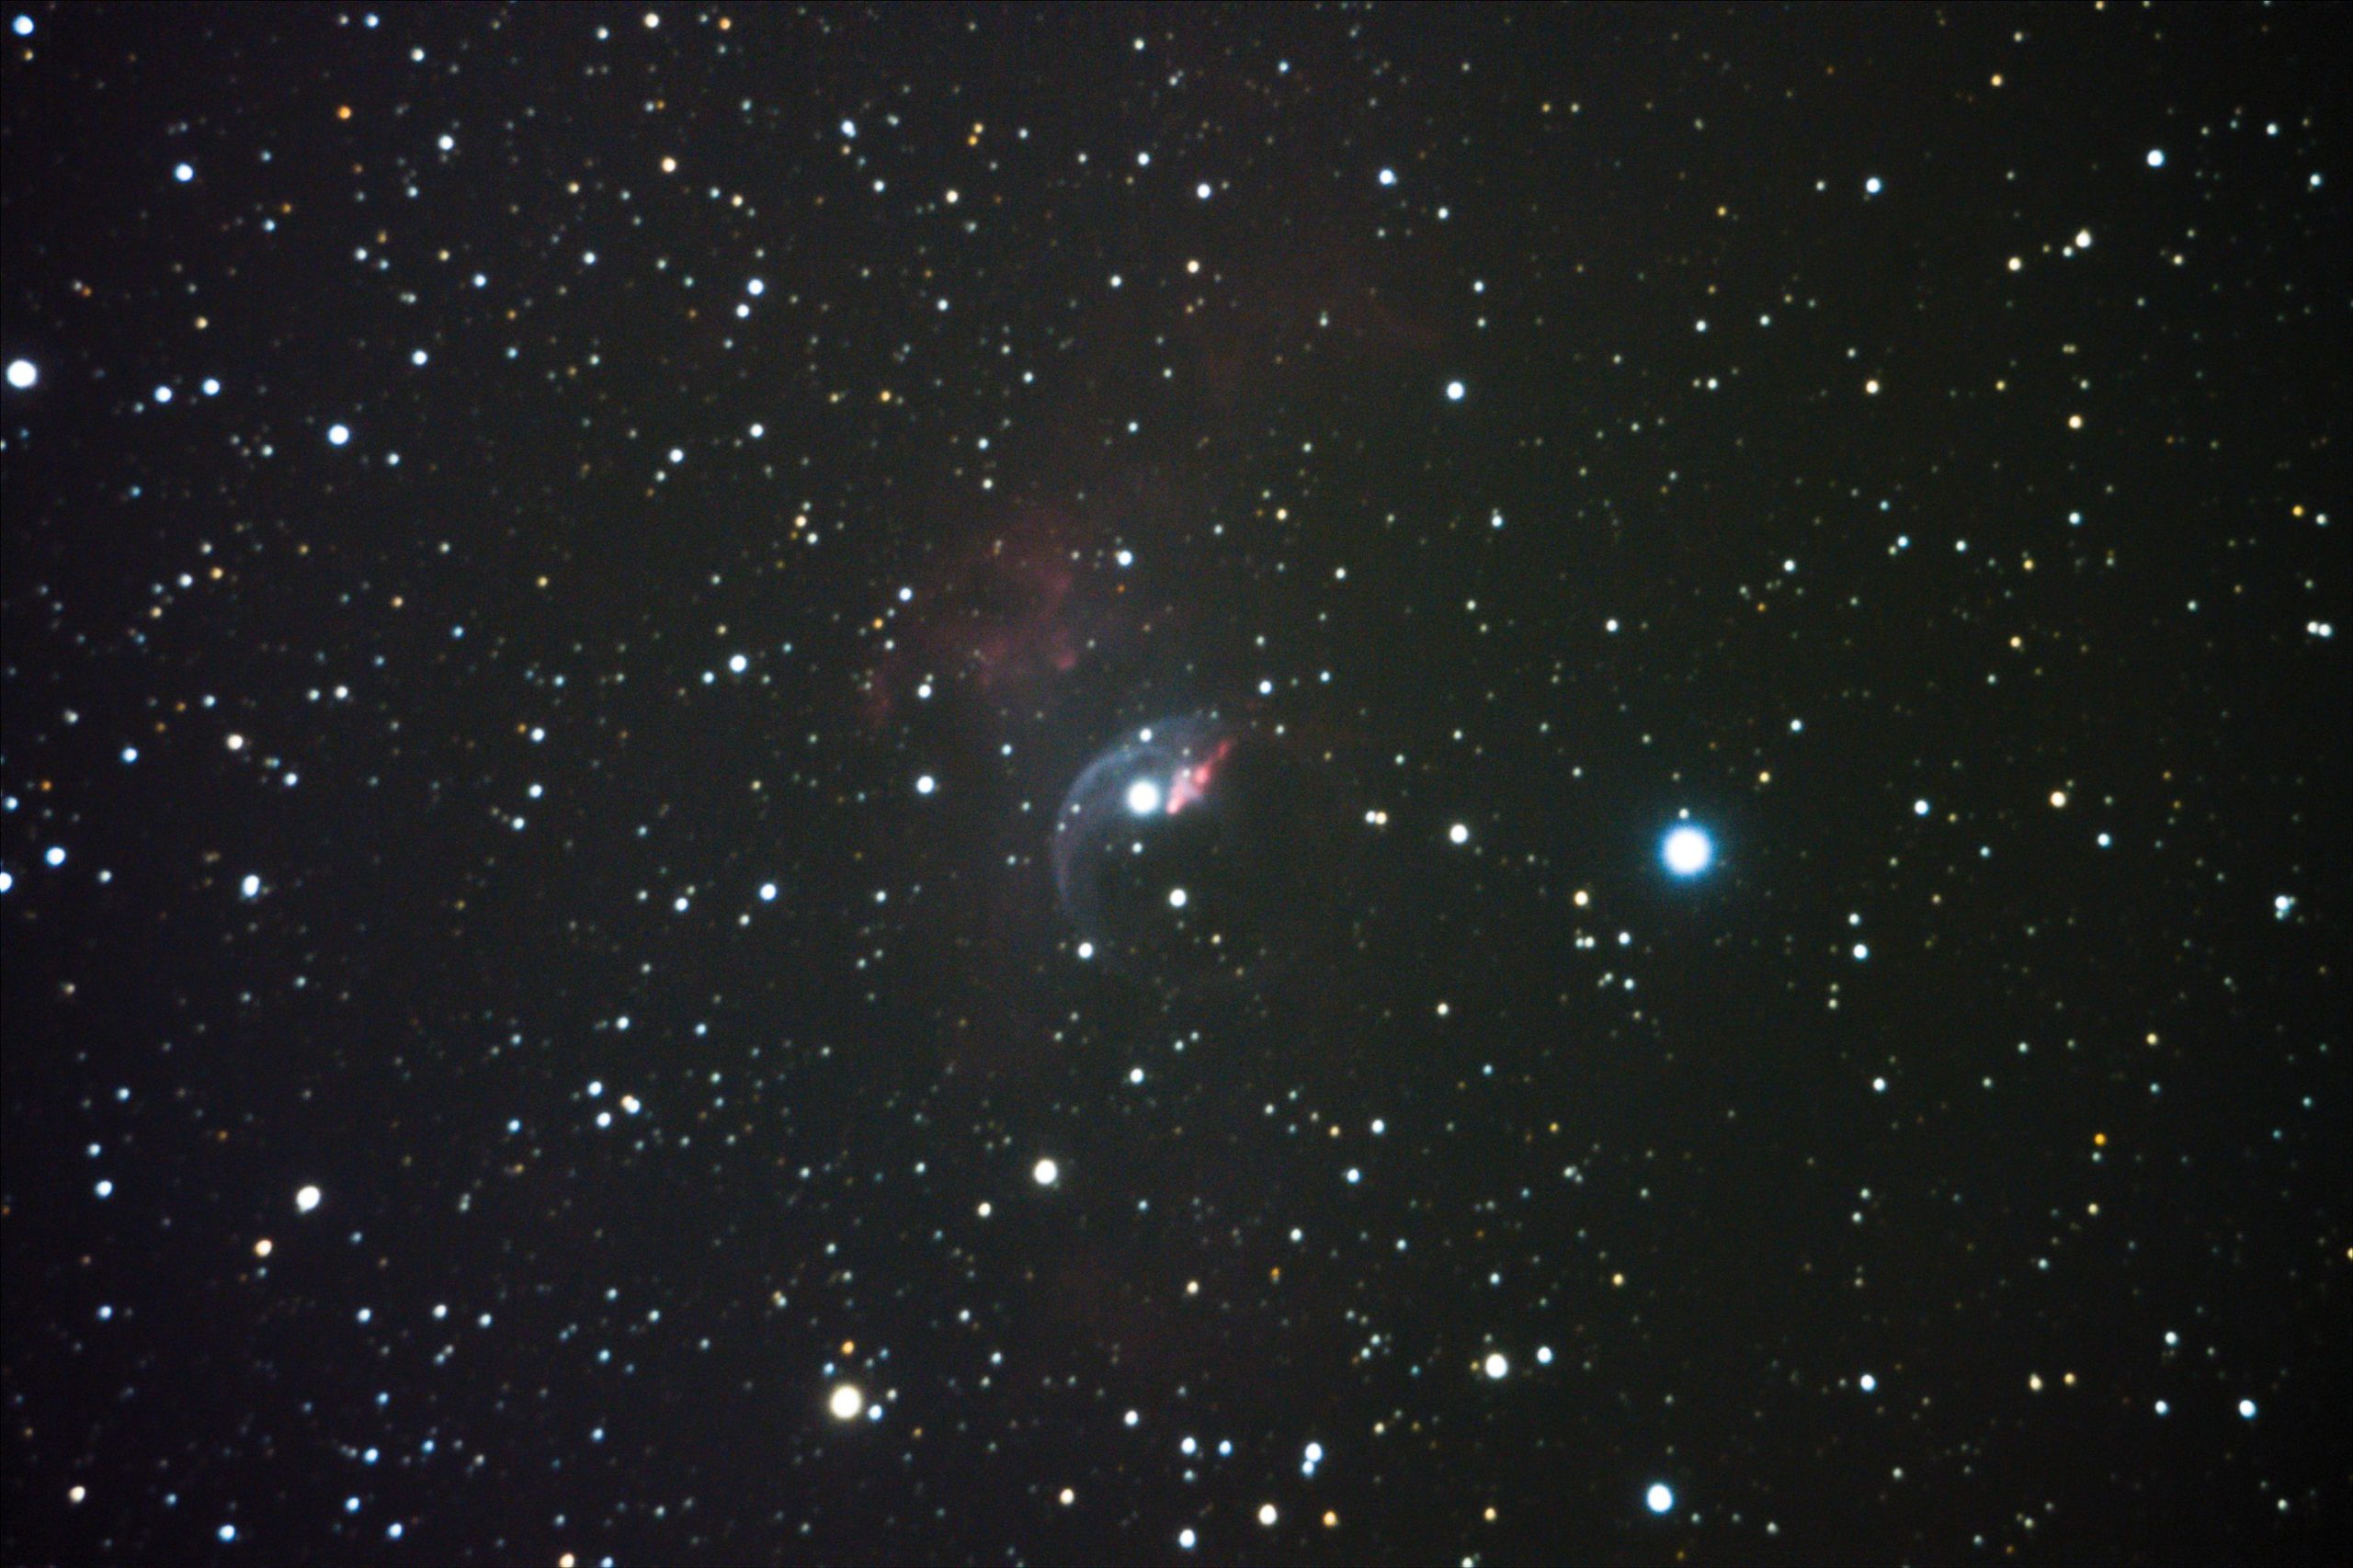
- 2015: This was one of the first astrophotos I imaged. I used an unmodified Canon T1i digital camera connected to the telescope. In total, I had 28 frames, 90 seconds per frame, for a total imaging time of 84 minutes.
- 2018: I upgraded my camera to my current astrophotography camera: ZWO ASI 1600MM. This camera overcame the issues with standard DSLR cameras and the integrated filters.
- 2022: Between 2018 and 2022 I learned a lot and documented my process on this site. This is 30 hours of imaging data with each image being 10 minutes long. This allows for more signal, less noise, and greater details.
Imaging Workflow
This image followed my standard Narrowband workflow very closely. I tried different options along the way, but the overall flow worked well for this object.
Integrated Image
I started off with three really good images for HA, OIII, and SII. I did my normal integration process with drizzle integration, dynamic crop, and dynamic background extraction.

Noise Reduction
I followed my normal noise reduction process, first starting with TGV Denoise. I ran this process twice


The second part of noise reduction was to use multi-scale linear transformation.

Deconvolution
My HA and OIII images had a lot of bright signal areas on the edges of the bubble and in the nebula near the bubble. Running deconvolution should help add sharpness to those areas. I didn’t do this process on the SII image. The signal was too weak to bring out any additional clarity.
If you compare the edges of the bubble before and after deconvolution, you will see some added details.
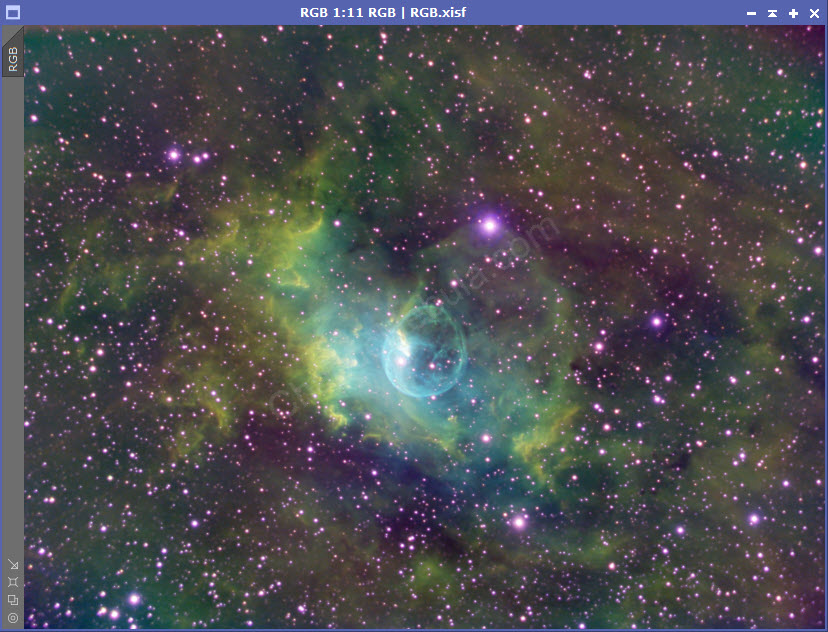
Channel Combination
With the Elephant Trunk Nebula, I did a different channel combination approach. I tried the same approach with this image, but the results were not pleasing.
I opted back to the standard channel combination approach.
Luminance Workflow
Before I stretched the image, I wanted to extract luminance and run the luminance workflow. To achieve this, I simply use channel extraction to generate the luminance channel.
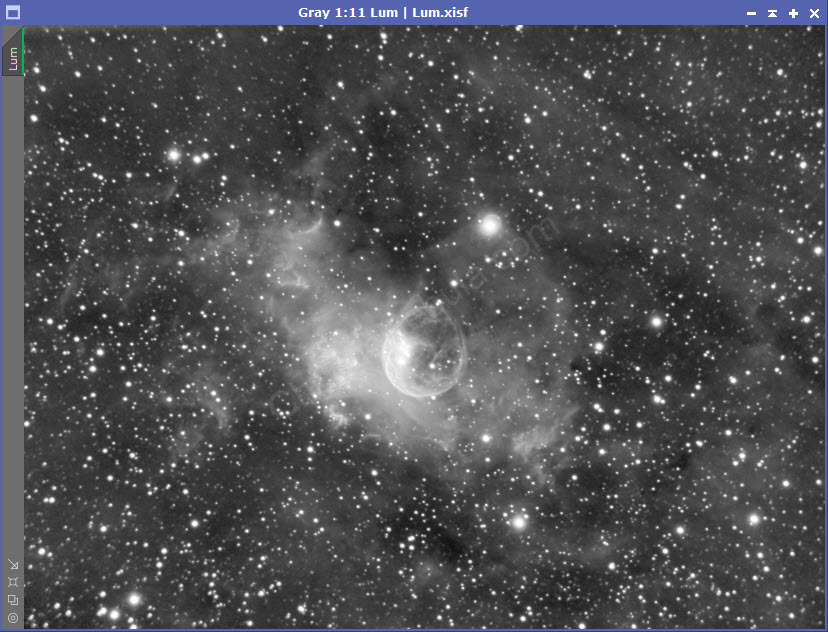
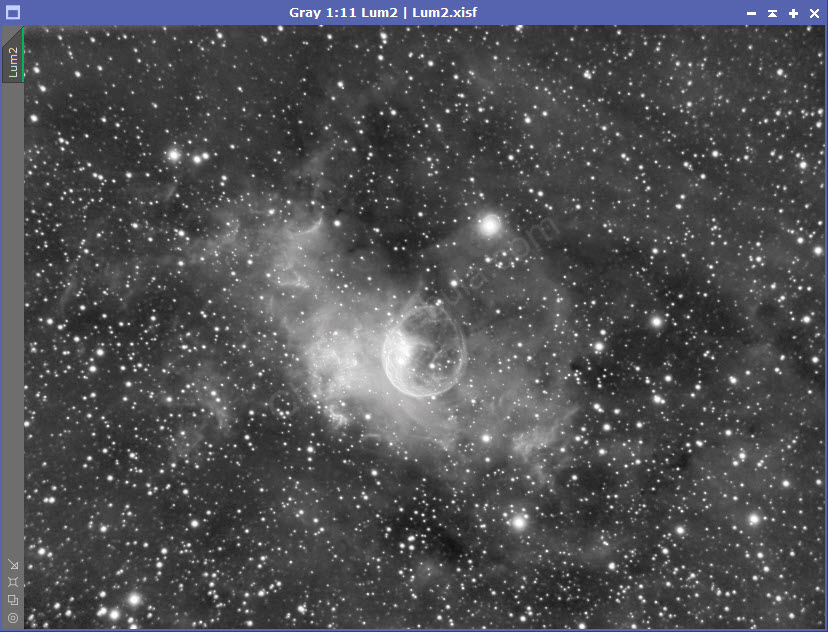

I only opted to do deconvolution and the sharpening sections of this workflow. HDR Transformation didn’t provide much value as there weren’t wide ranges in the brightness/darkness of the image. I also skipped Dark Structure Enhance because there aren’t many prominent dark structurers in the image.
I then integrated the luminance with my RGB image using channel combination.
Color Saturation
Once luminance is integrated, I used Curves Transformation to increase the overall color saturation.


Curves Transformation
The image still has too much green tint for my liking. I now use curves transformation to change/enhance the color. Before doing this, I need to create a mask to protect the stars.
I first needed a mask to protect the darker areas and the stars
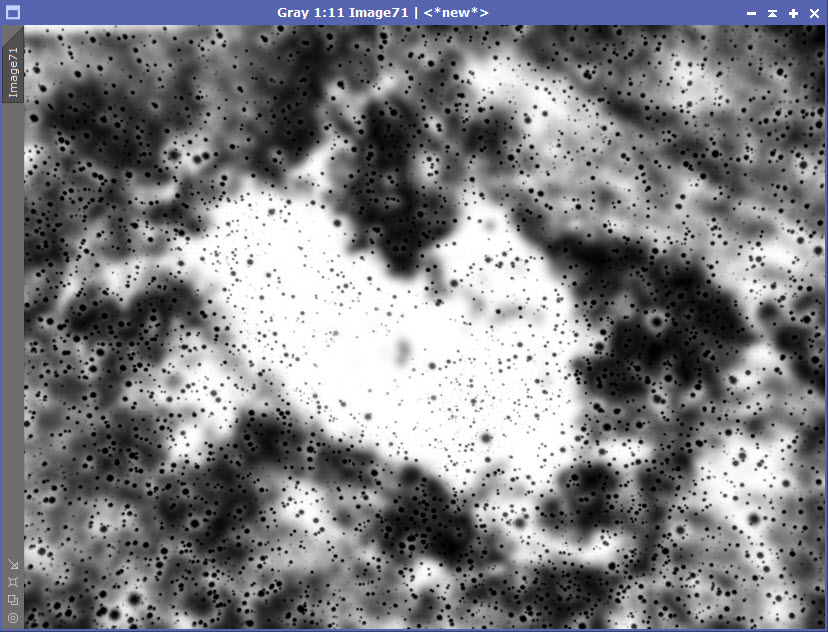
- Use my original luminance image to create a star mask, using StarNet.
- Extract luminance from the current RGB image
- Use Histogram Transformation to clip shadows.
- Use PixelMath to subtract the star mask from the clipped luminance image.
- Apply the mask to the RGB image.
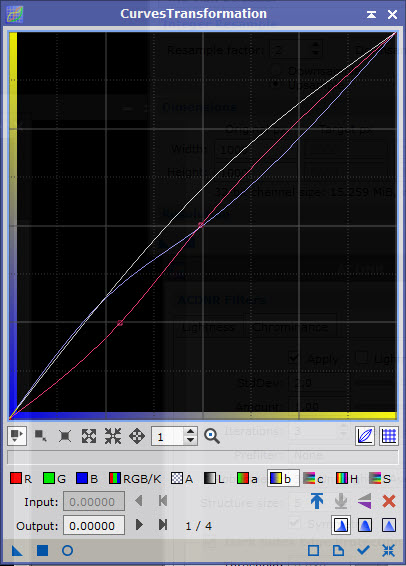
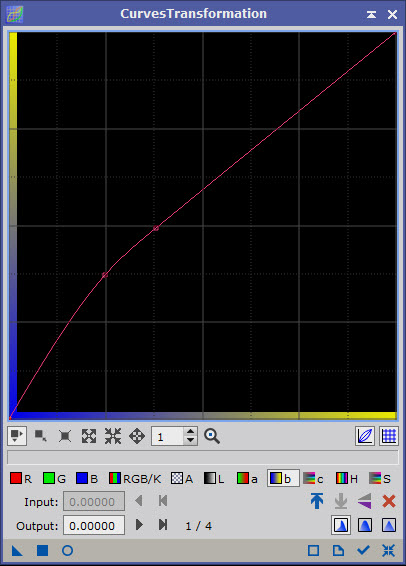
To enhance the color, I did the following:
- Increased the lightness (white line)
- Brightened darker blue areas (blue line)
- Brightened brighter red areas (red line)
Brightness Adjustment
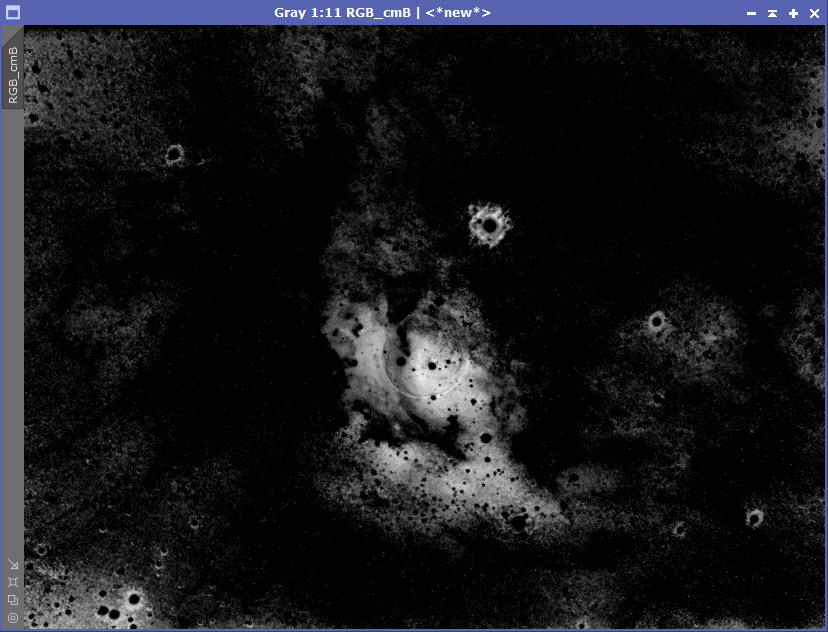
The blue bubble area was a little dim. I wanted to increase the brightness. I first created a mask to only focus on the bright bubble core.
Once applied to the image, I increased the red and RGB curves lines slightly.
Blue Saturation
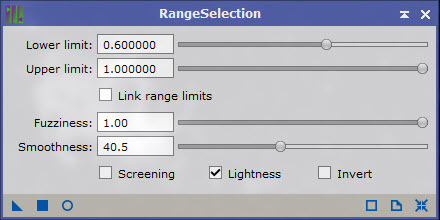
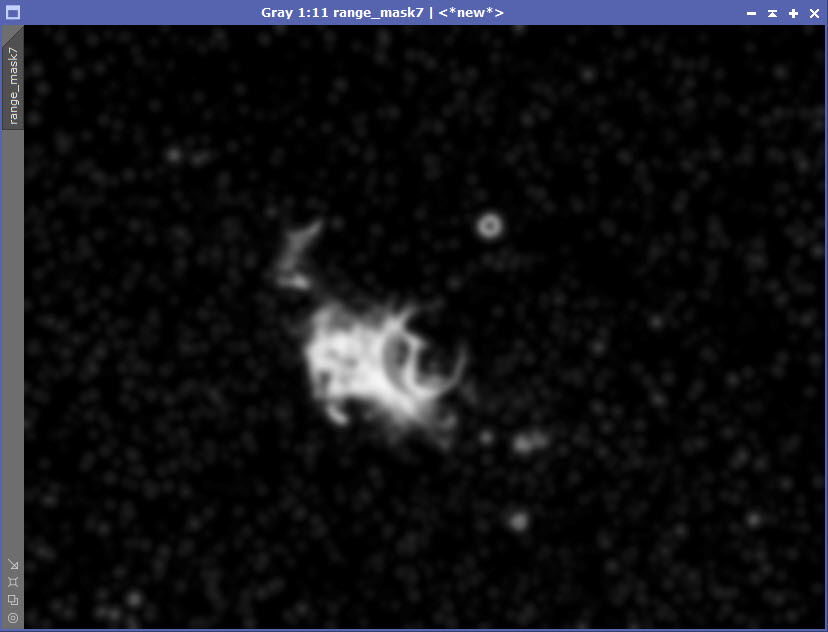
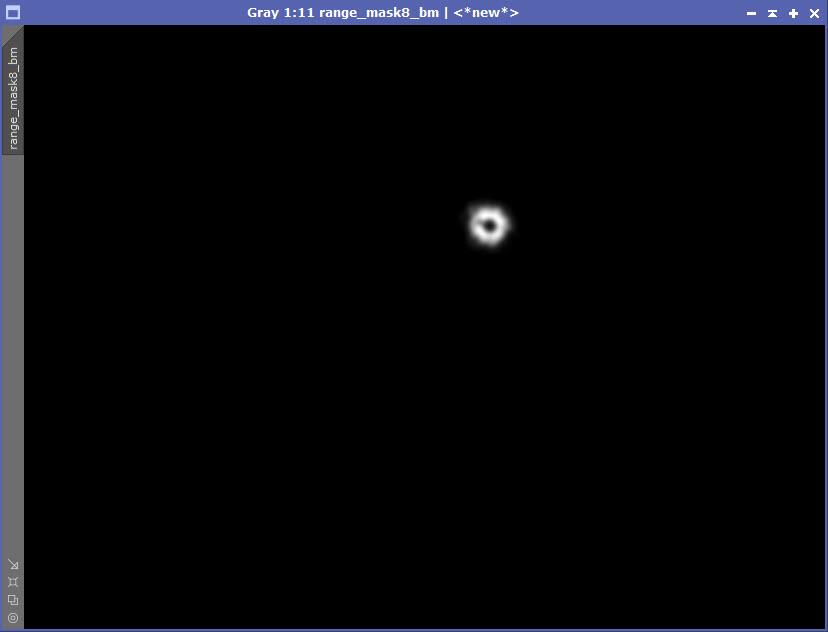
Overall, the central area could use a more pronounced blue color. It took me 3 steps to create thr right color mask
- I used the Color Mask script to create a mask for the blue color.
- I used Multiscale Linear Transformation to remove details from the first 5 layers. This blurs the mask
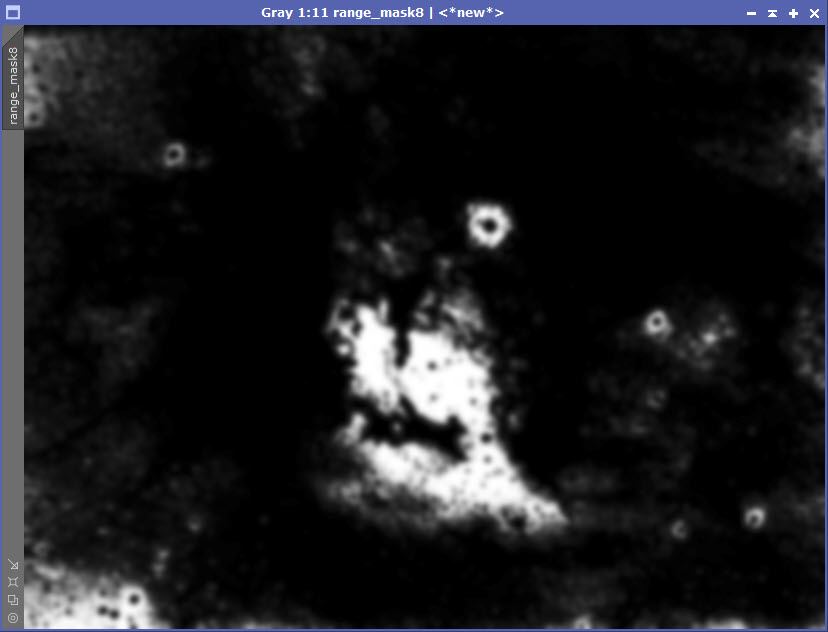
- I used range mask to create the final mask
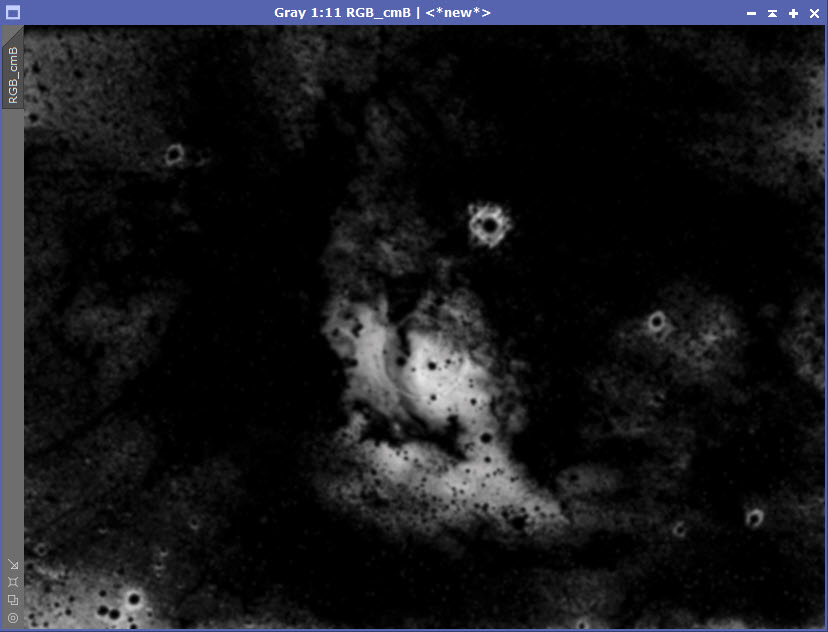
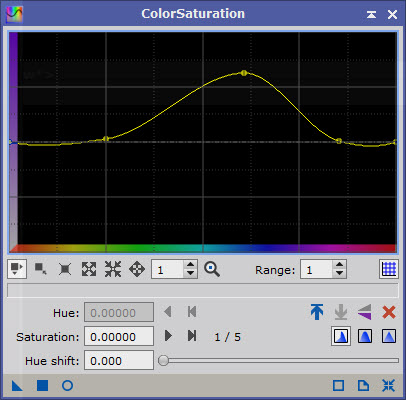
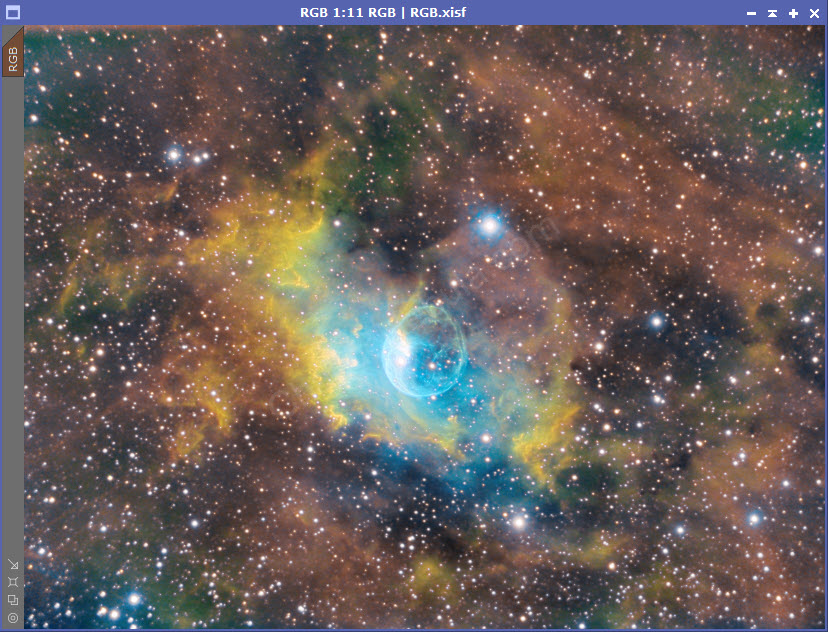
Once applied to the image, I used the Color Saturation tool to increase the blue area.

Noise Reduction
Now that the image is done, I run one last noise reduction with ACDNR.
Desaturate Star
The bright star to the top right of the bubble has some interference patterns from my camera that I’m not happy with.
I use the GAME script to draw a circle around the star area. This creates a brightness mask that I apply to the image.
Using Curves Transformation, I brighten the red color channel in the darker areas of the graph. By brightening the red channel, the color will change without making the entire area darker.
This corrects that flaw in the image.