Deconvolution improves the clarity in high-signal areas of the image by reversing the effects of blurring introduced during the image acquisition process. The primary goals are to recover fine details, improve spatial resolution, and enhance overall image clarity. It should be done in the linear stage of image processing.
Tip: Install the DeLinear script from Herbert Walter Astrophotography (skypixels.at) In the linear processing stage, we often need to create a clone then apply a permanent histogram stretch. The Delinear script does the stretch automatically.
Deconvolution Overview
During the image acquisition process, various factors, such as atmospheric turbulence, optical imperfections, and tracking errors, can lead to a loss of sharpness in the recorded images. The blurring effect is often characterized by a mathematical function known as the Point Spread Function (PSF), which describes how a point source of light is spread out in the image.
Deconvolution algorithms in PixInsight aim to reverse the blurring effects by applying an inverse operation to the image.
The process requires a PSF model. The PSF model represents the expected blurring characteristics of the image. It is essential to provide an accurate PSF for effective deconvolution. This means the PSF model is based on a linear image (one that has not been stretched).
Deconvolution is an iterative process. During each iteration, the algorithm refines the image by comparing it with the estimated PSF. The process is repeated for a defined number of iterations or until convergence is achieved.
To prevent the amplification of noise during the process, regularization techniques are often employed. Regularization helps balance the trade-off between recovering fine details and suppressing noise.
Masking is frequently used to restrict the application of the process to specific regions of the image. This is particularly useful in avoiding amplification of noise in smooth areas.
Deconvolution is a complex process that requires careful consideration of parameters, PSF accuracy, and the characteristics of the image. When applied appropriately, it can significantly improve the quality of astrophotography images, revealing finer details and sharpening overall features. However, it should be used judiciously, and the impact on noise levels must be carefully monitored during processing.
Tips
- If you intend to remove the stars from your image, you want to make sure you run deconvolution AFTER your star removal process. See the Star Removal and Deconvolution analysis detailing why this is important.
- You can often further enhance the details by running deconvolution twice. However, you will want to only apply half as many iterations during the second application. Plus, you will most likely need to adjust the Global Dark setting in the Deringing section. The first round improved the clarity of the image. But when you compare it with the second round, the image becomes even more crisp.

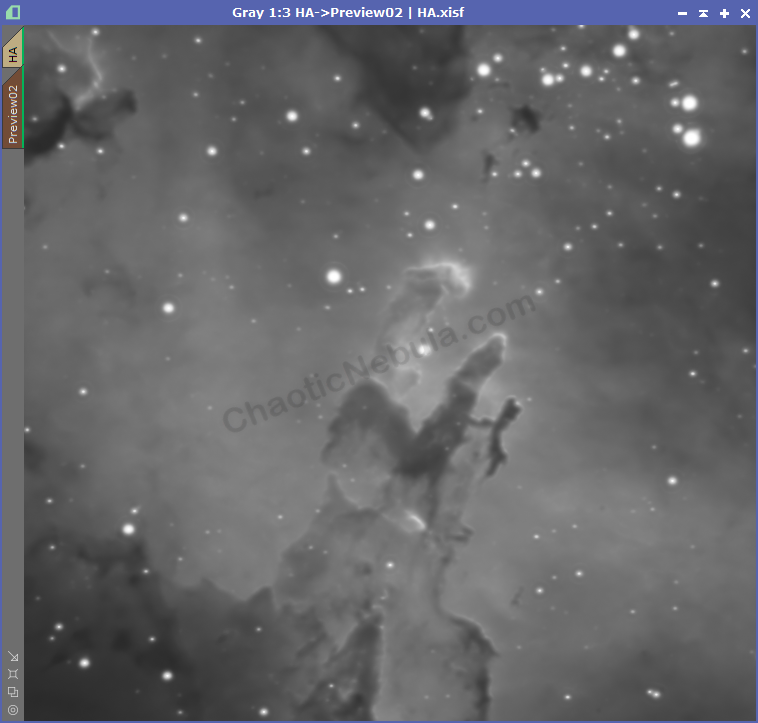
(75 iterations)
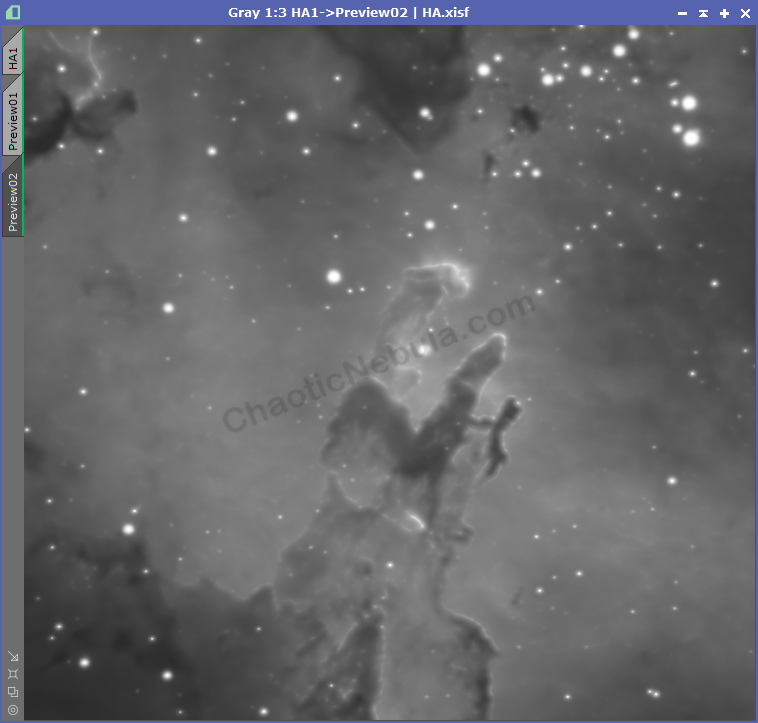
(10 iterations)
Star Mask Creation
Deconvolution tries to enhance fine details in an image, but when applied to stars, it can amplify noise and introduce artifacts. However, if you removed your stars from the image, a star mask is not required.
If your didn’t remove the stars, you need to protect the star field by creating a star mask.
Automated Star Mask Creation
The easiest way to create a star mask is to leverage Starnet. Use the following tutorial to Create a Star Mask with StarNet. Once the star mask is created, apply the DeLinear script, which does a permanent stretch to the star mask.
Manual Star Mask Creation
If you can’t get Starnet to work correctly, you must create a star mask manually. For deconvolution, you don’t need the mask to capture every star, only the brightest ones. Use the following tutorial to Create a Star Mask Manually. Once the star mask is created, apply the DeLinear script, which does a permanent stretch to the star mask.
Create a PSF Image
The blurring effect within an image is often characterized by a mathematical function known as the Point Spread Function (PSF), which describes how a point source of light is spread out in the image. The point light sources are your stars, which should be circular.
To be effective, deconvolution requires an accurate PSF model showing the blurring characteristics within the image. To be accurate, the PSF creation process should use a linear image (one that has not been stretched). When an image is stretched, the PSF characteristics are no longer accurate, resulting in a poor deconvolution result.
If you are applying deconvolution to a starless image, you still must generate your PSF image from your workflow right before you removed the stars.
Use the following guide to show you how to Create a PSF Model using either either an automated or manual method.
Signal Mask Creation
You also need to create a signal mask so you can focus your deconvolution process on the high signal areas of your images. To create the mask, do the following:
- Duplicate the image
- Apply the DeLinear script – this does a permanent stretch to the cloned image
- Launch Histogram Transformation and move the left slider to the right so the peak of the cloned image is at 0%
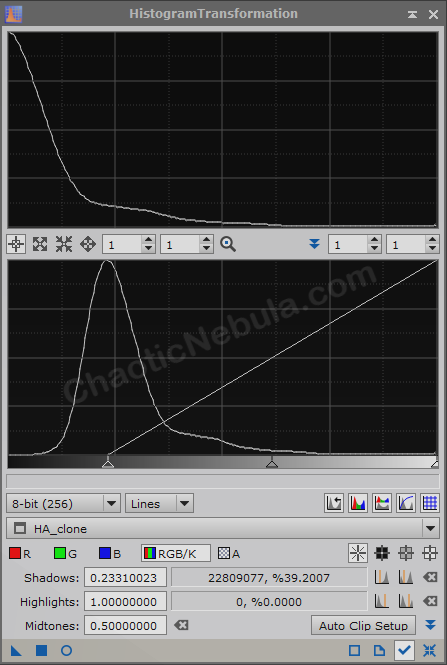
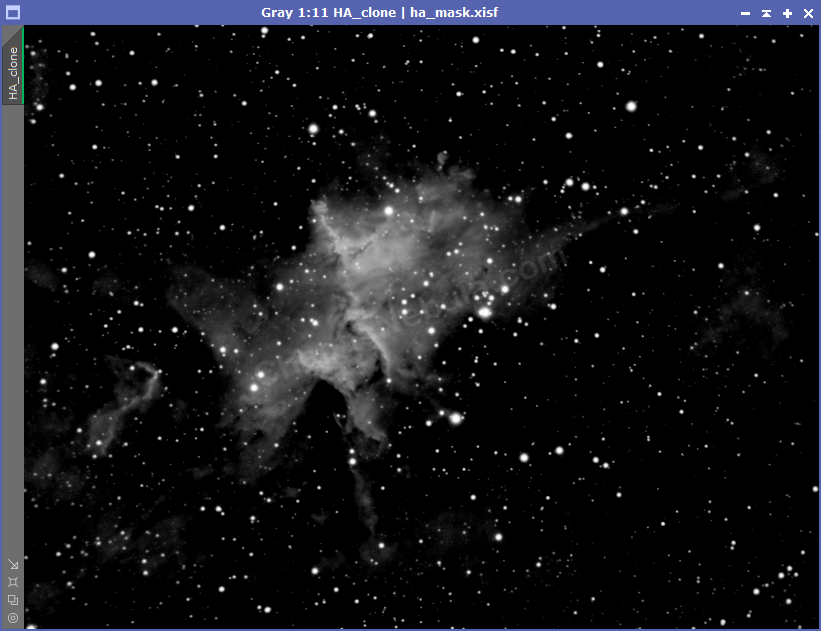
This will make a very dark image as only the brightest areas will remain. Apply the mask to the master image.
Deconvolution Settings
With the PSF image, signal mask, and star mask created, it is time to setup deconvolution.
- Apply the signal mask to the image, making sure it protects the background and not the high signal areas.
- Create multiple preview windows on your image containing high signal areas, and transitions between high signal areas and background. Keep the preview windows small so the tests go faster.
- Launch the Deconvolution process
- Select External PSF and select the generated PSF file
- Algorithm:
- Algorithm: Leave the algorithm to Regularized Richardson-Lucy.
- Iterations: To start, have iterations between 10-20. More iterations takes longer to process. You are going to do many tests to get the settings correct before increasing the iterations to higher numbers.
- Target: Make sure the target it Luminance since you are still dealing with monochrome
- Enable Deringing:
- Global Dark: This will usually need to be reduced. If this is too low, stars will get dark rings. If it is too high, the process will enhance the noise. Testing will find the right value
- Global Bright: Leave at 0
- Local Deringing: Enable only on images that contain stars.
- Local Support: Select the star mask created for this image
- Local Amount: Typically leave this as-is.
- Wavelet Regularization: Is used to provide noise reduction. The more layers, the larger the pixel size, and the less reduction you want to do
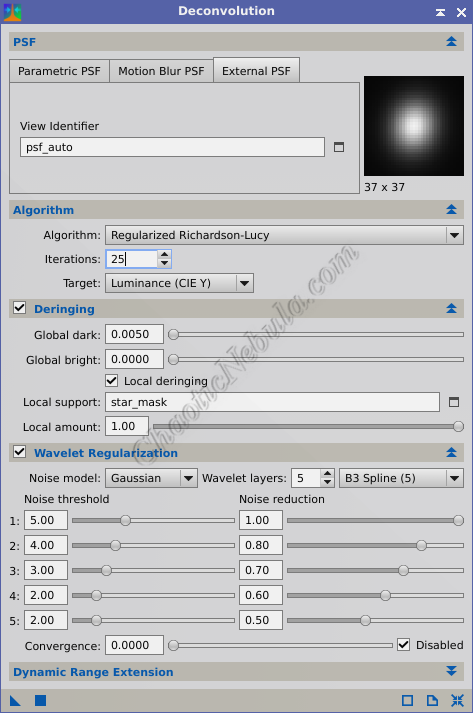
Deconvolution settings for images
with stars

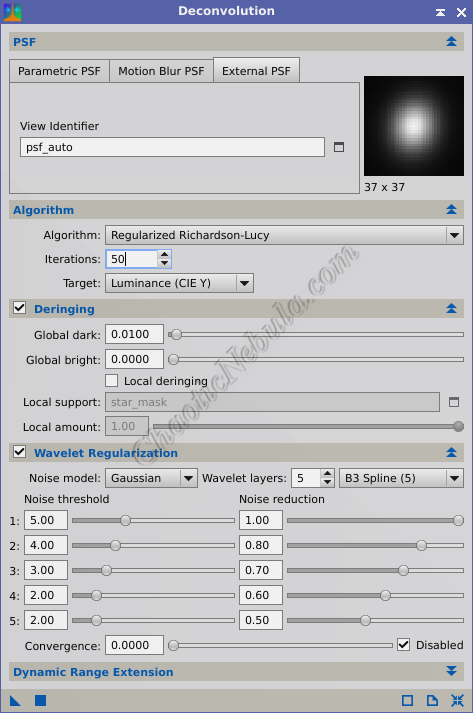
Deconvolution settings for images
without stars

Once you found the right settings, increase Iterations and apply. This will take awhile to run. If you zoom into the high-signal areas more, you can better see the improvement in clarity
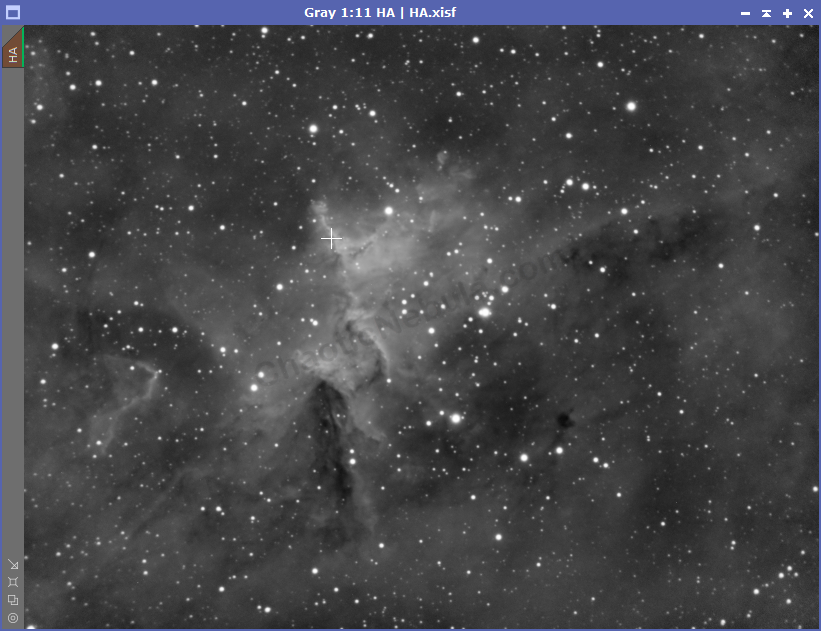


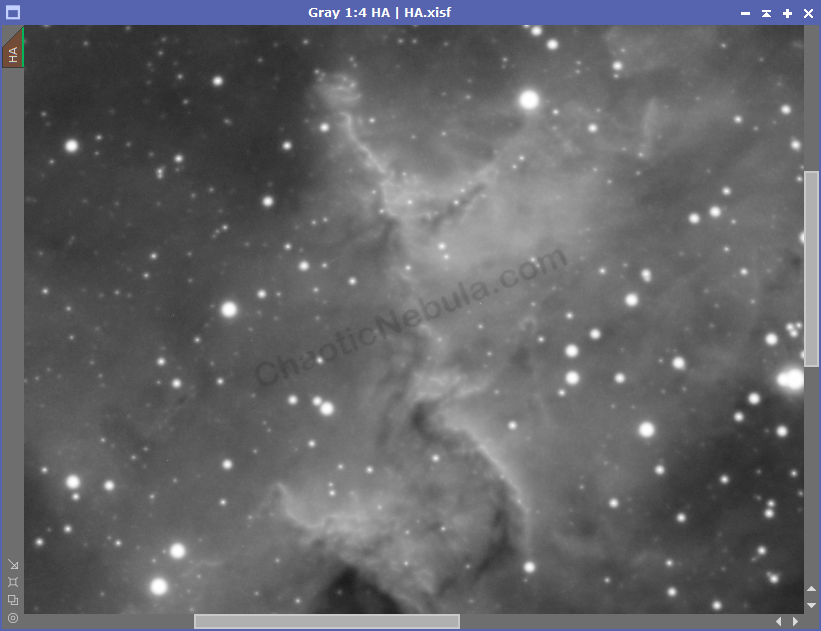

Deconvolution is an improvement, but subtle.
What’s Next
The next step is adjust each image so the brightness is similar with PixInsight Linear Fit. This will make it easier to combine the different filters into a single color image.