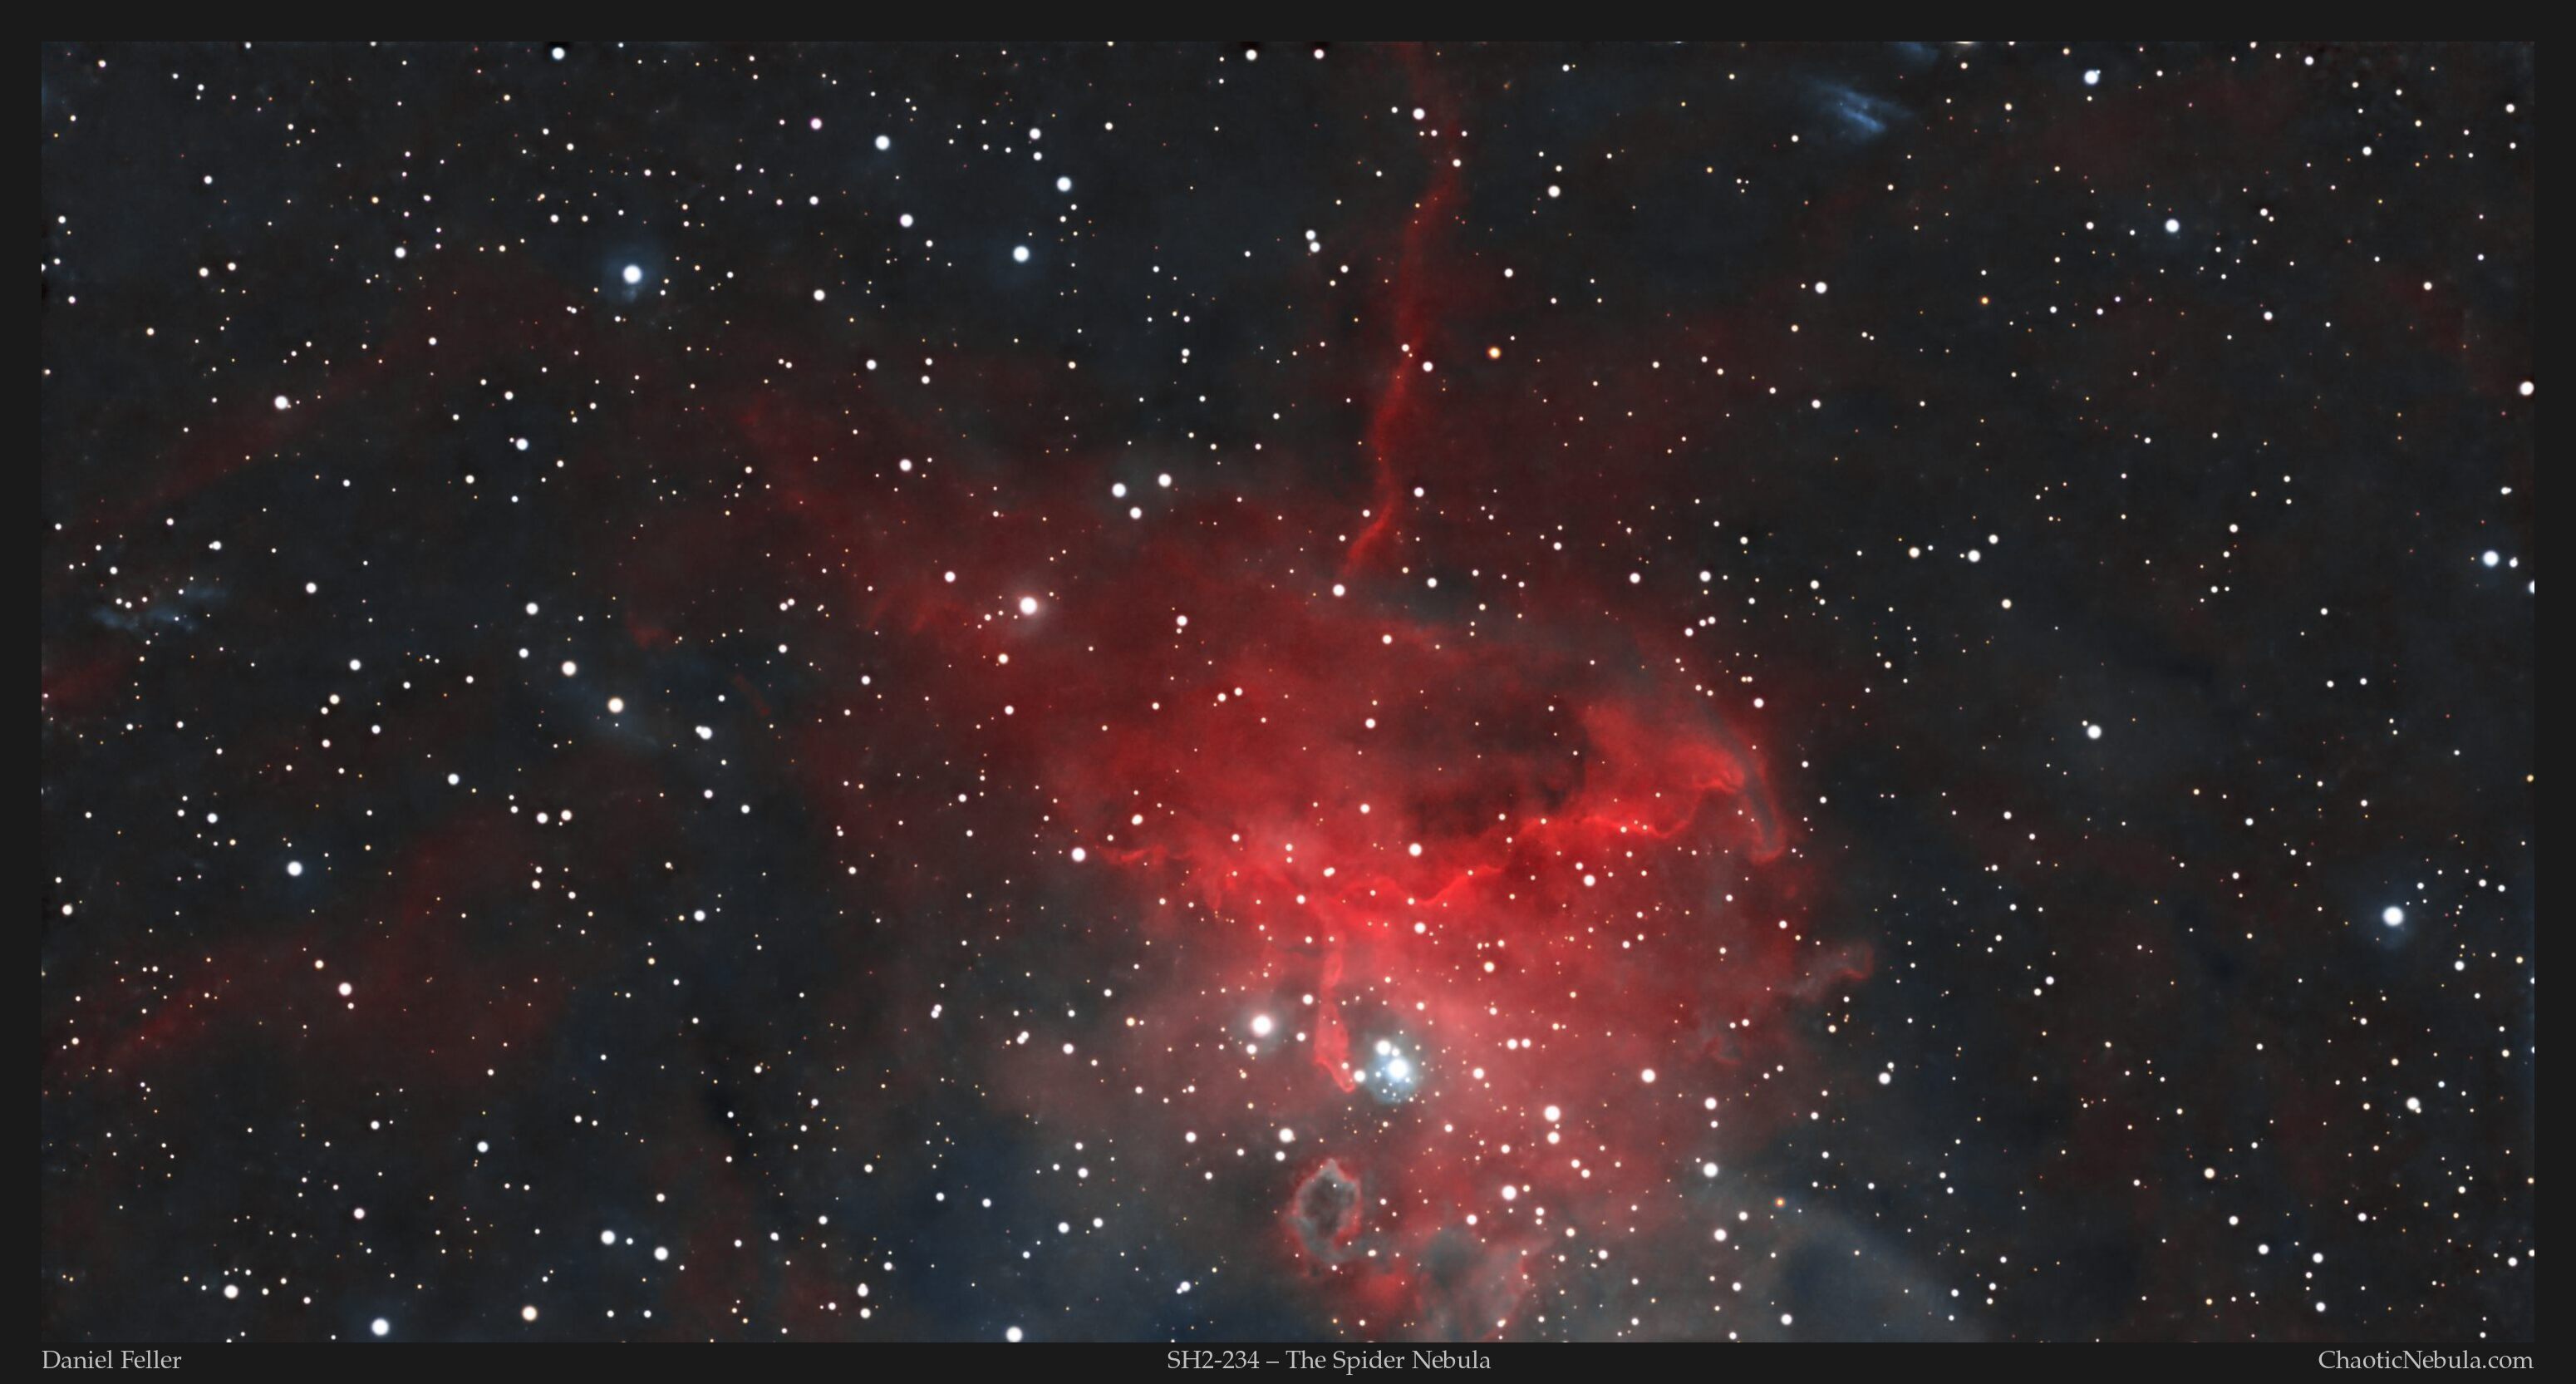
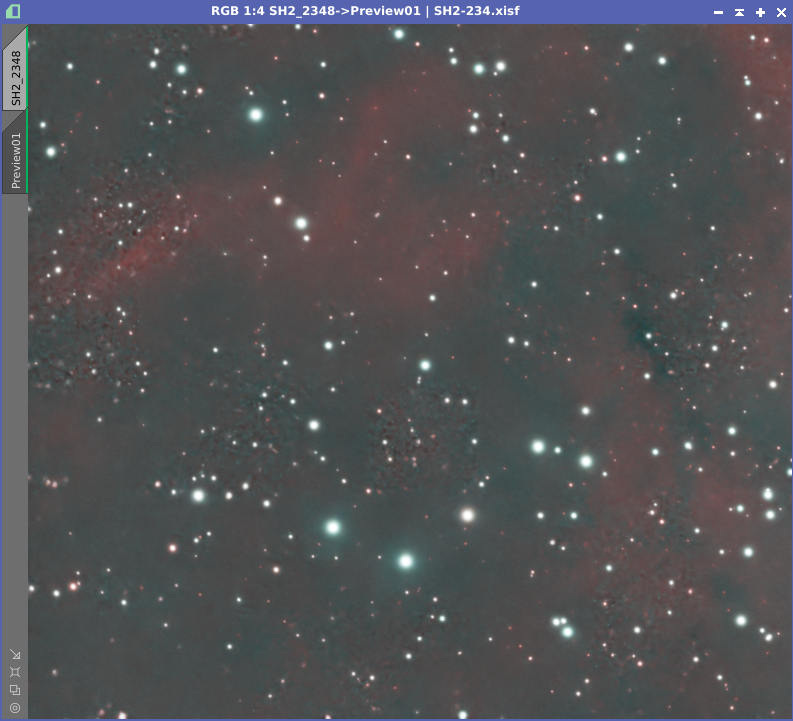
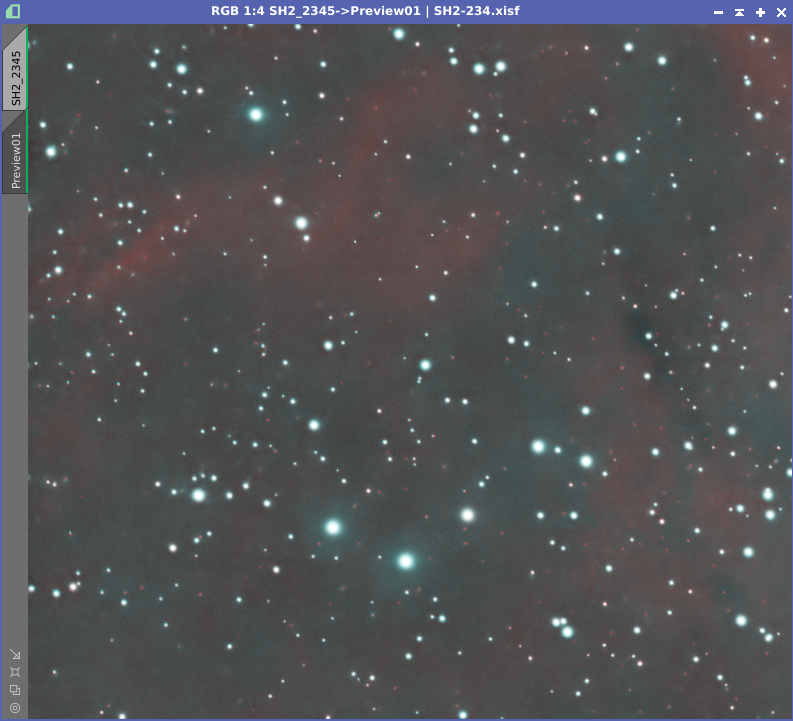
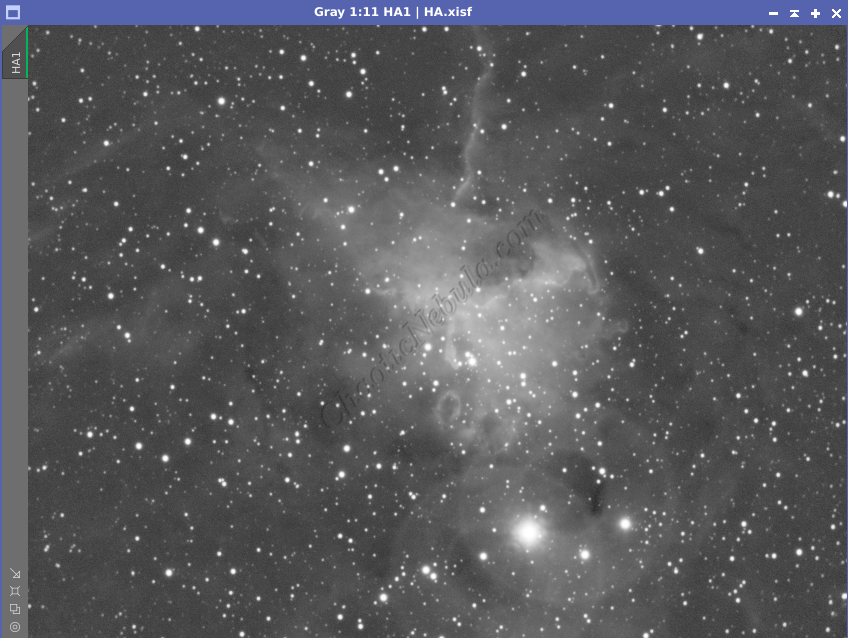
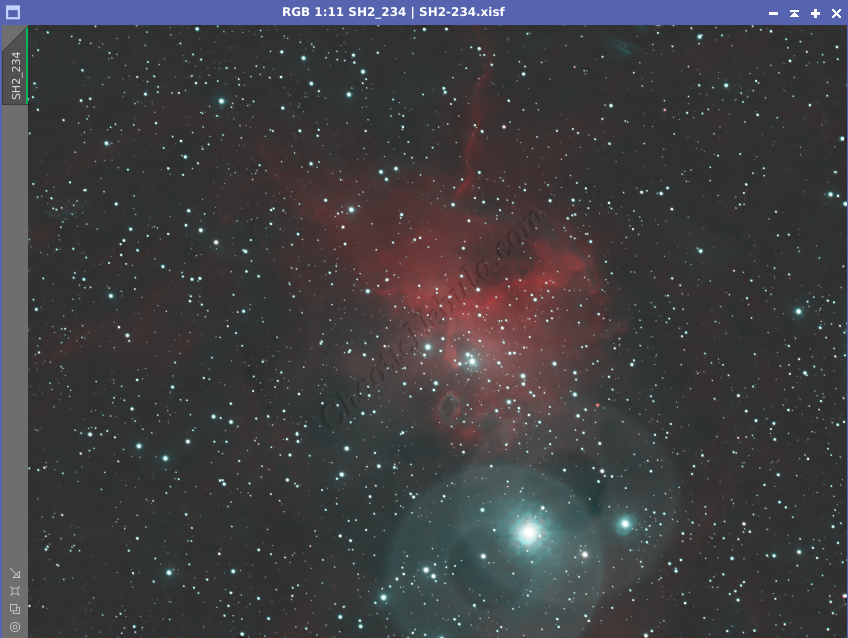
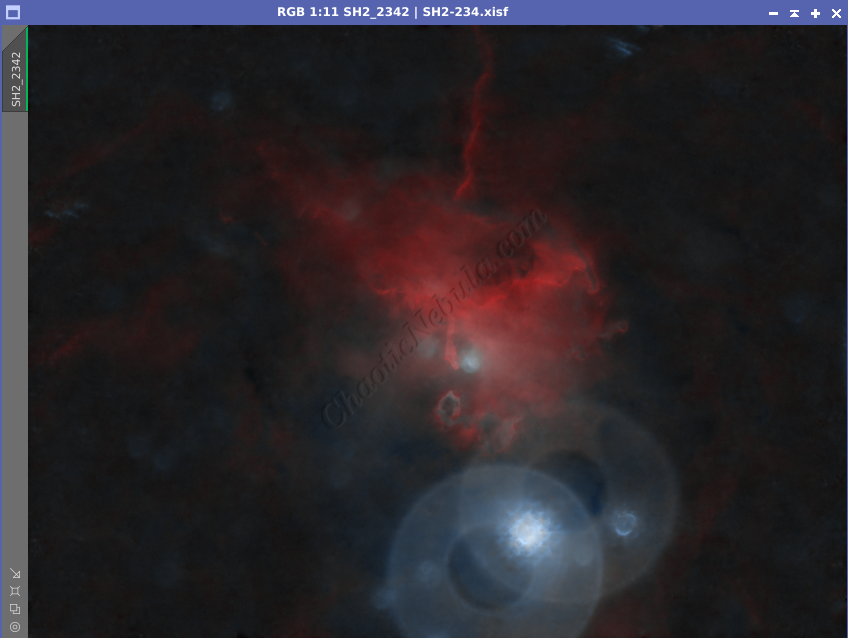
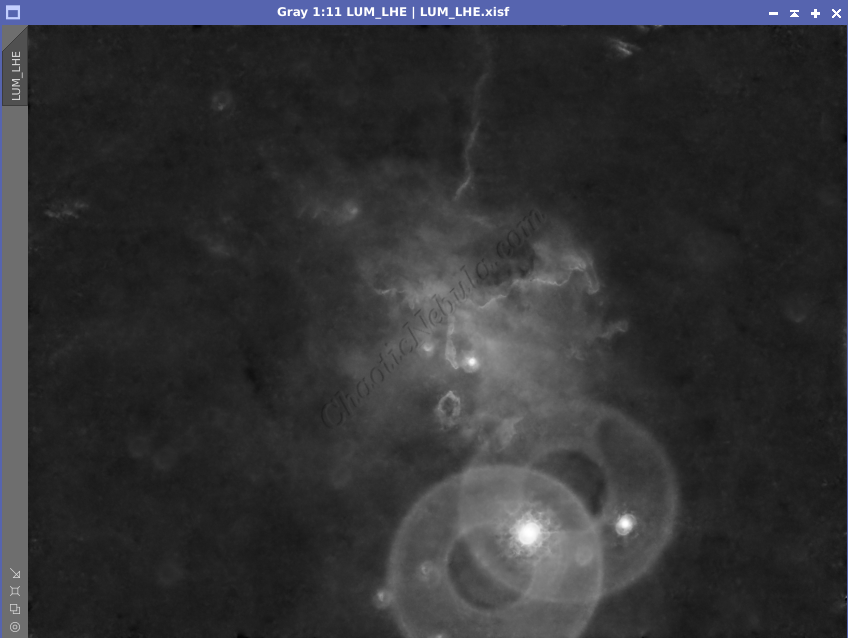
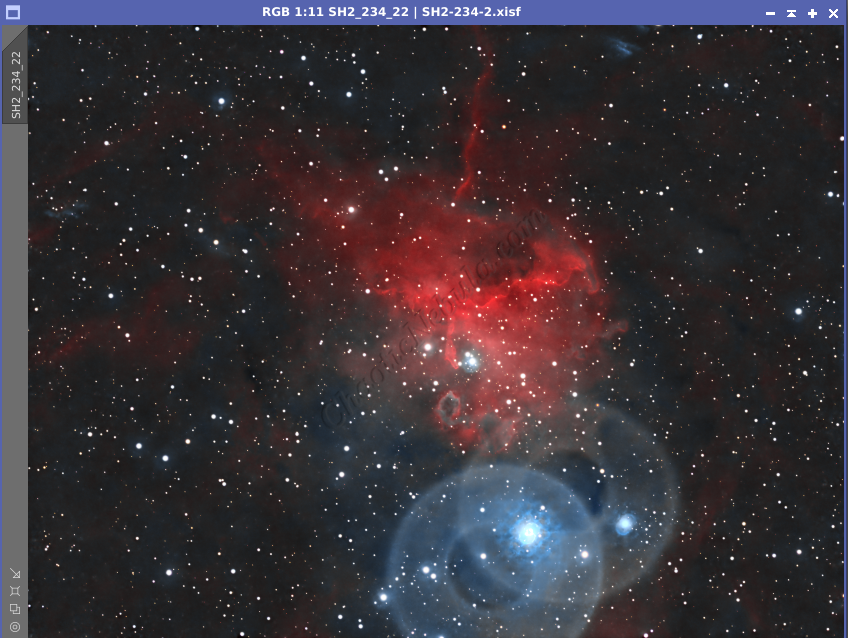
The Spider Nebula, also referenced as IC 417 and SH2-234, is an emission nebula located in the constellation Auriga, the Charioteer. It’s an example of a stellar nursery, where new stars are being born. Some of the more famous nebula are also stellar nurseries, including the Orion Nebula, the Lagoon Nebula, theEagle Nebula, and the Trifid Nebula.
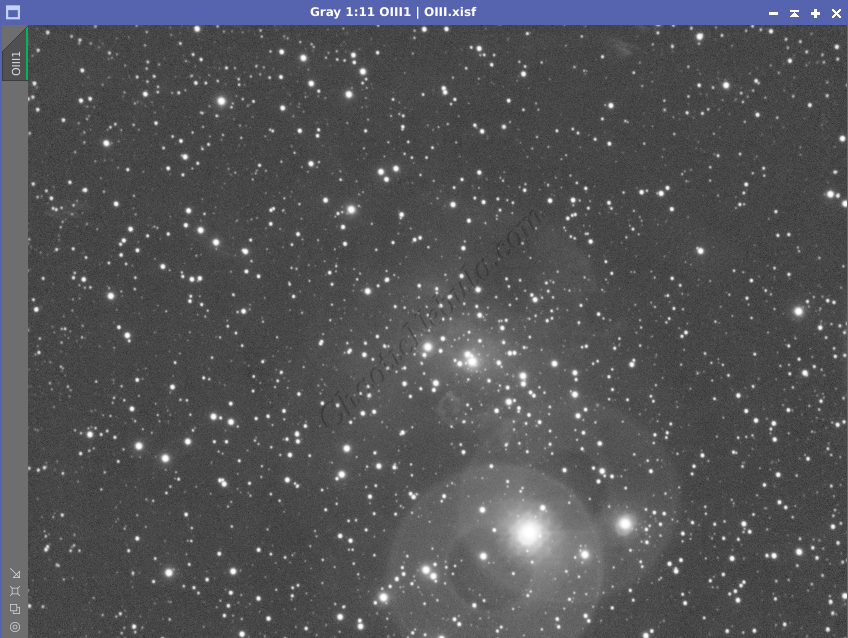
Located roughly 10,000 light-years away, IC 417 is a spectacular emission nebula. Emission nebulae are clouds of gas and dust that glow due to the energetic radiation from young, hot stars embedded within them. In the case of IC 417, these stars are responsible for illuminating the surrounding gas and sculpting it into wispy tendrils and pillars.
The IC 417 nebula is a dynamic environment where the birth and death of stars are in a delicate balance. The energetic radiation from young stars excites the surrounding hydrogen gas, causing it to emit the characteristic red glow that dominates the nebula’s central region. This radiation also triggers the collapse of denser clumps within the nebula, igniting new stars and continuing the cycle of stellar evolution.

Imaging Details
- Workflow: Narrowband for Emission Nebula
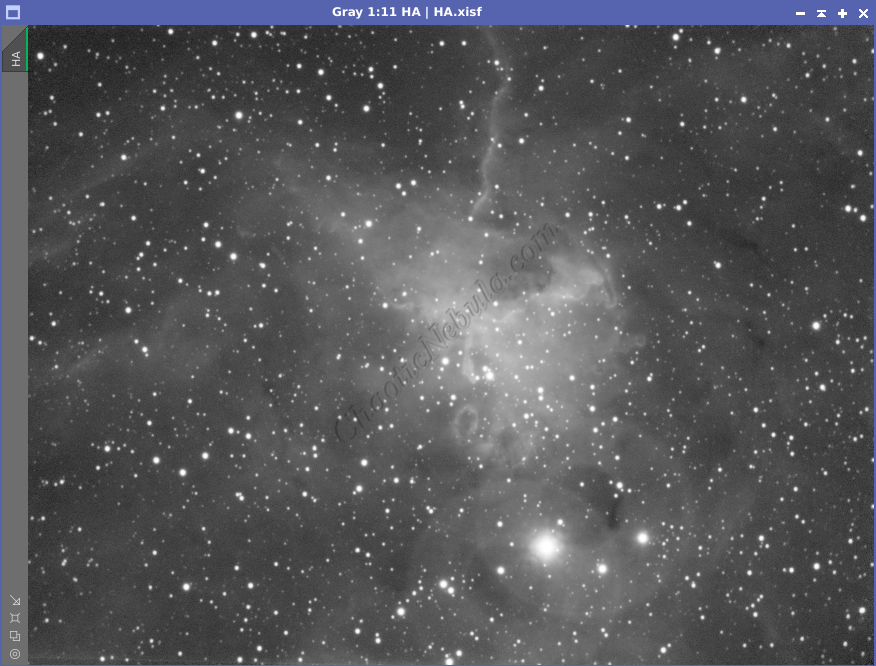
- Hydrogen Alpha: 120*600 seconds
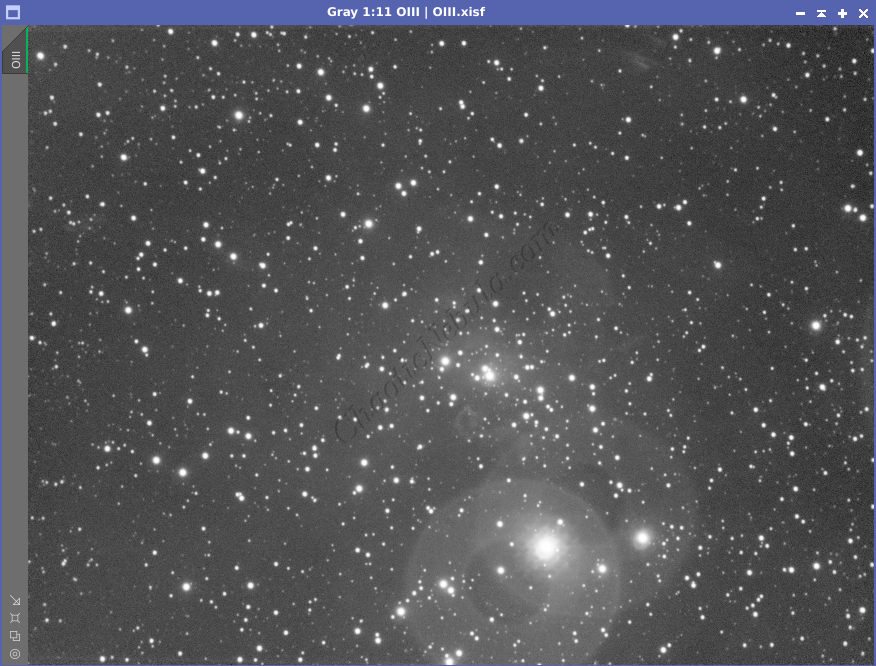
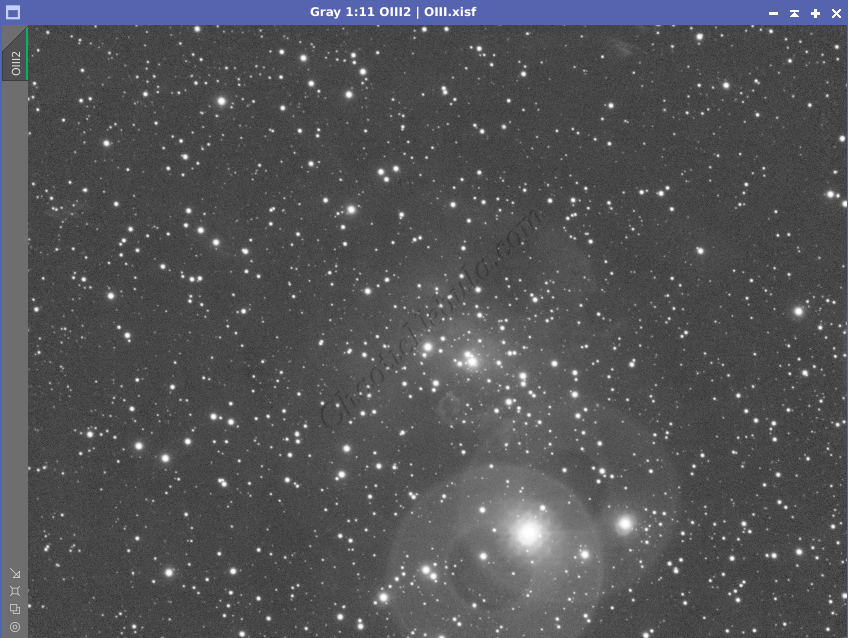
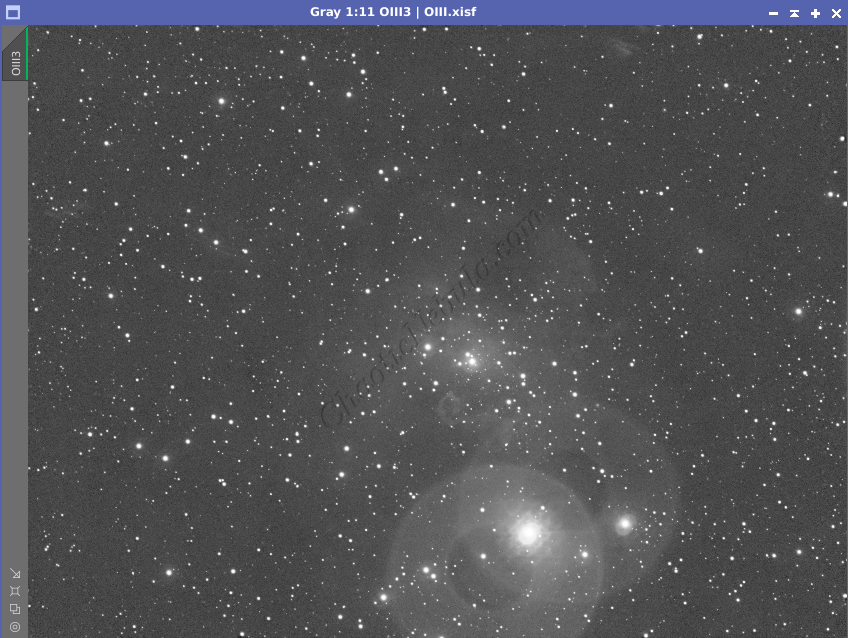
- Oxygen-III: 120*600 seconds
- Red: 60*60 seconds
- Green: 60*60 seconds
- Blue: 60*60 seconds
- Total Imaging Time: 43 hours
- Imaging Dates (7 nights):
- 11/19/2023
- 11/21/2023
- 12/7/2023
- 12/13/2023
- 2/1/2024
- 2/5/2024
- 2/29/2024
Imaging Notes
This is the second image where I used BlurXTerminator and NoiseXTerminator. However, I did run into an issue with the OIII image in that noise was being converted into a signal and causing issues later in the process. In order to correct this, I applied BlurXTerminator first in correction only mode. This helped correct the non-circular stars towards the edges. I then applied BlurXTerminator again to sharpen the image and reduce the star sizes. Once that was done, NoiseXTerminator was applied.
Although this is backwards from most workflows, it overcame the issues experienced with the OIII image and didn’t appear to reduce the detail in the final image.
Imaging Workflow
This image followed the Narrowband Workflow for Emission Nebula, except for when I used NoiseXTerminator and BlurXTerminator
Integrated Image
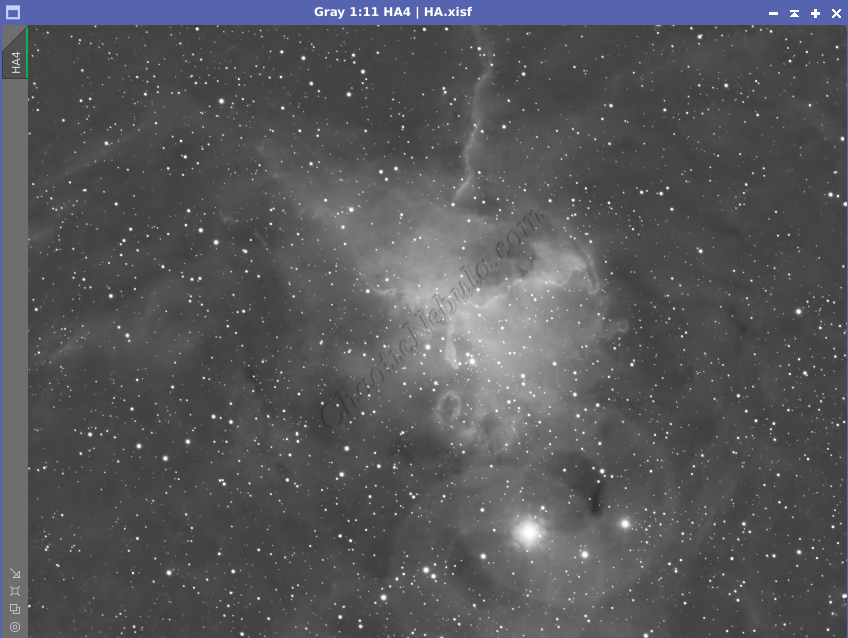
I started off with two images for Hydrogen-Alpha and Oxygen-III filters. I did my normal integration process with drizzle integration.
Gradient Correction
The Gradient Correction process made it easy to remove the extreme darkness/brightness around the edges.
Deconvolution
Normally, noise reduction would be done with either TGV Denoise and Multiscale Linear Transform or NoiseXTerminator. However, noise reduction believed some of the blurring was an actual signal, which it would amplify. To correct this, I changed the workflow to first do BlurXTerminator in Correction mode and then applying it again for deconvolution mode.


Noise Reduction
With the blurring corrected, it is time to do noise reduction. This time I used the new NoiseXTerminator add on.

Channel Combination for RGB
The next step is to do a Linear Fit and then a Channel Combination to combine the channels into RGB. This combination used the HOO palette where Red = HA, Green = OIII, and Blue = OIII.
In addition, once the color image was created, the luminance channel was extracted to be used for the luminance workflow.
Star Removal
To better protect the stars from bloating due to additional processing, they are removed with StarNet+
Histogram Stretch
I used histogram transformation to stretch the image.
SCNR
PixInsight SCNR helped remove the green coloring.
Color Saturation
PixInsight Curves Transformation increased the overall color saturation.
Luminance Workflow
Before doing anything more to the color image, it is time to go through the Luminance Workflow.
Deconvolution was skipped as it was done to the RGB image with the use of BlurXTerminator. HDR was also skipped as there wasn’t a lot of variability in the bright/dark areas.

Luminance Integration (LRGB)
With the luminance image processed, it can get integrated with the color image with LRGB Combination process. This used 50% for lightness and 45% for saturation.

Stars
Pixel Math was used to re-add the star field back into the image. The luminance star field was used as a mask and the color star field was then applied.
Final
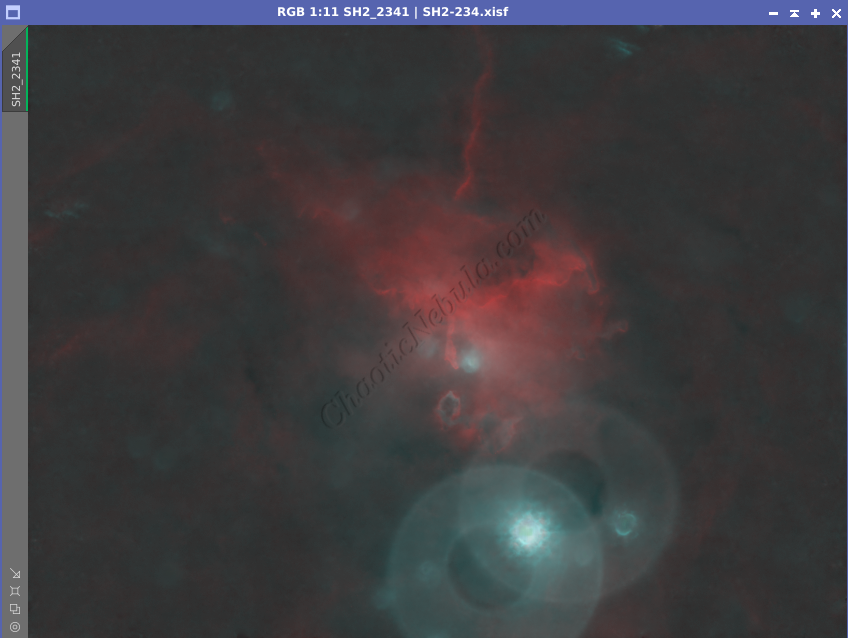
To finish the image, I make a few minor tweaks to the brightness and colors of the stars using Curves Transformation. I also cropped the bottom part off of the image to eliminate the bright reflections from the star Phi Aurigae, which is not actually part of the nebula as it is 450 light years away and the nebula is 10,000 light years away.