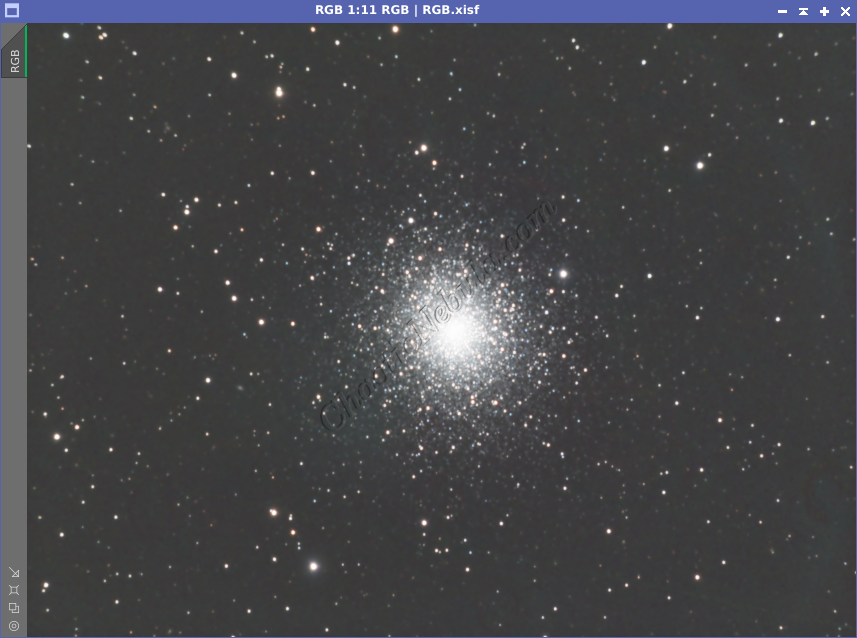
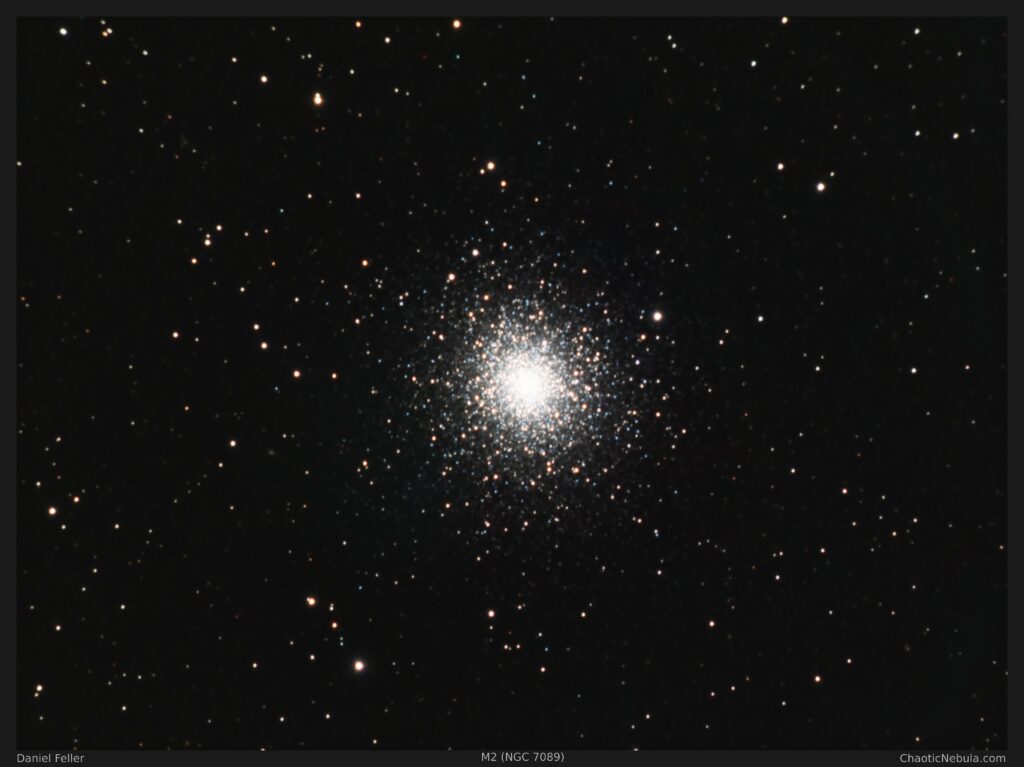
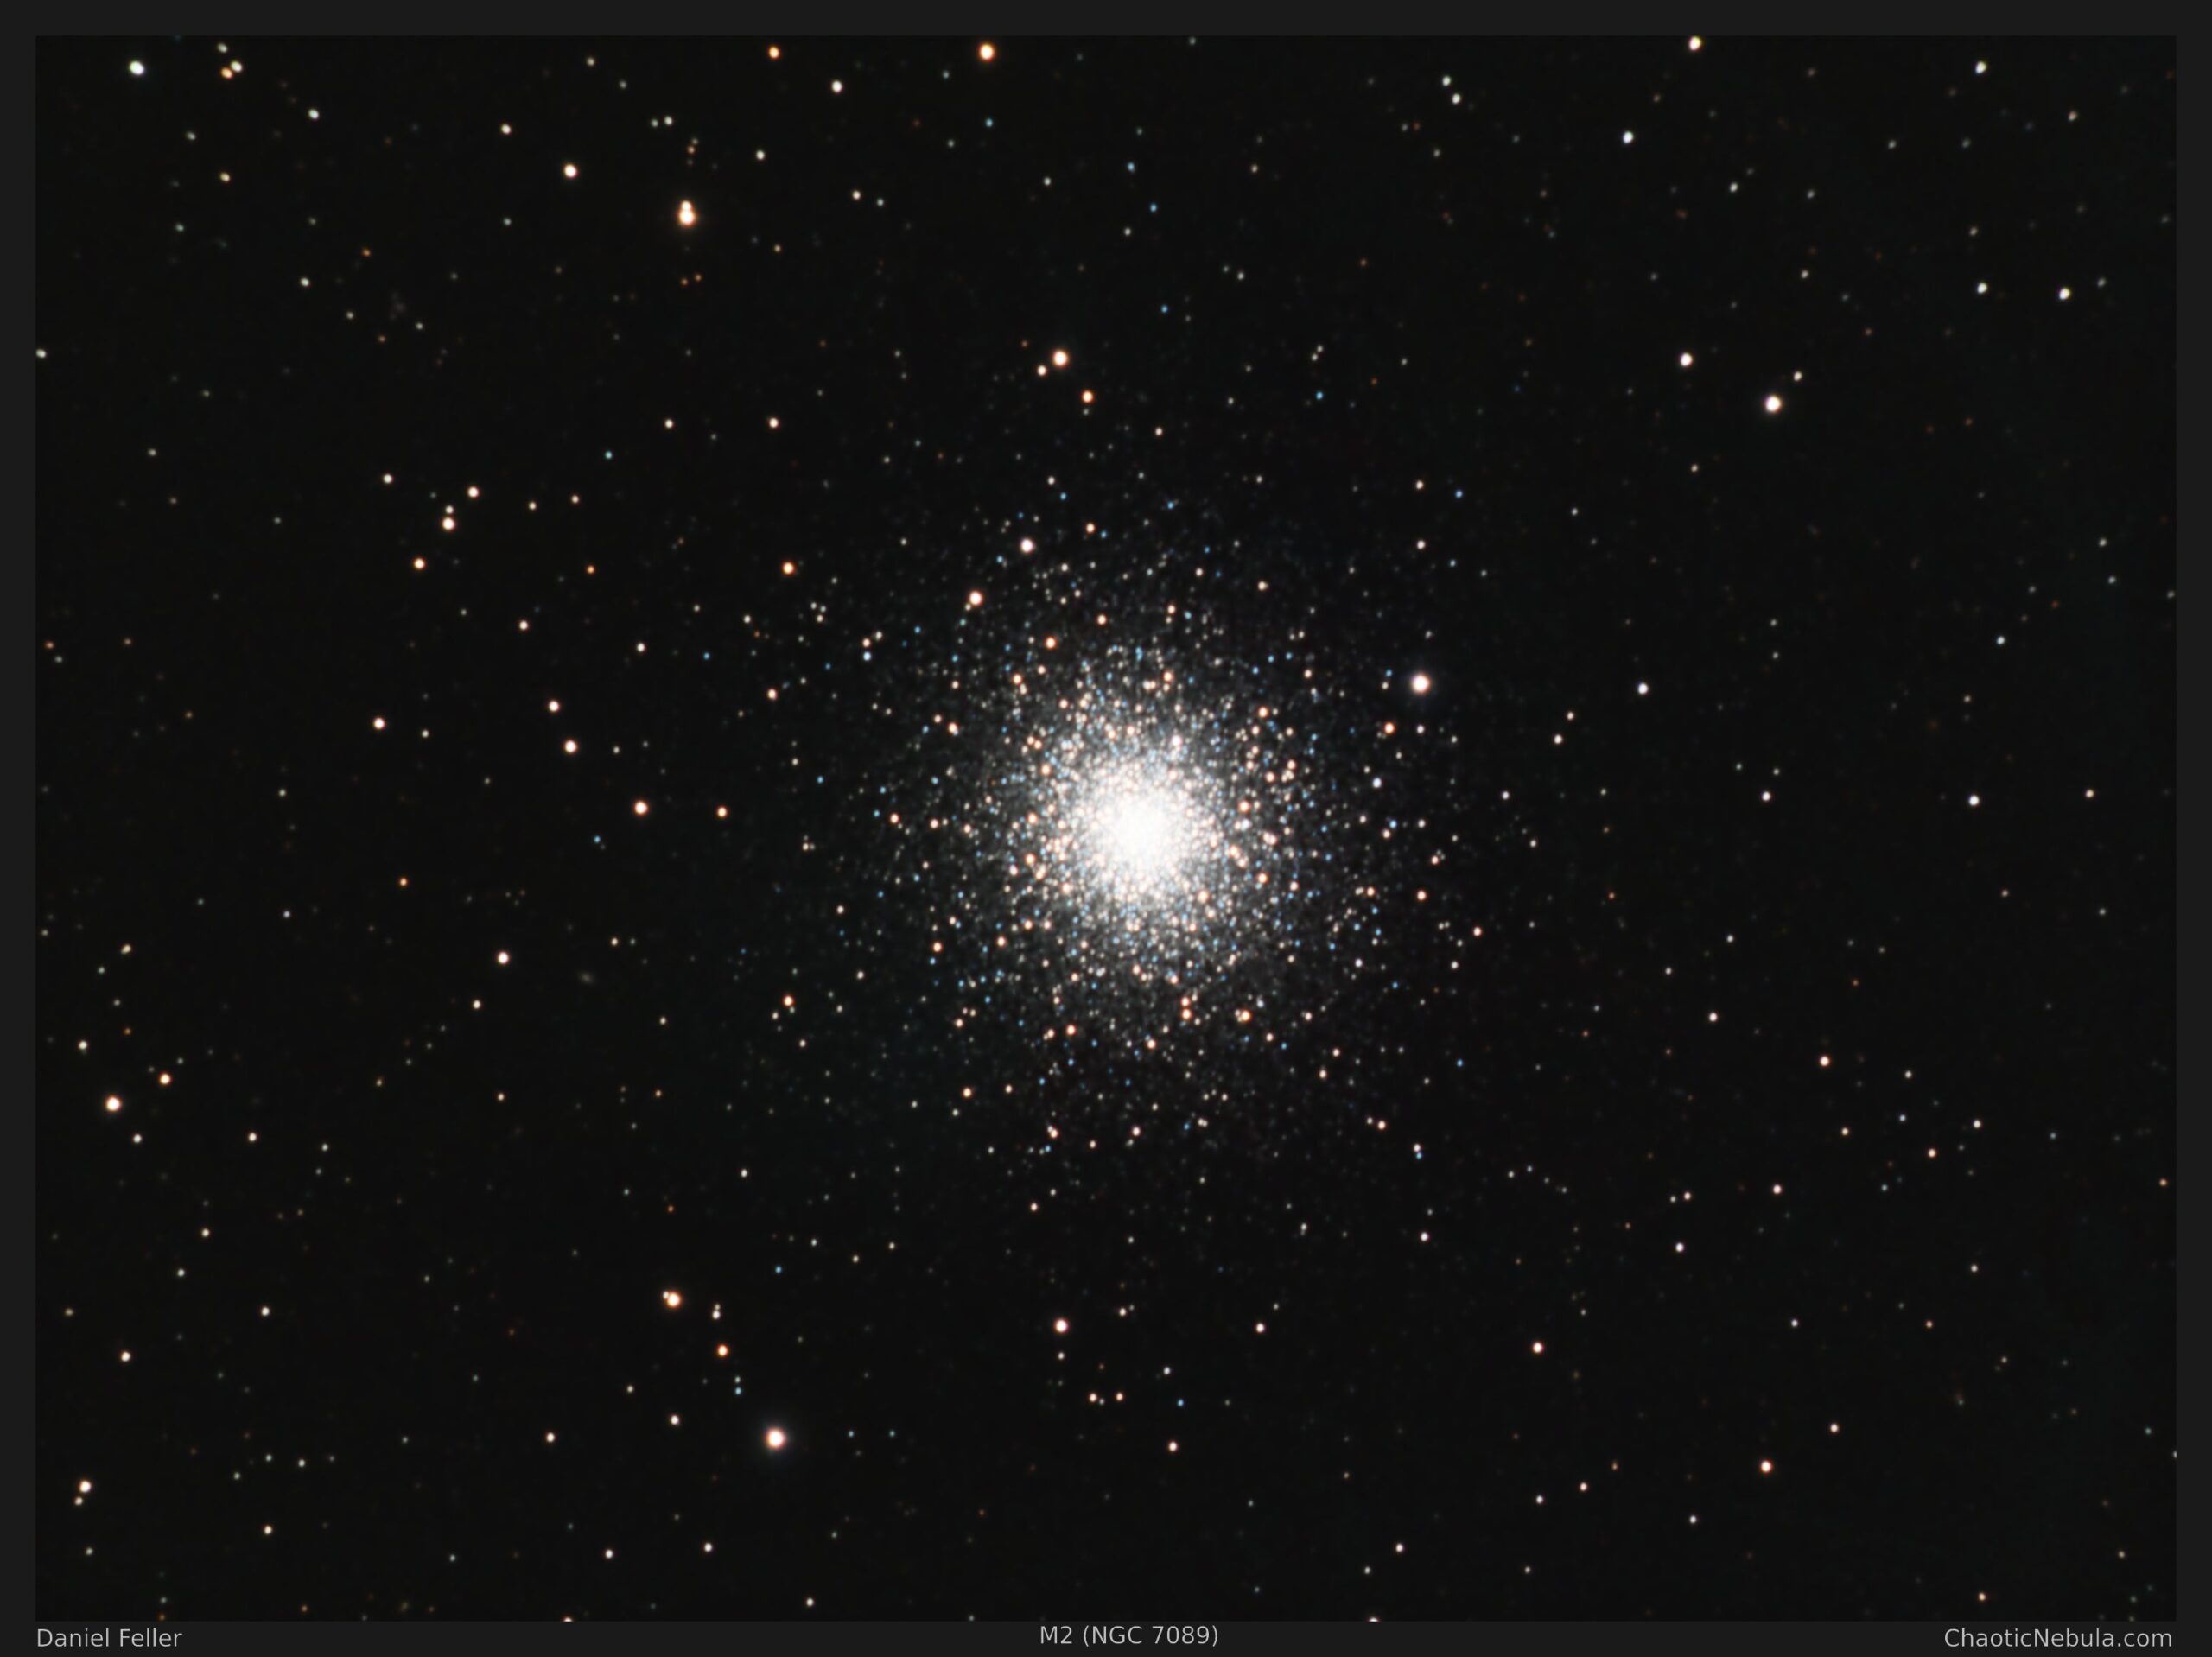
Globular Cluster M2 is a captivating assembly of stars located in the constellation Aquarius. This globular cluster, situated approximately 33,000 light-years from Earth, has become a celestial highlight for observers worldwide due to is brightness, size, and easy observability.
M2 boasts a dense and symmetrical core, comprising hundreds of thousands of stars gravitationally bound together. The stars within M2 are ancient, with ages estimated to be around 13 billion years, making them some of the oldest objects in our Milky Way galaxy (our sun is only 4.5 billion years old).
Globular clusters, like M2, provide crucial insights into the early stages of galaxy formation. Their ancient stars hold clues about the conditions that prevailed in the early universe, offering a glimpse into the processes that led to the birth of galaxies and their stellar populations.
Imaging Details
- Workflow: RGB
- Red: 30*150 seconds
- Green: 30*150 seconds
- Blue: 30*150 seconds
- Total Imaging Time: 3.75 hours
- Imaging Dates (2 nights):
- 11/17/2023
- 11/18/2023
Imaging Notes
I typically don’t image clusters, but I had a few hours at the start of the evening before another object was above the horizon. Not wanting to waste a clear sky, I did quick image of M2.
- I reduced the exposure time for my RGB channels. As my skies are heavily light polluted, going with 10 minute exposures seems to be causing me issues.
- The image processing flow was abbreviated as I didn’t have to focus on faint structures often found in nebula.
Imaging Workflow
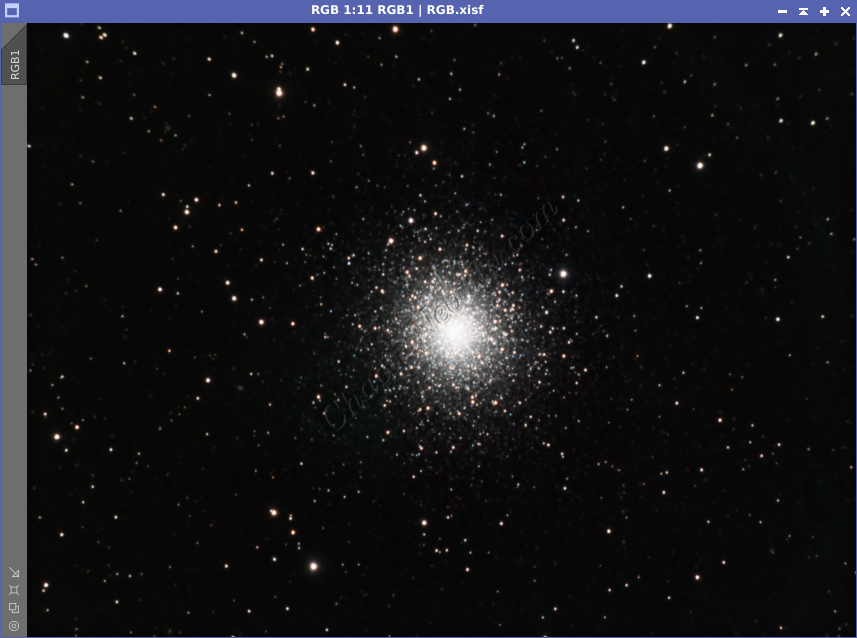
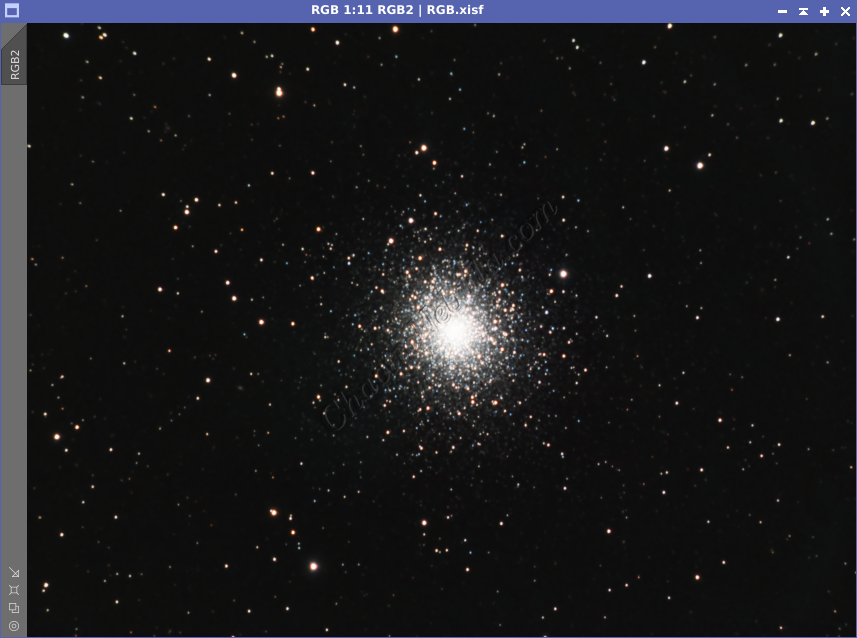
This image followed my standard RGB workflow very closely, except that I removed stars from my color image.
Integrated Image
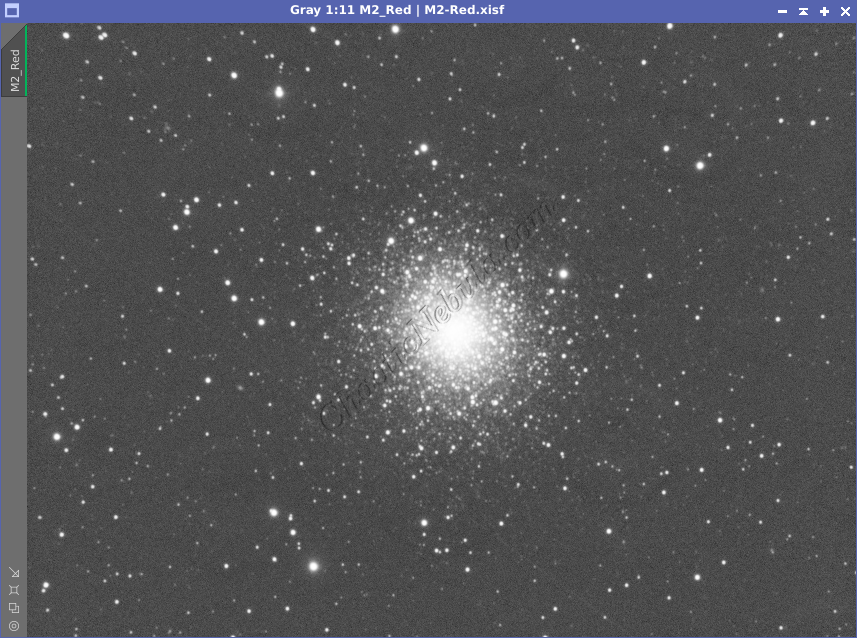
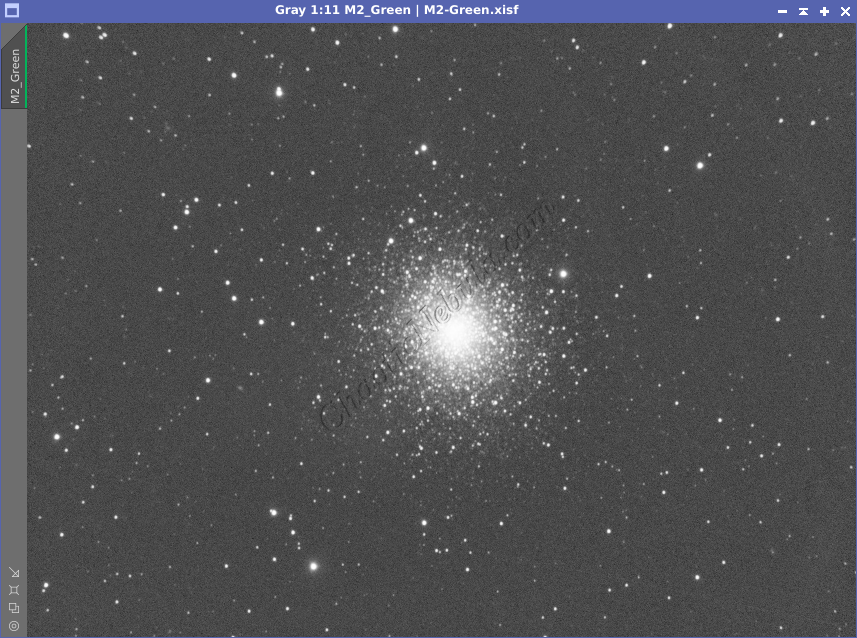
I started off with three really good images for Red, Green, and Blue channels. I did my normal integration process with drizzle integration, dynamic crop, and dynamic background extraction.
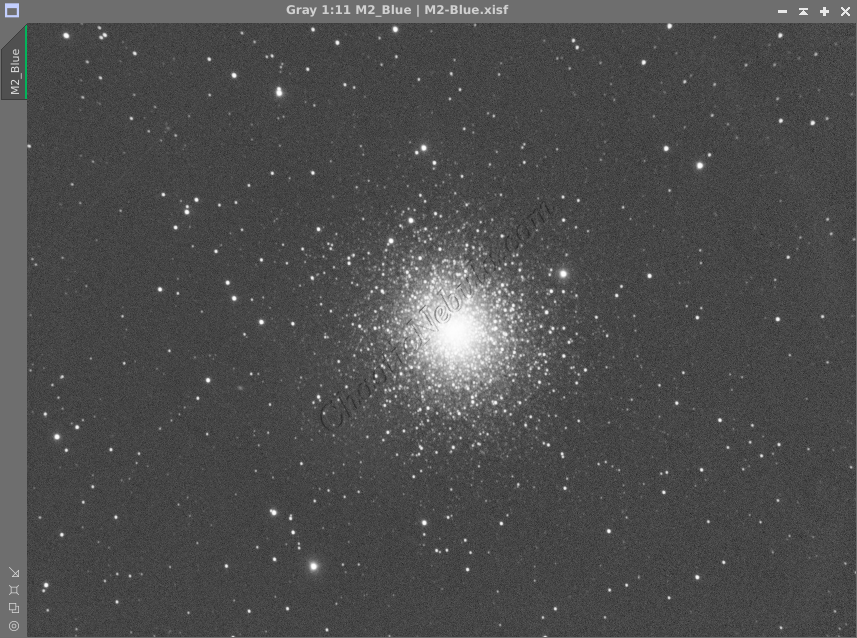
Noise Reduction
I followed my normal noise reduction process, first starting with TGV Denoise. I ran this process twice for the Red, Green, and Blue frames.
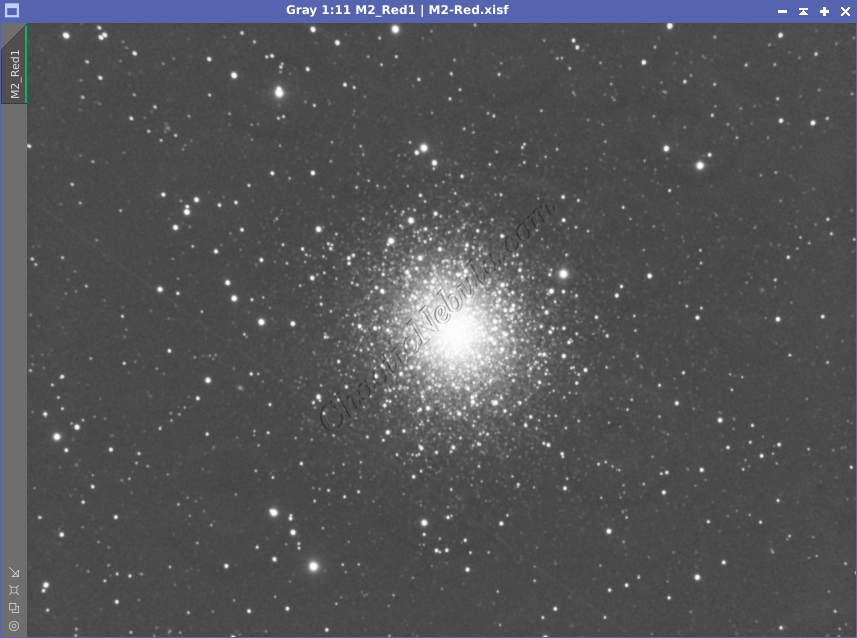
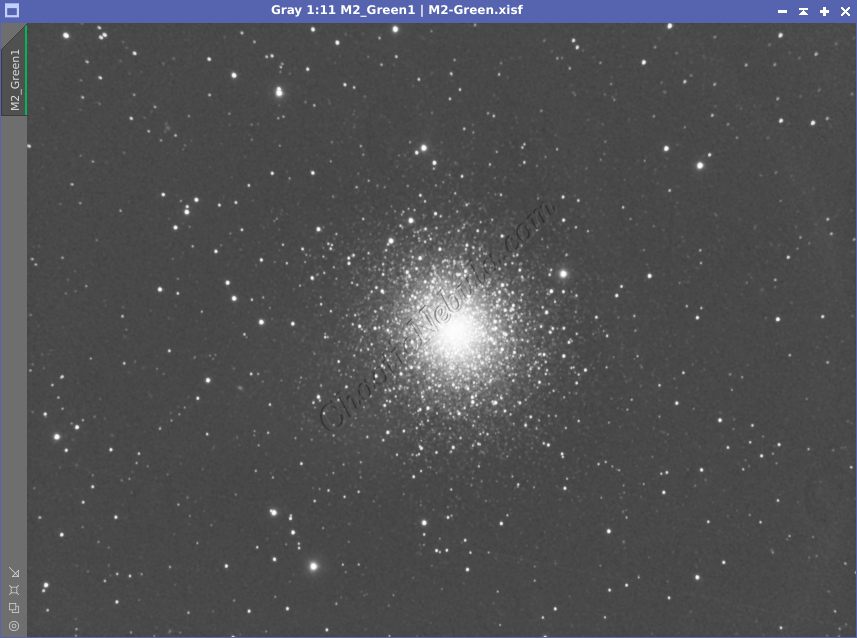
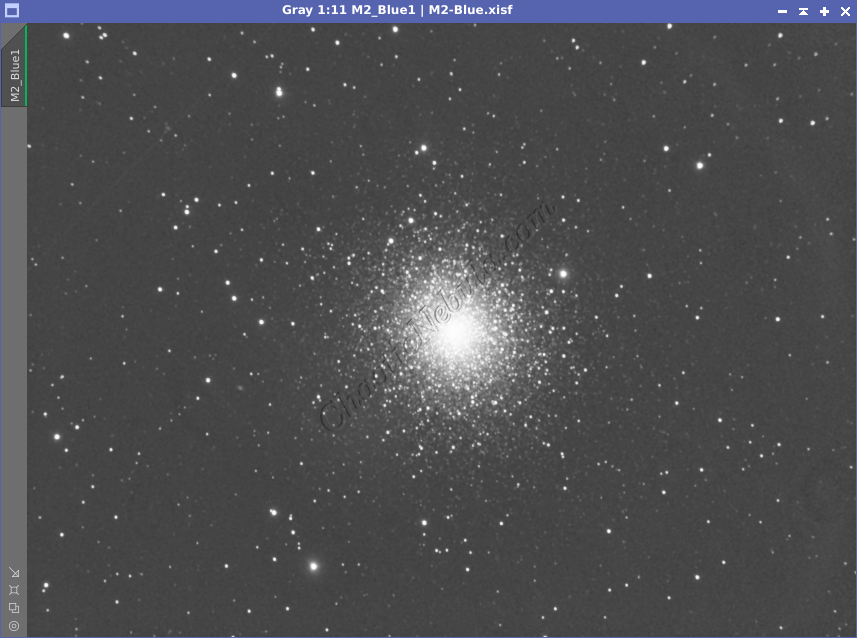
The second part of noise reduction was to use multi-scale linear transformation.
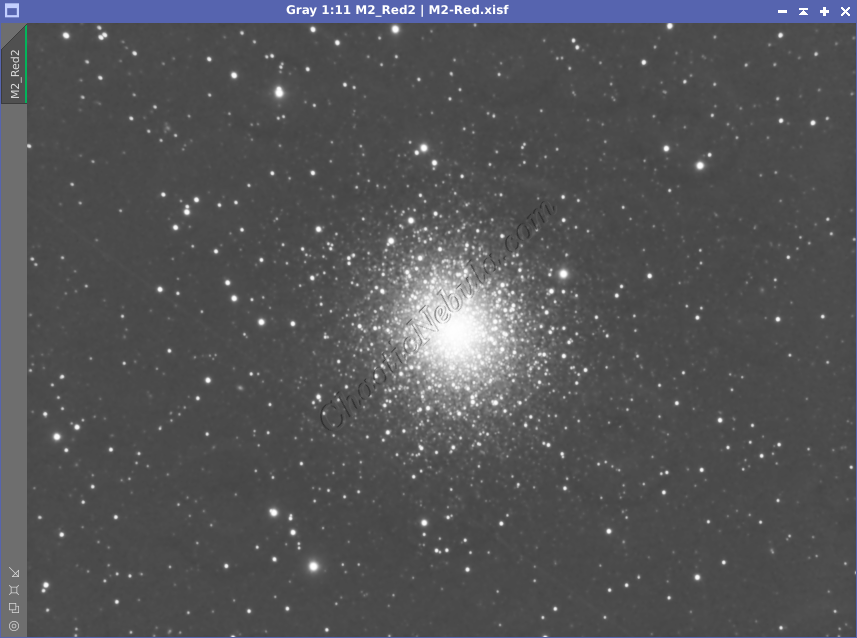
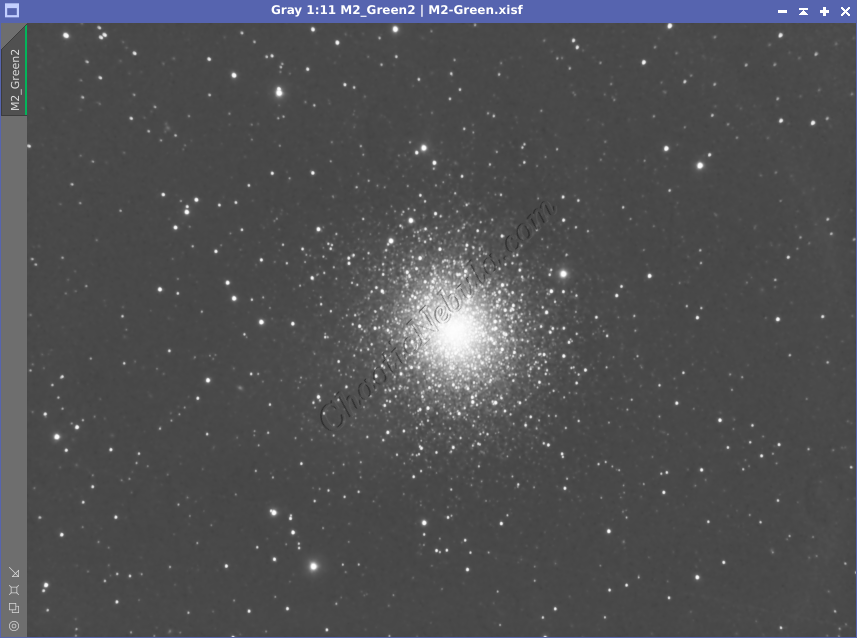
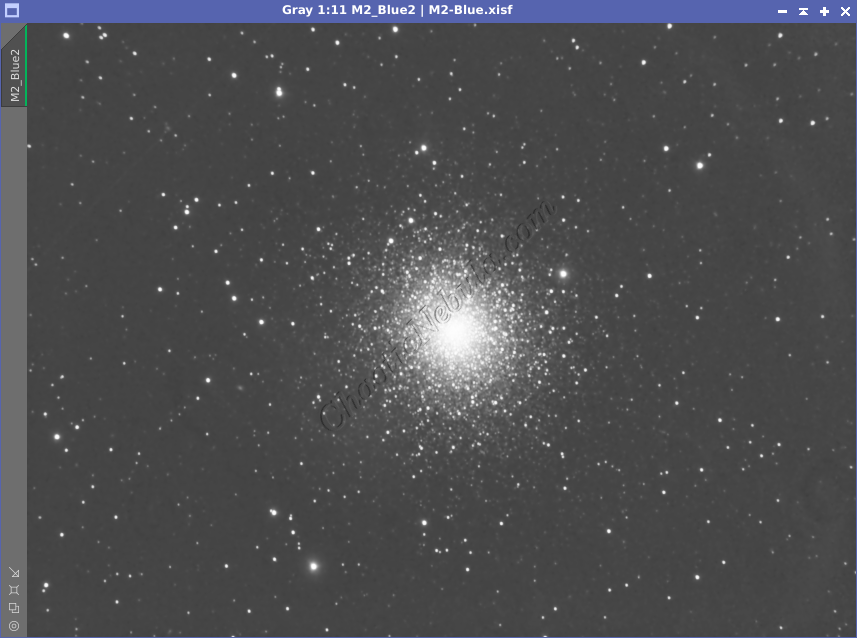
Channel Combination
I ran my normal channel combination approach.
