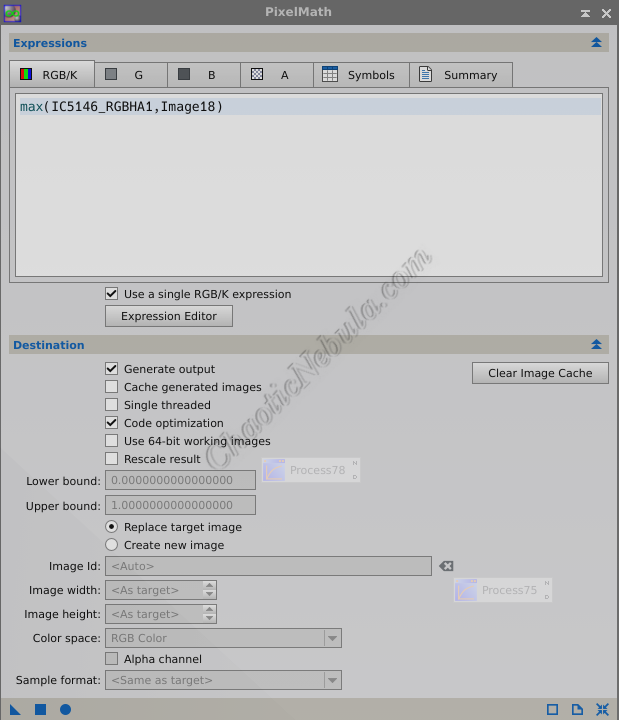
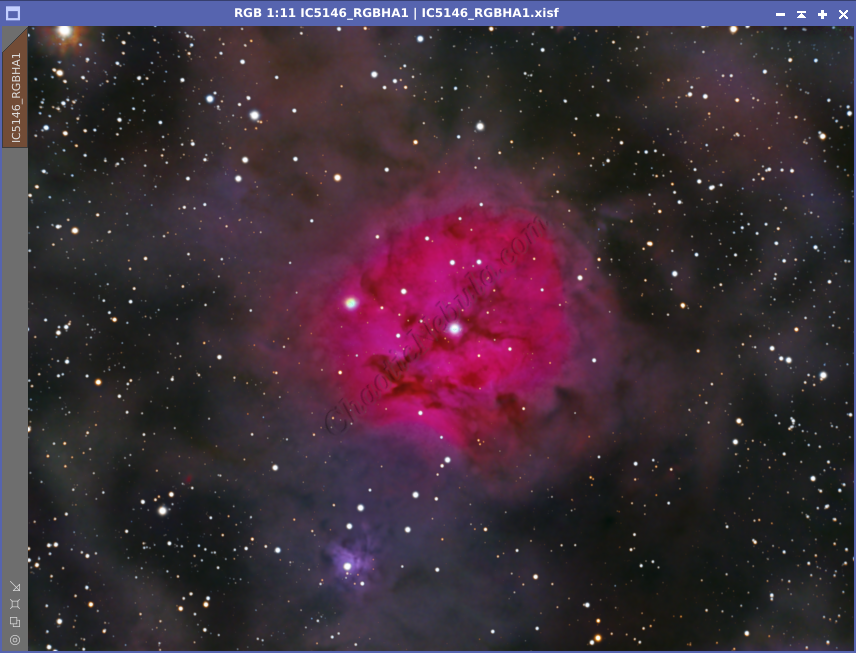
By removing the stars early in the image processing workflow, you were able to protect the stars while you focused on enhancing the background object.
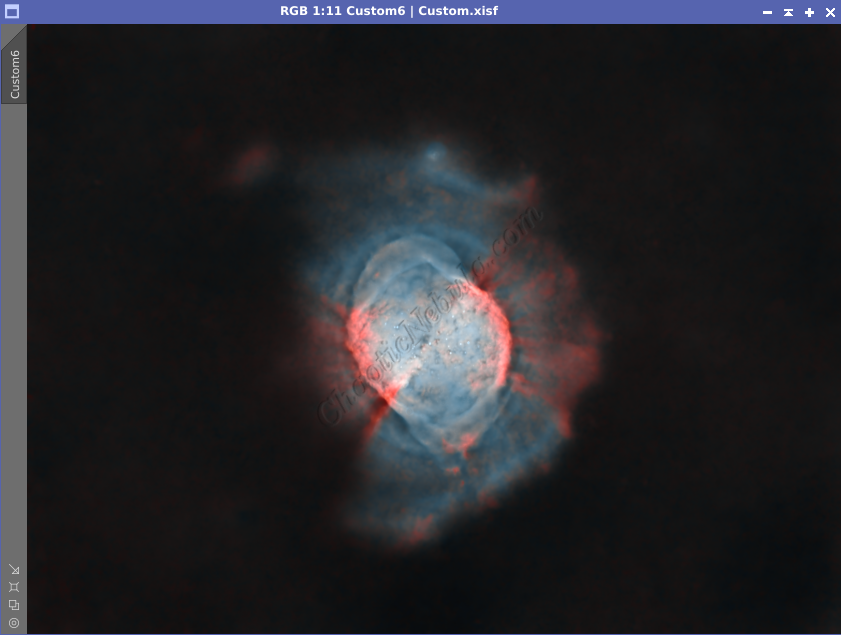
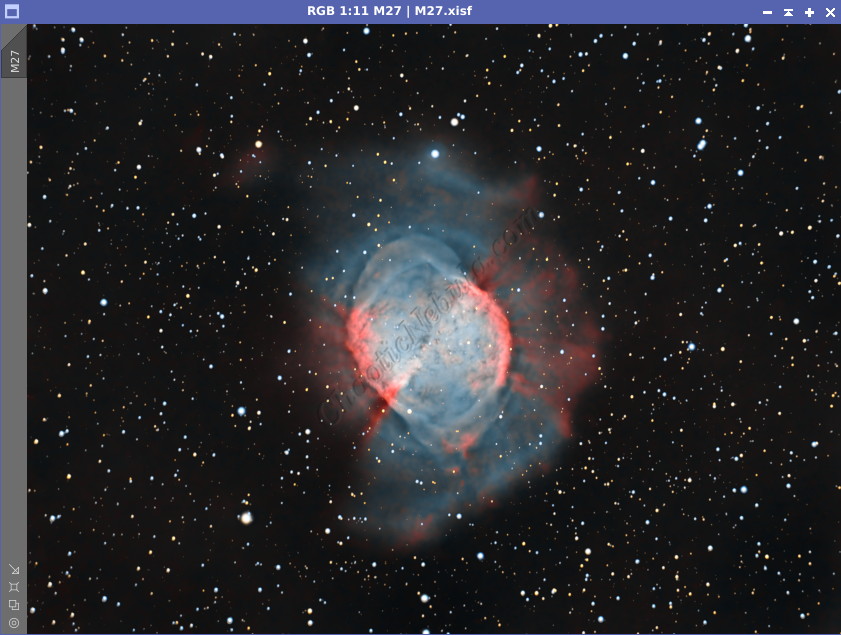
Although some objects are impressive without the presence of stars, there are many cases where you want the star field visible. This process shows how to re-integrate the stars.
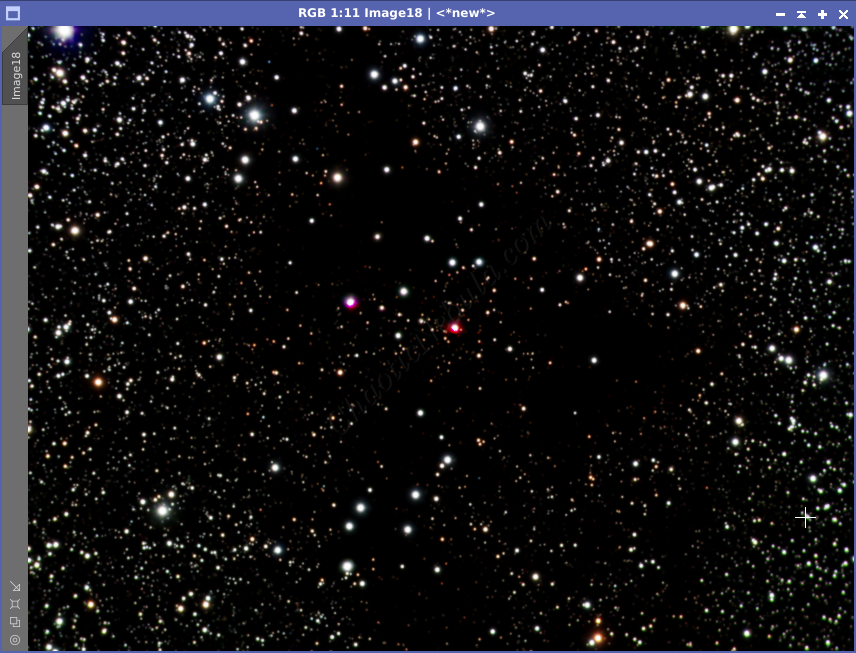
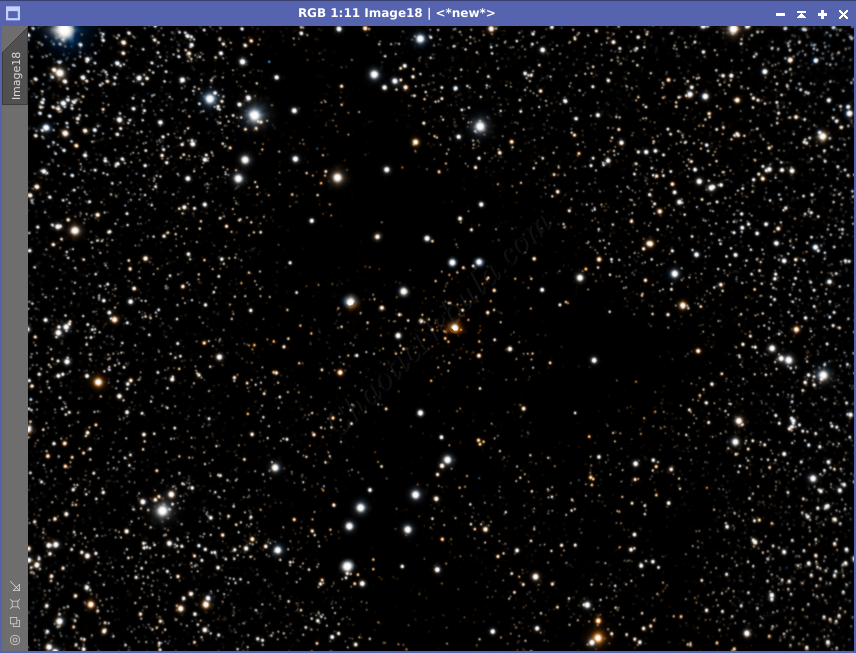
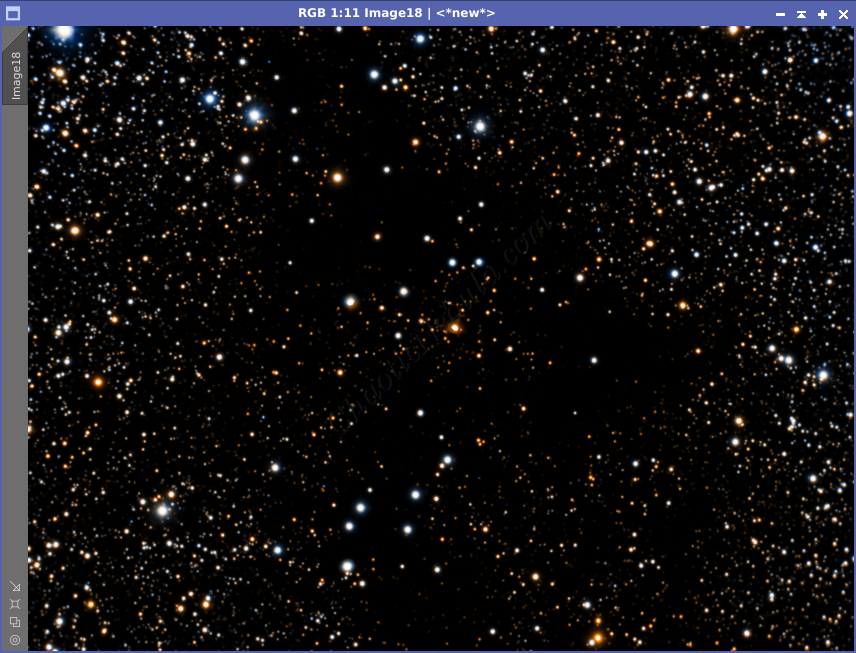
Create an RGB Star Field
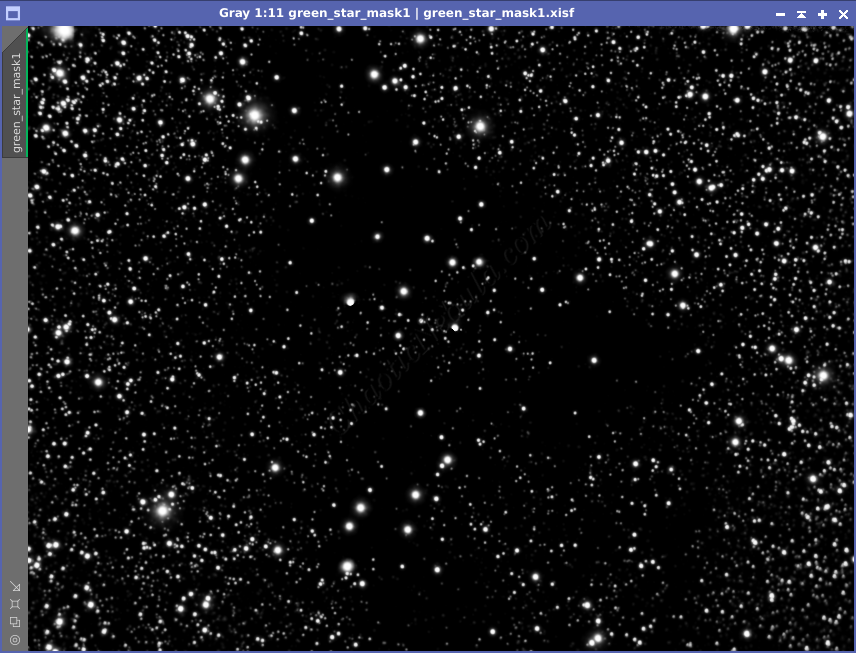
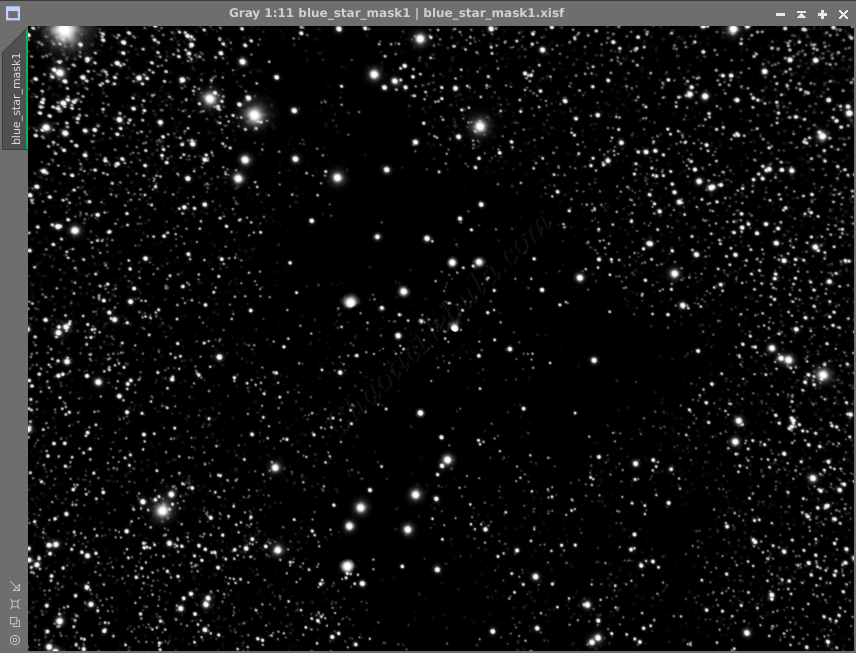
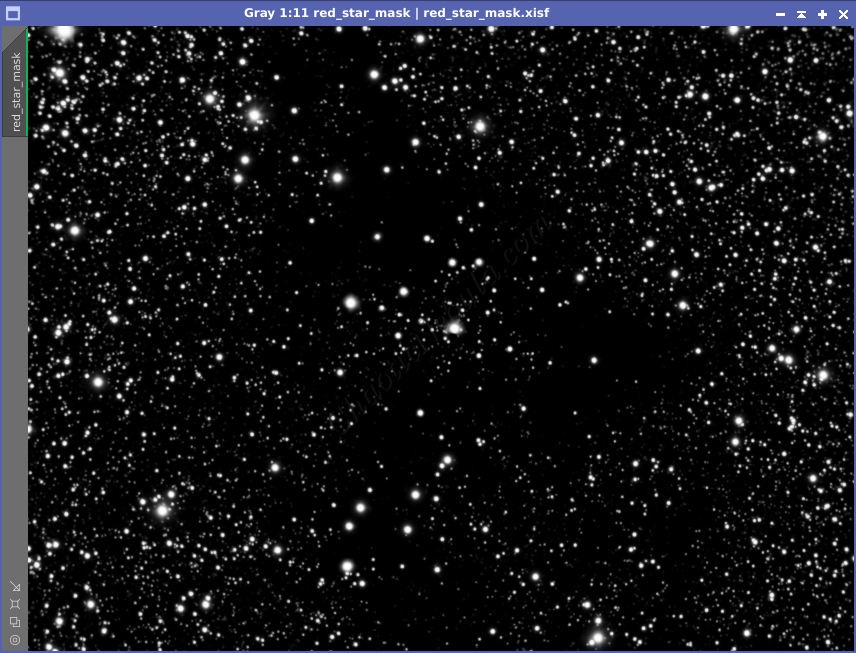
Early in the image processing workflow, you ran StarNet to remove the star field. This process also created a star mask for each channel (red or SII, green or HA, and blue or OIII). These three channels have to be integrated and stretched.
- Step 1 – Linear Fit: Use the linear fit process to equalize the backgrounds across all three star masks
- Step 2 – Channel Combination: Use the Channel Combination method to create an RGB star field.
- Step 3 – Stretch: Use Histogram Transformation to stretch the image
- Step 4 – SCNR: Use SCNR to remove green and magenta from the starfield.
- Step 5 – Saturate: Use Curves Transformation to increase the color saturation of the star field.
- Step 6 – Save: Save this file for use later.
Create a Star Mask
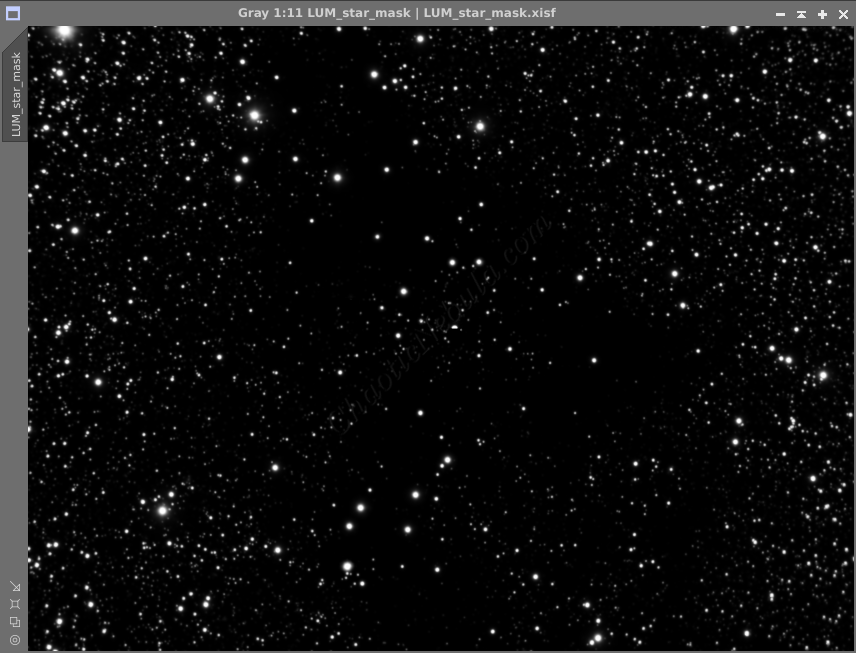
With the RGB star field created, you can now create a star mask. During the Luminance Workflow, you used StarNet to remove the stars from the luminance channel. This process also created a star mask, which you will use now.
- Step 1 – Stretch: Use Histogram Transformation to stretch the image
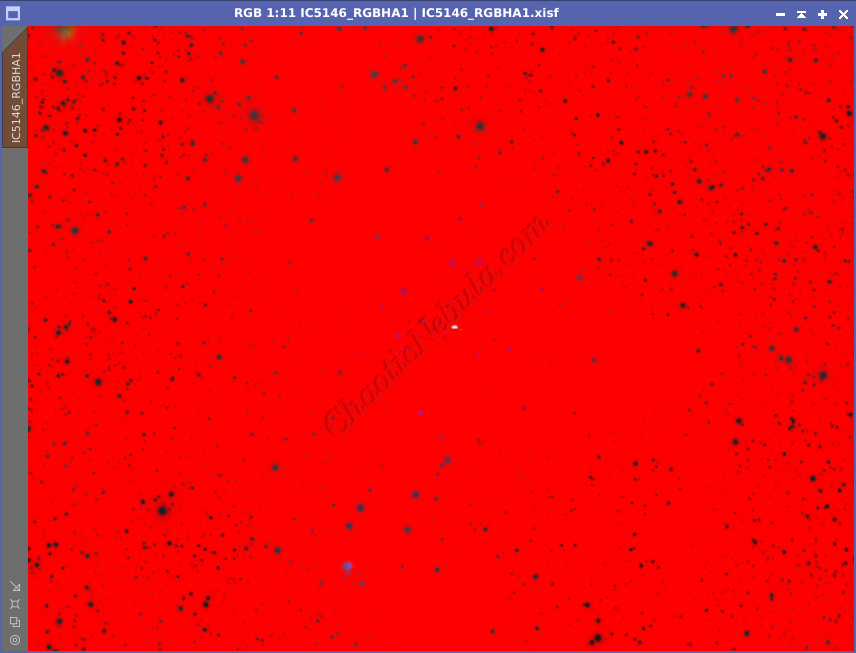
- Step 2 – Apply Mask: Apply the mask to your RGB image
Integrate Star Field
Star Field Adjustments
With the LUM star mask still applied, use Curves Transformation to do the following based on your preferences
- Saturation: Increase color saturation to add more star color
- Brightness: Increase or decrease the Lightness (L) channel to change the star intensity
Because your LUM star mask is still applied, any bloat that might happen by these changes is limited to the area unprotected by the star mask.
