In astrophotography, creating a star mask serves a crucial role in enhancing the final image, particularly when dealing with deep sky objects (DSOs) like nebulae or galaxies.
First, star masks allow for selective editing. By creating a mask that isolates the stars, it is possible to manipulate the background (nebulae, galaxies) without affecting the stars. This makes it possible to sharpen the features without introducing halos around stars, Increase color saturation in the DSO without making stars unnaturally colorful, and apply noise reduction only to the background.
In addition, with a star mask, it is possible to reduce the stars impact on the overall astrophoto. This helps bring more attention to the object versus the star field.
Having the ability to create star masks is a valuable skill for astrophotographers. Learn how to use different options within PixInsight
- StarNet+
- PixInsight Star Mask Process
StarNet+
One of the easiest ways to create a star mask is to use StarNet+. StarNet is a powerful tool in the image processing workflow to create a starless image (an strophoto where all stars are removed). However, StarNet has the option to also create a star mask.
StarNet is a 3rd party add-on for PixInsight, but the version included is older. The latest version StarNet+ is more flexible and often creates a better end result.
The latest version can be downloaded from StarnetAstro.com and add it into PixInsight based on the instructions provided within the download.
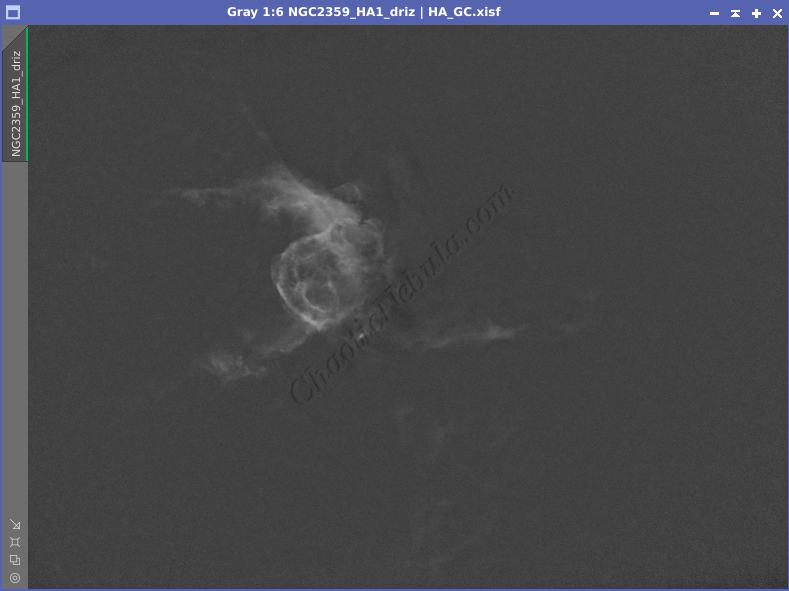
Extract the Luminance Channel
For a linear (unstretched) image, do the following to create a baseline luminance image to help generate a star mask.
- If using a monochrome image, simply duplicate the image by right-clicking the image and select duplicate
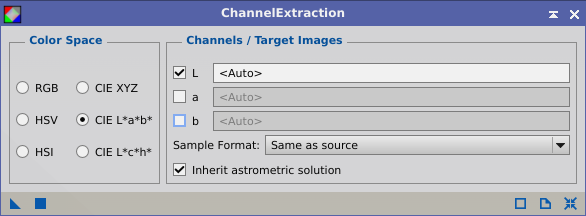
- If using a color image, use the Channel Extraction process (Process – Channel Management – Channel Extraction). Select CIE L*a*b. Unselect a and b.
Once applied, a new image gets created that only contains the luminance channel information.
Create Star Mask
StarNet+ is an extremely easy process to apply in order to generate a star mask.
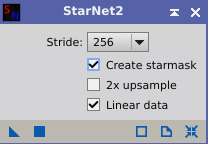
Simply select the following
- Create starmask: Enabled. This will generate a star mask at the end of the process
- Linear data: Enabled. The luminance channel should be in a linear mode (unstretched). However, if the luminance is stretched (non-linear), deselect this option. StarNet+ can create a star mask with non-linear data.
Apply this to the luminance channel. When complete, there will be two images. The original luminance channel will be a starless image and a new star mask consisting of all of the items removed from the baseline luminance channel.
StarNet+ Tips
StarNet+ is extremely easy to use. However, if the results are less than stellar, review the best practices for StarNet within PixInsight
PixInsight
Star Mask Process
Using the PixInsight Star Mask process is the native, fully integrated option. Although it is the most time consuming, it does allow for the greatest customization in the creation of the mask. With the process, in addition to creating a mask for all stars, it is also possible to create a star mask for only the largest, middle, or smallest stars.
To create a star mask with the PixInsight star mask process, do the following:
Extract the Luminance Channel
For a linear (unstretched) image, do the following to create a baseline luminance image to help generate a star mask.
- If using a monochrome image, simply duplicate the image by right-clicking the image and select duplicate
- If using a color image, use the Channel Extraction process (Process – Channel Management – Channel Extraction). Select CIE L*a*b. Unselect a and b.
Once applied, a new image gets created that only contains the luminance channel information.
Stretch the Luminance Channel
At this point, the luminance channel is in a linear state (unstretched). It needs to be stretched into a non-linear state. This can either be done manually with Histogram Transformation (Process – Intensity Transformation – Histogram Transformation) or automatically by applying the DeLinear script (Script – Utilities – DeLinear).
Note: DeLinear is a 3rd party script that must be installed first. Install the DeLinear script from Herbert Walter Astrophotography (skypixels.at).
Optimize the Luminance Channel
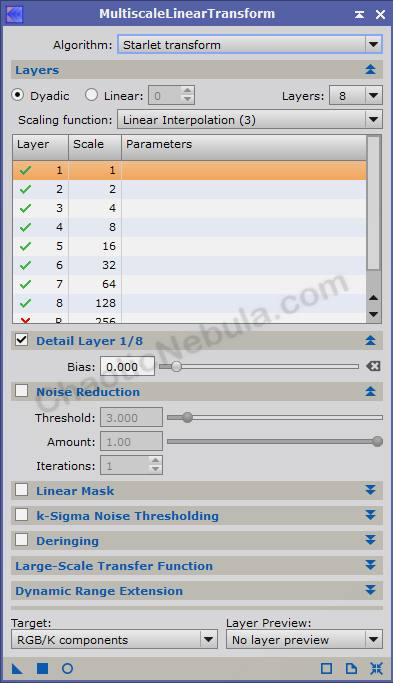
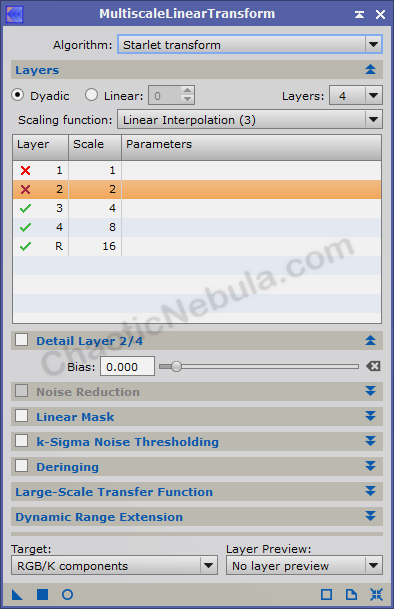
The star mask process often includes bright, non-stellar features in the star mask. To avoid this, it is best to try and remove as much noise and non-stellar structure from the image BEFORE trying to create a star mask. This can be done by using the PixInsight Multiscale Linear Transformation process (Process – Multiscale Processing – Multiscale Linear Transformation).
The first step in optimizing the Luminance Channel focuses on remove the non-stellar structure.
- Layers: Increase the number of layers to 8. Each layer focuses on larger and larger structures. Layer 1 equals 1 square pixel, layer 2 equals 2 square pixels (4 pixels in total), and layer 3 equals 3 square pixels (9 pixels total). More layers, bigger structure size.
- Real Time Preview: Enable. This makes it easy to see how removing a higher-numbered layer impacts the image.
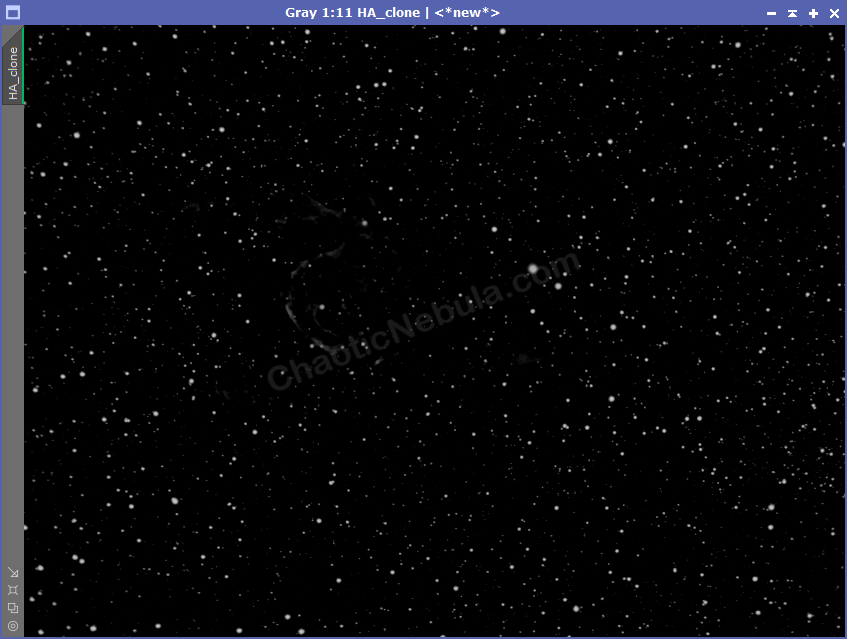
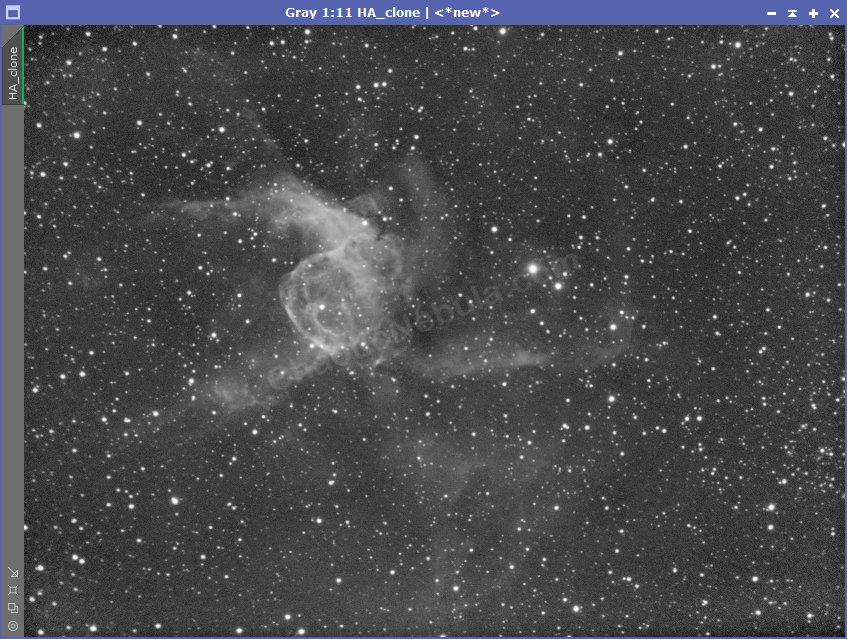
Although there is still some structure of the nebula left in the image, this can be easily handled with the star mask process. If another layer was removed to remove this structure, it would also start removing some stars, which must be avoided.
The second part for optimizing the luminance channel is to remove noise. Noise can easily be mistaken for stars within the star mask process. Removing noise follows the same process as removing non-stellar structure except Multiscale Linear Transform is only focused on the smallest layers.
With real-time preview enabled, start removing the lowest levels to see how the noise begins to disappear. (It might be required to zoom in to see the changes).
Create Star Masks
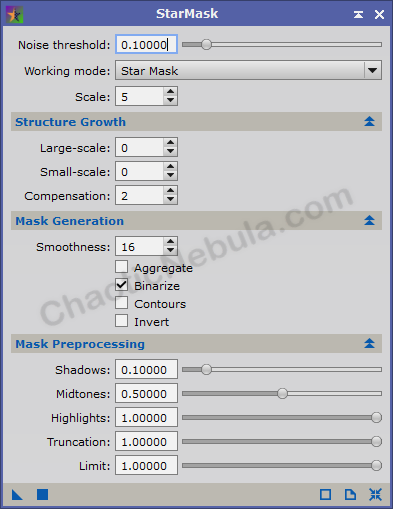
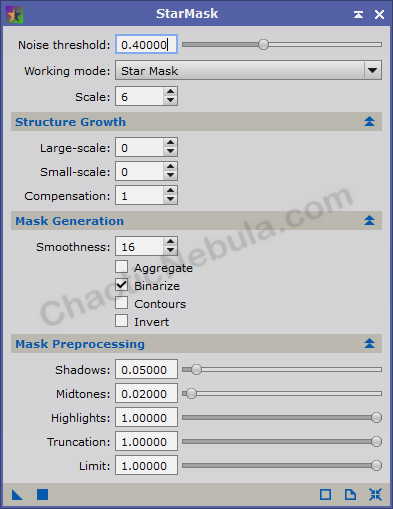
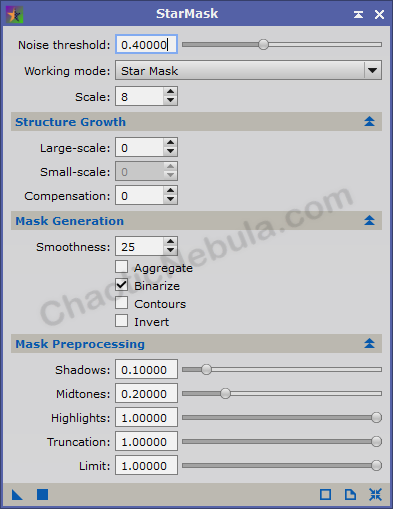
There are a few things to know about the PixInsight Star Mask process (Process – Mask Generation – Star Mask)
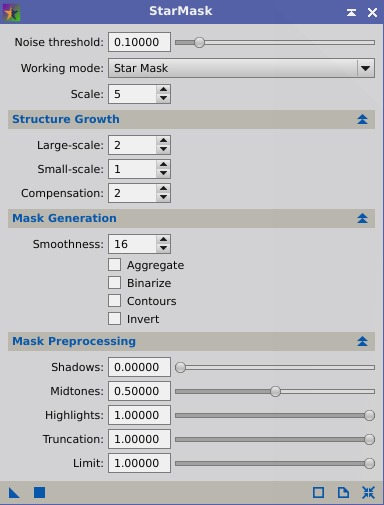
- Noise Threshold: This is the limit to what is considered a star and what is consider noise. Simply moving the mouse pointer over the image will show a “K” value in the bottom status bar. As the mouse moves close to the edge of a star, the K value increases. Set the Noise Threshold just below the K value as a starting point. This should help the process to only capture stars and not noise.
- Scale: This setting determines how many pixels are considered when identifying a star.
- Larger Scale: Captures a wider area around each bright pixel, potentially including faint extensions of the star and creating a larger mask.This is useful for identifying large, diffuse stars but can lead to halos around smaller stars
- Smaller Scale: Focuses on a tighter area around the brightest pixel, creating a more precise mask for point-like stars. This is ideal for capturing sharp, pinpoint stars but might miss some details of larger stars.
- Structure Growth: This setting controls the mask’s size and shape around detected stars.
- Large-Scale: This setting increases the mask size for the bigger stars.
- Small-scale: This setting increases the mask size for the smaller stars
- Compensation: This setting determines how many layers are used to create the star mask. Higher numbers provides greater levels of refinement.
- Mask Generation
- Smoothness: Determines the gradual transition between masked and unmasked areas. Keeping this low helps create sharper transitions and more focused stars. Depending on the size of the stars, increase the smoothness to avoid square stars
- Aggregate: Bases the mask by summing the values of all wavelet layers
- Binarize: Creates a star mask where the stars are the same intensity across the entire star versus creating a mask where the intensity is proportional to the intensity value. This can be useful if the plan is to remove stars or completely protect stars. If the plan is to reduce star brightness, keep this disabled.
- Mask Preprocessing
- Shadows: Determines the point on the histogram where the darkest pixels are clipped (removed) from the mask.
- Midtones: Decrease the level to apply a stretch to the newly created star mask and make detected stars brighter
The PixInsight Star Mask process is a powerful tool, but trying to create a single configuration that captures every single star, from the large to small, will often result in failure. It is better to have 3-5 different Star Mask configurations that are optimized for different star sizes.

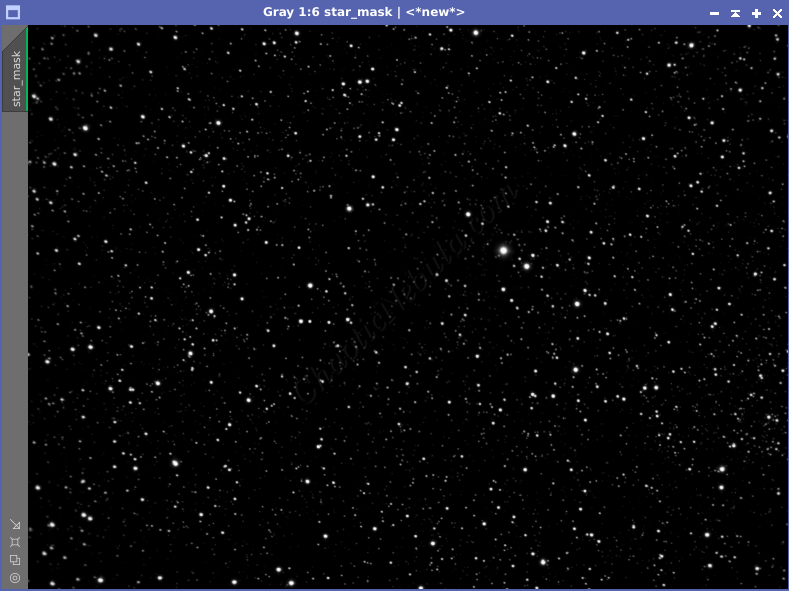
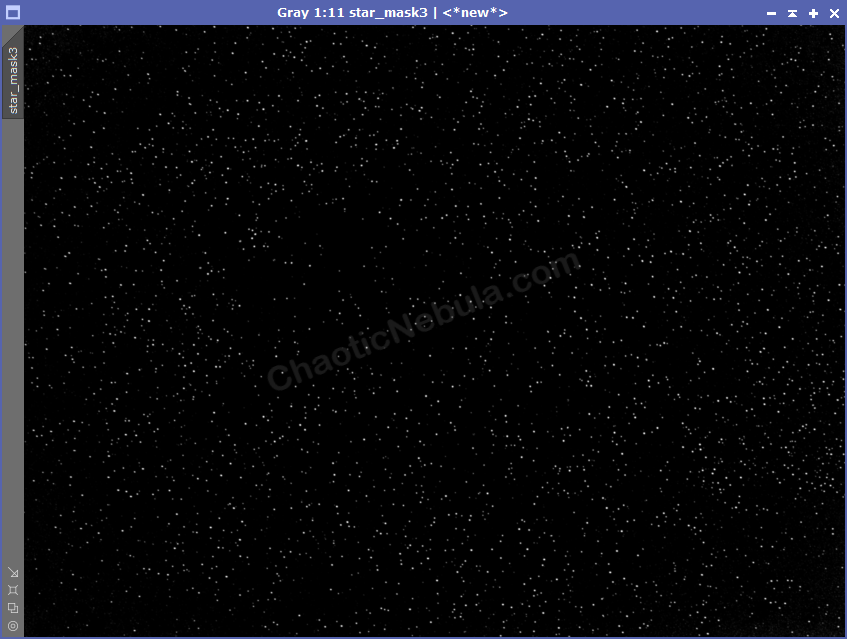
Once applied to the luminance channel, it is easy to see how the settings impacted what was captured within the star mask.
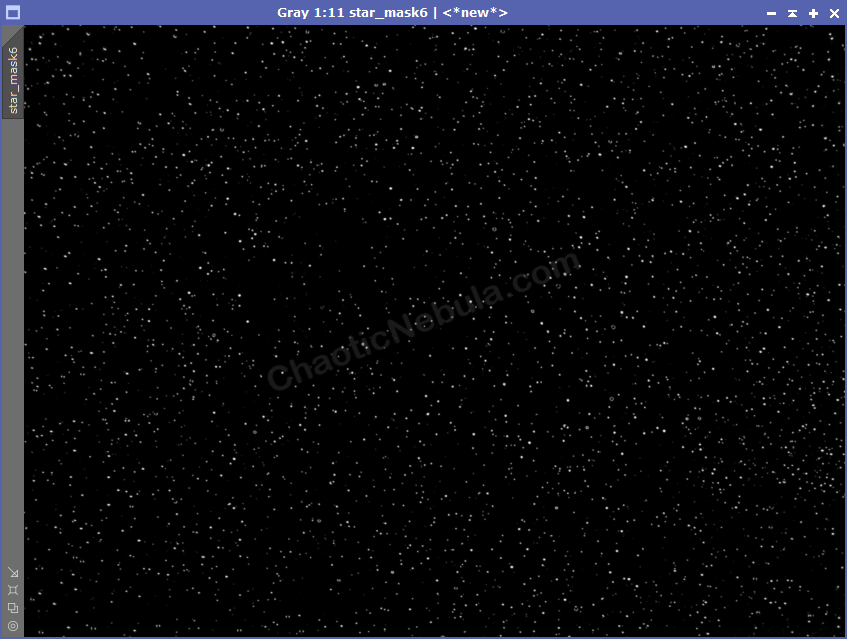
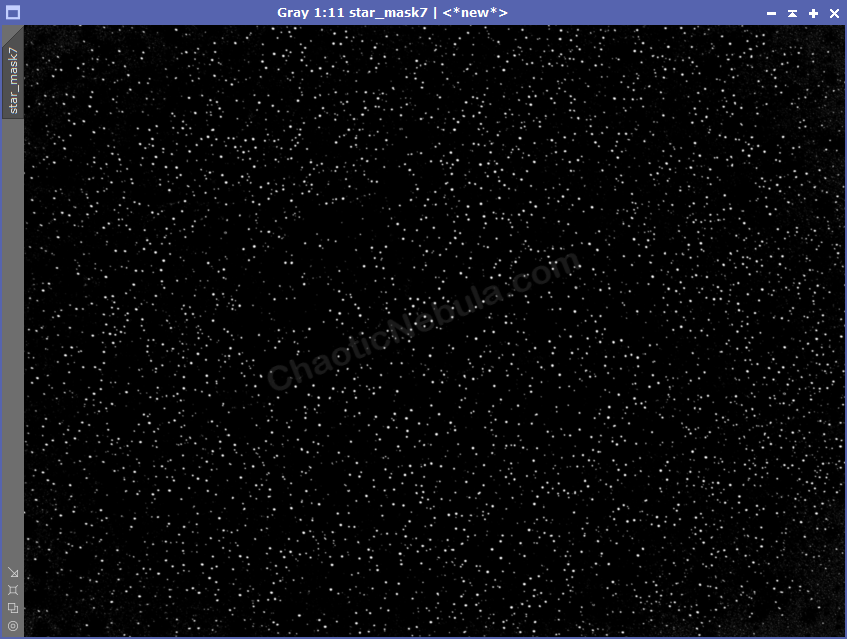
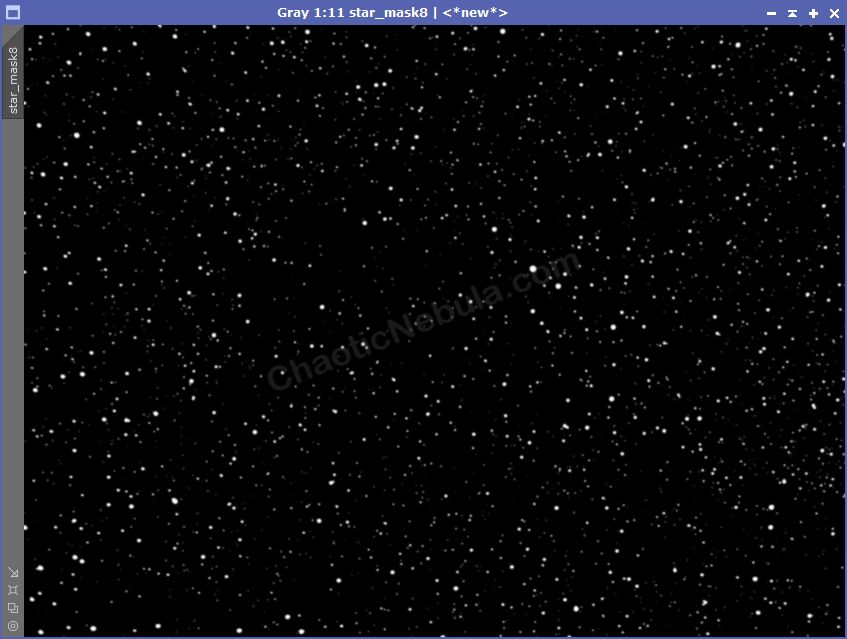
Once this is applied, it is important to verify that only stars were captured an any non-stellar structures were not. The small star sample captured non-stellar structures that should not be part of the star mask, so it is removed from the list.
Integrate Star Masks with Pixel Math
The multiple star masks must be combined to create a single star mask image. Within Pixel Math, the following formula creates a single image using the maximum values from each individual image.
With the Pixel Math (Process – Pixel Math – Pixel Math) process, use the following
- Select Create new image
- Color space: Grayscale
- Formula: Use the following formula, which takes the largest value for each pixel to combine a new image.
max(star_mask,star_mask2,star_mask3,star_mask13)This creates an integrated image from the individual star masks
Morphological Transformation
At this point, the mask captured the stars, but they do not cover the stars in their entirety. The stars within the mask need to expand so they will completely mask the stars. To do this, use Morphological Transformation (Process – Morphology – Morphological Transformation).
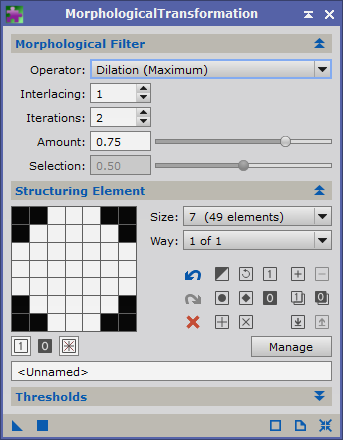
The settings used for morphological transformation are
- Operator: Dilation. This will increase the size of the stars
- Iterations: 2. This determines how many times to apply the process.
- Amount: .75. What percentage should the process be applied to the image. A value of .75 equals 75% of the new dilation gets applied while 25% remains from the baseline image.
- Size: 7. This determines the overall size of the star structure. Larger sizes creates more processing time, but provides smoother structure definitions.
- Dimension: Circle. This is the shape of the structure. Stars should be circular.
Once applied, it is easy to see how the star size increased.
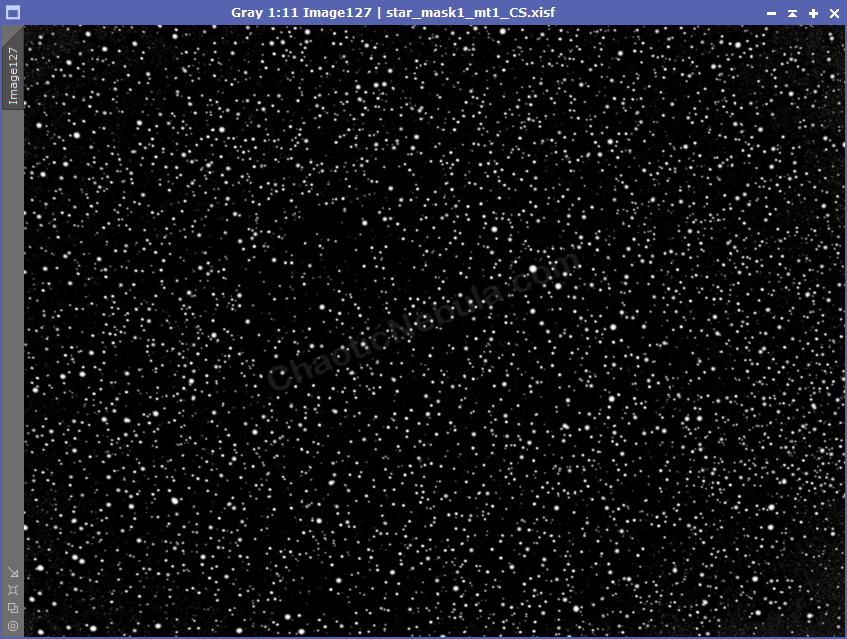
Completed Star Mask
At this point, the star mask should now completely protect the stars. If not, morphological transformation can be applied again.
Star Mask Processing Tips
Tip 1: Some images might include very large and very bright stars. Trying to mask these stars is extremely difficult due to the brightness bleeding beyond the outline of the star. Depending on the purpose of the star mask (star color, starless images), it might be best to remove the star from the mask so it is not protected and results in a better end result. To do this, simply use the Clone Stamp tool and remove the star from the mask.
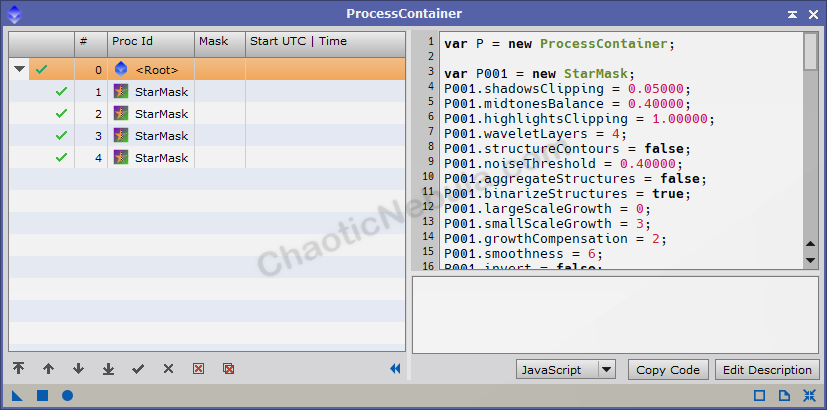
Tip 2: Once the Star Mask settings have been identified for a particular imaging rig, create a Process Container to hold the multiple star mask processes and unique configurations. The process container can be applied to the image and will run through all operations automatically, helping to save time.