Although you expect to see stars in any astronomical photo, depending on the target, the brightness of the stars might overwhelm the subtleties of the object. With PixInsight, we can reduce the brightness of stars.
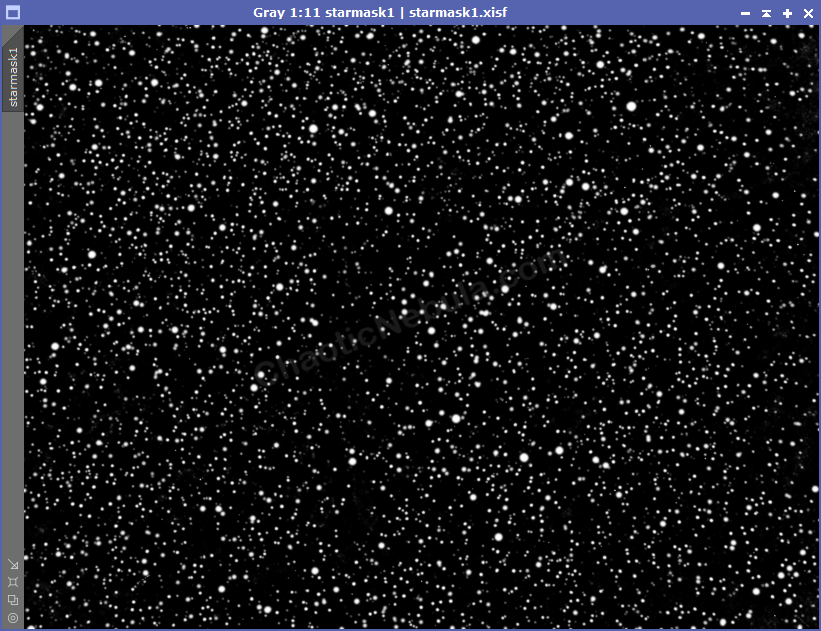
Star Mask
In order for the star reduction process to work, we need a very good star mask. The star mask that was created and used earlier in the workflow can be used for this process as well. Follow the guide on creating a star mask or creating a star mask with StarNet.
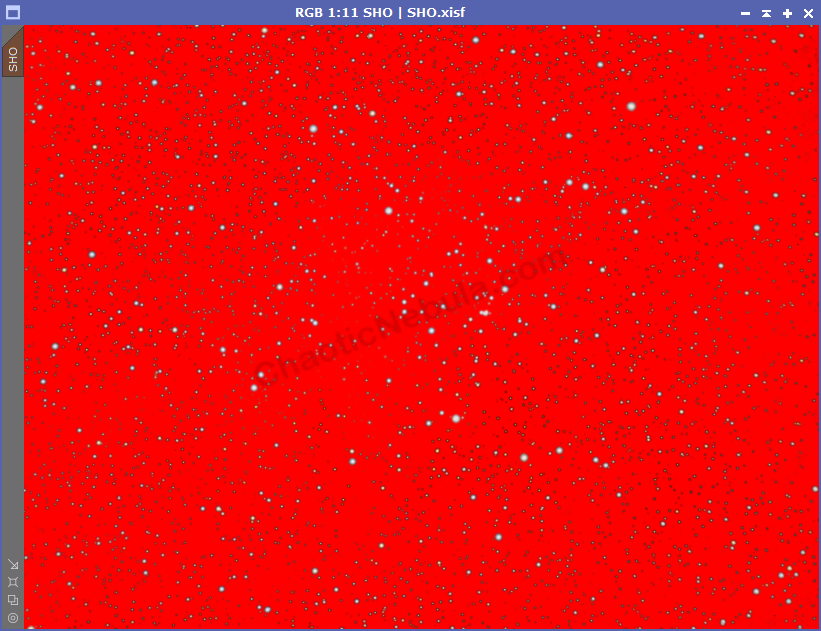
Once the star mask is created, we need to apply it to the image so everything, except the stars, are protected.
Morphological Transformation
The morphological transformation process allows us to eroded (shrink) or dilate (grow) our stars. In this case, we will erode.
Within morphological transformation, there are a few options to be aware of:
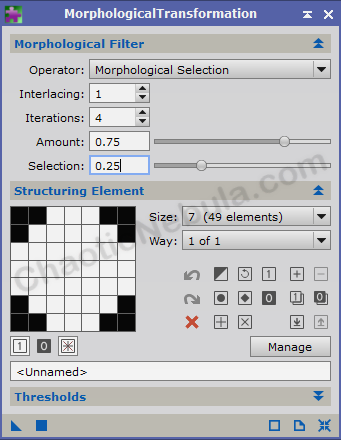
- Operator: Although there is an erode and dilate option, using morphological selection provides a more granular level of erosion and dilation.
- Iterations: Number of times to run through the process
- Amount: Determines how much blending there is with the new values vs the old. I often use 75% new.
- Selection: When using morphological selection for the operator, Selection becomes available. A value of .50 does an equal amount of dilating as eroding, so nothing happens. Lowering the value provides more eroding. A value of 0 would be equal to using Erosion as the operator.
- Structuring Element: For my imaging rig, using a size 7 as a circle works best
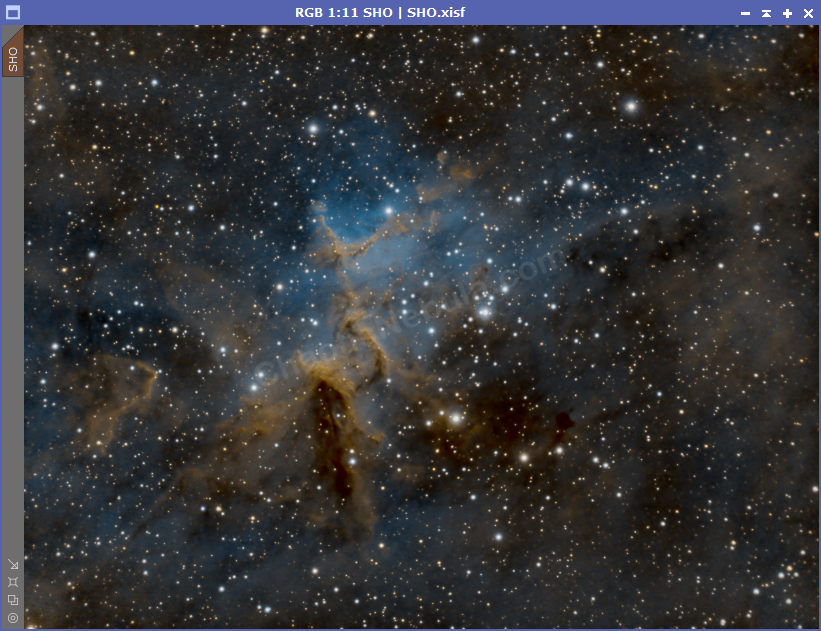
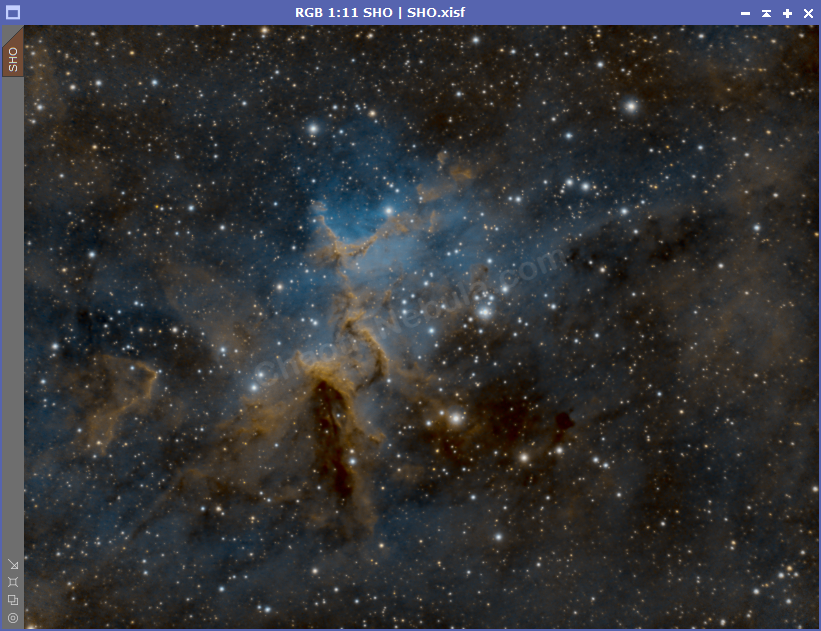
With the star brightness decreased, the nebula takes on a much larger emphasis.
What’s Next
The next step is to do work on additional enhancements to the color and saturation with Curves Transformation.