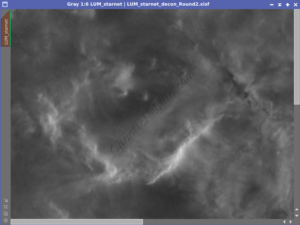
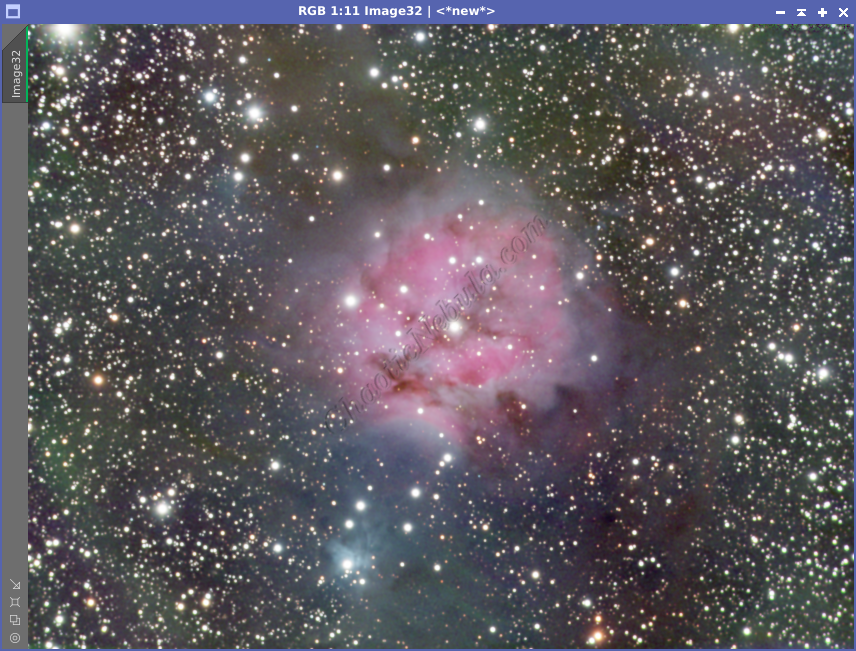
As expected, astrophotos are filled with stars. Hidden treasures often lie behind the starry brilliance. This is where the magic of StarNet in PixInsight is used to remove the stars that obscure the breathtaking details hiding in the background.
What if you could remove the stars? What would you be able to do?
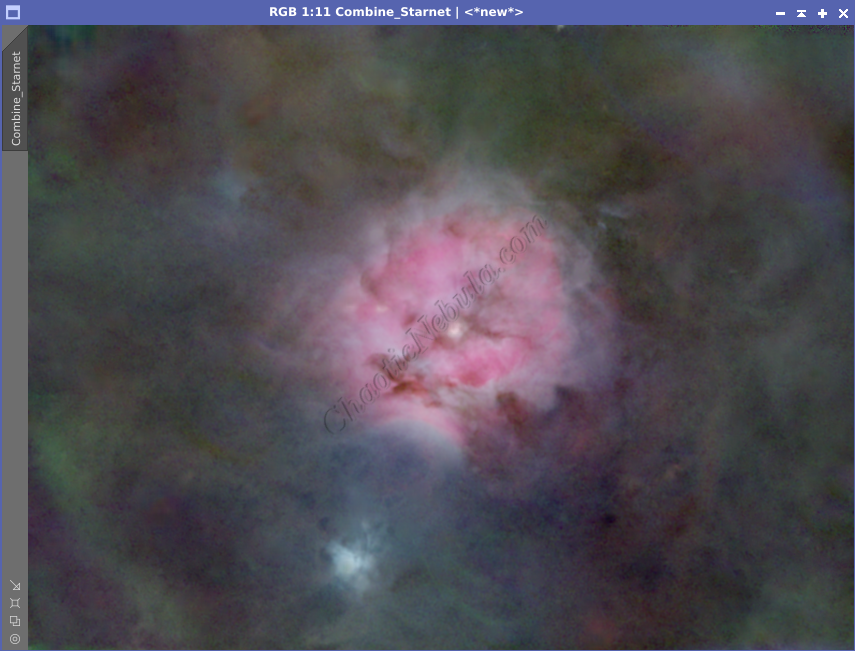
- Enhancing Faint Nebulae and Galaxies: Stars can overwhelm fainter details in deep-sky images. StarNet removes stars, revealing delicate structures, subtle colors, and intricate patterns within nebulae and galaxies.
- Unveiling Hidden Features: Stars can mask faint dust lanes, reflection structures, and other delicate features. StarNet reveals these details, allowing for a more comprehensive view of celestial objects.
- Improving Contrast and Clarity: Removing stars reduces overall image brightness, making fainter areas more visible. This improves contrast and clarity, particularly in low-contrast regions.
- Reducing Noise: The process of star removal often helps reduce noise, leading to smoother backgrounds and cleaner images.
- Creating Artistic Interpretations: Starless images offer unique perspectives and artistic possibilities. They can highlight ethereal beauty, create abstract compositions, and emphasize textures and shapes.
- Selective Star Reduction: StarNet can be used to selectively reduce stars in specific areas, balancing their presence with other image elements.
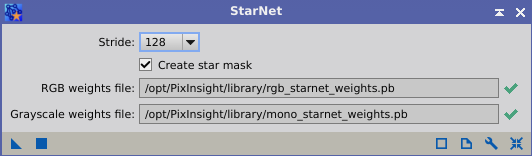
- Generating Star Masks: The process creates a star mask, invaluable for targeted processing and protecting nebulae and galaxies during adjustments.
- Addressing Technical Challenges: StarNet can help manage challenges like: bloated stars due to poor seeing conditions, overexposed stars from long exposures, and star halos caused by optical issues.
- Facilitating Processing Workflows: Separating stars from nebulae allows for independent processing, optimizing each component without affecting the other.
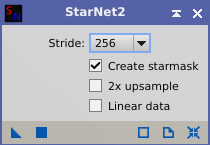
One of the easiest ways to do this is with the StarNet process. StarNet is a powerful tool in your image processing workflow. But what are some the best practices when leveraging StarNet?
Note: In these examples, the resolution is .20 arcseconds per pixel, which is obtained from a telescope with a focal length of 1920mm, a camera with 3.8µm pixel size, and applying drizzle integration.
Version
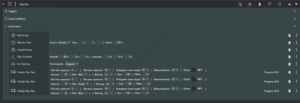
PixInsight comes prepackaged with StarNet (Process – Object Recognition – StarNet). You can also download the latest versions of StarNet from the author’s site StarnetAstro.com.
Which one to use?
The simple answer is to download the latest from StarnetAstro.com and add it into PixInsight based on the instructions provided within the download.
Based on tests, StarNet2 is more flexible than the version included within PixInsight. The PixInsight version is limited to non-linear images, which often impacts image processing workflows. In addition, the PixInsight version of StarNet works better with monochrome images. This requires stretching individual channels to nonlinear before applying StarNet.
StarNet2, on the other hand, can be used with linear and nonlinear images, providing greater flexibility based on usage requirements. In addition, StarNet2 works equally well with monochrome and color images.
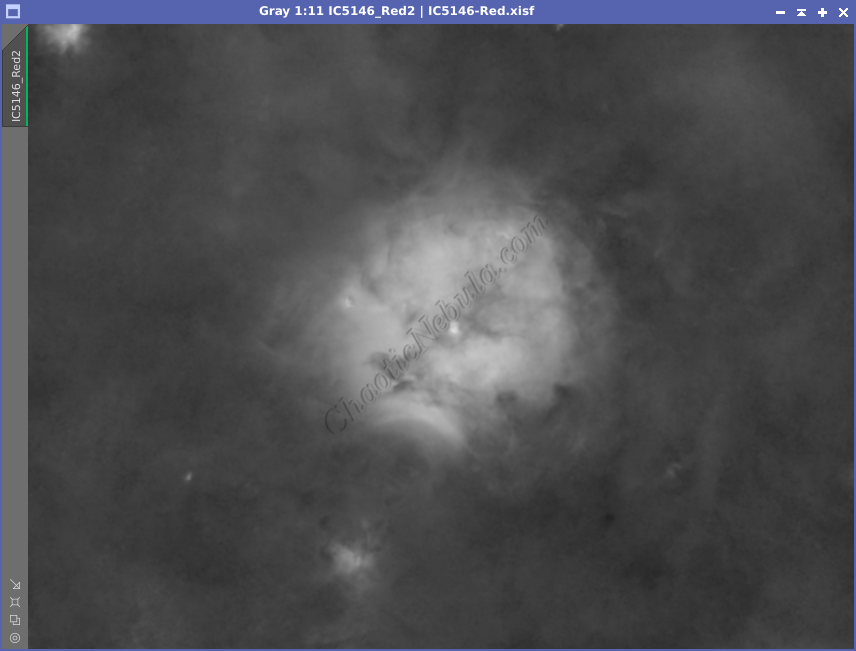
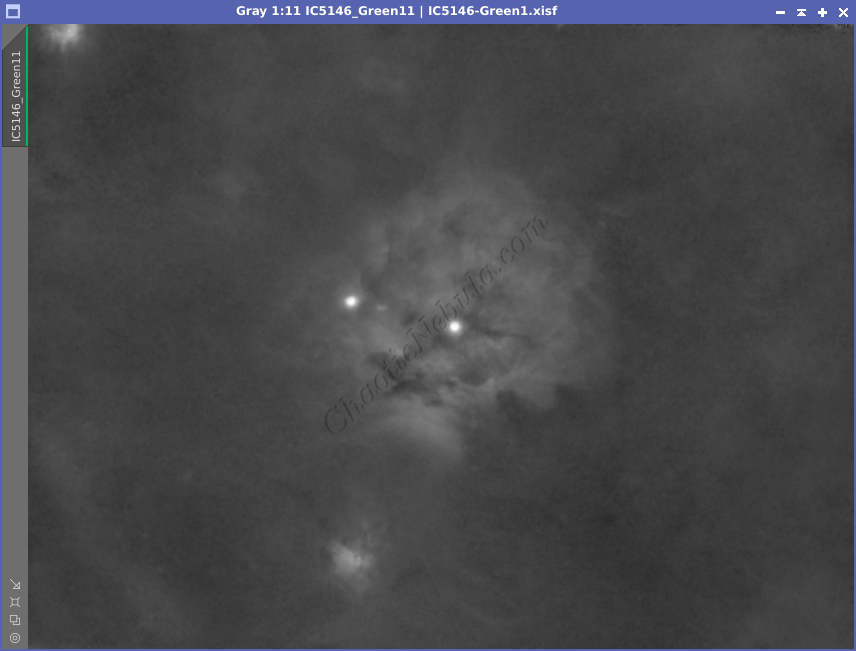
Mono vs Color
Is it better to apply StarNet to monochrome images before they are combined into a color image or apply StarNet after the images are integrated?
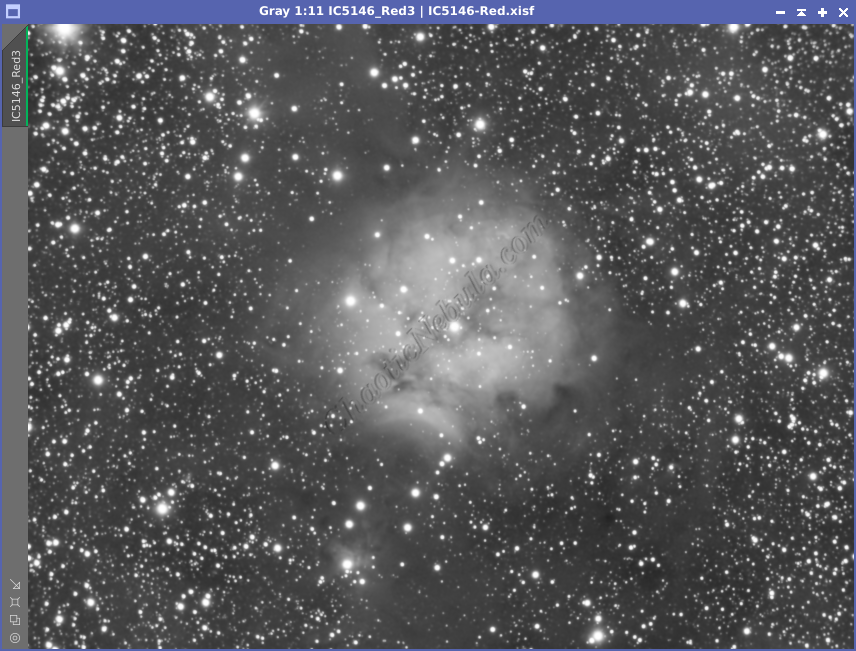
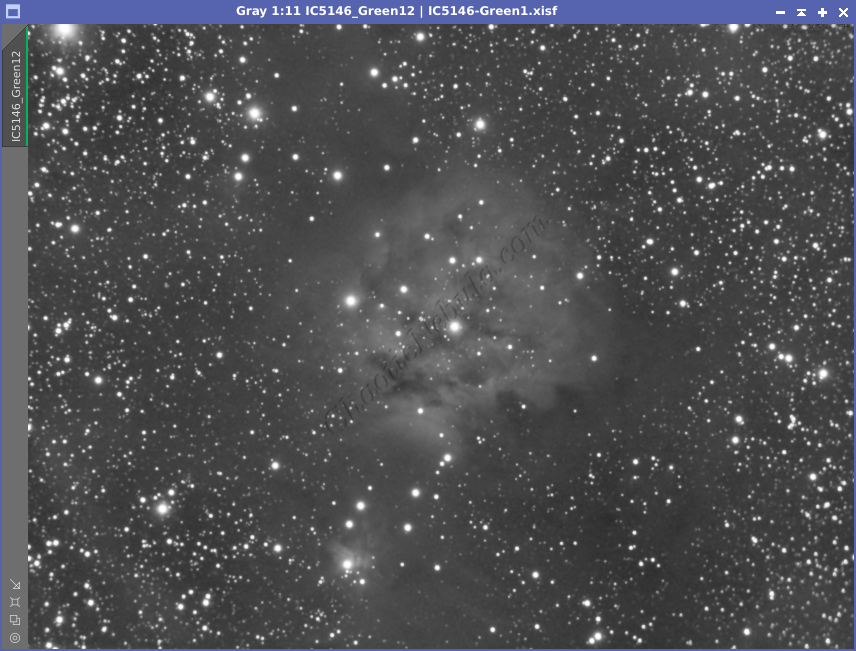
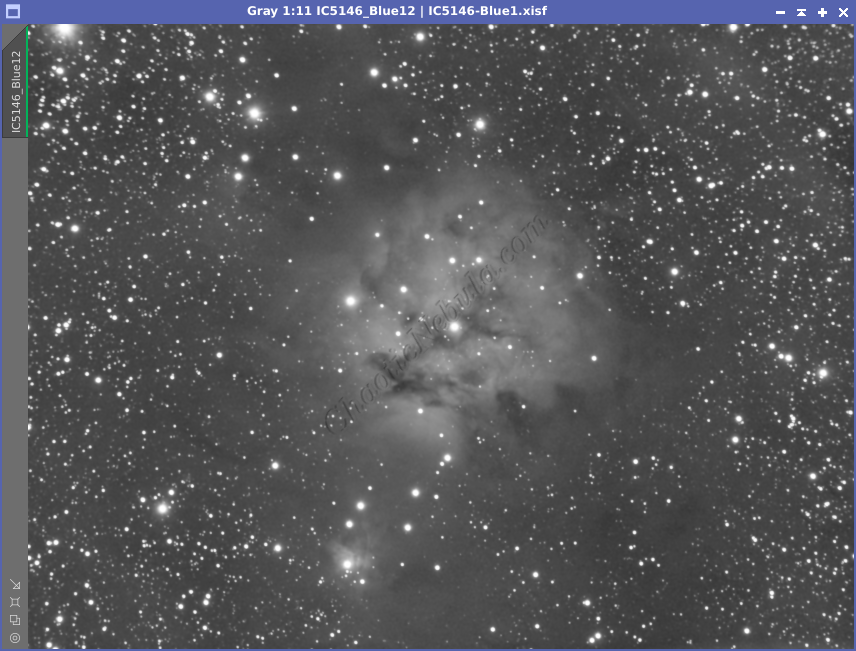
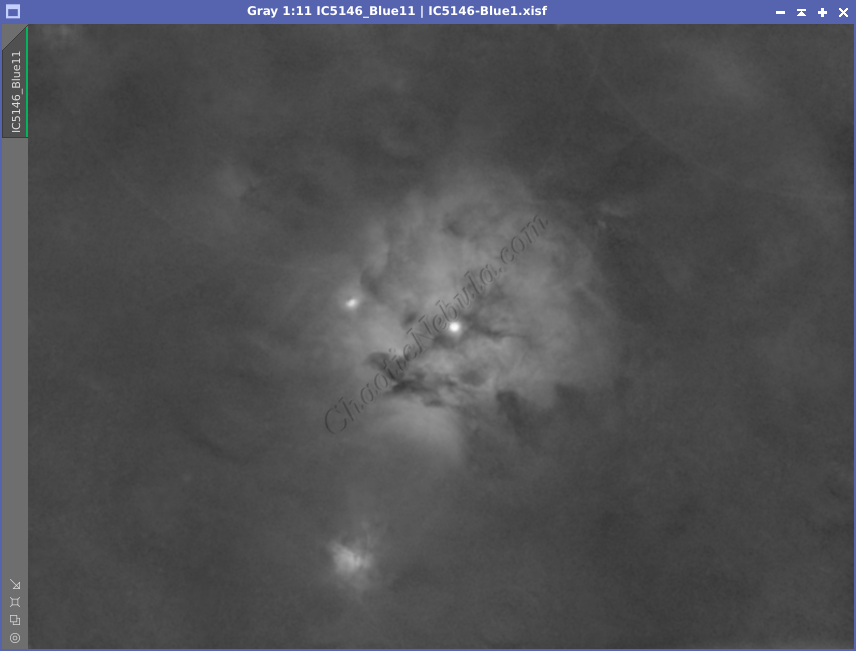
Option 1: Apply StarNet to Monochrome Images
By applying StarNet to the individual channels, the belief is that you can apply extra noise reduction or signal enhancements on a per-channel layer without impacting the stars.
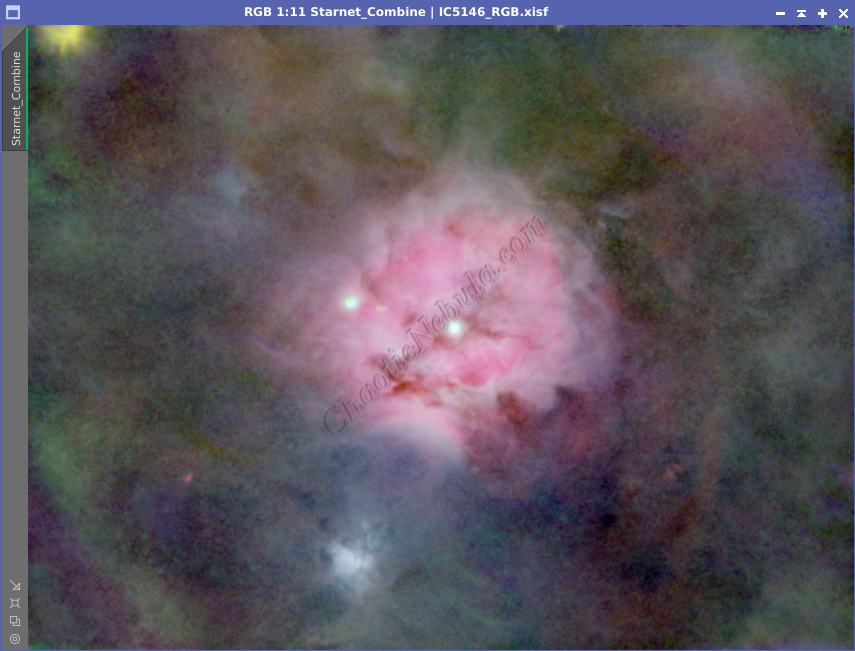
Option 2: Apply StarNet to Color Images
If you wait to apply StarNet until after the individual channels are integrated into a single color image, the belief is that this provides StarNet with a stronger signal, allowing it to do a better job.
Comparing the Two Options
Which option is better? Compare the two:
StarNet appears to do a slightly better job when applied to an integrated image versus individual monochrome channels. In this example, StarNet was able to remove the brightest stars in the integrated image as well as for make a smoother background signal.
However, these improvements are minimal and might not be noticeable at the end of the image processing workflow. So if you need to do some custom process to the individual channels, removing stars at the monochrome stage won’t cause many issues.
Linear vs Nonlinear
Is it better to apply StarNet to a linear or nonlinear image?
If you find that StarNet is critical to your image processing workflow, you will most likely apply StarNet in the linear stage. But what if you decide later that you would like a starless image after you’ve already gone through an entire image processing workflow? Will running StarNet on a nonlinear image cause issues?


Based on the test of applying StarNet immediately before and after a stretch shows there is no difference on the resulting image.
However, it is still a best practice to apply StarNet as early as possible. The removal of stars could impact any sharpening or enhancements you previously applied.
Image Resolution
Depending on your imaging rig and image processing workflow, the resolution might be too great for StarNet2 to effectively function.
To calculate resolution in arc-seconds per pixel, use the following formula:
ImageResolution (arcsec/pixel) = 206265 * PixelSize (mm/pixel) / FocalLength (mm)
Note: Most cameras represent Pixel Size in µm (micrometers). Need to convert to millimeters. If camera is 3.8µm then it is .0038mm.
Note: If you run drizzle integration on your images, the image resolution will be half of the calculated value.
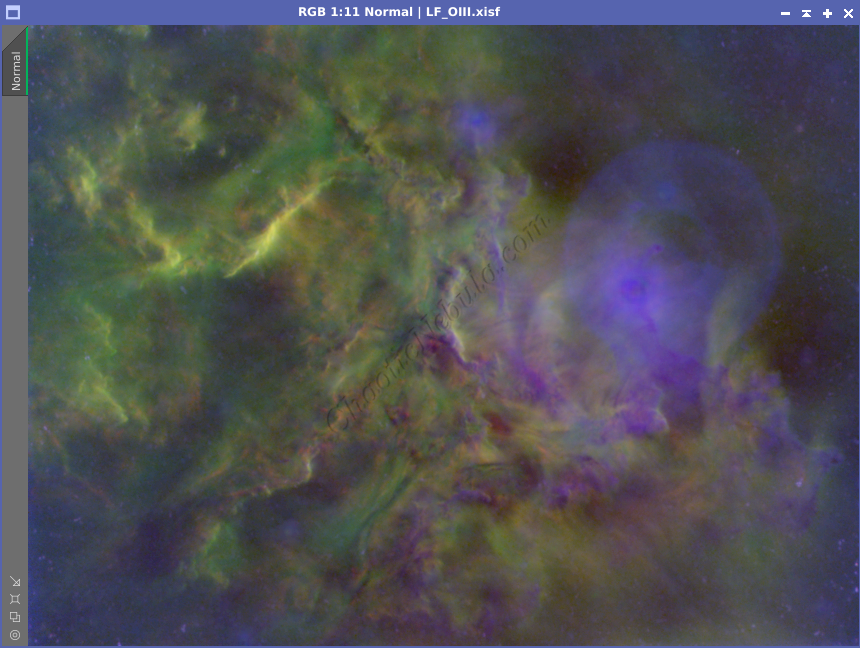
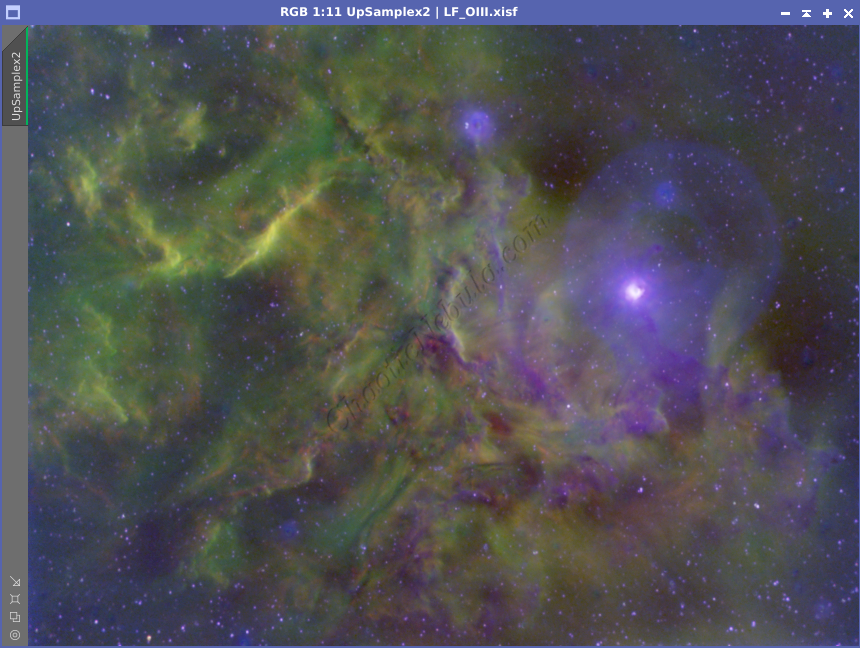
It is quite easy to see that StarNet2 struggles when the image resolution is too great. Running integer resample to make the scale at .40 arcseconds/pixel or greater is recommended.