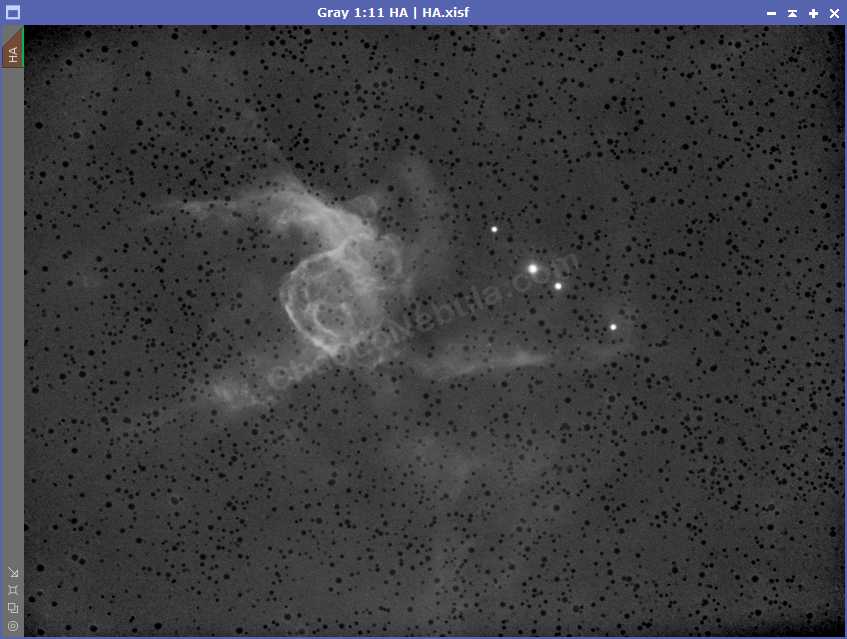
One of the more advanced and challenging workflows is to remove the stars from astronomical images. Why would you do this? Stars are part of the deep sky image.
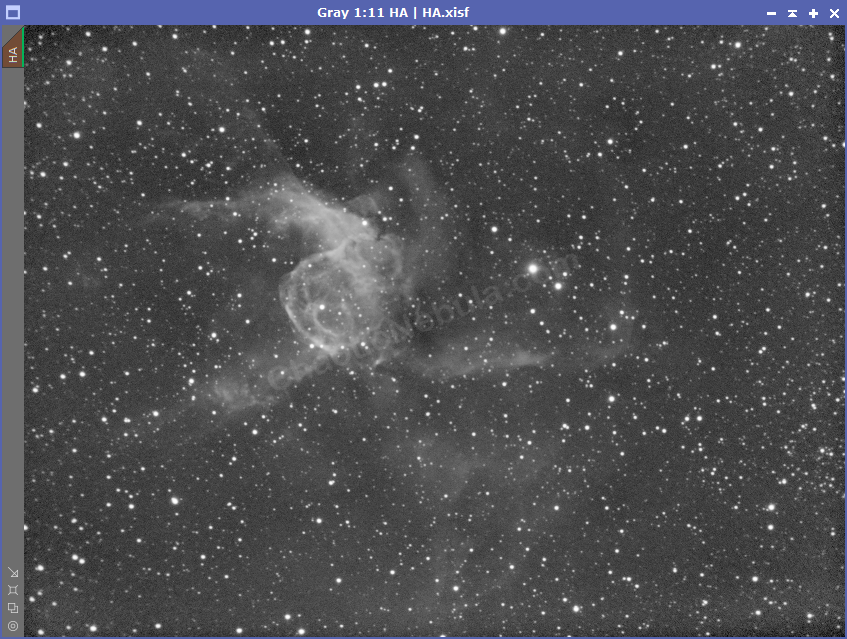
An astro photo, especially nebula photos, takes on a whole new look when the stars are removed. You are able to see more detail and more structure.

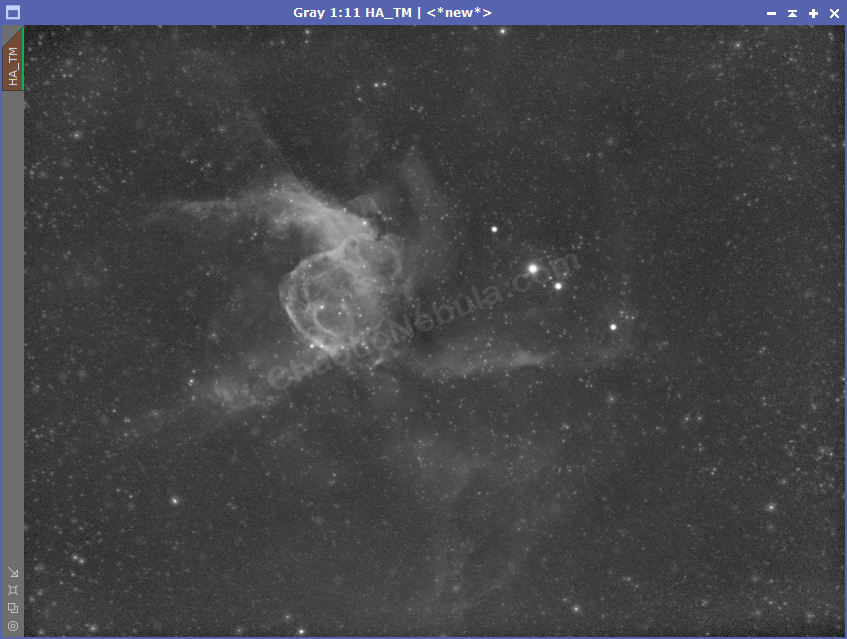
Although you expect to see stars in any astronomical photo, depending on the target, the brightness of the stars might overwhelm the subtleties of the object. With PixInsight, we can reduce the brightness of stars or completely eliminate the stars. Although morphological transformation is used in star reduction, I follow a different process for star removal.
Star Mask
In order for the star removal process to work, we need a very good star mask. Follow the guide on creating a star mask.
Once the star mask is created, we need to apply it to the image so everything, except the stars, are protected.
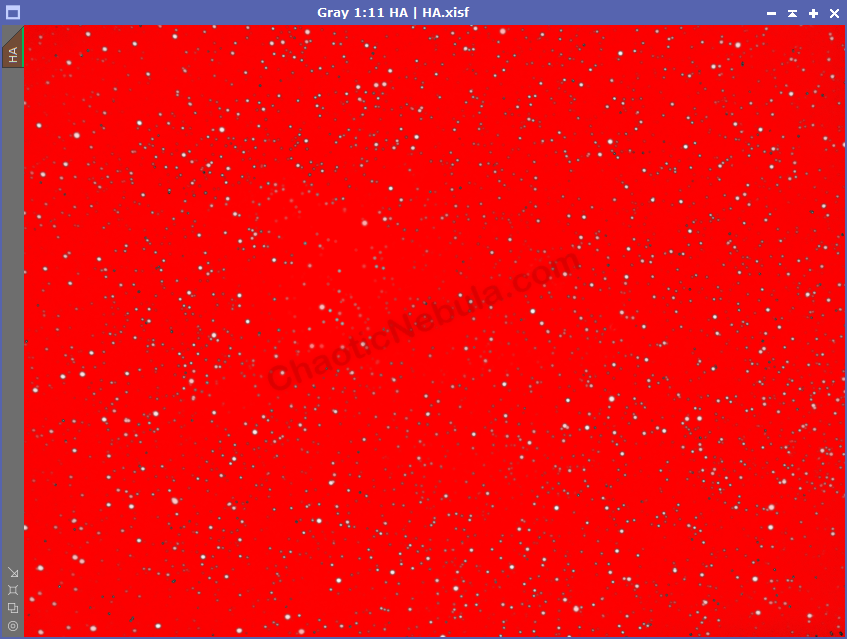
At this point, we need to zoom and cycle the mask on and off with Control+K. We need to make sure the star completely covers the stars, all the way to the edge. If not, the star removal process will leave a halo.
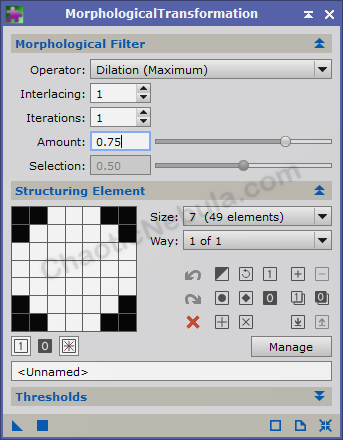
If the size of the stars in the star mask is not large enough, run Morphological Transformation in dilation mode.
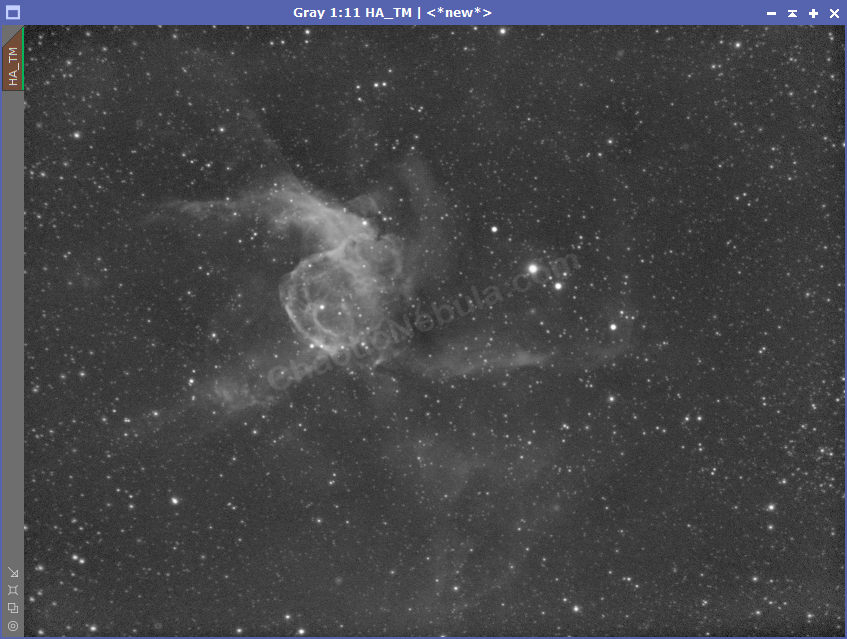
Multiscale Median Transform
I find that using Multiscale Median Transform does a better job at completely removing stars when compared to Morphological Transformation. Multiscale Median Transform creates a smoother image while Morphological Transformation starts to create dark spots if it is applied to many times in order to darken the very bright stars.

If I used Morphological Transformation, I would then have to find a way to fill in the dark spots.
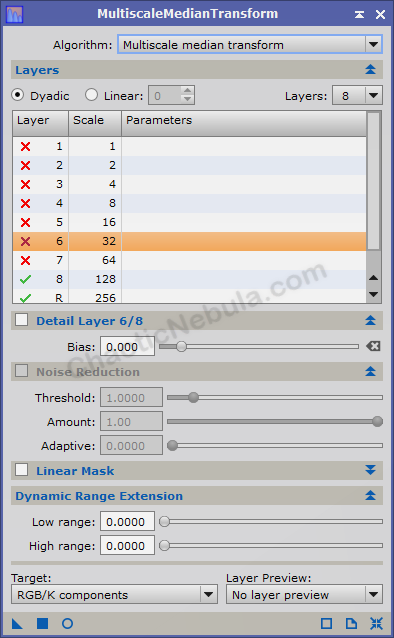
To use Multiscale Median Transform, it is a good idea to use the image preview window.
Increase the number of layers to 8.
Start at layer one and disable. Keep disabling the next layer until the stars stop dimming.
For my setup, I usually stop at 7 layers as the 8th does not appear to have an impact.
Apply this to the image multiple times. Each application results in the stars getting dimmer. Do this until the changes between attempts is minimal.