When you look at the moon with any level of magnification, you will see ripples. This is caused by the turbulence in the atmosphere. We can partially eliminate this unfocused result with Deconvolution.
Deconvolution improves the clarity in high-signal areas of the image, and the moon is a very high signal area. It should be done in the linear stage of image processing. The process for doing deconvolution on lunar images is much easier and faster than doing deconvolution with deep sky objects.
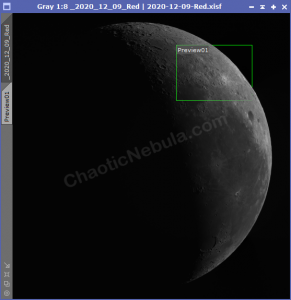
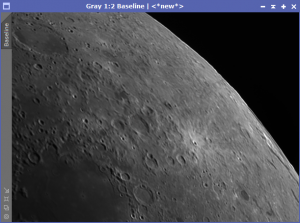
Preview
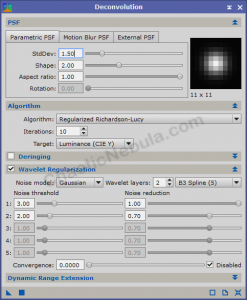
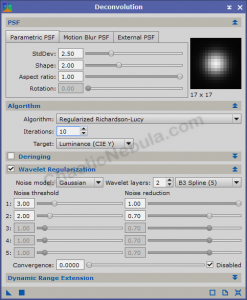
Parametric PSF
The Point Spread Function (PSF) determines the performance of the imaging rig. Basically, if we look at a point of light, how much does that point spread out?
Typically, we can determine this by looking at stars within the image as they should be round. Unfortunately, when imaging the moon, there are no stars from which to base our PSF value. This means we have to do trial and error to see what values provides the best results.


Based on visual inspection, a PSF Standard Deviation of 2.50 provides the best clarity.
Algorithm
With the PSF value determined, we can now look at the preferred algorithm and number of iterations. I’ve tried all of them and the Regularized Richardson-Lucy Algorithm works best for me.
But when it comes to number of iterations, I need to test multiple iterations to find the right number.


Based on these samples, 20 and 30 iterations appear to produce the best results, with 30 being slightly better.
Deconvolution Results
What’s Next
We need to apply deconvolution to each filtered image. Once done, we can now focus on integrating our channels together into a single lunar image. But first, we need to balance out the brightness across the filters with Linear Fit.


