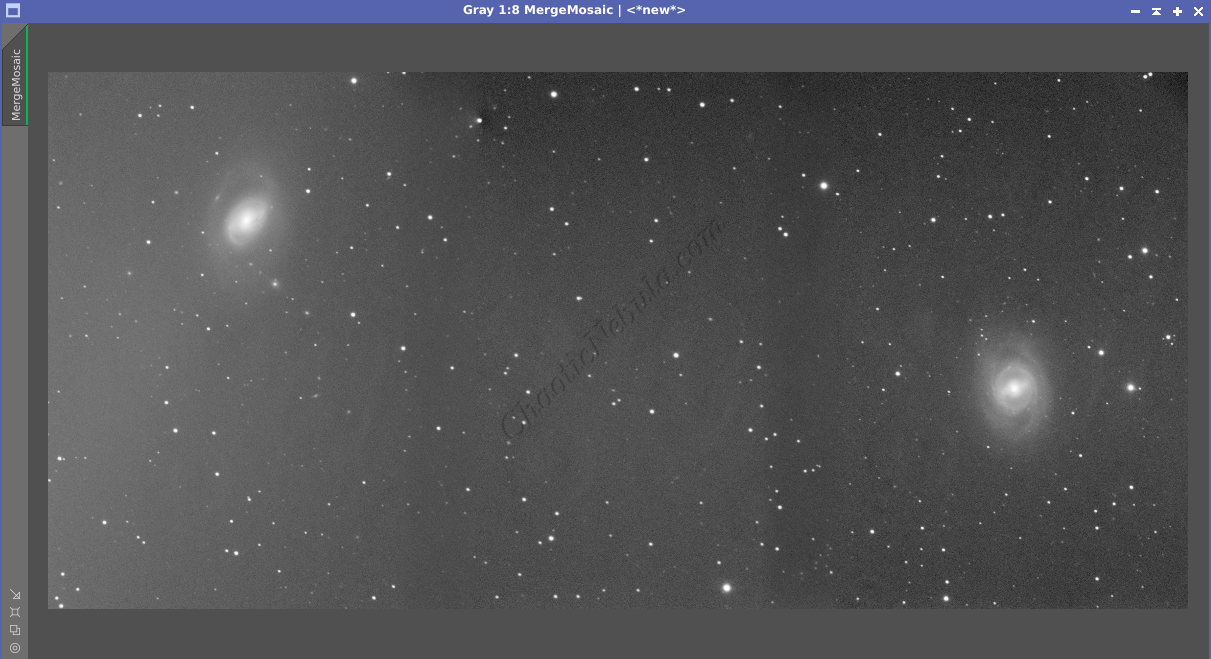
One of the biggest difficulties with creating mosaic images is blending the seams together. PixInsight Gradient Merge Mosaic simplifies the process by combining star aligned image panels into a single image, where it focuses on creating smooth transitions. This process hides the seams caused by the intensity variations, which leads to a more natural-looking mosaic.
Although it handles blending the seams well, it doesn’t hide the differences in textures, noise patterns, or other variations within the image.
Unsure of the mosaic processing order? Use the Mosaic Workflow for Astrophotos
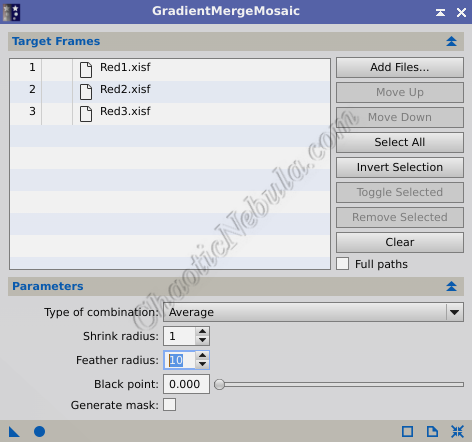
Gradient Merge Mosaic
PixInsight Gradient Merge Mosaic (Process – Gradient Domain – Gradient Merge Mosaic) takes each panel and combines them together. To begin, simply add the panels together and apply with the default options.
After applying the default parameters, you will get an integrated image. However, because the canvas is larger than the image, simply using the screen transfer function will result in a white image. The merged image must be dynamically cropped as close to the borders as possible.
Seams
Once the mosaic is created, inspect the seams (where the different panels come together). There should be a smooth transition. If not, make adjustments to PixInsight Gradient Merge Mosaic and try again. These adjustments include:
- Type of combination: Average or Overlay. Average blends the edges of the two panels together while overlay places one on top of the other. Overlay often results in harsh lines where the panels meet.
- Shrink Radius: Controls how many pixels on the edges are removed before merging. Due to processing routines, those edges might not be smooth. By shrinking the edges between 1-10 pixels, clean edges are formed. The default of 1 works for most cases
- Feather Radius: This influences the number of pixels on the edges that are used to blend the two images together. Ten pixels is the default and often appropriate unless unusual abnormalities are observed after merging.
- A smaller feather radius creates a sharper transition within the blending zone, potentially leaving a slight gradient or color shift visible.
- A larger feather radius creates a more gradual transition within the blending zone, leading to a softer and smoother blend but potentially losing some image detail.
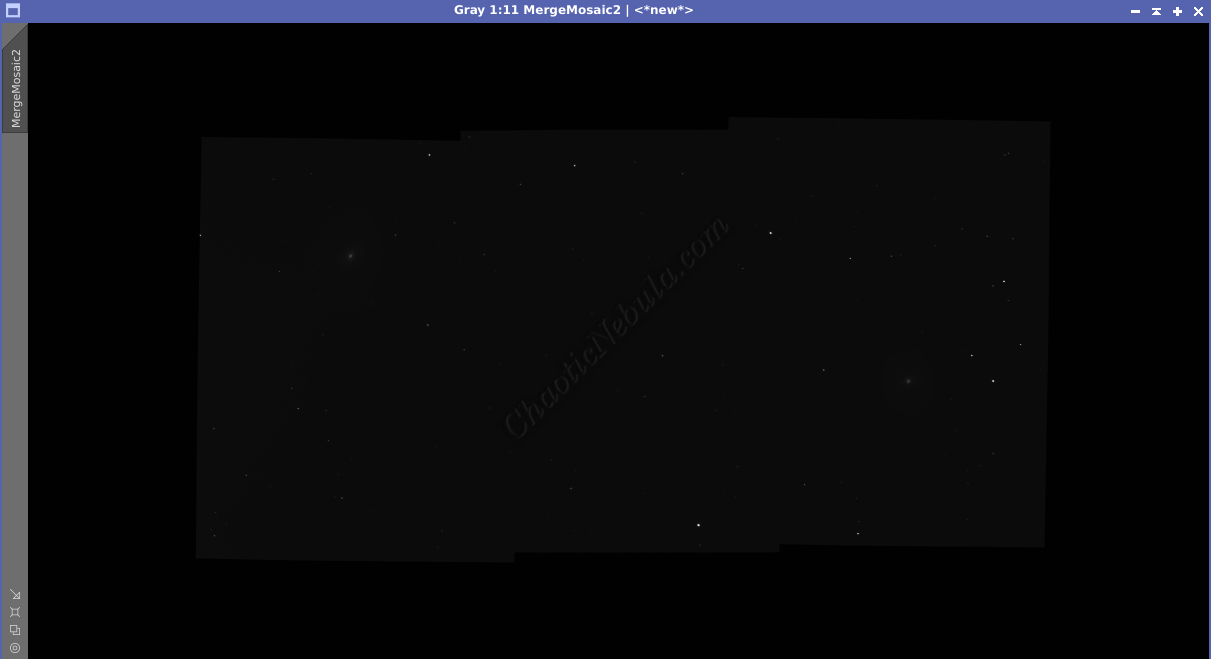
Pinched Stars
Upon examining the integrated mosaic, strange artifacts might appear near the edges, often surrounding bright stars. This is often referred to as pinched stars, which can be seen in the following example:
In this mosaic, panel 8 is responsible for the pinched star because a very bright star lands on the edge of the seam.
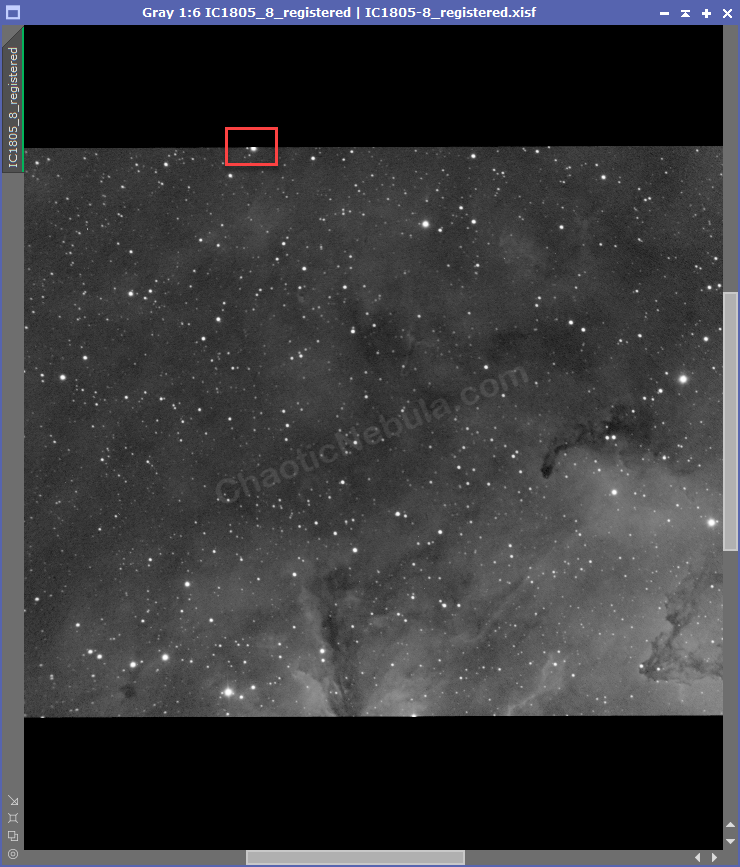
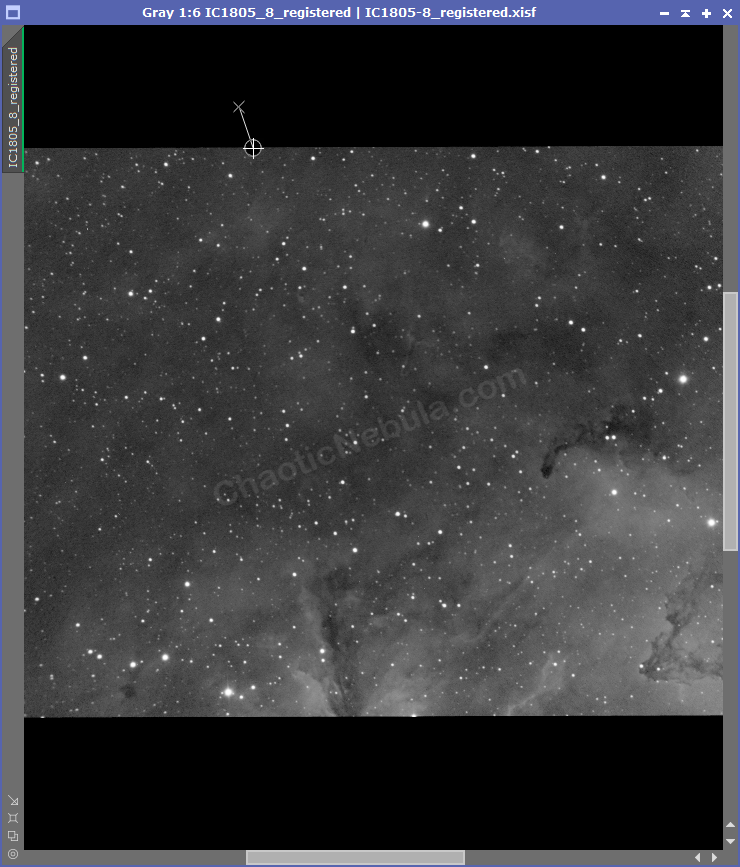
To fix this, simply remove the star from the frame where the star lands on the edge. Using the Clone Stamp tool to the following:
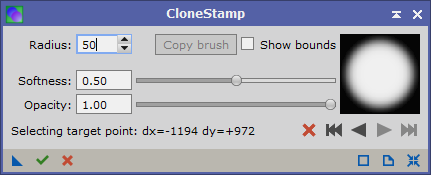
- Reset settings
- Increase radius (25 or 50)
- Place mouse in black part of image
- Select Ctrl+Mouse Click. This sets the source to clone
- Move mouse over the star to remove and click.
- Select the Green check mark to apply permanently
Save the file with a new name. Repeat this process for all pinched stars and rerun Gradient Merge Mosaic with the new file.
What’s Next
Now that we have an integrated mosaic image, we need to rerun dynamic crop and rotate to gain the final image orientation.