Astrophotographers often want to enhance faint details like nebulae without blowing out the highlights in brighter areas. A luminance mask makes it possible to target adjustments based on a pixel’s brightness level. Bright areas in the mask are protected, while fainter areas receive the full force of edits like noise reduction or contrast enhancement
Luminance masks are used many times during the PixInsight image processing workflow.
Tip: Install the DeLinear script from Herbert Walter Astrophotography (skypixels.at). In the linear processing stage, it is often required to create a clone then apply a permanent histogram stretch. The Delinear script does the stretch automatically.
Extract the Luminance Channel
The creation of a luminance mask is one of the easier types of masks to create. Regardless of the approach for creating the luminance channel, after creation it is often useful to set the image identifier name to avoid future confusion (Image – Identifier)
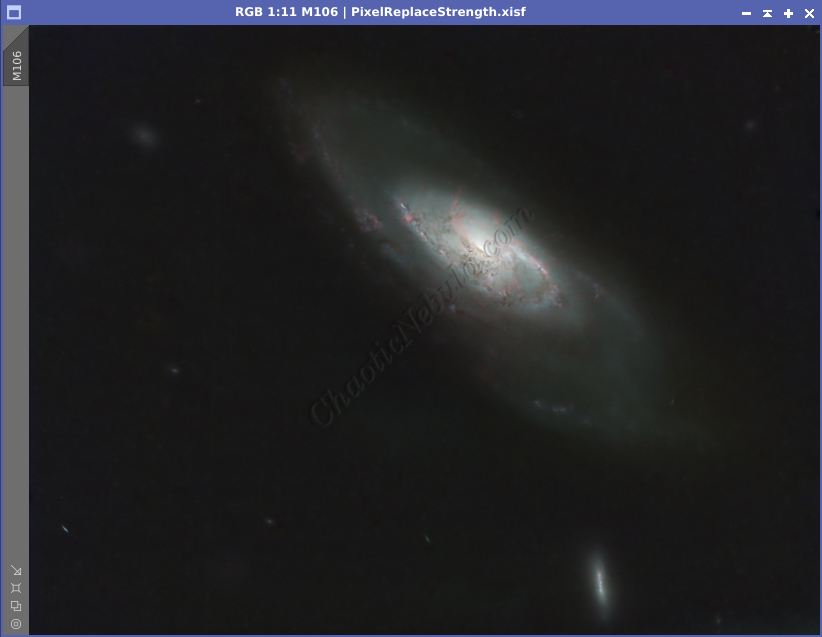
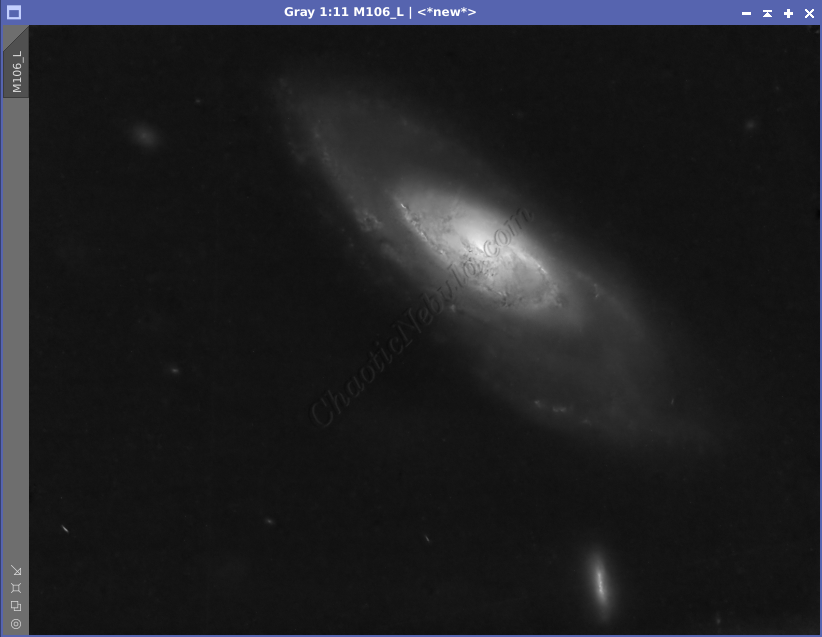
Tip: It is often a good idea to set the image identifier name to this image to better avoid future confusion.
Option 1: Monochrome Images
If working with a monochrome image, simply duplicate the image (Image – Duplicate).
Option 2: Color Images
However, if the image is color, the process is slightly different. Using the CIE L*a*b color space, extracting the L channel results in the monochrome luminance image being created. This can be done by selecting Image – Extract – Lightness (CIE L*)
Tip: There is an icon in the top shortcut bar that does the channel extraction automatically. It is called Extract CIE L* component. It is simply a shortcut for this menu option. The specific image tool bar needs to be enabled first (View – Tool Bars – Image)
Option 3: Color Images
If the image is color, the Channel Extraction process (Process – Channel Management – Channel Extraction) can quickly extract the luminance channel.

- Color Space: CIE L*a*b
- Channels: L. This corresponds to the luminance channel.
Once applied, the luminance image is created.
Stretch
Typically, the luminance mask needs to be stretched for it to function correctly. If the channel was extracted from a non-linear image, the luminance channel is already non-linear. However, if the luminance channel was extracted from a linear image, the luminance channel needs to be stretched to non-linear.
If the DeLinear script from Herbert Walter Astrophotography (skypixels.at) is available, simply run the script (Scripts – Utilities – DeLinear). The script applies an automatic stretch to the active image.
If the script is not installed, simply apply a histogram transformation stretch explained within this guide.
Blur
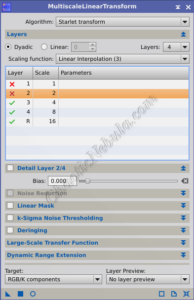
The luminance mask focuses on the stronger/weaker signal areas. However, depending on the source image, this can also be quite noisy, especially in the weaker signal areas. Depending on how the luminance channel is used, there is a potential of intensifying the noise. This can be mitigated by slightly blurring the luminance mask with Multiscale Linear Transform (Process – Multiscale Processing – Multiscale Linear Transform).
By disabling the first few layers, the details from the luminance channel are removed, creating a slight blurring effect. However, disabling too many layers will also start to blur stars, which can cause them to become bloated. When selecting the number of layers to disable, use Live Preview for a small preview window on the luminance channel.

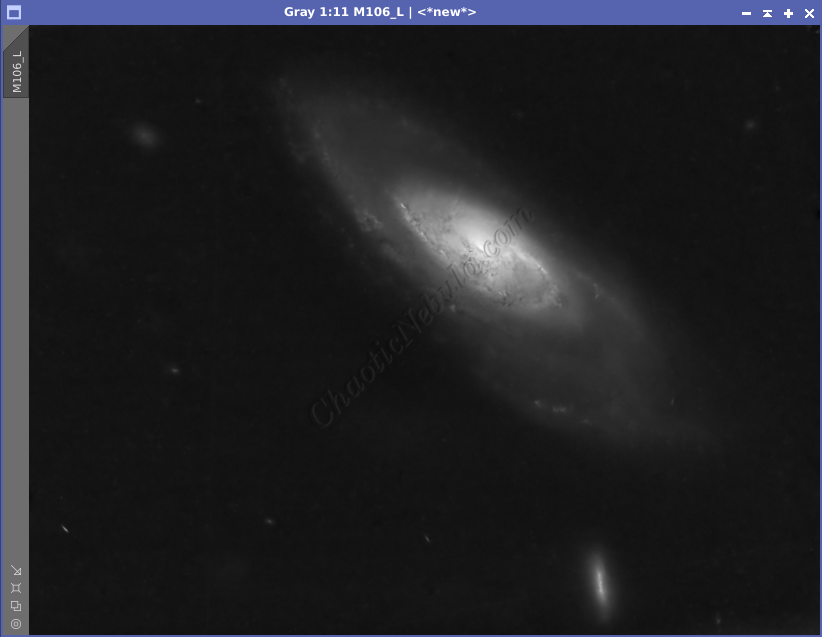
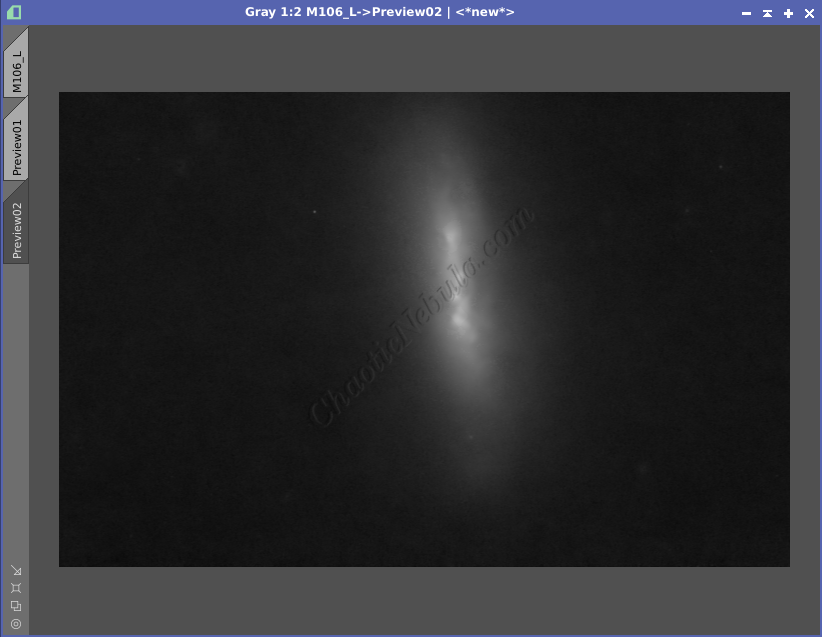
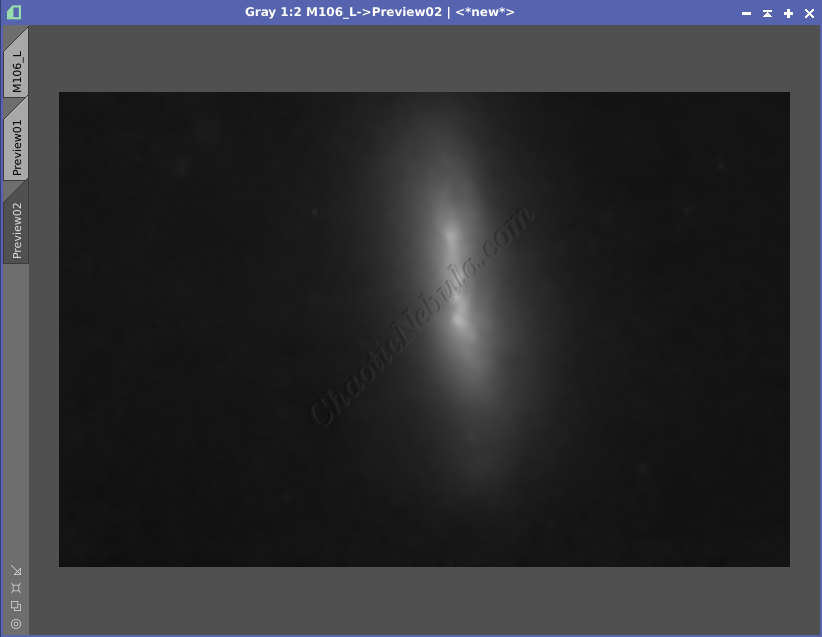
Once these settings are applied, the creation of the luminance mask is complete.
