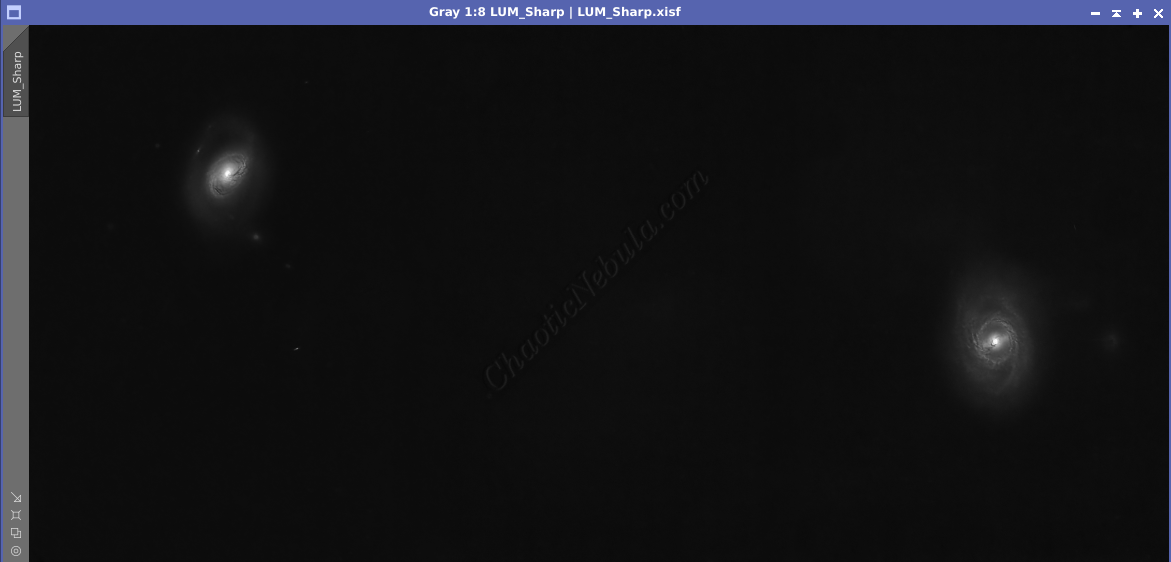
Astrophotos are difficult because they capture objects with a huge range of brightness levels. Bright galaxy cores can overwhelm the image, hiding the delicate details within nebulae and galaxy edges. This is where Local Histogram Equalization is used.
Unlike Histogram Transformation, which stretches the brightness of the entire image at once, Local Histogram Equalization works on a more local level. Local Histogram Equalization carefully examines tiny sections of the image. For each section, it analyzes the distribution of brightness and then applies a gentle stretch to enhance the contrast. This targeted approach allows Local Histogram Equalization to reveal the faint details hidden within those darker regions, all without affecting the overall brightness balance of the image.

Mask Creation
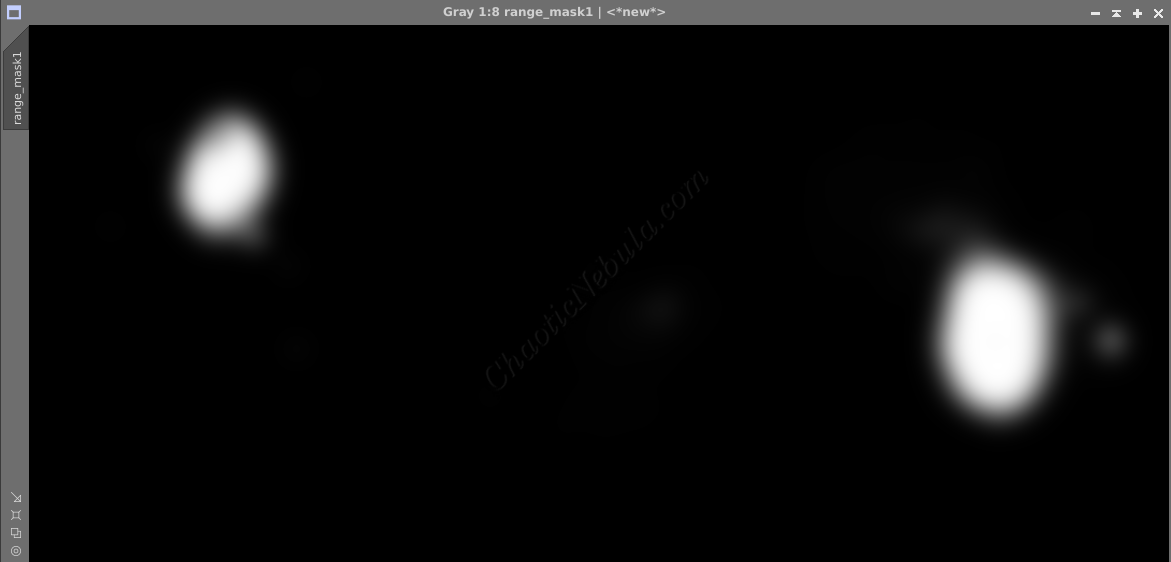
Since Local Histogram Equalization adjusts brightness levels based on small areas of the image, it’s important to protect the background from unwanted modifications. This requires the creation of a mask.
The mask must enable the local histogram equalization to operate at its maximum effectiveness specifically on the areas left unprotected. This entails employing a range mask.
This type of mask ensures that only the desired areas, devoid of any protection, receive the full impact of the local histogram equalization process. Through careful adjustments, the range mask can precisely target these regions for enhancement, helping to achieve optimal results while maintaining control over the entire image.
To create the range mask, start the Range Selection process (Process – Mask Generation – Range Selection).
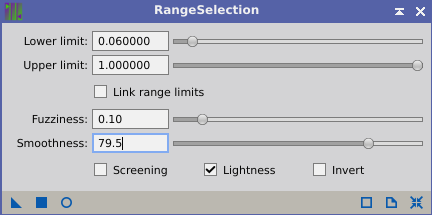
- Lower Limit: Sets the limit for incorporating shadows into the mask. Adjust this up to remove the background while maintaining the faint details of the object.
- Upper Limit: Leave this at the max so local histogram equalization gets applied to all non-background areas.
- Fuzziness: By increasing the fuzziness, the mask creates a smoother transition items inside and outside of the mask area. A value of 0.1 often works for Local Histogram Equalization masks
- Smoothness: Due to the low signal strength of the area, there is little detail to protect. Selecting a high smoothness level creates a smoother stretch. A value over 0.6 is desirable.
Local Histogram Equalization:
Configuration
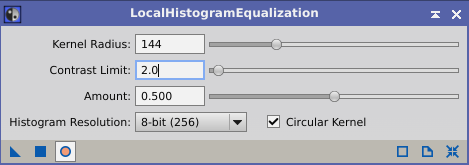
With the mask created and applied to the luminance image to protect the background, launch the local histogram equalization process (Process – Intensity Transformation – Local Histogram Equalization).
Several settings control how the tool enhances details in an astrophoto:
- Real-Time Preview: Use the preview to quickly see how adjustments to the settings impacts the image.
- Kernel Radius: This setting defines the size of the local area Local Histogram Equalization analyzes for brightness distribution.
- Smaller Radius: Ideal for targeting intricate details in nebulae or galaxies. A smaller zoom allows Local Histogram Equalization to focus on specific structures within these objects.
- Larger Radius: Useful for broader contrast enhancement in areas with more extensive low-contrast regions. A larger zoom lets Local Histogram Equalization analyze a bigger picture and adjust brightness accordingly.
- Contrast Limit: This setting controls how much Local Histogram Equalization boosts the visibility of faint details. A value of 1.5 or 2.0 works well
- Lower Amount: Applies a subtle stretch, suitable for preserving a more natural look while still revealing some hidden details.
- Higher Amount: Applies a stronger stretch, resulting in a more dramatic enhancement of faint details.
- Amount: Determines what percentage to blend from the baseline image versus the new image using the Local Histogram Equalization settings. A value of 1.000 provides no blending. Ideally, a 50/50 blend works well.
Next Steps
Save this file as the new Luminance image and continue on with the luminance workflow.