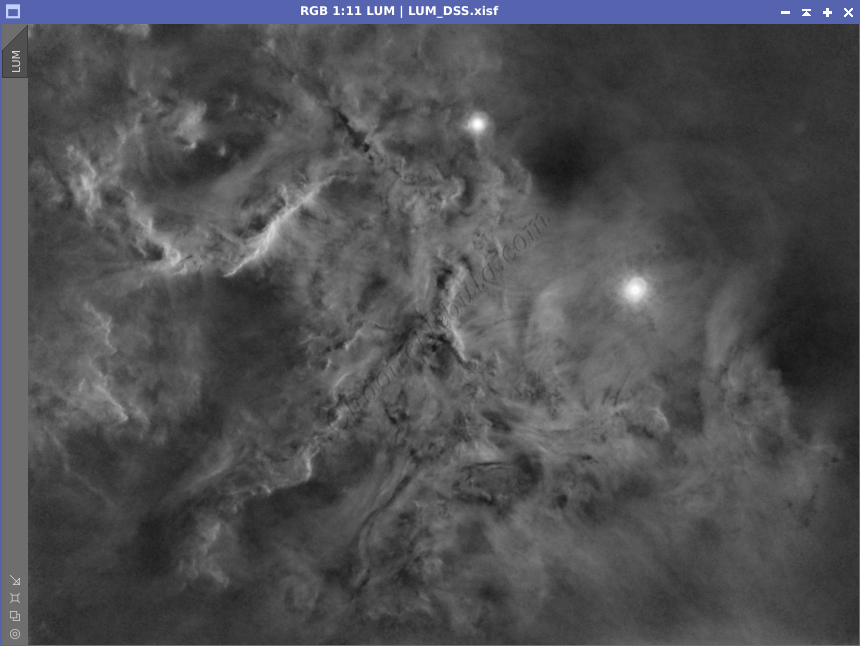
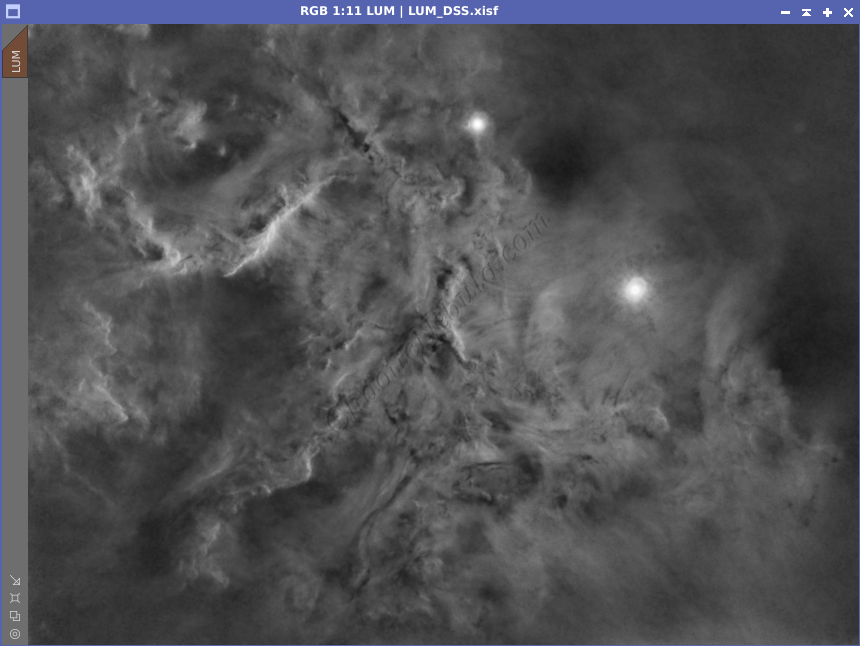
Towards the end of the luminance workflow, it is often useful to apply another round of noise reduction as some of the luminance processes might have inadvertently created noise in the low signal area. For this, PixInsight ACDNR (Adaptive Contrast-Driven Noise Reduction) works well because:
- Selective Noise Reduction: It applies noise reduction separately to lightness (luminance) and chrominance (color) channels, giving more control over how noise is handled in different aspects of the image.
- Contrast-Aware: It takes into account local contrast variations, applying stronger noise reduction in smooth areas and less in areas with high contrast. This helps to preserve details and textures, especially in faint structures like nebulae or galaxies.
- Adaptive: It adjusts its noise reduction algorithm based on the characteristics of the noise in the astrophoto, making it effective for a wide range of noise types.
For the luminance workflow, ACDNR is applied to only lightness, while chrominance is left for later in the overall image processing workflow.
Mask Creation
The goal of PixInsight ACDNR is to clean up the background noise without affecting the sharpness and clarity of the sharpened features. A mask is required to protect the high signal areas from noise reduction.
For ACDNR, the best approach for masking the bright areas is to create a range mask.
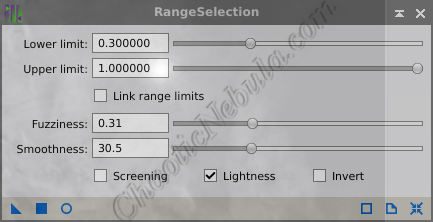
- Lower Limit: Sets the limit for incorporating shadows into the mask. Adjust this up to remove the background while maintaining the faint details of the object.
- Upper Limit: Leave this at the max so local histogram equalization gets applied to all non-background areas.
- Fuzziness: By increasing the fuzziness, the mask creates a smoother transition items inside and outside of the mask area. A value of 0.3 often works for ACDNR masks
- Smoothness: The structure of the object needs to be captured within the mask. This can be achieved by using a lower value for smoothness. A value around 0.3 is works well with ACDNR.
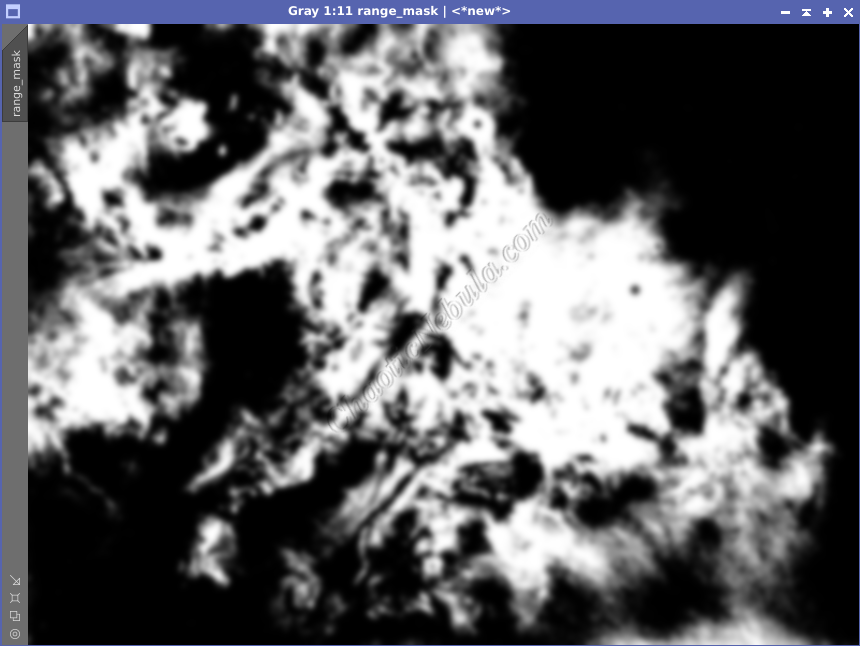
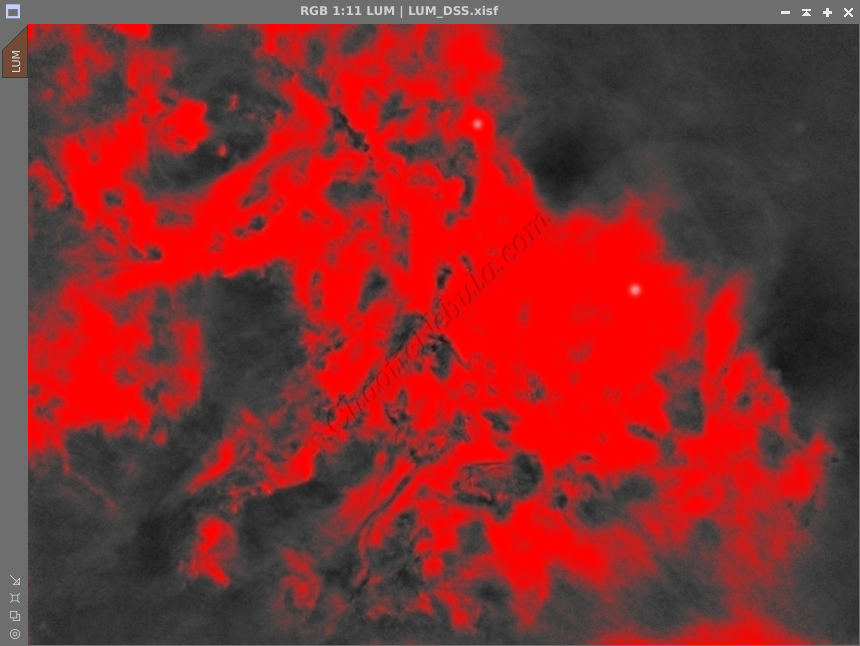
Once created, apply the range mask to the luminance image, making sure the bright areas are protected.
ACDNR:
Lightness
With the mask applied, it is possible to start adjusting the ACDNR settings (Process – Noise Reduction – ACDNR). It is recommend to create a preview window containing the boundary between high-signal and low-signal areas. By doing this, it is easier to observe how the noise reduction is applied on the low-signal areas.
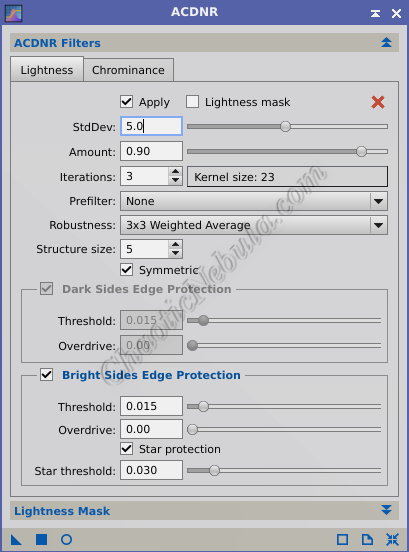
Key parameters to adjust:
- Chrominance: Disable this tab. This noise reduction process should only focus on lightness (luminance).
- Standard Deviation: Controls the size of the noise structures targeted for reduction. Lower values focus on smaller-scale noise, while higher values target larger noise patterns. This is the parameter you will want to modify as required.
Amount: Sets the strength of the noise reduction applied. This will blend the new vale with the old value based on the percent defined.
Lightness Mask: Because a range mask is applied, leave the lightness mask parameters disabled.
With the optimal settings identified, apply to the entire image and review the results.
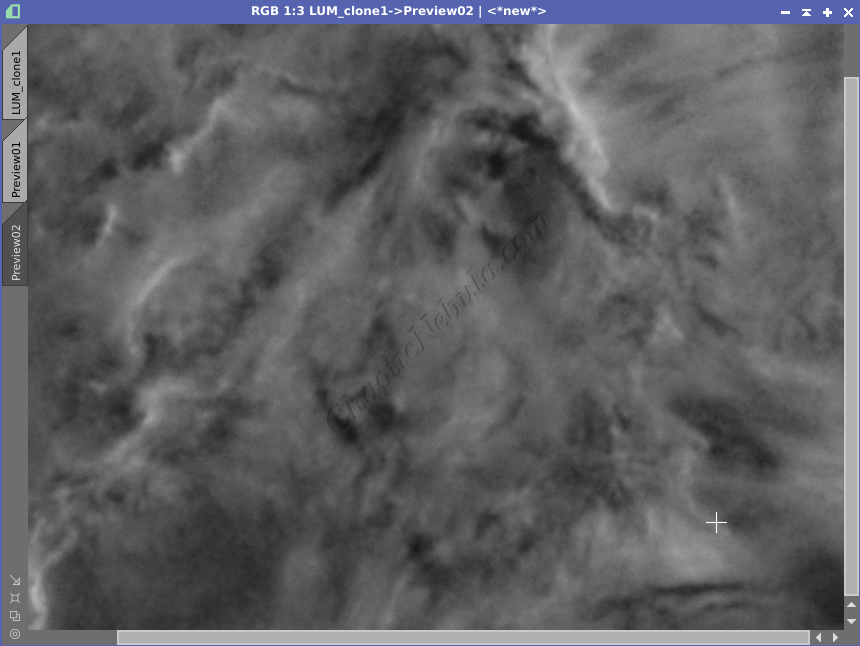
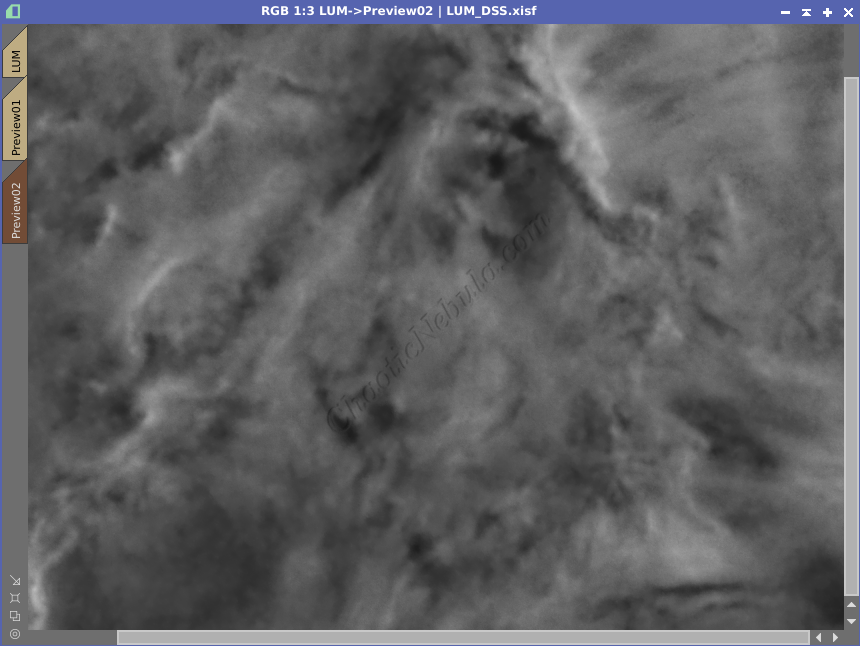
From the example, ACDNR helped reduce the noise in the low signal area while protecting the brightest areas.
Next Steps
Save this file as the new Luminance image and continue on with the luminance workflow.