Noise reduction is done multiple times throughout the image processing project. Each noise reduction process focuses on one small aspect of noise.
In astrophotography, low-level noise refers to subtle variations in pixel values at low signal levels in an image. This type of noise is often characterized by small, random fluctuations in brightness that can be visible in the darker or fainter regions of an object. low-level noise is more noticeable in areas with low signal, such as the dim or shadowed portions of celestial objects.
Tip: It is best to have a light touch with noise reduction or else the image will look over processed.
Tip: Install the DeLinear script from Herbert Walter Astrophotography (skypixels.at) In the linear processing stage, we often need to create a clone then apply a permanent histogram stretch. The Delinear script does the stretch automatically.
With multiscale linear transform, you will focus on the larger scale noise (greater than 1 pixel) within the image, while trying hard not to reduce the quality of your signal.
Mask Creation
You need to create a mask to focus your noise reduction process to the low signal areas of our images. To create the mask, you do the following:
- Duplicate the image
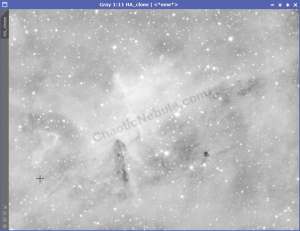
- Apply the DeLinear script – this does a permanent stretch to the cloned image
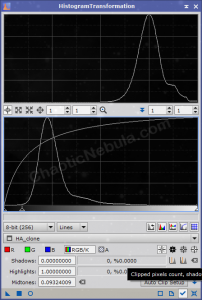
- Launch Histogram Transformation and move the middle slider so the peak of the cloned image is at 75%
You will notice that the mask is very bright. This is the signal. You will apply this to your image inverted so you protect everything that has a signal.
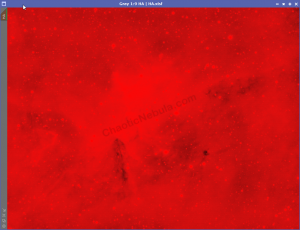
As you an see, with the mask applied and inverted, most of the image is red. This is protected from the noise reduction process.
Select Mask -> Show Mask to remove the red coloring
The following series demonstrates the importance this mask has on helping to reduce low-level noise while protecting detail. The images demonstrate
- No mask applied
- Mask applied with default luminance mask
- Mask applied with stretched luminance mask
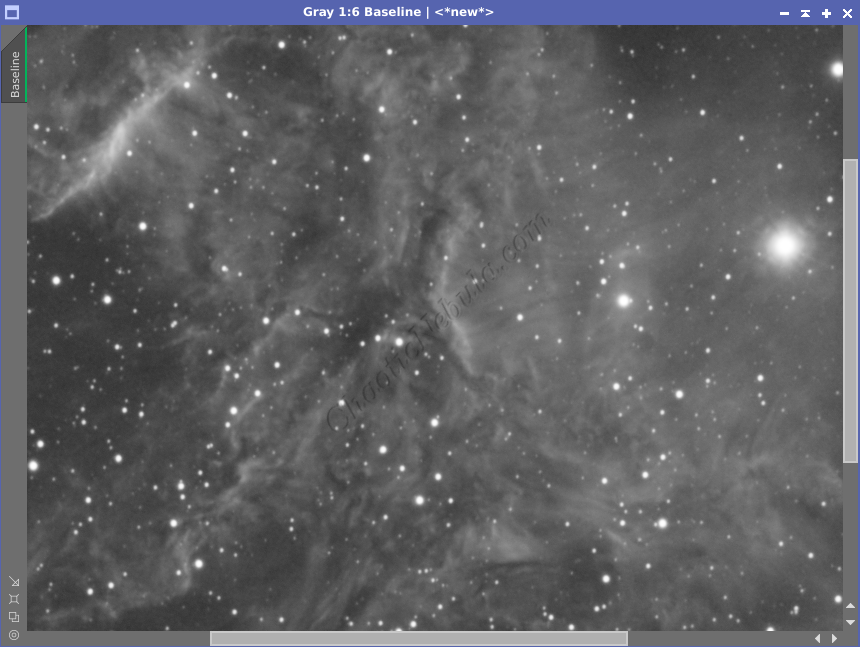
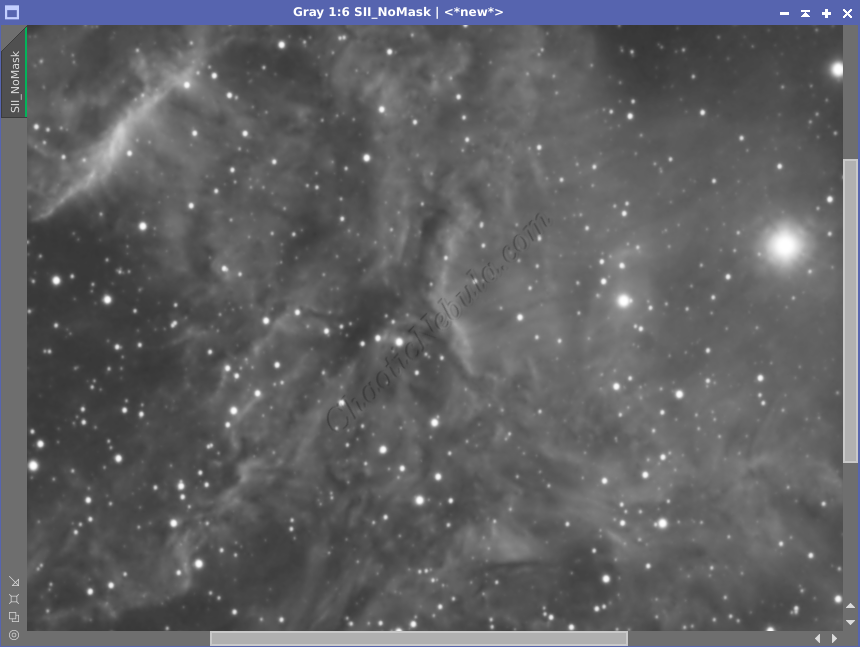
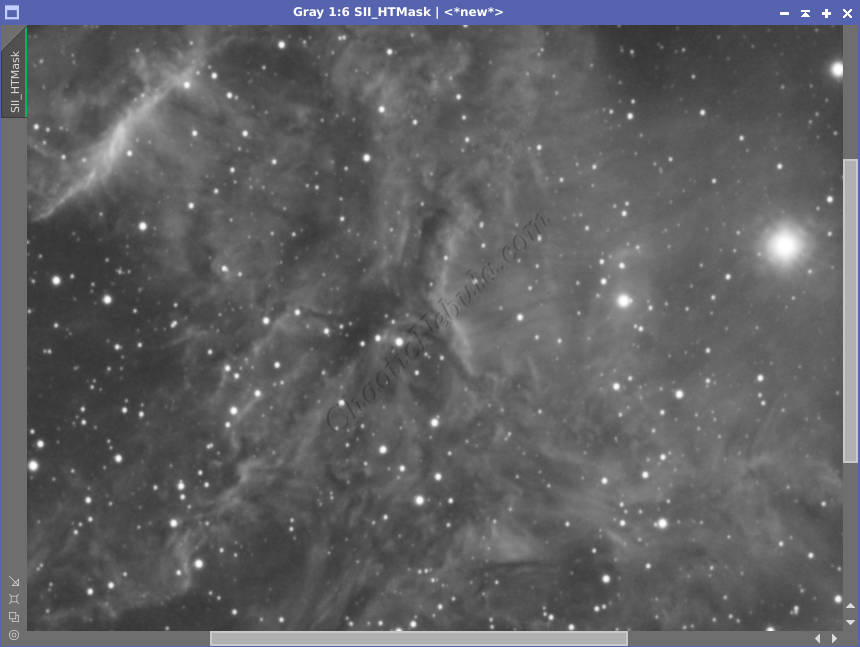
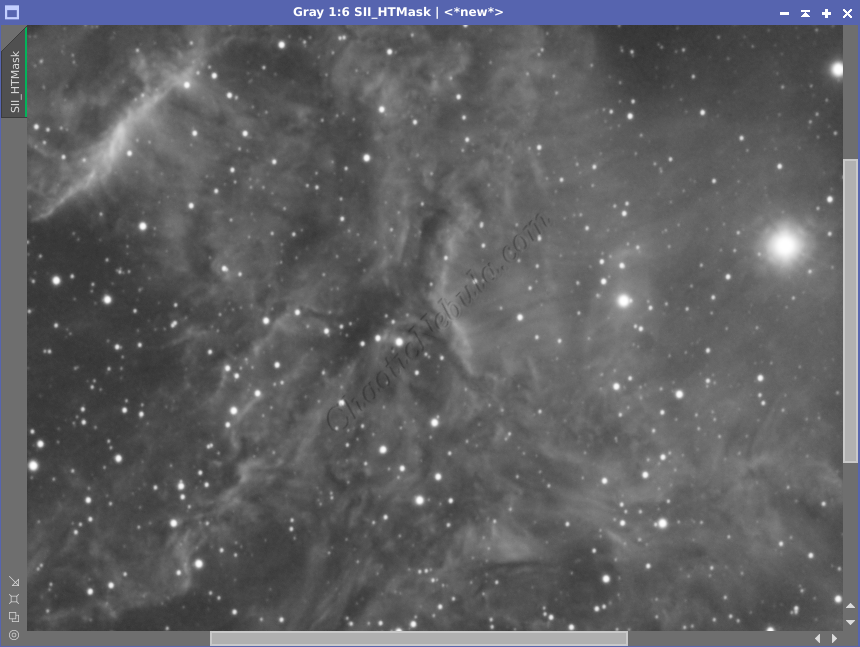
In all three cases, the noise levels were reduced. However, with no mask applied the detail blurs. Simply applying a stretch to the luminance mask reduce the amount of blurring, but it is still present. By stretching the mask, the low level noise is reduced and the details are protected.
Multiscale Linear Transform
Multiscale linear transform works against multiple layers in the image. Layers are based on a square of pixels as follows:
- Layer 1: 1 pixel size
- Layer 2: 2 pixel size
- Layer 3: 4 pixel size
- Layer 4: 8 pixel size
- Layer 5: 16 pixel size
- Layer 6: 32 pixel size
- R: Everything else
Smaller layers often have more noise than the larger layers and can handle more intense noise reduction while higher layers have more details and can only handle minor noise reduction.
Depending on your setup, pixel size, field of view, you might be limited to only three layers or up to 6 or more layers. Eventually, as you add a new layer, you will notice the noise doesn’t diminish because higher layers are protected by the mask.
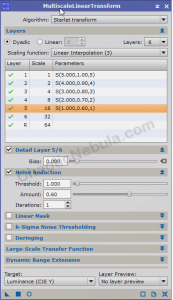
For each layer, you need to adjust the following:
- Threshold: This is how strong to do noise reduction on the layer
- Amount: For the final image, what blending percentage should be from the new image and old image. A value of 1 means there is no blending with the old image. With .60, 60% is new image and 40% is old image.
- Iterations: How many times should this run on this layer.
With multiple layers, your strategy is to decrease the strength as the layers increase in size. This helps protect the structure and details.
This setting yields the following.


The changes are very subtle. It is easier to see when zoomed in


Follow this process for all images, creating a new mask for each channel, but using the same multi-scale linear transform settings.
Tips
Depending on the starting image, it might be useful to apply this process multiple times. This is typically the case for channels with minimal signal and a lot of noise (like Sulfur-II filters).
